I have been using the Atomos Shogun Flame this week to see how well it works in a real world shooting environment.
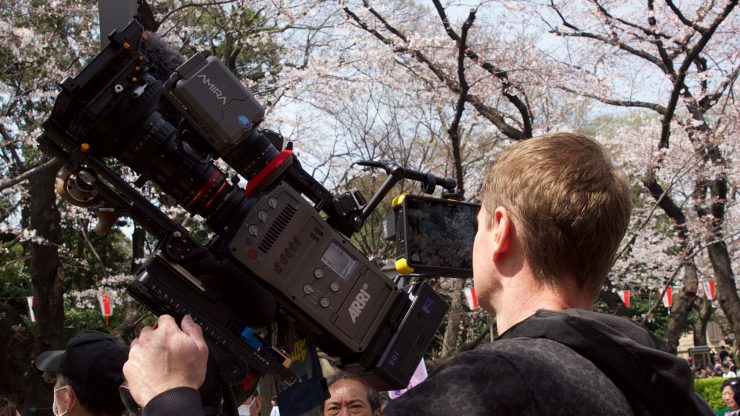
I usually shoot with the Arri Amira, so I have no need for an external recorder. However, I was interested to see just how well the Shogun Flame performed in the field as a monitor. It is always great to see fancy promotional videos and read all the specifications, but how does that translate to the real world? This isn’t going to be an in depth review of the Shogun Flame; I am just going to focus on how it performs in the field as a stand alone monitor.
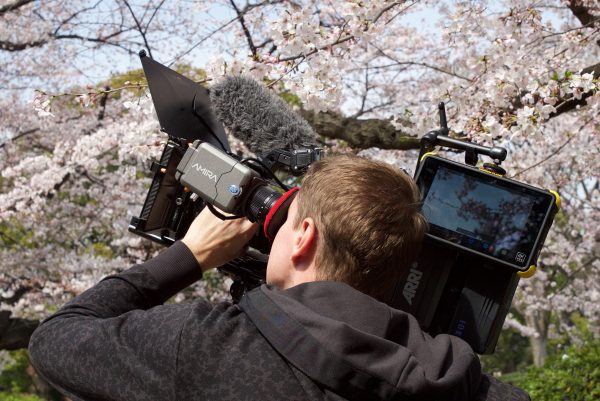
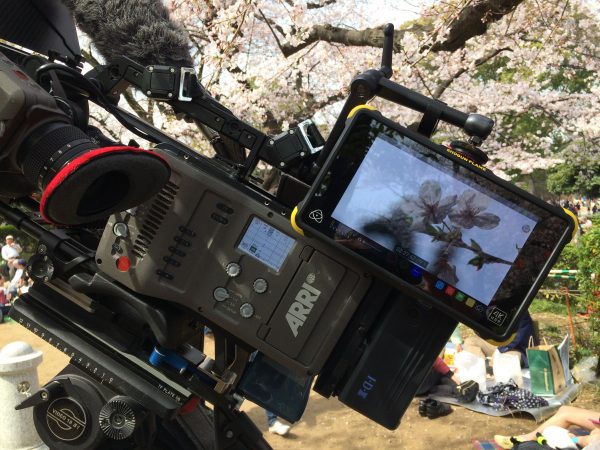
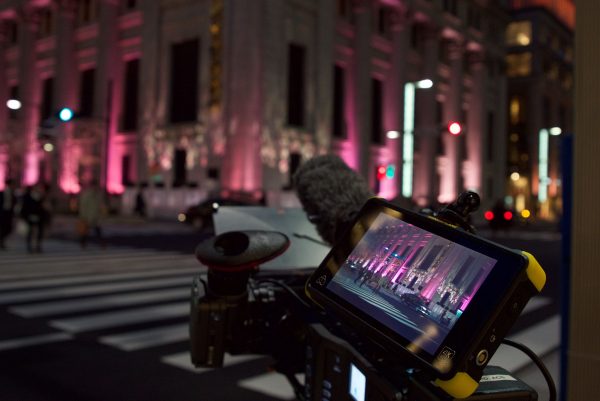
I’ll come straight out and say it: this is the first monitor I have ever used outdoors that I can actually see properly. I know you can simply add a sun hood to a lot of monitors when you use them in bright conditions, but to me that defeats the whole purpose. For me, crowding around a monitor and putting your face hard up against a sun hood to see an image makes no sense. If you have to do this you might as well just use an EVF. When I do use a monitor I am shooting long interviews or using the camera on a dolly, jib or gimbal. For this type of work it is crucial to be able to see it without having to use a sun hood.
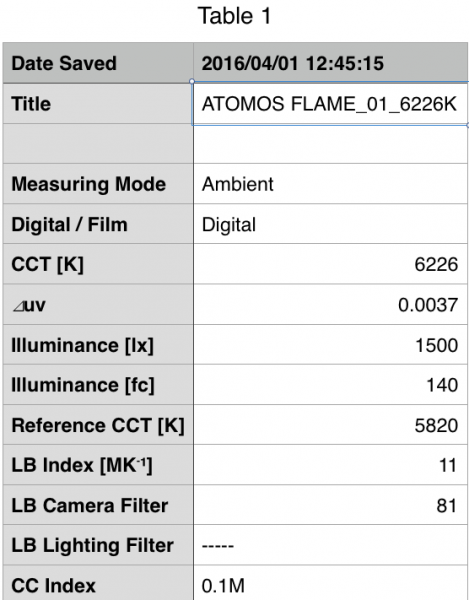
The screen is super bright and it certainly lives up to all the hype. I measured the screen brightness using a Sekonic C-700 and it recorded 1500lx which translates to 1498.37nit, which is almost dead on the 1500nit of brightness Atomos claim. I shot a white balance card illuminated by a Cineo Matchbox 5600k remote phosphor light and the Arri Amira registered 5820k and a CC value of 0. I then outputted this image to the Shogun Flame. The kelvin colour temperature of the Flame was 6226k when tested with the Sekonic C-700. It had a CCi of 0.1M and the ⊿uv value, which shows how much a light is away from being an ideal light source, measured 0.0037. These figures certainly back up the claim that the Shogun Flame should be able to display pretty accurate colours. As a comparison I measured the screen on a iPad Pro and the kelvin temperature was 6684k, CCi 0.2G and ⊿uv value 0.0006. The iPad Pro also illuminates just over 1500lx.
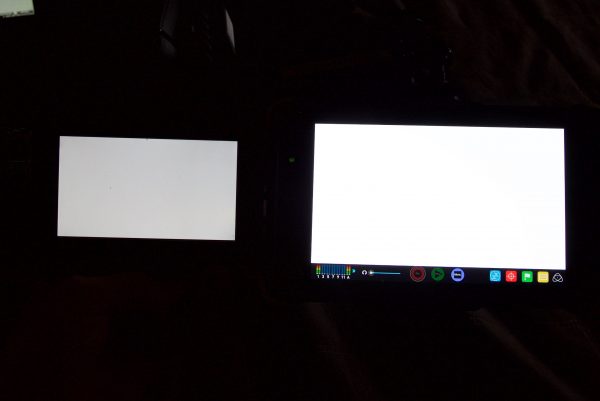
If you go further and compare it against the popular Atomos Samurai Blade, you can see just how much brighter the Shogun Flame is. The Samurai Blade I tested was 174lx (173.81nit). The Flame was 8.5x that figure.
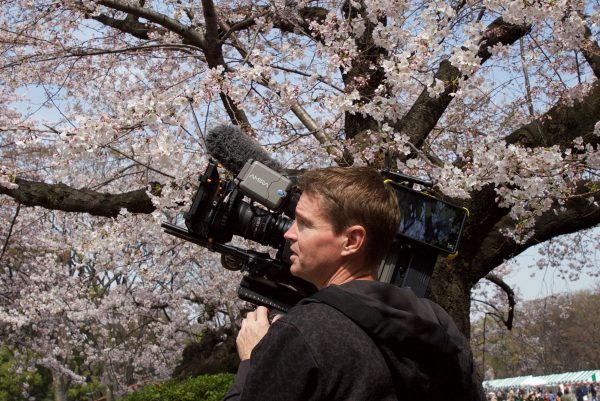
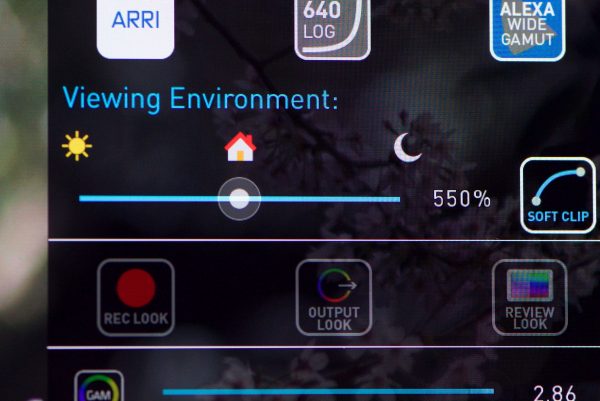
I used the Shogun Flame outdoors in very bright environments, including full direct sun, and was able to see the screen at all times. The screen is still glossy, so depending on the angle you’re viewing it at, it is susceptible to reflections. The added brightness of the screen also makes it a lot easier to get critical focus. I found that in either the high brightness mode or the HDR mode it worked equally as well outdoors. Atomos claim that the HDR mode is better viewed with the use of a sun hood, but I think this definitely depends on what you are shooting. If the scene was very bright and didn’t have a lot of dark areas, I found that I could easily see the image in HDR mode. If there were lots of dark areas then it did become a little more difficult to view.
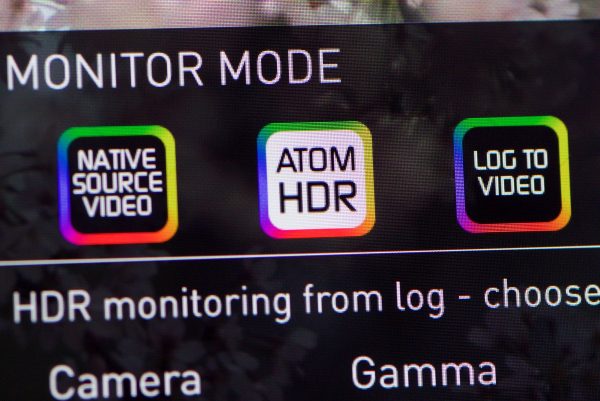
I was interested to see how well it would work by just outputting a Arri C-log image from the Amira straight into the Shogun and then applying the HDR setting. Usually when you output a Log image from a camera to a monitor you need to apply a LUT to correct the image. One of the problems with this is that the LUT can sometimes show clipped highlights and it generally doesn’t give you a true indication of what the image being recorded really looks like. A lot of LUTs are designed to squeeze your log image into a Rec.709 space (around 6.6 stops of dynamic range). By using the HDR function, you can see around 10 stops of dynamic range.
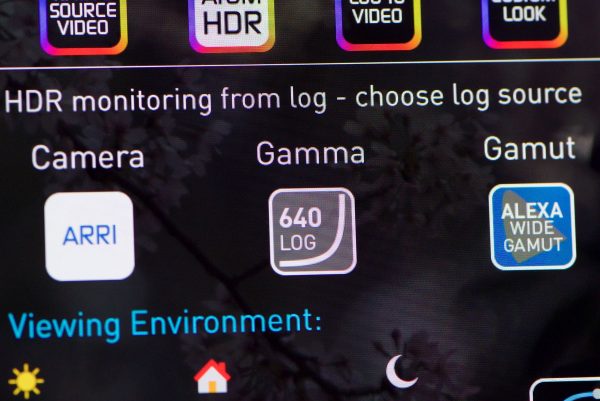
To view an image in HDR is fairly straight forward. In this case I chose the camera as Arri, then set the ISO to the same as the camera and selected the correct gamut. I found by doing this I could see a very realistic reproduction of the LOG image that showed a lot more dynamic range than if I just used a regular LUT. I also found that I could fairly accurately expose an image that was being recorded as Log by viewing in the HDR mode. I found this easier to do than exposing via using a LUT. When I monitor with a LUT I usually find myself toggling back and forth between the log image and then LUT, as the LUT image may well show clipped highlights that aren’t actually being clipped on the recording. Even though I know when I am looking at a LUT that is showing highlight clipping that my recording will still be okay, it is not ideal. Looking at the HDR image I could not only see a broader range of colours, but could also set my exposure and know that if the image was clipping on the display, then it was more than likely clipping on the recording.
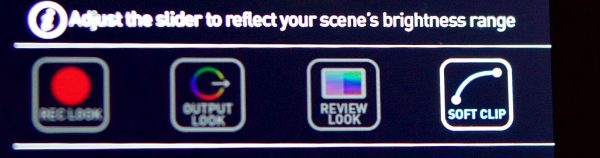
Even though the monitor is able to show you around 10 stops, most cameras are able to capture slightly more dynamic range. To counteract this difference you can use the SoftClip tool to roll off the high lights, allowing you to see a little extra detail that will still be present when you bring your vision into post.
The thing you always need to remember when selecting HDR on the Flame is that it is just a viewing mode. Unless you have a 10bit display and the ability to master in HDR, you’re not going to be able to see the same image when you bring it into an edit. Some people may ask: Well, what’s the point of viewing it in HDR then? This is a valid argument, and until HDR becomes more accepted it’s best to think of it as a sort of LUT that can show you more dynamic range.

It’s worth noting that whilst HDR delivery is still a relatively new phenomenon the content delivery networks such as NetFlix and Amazon are embracing and already commissioning HDR content. Working in HDR is also like when we used to work in HD and deliver in SD. Shooting in 4k Log and exposing for HDR is a top-down process so this means that you’ll have 4k HDR masters that can be used to remaster in the future and your content will also be fine for SDR delivery. Through post-production there are an increasing number of tools becoming available in the likes of Avid Media Composer, Premiere and as you’d expect the standard finishing applications all have the ability to apply HDR export curves – you’ll need to grade for HDR to make the most of it and also do a secondary SDR grade for standard delivery.
It really makes a big difference looking at a 10bit monitor. To my eye, the colours look a lot more accurate and what I was viewing on the Shogun screen looked very close to what I was actually recording. In HDR mode the colours are nice and vivid without being overpowering. The HDR image does take some getting used to, but once you start using it, it is hard to go back. Even though I can’t see that image when I bring it into edit, viewing in HDR when I’m recording allows me to see a closer representation of the dynamic range I have captured. You do have the option to connect your Flame to a Video IO card/box via either 6G or HDMI to monitor the 4k out put and see the same image you saw during the shoot.
When I was using the Shogun Flame with the original firmware, the brightness settings on the monitor did take some getting used to. There were only three brightness settings when viewing in HDR: sunny, indoors and night. I found when I was shooting in different environments that sometimes I needed to set the brightness between two of the settings (example: between sunny and indoors), but this was not possible.
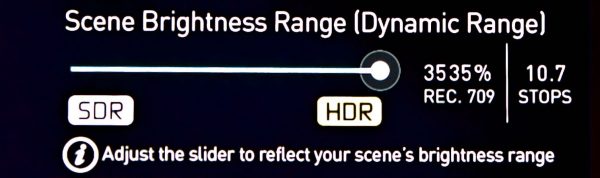
To Atomos’s credit they have listened to feedback and there is already new firmware (AtomOS 7.01) that allows you to make incremental adjustments, from SDR (100% Rec.709), which shows you 5.6 stops of dynamic range, all the way up to HDR (3535% Rec.709), which can display 10.7 stops. By just dragging the slider you can set the Scene Brightness Range (Dynamic Range) to whatever point best suits your camera and viewing environment.
As far as build quality goes, it is definitely an improvement over the original Shogun, but I still think there are some things that could be improved. When I was using the Shogun just as a monitor and didn’t have the Atomos SSD caddy on the unit, I did notice that there were several exposed areas where you could see wiring. I would be very concerned using the device out in the elements without having the SSD caddy on the Shogun. The monitor isn’t really designed to be used out in the rain or snow without some sort of cover. There are open cooling vents on top of the unit that are not well placed as any type of light rain would find its way inside the monitor. This is just something to keep in mind if you’re using the Flame series in bad weather.
The other piece that looks a little brittle is the plastic slot that covers the SSD connections. This is something that could easily be broken. Apart from these small things, the new built-in armour protection seems to work well and the screen does look to be more robust (although I’m not going to drop it to find out).
The unit is certainly noisy and if you have it on your camera in a quiet environment and you are fairly close to your talent then it’s going to be a problem. The first time I used it in an interview situation indoors I was asking the person where i could turn the air conditioner off, only to realise it was the Shogun making all the noise. This is something that really needs to be addressed by Atomos.
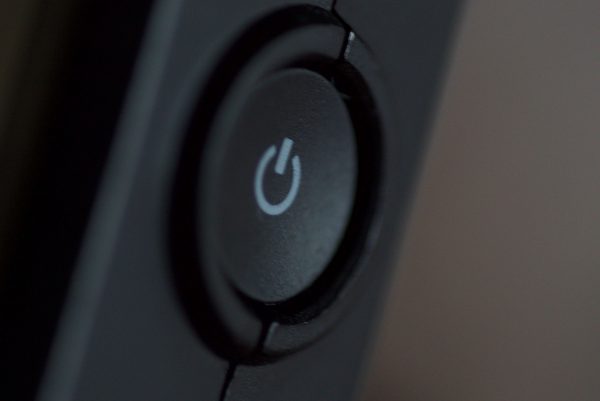
Power-wise, I am not sure how much more it consumes than the original Shogun. I was using bigger Sony NP-F970 batteries to power it and one battery lasted me almost all day. It is good to see that there are now two battery slots, as the original Shogun didn’t last long on the single included battery. There is also a new power button that is a big improvement over the previous Shogun version.
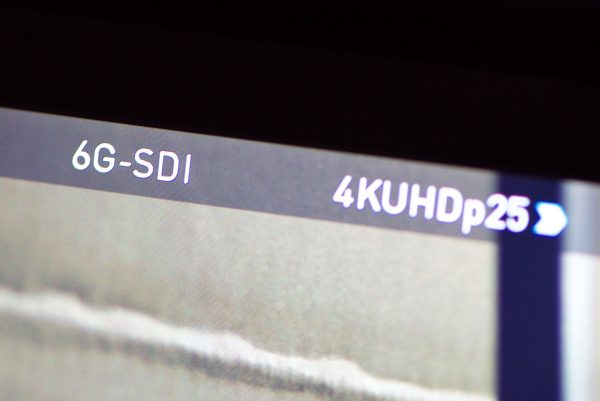
I also tested the 6G SDI input and I am happy to report that it works really well. I was able to output a UHD signal over a single SDI cable from my Arri Amira to the Shogun Flame.
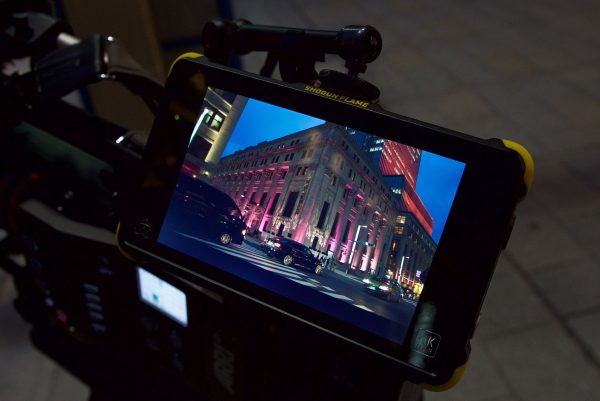
Even though I have only been using the Shogun Flame for a week, it has met the high expectations I had for it. It really is very impressive as a stand-alone monitor. The high brightness display, HDR monitoring and 10bit full HD display all add up to an impressive monitoring solution. I have waited a long time to find a monitor that I can use outdoors no matter how bright the conditions are. I didn’t encounter any problems while using the unit – it never once failed to fire up and the operating system was responsive and stable. While the image can take some getting used to, the Shogun Flame looks to have set a new standard for on-board monitoring.