In terms of innovation, there is a special place for low budget films because of the flexibility that comes with not being able to throw money at problems. Using an innovative process for a low budget film can often solve problems quickly and cheaply in ways that are simply too complex and risky for a big production. This is because while a big budget blockbuster may be able to throw large sums of money at solving creative, workflow and technical issues, they tend to have a turning circle like an aircraft carrier!
For example, changing the colour processing pipeline on a film with 2,000 VFX shots and 15 different VFX vendors would be a major undertaking, requiring many meetings, lots of planning and time to execute. On a simple film with few VFX shots, 1 VFX vendor and the rest of post in a single facility, this is not anywhere near as big a deal.
Because of this, it is both possible and desirable to use innovative workflows on low budget films to increase efficiency quality, without increasing cost. Over time, many of these innovations can make their way onto bigger budget projects after the details have been worked out on lower-risk and more nimble films.
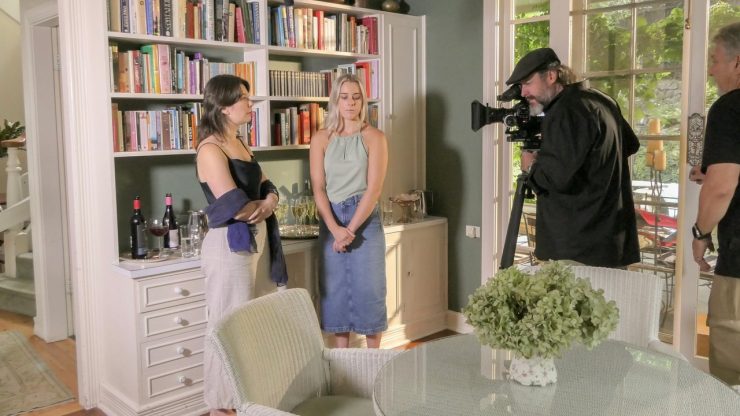
In the last 20 years I’ve done 3 feature films and a feature documentary with writer, director and producer Gerald Lawson and on all of those projects I served as Director of Photography, Editor and was hands-on with most, and in most cases, all aspects of post production. These films have effectively spanned many of the most significant twists and turns in the evolution of digital technology for feature film making since the turn of the millennium.
So when Lawson (who’s day job is as a specialist doctor) came to me with a new script called The Holy Scoundrel, I began to immediately think about how we could make this work, taking advantage of the massive technological leaps forward in the 10 years since his last film.
The LED Light Revolution
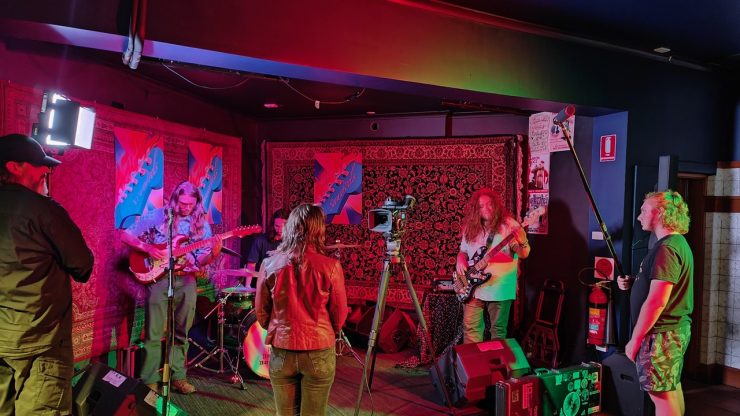
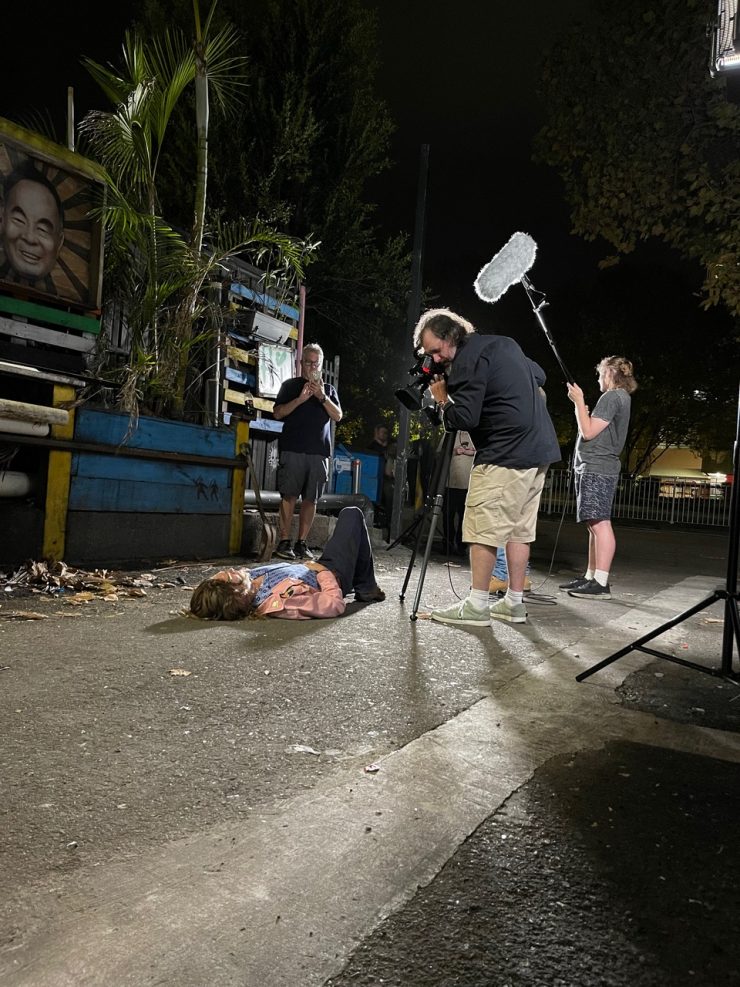
To me, the biggest technological leap forward for low budget films has been LED lighting. Lawson’s films tend to focus on ordinary, suburban people who find themselves in unusual or even ridiculous circumstances. His first film, Little Lies was also shot during a blistering Australian summer, was shot entirely with tungsten and a couple of small HMI lighting units. Multiple make-up artists were kept busy simply keeping the sweat off the actors faces for the next take. To get even a slightly soft light would mean either filtering through diffusion or bouncing the light from a tungsten source which would drastically reduce the amount of light hitting the subject. Because these lights are pinpoint sources, they are too harsh to use without some form of softening in all but the most particular situations. On the typical circuits of a suburban home, 3 x 800 watt “Redheads” or one 2000 watt “Blondie” and 1 Redhead, were the most you could run before tripping the circuit breaker – even if adding more light risked melting the actors!
Cut to today and the wide range of LED lights for film makers is an entirely different world of possibilities. Firstly, LEDs make it realistic to run many more light sources, all producing more light than their traditional equivalents while drawing vastly less power and virtually no heat. Not only that but many of the sources start as a soft, area source and can easily be softened more from there. Many of the LED sources can even be run off batteries, making them incredibly fast to set up and move around and on a fast shoot with a small crew this makes an huge difference for an indie film.
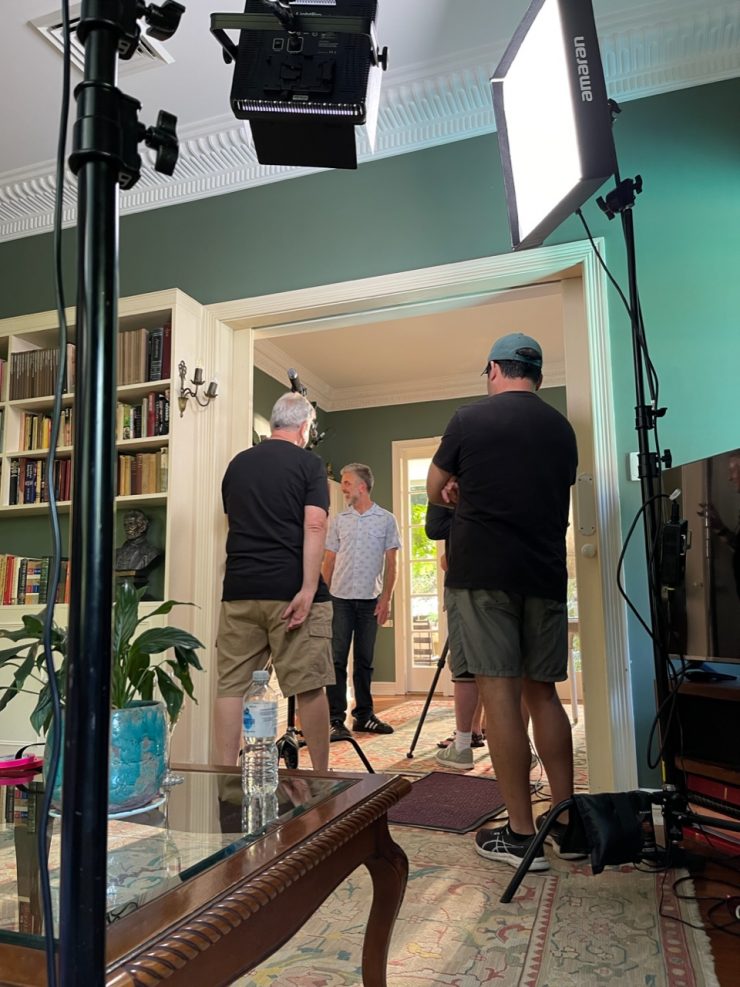
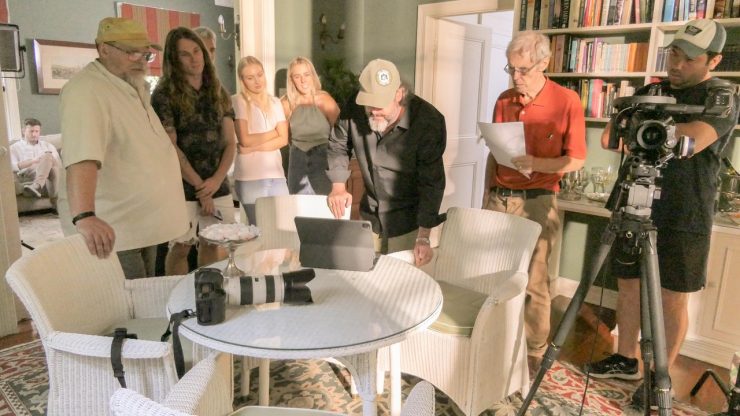
Over the course of the Holy Scoundrel shoot, Gaffer Paul Mailath and I relied more and more on lamps running off batteries, even when AC power was easily available because off the difference it made to how quickly we could get the lights up and running and then repositioned between takes. At an average of 6 pages of script per day, this made a significant difference to how fast we could work.
We used a mixture of brands and source types but relied heavily on Aputure – particularly their Light-Storm 60, 300 and 600 models of point source lamps with Fresnel attachments. I usually requested these with the Fresnel lens and barn doors, which gave use a very fine degree of control over the shape and character of the light. This was great for creating controllable backlight or pools of light or highlights on something of importance in the frame.
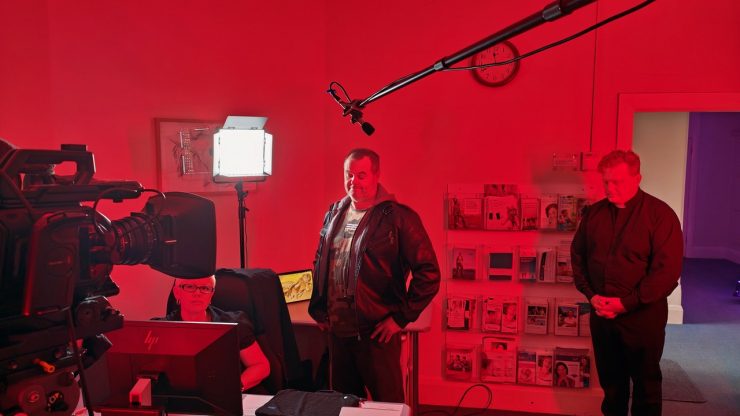
We also made extensive use of Light Pro’s great 1×1 foot daylight panels. These are very simple, fully dimmable lights that produce a moderately soft starting point and are lightweight, have barn doors and are very quick and easy to set up.
A typical quick setup on Scoundrel would involve 2 of these lamps, one as key and the other dimmed down as a low level fill light. Being able to dim a source without external dimmers and generally without colour shifts is another one of the huge advantages of LED lights and it speeds up the process of lighting a simple scene significantly. With these lamps running off V-lock batteries, which they would do for many hours, Mailath was very patient with me jumping in and making quick but precise adjustments to the position and intensity of the source, which could usually be done in a fraction of the time it would take to even ask for the changes. The process of instantly making tiny adjustments directly on the lamps was fast and creatively freeing.
On a bigger shoot I usually prefer to work with a light meter for setting light levels and exposure and with a bigger crew this is usually faster as you can stand on set taking light readings without having to run back to the monitor to check things. As colorist I also find that this produces the most consistent and accurate results. However, on a very small shoot like Scoundrel, where I am also operating the single camera, I find that it is faster to work to the viewfinder and by eye on set. Although this is not as precise as working by meter, I know from experience that it will get me close enough that it will be well within what I can iron-out in the grade. It also means that I can be making hands on adjustments to the camera, the lens and the lights without having to run to the position of the subject and also take a light reading. Different methods for different circumstances.
Camera Choices
With a short shoot, small crew and a very tight budget, the on set camera kit and workflow had to maximise speed and flexibility without creating massive problems for post. Knowing that I would also ultimately be responsible for post production certainly helped heighten my focus on this!
With slightly more lead time than I’ve had on a major project for a while, I decided that it was a great opportunity to develop a bespoke LUT to refine the look so that I could then work to that look on set and in post production.
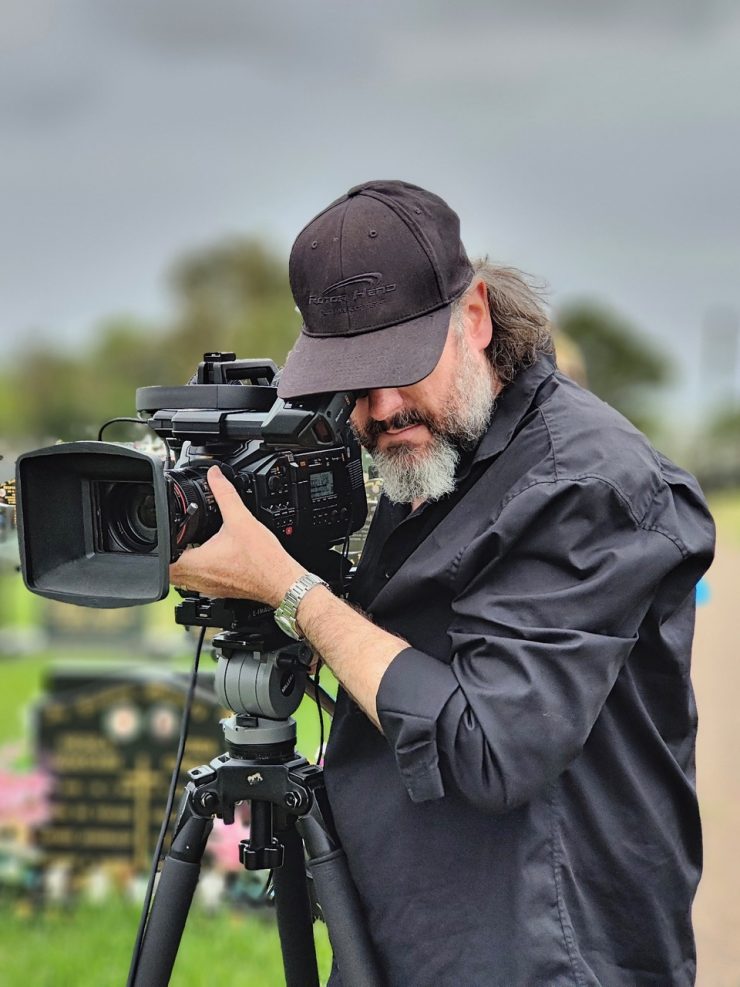
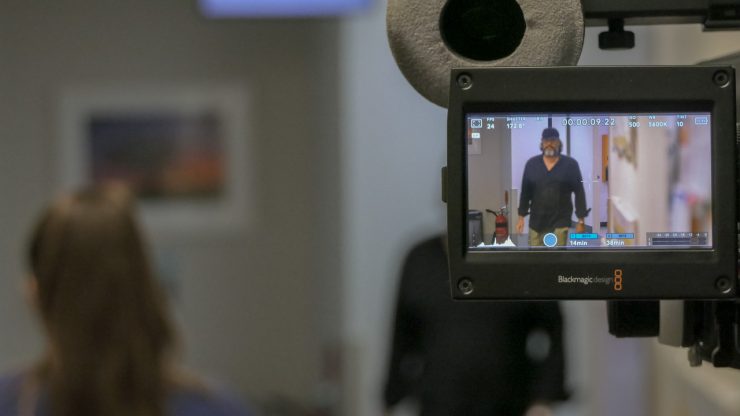
The choice of cameras was pretty easy as I knew that the shoot would require something that was fast to work with for drama and was small and light enough that we could get it up and running quickly and without a full size camera and grips crew to get the camera rigged and in position. For me the URSA Mini Pro series of cameras is the perfect combination of small and light but big enough to have proper controls, built in ND filters (which are a must for shooting fast outdoors) and good audio with proper monitoring and controls. The URSA Electronic Viewfinder rounds out the camera with an OLED display that is accurate enough to set colour and exposure and sharp enough to pick critical focus.
With this combination, I can have the camera in the URSA Mini specific SKB Case (3i-221312BKU) and in well under a minute I can pull the camera out of the case, add a lens and a battery and be ready to hit the record button.
In pre-production testing I tested both the URSA Mini Pro G2 and the URSA Mini Pro 12K OLPF and came to the conclusion that they both brought subtly different strengths to the film and decided to use both for different purposes within the film.
The G2 is an absolute workhorse camera for me. I’m now so familiar with the sensor and the BRAW recording format that when the pressure is on it allows me to run on instinct rather than having to stop and think about things.
The 12K OLPF on the other hand has a very beautiful look, especially on skin tones. After some extensive testing, I decided to take advantage of the 12K’s ability to record different resolutions in RAW but without cropping the sensor. Because the film would be a DCI 4K in 1.85:1 aspect ratio, being able to record natively in that format meant that the amount of data would be manageable. It might seem crazy to be shooting on a 12K camera and recording in 4K, but in reality it is a great option for a low budget film which is doing a 4K cinema finish. It’s easy to get overwhelmed by the common belief that more of everything is always better when it comes to tech specs.
In some ways, the 12K sensor has probably turned a lot of people off the camera who would actually benefit a great deal from that sensor’s advantages. First of all, the convention of naming the resolution of all single sensor image sensors is a little confusing because at some point in the early 2000’s the manufacturers started referring to the number of photosites on a sensor as the resolution. Not a problem… as long as you’re aware of what’s going on.
In a Bayer Pattern sensor (like almost all modern cameras) there are clusters of Red, Green and Blue photosites which can be used to interpolate a full colour RGB pixel to correspond to each of these photosites. Because of the mathematical complexities of interpolation, the traditional rule of thumb was that a ratio of 1.3 Bayer photosites to every 1 RGB pixel provided a nearly, mathematically perfect result.
The original specifications of the ARRI ALEXA, taking an image from 2880 Bayer photosites and recording it as a debayered 2048 2K ProRes file is perhaps the best ever implementation of this theory and it’s worth remembering that the ALEXA built it’s reputation primarily on films and shows produced in this format.
The 12K is the first professional cinema camera to use something other than a Bayer pattern since the Panavision Genesis / Sony F35 in 2005. While those cameras used a full RGB array, where there was a Red, Green and Blue photosite for every one of the 1920 x 1080 pixels in the recorded image, the 12K relies on an entirely new colour filter array. Like the Genesis and F35 sensor it has an equal number of Red, Green and Blue photosites but the 12K adds an unfiltered “white” photosite to each group of 4. The result is an equally balanced resolution of each of the colour channels with the unfiltered white photosites providing a boost to the amount light captured on the tiny photosites.
Whether you record 12K or a lower resolution in camera or down convert in post, the massive over sampling produces images that have an incredible degree of smoothness, almost an organic quality. For me, the best point of reference is the way the ALEXA originally captured those 2.8K to 2K images so smoothly. The effect in both cases is superbly smooth and subtle skin tones and natural textures.
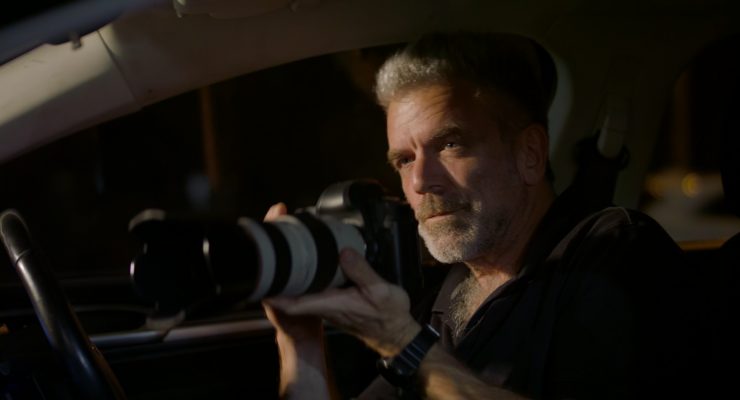
To round out the camera selection I had to find a solution for some in-car driving scenes, which are traditionally the bane of low budget film making. On a very small film, shooting fast a low-loader is out of the question for time constraints as much as anything else. Many years ago I used to shoot these scenes in the only way possible at the time… wedged into various seats around the car and holding a large camera at incredibly awkward angles. As unpleasant and visually compromised as this was, it was only relatively recently when I saw a series of safety tests of what happens in a crash to an operator holding a camera that I realised how insane this practice actually is and have vowed never to do it again.
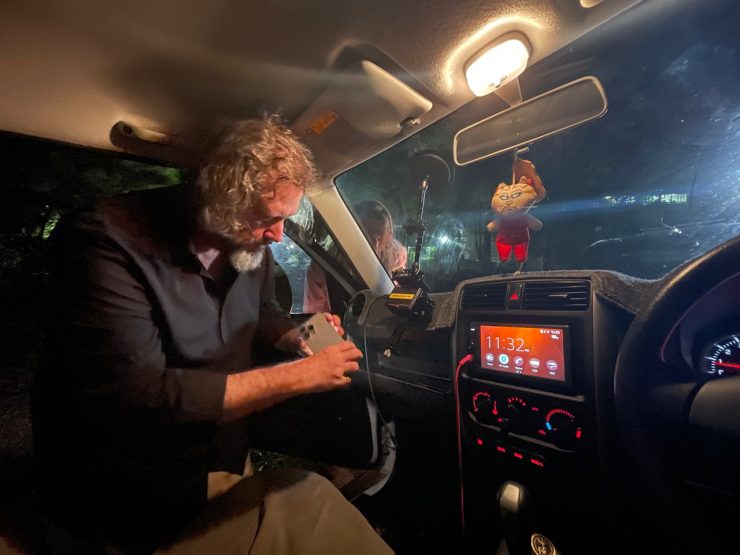
Luckily we now have much better options and after some testing I determined that the best one for this film would be an iPhone 15 Pro Max recording Pro Res, 10 bit Apple LOG to an external SSD drive using the Blackmagic Camera app. I rigged this with an improvised combination of mounts and bases to hold the iPhone and SSD together and then mounted to a Rig Wheels magnetic windscreen mount.
This worked quite well and the iPhone was surprisingly effective at capturing dialogue as well.
Workflow & A Bespoke LUT
Rec.709 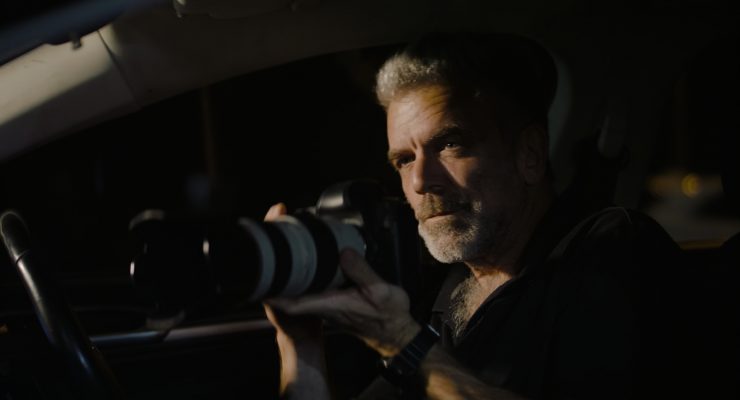
Custom LUT
With these three cameras in the mix I began work on an updated workflow for the shoot and post production as well as a show LUT for the film.
The first decision was the working color space for the finishing process. While this is something that is often determined late in the post process, especially for a low budget film, there are big advantages to having a clearly defined plan for this final stage of the post workflow before shooting even begins.
There are now many different options for color pipelines that have different advantages and disadvantages. However, working color spaces that allow the color grade to be done in a format that allows maximum room for downstream conversion to a variety of different deliverable and archival formats without quality compromises is really essential at all budget levels.

While ACES, DaVinci Wide Gamut and even the good old Cineon spaces all have their merits, I have recently done some projects and a lot of testing in ARRI’s new Log C4 space following their recommendations for the “Reveal” workflow. Despite the fact that this was not an ARRI show on the camera front, I have rapidly come to love the Log C4 space as a working color space, particularly the way the controls in Resolve “feel” when they are operating in this space. This is quite an intangible thing but is very real when you’re trying to quickly get the image moving in the direction you want technically and / or creatively.
Despite the fact that C4 has a very low mid grey point compared to most LOG curves and a very wide color gamut and dynamic range, there’s something about how it responds that feels very organic and intuitive which I cannot explain logically but can instantly feel on the controls of the color panel.
Because the story takes place in a very “normal” contemporary world but the things that take place are very much out of the ordinary for most people, occasionally even outlandish to the average person, I felt that the look should be a little removed from a completely naturalistic look. Something a little heightened and stylised would subconsciously help with the audience’s suspension of disbelief but only if it wasn’t crossing the line where it became overtly artificial.
Custom LUT 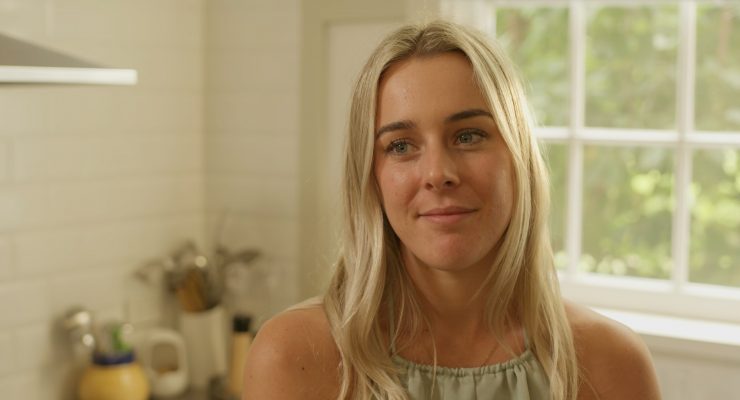
Rec.709
As a film-like starting point, I used the Kodak 2383 film print emulation LUT that has always been part of the DaVinci Resolve installation. This LUT was originally intended for use with Cineon film scans or digital files that were intended to be recorded back to film and then printed onto that specialised stock. The LUT allowed for a preview of what the image would look like once printed. In that Cineon workflow the final renders would then be done without this viewing LUT and the 2383 film stock itself would add the same look to the film print.
Because of this, it has much of the “DNA” of Kodak’s colour science and visual philosophy built into it without too much of the characteristics of any particular negative stock. This makes it a very effective starting point for creating a bespoke LUT that has many film characteristics but can be tuned to the requirements of a specific project or look rather than simply emulating one of the neg stocks which could be manufactured for the photochemical process.
Because the 2383 LUT was designed to be applied to Cineon Log images and then display a preview in Rec 709, it is necessary to use Color Space Transforms (CST’s) to manage the input and output color spaces in order to get a correct result.
Shooting Blackmagic RAW on the G2 and the 12K OLPF allowed me to set up the project to process these files directly to ARRI C4 for both gamma curve and color gamut.
I designed a node tree in the Color Page which begins with a CST from C4 to Cineon, followed by the 2383 film LUT and then a series of nodes for the adjustments to create the custom look from this base. Adjusting the Hue V Hue, Hue V Sat, Lum V Sat and Custom curve controls created a quick way of tuning the look to what I had in mind. One of the key elements of this was boosting the blue section of the spectrum because 2383 suppresses blue and also shifting the primary blue a little towards the greens as this helps give a gentler and more organic look. I also reduced the red saturation and gave a little boost to the brightness of the lower mid tones and adding a little more rounding to the highlights using the Custom curve, to slightly reduce the high contrast of the print stock without loosing the richness it provides.
In this process, I have always found that it is really critical to shoot relevant test footage as the basis for designing these sort of looks. Just as importantly though, is to then load the resulting LUT’s back into the cameras, shoot more tests and then check these right through the post pipeline. Following this process makes it possible to iterate rapidly to refine the look. As long as you maintain a reliable versioning system, it is possible to look at what elements are working in different versions of the look and when needed combine these good elements to form the finished recipe for the LUT. For The Holy Scoundrel the look I finally decided on was a recipe labelled “THS 04” as this was the 4th iteration of the look which I tried.
Although but the BRAW footage from 12K and the G2 could come into Resolve directly to C4, in order to use the LUT in camera it was necessary to produce a version of the LUT tuned to that camera’s color science. In the case of the G2 this required the BMD 4.6K Gen 3 color science while the 12K needed the Gen 5 color science. This was a simple matter of changing the input CST to the appropriate input gamut and gamma. This also worked for the iPhone by changing to Apple Log.
Because the 2383 LUT outputs to Rec. 709, the result was perfect for monitoring in all 3 cameras and allowed for on set monitoring with the correct look applied.
In camera monitoring required a 33 Point LUT but for post production I created a 65 Point LUT and it is also worth noting that because these LUT’s were based on an existing LUT starting point it was particularly important to switch DaVinci Resolve’s LUT interpolation from Trilinear to Tetrahedral.
The reason this is important is that LUT’s don’t identify every input color and output color combination but instead a number of points in the scale for red, green and blue. For any pixels that fall between those values, the software has to interpolate the correct values. When it goes wrong, this creates the color and brightness equivalent of the diagonal stepping you see in a low resolution image that has been badly up-scaled. This can look like compression blocking or stray colors in fine details, but disappears with the correct processing settings.
While the default Trilinear interpolation generally does a good job with general usage of LUT’s, when taking an existing LUT and then layering on additional adjustments, the extra precision of the Tetrahedral interpolation becomes highly critical to the reliability of the output LUT’s. This is of course, more important in post production where the LUT’s are used to process the footage rather than simply monitor it.
As well as a 65 point LUT, created with Tetrahedral interpolation it was also essential that the post production LUT get the image back to the working color space instead of Rec. 709. Having chosen ARRI C4, this simply required an additional CST node at the end of the tree to convert from Rec. 709 back to C4. This then made it possible to add the Show LUT with the look in the node tree of each shot, allowing for adjustments that work better before the look such as exposure adjustments, as well as ones that work better after the show LUT, such as fine tuning the color balance of highlights.
So for on-set we ended up with 3 variants of the THS-04 look recipe:
- BMD 4.6K Gen 4 > LOOK > REC709
- BMD Gen 5 > LOOK > REC709
- APPLE LOG > LOOK > REC709
For post we only required two variants:
- ARRI C4 > LOOK > ARRI C4
- APPLE LOG > LOOK > ARRI C4
This was because although both URSA cameras used different color science for the in camera monitoring processing, both could de-mosaic directly to C4 in Resolve and so the same LUT worked accurately on footage from both URSA’s.
Dailies & Proxies
Dailies served a special purpose on this film as one of the ways the limited budget was workable was by having a very small crew of multi-skilled people. This necessarily meant having no Script Supervisor / Continuity person on set. At first glance this appears crazy but I knew that we could work around this by having all of the existing footage instantly available on set at all times. While there are many ways of doing this and it has been pretty routine on films both big and small for the key creatives to have dailies loaded onto iPads for many years now, recent advancements with the iPad Pro have taken this to a very different level.
The amount of on board storage is now at a level where the footage can be stored at an good enough quality level for critical evaluation. This high quality level enabled us to accurately check fine details such as the exact eye-line of an actor or how full a glass is in the wide shot when a character is walking into one scene and you’re about to shoot them walking out of the previous scene and need it to match.
An equally significant aspect of being able to do this was the recent increases in iCloud storage capacity options. I recently upgraded to the 6 TB option and this meant that I could have all of the dailies on my day-to-day iPad, while still having it backup to iCloud and access iCloud Documents. Having the 2 TB on board storage option on the M2 12.9 inch iPad Pro meant that it was possible to render all of each day’s footage at 2K (1.85:1 so 1998×1080) and in 10 bit HEVC (h.265) and these files had the Rec. 709 LUT baked in and burned in Timecode, Clip Name and Date. Of course, having all of the footage loaded to the internal storage also meant that we weren’t reliant on an internet connection in order to access the footage. In a number of the locations, this was a make or break issue as we were either out of range or in underground parts of buildings like hospitals where even mobile data connections didn’t work.
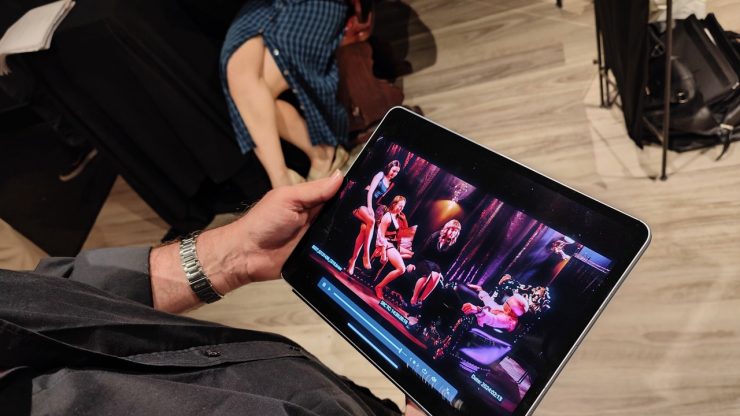
The result was that I could carry a single iPad to set in my backpack and have access to all the dailies and the latest versions of the schedule and script and to instantly switch between the three. This is something which I ended up doing on a daily basis, checking the previous scene, the next scene and cross referencing these with the script and schedule, all while working through the blocking and coverage in real time on set.
The high resolution and high brightness of the Liquid Retina XDR display also made it very easy to check details, even when shooting outdoors in full daylight.
Having both Final Cut Pro and DaVinci Resolve, running on the iPad and being able to access the footage in whichever of the two apps worked better for the exact purpose, moment by moment also helped to speed up the process and keep track of the footage.
These dailies files were generated out of Resolve Studio running on an M2 Max MacBook Pro with 96 GB of unified memory. As with the iPad, significantly increased capacity of the very fast, on board storage has revolutionised the process of data management and the generation of dailies and proxies. In the past I have relied on external SSD drives to be able to do a temporary, fast backup which could then be used to produce the other, slower triplicate backups. Part of the reason for this is to minimise the risks to the camera original cards by having them exposed to potential issues while using them as a direct source for the slower long term backups. It also means that all of the cards for a day can be copied to the fast drive one by one and then the slower, permanent backups can by done, a full day at a time.
Having the 8 TB storage option on the MacBook Pro meant that I could download nearly an hour of BRAW footage in around 4 minutes and comfortably keep up to two weeks of original footage on board at a time.
Once the footage was on board, all the day’s camera original cards could all be put aside until the backups were completed. Simultaneously the footage could be brought into the Proxy Prep, Resolve project. In prep, I had created a template timeline which had the show LUT applied at the timeline level, so it became a simple matter of loading the day’s footage into the timeline and then setting renders for both the dailies and the proxies.
The Proxy files for editing were also rendered at 2K 1.85:1 and in HEVC but unlike the dailies they have no burn-in text and don’t have the LUT baked in. These were decoded from BRAW to Log C4, so that there would be no need in the edit to keep track of which camera the footage was from and therefore a single LUT could be used to maintain the look in editing. It would, of course, be an option to have baked in the LUT for the proxy files as well, but I decided that the might be shots where I wanted to experiment with a grade or fix issues like changing light during the edit phase. Because I would be editing in Resolve, I would be able to apply the LUT at the clip level so that the footage would always be seen with the look applied but I would still be able to turn off the LUT and then start building a grade, including applying the LUT at the Node level.
With the edit and the finishing all happening in Resolve, those grades will very easily travel from the Edit system through to the Finishing system as part of each DRT timeline file.
The proxy files were rendered as individual clips, with the original file names so that when they were edited and the timelines transferred into the project on the finishing system, with the camera original files already loaded in, the timeline instantly reconnects to the camera original files.
The conventional wisdom is that inter-frame CODEC’s such as HEVC are not ideal for editing and an intra-frame CODEC like ProRes Proxy is better. I have generally been a staunch advocate of this view myself, but the hardware acceleration of HEVC both for encoding and decoding when using Apple Silicon based gear means that this format now provides visually indistinguishable 10 bit images which are buttery smooth to playback and edit, but at a tiny fraction of the file size.
So much of workflow design is about spending time in preproduction or the early stages of post to solve problems long before they arise in order to protect the two biggest pressure points in any production – the main shoot and the final stages of post production. In both of these stages time pressures are inevitably at their peak and so time spent earlier in the process to make these stages function as smoothly and responsively as possible is always a good investment.
Another key element of working with any look for a production is consistency in how the footage is seen. This is particularly important when applying a customised creative look. Being able to make sure the look is applied consistently across on set monitoring, dailies, edit and then into finishing is a vital element of keeping everyone on the same page creatively.
The Holy Scoundrel is currently in editing and the technical process is working smoothly and efficiently.