Sony has released the Ver. 2.02 (Windows/Mac) firmware update for the FX3. This comes around the same time as the FX30 V1.02 Firmware Update that we told you about yesterday.
Ver. 2.02 Firmware is not a big update I am sure some owners of the camera would have liked to have seen Sony ad some basic features that they think are missing from the camera.
What’s new in Ver. 2.02?
- Fixes an issue where the camera may not operate properly after installing the System Software Update to Version 2.01. Sony apologizes for the inconvenience.
- Fixes an issue where a movie file rotated in the camera may not be rotated on the computer
- Fixes an issue where the touch operations do not work in the Imaging Edge Mobile apps when the DISP (Screen Disp) Set option is set to No Disp. Info
- Improves the operational stability of the camera
With the addition of the new Log shooting modes that were introduced in the Ver. 2.00 firmware update, Sony has reviewed the picture profiles and the gamma settings and concluded that S-Log2 is no longer needed. Therefore, it will no longer be an option on your FX30 once you install this new firmware. After the update, you will need to use the gamma setting S-Log3.
Ver. 2.02 also adds improvements when connecting to the Imaging Edge Mobile app so that it is easier to do. After pairing the app with the camera, you can transfer images and shoot remotely just by operating the app. You can refer to Pairing the camera with a smartphone (Smartphone Regist.) in Sony’s Help Guide for more details. Please note that you will also need to update the Imaging Edge Mobile app to Ver. 7.7 or later, and register as a new camera after the update.
The other thing to be aware of is that the NFC one-touch connection function used up to Ver. 1.01 of the camera will no longer be available.
Precautions when updating from Ver. 2.00 and Ver. 2.01
You really need to be aware of one caveat before you update your firmware so you don’t end up crying later on! When you update to version 2.02 it will delete the LUT (Look-Up Table) settings in the camera. You will need to re-register the LUT settings after the update is complete.
Precautions when updating from Ver. 1.01 or earlier
After updating to Ver. 2.00 or later, the camera settings will be reset to the default values. Since this update adds functions and makes major specification changes, the camera settings will be initialized as part of the update process. It is recommended that you make note of all the camera settings before proceeding. Even if you have saved the settings using the various save features available (such as Save/Load Settings and Save/Load FTP Settings) the settings before Ver. 1.01 cannot be read by the camera after the upgrade to Ver. 2.00 or later.
How to update your FX3
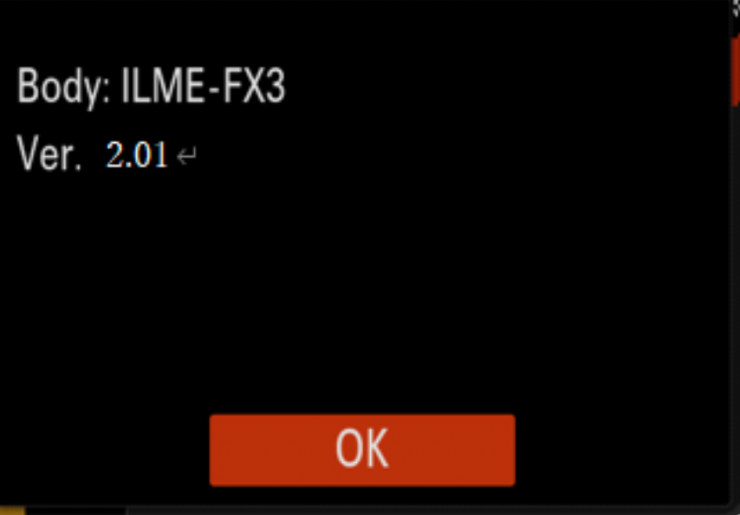
Check the system software version
Follow the instructions below to check the system software version. If the system software version is Ver. 2.01 or earlier, the update is required.
Note: If the Date/Time setting screen appears when you turn on your camera, be sure to set the date and time to the correct values.
- On the camera, select Menu → Setup → Setup Option → Version.
- The system software version is displayed.
System Requirements
Operating Systems
The latest version of the system software update is compatible with the following Macintosh operating system versions:
- macOS 10.15, 11, 12
Computer Hardware
The latest version of the system software update is compatible with the following hardware:
- Hard drive space: 900 MB or more
- RAM: 900 MB or more
Other Hardware
- Power source for the camera: Use a fully charged rechargeable battery pack NP-FZ100.
Note: The update can only be performed when the battery power level is three bars (or more) or above 51%. We recommend that you use a fully charged battery. - Use the USB cable supplied with the camera.
Note: Update functionality is not guaranteed with any other USB cable.
Download & Install
Important Notice
- Close all other application software before updating the system software.
- Use a fully charged rechargeable battery pack (NP-FZ100).
- Do not remove the battery during the update as the sudden loss of power may render the camera inoperable.
- Remove the memory card from the camera before starting the update process.
- The system software update will take approximately 30 minutes. Do not allow your computer to go into Sleep mode during this time.
Note: If the computer does go into Sleep mode and the update is interrupted, the entire update process will need to be restarted. - Do not open About This System Software Updater in the System Software Updater menu as this may cause the software to crash.
- Do not connect the camera to any other device except your computer.
- Do not connect the camera and computer until instructed to do so.
- Make sure your computer is connected to the internet.
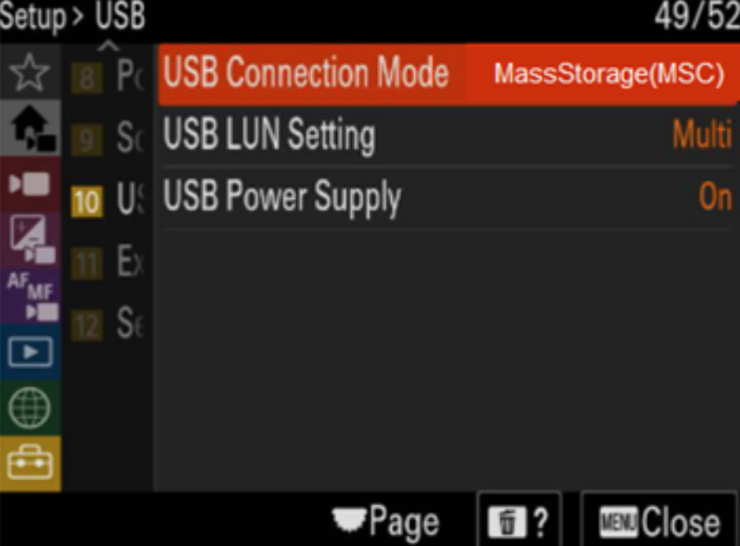
- Following the instructions in the System Software Updater window, on the camera, select Menu → Setup → USB → USB Connection Mode, and then check if Mass Storage(MSC) has been selected. If a mode other than Mass Storage(MSC) is selected, select Mass Storage(MSC).
On Mac computers with an Apple silicon (Apple M1) processor, you need to change the security policy. The About This Mac screen will show an item labeled Chip, followed by the name of the chip. Refer to the How to change the security policy on Mac computers with Apple silicon article. For Mac computers with an Intel processor, this step is not necessary.
How to download the Sony Camera Driver:
- Visit the Sony Camera Driver download page and download the appropriate driver:
Note: The Sony Camera Drivers are different for Mac computers with an Intel processor and those with an Apple silicon processor. - Click the Download button.
- After reading the disclaimer, click Download.
- Save the file to the desktop of your computer (recommended).
How to download the Updater:
- Click the Download button above.
- After reading the disclaimer, click Download.
Note: The Update_ILMEFX3V202.dmg file will start downloading. - Save the file to the desktop of your computer (recommended).
Note: File Size: 759.0 MB (759 058 425 bytes)
Step 1: How to Install the Sony Camera Driver
- Close all programs currently running on your computer.
- Double-click the Camera_Driver_2102a.dmg or Camera_Driver_2110a.dmg file you downloaded. Do not connect the camera at this point.
Note: If you have already connected the camera to your computer, disconnect it before following the procedure. - The Sony Camera Driver Installer is expanded.
- Double-click the SonyCameraDriver.pkg icon.
- The installer screen opens. Proceed as instructed.
- You are prompted to allow the application to install new software. Type the password for the administrative account.
Notes:- If the operating system displays the System Extension Blocked dialog message (the actual message will vary depending on the operating system version), click the Open Security Preferences button. The macOS Security & Privacy screen opens.
- If the operating system does not display the System Extension Blocked dialog message, go to Step 2: Start the Updater to continue.
- In the Security & Privacy screen, open the General tab and click the Key icon. When prompted to enter the password, type the password you used when logging in with the administrator account, and then click the Unlock button.
- Click the Allow button to allow the system to start loading the system software.
- After clicking the Allow button, if you are asked to restart, restart the computer and return to the beginning of the update procedure.
- If the Security & Privacy screen does not disappear, close the window.
Step 2: Start the Updater
- Double-click the Update_ILMEFX3V202.dmg file you downloaded. Do not connect the camera at this point.
- Update_ILMEFX3V202 is expanded.
- Double-click the SystemSoftwareUpdater icon.
- The message prompts you to allow the application to make changes. Type the password for the administrative account.
- The System Software Updater will start.
Notes:- If the system is not ready to start updating, an error message appears. Take appropriate action according to the message and then double-click SystemSoftwareUpdater again.
- If the message You need to restart your computer. appears, restart the computer and then double-click SystemSoftwareUpdater again.
- If the message You need to install Sony Camera Driver appears, perform the procedure described in Step 1: How to Install the Sony Camera Driver, then double-click SystemSoftwareUpdater again.
- If the message Check the Security & Privacy setting appears, perform steps 7 and 8 in Step 1: How to Install the Sony Camera Driver section, then restart the computer and double-click SystemSoftwareUpdater again
- Turn on the camera and connect the camera to the computer with the supplied USB cable, USB Mode appears on the LCD screen of the camera.
- Click Next. The current version number and updated version number appear on the lower left side of the screen.IMPORTANT: Never turn off the camera or disconnect the USB cable while updating.Note: If the computer cannot find the device, the message Could not find the camera for this update is displayed on the computer screen. Please try the following:
- Disconnect the USB cable and connect it again.
- If the computer has multiple USB terminals, try another terminal
- After confirming that the current software version is Ver. 2.01 or earlier, click Next. If the current system software version is Ver. 2.02, the update is not required. In this case, disconnect the camera from the computer and click Finish, turn off the camera, remove the battery pack, reinsert the battery and turn the camera back on.
- The update is required
- The update is not required
- The update is required
- The camera will reset automatically.
Note: The Loading icon may not be displayed depending on the OS version that you are using. - Start the update. After automatically resetting, the update will begin and a progress bar will appear. The update will take approximately 30 minutes to complete.
IMPORTANT: Never turn off the camera or disconnect the USB cable while updating. - When the update is complete, the camera will automatically restart.
- When the LCD screen appears again, click Finish, and then disconnect the USB cable.
Note: After restarting, a data recovery warning is sometimes displayed. This is normal. Please wait until this warning disappears.
Note: For Mac computers using an Apple silicone processor, once the update procedure is finished, we recommend setting the security policy back to the original setting. On Mac computers with an Intel processor, this step is not needed. Refer to the How to change the security policy on Mac computers with Apple silicon article if necessary.
Step 3: Confirm the system software version of your device
- On the camera, select Menu → Setup → Setup Option → Version.
- The system software version is displayed.