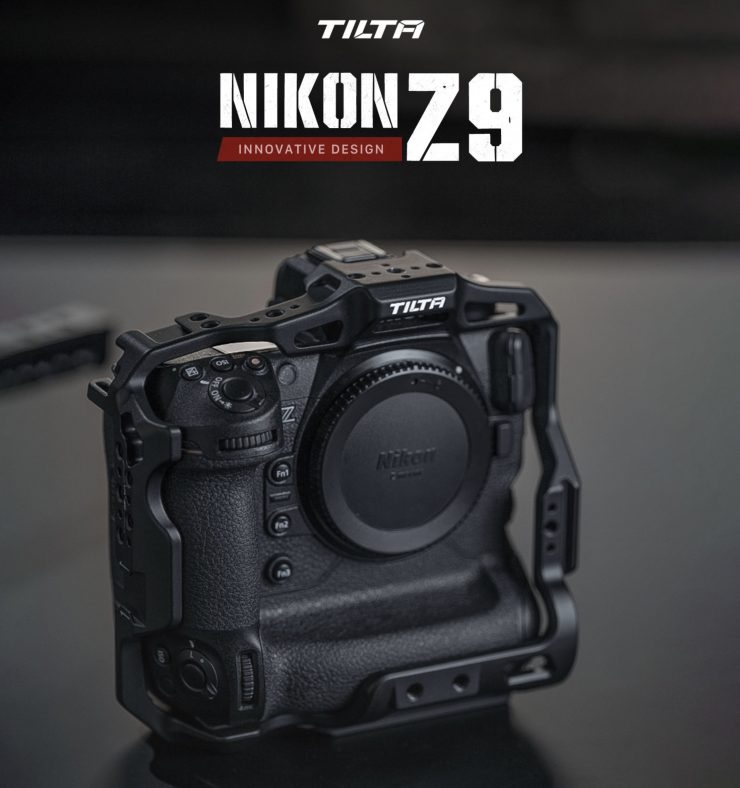
Tilta recently introduced new Camera Rigs for the Nikon Z9. The various Camera Rigs are designed to enhance the ability to use the Z9 in production environments where added accessories need to be attached or used with the camera.
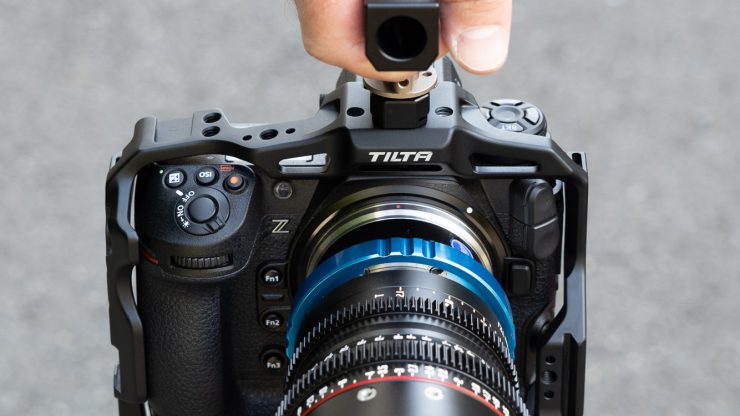
One of the appeals of the Z9 is that it features fairly impressive video capabilities, however, if you do want to mount some basic accessories it is extremely hard because you are pretty much stuck to just attaching something to the cold shoe.
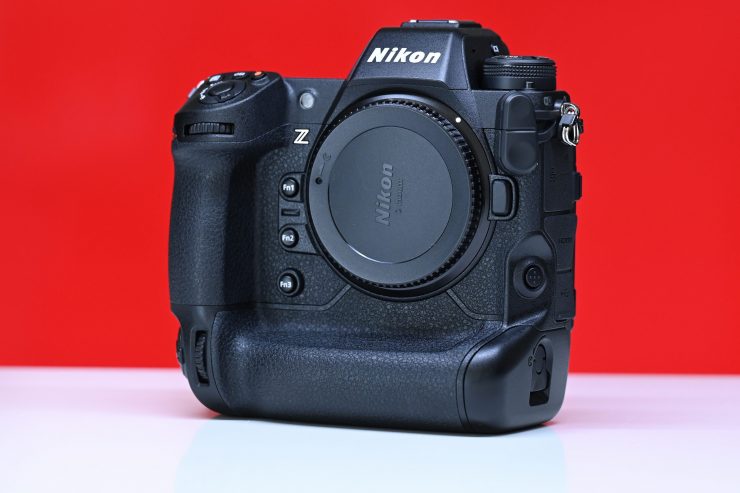
My personal view when it comes to mirrorless cameras is that the last thing you want to do is to make them larger and heavier, but in the case of the Z9, it is already fairly large and heavy, to begin with! However, if you want to use a mirrorless camera for professional video applications you need to add at least a cage to be able to accommodate some key accessories.
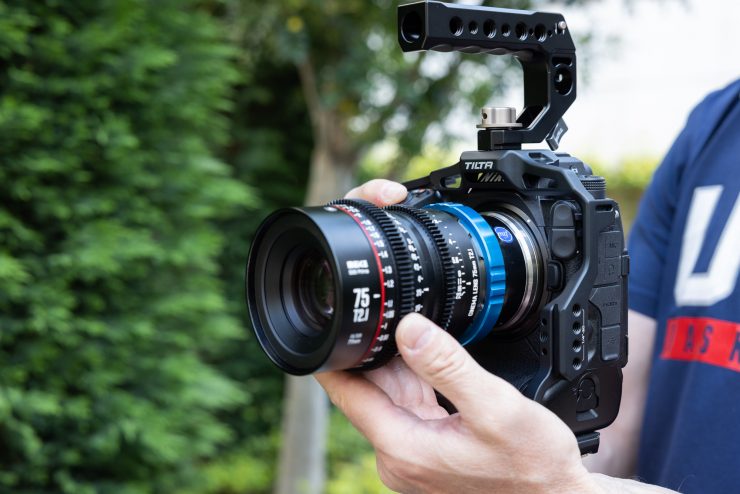
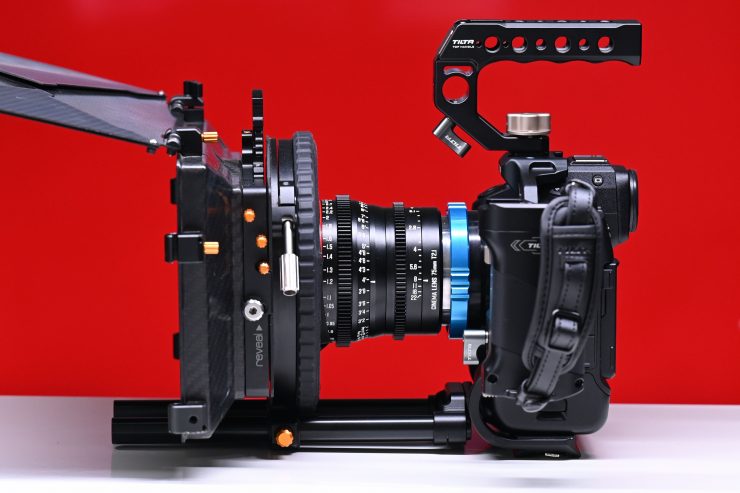
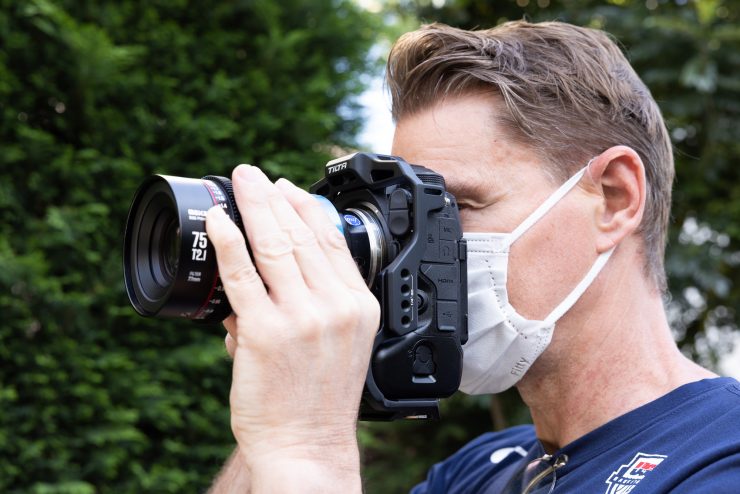
For this review, I will be looking at the Tilta Full Camera Cage Kit for Panasonic GH6 (Pro Kit), however, as this includes all of the components you can buy individually, you will get a good idea of how all of the components work.
There are three main Camera Rig Kits available for the Z9 from Tilta. These are:
- Full Camera Cage for Nikon Z9 $99 USD
- Camera Cage for Nikon Z9 Basic Kit $149 USD
- Camera Cage for Nikon Z9 Pro Kit $419 USD
I will run through the three kits so you know what is available.
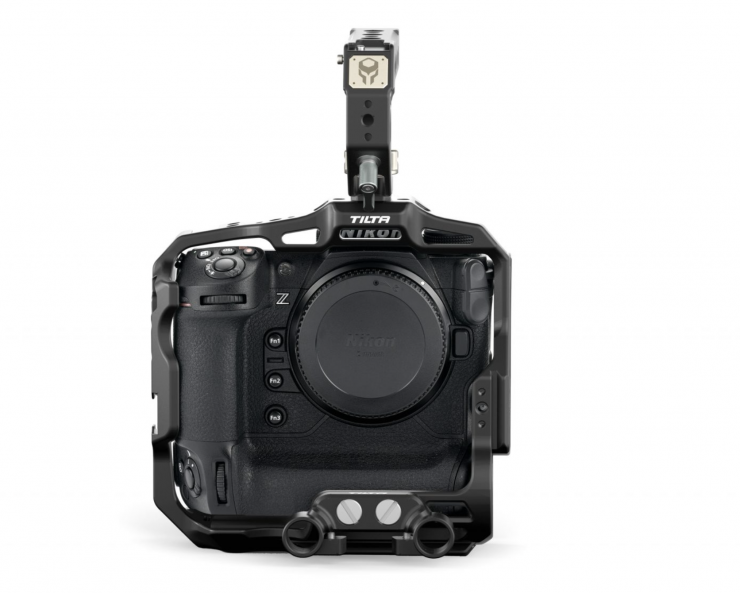
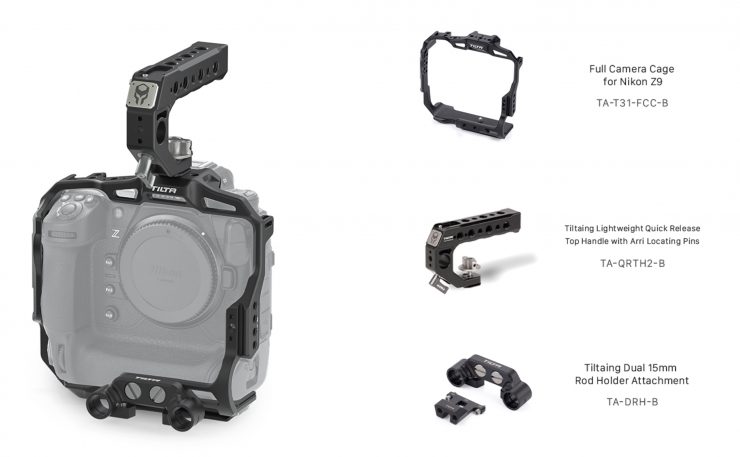
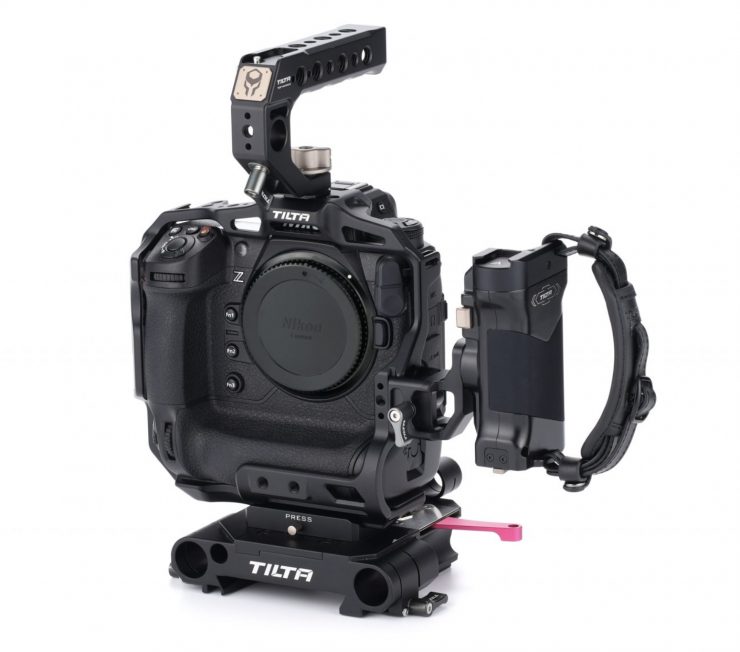
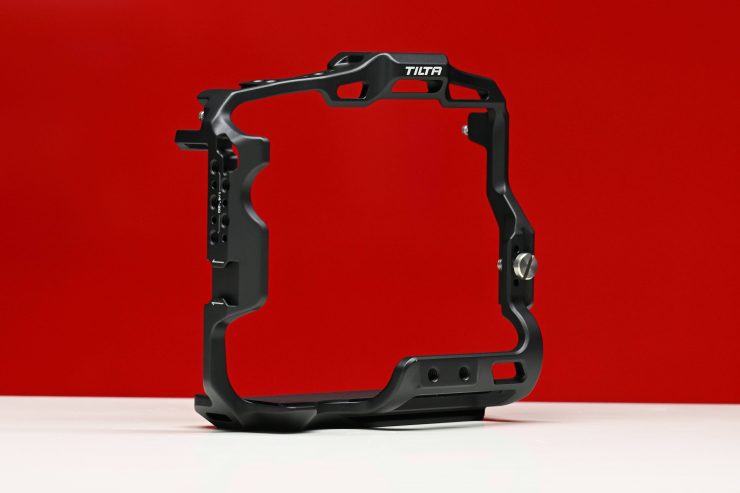
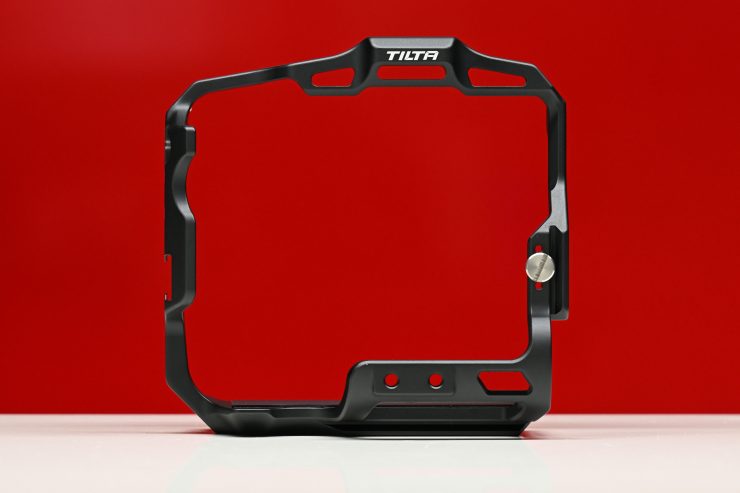
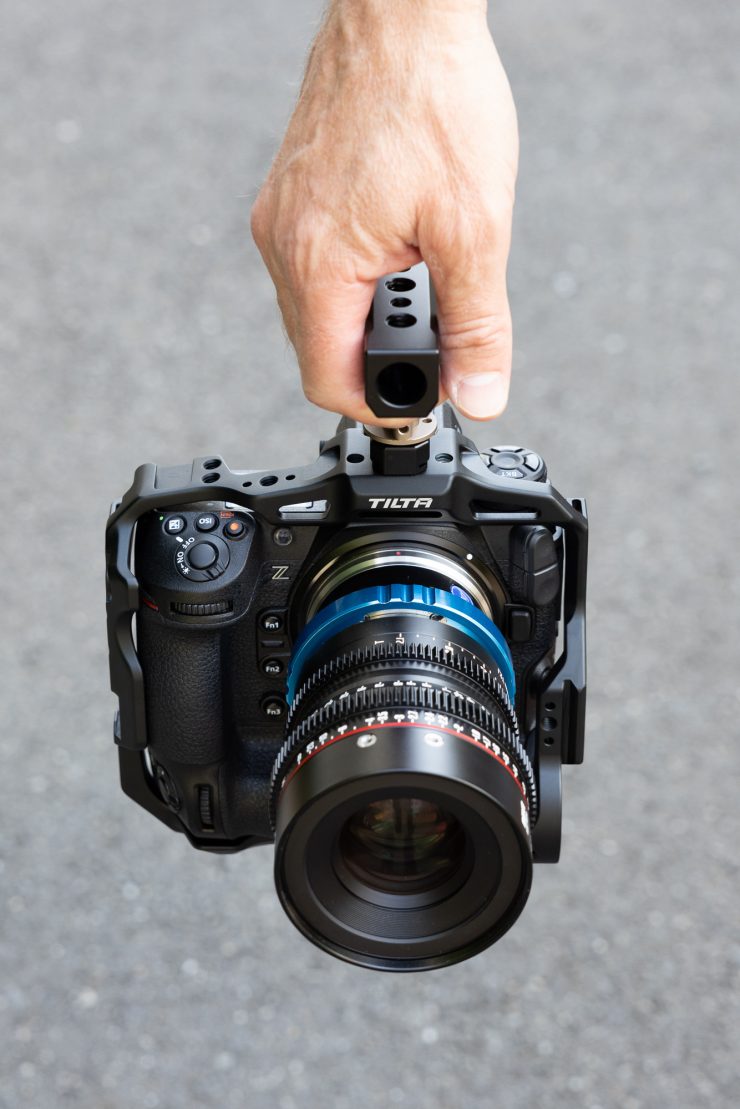
Full Camera Cage for Nikon Z9
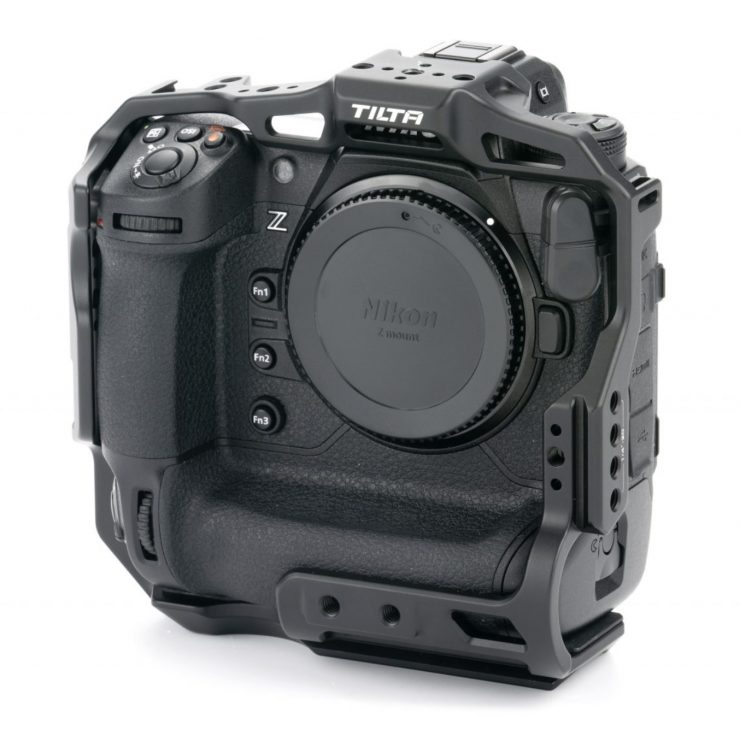
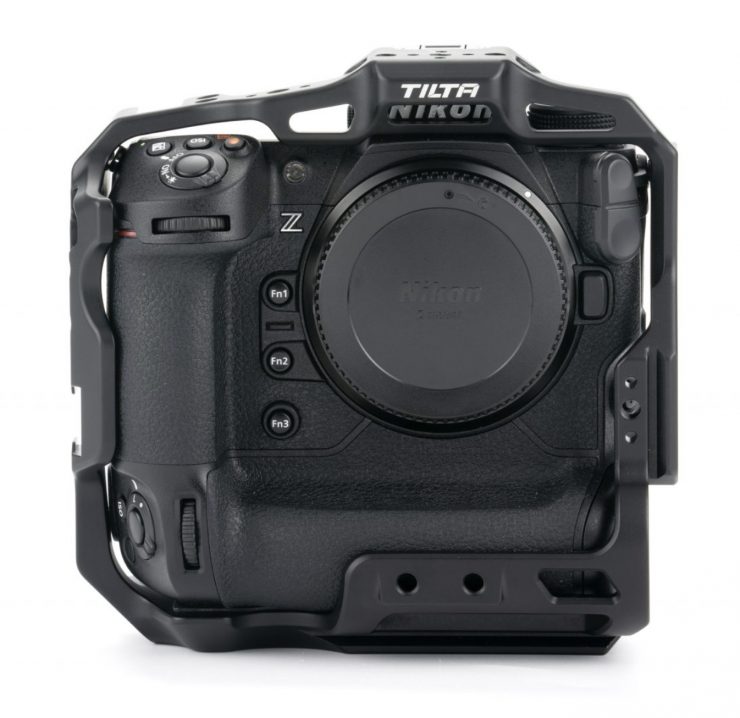
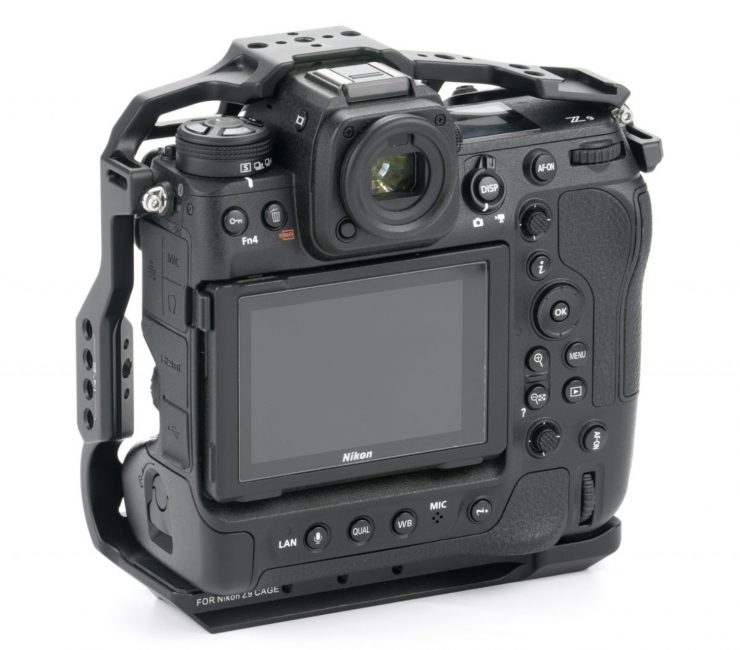
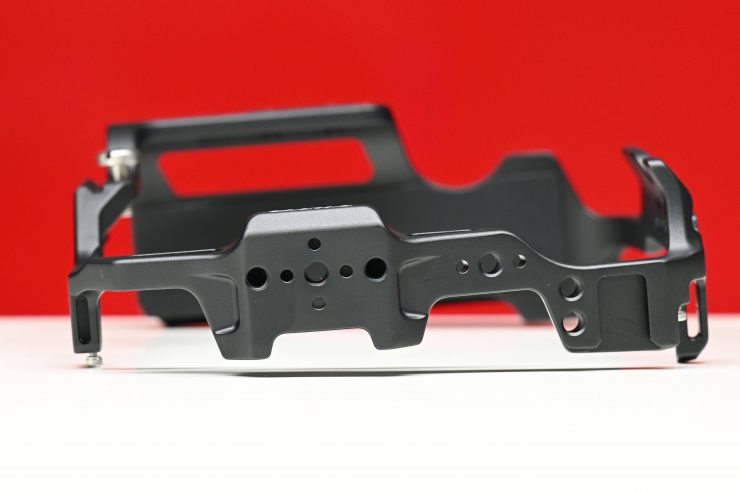
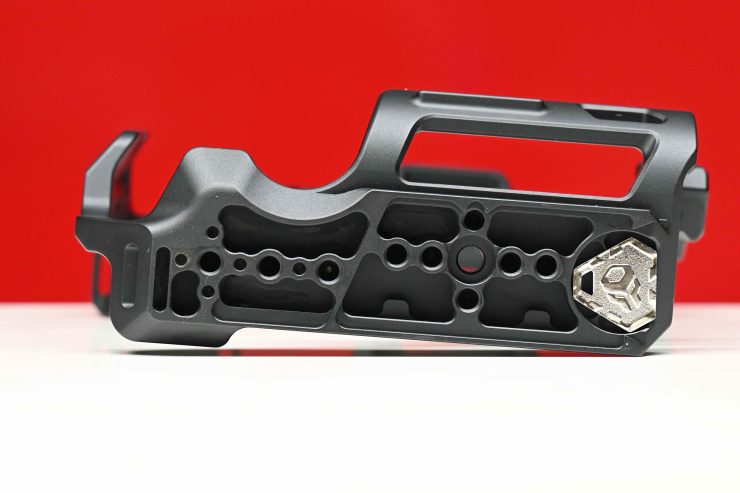
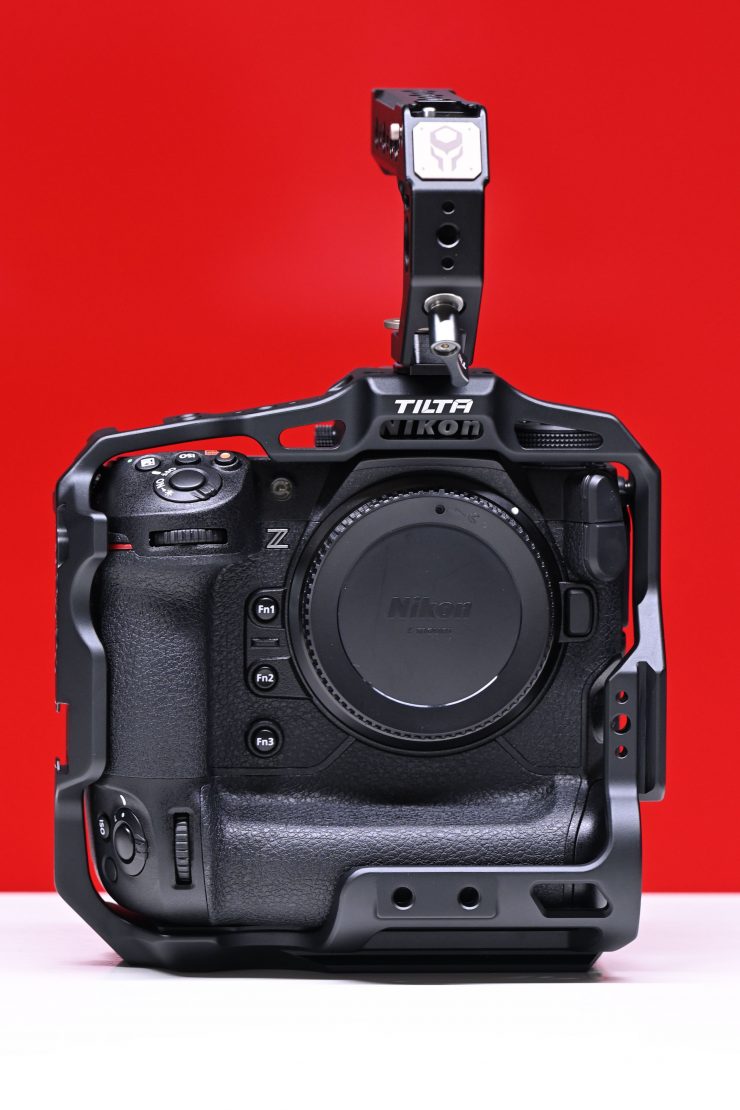
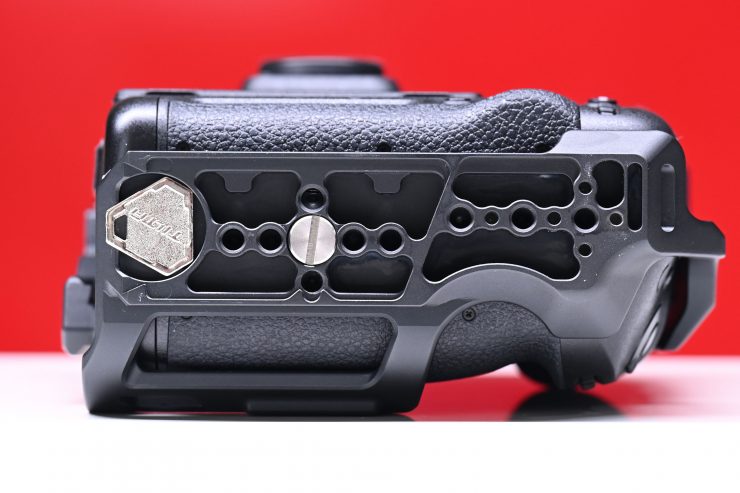
All of the kits revolve around the Full Camera Cage. The Full Camera Cage has been designed to give you easy access to all of the controls and inputs/outputs on the camera while providing plenty of mounting points.
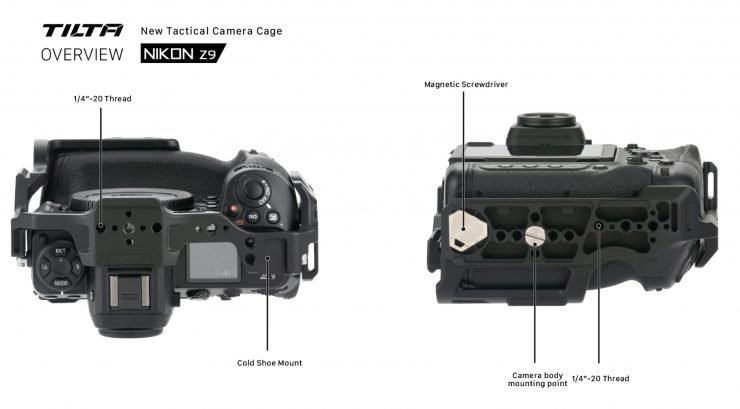
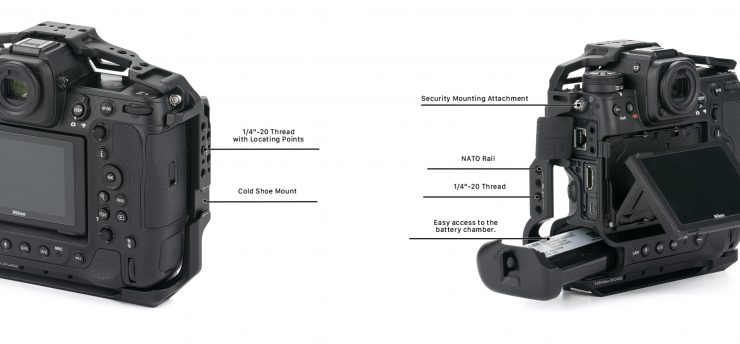
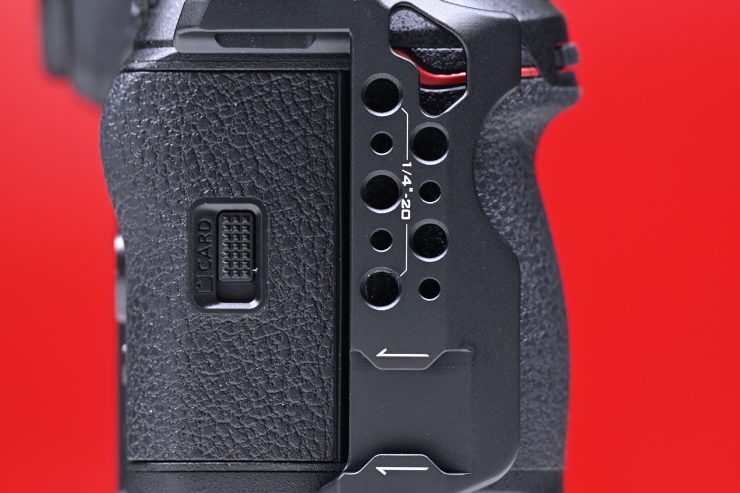
The cage features 1/4”-20 threads with and without locating pins, as well as cold shoe receivers, one is located on the side of the cage.
You will also find a NATO rail connection on the left side for mounting our optional Type IV/VI Side Power Handles or Side Focus Handles.
The bottom of the cage connects to your camera body and utilizes two additional points of contact via Security Mounting Attachments, found near the top right and left side of the camera.
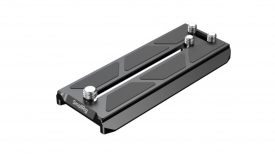
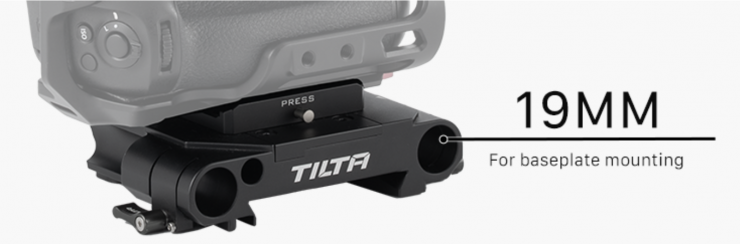
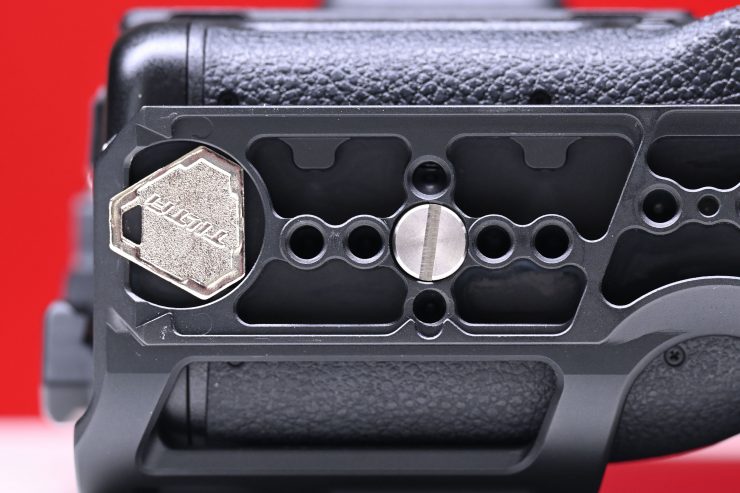
The base of the cage features 1/4″-20 threads for attaching your camera to different quick release plates and natively supports the Tiltaing 19mm Studio Baseplate Type I.
The cage provides full access to the battery compartment, features a magnetic screwdriver, and can natively connect to the DJI RS2.
The cage features a mounting point for the optional Dual 15mm Rod Holder Attachment or 15mm Single Rod Holder.
These are both great lightweight options for securing accessories such as a follow focus motor via a single 15mm rod or a matte box via dual rods.

The Full Camera Cage tips the scales at 264.5g / 9.17oz and it is made out of aluminum alloy.
Camera Cage for Nikon Z9 Basic Kit
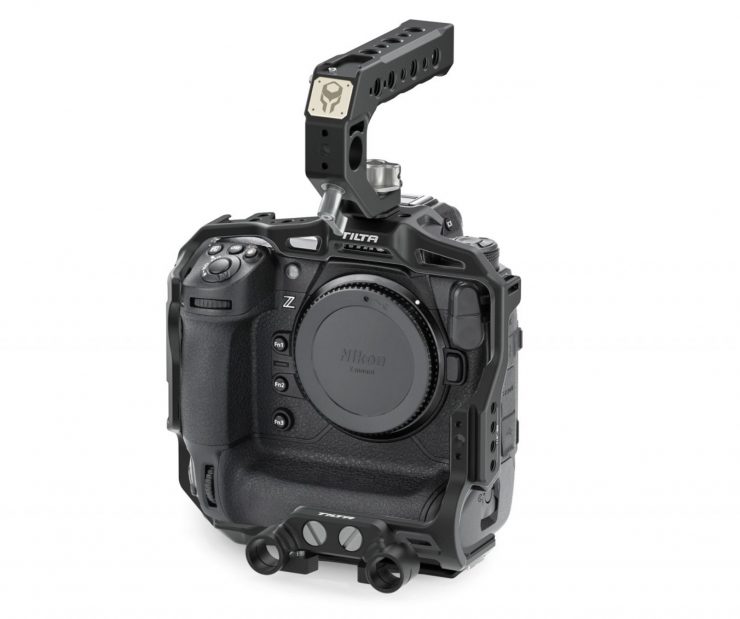
This kit includes the Full Camera Cage, as well as the Tiltaing Dual 15mm Rod Holder Attachment and the Tiltaing Lightweight Quick Release Top Handle with Arri Locating Pins.

The Dual 15mm Rod Holder can be mounted at the front or the rear of the camera.
Camera Cage for Nikon Z9 Pro Kit
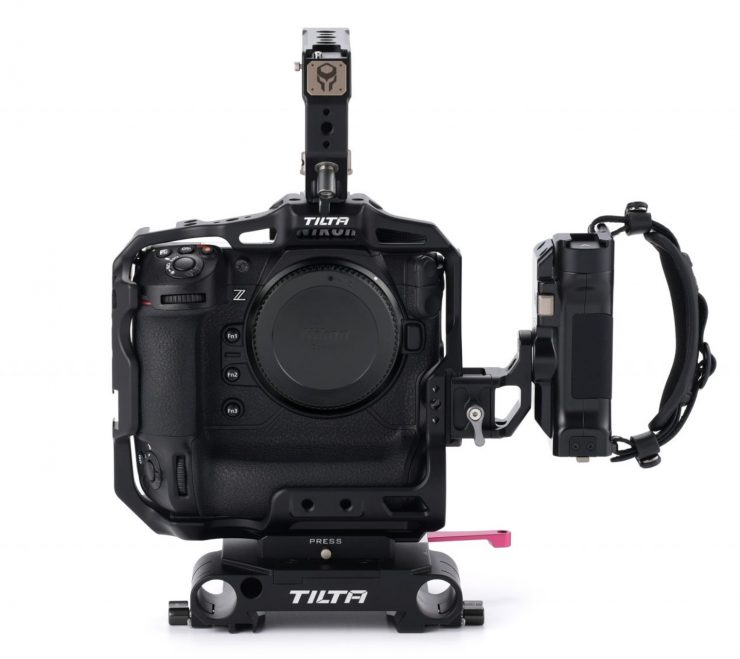
The Camera Cage for Nikon Z9 Pro Kit includes the following items:
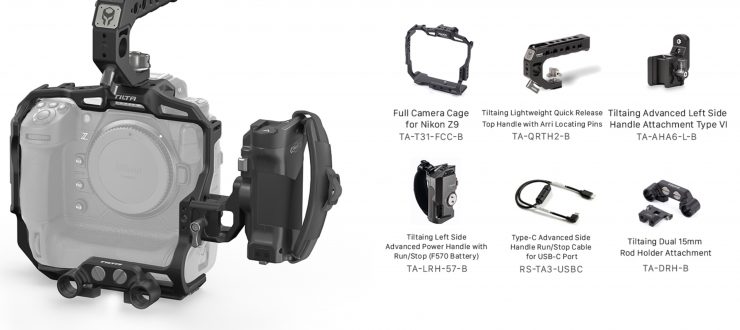
Essentially this kit includes everything from the first two kits with the addition of a Tiltaing Left Side Advanced Power Handle with Run/Stop (F570 Battery), Advanced Side Handle Run/Stop Cable for USB-C Port, Tiltaing Advanced Left Side Handle Attachment Type VI, and a Tiltaing 19mm Studio Baseplate Type I.
This kit would be your best option if you need something that is a bit more advanced where you are running larger cine lenses and bigger accessories.
Ok, so now that I have given you a basic run-through of the kits that are available, let’s get on with the review.
For this review, I will be focussing on the Camera Cage for Nikon Z9 Basic Kit.
Build Quality

The camera cage is well made, as are the other components that come with the kit.
I didn’t find anything in regards to build quality that raised any concerns.
Based around a cage

The Camera Cage for Nikon Z9 Basic Kit is based around a streamlined protective lightweight cage. The concept behind the cage is to improve the functionality of the Z9 while not dramatically increasing its size.
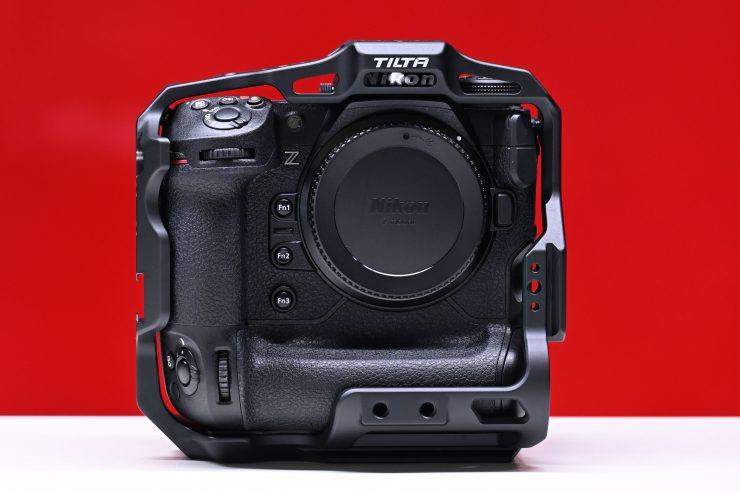
The cage is made out of Aluminum Alloy and it only weighs 9.15 oz / 264.5g. The Z9 already packs some weight, but the cage doesn’t make it feel any heavier. Having a lightweight cage is always nice with a mirrorless hybrid because you don’t want to add any additional weight where it isn’t needed.
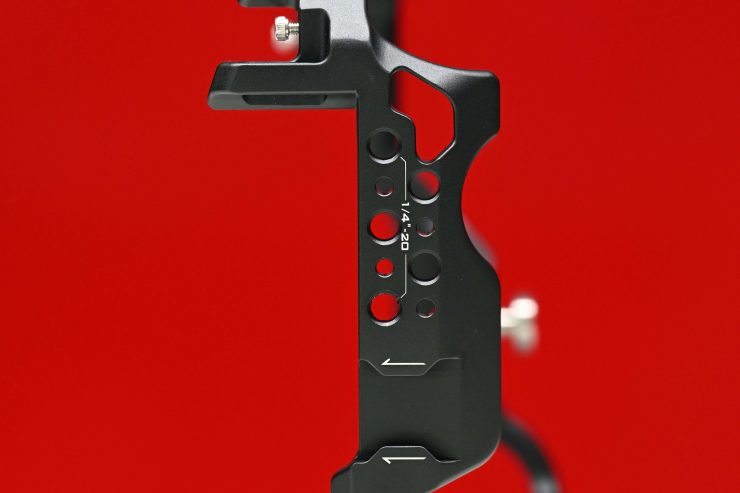
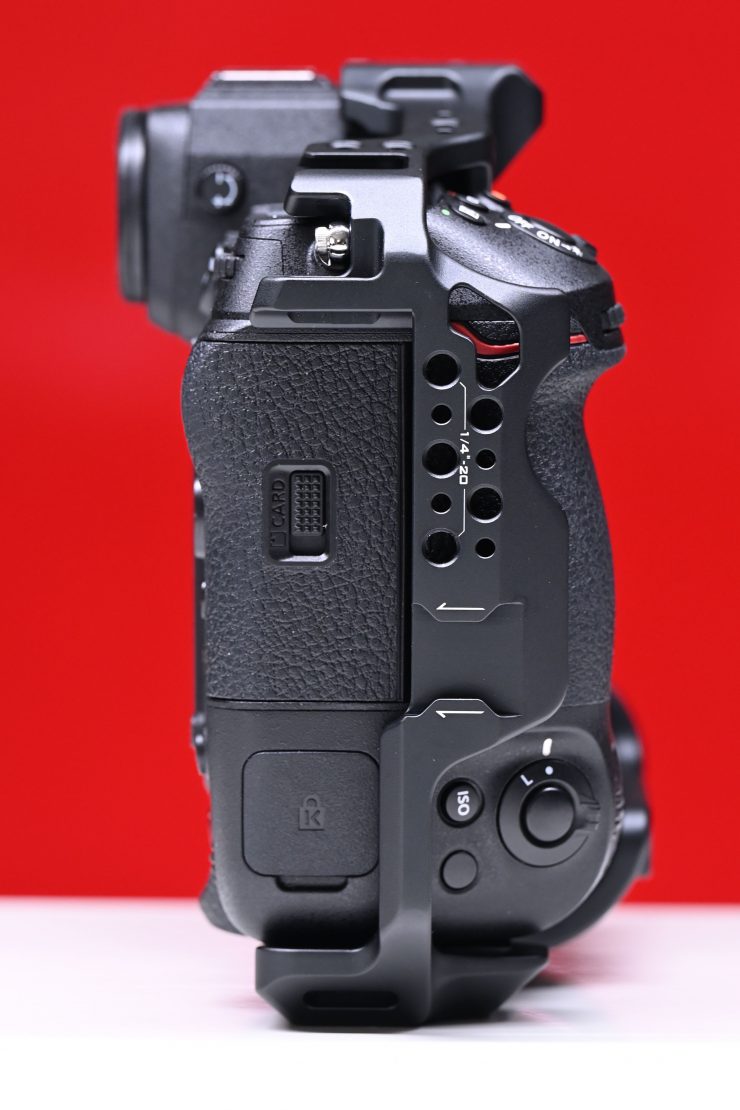
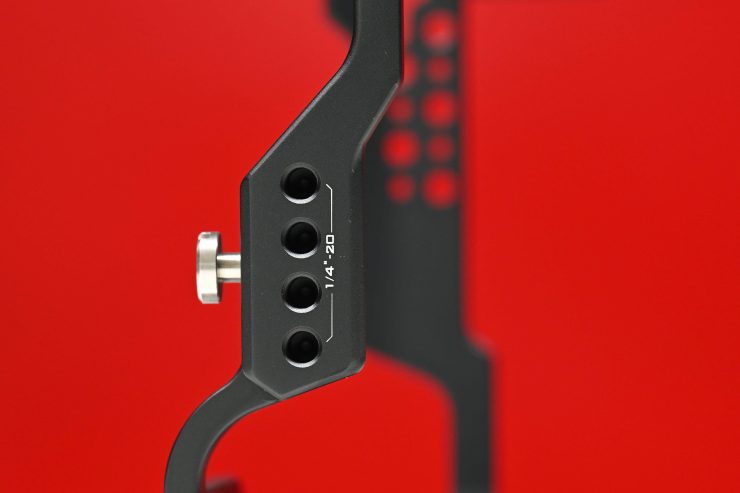
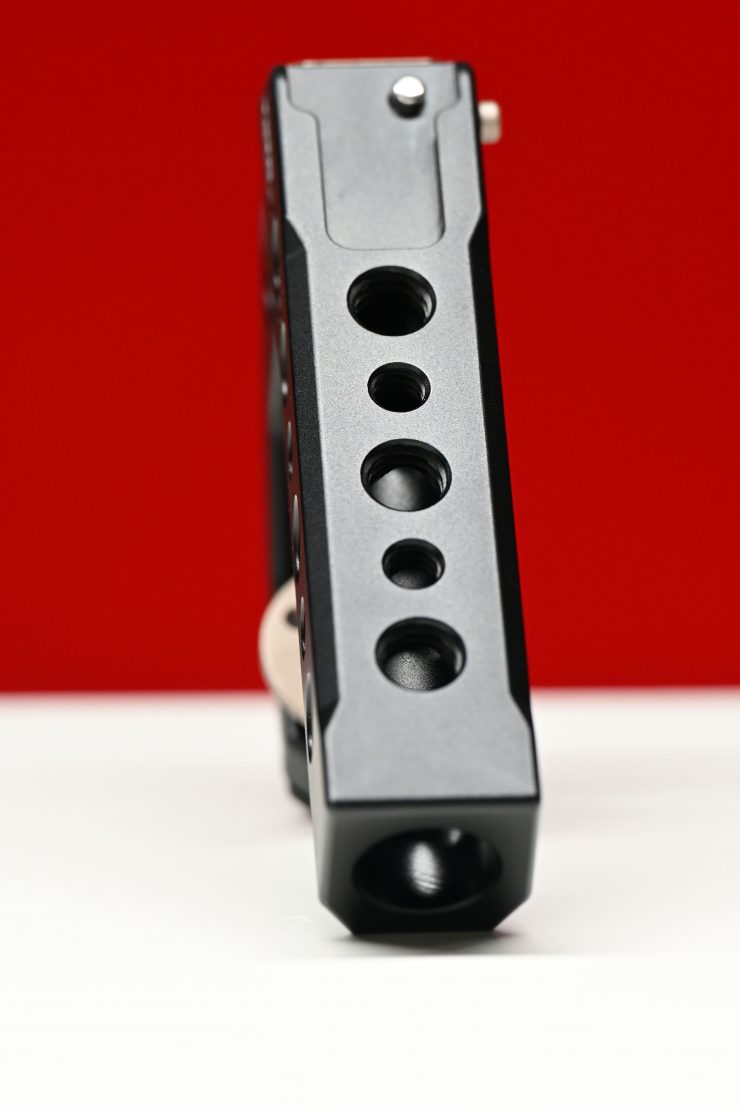
The sides of the cage feature multiple 1/4”-20 threaded holes for mounting accessories. On the left-hand side of the cage, there is also a cold shoe mount.

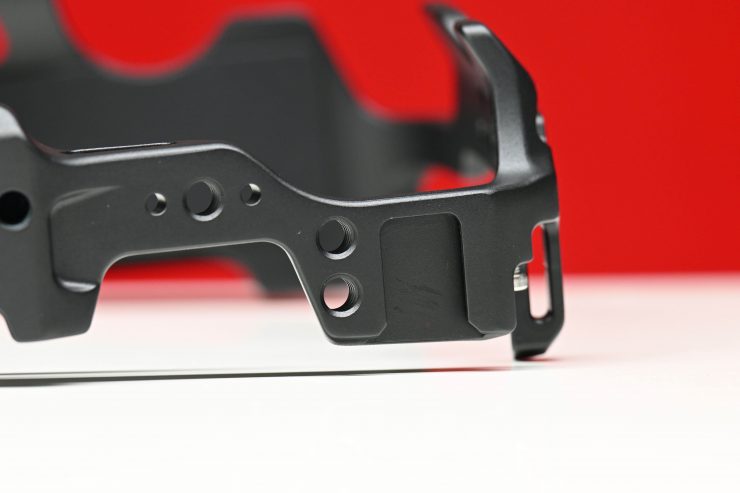
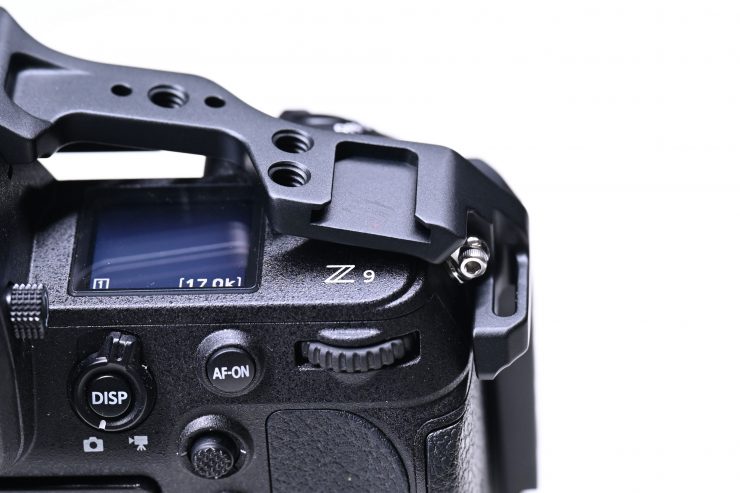
On top of the cage, there are a few more 1/4”-20 threaded holes and a single cold shoe mount.

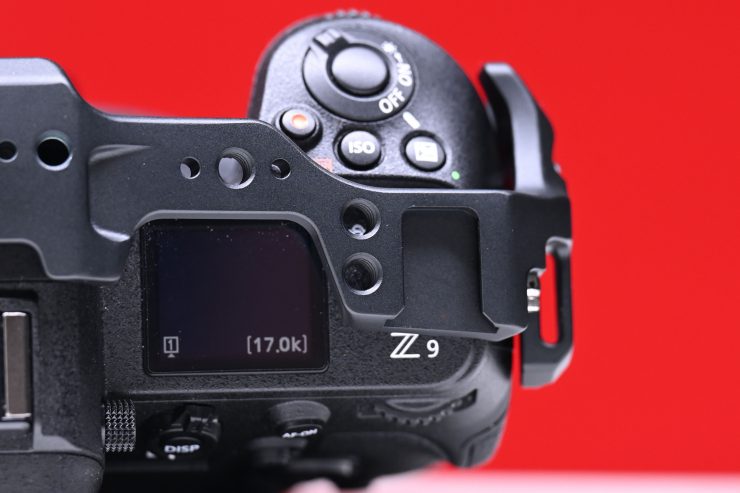
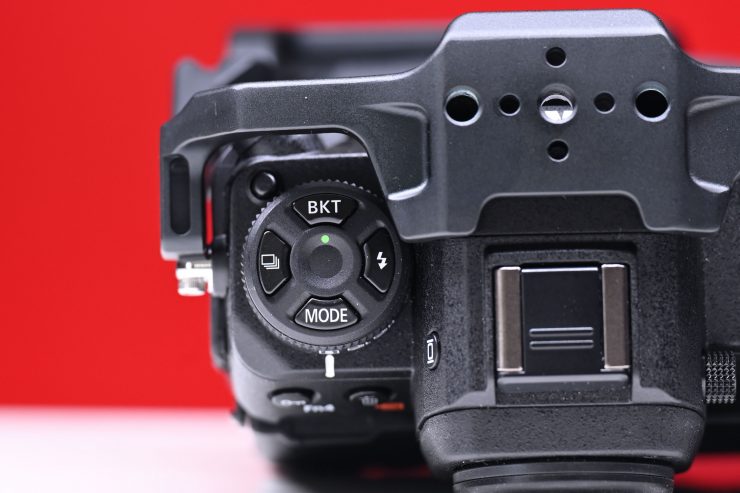
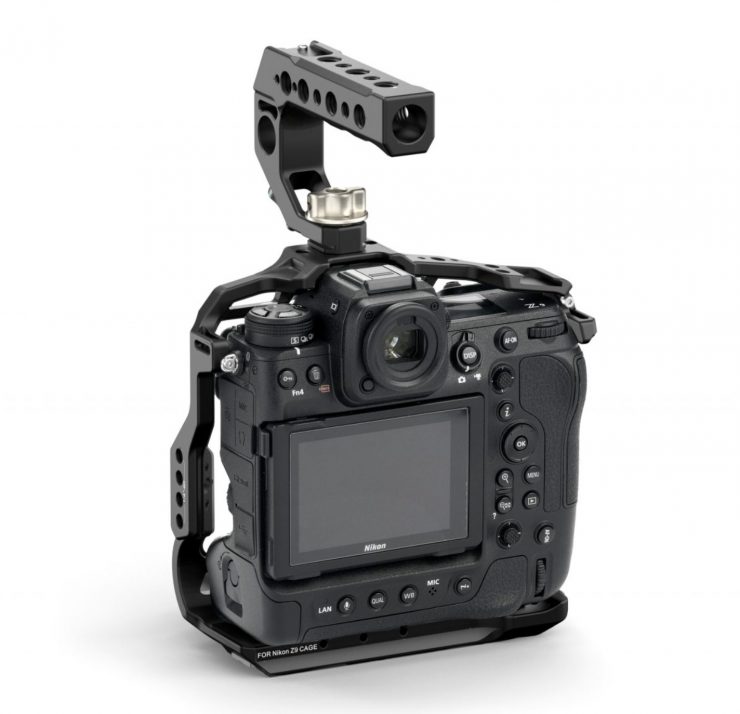
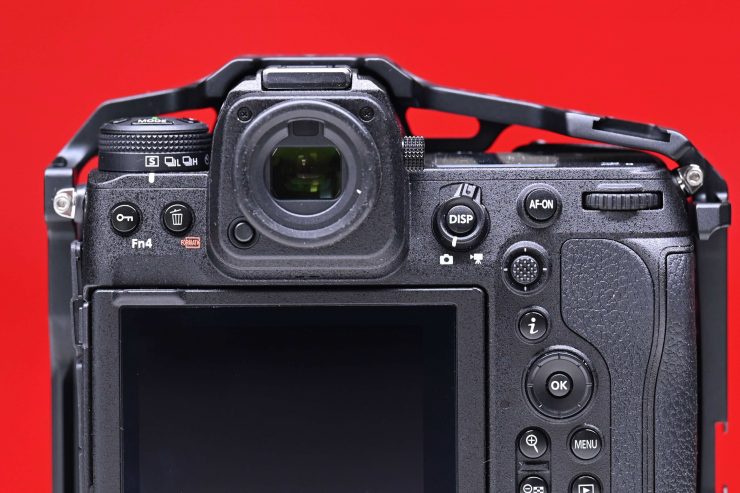
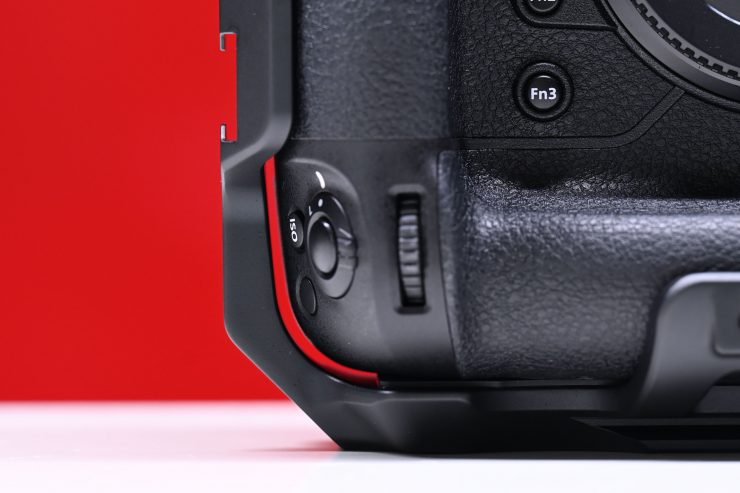
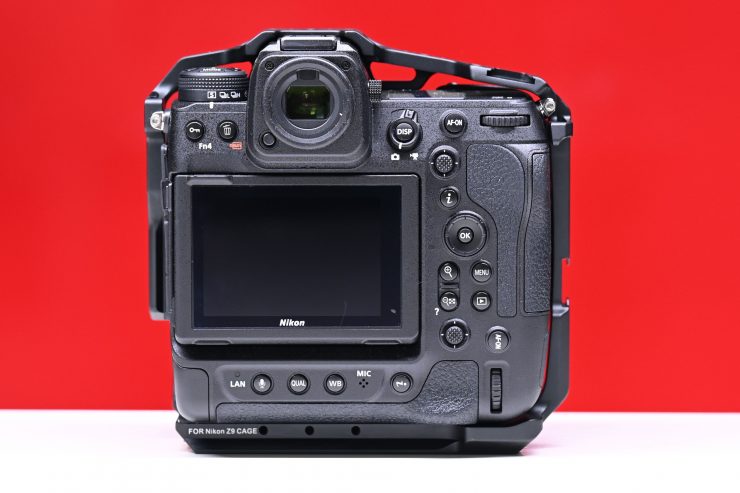
The whole concept behind how the top part of the Tilta cage has been designed is so that the user has easy access to all of the controls. As the top of the cage is slightly offset back from where the camera body is you don’t have to go digging under cage parts to access any controls. Nothing is obscured or difficult to access.

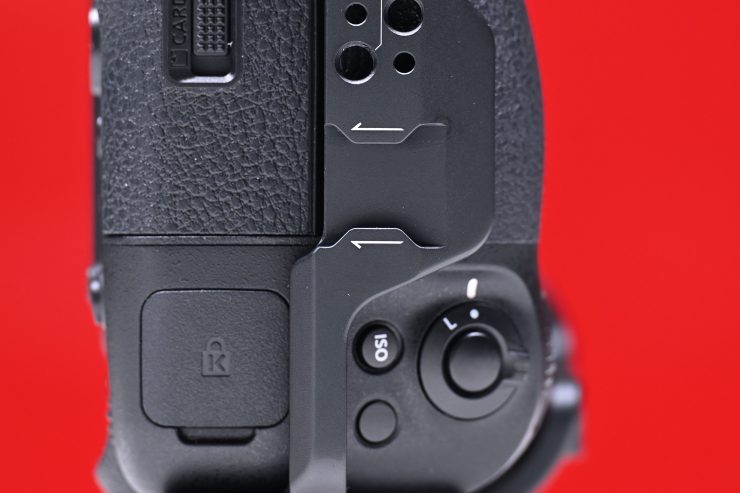
Above you can see that you have easy access to the battery, memory card slots and other buttons on the body of the camera.
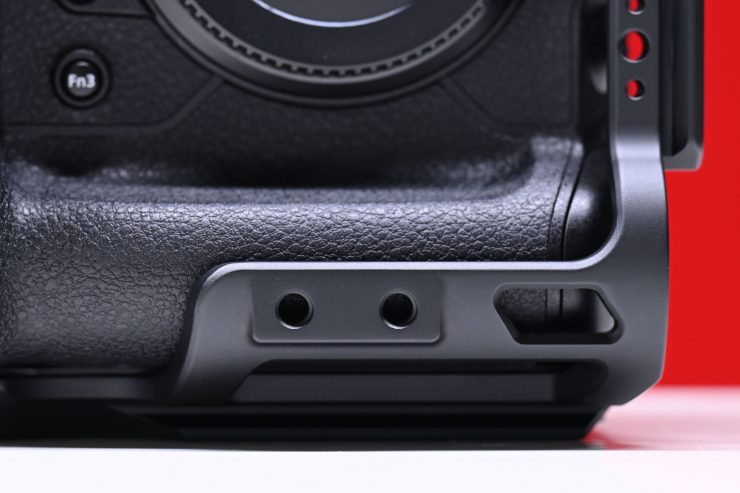
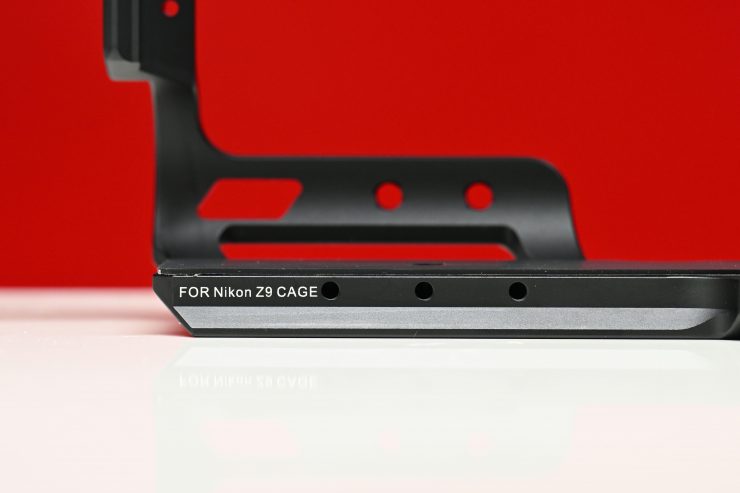
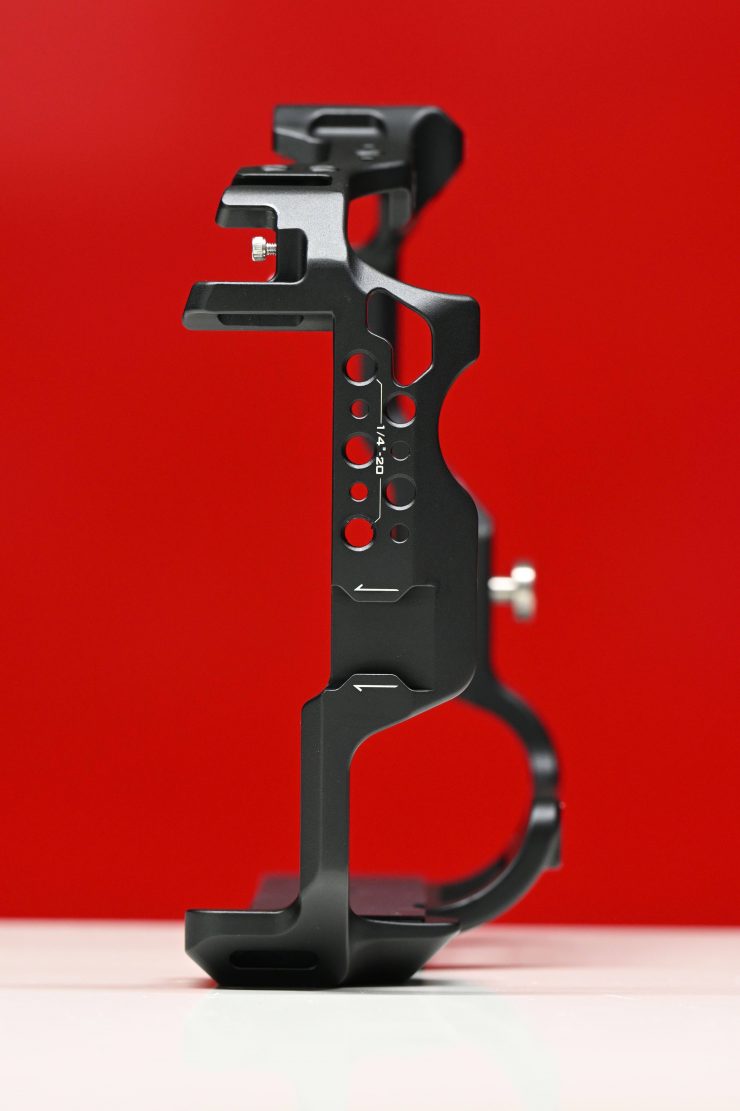
The base of the cage also provides a few mounting options for attaching your camera to different quick release plates and natively supports the Tilta 15mm LWS Baseplate Type I.
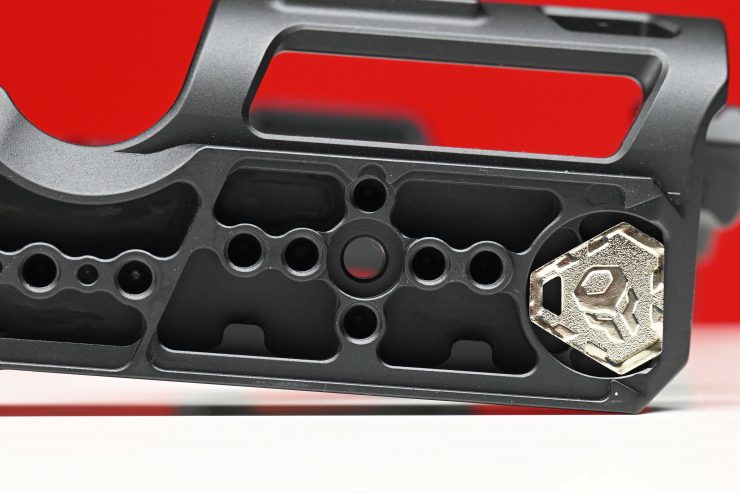
The bottom plate also includes a slot for an included magnetic screwdriver.
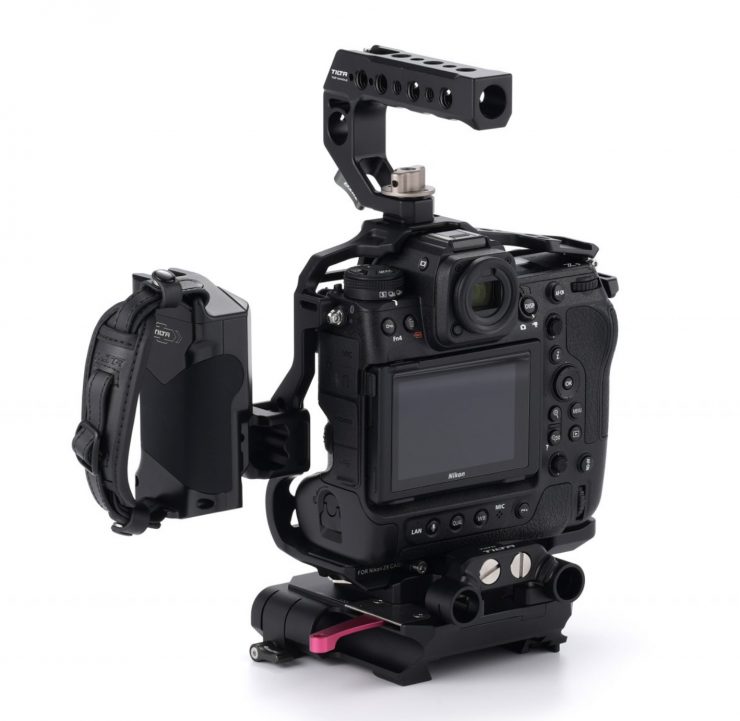
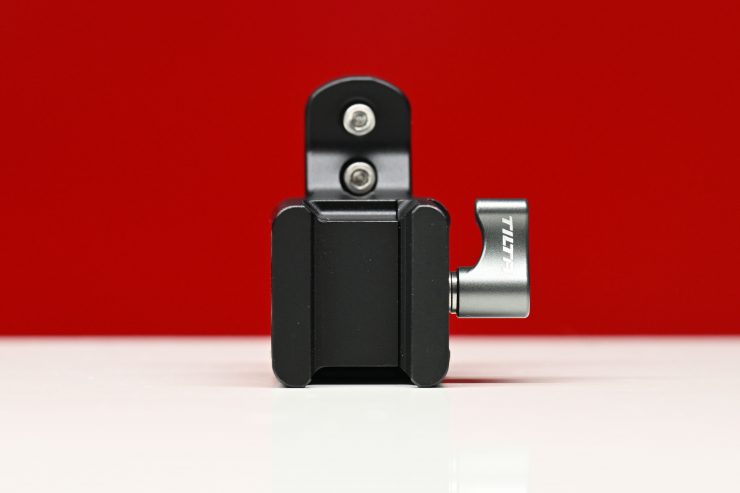
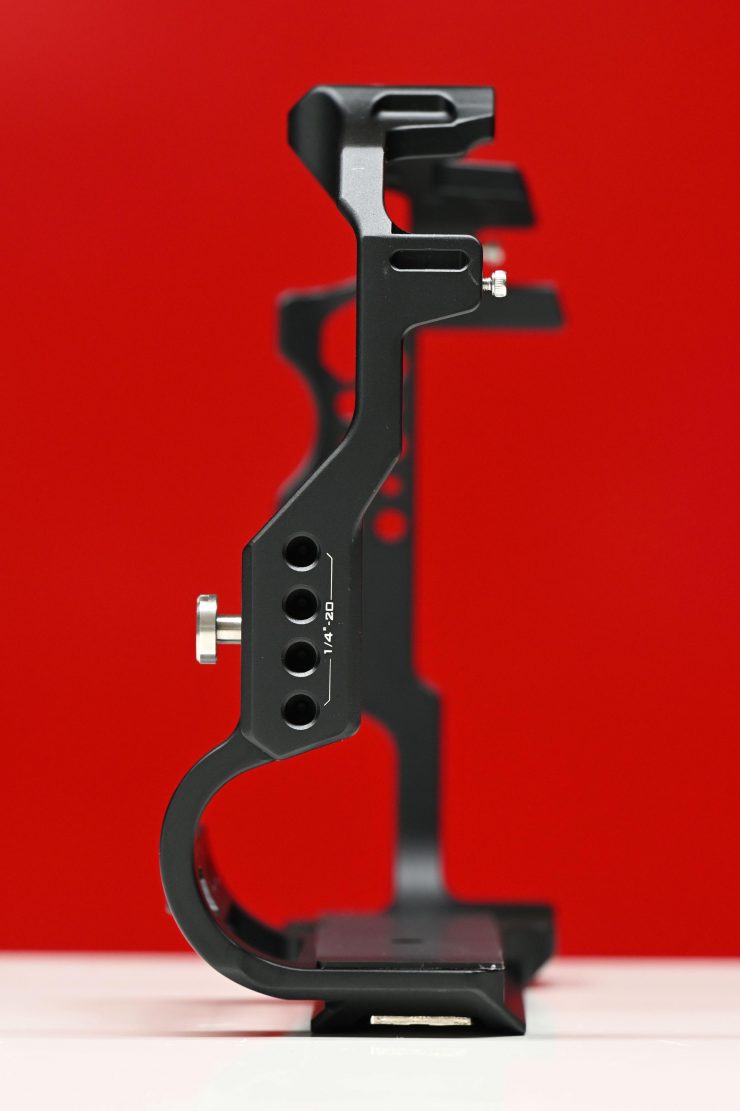
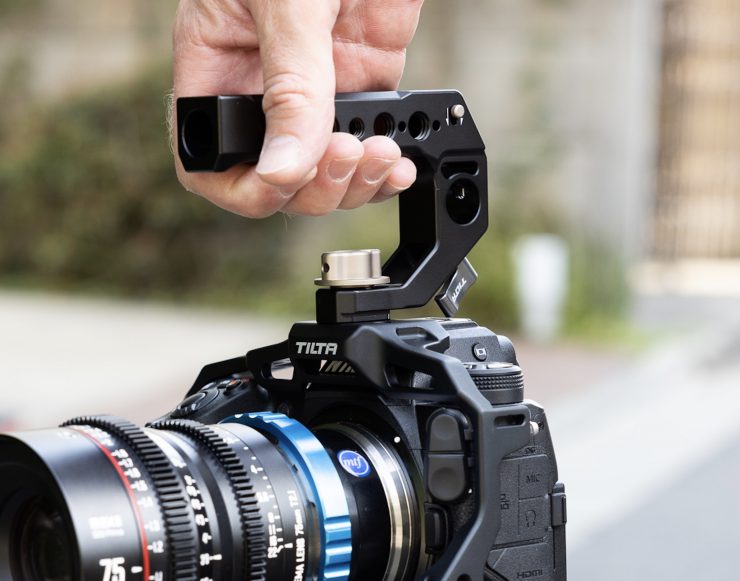
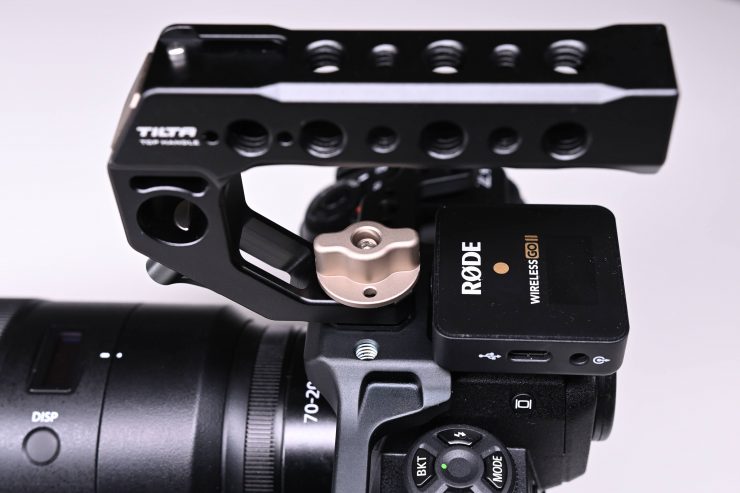
Tiltaing Lightweight Quick Release Top Handle
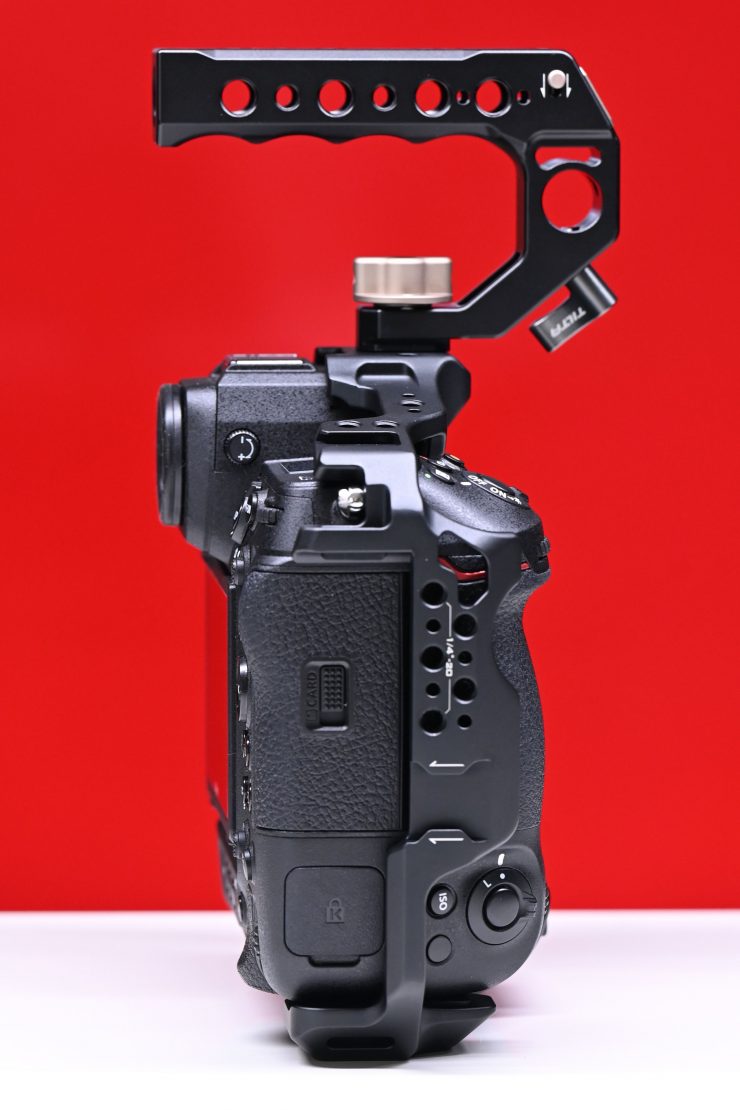
The Tiltaing Lightweight Quick Release Top Handle attaches to the top of the cage.
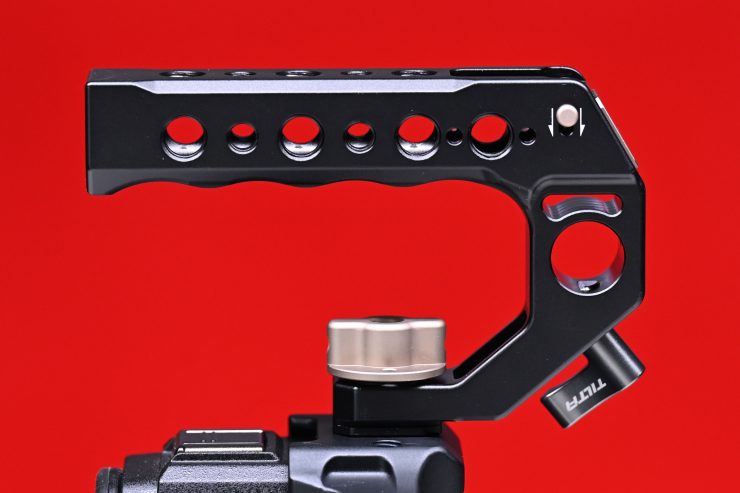

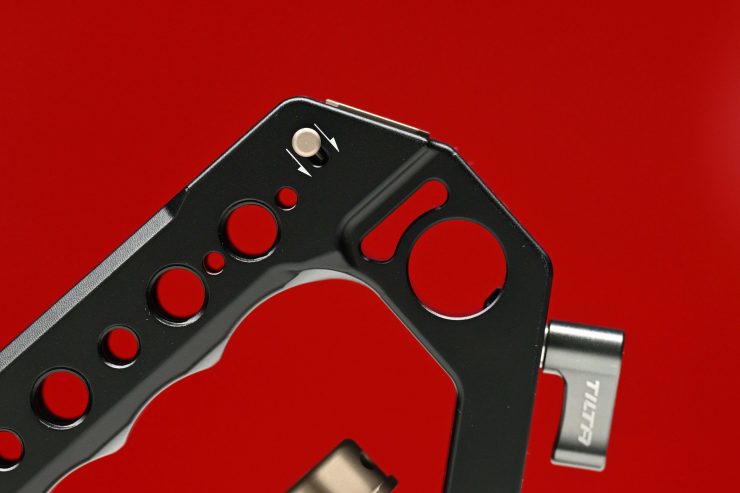
The handle has multiple 1/4-20″ and 3/8″ mounting holes. There is a space for a 15mm rod insert, and the handle also features dual cold shoe mounts.
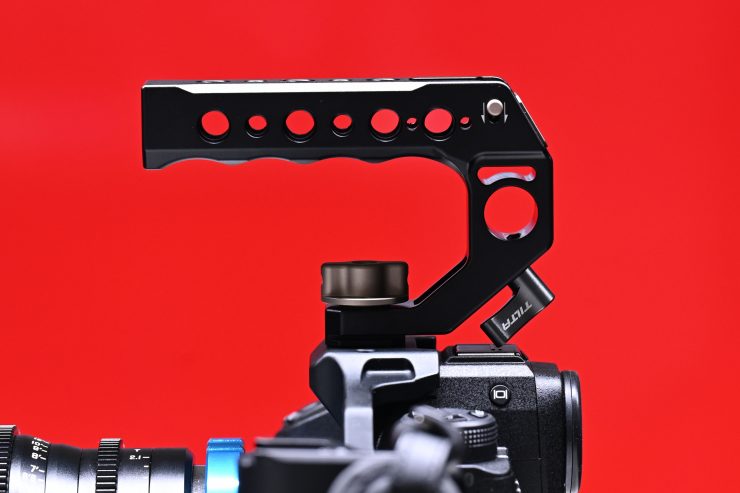
You can also reverse the handle around to place it in a different configuration. This is handy if you are shooting with the EVF against your eye. If you have the handle around the other way it will hit you in the head!
It is reasonably nice to hold onto and use. What I like about a lot of the accessories is that they are interchangeable with other Tilta camera cages for various cameras. This means that if you already owed a Tilta kit for another camera, you may only need to buy the base cage because you could use it with accessories you already have.
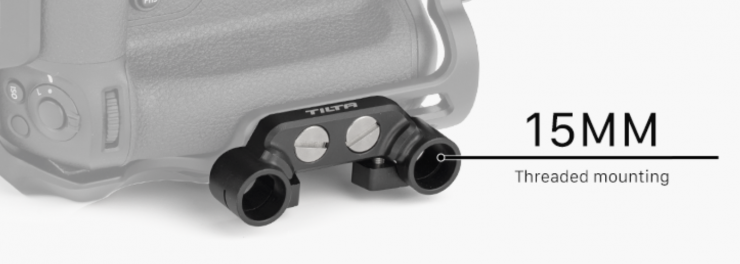
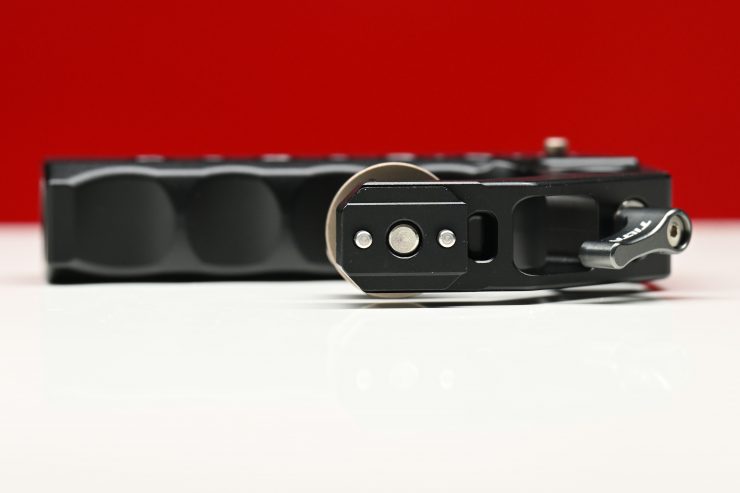
Tiltaing Dual 15mm Rod Holder Attachment
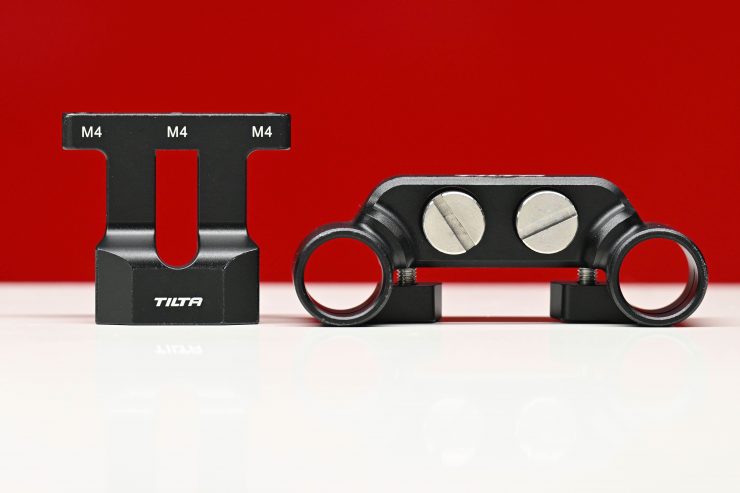
The Tiltaing Dual 15mm Rod Holder Attachment allows you to use 15mm rods with the Z9 cage.
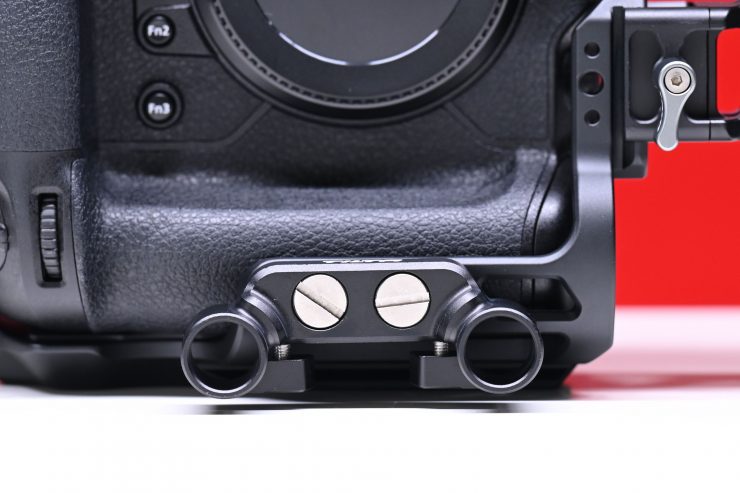
It screws onto the front of the cage.

Once you put your 15mm rods in you need to tighten two M4 screws to secure the rods. I personally would have preferred to have seen a simple hand tightening solution instead of having to tighten M4 screws. If you want to take the rails in or take them out then you need to have a tool with you that is quick to locate.
Once you tighten down the rods you can attach items like a rail-mounted matte box or follow focus motors, etc.
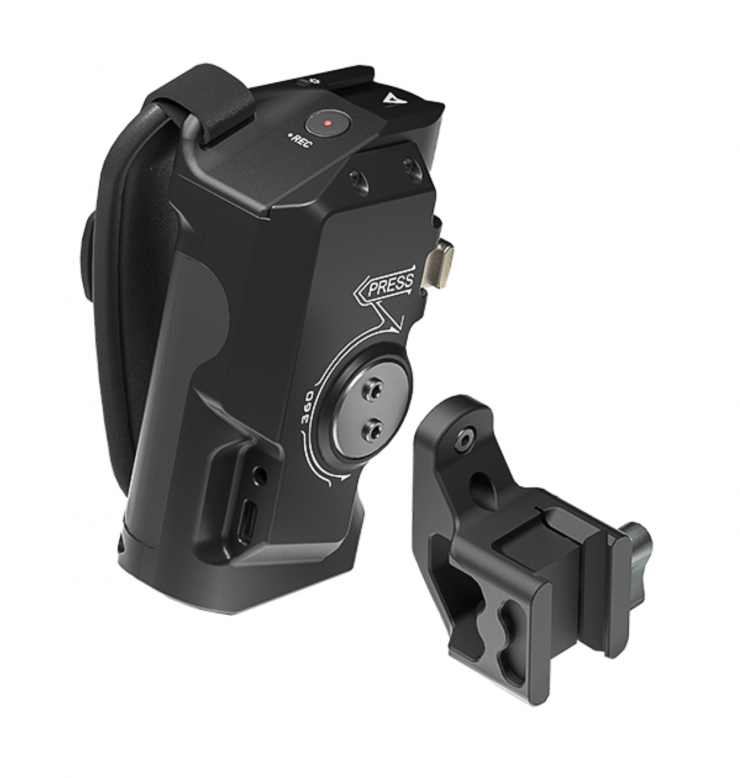
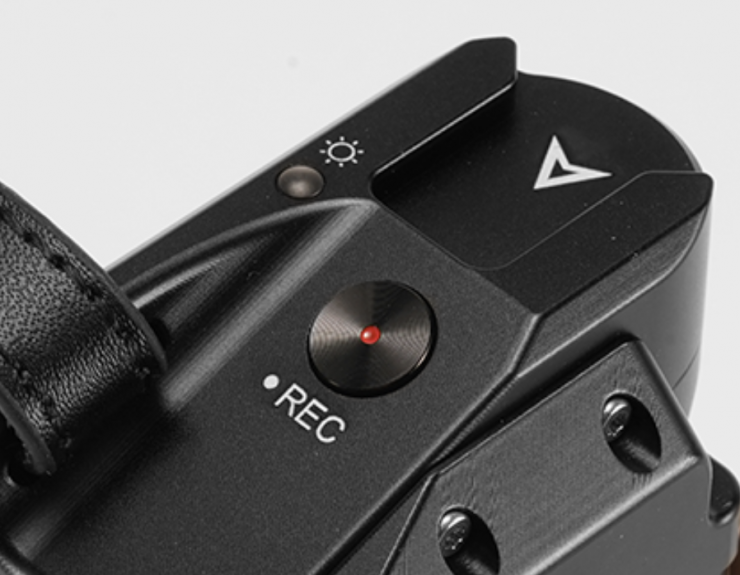
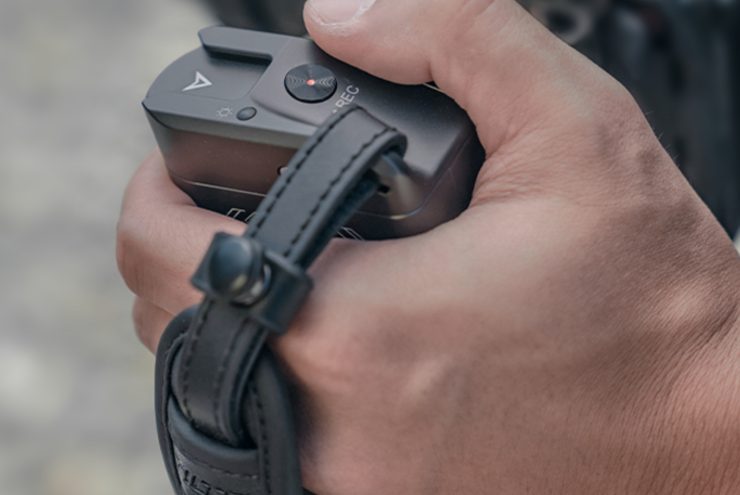
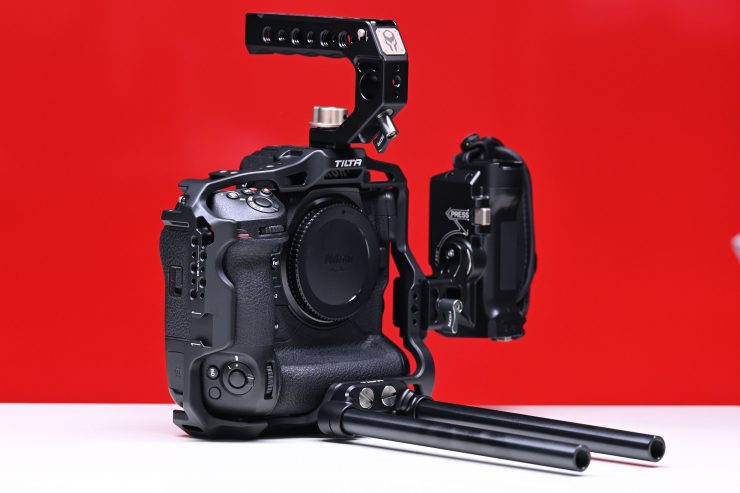
Tiltaing Left Side Advanced Power Handle with Run/Stop (F570 Battery) (Optional)
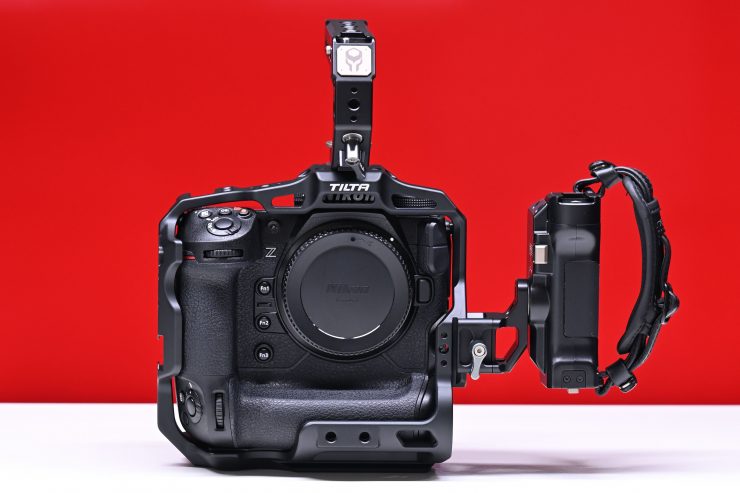

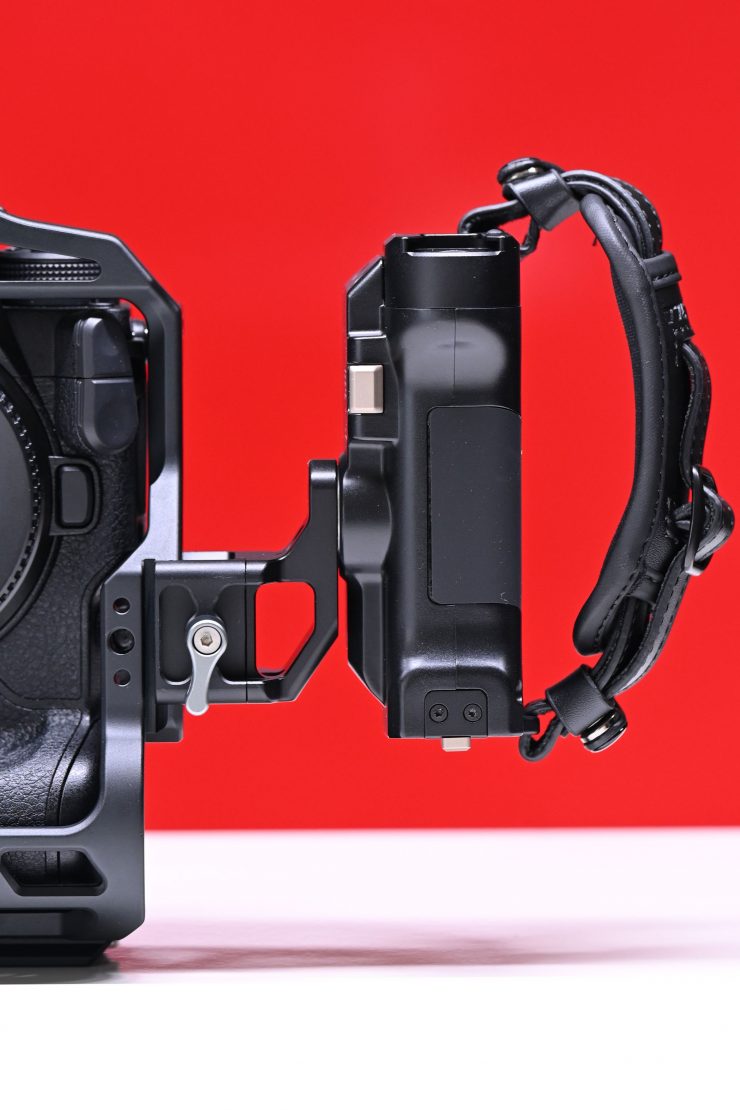
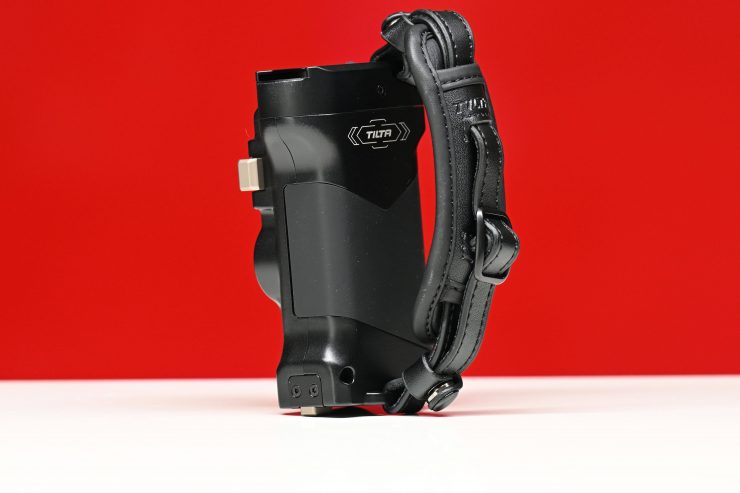
The optional Tiltaing Left Side Advanced Power Handle with Run/Stop (F570 Battery) mounts to the left side of the cage via a NATO Rail connection.
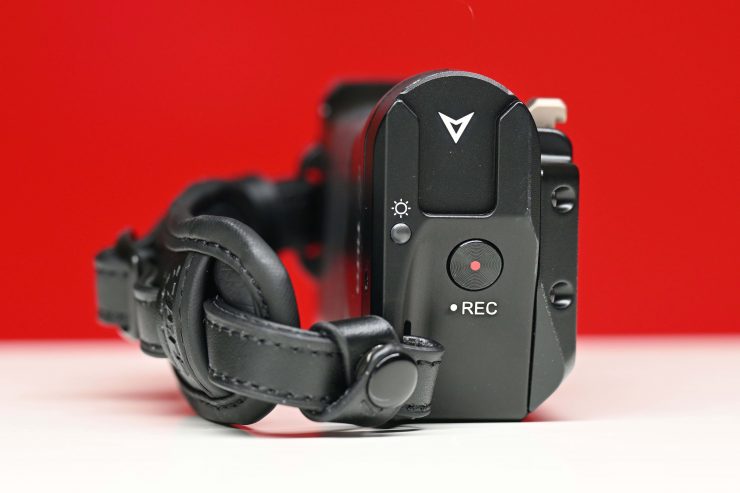
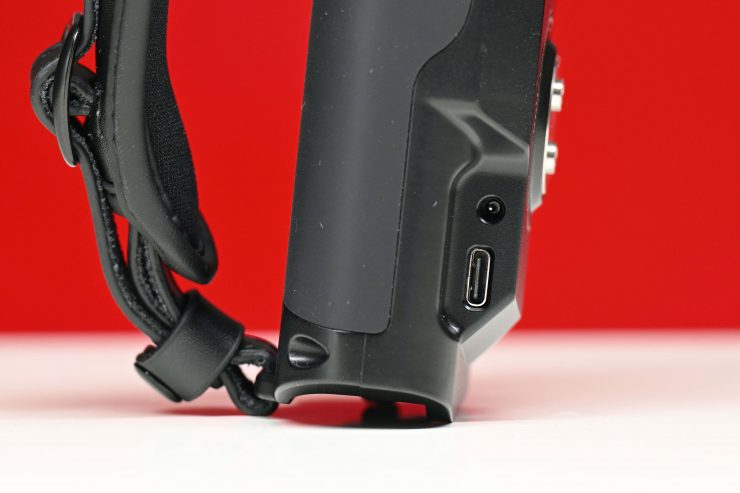
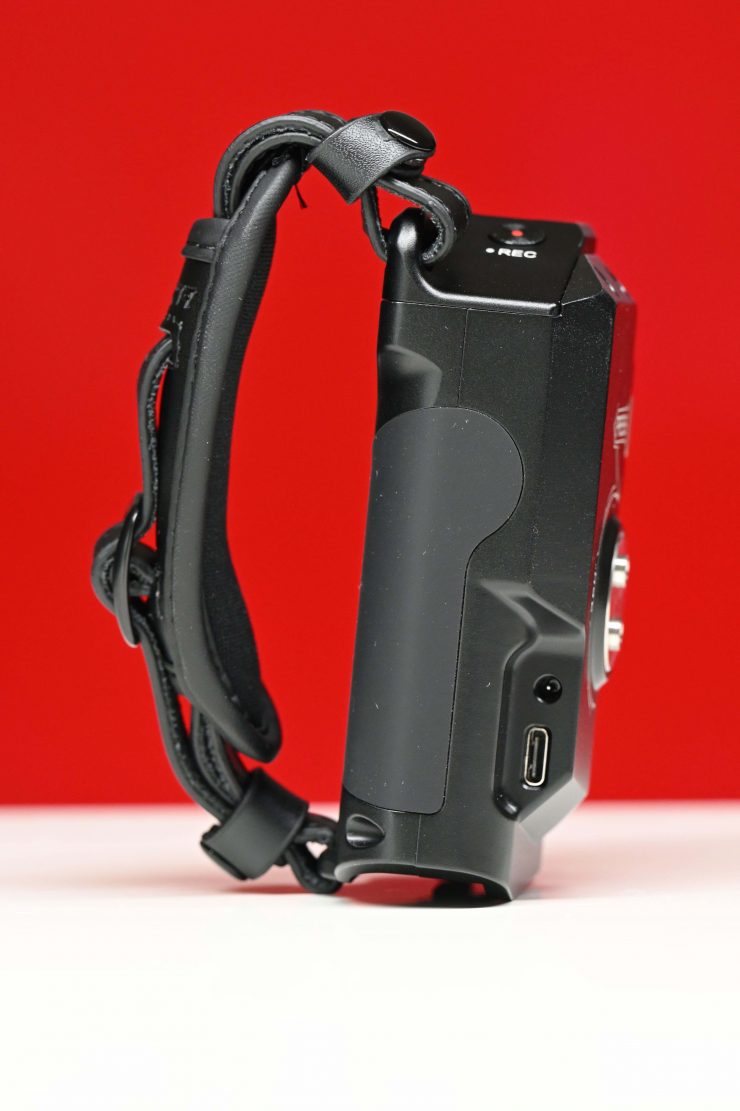
This handle features a 12V Micro DC Port (3.5/1.35mm) and an 8V USB-C port for powering your camera body or other accessories like the Tilta Nucleus Nano Wireless Lens Control System.
The handle is also able to start/stop recording on the Z9 by using the included Run Stop Cable. I tried this out and it worked, although there does seem to be s light delay from when you press record on the handle till when it actually starts recording on the camera.
The Tiltaing Left Side Advanced Power Handle is powered via a Sony F570 battery which isn’t included.
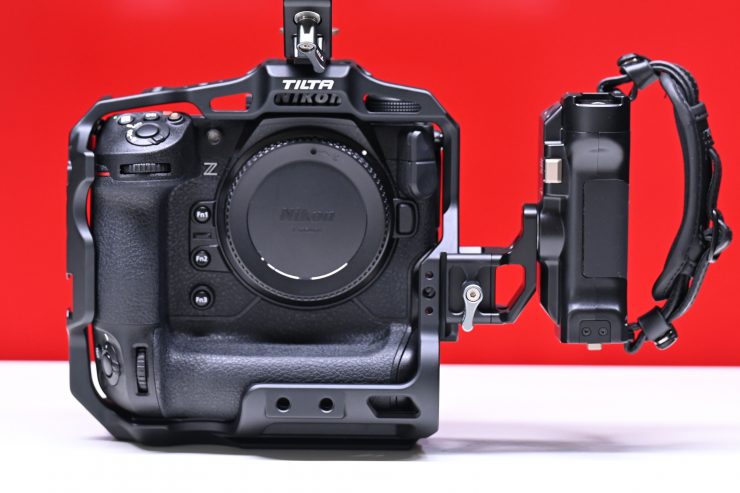
Once you add the Tiltaing Left Side Advanced Power Handle the footprint of the Z9 does increase quite substantially.
Is it easy to put together?
Yes, it is. You just slide your Z9 into the cage and then insert the included screw into the camera.

You then attach two small screws to where the eyelets for the camera strap go.
The Top Handle screws into the cage and it has two locating pins so it won’t move or twist around.
Usability
With any cage, the usability really depends on your requirements and needs. The cage and the handle are easy enough to use and they don’t make a big difference to the weight or usability of the camera. The cage and handle allow you to mount accessories that you may require, all while still giving you convenient access to the button, controls, and ports on the Z9.
I like the streamlined nature of the cage as it doesn’t really increase the size of the camera.
As the Z9’s rear LCD screen is so bright and you don’t need to record externally you aren’t going to need an on-board monitor for a lot of applications.
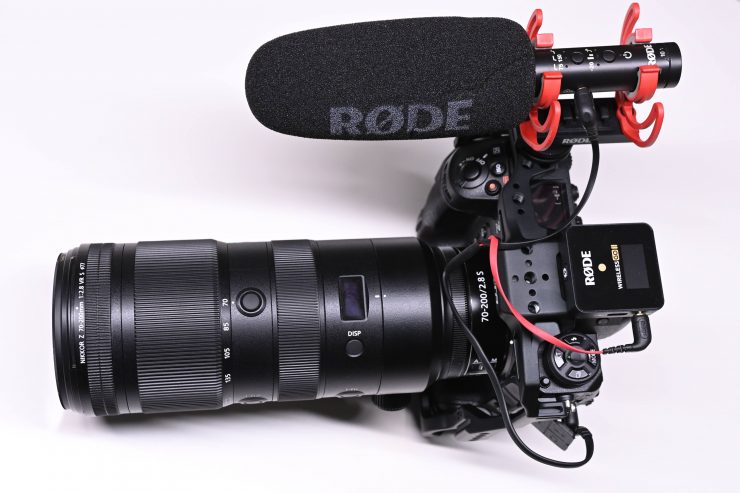
I found that even without using the top handle you could easily mount a couple of audio accessories.
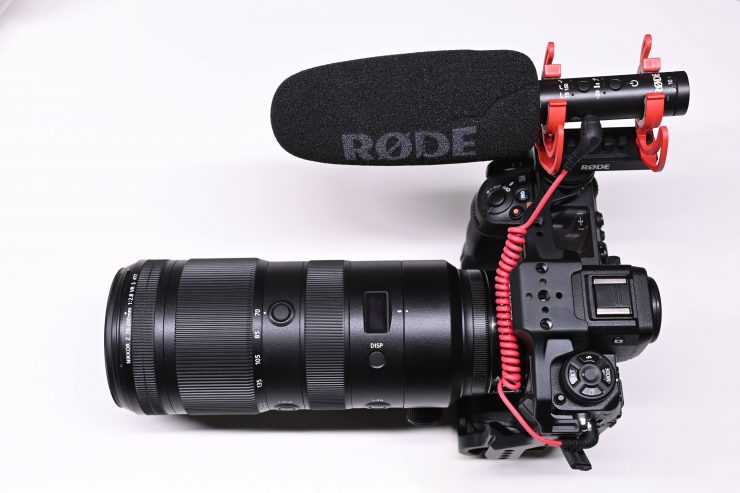
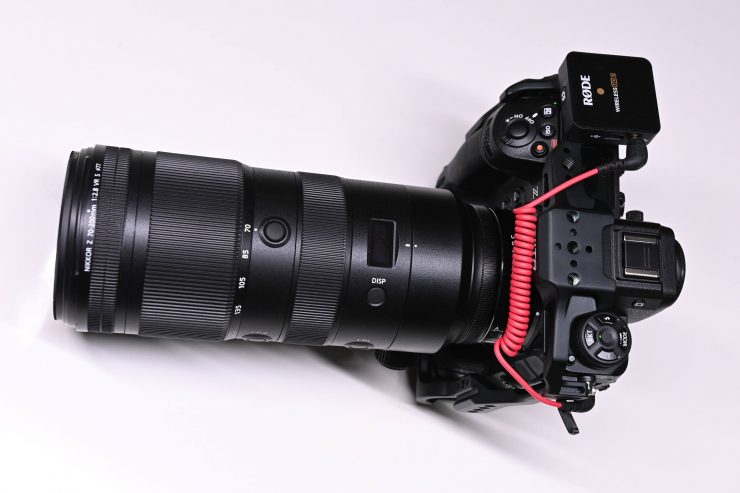
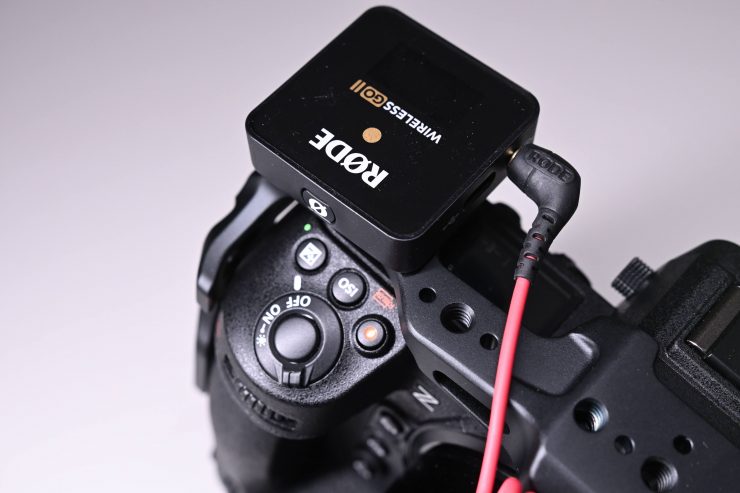
You can place an on-board microphone or a small wireless receiver in the cage’s cold shoe mount and it doesn’t interfere with how you hold or use the camera.
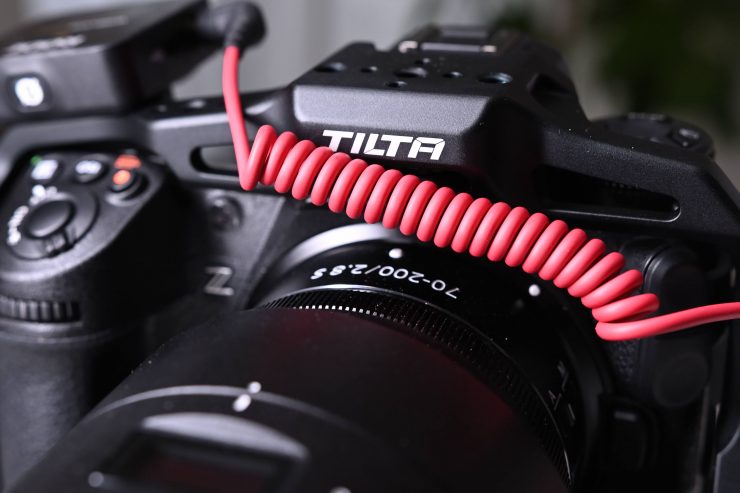
It was nice that you could run the audio cable under the top part of the cage to keep it out of the way.
Even when you run the top handle you can still use a small wireless receiver on the camera’s cold shoe.
I can still hold onto the camera and use it without the cage getting in the way. As it doesn’t interfere with anything I found it convenient to just leave the cage on regardless of whether I was shooting stills or video.
If you need to build your camera rig up then it was nice to have the ability to do so.
Once you add the optional Tiltaing Left Side Advanced Power Handle, then yes, the overall size of your camera package increases quite dramatically.
Price & Availability
Below are the prices for the three different kits that are available:
- Full Camera Cage for Nikon Z9 $99 USD
- Camera Cage for Nikon Z9 Basic Kit $149 USD
- Camera Cage for Nikon Z9 Pro Kit $419 USD
You can also find a whole bunch of compatible accessories here.
Competition
There aren’t currently that many cage options available for the Nikon Z9. Below are the only other options that I could find:
Conclusion
Camera cages are inherently difficult to review. How you use and operate a camera is going to drastically determine what sort of cage setup best works for you.
I don’t think there is any such thing as the perfect cage, because different cages are going to suit different people’s requirements. The Tilta solution for the Nikon Z9 ticks a lot of boxes and there wasn’t anything strange or unusual that I encountered. It lets you use the camera without getting in the way and that is pretty much all you can alk for with a cage. I like how Tilta gives you a lot of options and accessories so that you can build it up or strip it down depending on what your requirements are.
If you own a Z9 or are thinking of purchasing one (even though there is a very long waiting time) then the Tilta camera rig solutions make a lot of sense and they won’t cost you a ton of money and they allow you to attach accessories you may need to add to your camera.