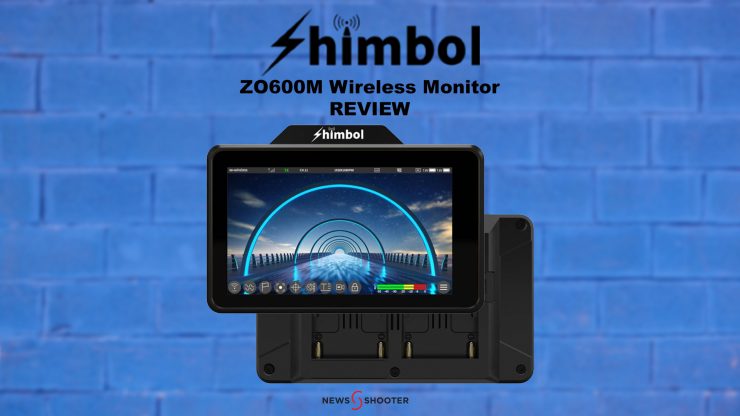
In the last year or so we have started to see a lot more affordable monitors with integrated wireless video transmission systems come to market.
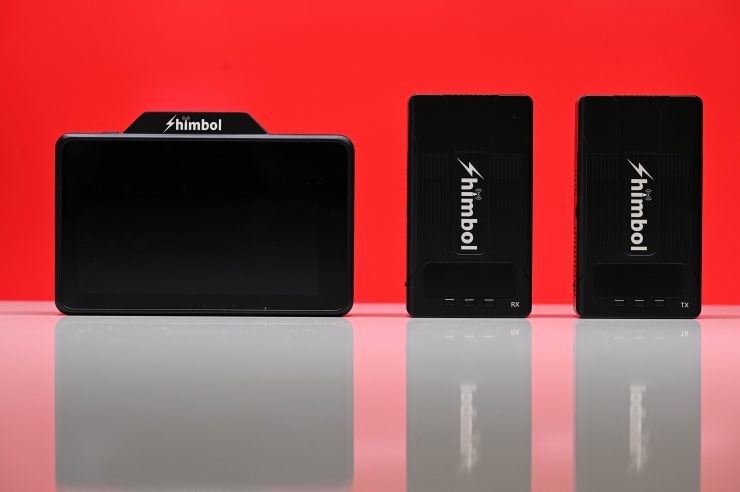
The latest one is from Shimbol and it is called the ZO600M. If you are not familiar with Shimbol they are a relatively new company that is making wireless video systems. I reviewed their ZOlink 600 Wireless Video System last year on the site.
Please note that the ZO600M I was reviewing was a pre-production unit, and there are a few firmware bugs that still need to be ironed out.
Concept
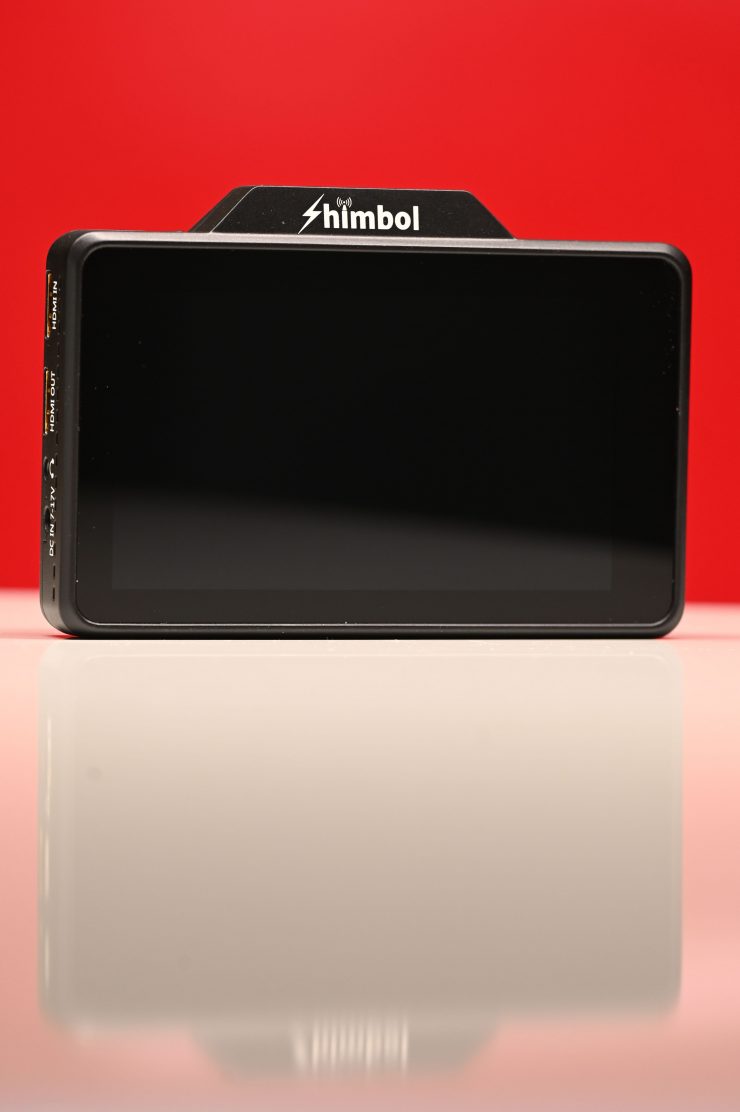
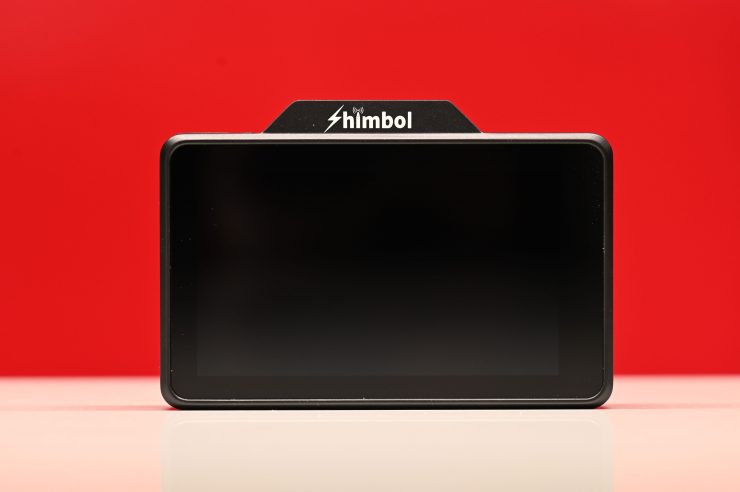
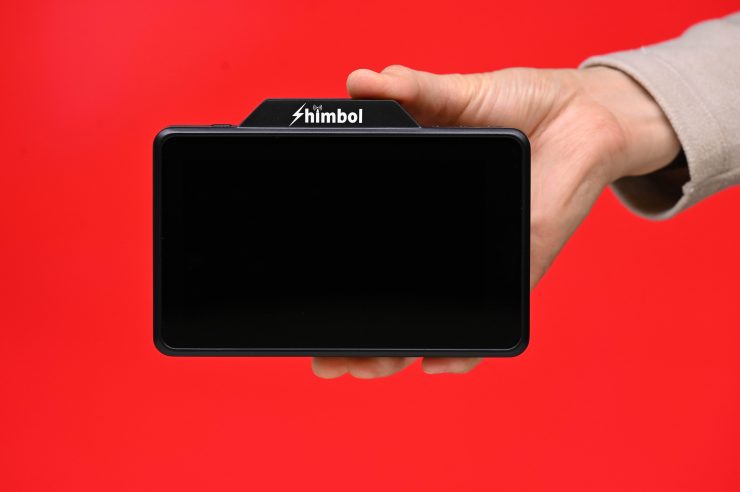
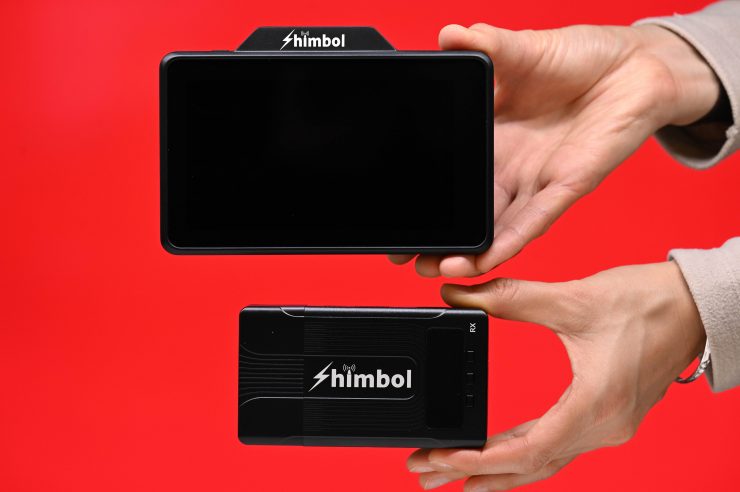
The ZO600M is a 5.5″ wireless monitor that has the unique ability to be used as either a TX or an RX unit. If you use it as an on-camera monitor you can transmit images to multiple other ZO600M units, ZOlink 600S TX/RX units, and mobile devices.
I like the concept of being able to mix and match Shimbol wireless components depending on what your needs are.
The whole philosophy behind the ZO600M is convenience. By integrating wireless into a small-sized monitor you take away some of the pains of traditional wireless monitoring. By keeping things simple, it allows filmmakers to spend more time actually creating, instead of worrying about equipment.
Having a small, lightweight hybrid monitor/wireless solution makes a lot of sense for solo shooters or small crews. Being able to provide a wireless monitor to a client, director, or anyone else you happen to be working with can be a big help. Having to build up a director’s monitor from scratch often requires lots of different components and multiple powering solutions. It is far easier to have an all-in-one solution, but the caveat is that with most systems you are locked into using one brand of wireless.
Key features
- 5.5″ touch screen monitor
- 1920 x 1080 resolution touchscreen
- 1000 nit brightness
- 1200:1 contrast ratio
- HDMI input and output
- Onboard MP4 recording
- Can be used as a TX or RX
- Wide range of monitoring tools
- DC input & DC output
- Viewable on smartphones or tablets
- 152.4m / 500ft range
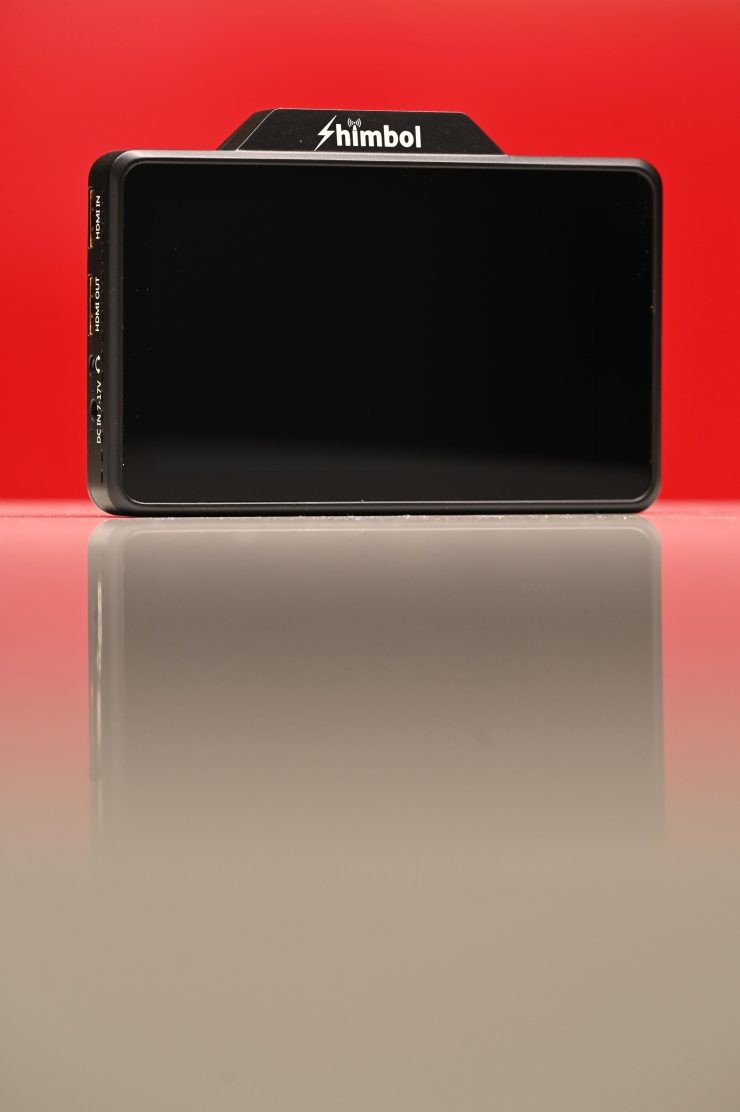
Form Factor
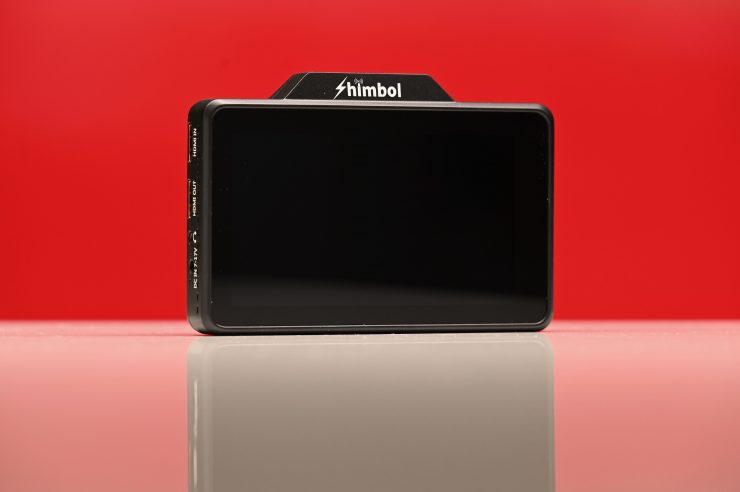
Shimbol ZO600M 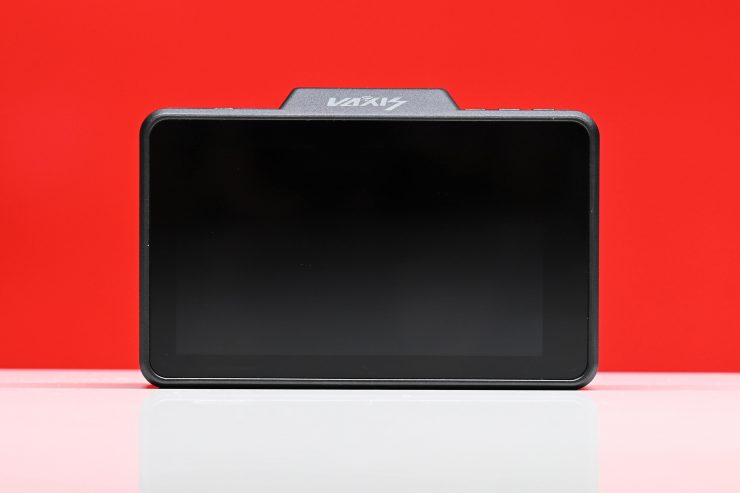
Vaxis A5H 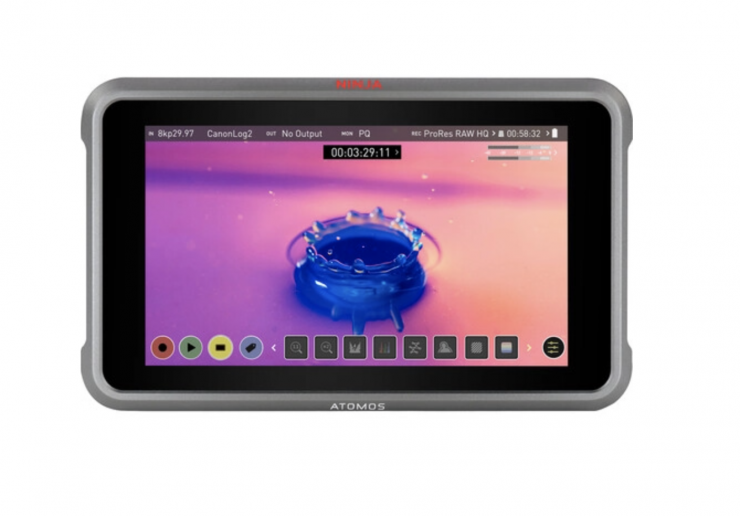
Atomos Ninja V+ 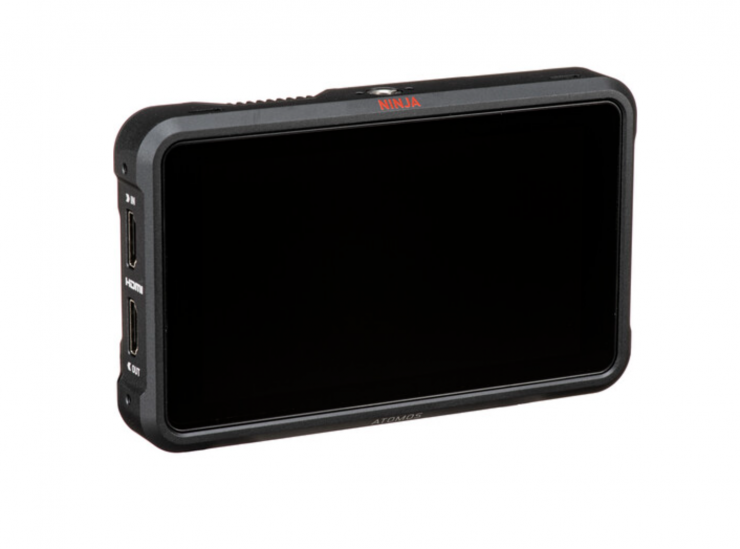
Atomos Ninja V
The ZO600M looks quite similar to the Vaxis A5H, and monitors such as the Atomos Ninja V and Ninja V+.
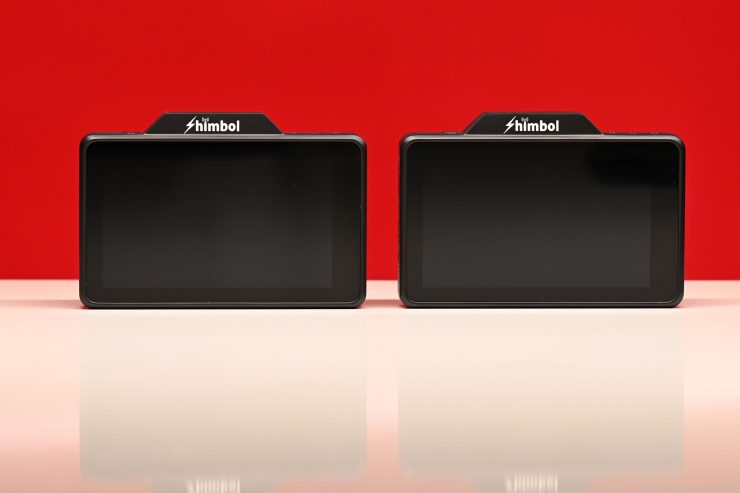
The only issue with having two units that look exactly the same in every way is telling them apart. Yes, it is nice to be able to change the ZO600M from a TX to an RX unit, but I would recommend putting a small piece of tape on each one so you can quickly tell them apart when you are pulling them out of a bag.
Integrated wireless video is nothing new and SmallHD and Teradek have been doing it for quite a long time.
We have also started to see ‘budget’ options appearing from a range of other manufacturers, such as the Crystal Video Technology Swift Z 5.5″ HDMI 1080p Wireless TX/RX Dual-Monitor Kit which I reviewed previously on the site, and the Vaxis A5H which I also reviewed.
Who is it aimed at?
The ZO600M is being targeted at users who are looking for an affordable all-in-one wireless monitoring solution, with the added versatility of being able to use the product as a stand-alone monitor. This could mean anyone from people starting out on a budget, right up to seasoned professionals.

Shooters working on high-end factual productions will often get requests to provide a wireless monitoring solution as part of their kit. My go-to solution is usually the SmallHD Cine7 500 TX and a SmallHD Focus 7 Bolt 500 RX. However, you can get by with a lot more affordable solutions depending on the requirements of the production.
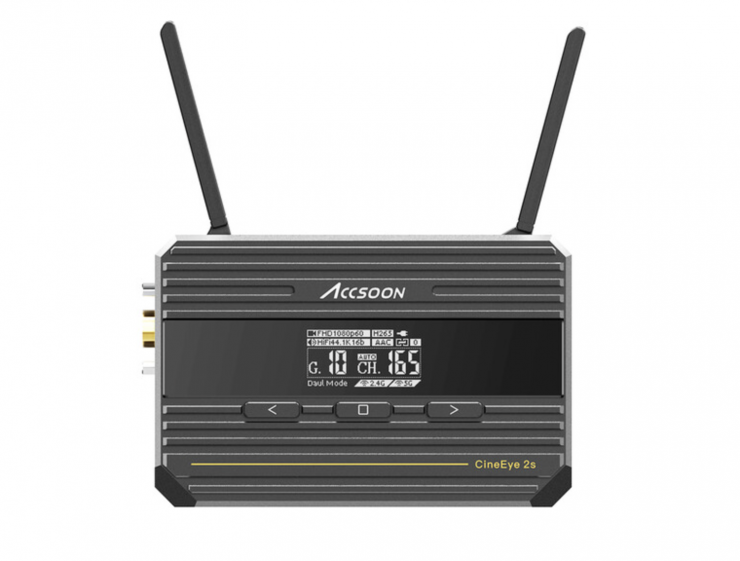
Occasionally I will also use Wi-Fi-based TX units such as the Accsoon CineEye 2S Wireless SDI/HDMI Video Transmitter that can send signals straight to multiple mobile devices.
Build Quality
The build quality of the ZO600M is reasonably good. It is probably not quite as good as an Atomos Ninja V or Ninja V+, but it is a lot more solidly made than most budget monitors of this size that I have come across. Usually, with devices like this, there is always a compromise being made between weight and build quality.
The buttons are slightly recessed, but they are reasonably tactile. I did find that the batteries do wobble around at the top once they are installed. This is a minor issue but one that I did notice.
Mounting Points

There is only a single 1/4-20″ thread on the bottom of the ZO600M. This doesn’t give you many options for mounting, but as it has a wireless transmitter/receiver built-in there isn’t any space to put another mounting point on the top of the monitor.
Weight & Size
Shimbol lists the weight of the ZO600M at 300g / 10.14oz.
As a reference, the Vaxis A5H weighs 330g / 11.64oz and the Atomos Ninja V weighs 360g / 12.7oz.
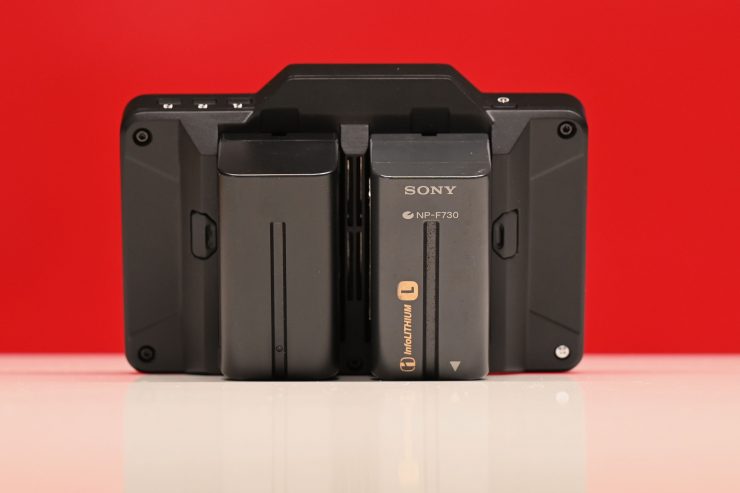
While 300g isn’t overly heavy, once you add one or two Sony-style NP-F batteries on the back, the overall weight is going to make some smaller-sized camera setups a lot heavier.
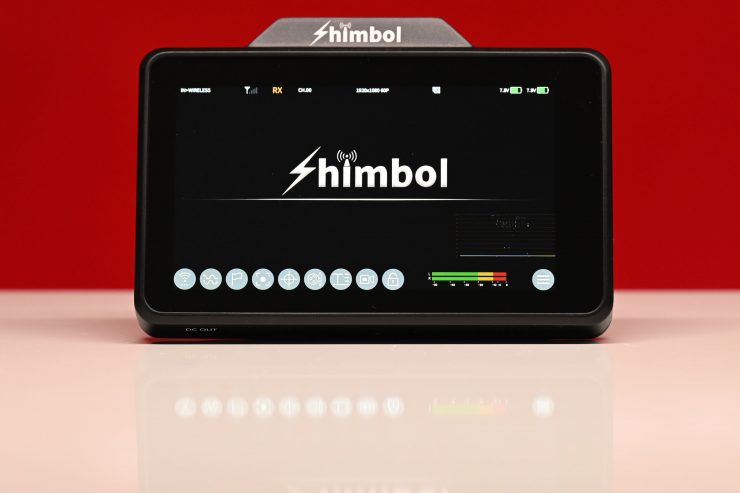
Control

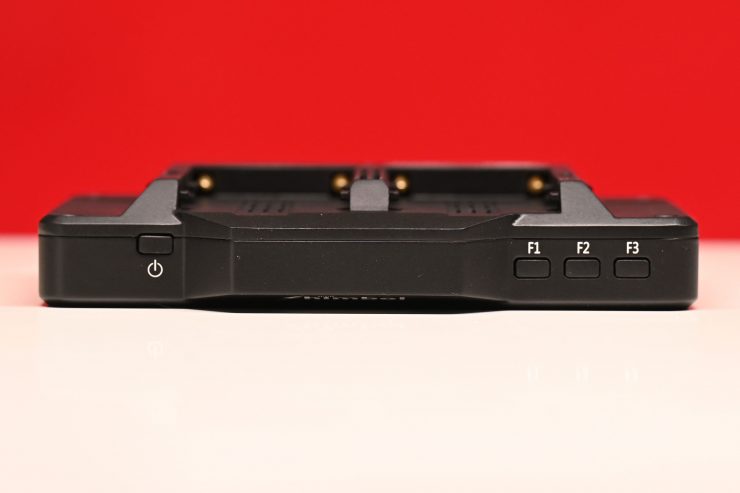
The ZO600M only has four physical buttons:
- Power On/Off
- Three Functions buttons (F1,F2,F3)
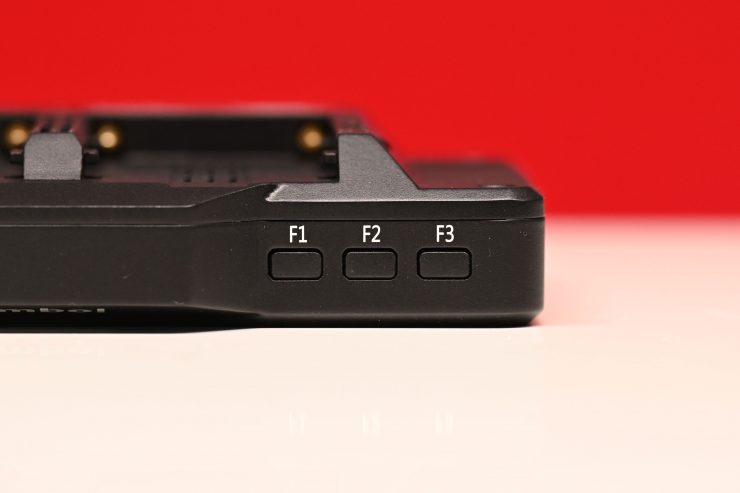
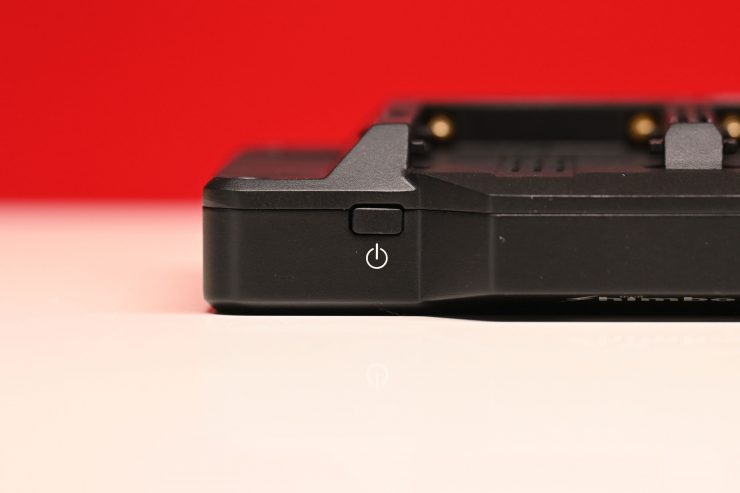
The function buttons and the power on/off are all located on the top of the monitor.

The function buttons aren’t preset to anything out of the box. You need to set them up yourself.
Screen
The ZO600M features a 5.5″ 1920 x 1080 resolution screen with a claimed brightness of 1000nits and a contrast ratio of 1200:1. As a comparison, the Vaxis A5H also features a 5.5″ 1920 x 1080 resolution screen with a claimed brightness of 1000nits and a contrast ratio of 1000:1.

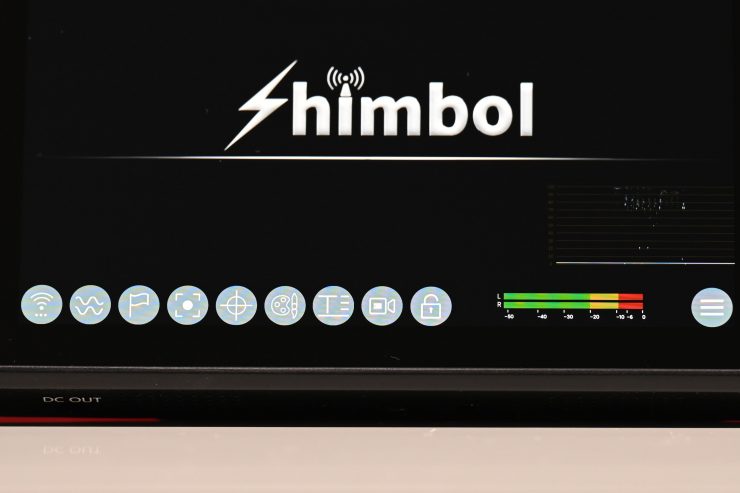
The touchscreen response is pretty good on the monitor. It doesn’t lag very often and it is snappy to the touch. The menu system is reasonably good, but it is a little counterintuitive to have to keep going back into the menus to turn various tools on and off. If you only use a few select tools then it is much quicker to just assign them to one of the three function buttons.
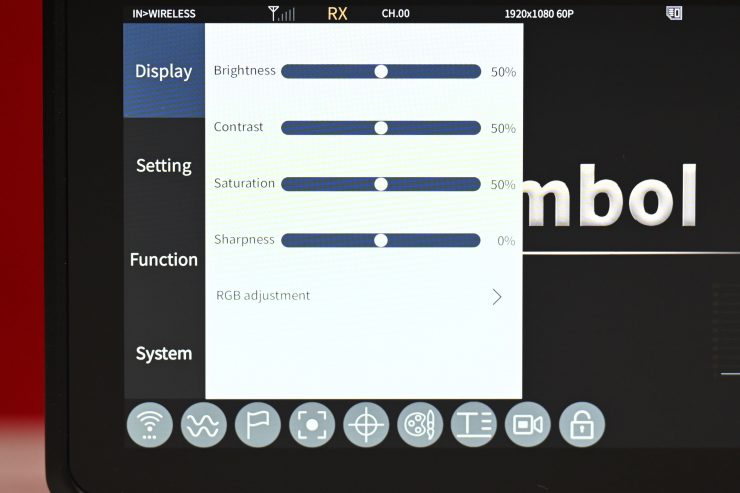
As far as the image controls are concerned, you can choose from the following options:
- Brightness
- Contrast
- Saturation
- Sharpness
All of these parameters can be adjusted from 0%-100% in the Display section of the menu. In their default settings, there are all set at 50.
There is also an RGB adjustment, but that is not something I would want to be playing around with.
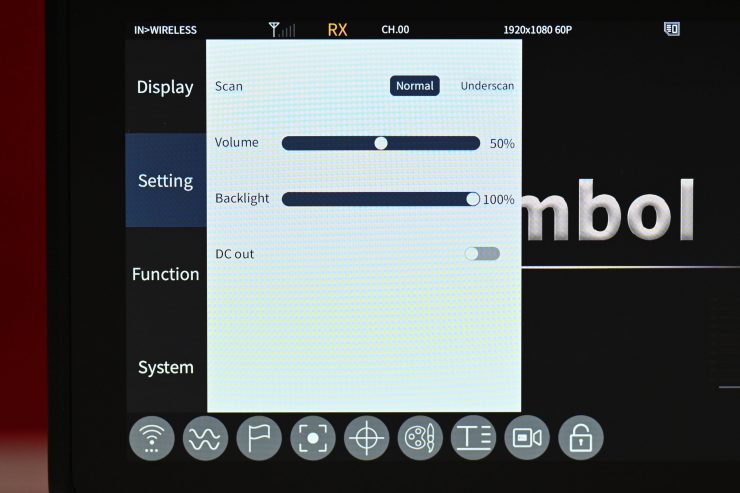
Strangely, you need to go to the Setting menu to find the backlight adjustment. This really should be located in the Display menu.
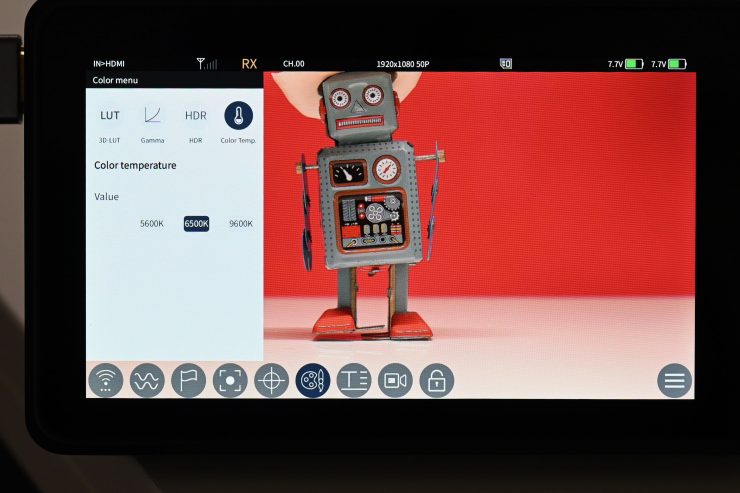
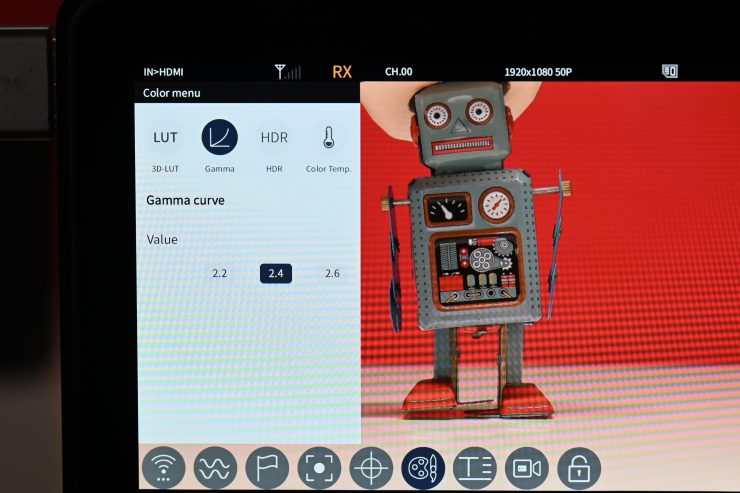
You can also adjust the color temperature of the display to 5600K, 6500K, or 9600K. It is preset at 6500K. Again, you would expect this option to be found in the Display section of the menu, but Shimbol has located it in the Color menu. In this same menu, you can also change the Gamma to 2.2, 2.4, or 2.6
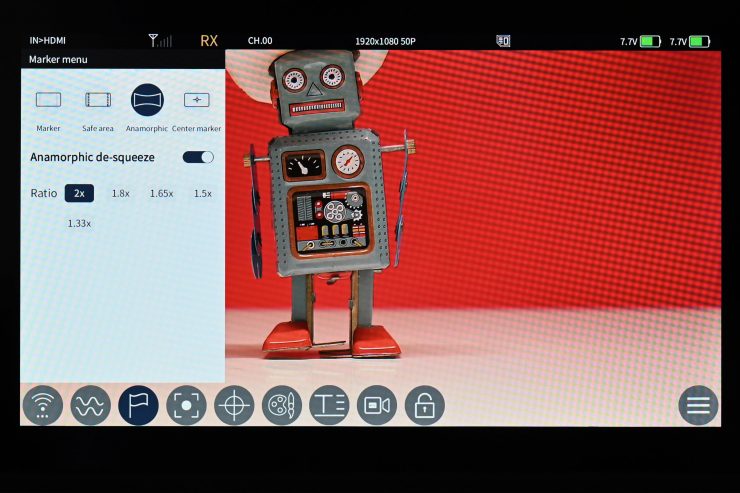
There are anamorphic de-squeeze viewing options for:
- 1.33x
- 1.5x
- 1.65x
- 1.8x
- 2x
On the unit I was reviewing the anamorphic de-squeeze when turned on wasn’t actually working.
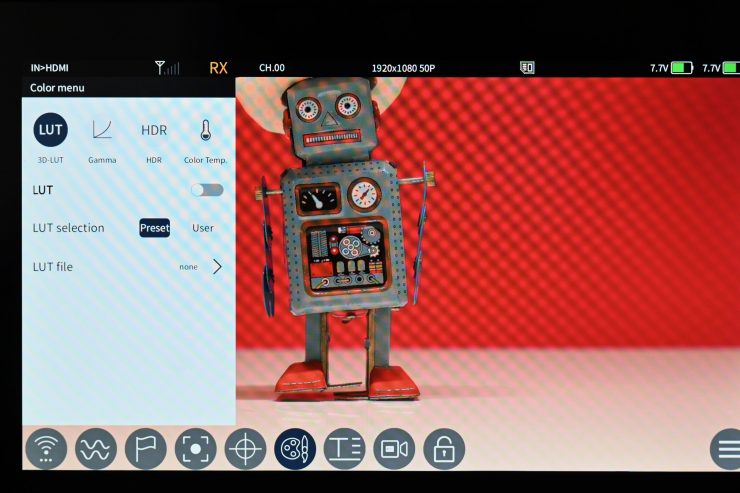
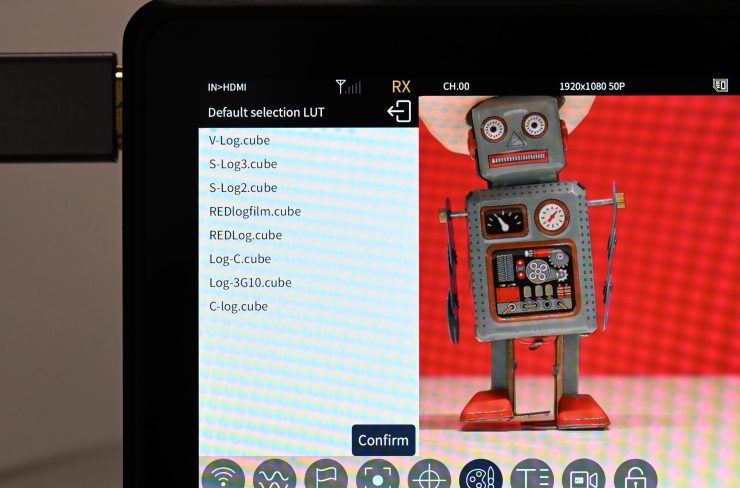
You can select from 8 different preset LUTs and you can also load up your own LUTS. The preset LUTs you can choose from are:
- V-Log
- S-Log3
- S-Log2
- REDLogfilm
- REDLog
- Log C
- Log: 3G10
- C-Log
The issue I encountered, at least when using the V-Log LUT is that it made the image appear very magenta and overly saturated.
You also need to be aware that if you select a LUT on the ZO600M you are using as a TX unit it won’t transmit your image with that LUT to another ZO600M.
The monitor also features the usual exposure and focus assist tools such as:
- Histogram
- Waveform
- Vectorscope
- Monochrome
- RGB Parade
- Image Zoom
- Peaking
- Anamorphic
- Safe Area
- Zebras
- Center Mark
- Scanning Mode
- False Color
- 3D LUT
- Gamma
- HDR
- Color Temp
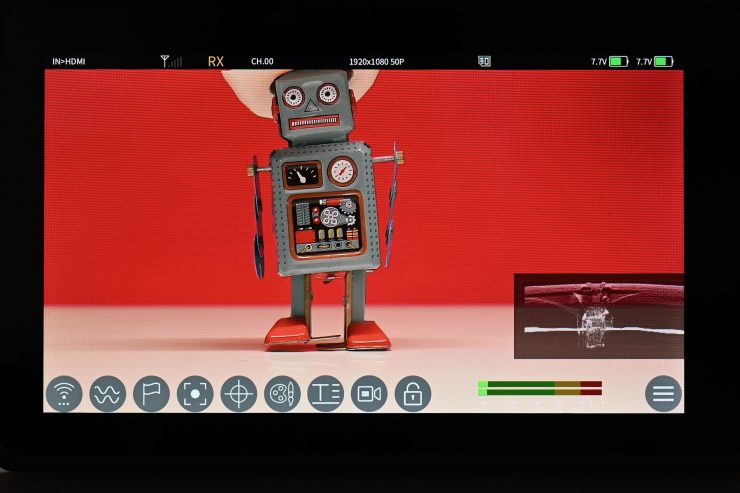
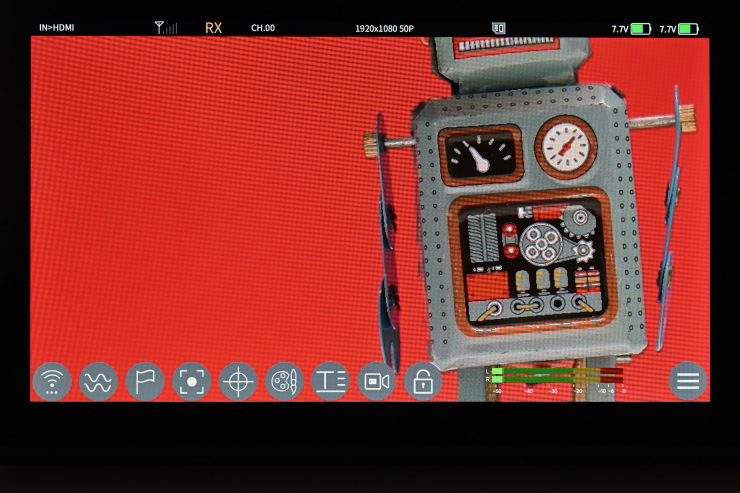
With the image assist tools such as waveform, vectorscope, histogram, etc. you cannot move them around on the screen or change their size. You can only change their opacity.
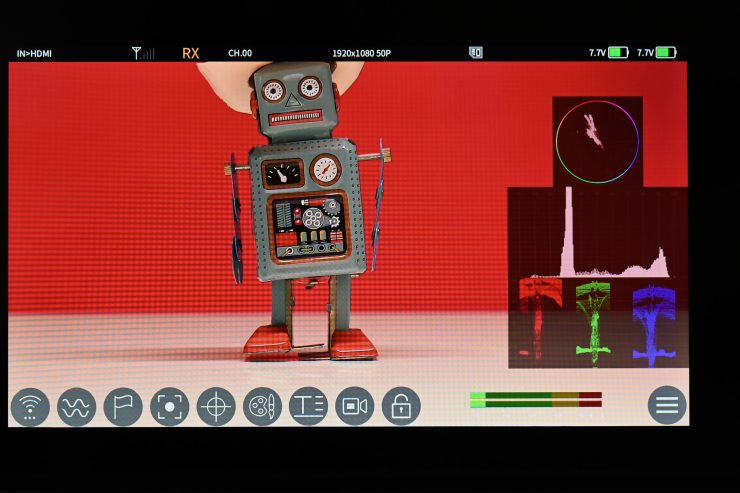
You can, however, have multiple tools selected at once.
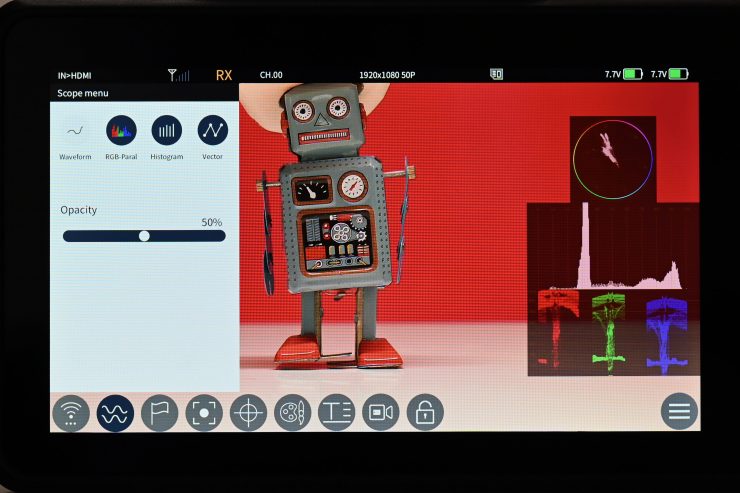
Another small quirk with the scopes is that you can only have 3 up on the screen at once, even though there are four to choose from.
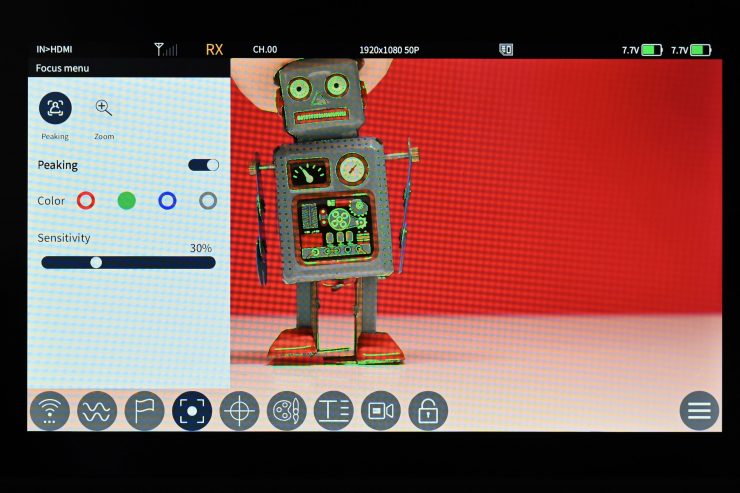
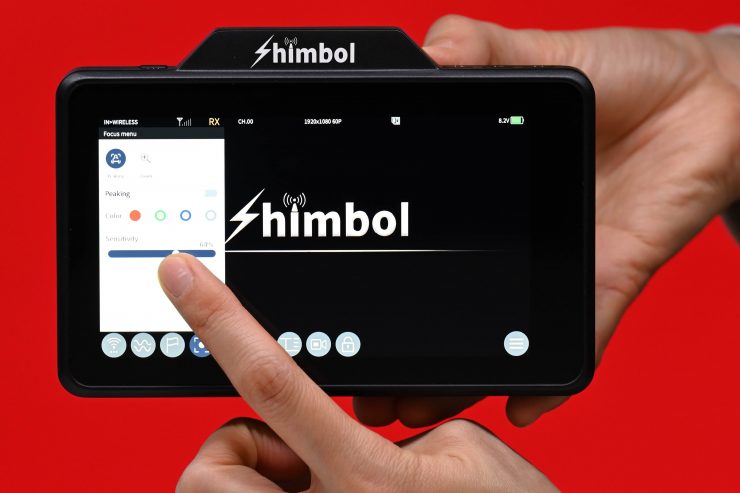
The peaking can be set to red, blue, green, or grey. You can adjust the sensitivity of the peaking from 0% to 100%. By default, it is set at 30%.

With the image zoom, you just pinch on the screen in the same way you would on a smart device. The trouble is this isn’t turned on by default and you need to go into a menu to activate it.
You can also move the image zoom around the screen once you are zoomed in. The maximum amount of zoom isn’t that much and you don’t get any indication of how much the magnification is or where you are actually zooming in to.
The biggest issue with the image zoom is the ZO600M doesn’t tell you on the main screen when you are zoomed in, so it is very easy to accidentally be looking at a zoomed-in version of your actual shot without knowing. I would have liked to have seen a simple indicator that lets you know when image zoom is being used. I reached out to Shimbol and made them aware of this issue and they are going to add an indicator that lets people know when the image zoom has been activated.
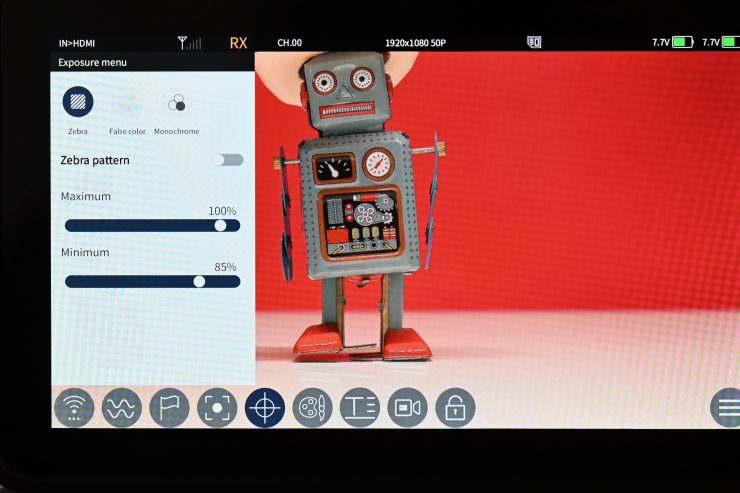

With the zebras, you can choose to set the Max. and Min. thresholds from 0% to 109%.
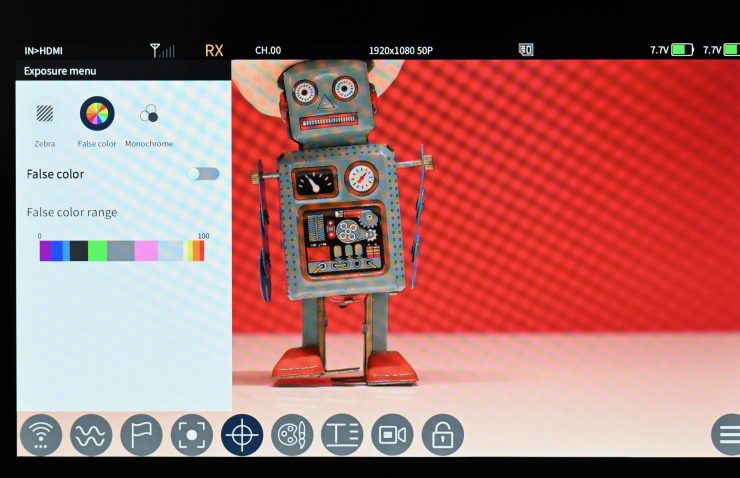
With False Color, you can’t see a color scale on the screen or any IRE markings. There is also no indication of what camera the false-color scale is based on.
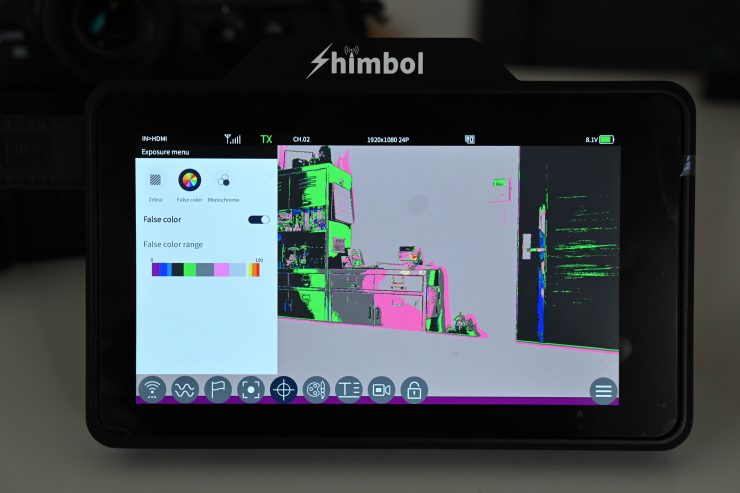
The false color works as expected and it is a pretty good way of checking your exposure. I personally prefer false color over using zebras.
So many companies making monitors just can’t seem to get false color right. This isn’t a dig at Shimbol because almost all of the companies making on-camera monitors also don’t do it correctly. False color is only going to be accurate if it is mapped to a specific camera.
HDR?

The ZO600M does feature an HDR setting. You can choose from PQ or HLG. I found that if you turn the HDR setting on, it does seem to display some weird image artifacts and it didn’t resemble what I would consider being an HDR image.
The ZO600M is claimed to reach 1,000 nits, but it doesn’t do so dynamically as to technically meet the HDR spec (for contrast ratio). However, it can still be used to monitor HDR, but I would say this is more of an HDR simulation than anything else.
A lot of experts will tell you that on the monitoring side, relying on the picture alone, even a true HDR picture in anything other than a studio environment is not ideal and would result in improper exposure adjustments since the perceptions of what is on screen changes so drastically along with the viewing environment. For example, if you are monitoring on a bright sunny day, any subtleties in the darkest areas of an HDR picture won’t be able to be seen by the eye.
In this methodology, reliance on exposure tools and scopes is even more important than before when speaking of HDR, because, in a proper viewing environment, any issues at the extremes of a camera’s dynamic range get magnified much further than with SDR.
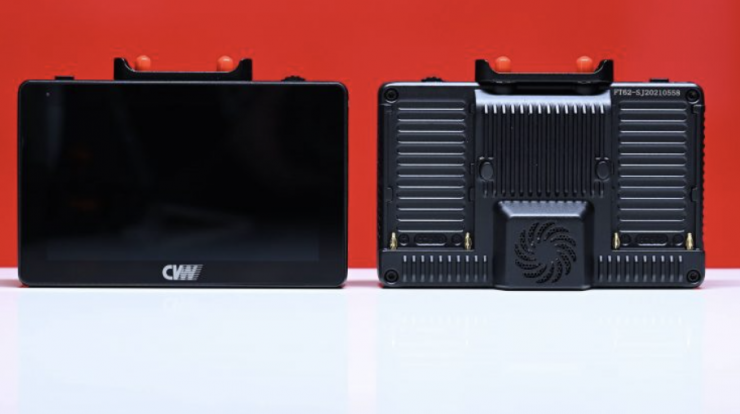
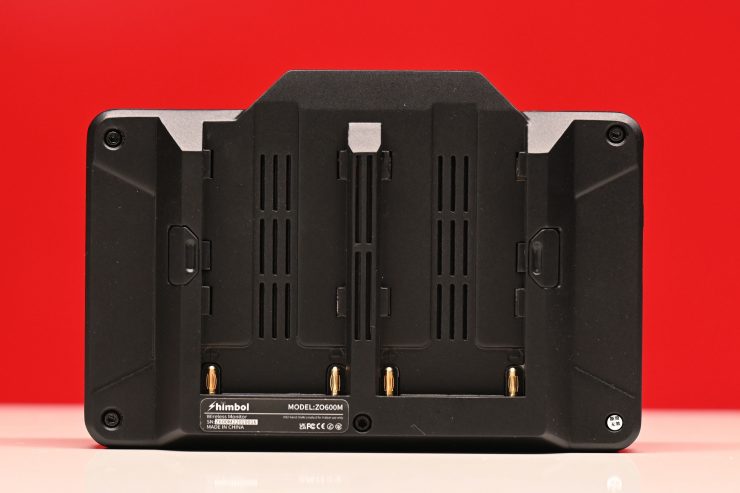
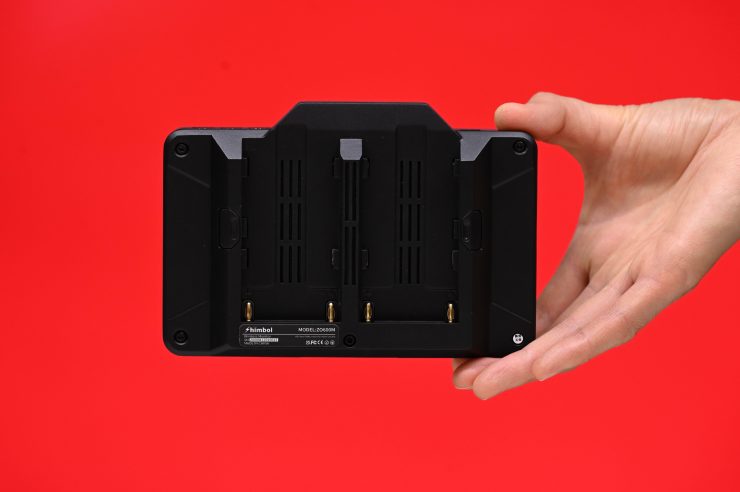
Fan Noise?

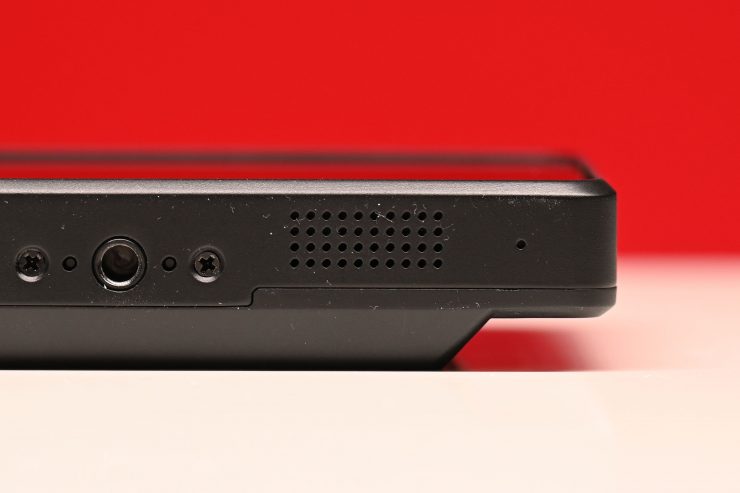


There are two vents on the back of the ZO600M, but there don’t appear to be any fans. There are also what appear to be two vents on the bottom of the unit as well as on both sides.
From testing the unit I didn’t hear anything that resembled a fan and it seems to run completely silent. This is good to see because when I reviewed the Vaxis A5H, its in-built fans were quite noisy.
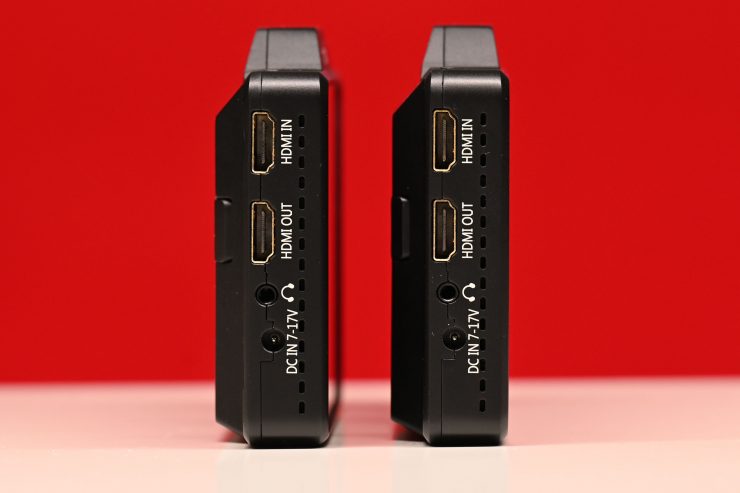
Inputs/Outputs
The ZO600M has the following inputs and outputs:
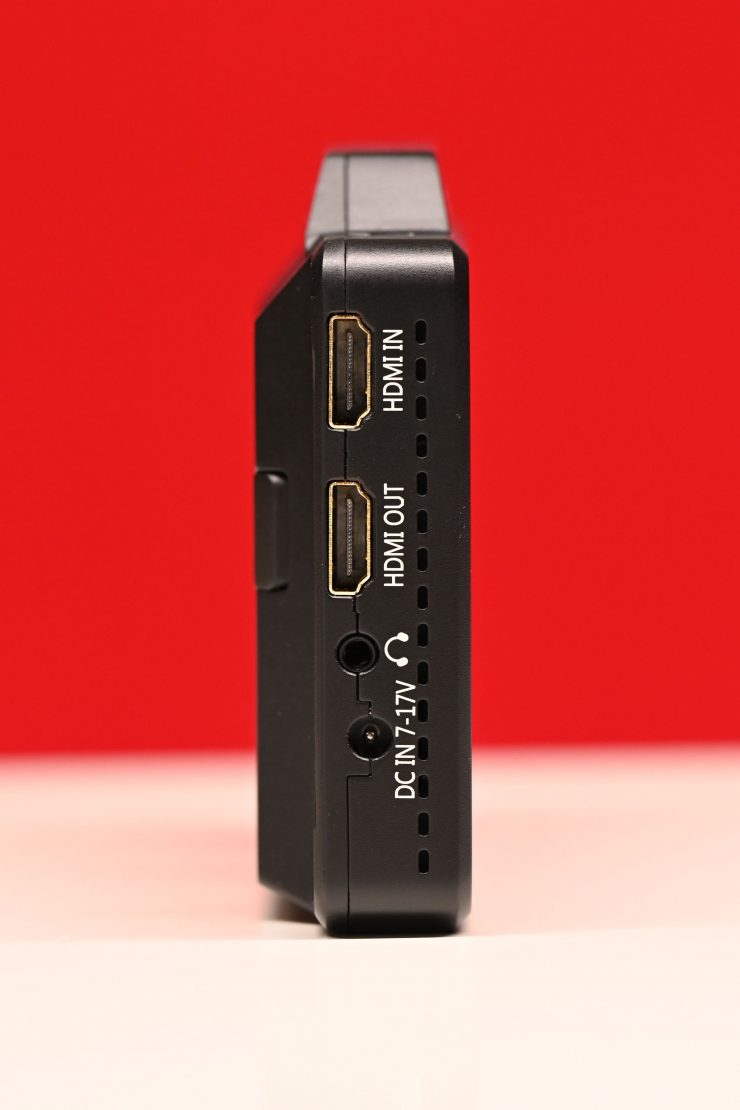
- HDMI In
- HDMI Out
- 3.5mm Headphone Out
- DC In (7-16.8V)
- DC Out (7.4V / 0.8A)
- USB-C
Most of the inputs and outputs are located on the left-hand side of the monitor.
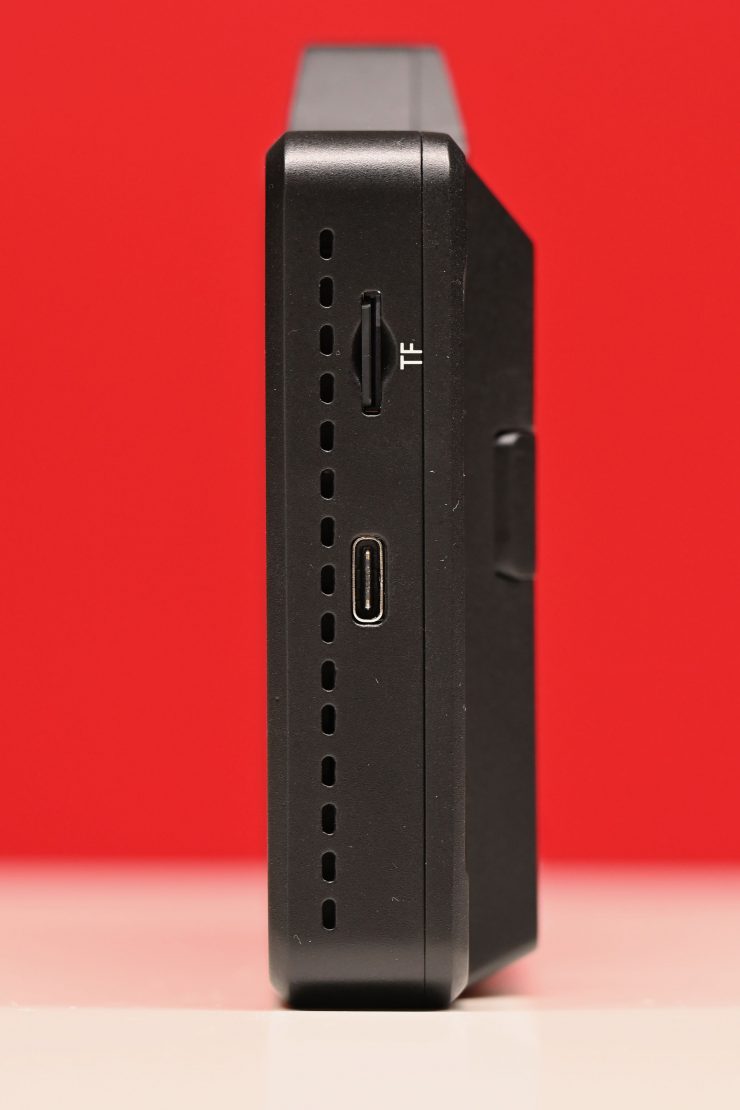
On the right-hand side, you have a USB-C and the slot for the Micro D card.
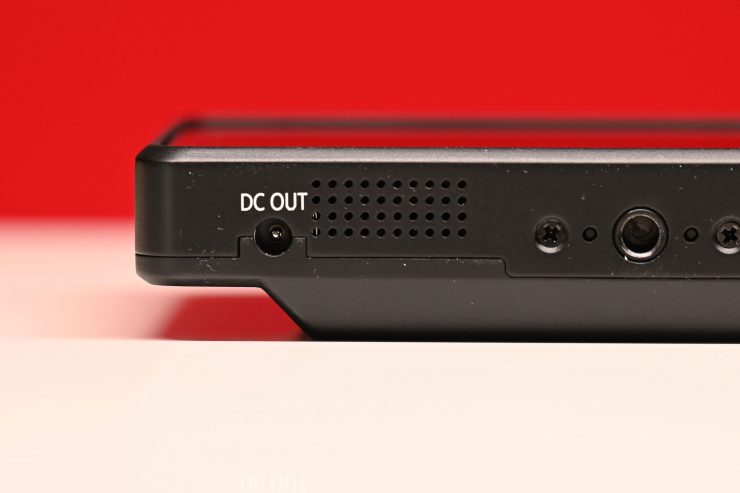
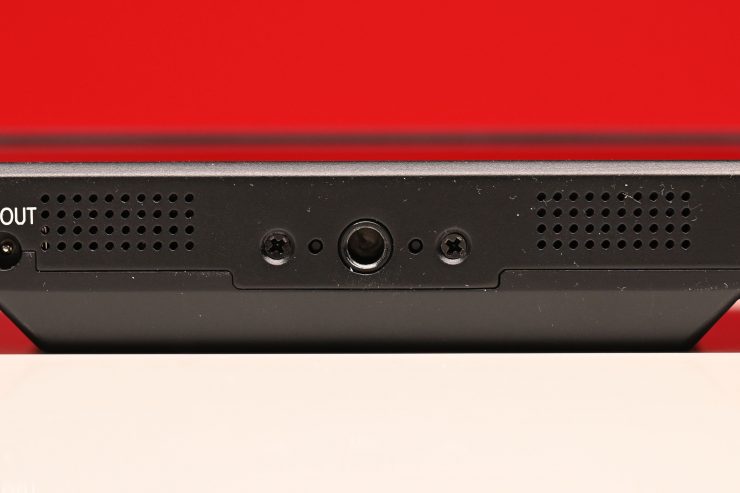
On the bottom of the unit, you will find the DC Out. In the menu, you can select to have the DC Out enabled or turned off.
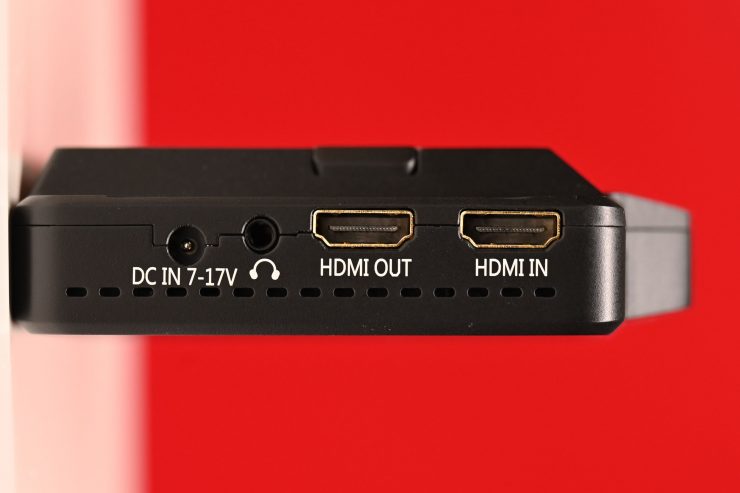
The HDMI ports are not countersunk, so there is no protection from knocks or breakage. This is fairly common practice on most monitors.
Accepted Inputs
The A5H can receive the following signals over HDMI:
- 1920 x 1080p 23.98/24/25/29.97/30/50/59.94/60
- 1920 x 1080i 50/59.94/60
- 1280 x 720p 50/59.94/60
It can output the following signals over HDMI:
- 1920 x 1080p 23.98/24/25/29.97/30/50/59.94/60
- 1920 x 1080i 50/59.94/60
- 1280 x 720p 50/59.94/60
Now, I did encounter an issue that you need to be very aware of when using certain cameras. If you set a mirrorless hybrid to output UHD over HDMI the ZO600M can’t display that signal. You need to make sure that your camera is downconverting the UHD or 4K signal to HD.
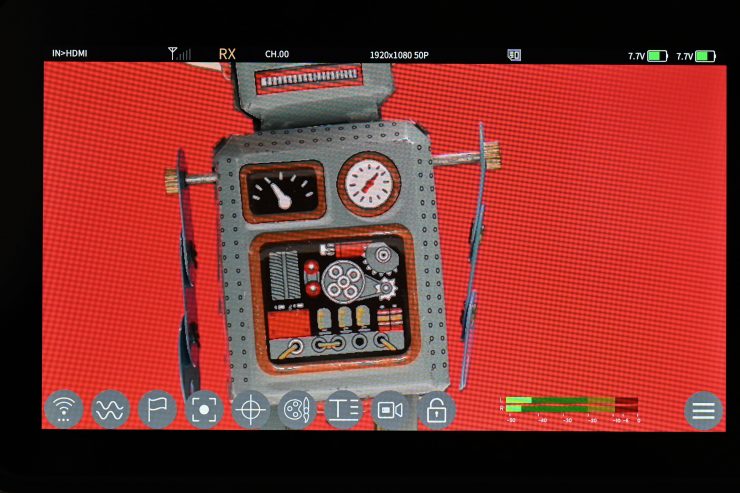
Audio Monitoring
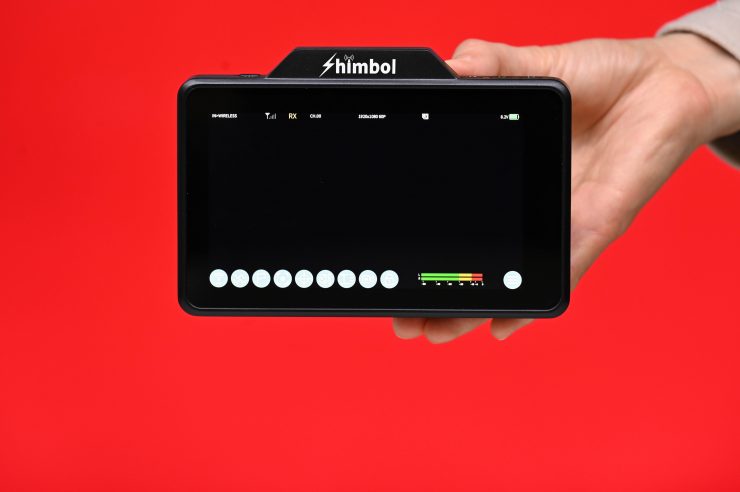
On the ZO600M, there are audio levels on the main screen. These are always on and you can’t turn them off in the menu.
Antennas
The ZO600M features in-built antennas. This saves you from having to attach antennas and it also keeps the footprint of the device to a minimum.
Power Draw


The ZO600M can be run from one or two Sony-style NP-F batteries or through the 7-16.8V DC Input. According to Shimbol, the ZO600M draws just 8W.
There is also a DC Out (7.4V / 0.8A) that can be used for powering a camera or other accessories.
Boot Up Time
I found that the boot-up time for the ZO600M was around 11 seconds. This is a little slow and you need to factor this in if you suddenly have to do something in a hurry and have to turn the ZO600M on from scratch.
Form factor
If you are going to build a product that is designed to be used on a camera and/or as a standalone director’s monitor then it not only has to be functional but also easy to use.
The ZO600M features a pretty basic design and it is was primarily made to be placed on a camera.
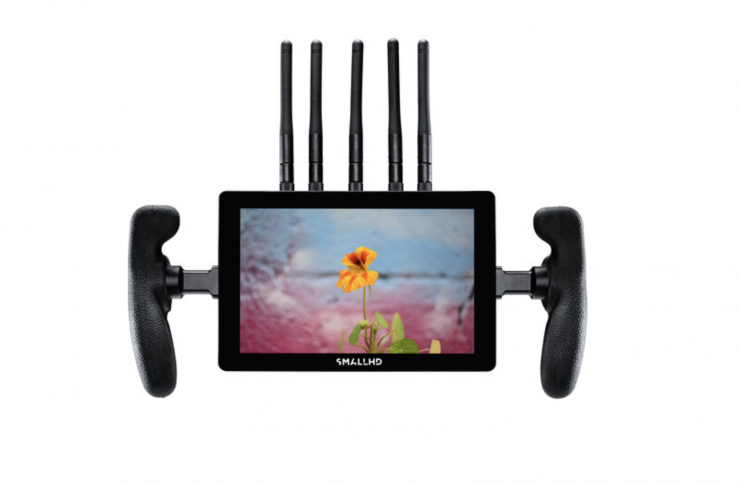
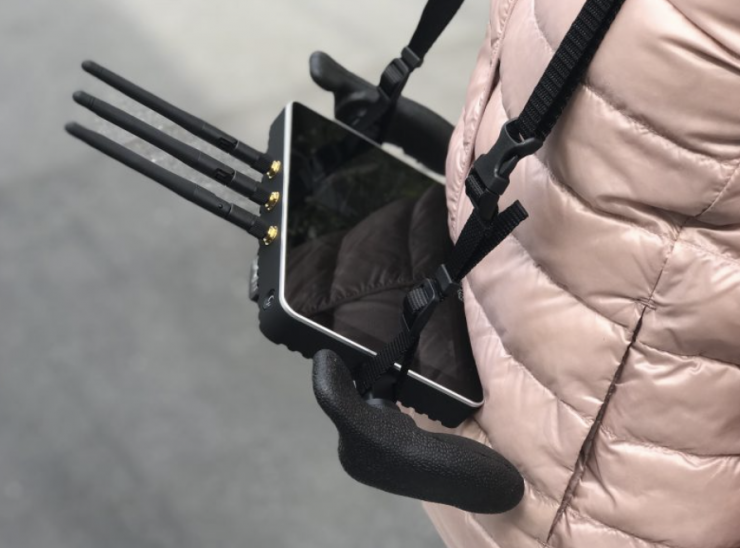
If you are using the ZO600M as an RX unit there is nowhere to mount handles or even attach a strap, so if a director or other member of the crew is using it they just have to hold it bare bones.
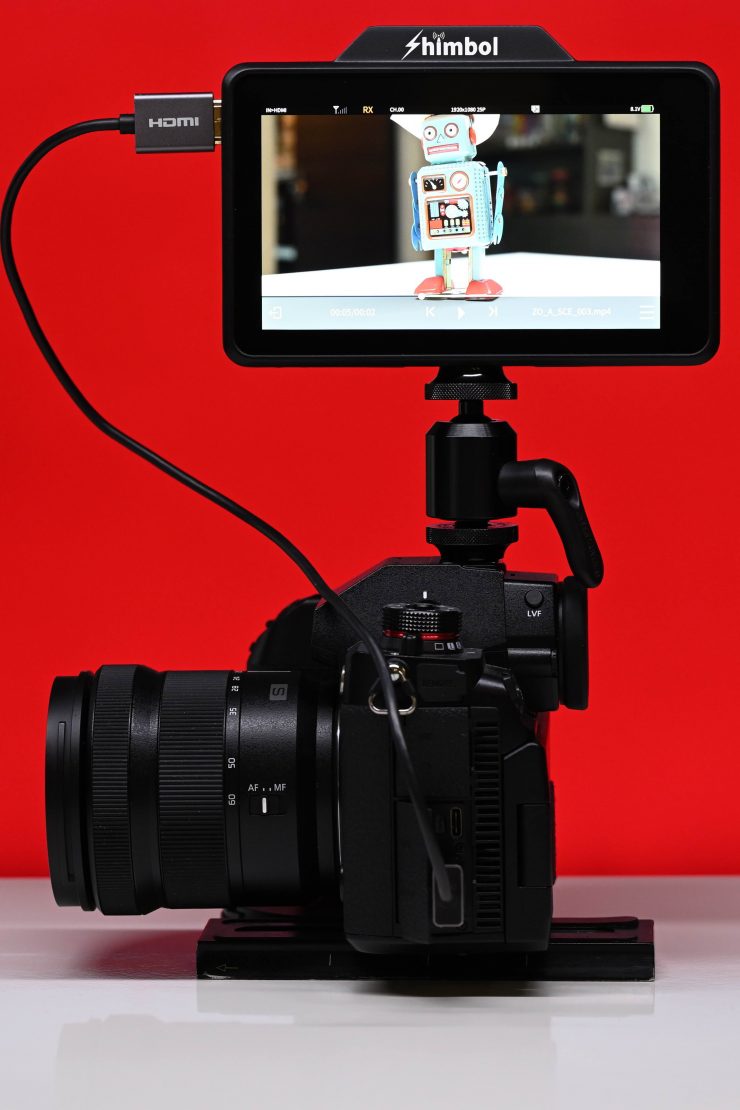
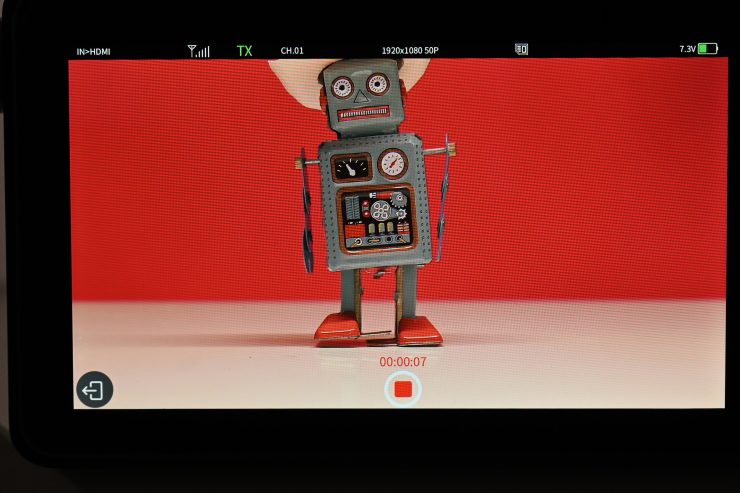
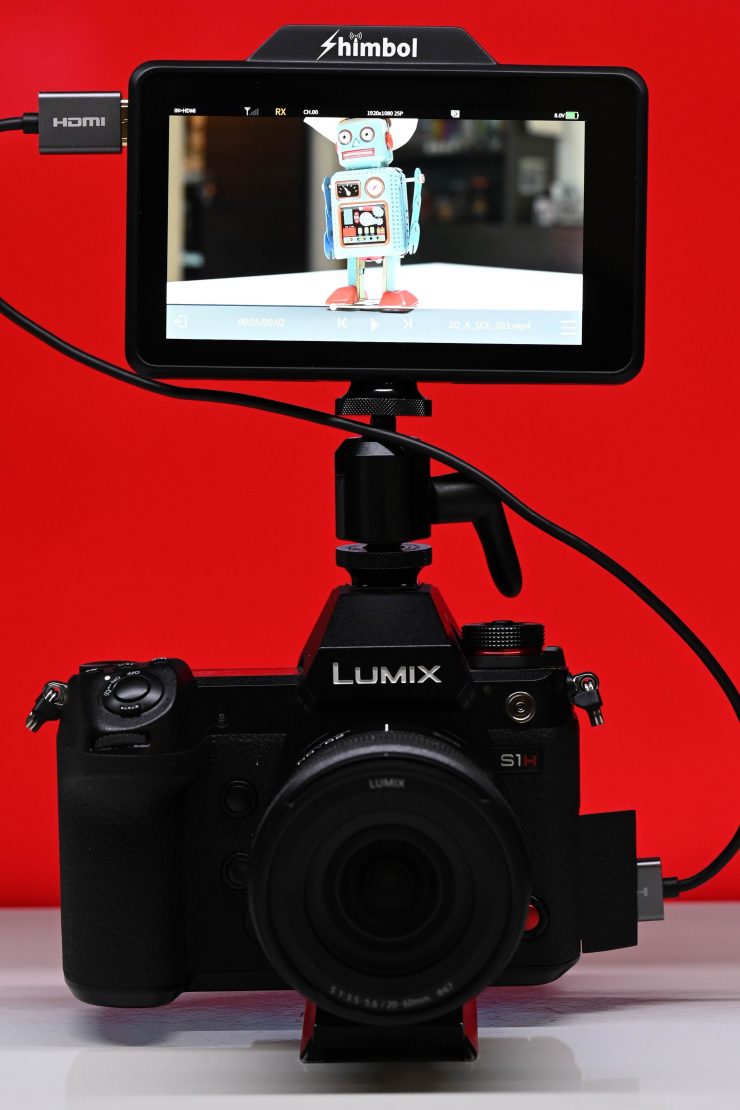
Recording
One of the nice features of the ZO600M is that it does feature onboard recording. This is done in the MP4 format in HD to a Micro SD card. The slight caveat is that a single file is limited to a size of 4GB.
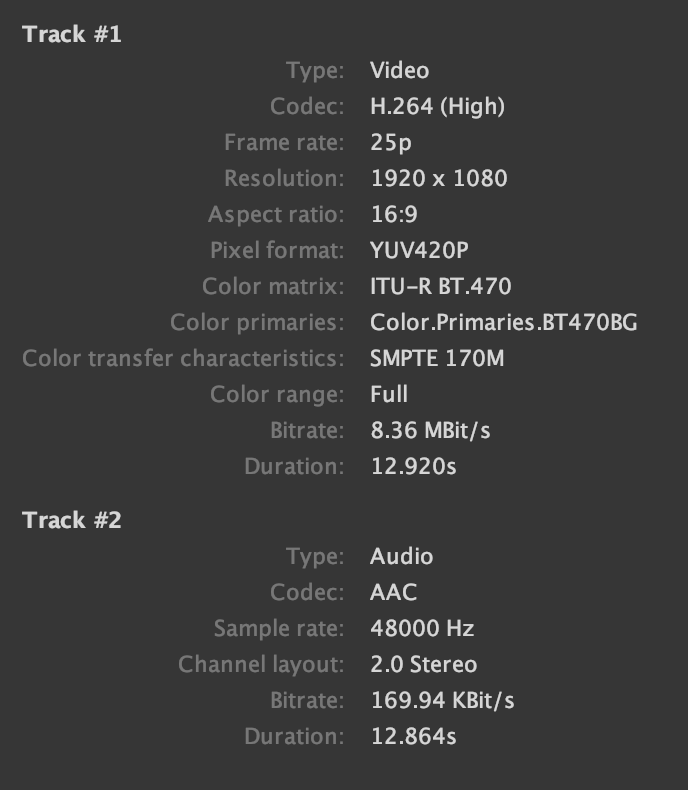
Above you can see what type of file gets recorded. It is an H.264 YUV420 file with a pretty low bitrate of 8.36MBit/s.
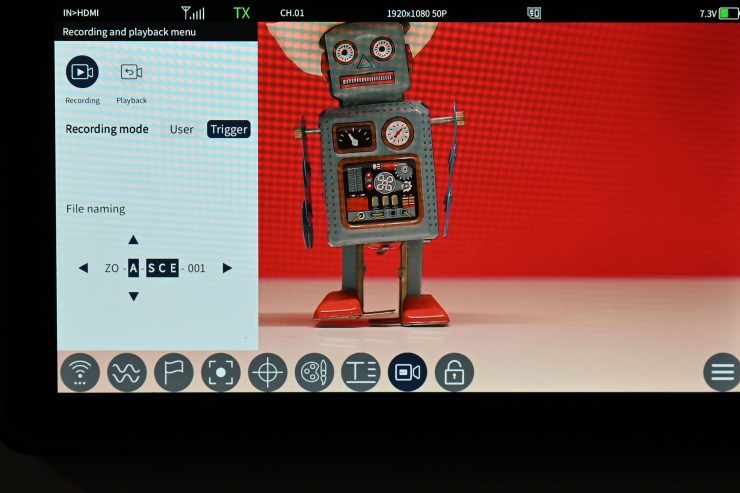
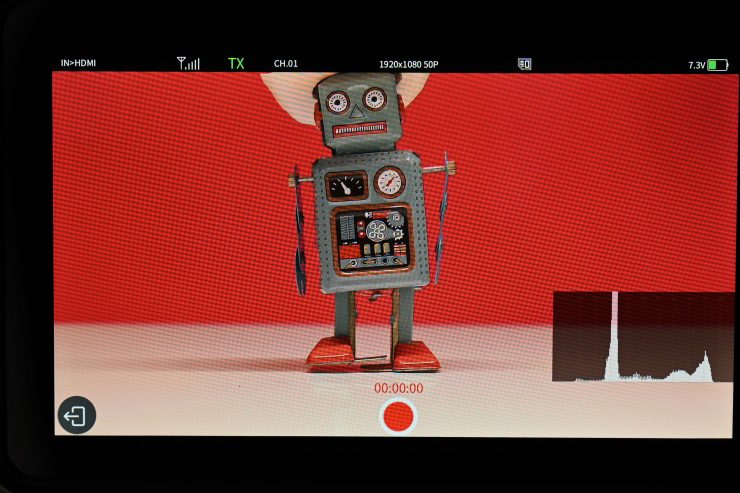
In the Recording menu, you can select whether the recording starts when the camera is triggered or you can set it to start recording manually.
When you activate the recording functionality you lose the ability to access or use any monitoring assist tools. The only exception to this is if you had monitoring tools enabled before going to the record section. If you did, they will stay up on the screen, but you can’t turn them off.
You shouldn’t confuse this recording capability with a dedicated monitor/recorder because its capabilities are pretty limited. However, it is a great way to record footage so someone can quickly play it back and have a look at a shot.
Teleprompter
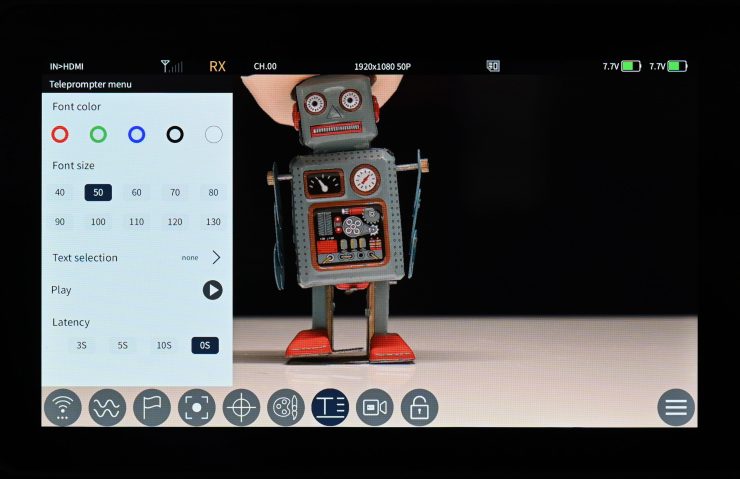
The Shimbol ZO600M has a dedicated Teleprompter menu. Essentially, this is a way of loading up a file and then playing it back on the screen.
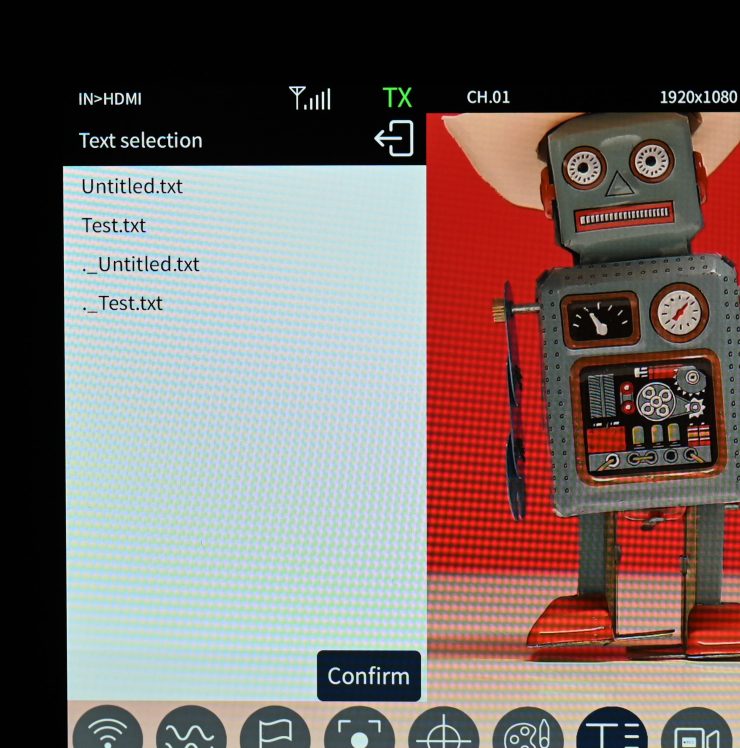
You need to make sure that the Micro SD card is formatted to FAT32 and that the file you place in the Text section of the card is a .txt file.
You can choose the font color, font size, and latency.
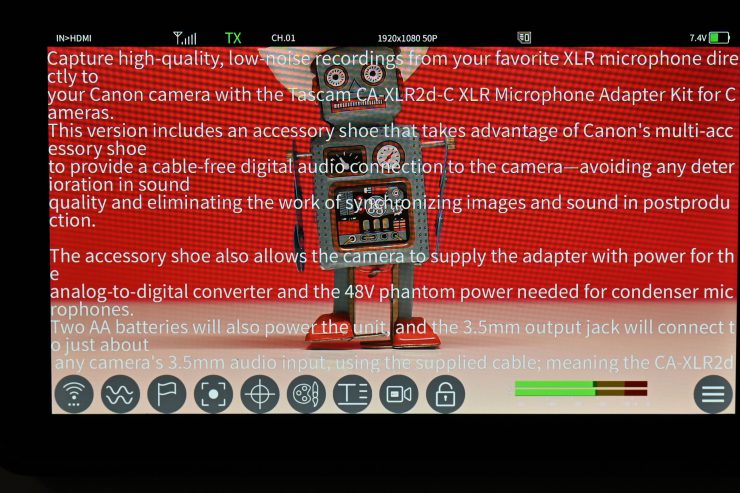
The biggest issue with this feature at the time of my testing is that it doesn’t scale the text to fit the screen. The actual text also doesn’t scroll in just fills up the entire screen and if there is too much text you need to use your fingers to scroll up to reveal more.
In principle, this is an intriguing feature, and once Shimbol irons out the bugs I can see it being useful for some applications. I have made them aware of this issue and they are looking into it.
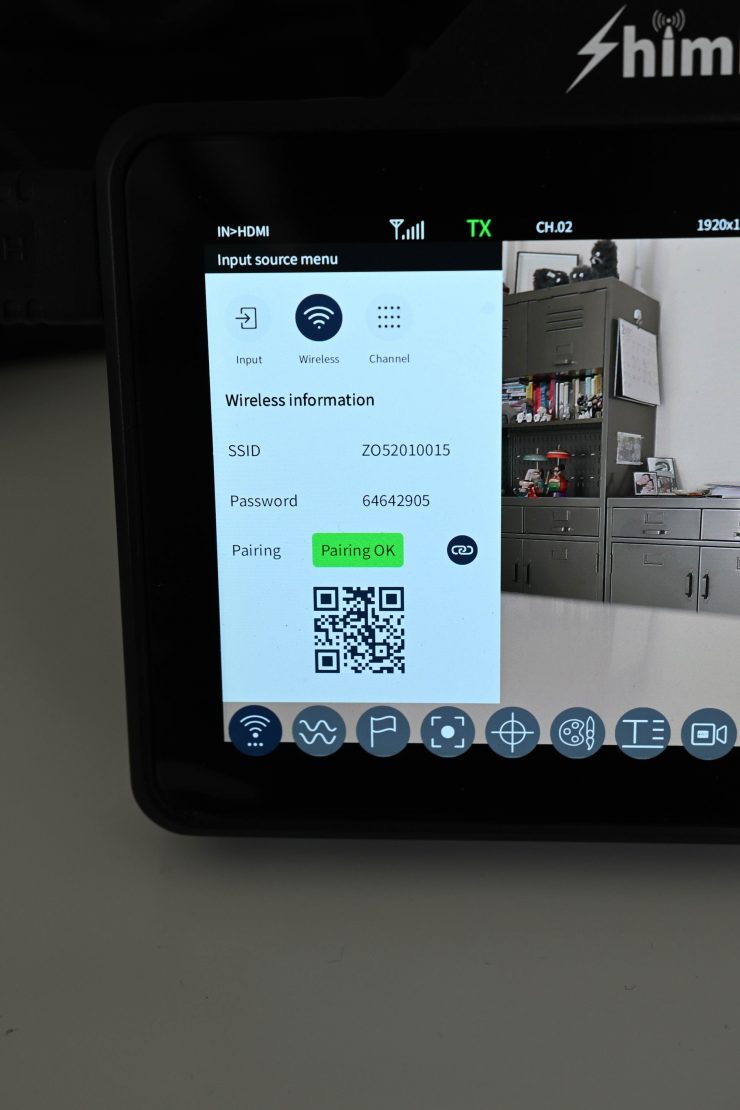
Wireless Plug & Play

The ZO600M’s wireless capabilities, in theory, should be easy to use. If you are using two of them together all you need to do is turn both of them on and then go to the System page in the main menu and select which one you want to use as a TX or an RX.
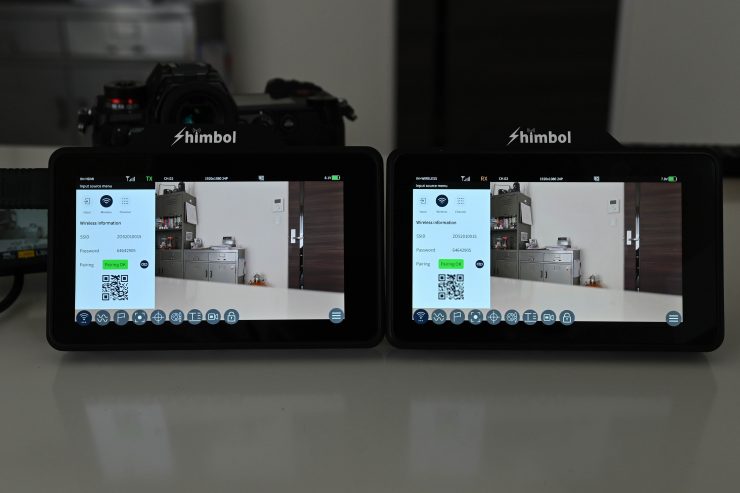
From my testing, I found that the system was pretty consistent. Once you initially pair two devices you don’t have to do it again. You simply just turn both of them on and up comes the picture. It is nice that it is virtually plug-and-play.
Wireless video needs to be straightforward and easy to use. The last thing anyone wants to do is to be stuffing around trying to connect up wireless devices.
Viewing on the Shimbol App
Sending a wireless video signal that multiple people can view at once on a dedicated app is nothing new. Teradek has been doing this for years, and most recently we have seen very cost-effective systems from companies such as Vaxis, Hollyland, and Accsoon.
The Shimbol App is a stand-alone purpose-built app for the ZOlink 600 and the ZO600M. This allows a wireless signal from either a ZOlink 600 TX or a ZO600M to be viewed on an iOS device.
The Shimbol App is about as basic as it gets. It doesn’t offer that much in the way of usability or features.
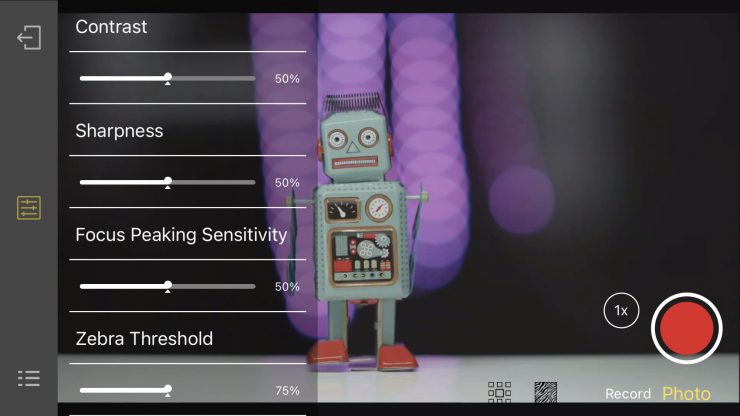
You can change the brightness and contrast of the screen using sliders. You can also change the peaking sensitivity and zebra %.
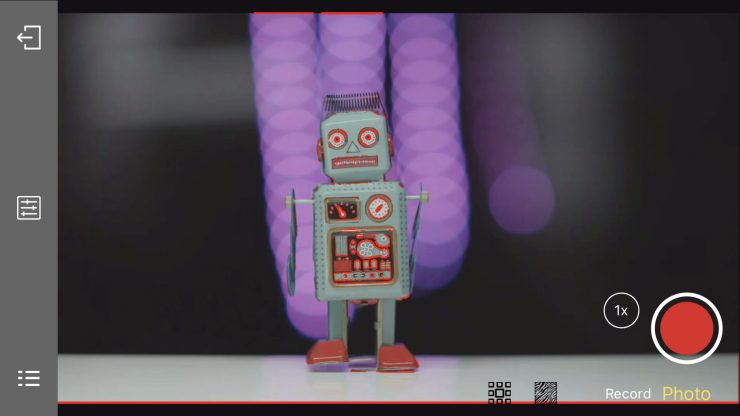
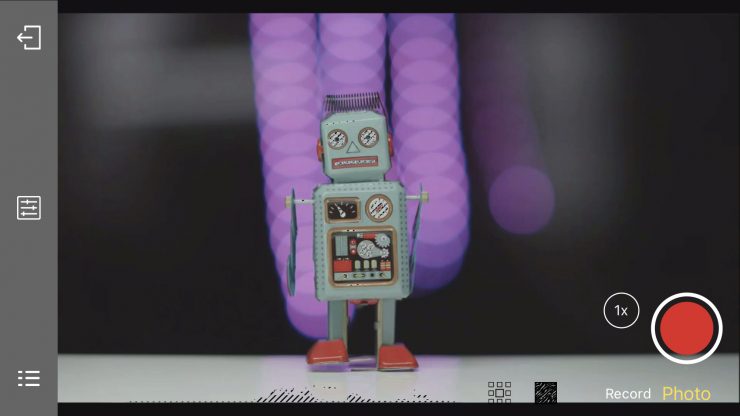
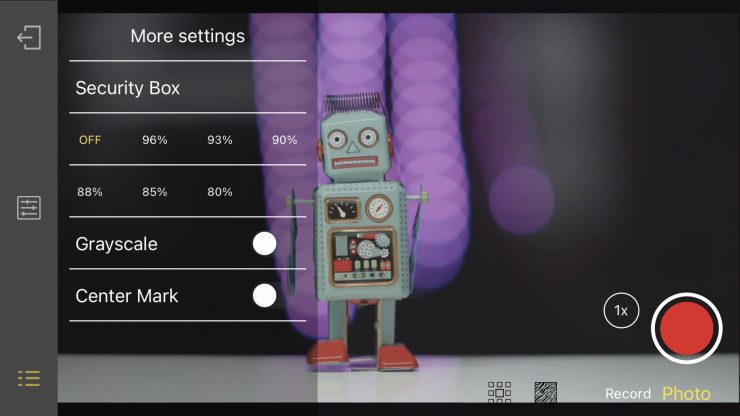
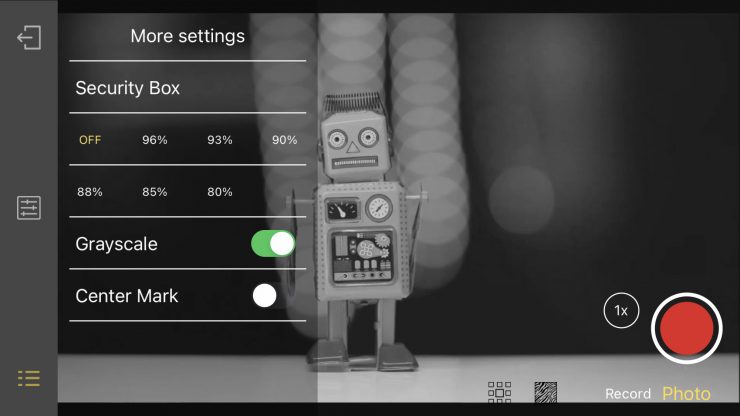
You can activate focus peaking, zebras, and you can put up some frame markers, a greyscale, and a center mark. The frame markers called ‘Security Box‘ are just labeled as a % which is slightly weird. You can’t change the color of the focus peaking, it is stuck on red.

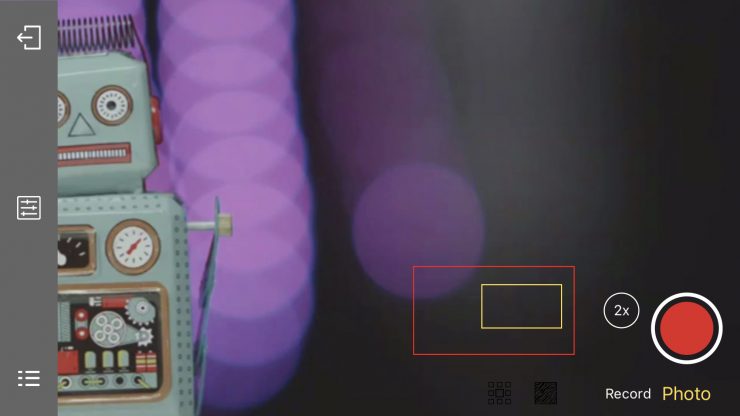
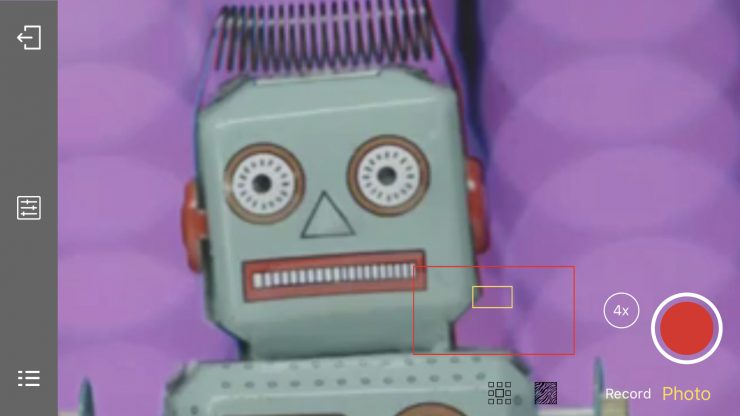
There is focus magnification, but instead of pinch to zoom, you have the first press the magnification button (you can choose from 2x or 4x magnification) and then you can move around on the screen by repositioning the yellow box.
The App is probably one of the most basic I have come across, and although you get a decent-looking image, it lacks quite a lot of functionality and features. However, most of the apps I have used from CVW and Vaxis also lack the same features.
I prefer using two ZO600M’s because of the better monitoring assist tools that they offer. The app is perfectly fine if the person using it just needs to see an image and nothing more.
Latency
I tested out the ZO600M with another ZO600M to see how much latency there was. Shimbol lists the latency as 80ms which is probably a reasonably accurate figure for a wireless device sending compressed video, none less, it is best to do your own tests. The trouble with listed latency is that the manufacturer never tells you what that measured latency is between. There is a big difference between the latency of the TX unit and the RX unit as opposed to what your camera is showing you and what you are seeing on the RX unit. Real-world latency is the latency between what your camera is showing you and what is being seen on the RX unit. That is the only real latency that matters.
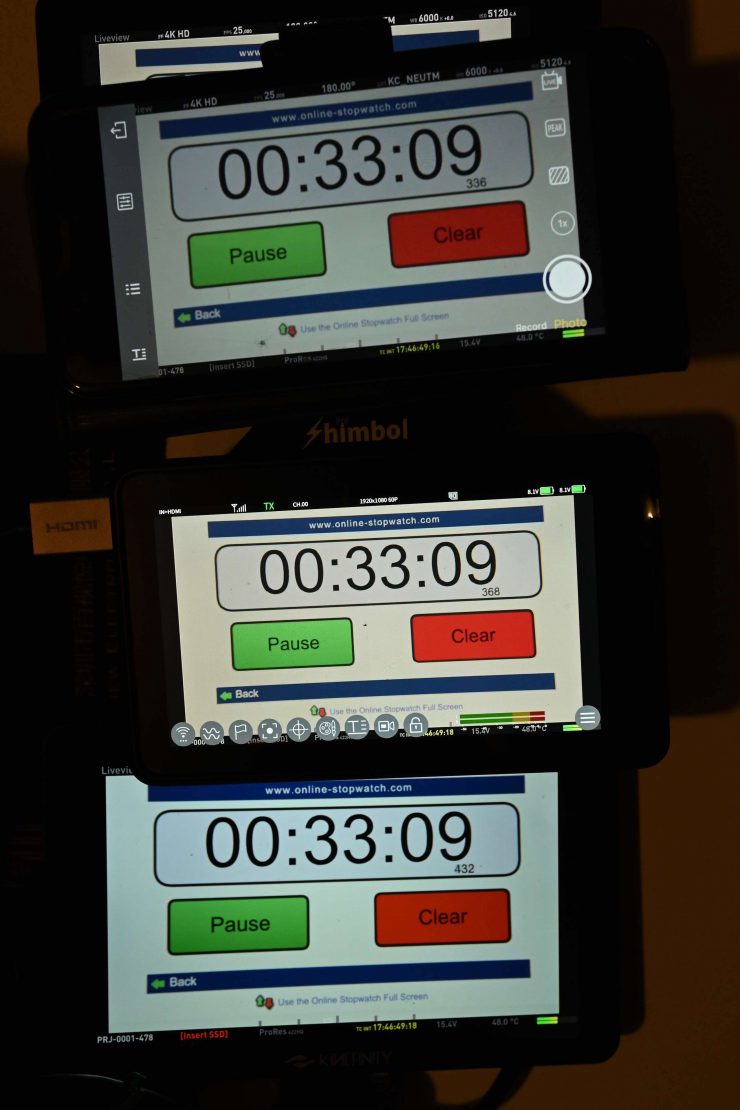
From my tests, I found that the average latency between what is being seen on the camera’s monitor and the ZO600M RX was 147ms. The average latency between the TX unit and the RX unit was 33ms.
How does this latency compare to other similar systems that I have tested? Below you can see:
| LATENCY (camera to RX) | |
| Shimbol ZO600M | 147ms |
| Vaxis A5H | 119ms |
| CVW Swift Z | 141ms |
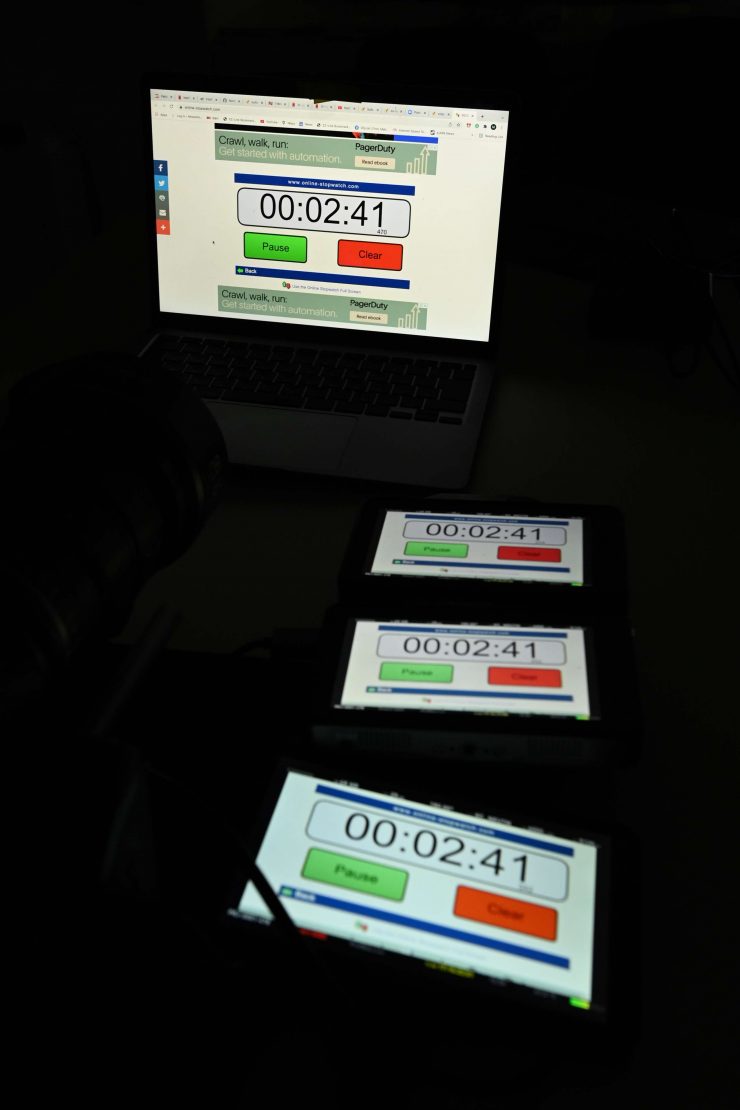
I then tested the latency between what is being seen on the camera’s monitor (using the ZO600M as the TX) and what is being seen on the Shimbol App. I found that the average latency of a series of three random tests was 97.33ms. This latency was quite a bit better than the latency when using two ZO600M’s.
How does this latency compare to other similar systems that I have tested? Below you can see:
| LATENCY (App) | |
| Shimbol ZO600M | 97.33ms |
| Vaxis A5H | 50.33ms |
| CVW Swift Z | 182ms |
What do these figures actually mean? Well, anything below 100ms is considered to be low, because most humans don’t perceive a delay that small. Once you get over 100ms we perceive a noticeable delay.
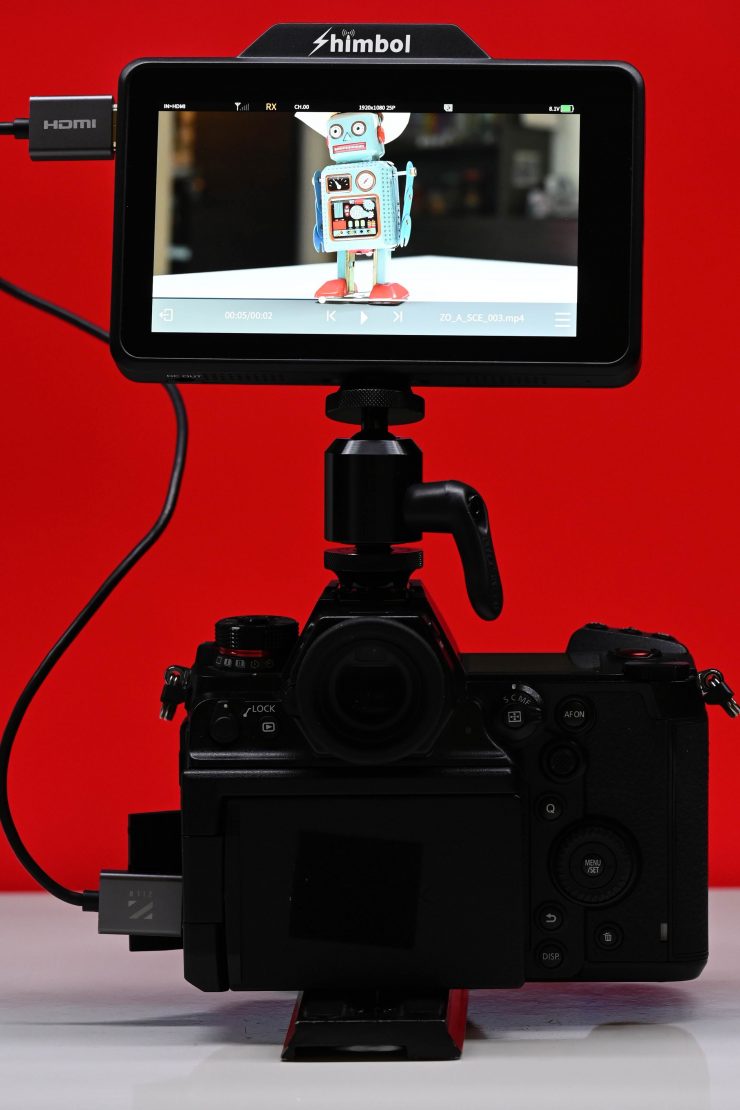
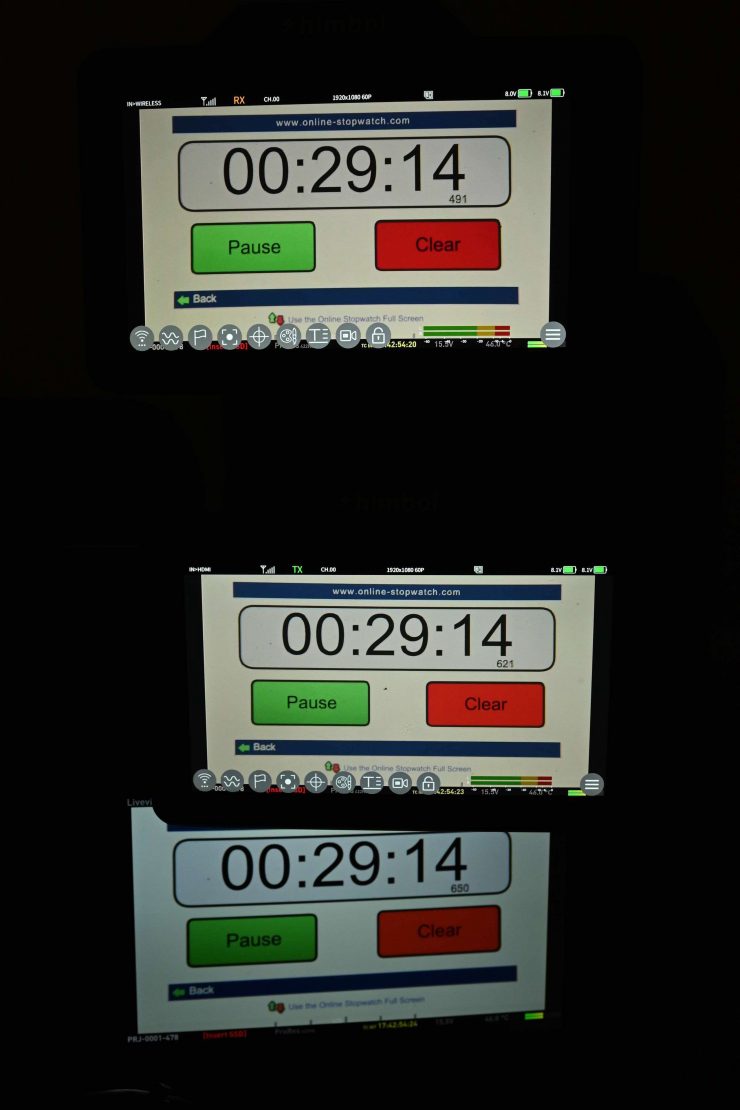
Above you can see what that latency looks like in real-time. The camera’s monitor is at the bottom, the ZO600M (TX) is in the middle, then the iPhone running the Shimbol App, and at the top is the ZO600M (RX).
The tests I conducted were using a Kinefinity MAVO LF which has a very low HDMI latency.
The latency from what the camera was seeing (using the ZO600M as the TX) to the Shimbol App was reasonably good, especially for a Wi-Fi-based transmission system. The latency from what the camera was seeing (using the ZO600M as the TX) to another ZO600M being used as an RX unit was a little high.
Is the screen bright enough?
As I have already mentioned, the ZO600M is claimed to feature a 1,000 nit daylight viewable screen.
You can change the brightness levels of the monitor as well as the backlight strength. There is also the option to change the contrast, saturation, sharpness, and the UI opacity.
I personally think that 1,000 nits are slightly less than what I would consider being daylight viewable. I really think you need a screen with at least 2,000 nits minimum to make that claim.
I actually found that in real-world use the screen was reasonably good outdoors, but you may struggle to see it in very bright sunlight.
There are a lot of 7″ monitors such as the SWIT T7 and G7 (3,000 nits), TV Logic F-7H II (3,600 nits), and the Portkeys BM7 (2,000 nits) that boast very bright screens, however, just like higher resolution doesn’t always equate to a better camera, higher nits don’t always equate to a better monitor.
The panel is listed as 8-bit with 10-bit scopes. A lot of companies list their monitors as 10-bit even though they are really using a 10-bit (8+2 FRC) panel. FRC stands for Frame Rate Control Technology and an 8+2 FRC panel is basically a way of trying to approximate the color reproduction of a true 10-bit panel. A true 10-bit monitor can display 1024 shades of color, whereas a 10-bit (8+2 FRC) panel can only truly display 256 shades. So what a 10-bit (8+2 FRC) panel does is artificially create in-between shades of color by quickly shifting the pixels to go between certain shades of colors.
For example, you would show the main shade of one color for 75% of the time and then another one for 25% of the time. This creates an illusion for the viewer that they are actually seeing more colors than what can actually be displayed.
Image quality
At the end of the day if a monitor can’t display accurate images then it doesn’t matter how many bells and whistles it has.
The image quality is reasonably good, and it is what you would expect for a monitor at this price point.
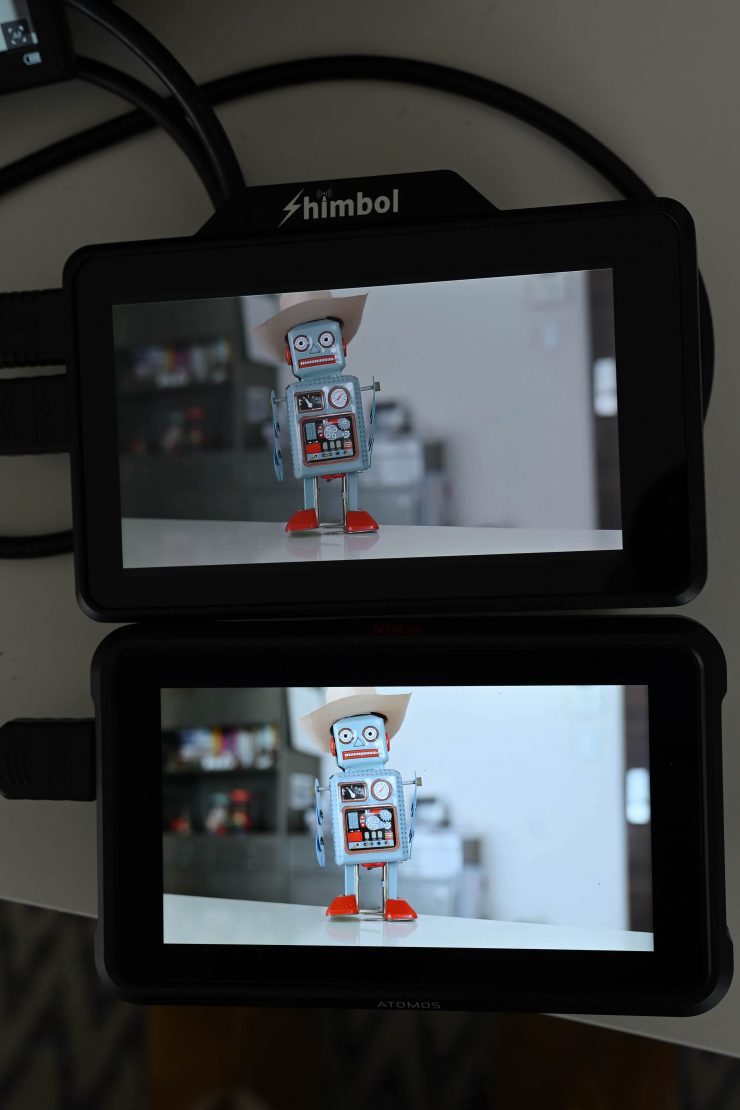
Above you can see an image comparison between the ZO600M and Atomos Ninja V with both monitors and their backlights at 100%. The ZO600M has quite a neutral-looking image and I think that is partly because it isn’t that contrasty. The Atomos is a lot brighter and has more contrast.
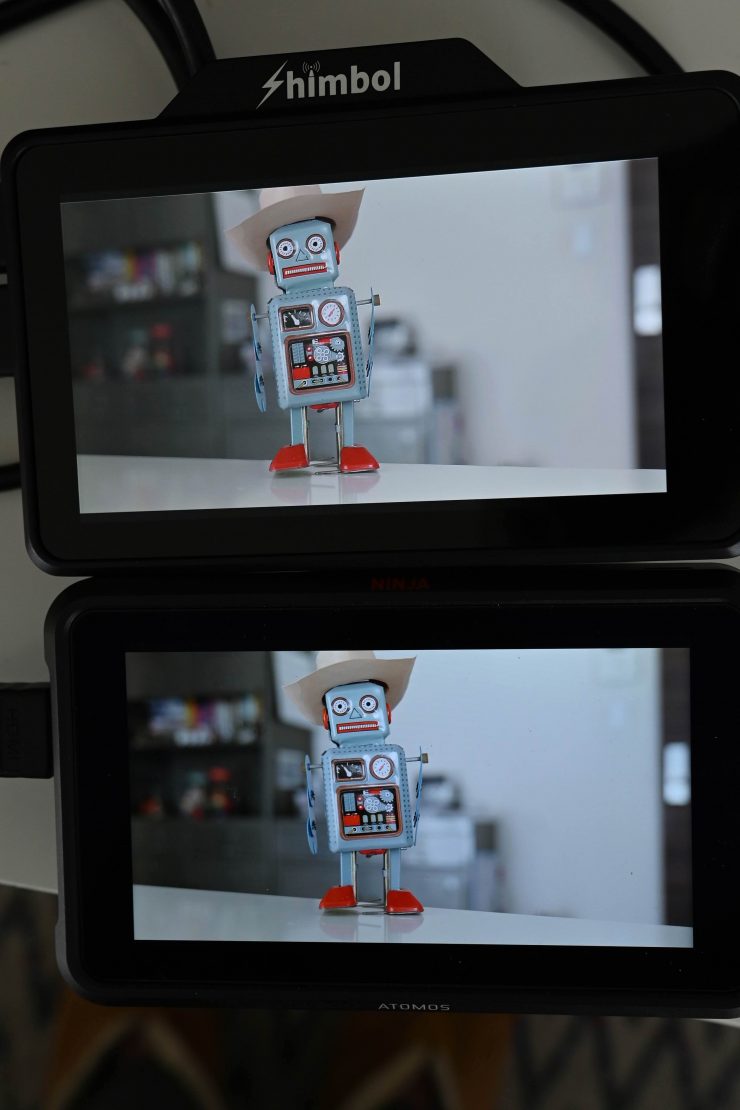
Above you can see an image comparison between the ZO600M and Atomos Ninja V where I have adjusted the Ninja V’s backlight to 30% to try and match the brightness of the ZO600M. Both monitors look reasonably similar when it comes to color, however, the Atomos is able to show deeper blacks.
The trouble with trying to evaluate any monitor’s image quality is that it is very subjective. What one person may think looks good, another may think it looks terrible. For me personally, I want the monitor to match as closely to what I am seeing in my camera’s EVF or LCD screen.
Does accuracy really matter?
This may sound like a ridiculous question to ask, but with everyone watching content on different screens and types of screens, it’s a legitimate question.
Just because you are basing color accuracy, brightness, and contrast off whatever monitoring or grading monitor you are using there is very little chance that it is going to be seen by someone as intended unless it happens to be shown in a movie theatre (and even then there is still variables).
In the case of giving a monitor to a director, producer, or client, does it really need to be super accurate? That answer is really going to depend on the level of production. For me personally, I would rather try and provide the best image possible so that a director, producer, or client knows exactly what they are getting. I found that the image from the A5H was an ok, but not a great representation of what I was seeing on my camera.
Is it actually 1,000 nits?
To check the claimed brightness of the ZO600M, I shot a white card and then exposed the image so it was just below 100% so there was no clipping. I then took a reading from the ZO600M using a Sekonic C-800. The ZO600M has a claimed maximum brightness of 1,000 nits so does it produce 1,000 nits?

The ZO600M gave me a reading of exactly 1000 lux. This was with the backlight set to 100. It is good to see a monitor have a brightness that lives up to its claims.
| BRIGHTNESS | |
| Shimbol ZO600M | 1000lx |
| Vaxis A5H | 796lx |
| CVW Swift Z | 259lx |
Above you can see what the brightness was for competing products I have tested.
Wireless performance
This is always a hard one to review and test. Wireless range and performance depend on where you are using it. In one location you may get 600′ of range or more, and in another, you may be lucky to get 50′. From my testing here in Japan, I found the wireless range to not be very good. Again, I need to stress that wireless performance very much depends on the environment you are using it in.
I always test wireless video transmission devices in the exact same place so I can get a good baseline and make the tests as far as possible.
I tested the distance I could get when using two ZO600M units, one set as a TX and the other as an RX. I could only get around 76.8m / 252′ before the signal dropped out completely on the ZO600M RX unit. This was way less than the 152.4m / 500ft range that is claimed by Shimbol. Again I want you to remember that wireless performance really depends on where you are using the product.
So how does this range compare to other similar systems I have tested? Below you can see:
| DISTANCE | |
| Shimbol ZO600M | 76.8m / 252′ |
| Vaxis A5H | 100m / 328′ |
| CVW Swift Z | 230m / 754′ |
Ok, so now let’s do some other tests. I wanted to see what would happen once the wireless system drops and what happens if you turn off the TX or RX unit.
Once the wireless signal drops out, it reappeared automatically once I came back into range. I didn’t need to turn anything off and then back on again.
I also wanted to see what would happen if I lost connection, so I turned the receiver off and then back on again. It took roughly 22 seconds for the receiver to re-establish a connection which was a little on the slow side.
Next, I turned the transmitter off, which is more commonly what may happen when you change over a camera battery or power the camera off and then on again. This time it took around 46 seconds for the picture to re-establish. This was very slow.
Ok, so what if I change the frame rate from 25p to 50p on the camera? The TX unit took around 5 seconds to re-establish the picture and the RX unit took around 7 seconds.
When I was using the Shimbol app, the signal dropped out after around 85m / 279′. The image on the Shimbol app was more stable than when using the ZO600M as an RX.
So how does this range compare to other similar systems I have tested when using an app for viewing? Below you can see:
| DISTANCE | |
| Shimbol ZO600M | 85m / 279′ |
| Vaxis A5H | 30m / 98′ |
| CVW Swift Z | Not Measured |
Is it a disadvantage to having the wireless built-in?
This is a question a lot of people are bound to ask, so I’ll address it from my perspective. No, I don’t think it is a disadvantage having it built-in, and here is why. The in-built RX/TX doesn’t really make the monitor that much bigger.
Price
The retail price for a single Z0600M is $399 USD. You can also buy a kit with two of the ZO600M’s for $798 USD.
How does this compare to other similar products?
| PRICE | |
| Shimbol ZO600M (single monitor) | $399 USD |
| Shimbol ZO600M (two monitors) | $798 USD |
| Vaxis A5H (single monitor) | $499 USD |
| CVW Swift Z 5.5″ (two monitors) | $689.99 USD |
| Desview DR6 Wireless HD 1080P Video Transmitter and 5.5” Touchscreen Monitor with Video Receiver Set | $899 USD |
Thoughts
The Shimbol ZO600M is the best budget integrated wireless monitor solution I have tested so far. It features a good selection of monitoring assist tools and other features. The screen quality is reasonably good and the operating system is one of the better ones I have come across at this price point.
It is nice that you can just use the ZO600M as either a TX or RX unit, as well as a stand-alone monitor when you don’t need the wireless capabilities. The ZO600M allows you to have a decent onboard camera monitoring solution with the added ability to be able to transmit wireless video that you can view on another ZO600M, a ZOlink 600S, or via a free app on a smartphone. Shimbol is giving you a lot of choices of how to use the stem depending on what your requirements are.
The Shimbol App is a little basic, however, if it is just for viewing purposes then it is perfectly fine.
In my opinion, the latency was a bit high when using two ZO600Ms. If you use one and the Shimbol App the latency was acceptable. There is no way you would want to pull focus remotely from the RX unit, but for someone who just needs to see an image the latency shouldn’t be too much of a deal.
With monitors and wireless systems you usually pay for what you get, and if you want a really good monitor and a wireless system that sends uncompressed video then it won’t come cheap. If you don’t want to spend a lot of money then you have to expect that compromises will have been made.
The ZO600M is good budget-friendly solution if you are looking for a wireless video monitoring solution.