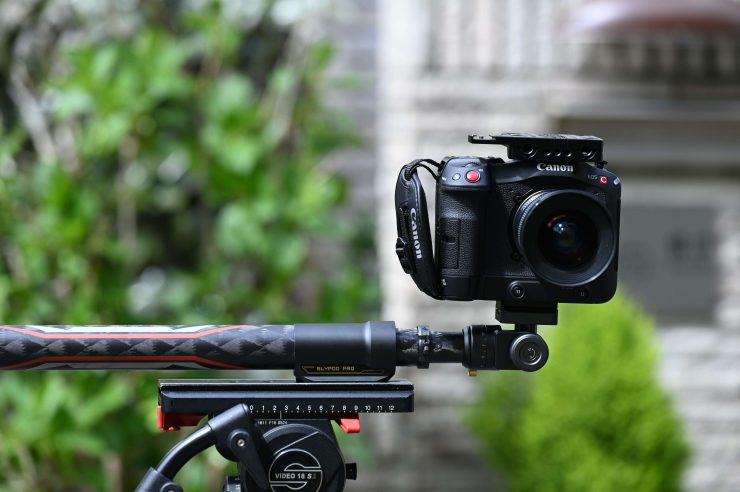
The Moza Slypod Pro is a follow-up to the original Slypod that was announced back in 2019. Essentially the Slypod Pro, just like Slypod, is a retracting motorized rod that doubles in length at different speeds.
The whole concept behind the Slypod Pro was to make a jack of all trades product that could be used as a slider, jib, dolly, and even on a monopod with the included feet.
Moza wanted to make the Slypod Pro quick and easy to use. for those times when you want to add a bit of camera movement without spending too much time setting something up.
Erik reviewed the original Slypod last year and while he generally liked the product, he certainly felt there was room for improvement.
So let’s see if the sequel is better than the original.
Build Quality
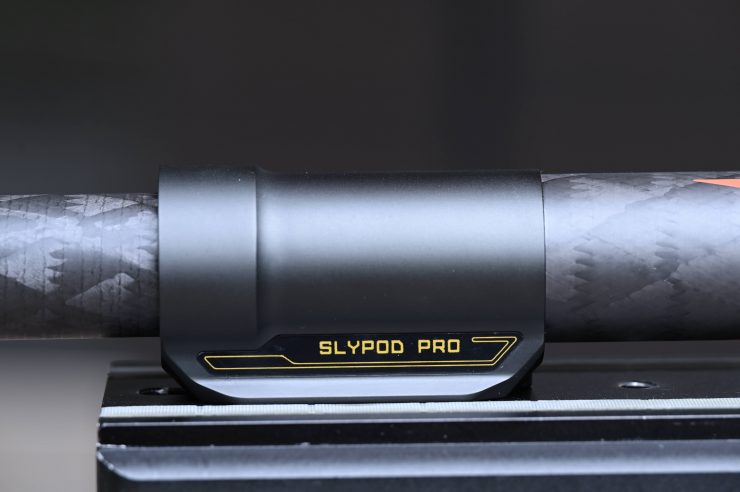
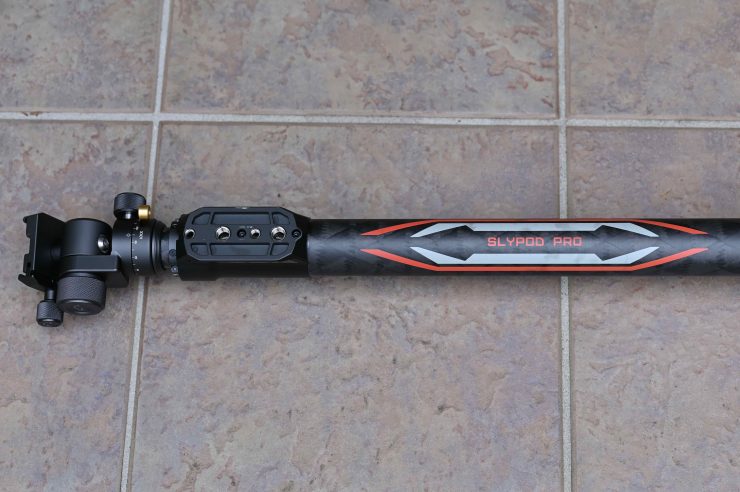
The Slypod Pro is solidly made and I don’t have any concerns when it comes to the overall build quality.
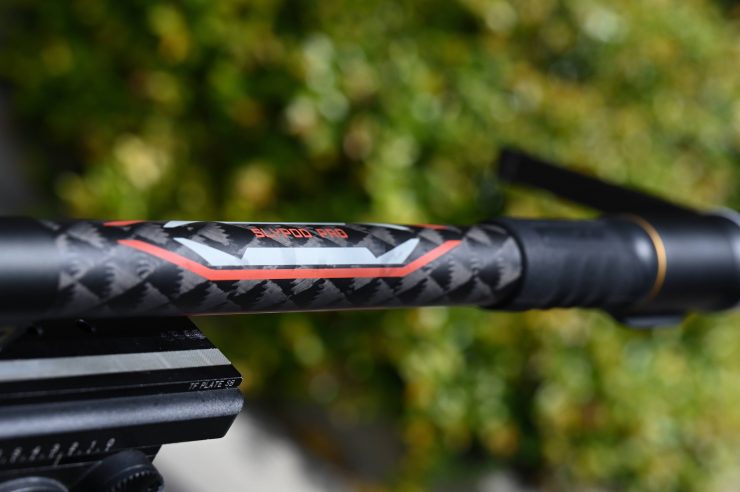
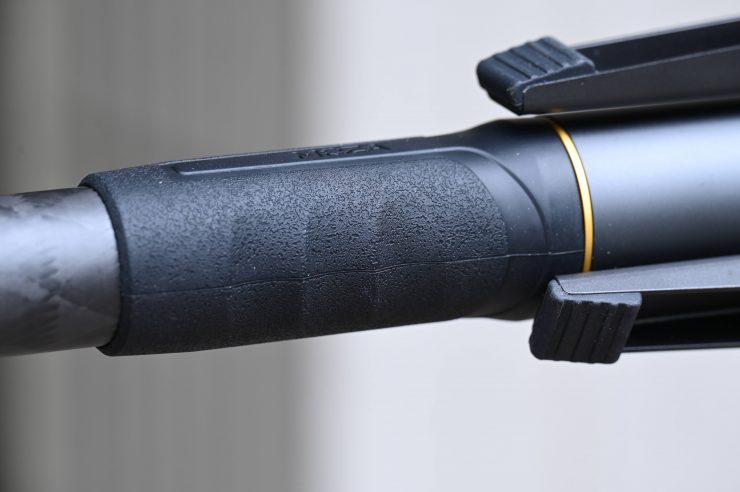
The main body is made out of stiff carbon fiber and this certainly keeps the weight to a minimum while maintaining rigidity.

The graphics and colored LED lights are hardly understated and I would have preferred to have seen something with less branding.
Weight & Size
The Slypod Pro is relatively lightweight considering its size and capabilities. It tips the scales at 1.46kg (3.2 lb). However, even though it weighs in at under 1.5kg, it is more than twice the weight of the original Slypod (770g).
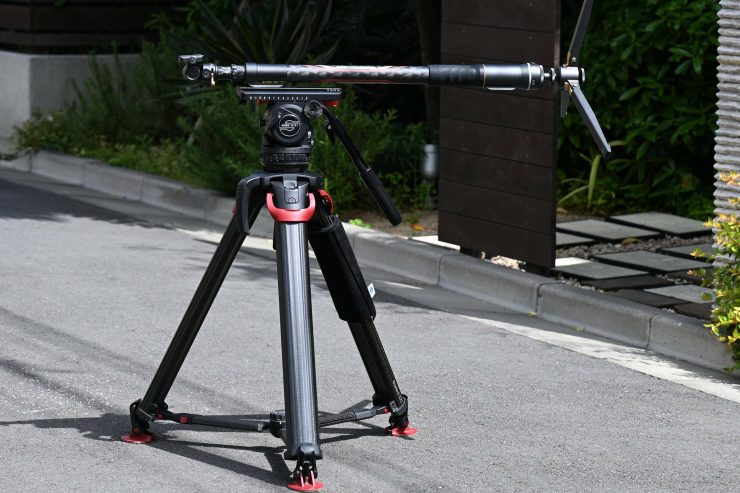
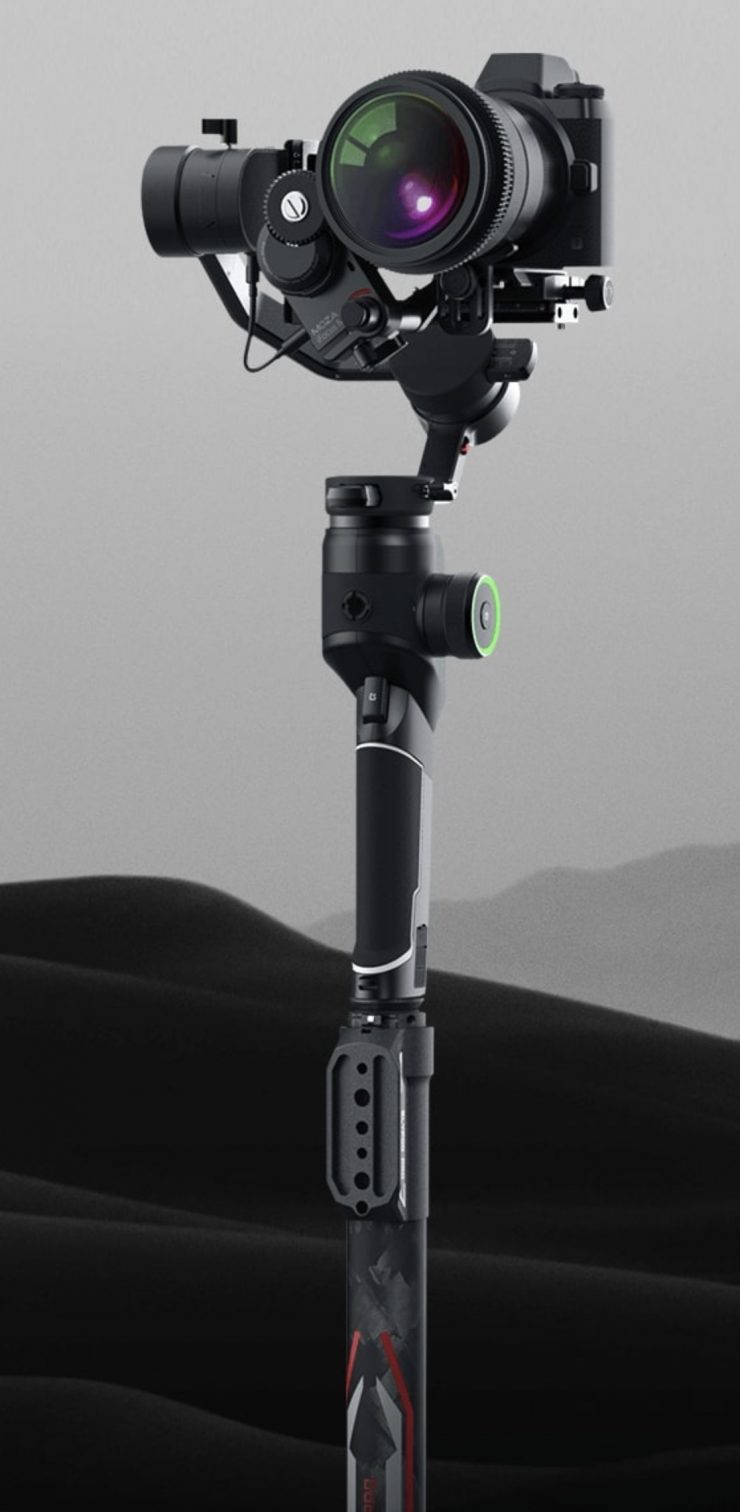
Design
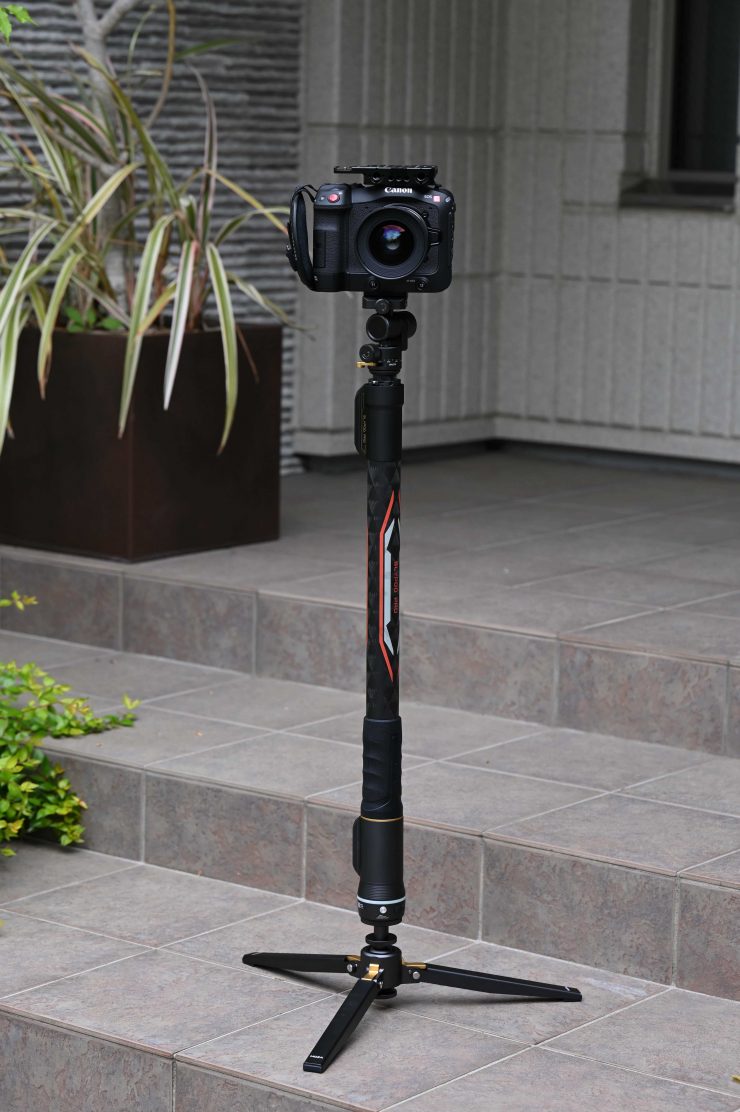

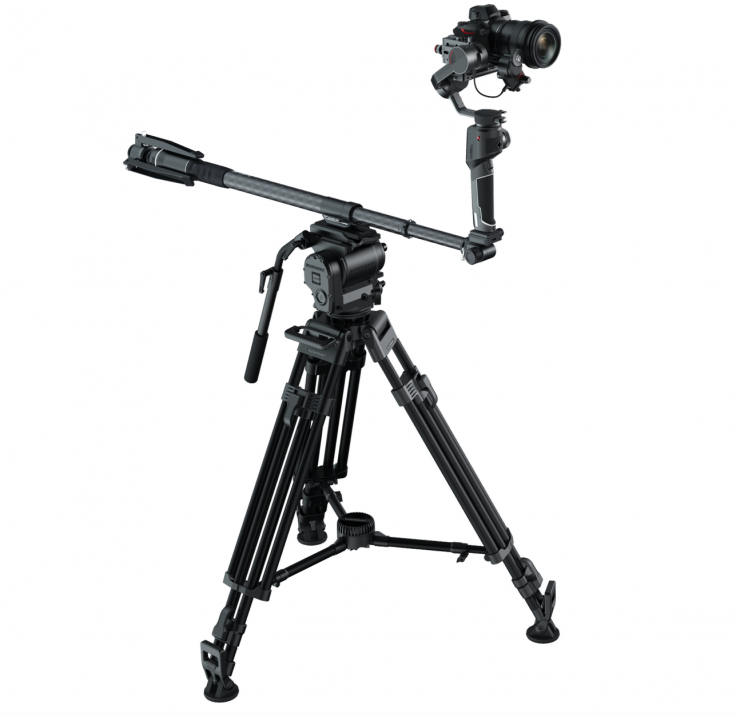
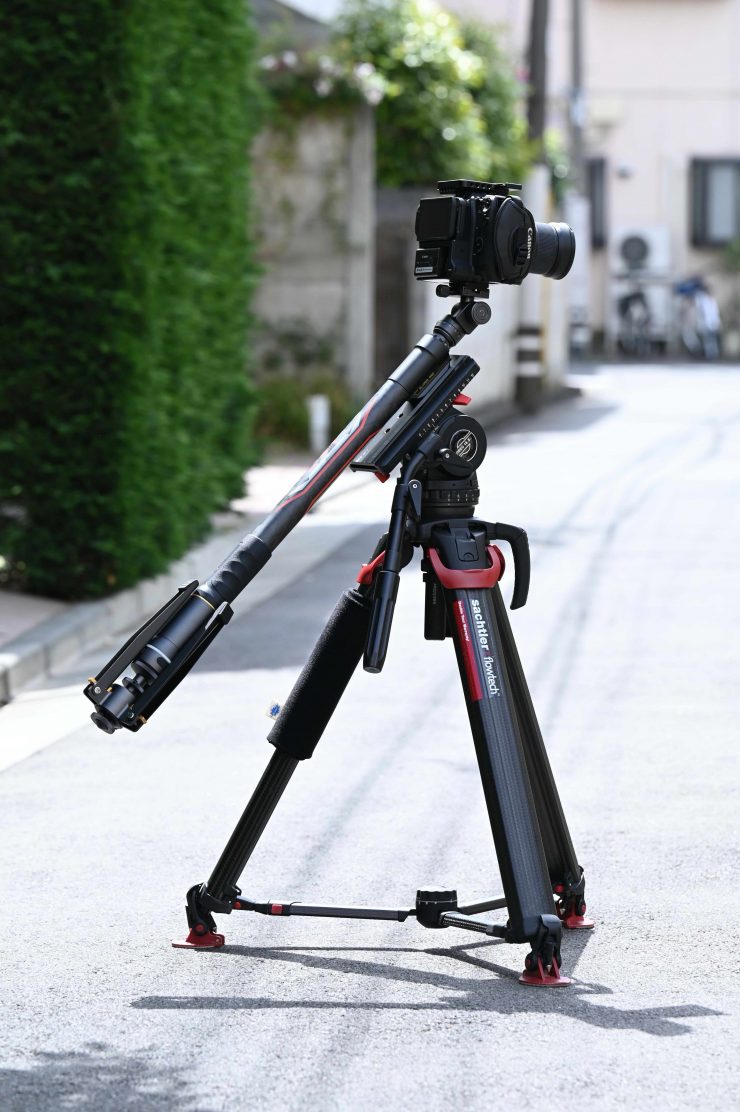
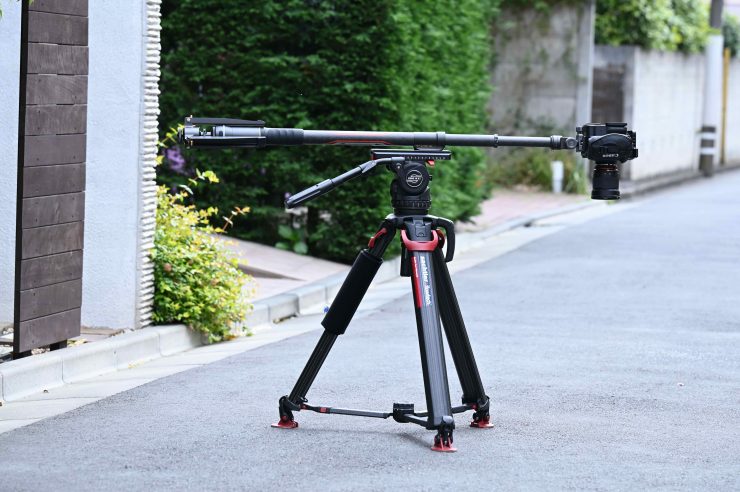
The whole design idea behind the Slypod Pro is to make it as versatile as possible. You can use it as a monopod or you can attach it to a tripod. This allows it to be used in a variety of ways.
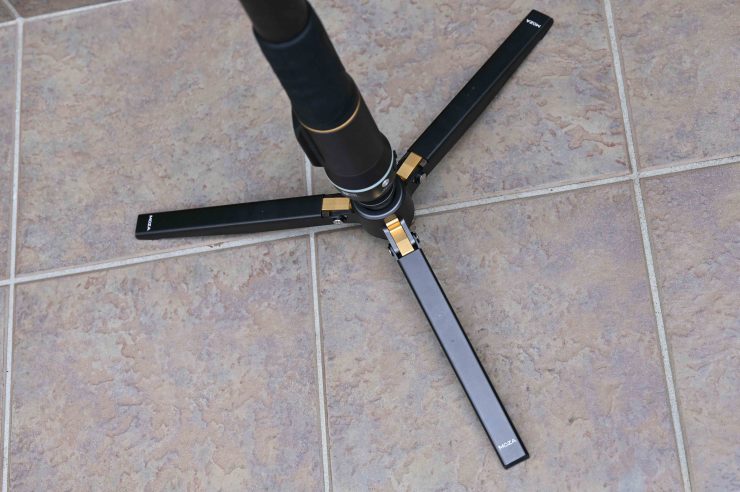
The monopod feet can be folded up or you can detach them from the Slypod Pro if you want to.
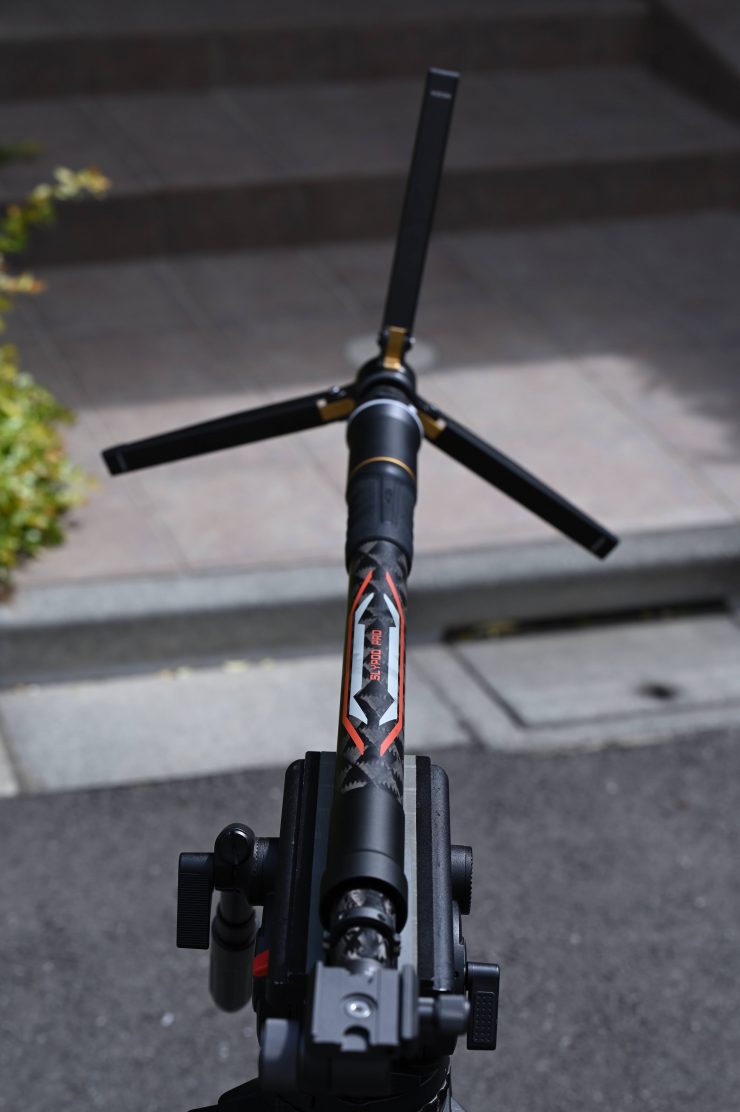
I found it was easier to just leave them attached, even when using the Slypod Pro on a tripod as it adds more counterweight to the back.
The monopod feet provide a fair bit of stability, but like any monopod, I wouldn’t leave it unattended with a camera mounted on it. Monopods are very easy to knock over.
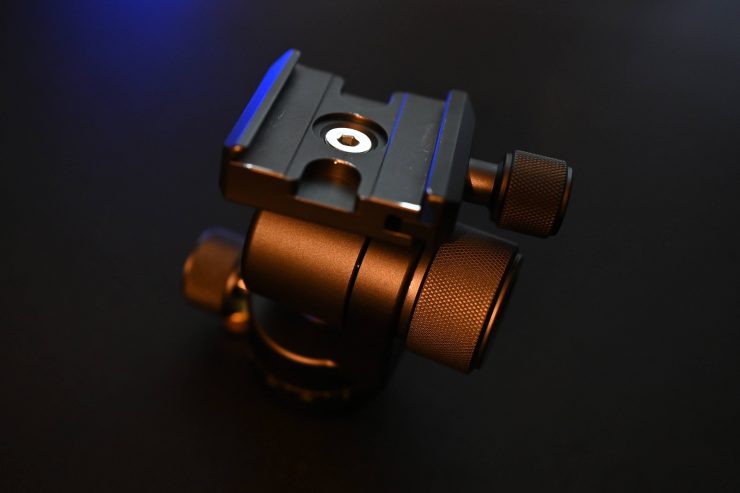
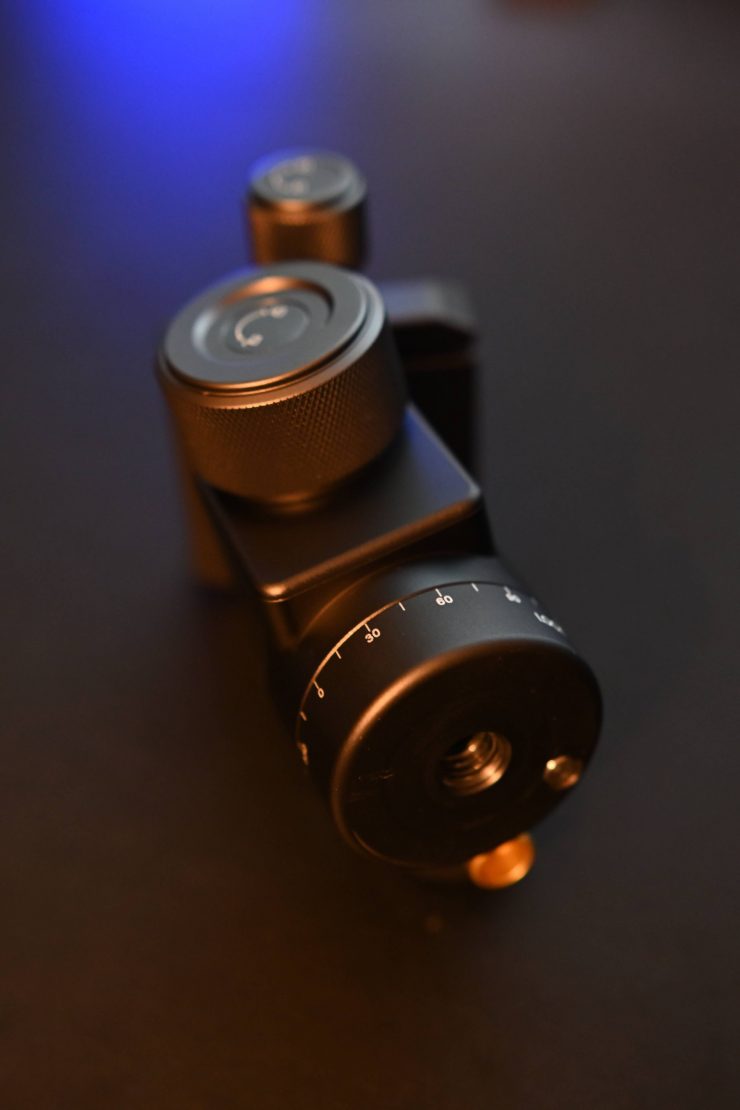
The pan & tilt head that come with the Slypod Pro can be removed and you could attach your own head if you wanted to. This is different from the original Slypod where the pan & tilt head featured a quick release system.
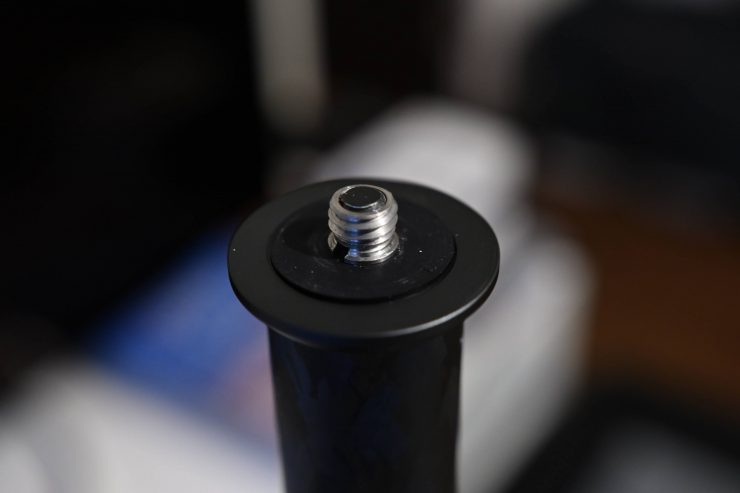
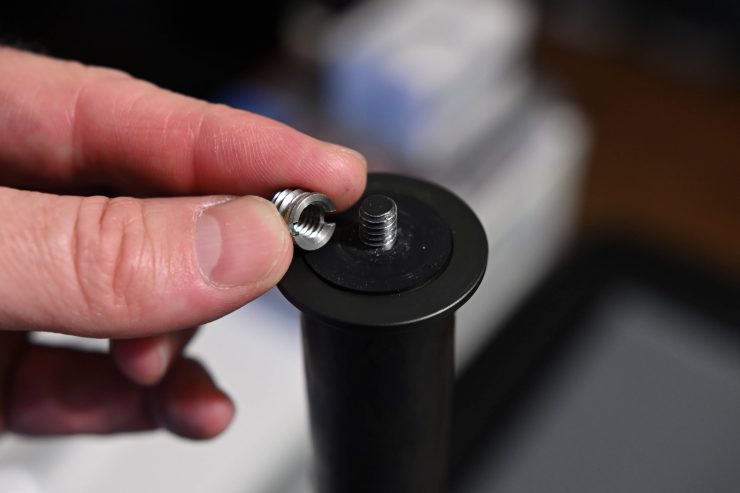
The included pan & tilt head attaches to a 1/4 20″ screw on the Slypod Pro. That 1/4-20″ screw does have a 3/8″ adapter thread on it. This way you can attach anything with a 1/4-20″ or 3/8″ thread to the Slypod Pro.
As the pan & tilt head can be removed, you could use the Slypod Pro for just about anything. For example, a motorized boom pole with a mic on it or even a light. You could even use it for a monitor or a wireless receiver. This goes back to the whole concept of making a very versatile product.
The overall design looks like a big improvement over the original Slypod. To me, it feels and looks like a more polished product.
Payload Capacity
The payload capacity depends on whether you are using the Slypod Pro horizontally or vertically. Below are the maximum recommended payloads:
- Vertical: 6kg (13.22 lb)
- Horizontal: 2kg (4.4 lb)
Interestingly, these payload capacities are a lot less than the original Slypod. The original Slypod has a vertical payload capacity of 9kg and a horizontal capacity of 4kg. Making the Slypod Pro larger and heavier and decreasing the payload capacity certainly seems to have helped with smoothness.
Now, from my experience, I wouldn’t recommend using it near its max payload capacity. Obviously, if you are just using it vertically then it can take a lot more weight. Horizontally you have to air on the side of caution. For slides or push in/push out shots the payload capacity is less than half of what it is when doing a vertical move.
Realistically, not many people will buy this product just to do vertical shots. Therefore, this product is more suited to camera and lens packages that are under 2kg.
Travel Range
The Slypod Pro can extend out 530mm (20.86″). This is a reasonable amount of travel given its relatively low weight and size. The amount of travel is enough for you to create some interesting shots quickly and easily.
Unlike a lot of motorized sliders that can double their length when used on a tripod, with the Slypod Pro you are only going to be able to get 530mm (20.86″) of travel.
530mm may not sound like a lot, and you need to clearly remember that you are not going to be able to get the same type of movement that you will get when using a dolly or a dedicated jib. In saying that, I found that the travel distance was still enough to get a reasonable sense of movement. You do, however, need to think carefully about how you set up shots to convey that movement. With devices that are limited range, it helps to have something in the foreground so it helps convey that sense of movement.
How is it powered?
The Slypod Pro features an internal battery and you charge it via a USB-C connection.
The battery seems to last quite a long time. I was using it for a few hours and the battery indicator didn’t move off 100%. This was a bit strange and I am not sure whether this is was a bug when using the app.
The Slypod Pro charges with a USB type C connection. According to Moza, it takes approximately 90-minutes to fully charge and lasts about 2-hours. The Slypod Pro can also be powered or charged by a power bank for continuous shooting. What I found is that the Slypod Pro goes into a standby mode when you turn it on after connecting it to a power source. I had to press the power button again to take it out of this standby mode.
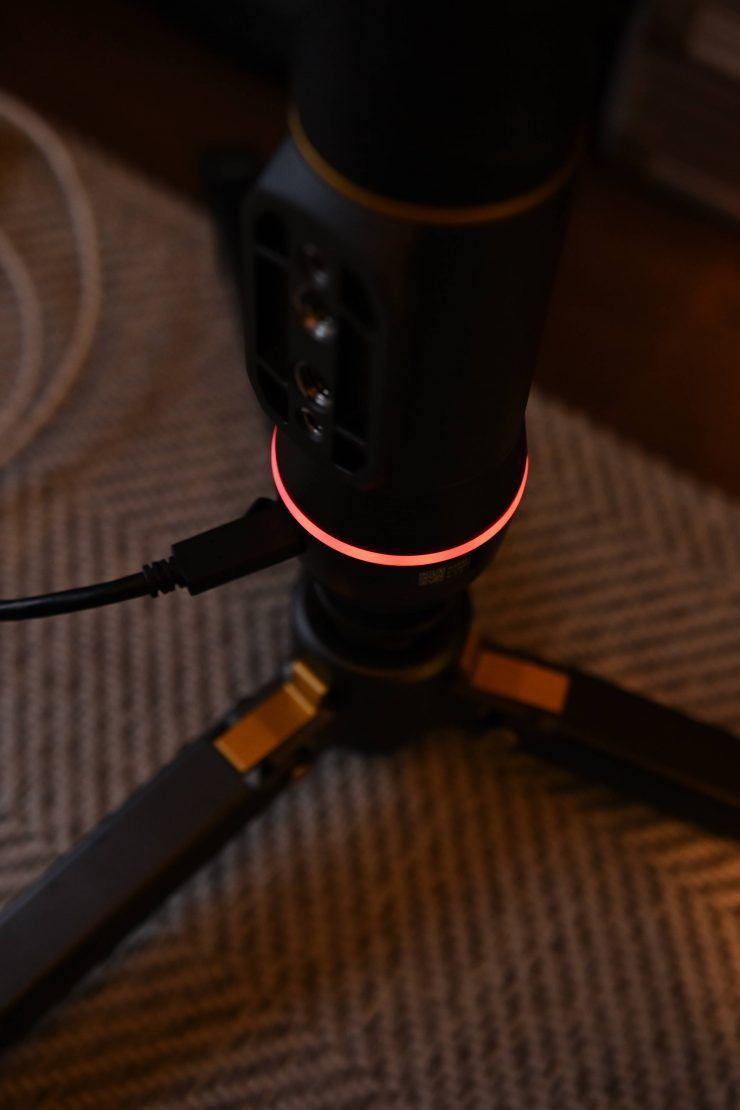
Solid red indicates that the Slypod Pro is charging, solid blue indicates that charging has finished.
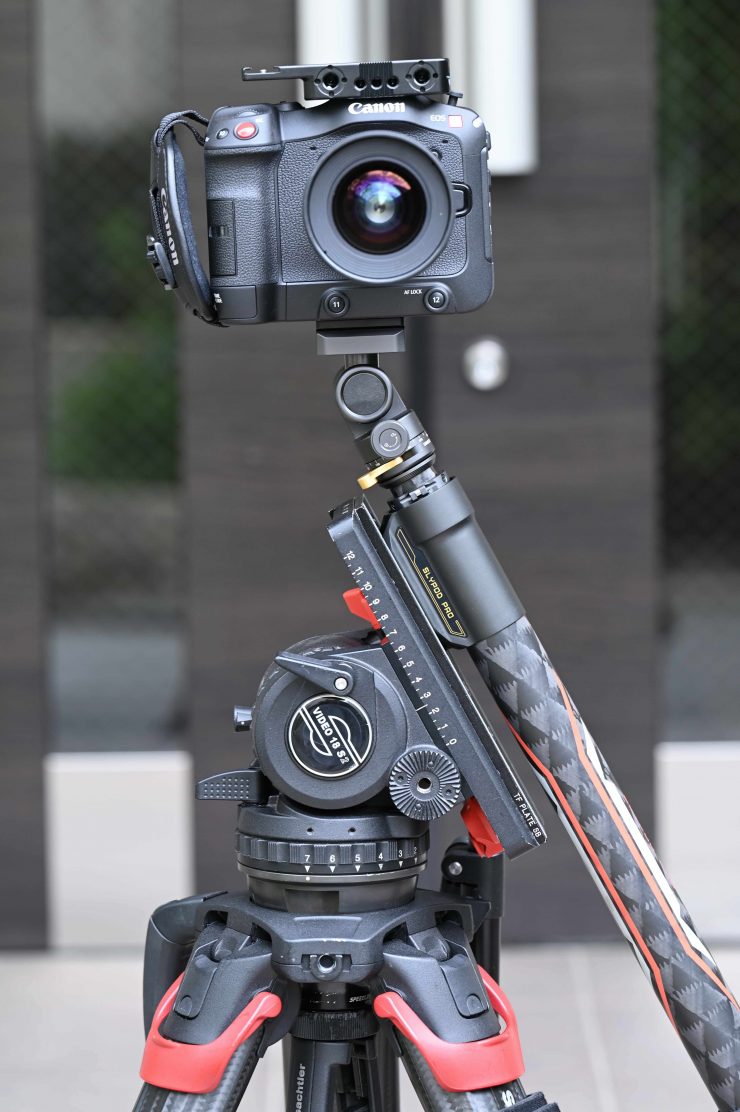
How do you attach a camera?
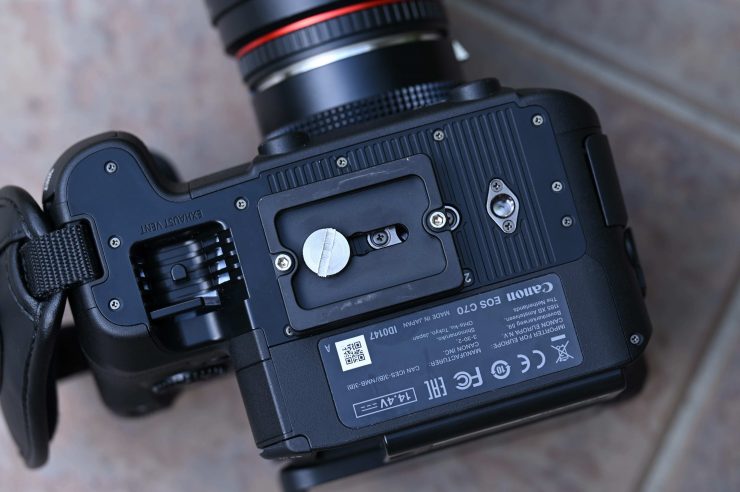
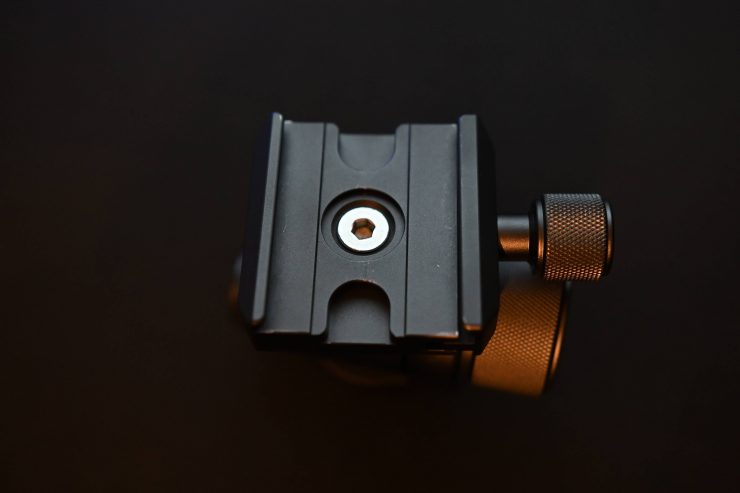
You need to attach the included mounting plate to a camera. The quick-release plate is supposed to come with 1/4” and 3/8” screws, but with the version I was testing there were no screws.
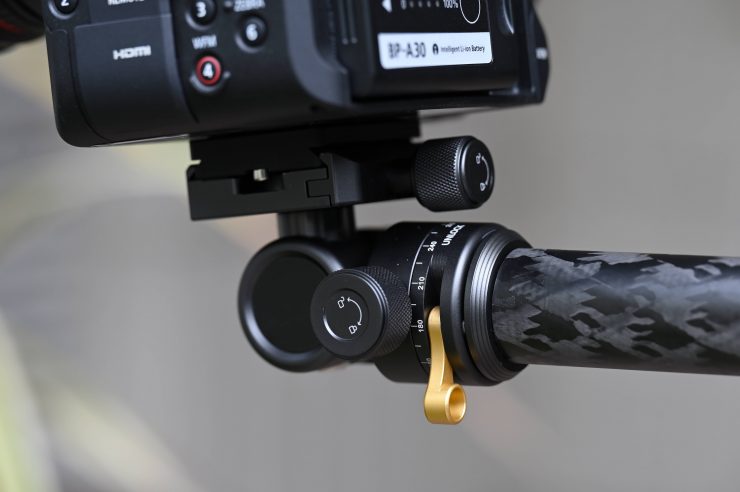
That mounting plate then slides onto the plate that is on the Slypod Pro’s pan & tilt head. You can also use a small-sized Arca Swiss quick release plates if you have one.
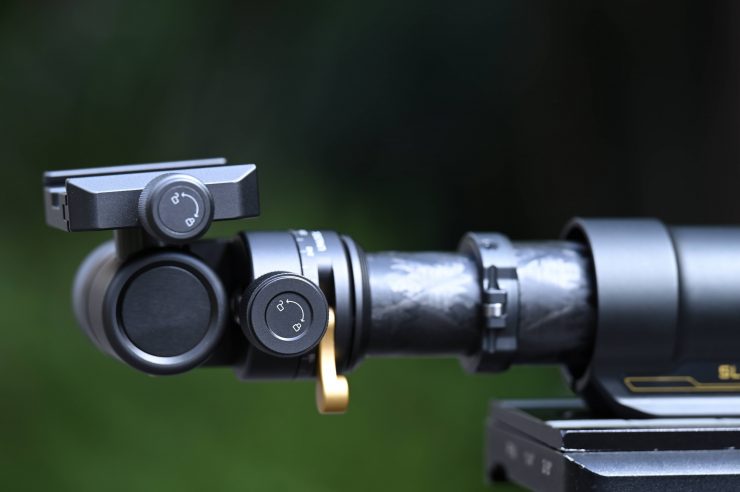
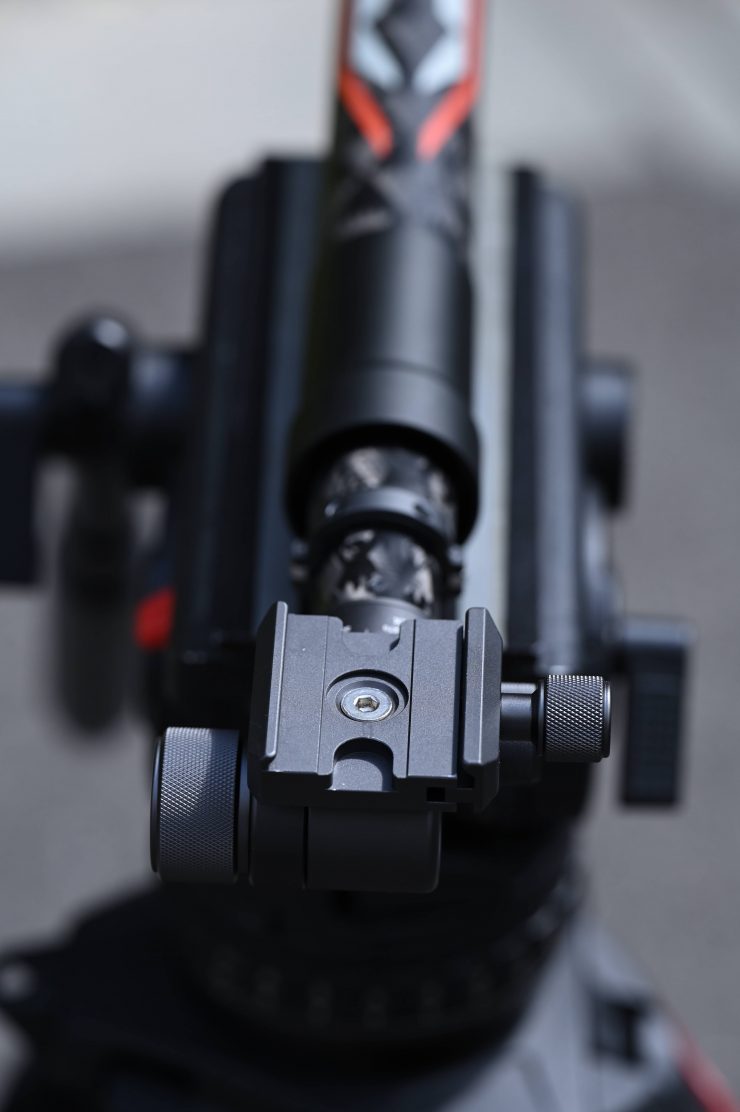
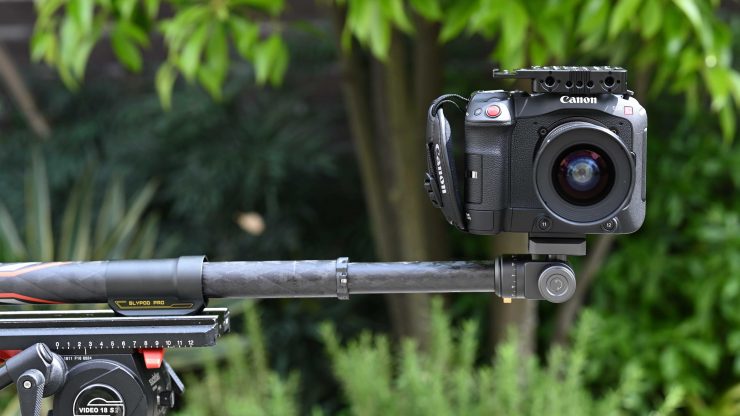
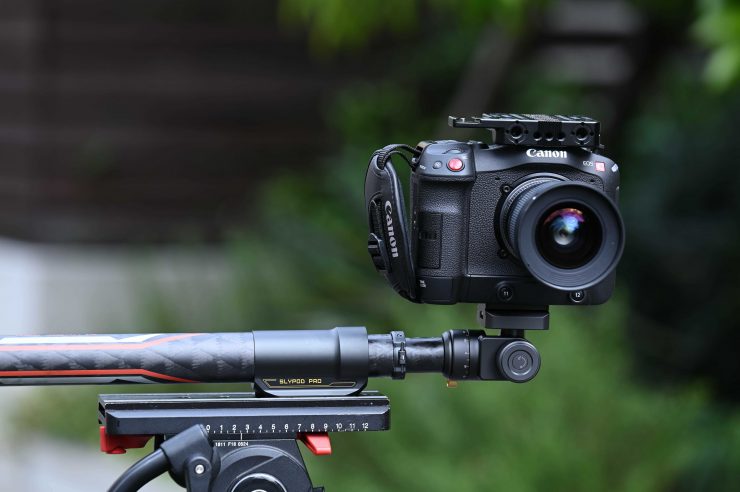
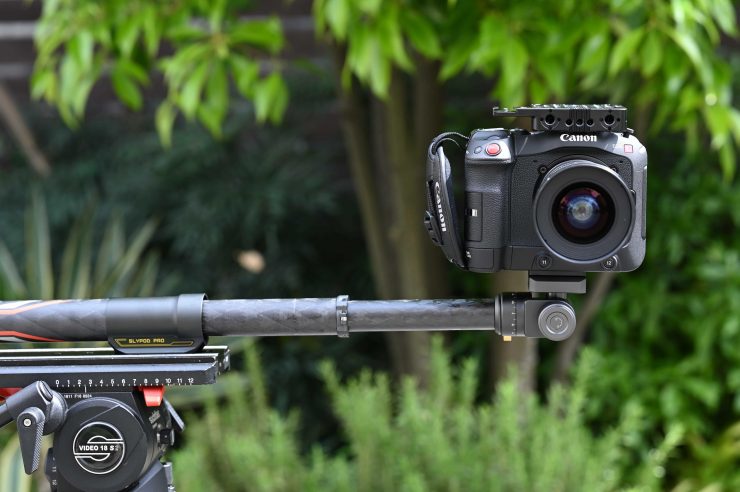
On the pan & tilt head, there are two locking mechanisms for making adjustments. The pan & tilt head mechanism looks pretty small, but it seems to handle a reasonable amount of weight. I didn’t encounter any issues using a Canon C70. If you try and put too much weight on the pan & tilt head it will just move.
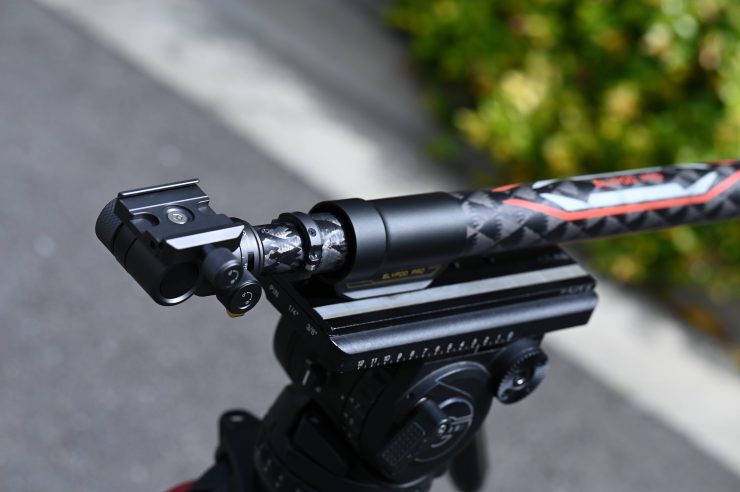
The noticeable omission from the pan & tilt head is a spirit level. I found this to be an issue because you can’t level off the camera quickly or easily. If you are using a camera that has a horizon indicator on it, you will have to access it.
How do you attach it to a tripod?
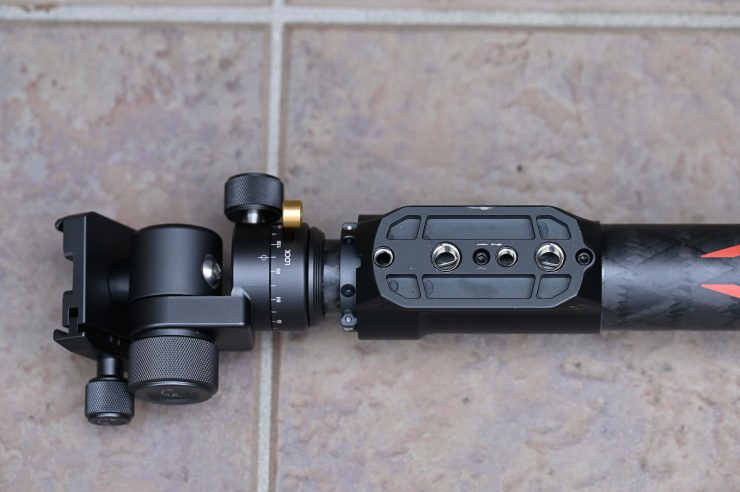
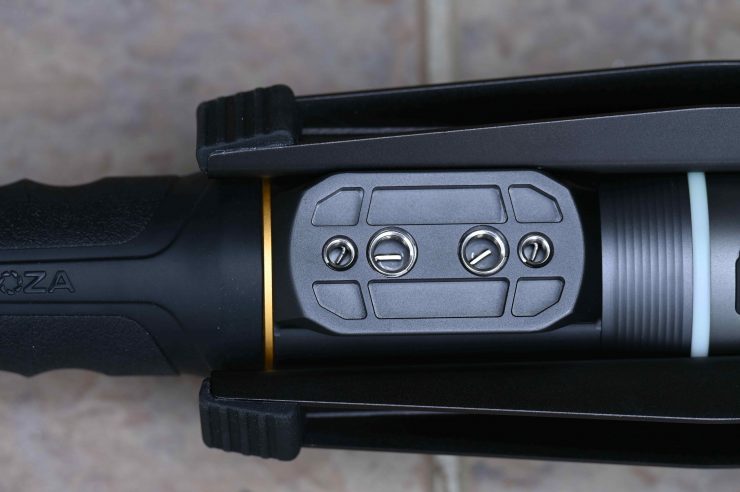
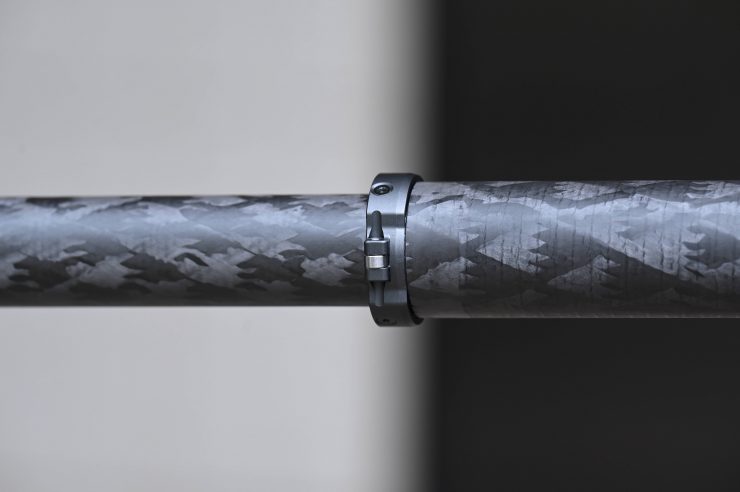
On the side of the Slypod Pro there are two mounting points. One towards the top and one near the bottom.
These are Arca-Swiss Quick Release plates. I didn’t have any Arca-Swiss compatible accessories to test out how these worked.
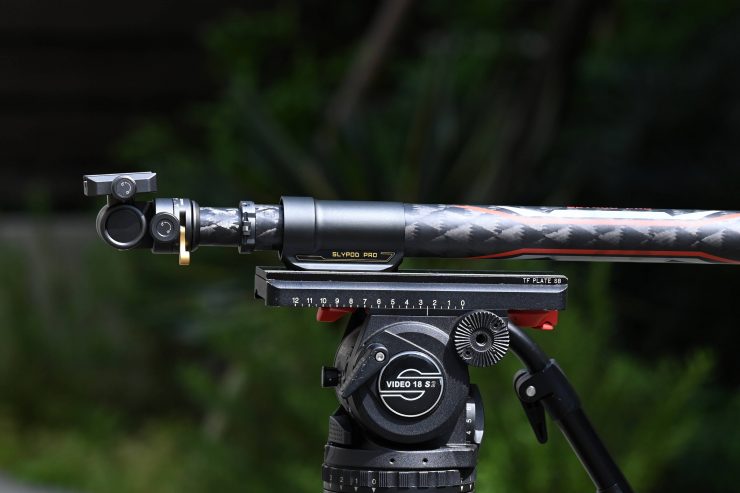
I attached a tripod plate to the mounting plate. It is a lot better to attach your tripod plate to the top mounting points. I also recommend using more than one screw.

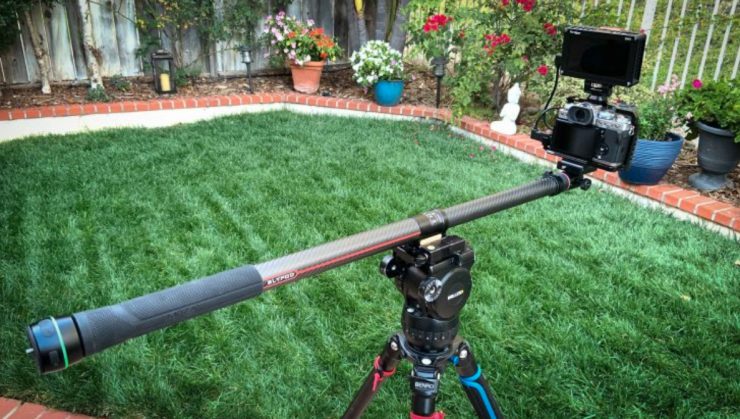
I found that the Slypod Pro works better if you use a decent-sized tripod and mounting plate. It is much more stable and smooth and you get better results. If you use a lightweight tripod then don’t expect results that are as good.
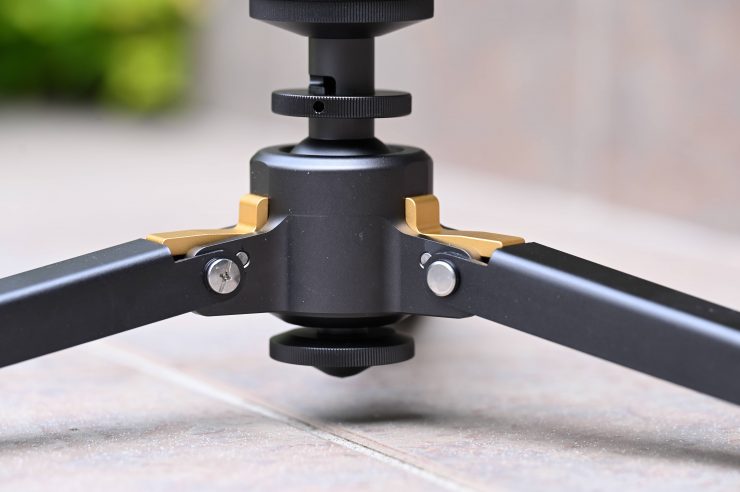
How do you control it?
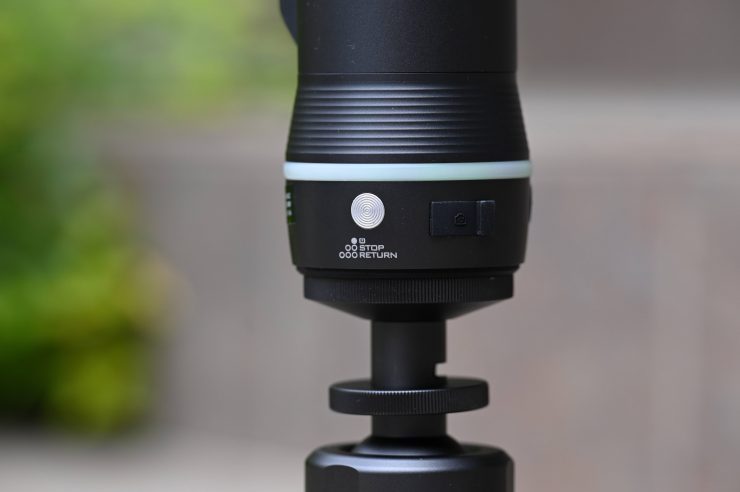
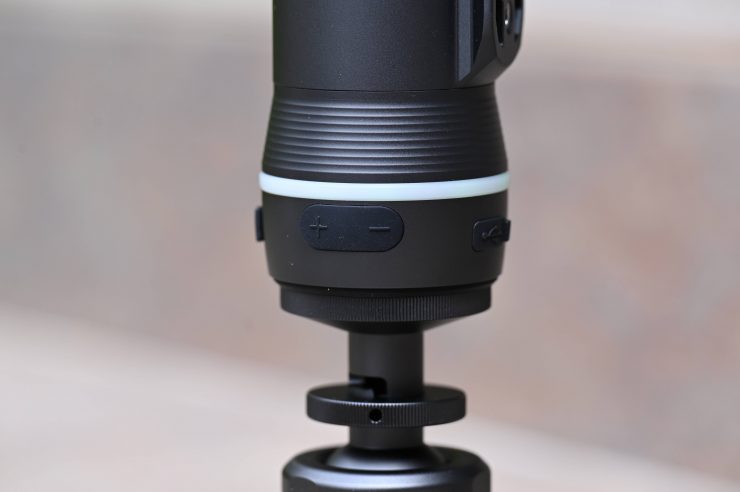
The Slypod Pro does have physical controls on the bottom of it. There is a On/Off button and by pressing on this same button twice you can use that same button to stop the Slypod Pro if it is moving. If you press the button three times you can make it return to its original starting position. There are also + and – buttons for making the Slypod Pro go out or come back in. The more times you press them the faster or slower the device moves.
Even though the Slypod Pro does have these physical controls I found it much easier to just use the app to control it.
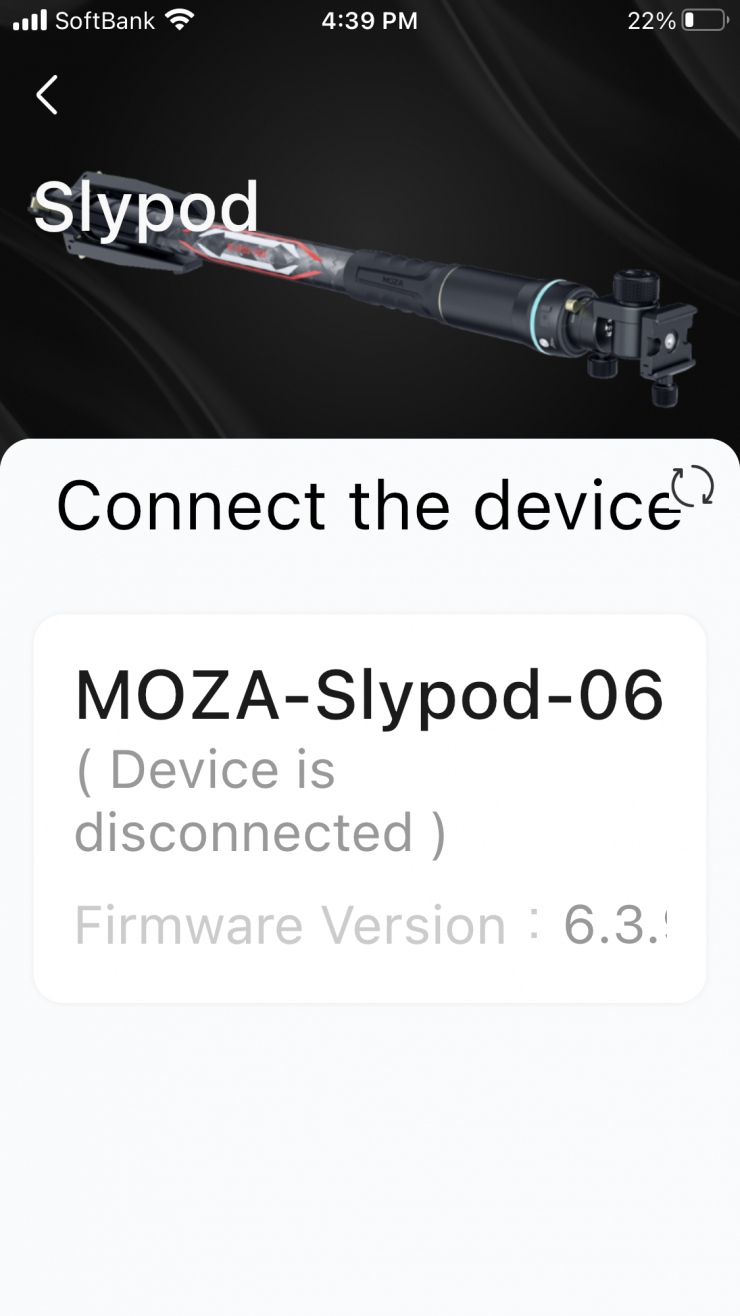

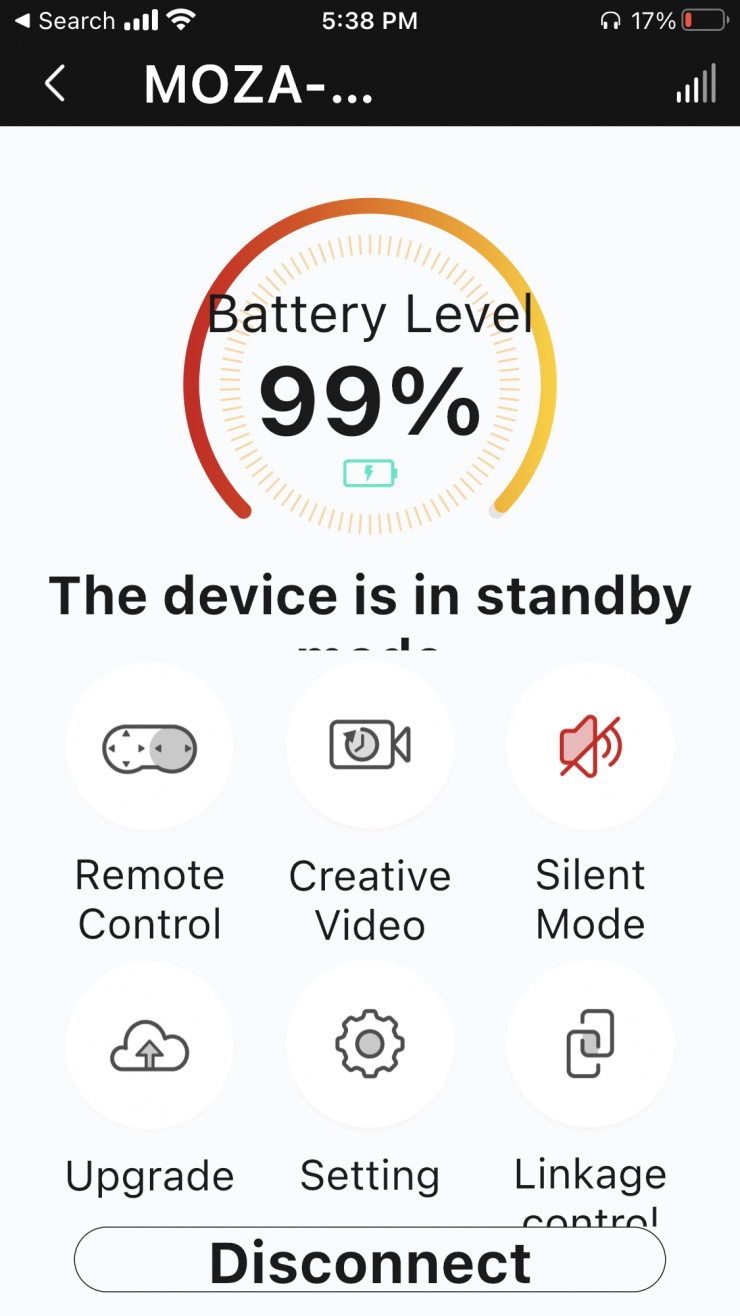
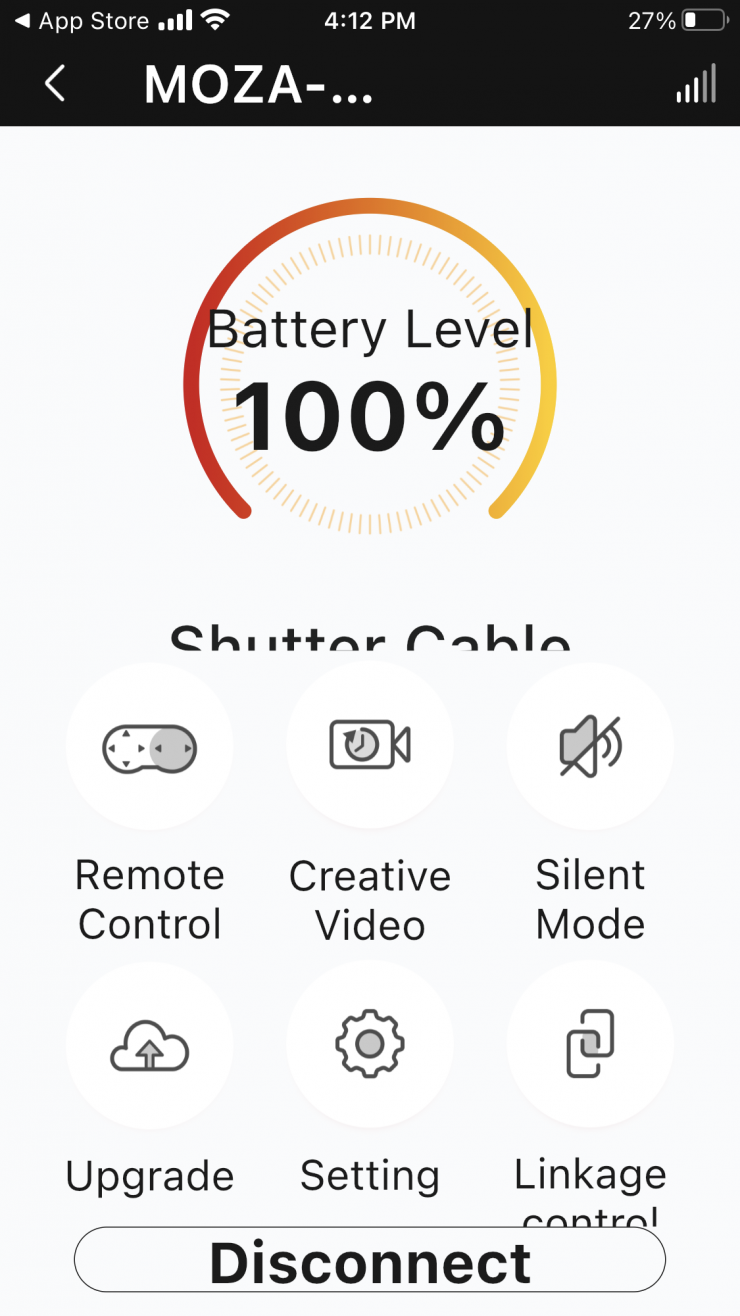
The app is pretty straightforward and easy to use. Once you turn on the Slypod Pro and launch the MOZA Master App you will see the device and you just hit connect. You are then greeted by the main menu.
REMOTE CONTROL
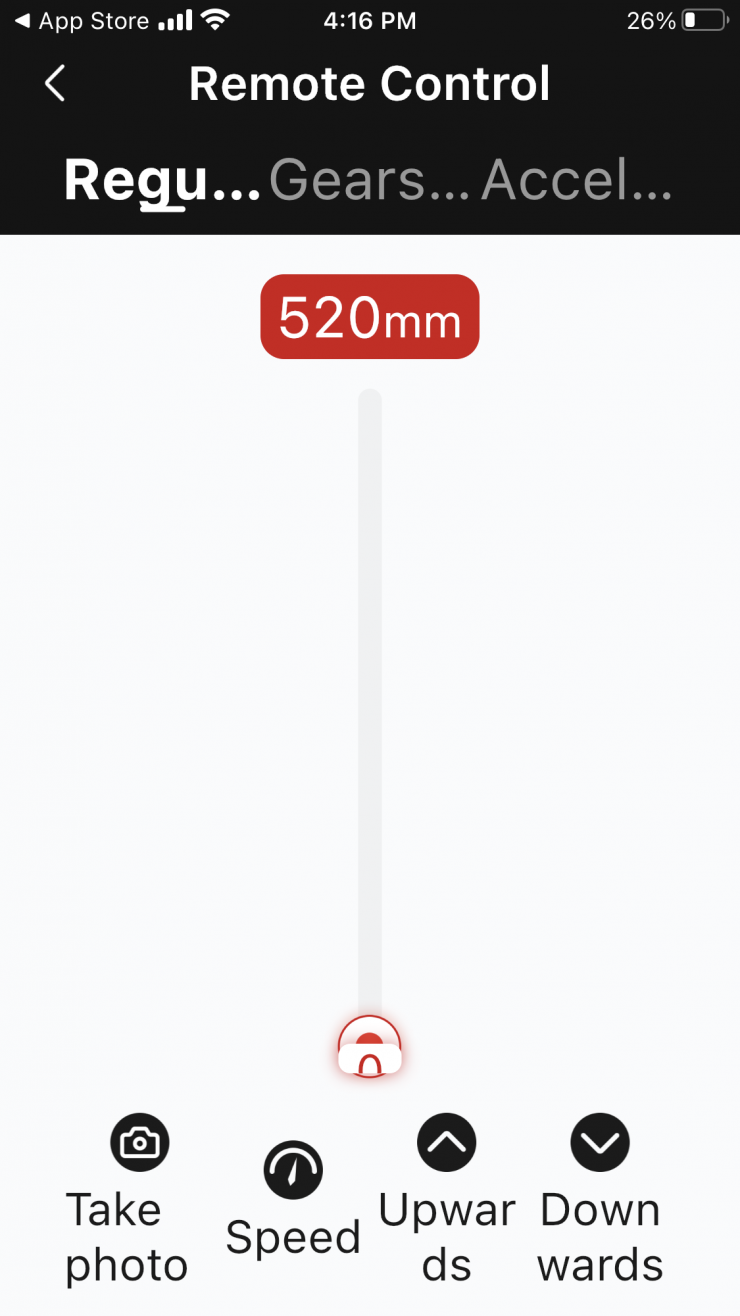
If you select Remote Control you can access and control the Slypod Pro very quickly.
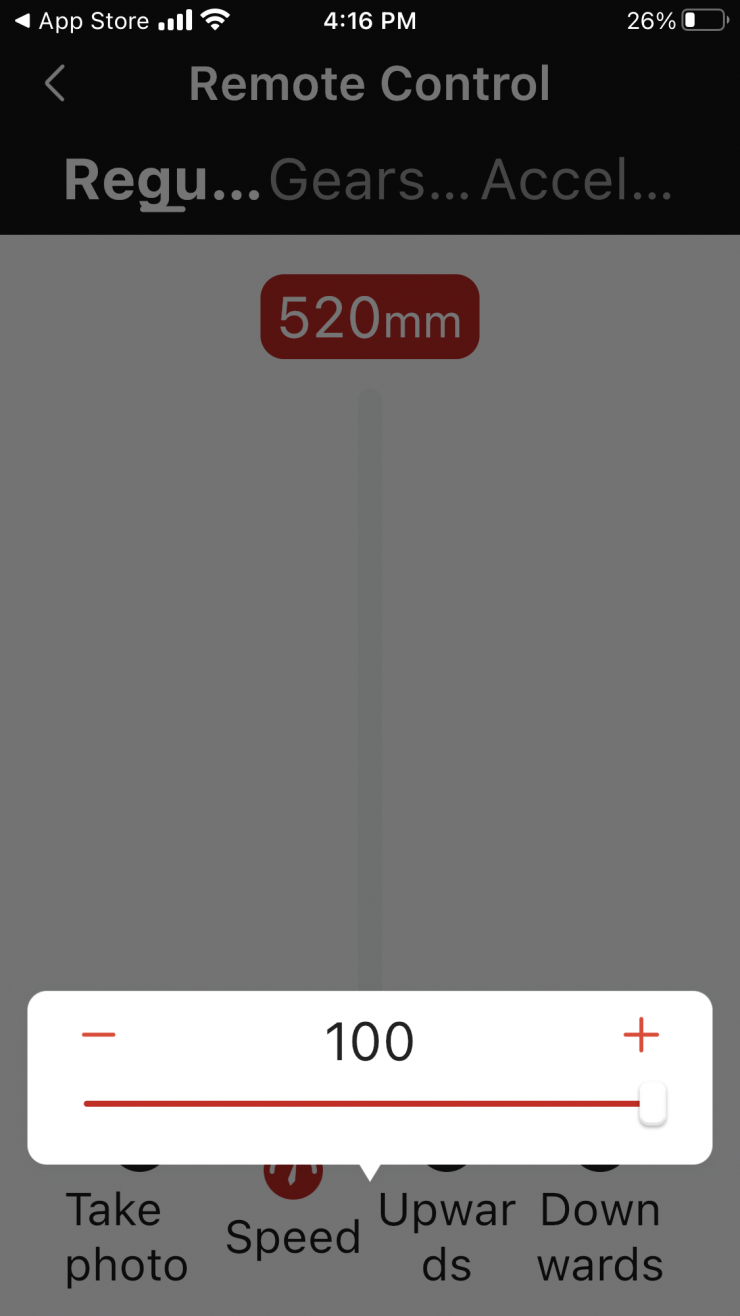

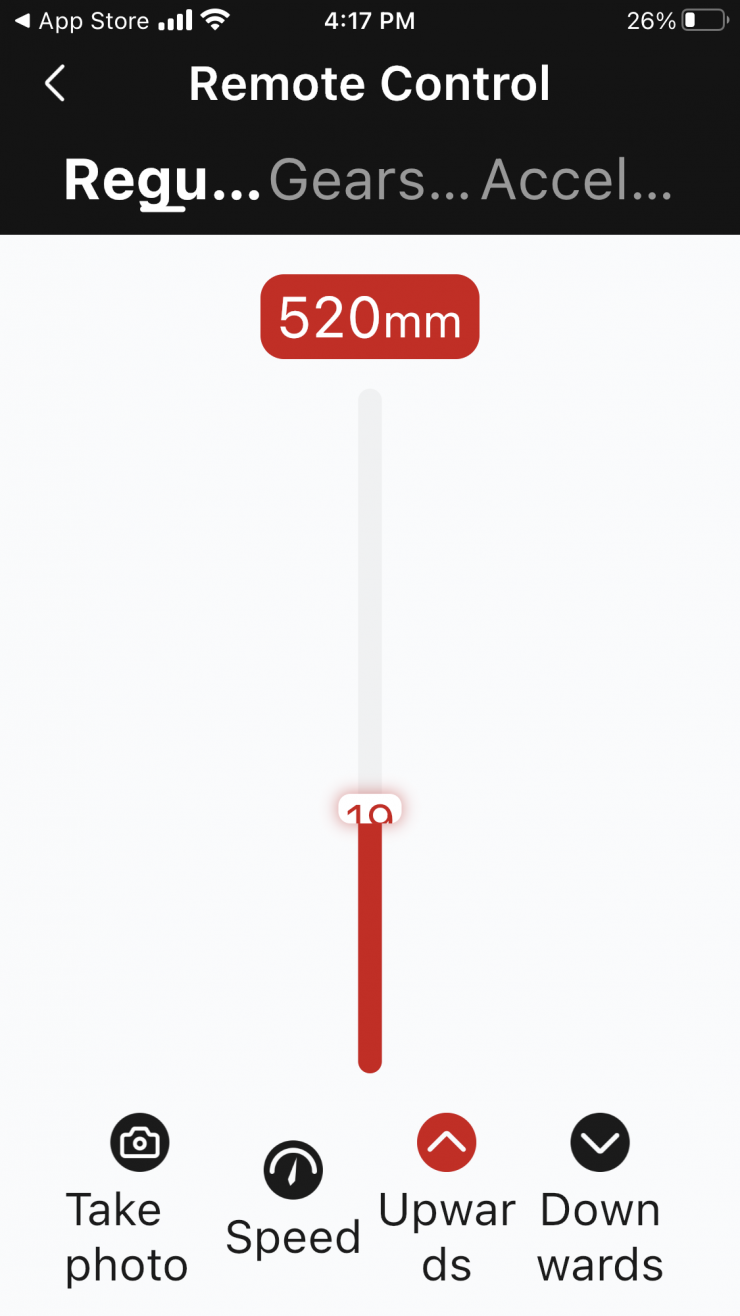
Here you can adjust the Speed and move the Slypod Pro Upwards or Downwards. You get a graphic indication of how far along the Slypod Pro has traveled.
You can keep your finger on the Upwards or Downwards button to make it move. Once you remove your finger it will stop the travel. You can also just drag the indicator bar and the slider will automatically start moving. The problem with doing this is that the Slypod Pro just moves at maximum speed regardless of what Speed you have actually set. Even once it has started moving you can still change the position of where it will stop moving, however, you can not adjust the Speed once it has started to move. This is probably due to the fact that the Speed is at its maximum.
I am not sure why Moza doesn’t let you drag the slider and have the Slypod Pro move at the Speed you actually set. It is as if they purposely only made this feature so you can quickly move to the starting or ending point you want.
There is also no loop mode when you are in the Remote Control mode so you can’t just make the Slypod Pro go up and then down, etc. This is something that I think could easily be added via a firmware update.

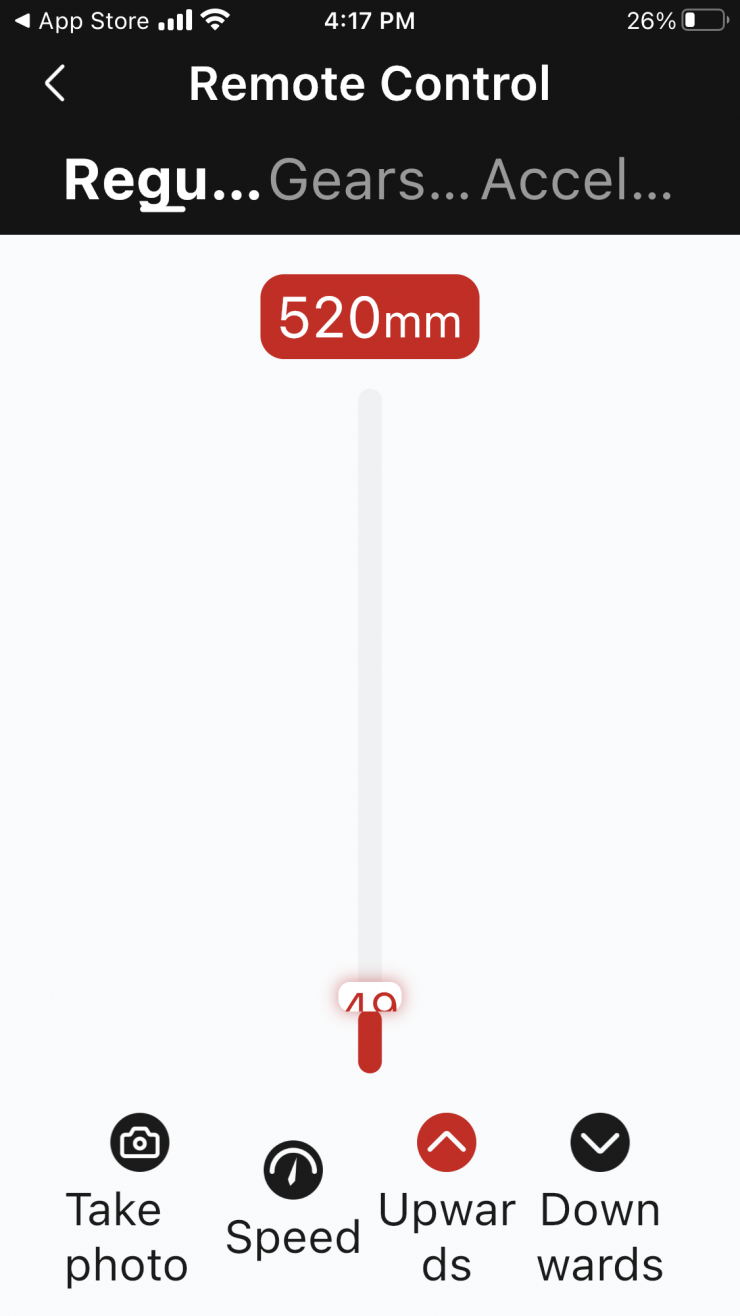
There is also a Gearshift mode within the Remote Control section. This allows you to just press the Upward or Downward button once and the Slypod will start moving by itself. It also seems to start off slowly and then the speed increases. When it gets close to finishing its move it slows down again.
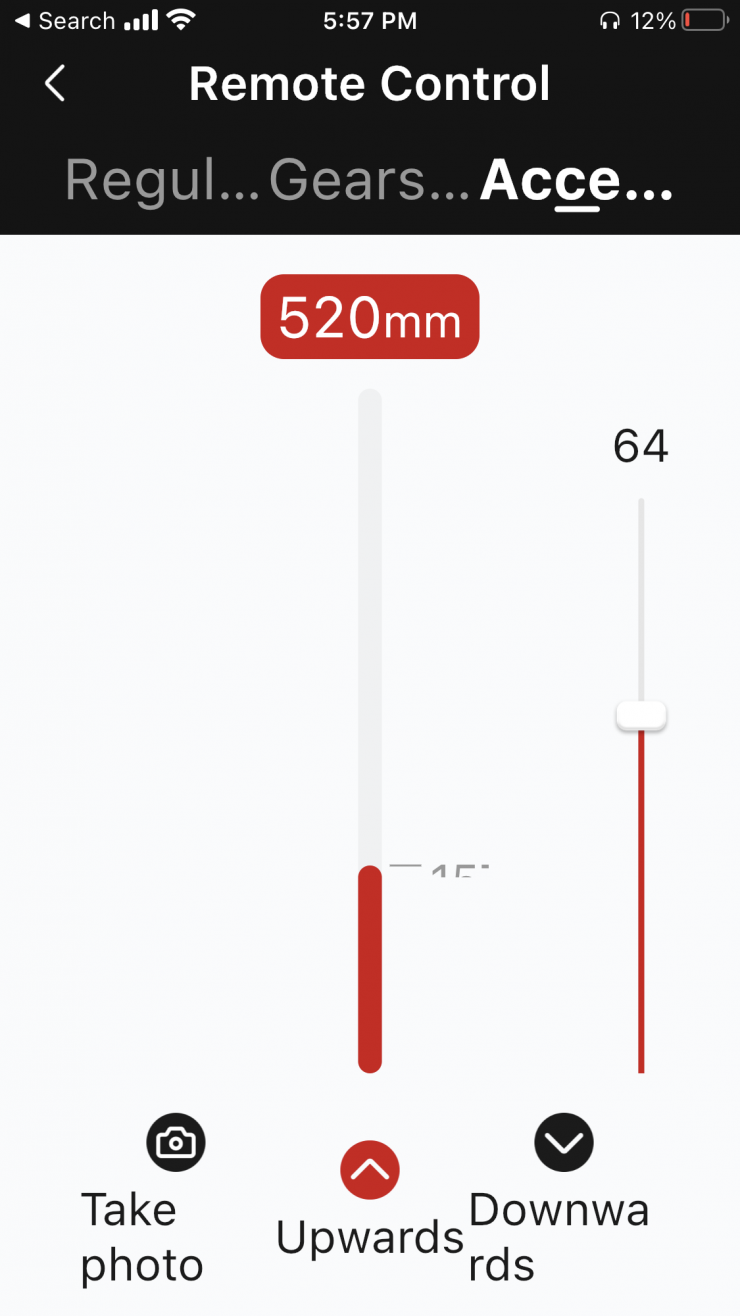
In the Remote Control section, there is also another mode called Acceleration. What this does is your movement starts off slow and then the speed ramps up to whatever you have selected towards the end of the movement.
CREATIVE VIDEO
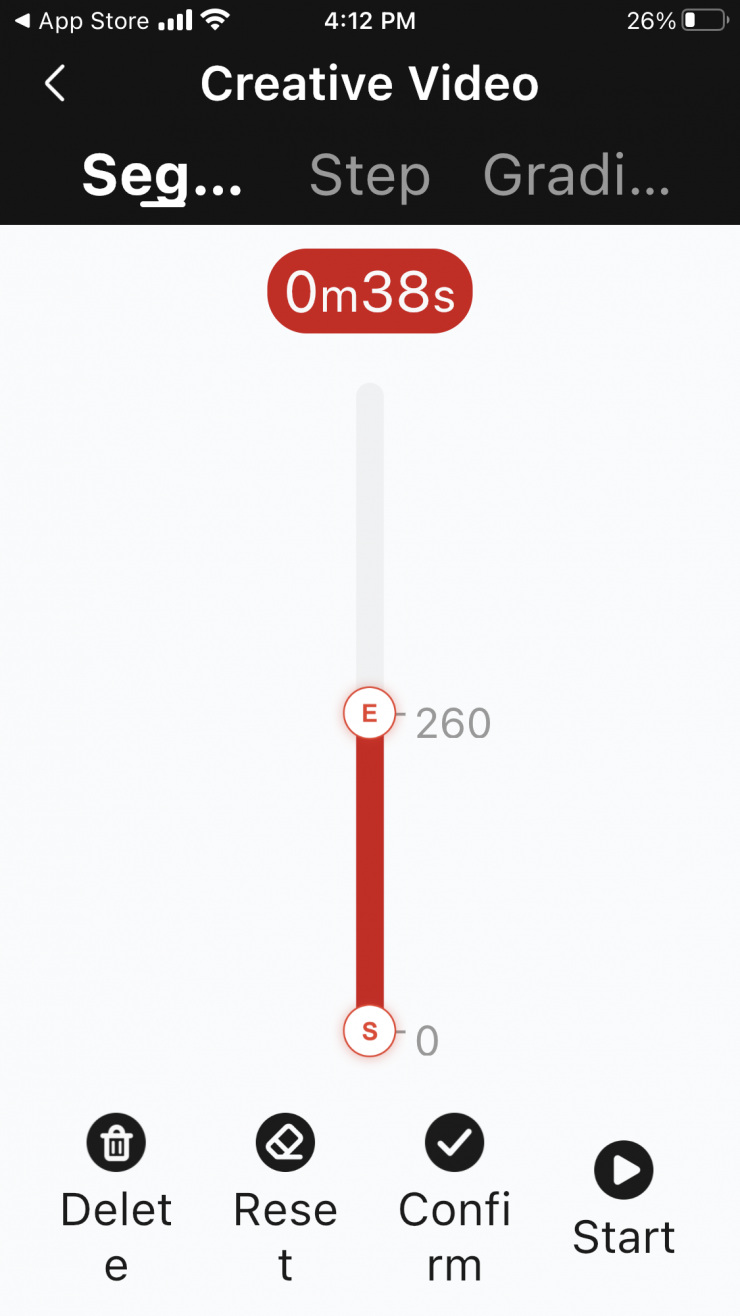
If you enter the Creative Video Mode you can set the start and end points as well as tell the Slypod Pro how long you want the move to take. This is a handy mode if you want a shot to go for a specific period of timer or if you want to do a timelapse.
It is nice that you also get a visual indicator of how long the move has taken so far.
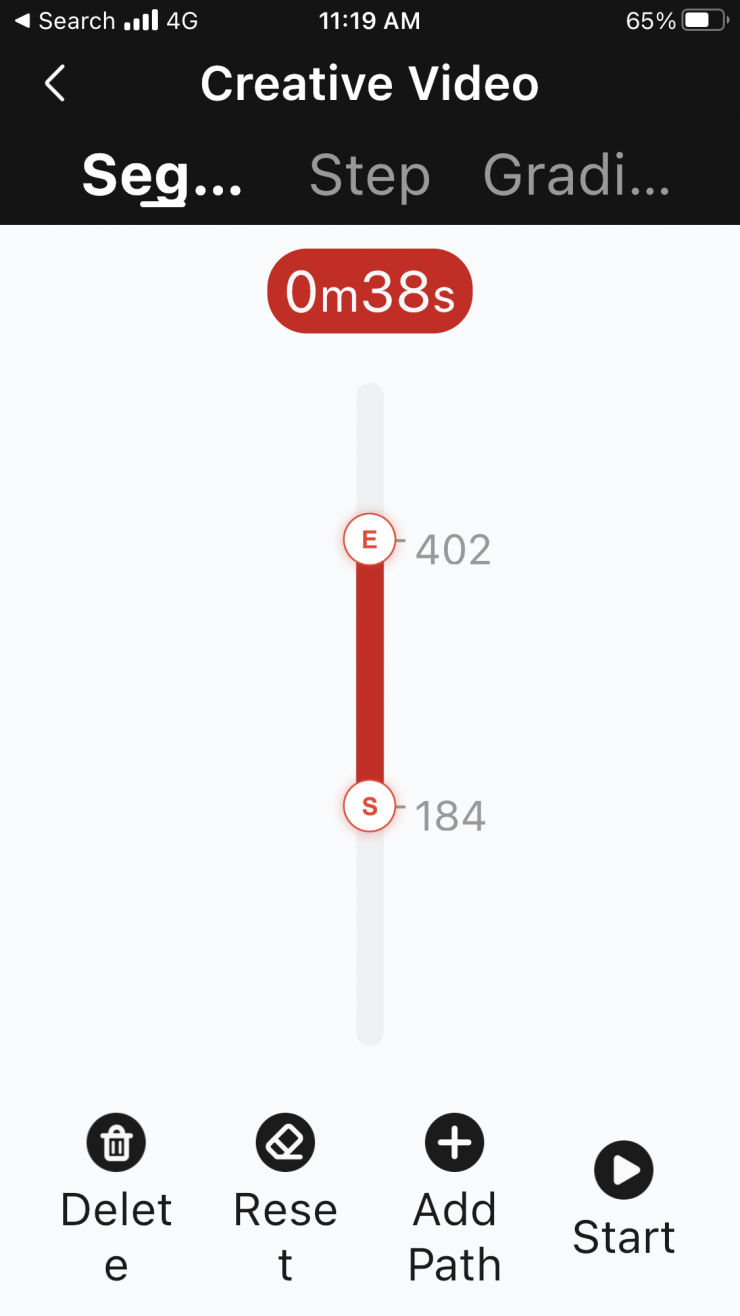
You can also set start and end points and then just press Start. You can also swap around the start and end points if, for example, you wanted to start with the Slypod Pro arm extended and then move back in.

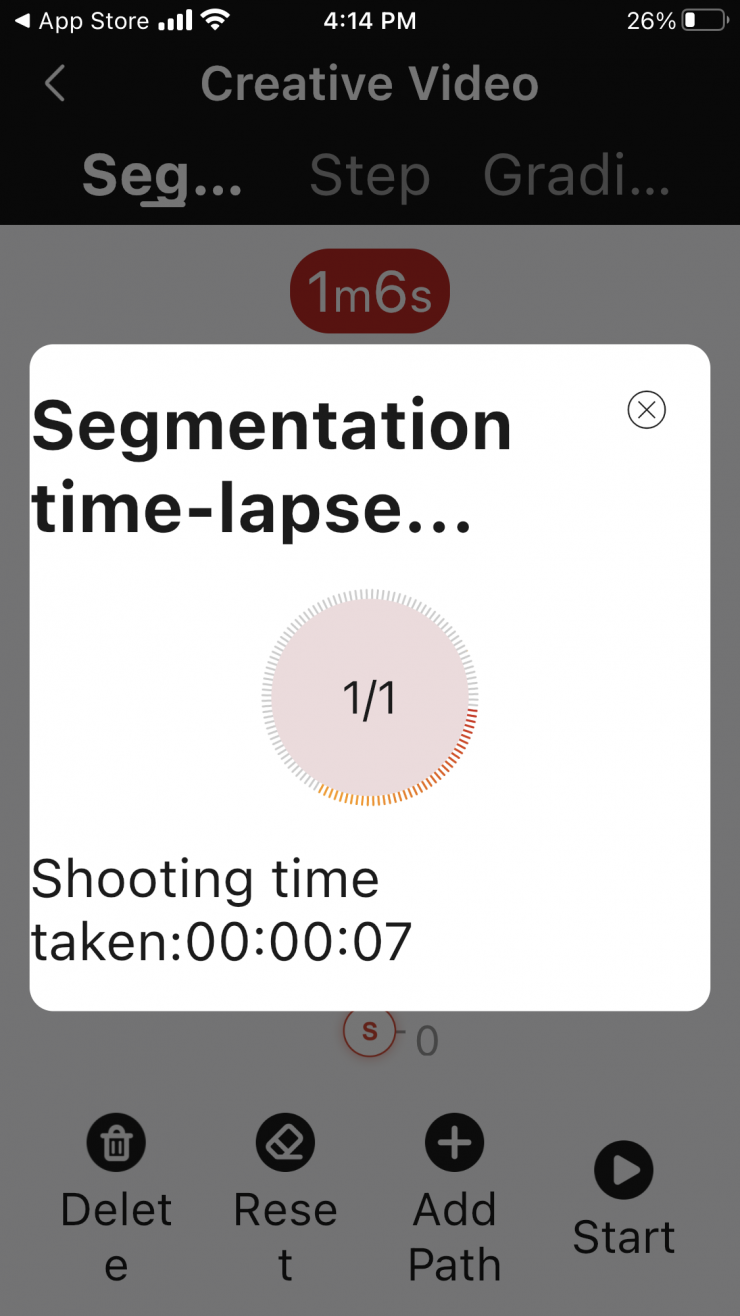
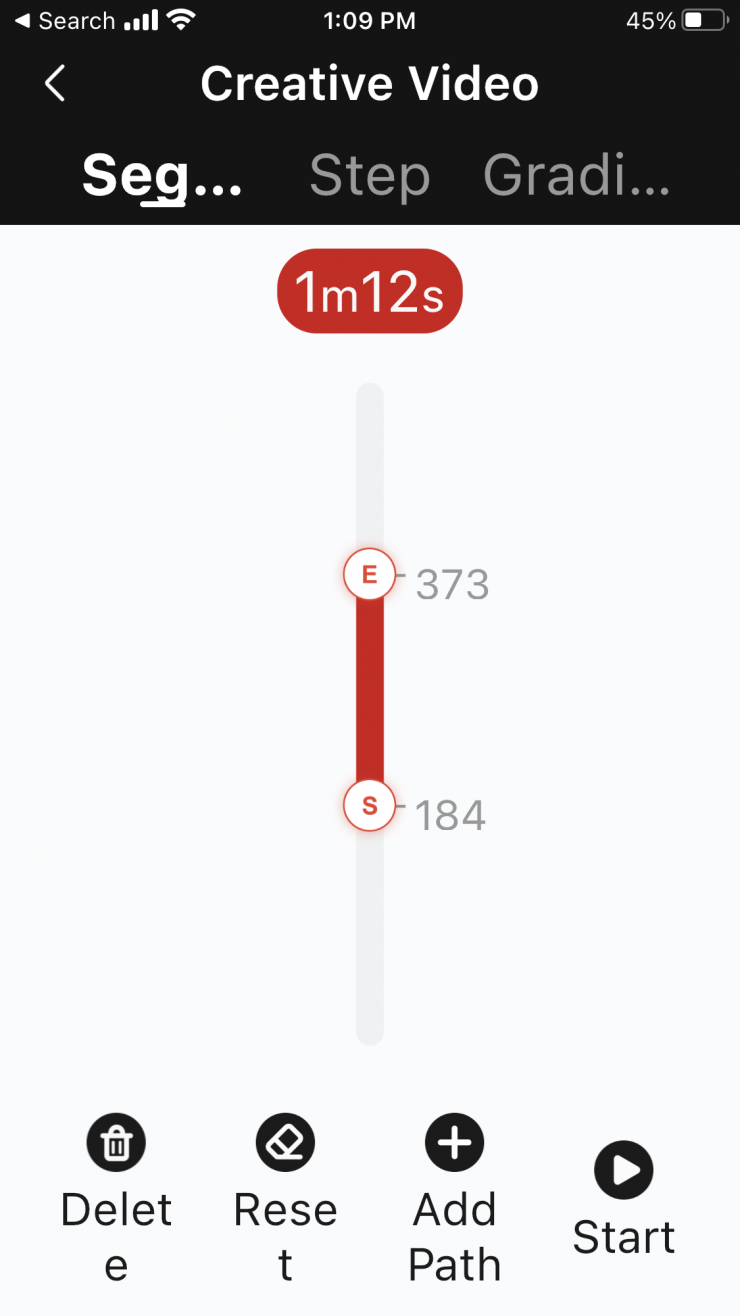
In this mode, if you go into the section where you want to tell the Slypod Pro how long the move should take you, you need to select a time that is equal to or more than what is shown o the screen. If you try and set a time that is less than the indicated time on the screen you will get a warning that says Time is set too short.
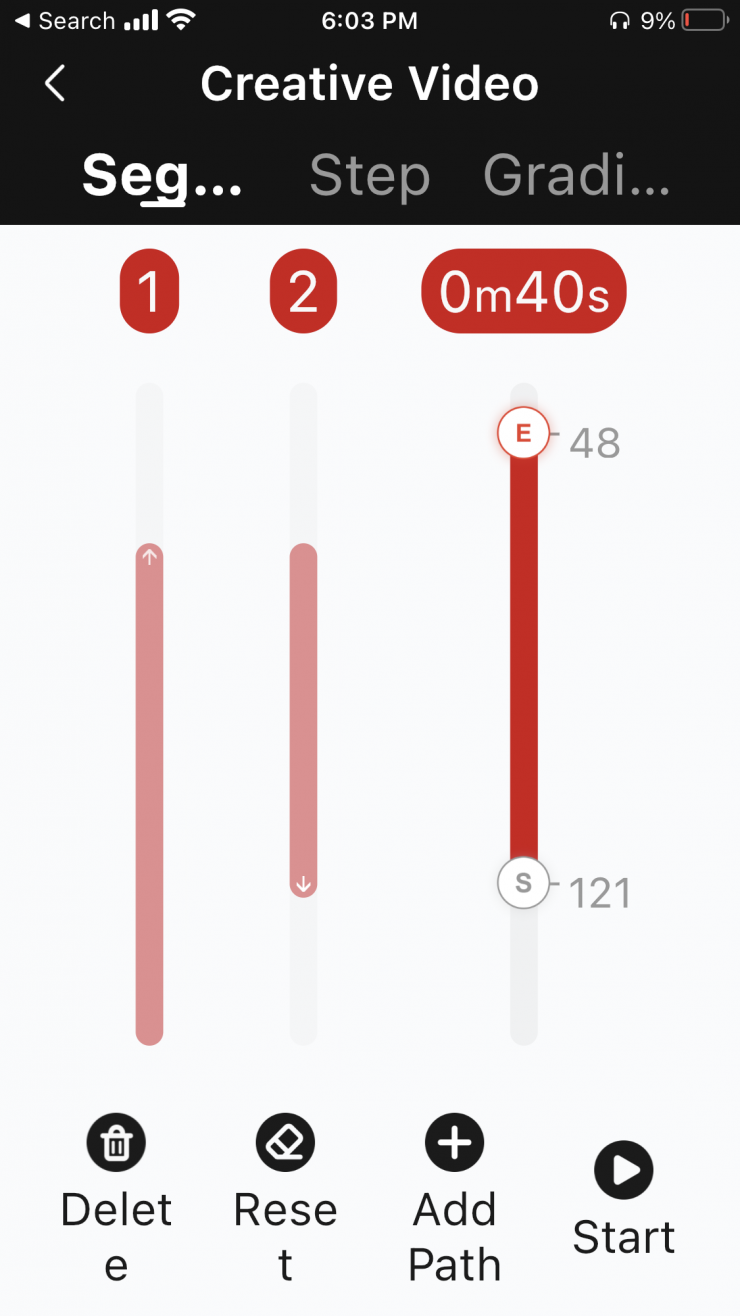
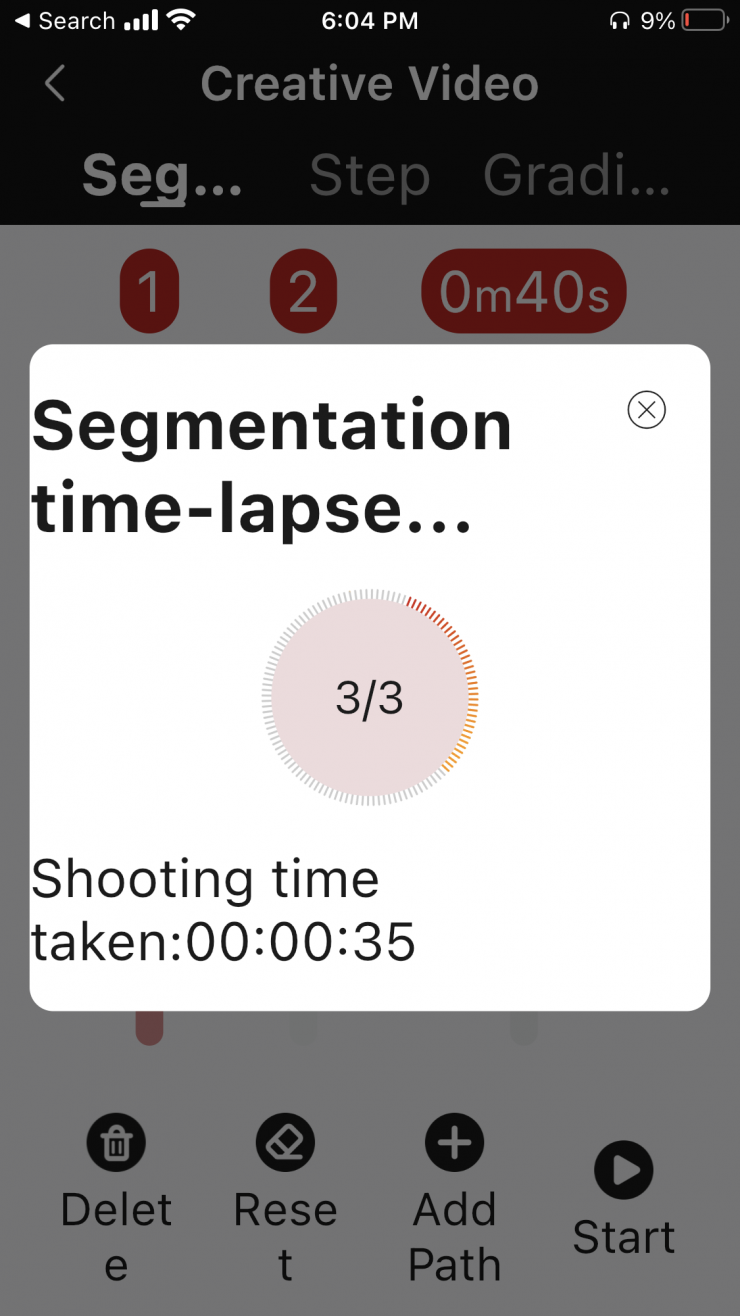
You can also add multiple paths if you want the Slypod Pro to automatically do a range of different moves one after another. I didn’t find this particularly useful, but I’m sure people will find applications for it.
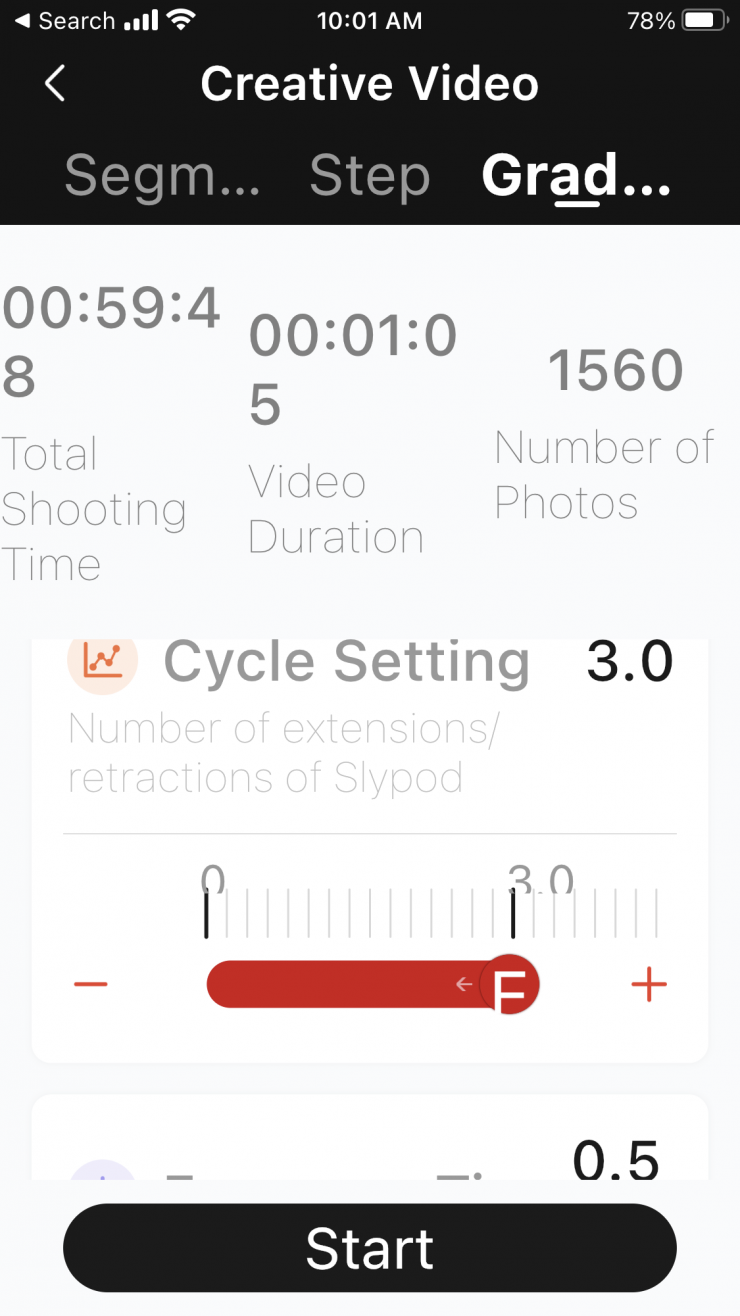
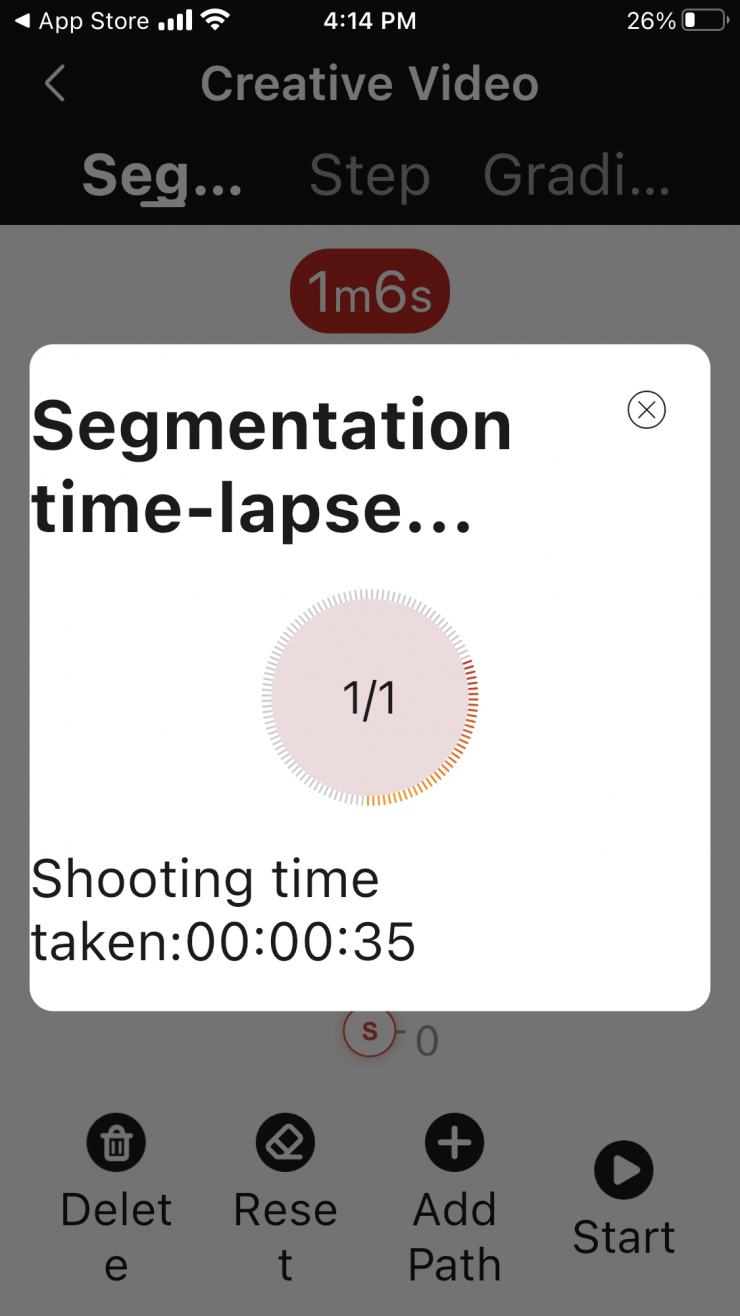
In this Creative Video Mode you can also choose items such as the Cycle Setting where you can tell the app how many times you want it to go back and forth.
Here you can also change a range of parameters when shooting time lapses.
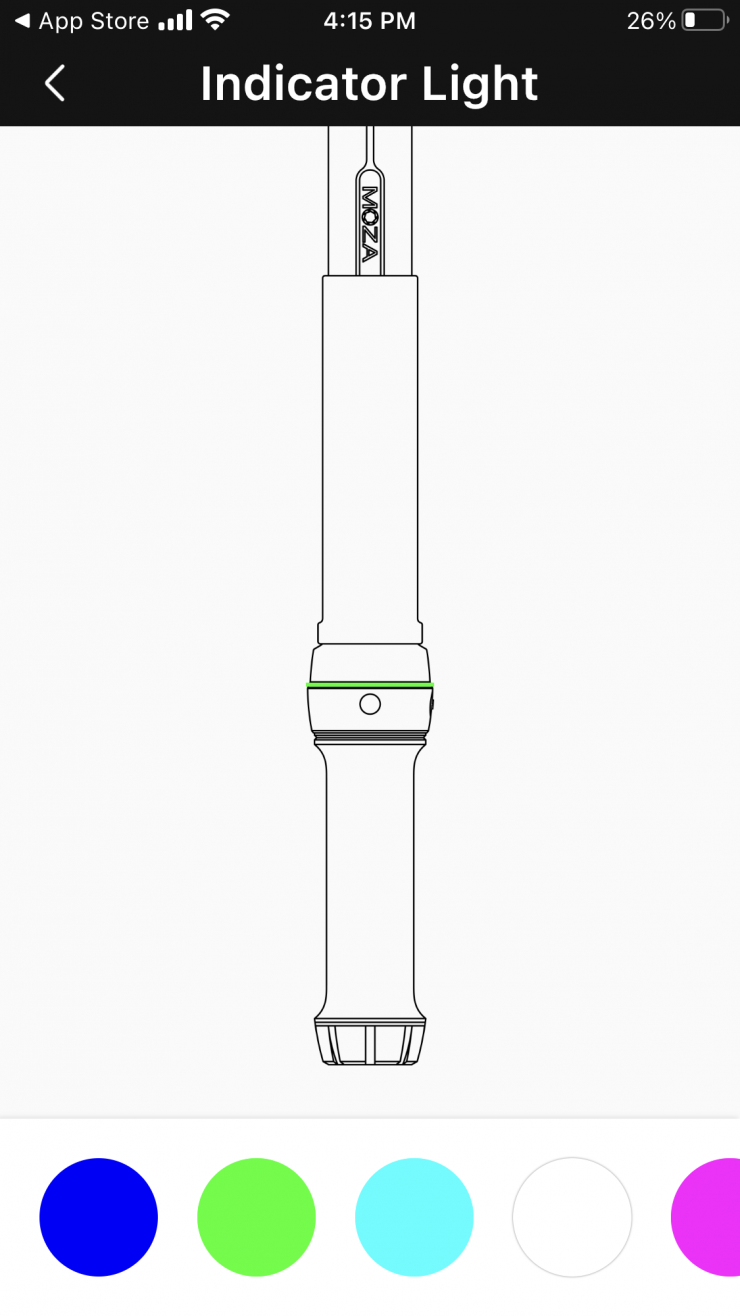
In the Settings section of the menu, you can choose to change the color of the LED light at the bottom of the Slypod Pro. I am not sure why you would want to do this, but the option is there. Maybe if you were using multiple Slypod Pro’s it would be a way of telling which one was which.
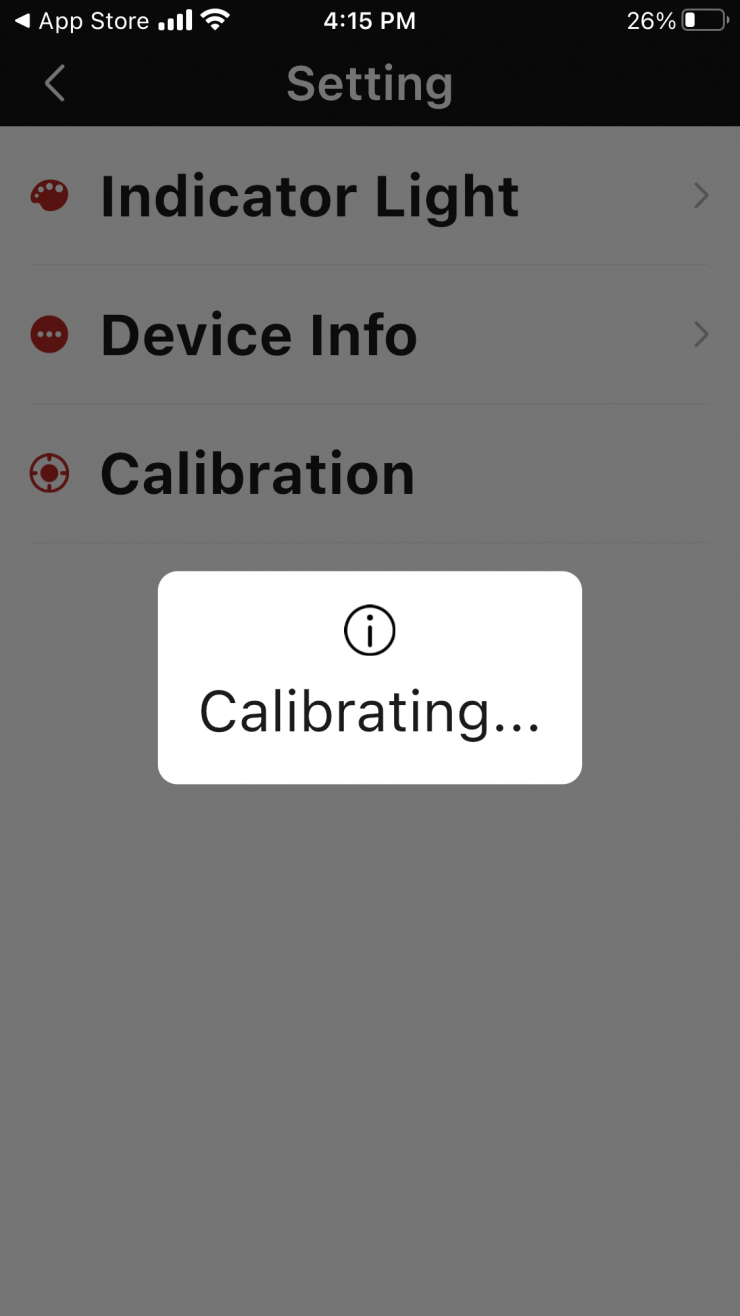
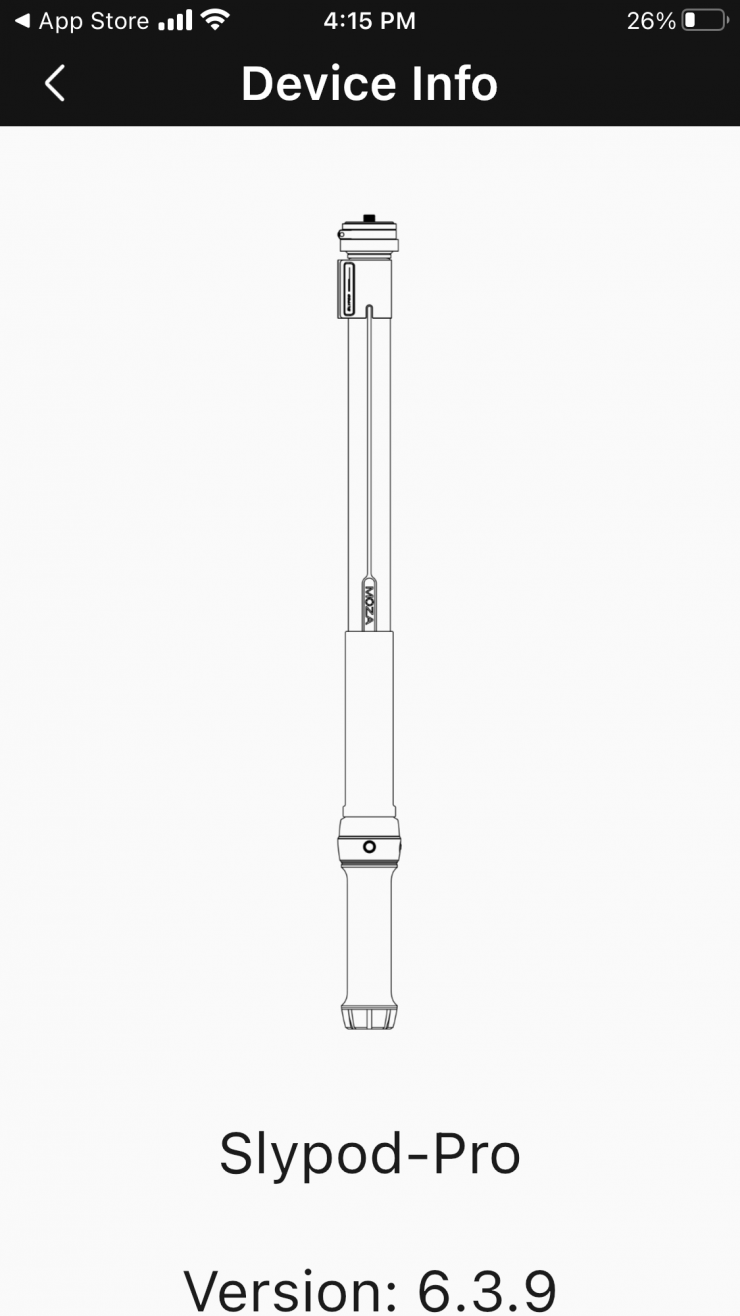
Also in the Settings part of the menu, you can calibrate the Slypod Pro which is a fairly quick process. You can also check the firmware version you are running
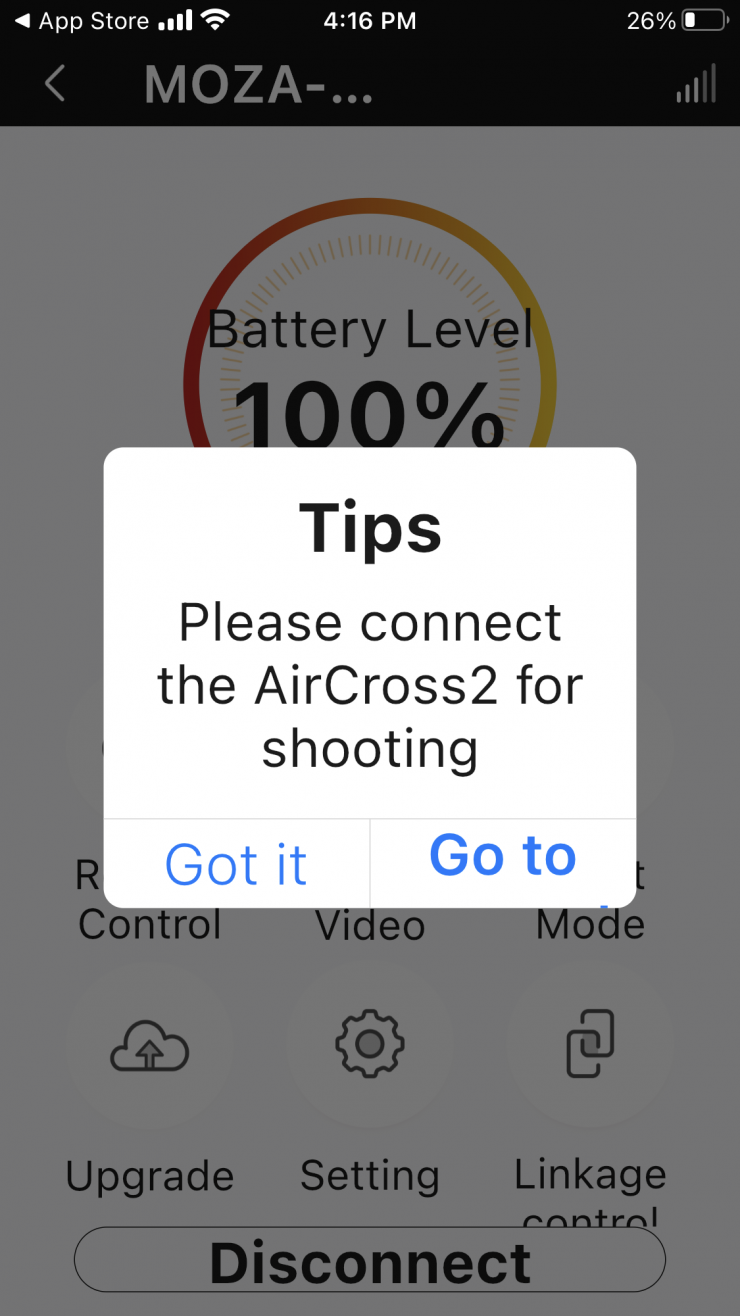
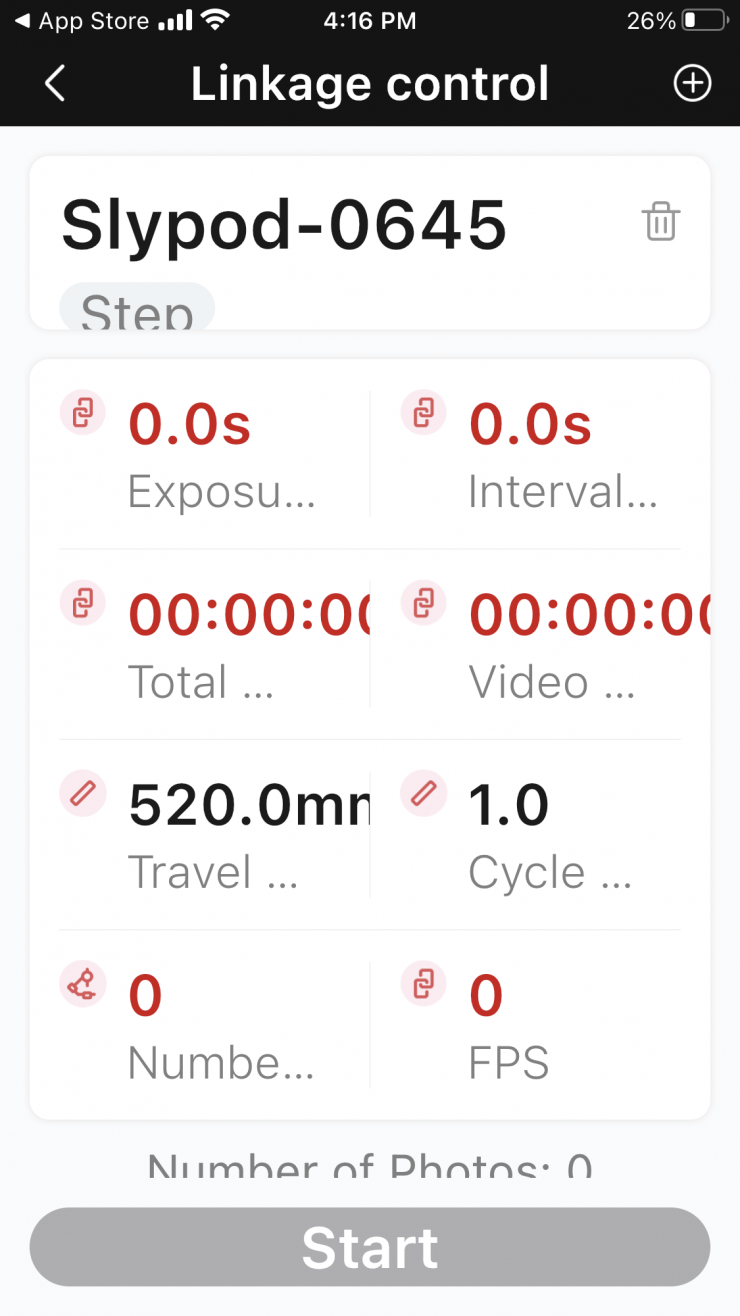
In Linkage Control this is where you can connect the Slypod Pro to a MOZA gimbal as well as connect your camera with a cable to the device.
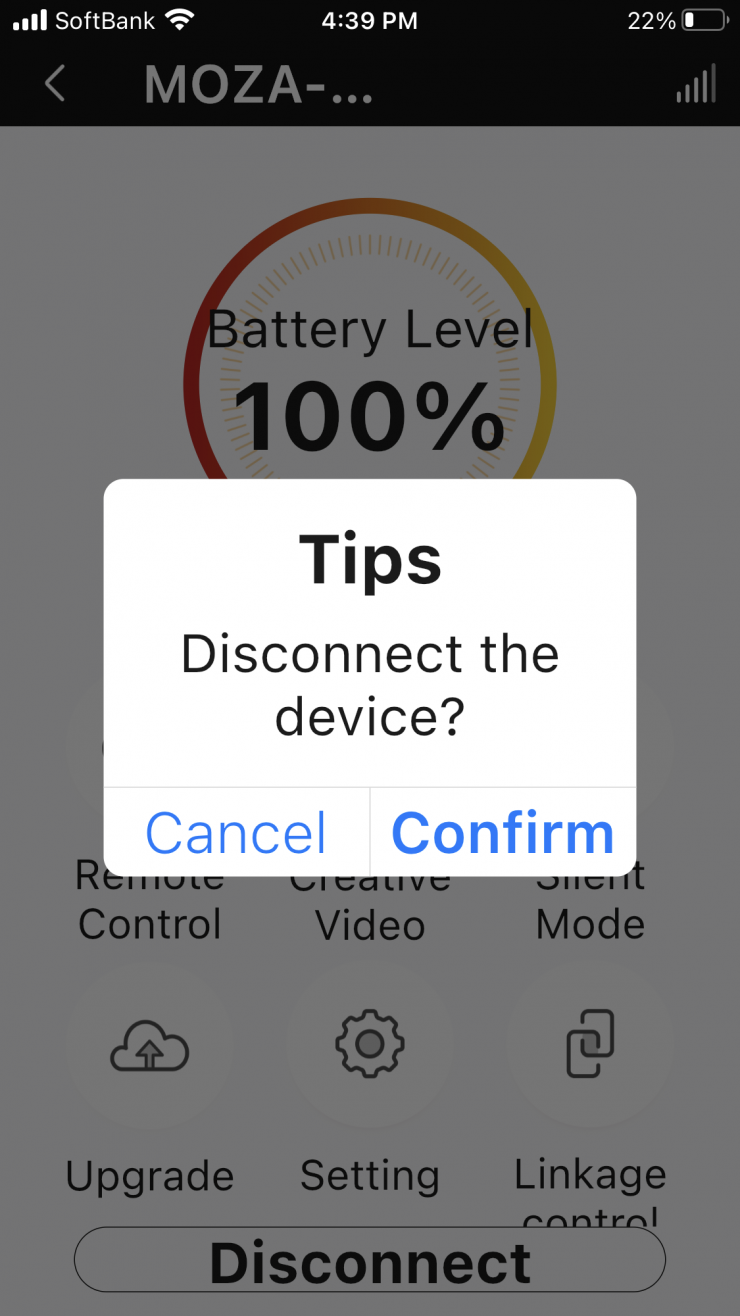
You can also disconnect from the device with the simple press of a button.
Is it noisy?
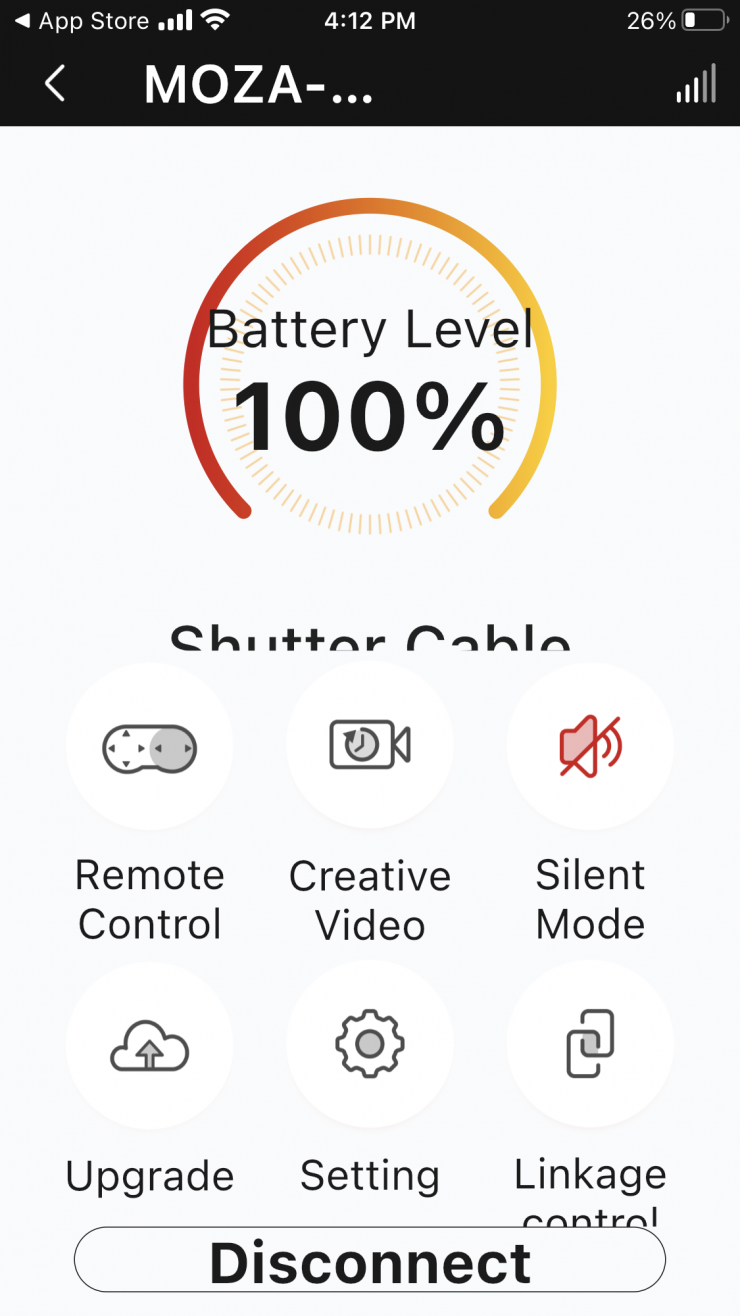
I know that quite a few people complained about the noise of the original Slypod. Have they solved this issue? The Slypod Pro is still loud when used at certain settings and I don’t have access to the original so I can’t comment on if there have been any drastic improvements. There is a Silent Mode in the settings that you can choose to activate. So what does this actually do? Well, it makes the Slypod Pro a lot quieter, but the trade-off is that the maximum speed it will move at gets reduced.
If you have the Silent Mode turned off, the Slypod Pro is really noisy if you just drag the sliders in the Remote Control mode. Dragging the sliders doesn’t seem to do anything even if you change the Speed. Even if you have the Speed set at 1 or 100 and you drag the sliders it still moves at the same speed. If you change the Speed I found that you had to physically press the Upwards or Downwards button for this to do anything.
With the Silent Mode turned off I found that if you kept the Speed to around 0-15 it is actually reasonably quiet. With Silent Mode turned on I found anything from 0-60 to be quiet enough.
As I just mentioned, the maximum speed gets greatly reduced. Even though you can still choose anywhere from 0-100% on the speed setting, that speed effectively becomes half of what it is with the Silent Mode turned off. For example, 100% speed with the Silent Mode activated is about the equivalent of 50% speed when it is turned on.
If you need to make the Slypod Pro move reasonably quickly then you are going to have to live with the noise. You can’t have your cake and eat it too. If you want quiet movement then you can only make it travel at certain speeds. If you want faster speeds then you have to accept the noise. Motorized devices are normally never sound recordist friendly!
If you were doing a fast move and shooting at a higher frame rate then the noise it makes isn’t going to be a concern.
Pairing it with a Moza Gimbal
The MOZA Master APP also allows the Slypod Pro to be linked with a MOZA gimbal, which in turn, enables 4-axis motion control. This combination allows you to do some fairly creative shots.
I didn’t have access to a Moza gimbal for this review so unfortunately, I couldn’t see how that combination performs.
Is it smooth?
There are a lot of factors in play when it comes to smoothness. It depends on the surface you are using the Slypod Pro on, what focal length lens you have, how fast the movement of the Slypod is, and whether you have it mounted on a tripod or if you are using it with the monopod feet.
Generally, I found it to be pretty smooth, however, when it first starts off it does tend to do a little shimmy. This was quite noticeable when using it in the vertical position with the monopod feet.
Real World Use
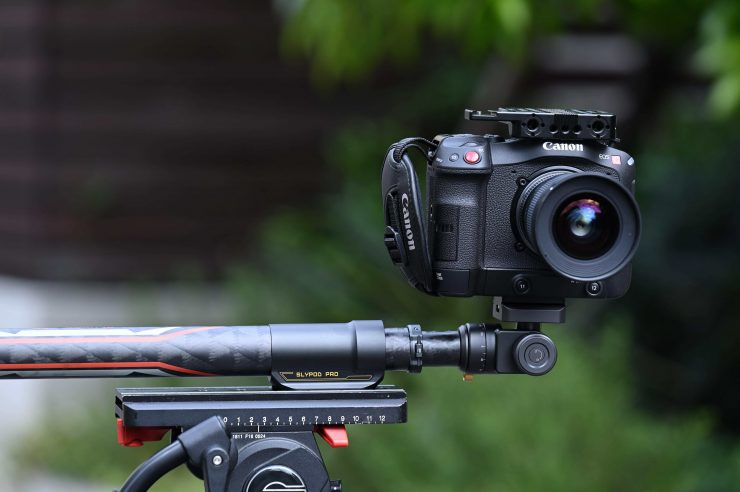
The Slypod Pro is quick to set up and use. I really enjoyed using it and it is a convenient way of creating a variety of different moves from a single device. I like the ability to use it as a motorized slider or jib, with the added benefit of being able to control it from my smartphone.
Above you can see some quick example footage that I took. I have left the audio from the camera on the shots so you can hear the noise that the Slypod Pro makes.
Above you can see a few examples where I am using a longer focal length lens and doing slow moves. I have done this on purpose because with longer focal lengths the slightest amount of movement becomes more noticeable. You can see that the Slypod Pro is very smooth for the most part. No motorized device, especially one at this price, is going to be completely 100% smooth.
Above you can see some shots I did with the Slypod Pro and the Venus Optics Laowa 24mm f/14 Probe Lens. This is a very good test to see how smooth the movement is because I am shooting objects that are very small.
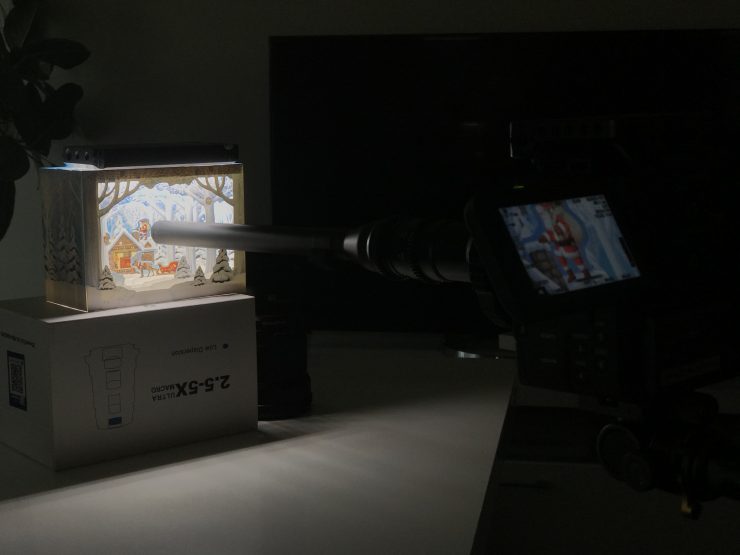
These shots were done on a wooden floor that does move a little bit. I haven’t post-stabilized any of these shots. You do get a little bit of movement and you can see that like most motorized sliders when used at very low operating speeds, there is a little bit of judder in the motion. You really need to experiment to find the minimum speed you can use where you don’t get and studdering.
Overall, I found the Slypod Pro was pretty smooth, especially if you are using it on a tripod.
It isn’t nearly as smooth when you use it with the monopod feet. It does have a tendency to wobble slightly when it is moving up or down, especially if you try and use it at a high speed. It does also tend to get a severe wobble when it reaches the top of its travel point and then stops. Above you can see a vertical shot done at low speed and then high speed.
As far as the noise is concerned, well that is going to depend entirely on how fast you need the Slypod Pro to move. For a lot of the shots I like to do I didn’t find that the noise was an issue, but if you do need to make it move at faster speeds, then the noise is really noticeable if you are using it in quiet locations. Above you can hear the noise from the Slypod Pro that I captured from an onboard camera microphone 1m away from where the Slypod Pto was.
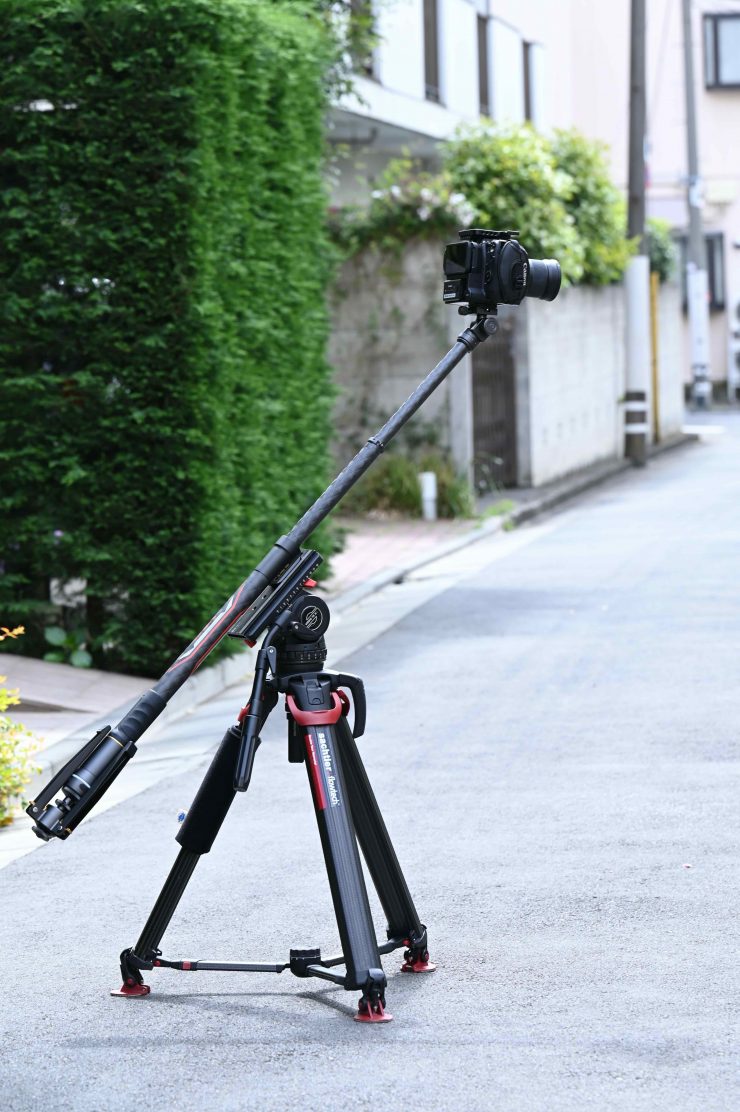
I personally think that the Slypod Pro is at its best when you mount it to a tripod. Giving it that extra stability allows you to get smooth movement and it also allows you to use it anywhere on any type of terrain or surface. If you use a lightweight cheap tripod then don’t expect that you will get good results.
You can also physically move your tripod while it is doing a move. This helps create even more unique shots. For example, you could tilt your tripod down while the Slypod Pro tracks in.
You can also put your tripod up quite high and tilt the angle of your tripod head. This allows the Slypod Pro to get quite a good high perspective without having to use a traditional jib. The downside of course is that the camera won’t stay horizontally level when you are tilting down or up like it would on a jib.
Price & Availability
The Moza Slypod Pro will retail for $599 USD. You can, however, currently order it early for $459 USD. As a reference, the standard Moza Slypod E Motorized Monopod is available for $299 USD.
Conclusion
I am always a little hesitant about all-in-one devices as often it’s the case that they do a lot of things ok, but none of them particularly well.
The Slypod Pro works reasonably well, but its Achilles heel is the noise that it makes if you want to make it move fairly quickly. If you are someone who just shoots slow-motion footage and puts it to music then none of this will be a problem, but if you need to record ambient sound or have someone speaking close to the camera then it is a big problem. In saying that, I personally didn’t have any issues with the noise for the type of shots I would do with this device, but then again, I don’t usually have any need for making something move very quickly.
The device is pretty smooth, and it is easy to control and operate, but it is only quiet if you stick to reasonably low speeds. The other small issue is that you do get a little bit of movement when it first starts a move and if you are using it for vertical shots as a monopod it does tend to wobble a bit.
Despite the issues I have with the Slypod Pro, I still think it is a good device, and in my opinion, it is probably a better option than buying a small-sized motorized slider. The Slypod Pro is a lot more versatile, and unlike a slider, you can do push-in, push-out shots without seeing the tracks in shot. The noise it produces at higher operating speeds does limit its versatility, and this is something you need to be very aware of.
Being able to create a variety of different shots from a single device that doesn’t take up a ton of space, doesn’t weigh much, and won’t take long to set up, should make this product stand out from other devices. However, the noise it generates at higher operating speeds does limit its ability to be used in certain shooting environments.
Sometimes a Swiss Army knife is the best tool if you are by yourself and you can’t carry a variety of dedicated tools.
I think Moza has done a good job with the Slypod Pro, and as long as you understand its strengths and limitations you can create some interesting shots quickly and easily.