iFootage has introduced its new Shark Slider Nano. It is being touted as the world’s first portable built-in 2-axis bi-directional slider.
The iFootage Shark Sliders have gained a good reputation over the years for being smooth, easy to use, and well made. The Nano joins the following Shark sliders in the series:
Key features
- Lightweight, compact, portable camera slider solution
- Choose between two control interfaces, via Smartphone App or built-in IPS touch screen display
- Two-axis, bi-directional design
- No additional head needed
- Silent, smooth movement
- Supports DSLR and Smartphone recording
- Export final video or photos directly from Smart device
- One NP-F battery lasts 3-4 hours in continuous use
- Quick to set up
- App supports both Android and iPhone
- USB-C charging port for use with external power pack
- Battery charges whilst using an external power supply.
- Four height-adjustable feet
What makes it unique?
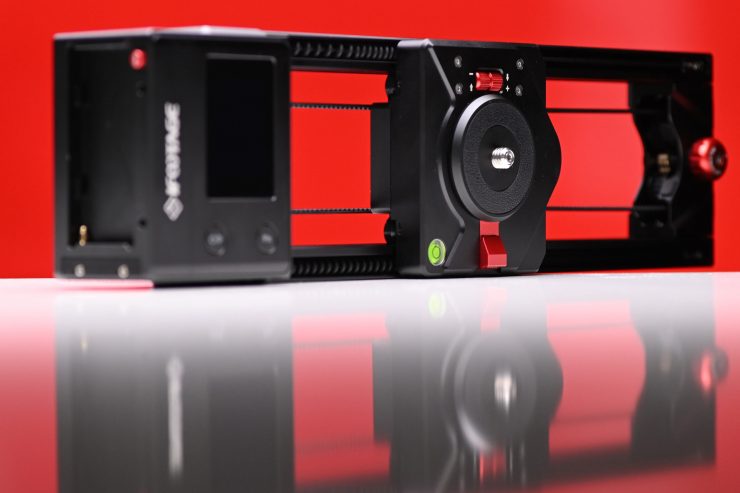
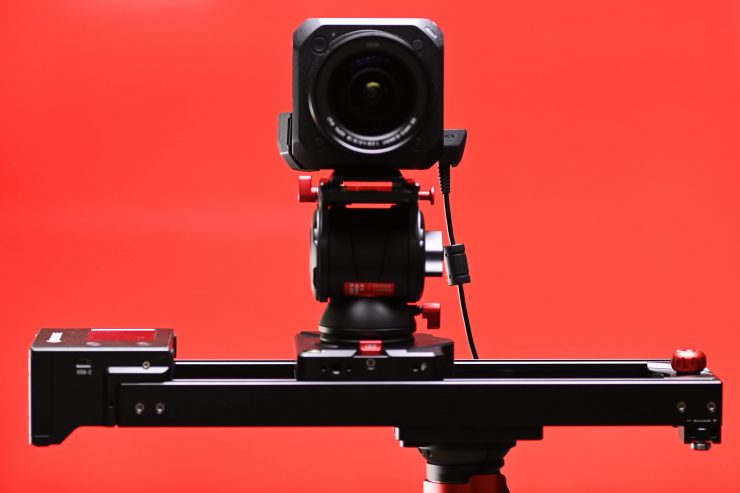
The Shark Slider Nano features a two-axis bi-directional design. This means the slider can travel further than its actual physical length. The Nano can also slide and pan at the same time. This is the first slider, at least to my knowledge, where two-axis bi-directional functionality has been built into the slider itself. Usually, to get this kind of functionality, you need to attach some kind of motorized head or accessory to be able to do this.
Having this functionality built-in allows you to create some interesting shots.
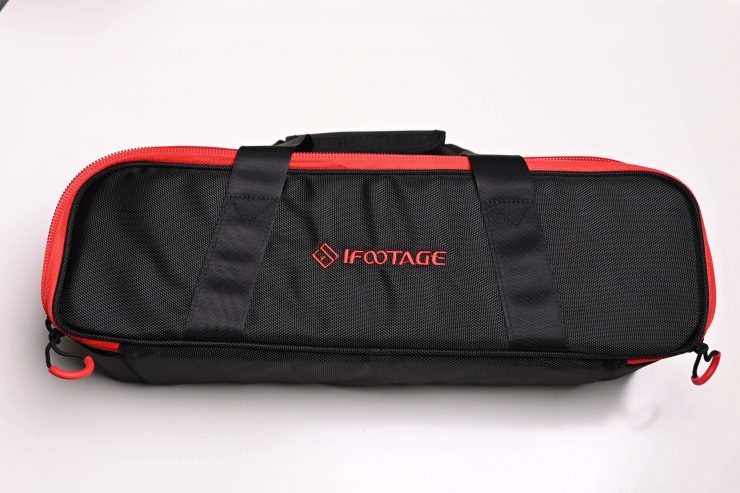
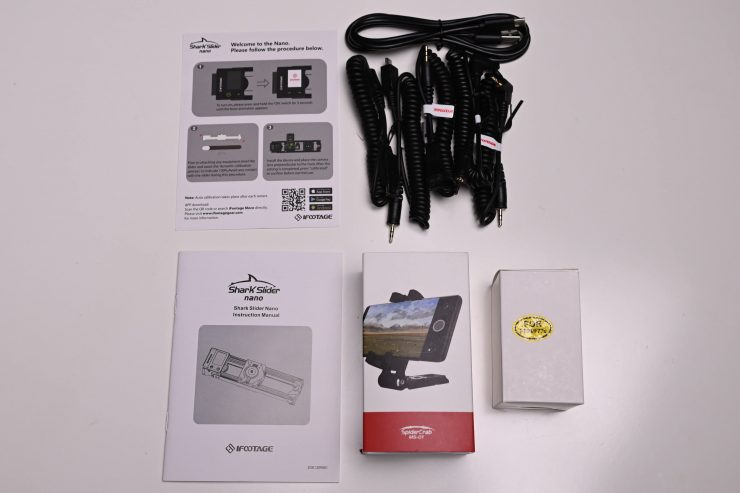
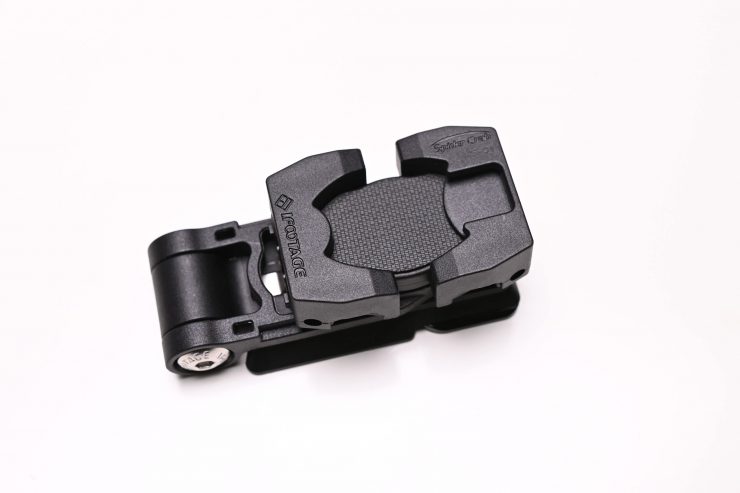
What do you get?
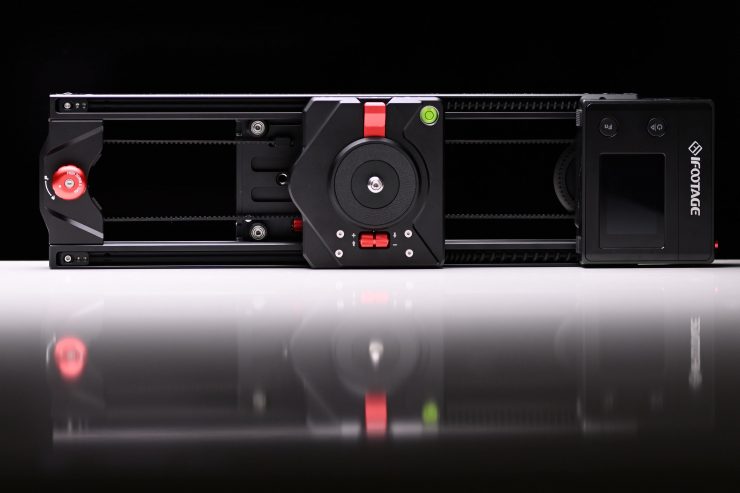
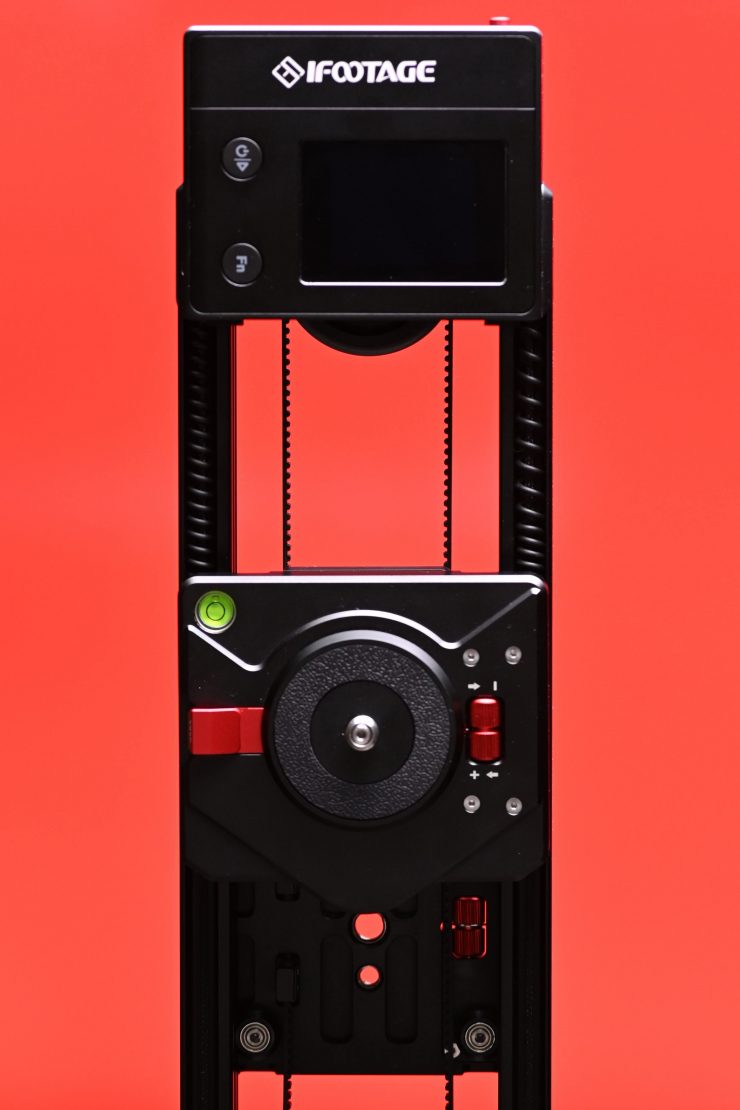
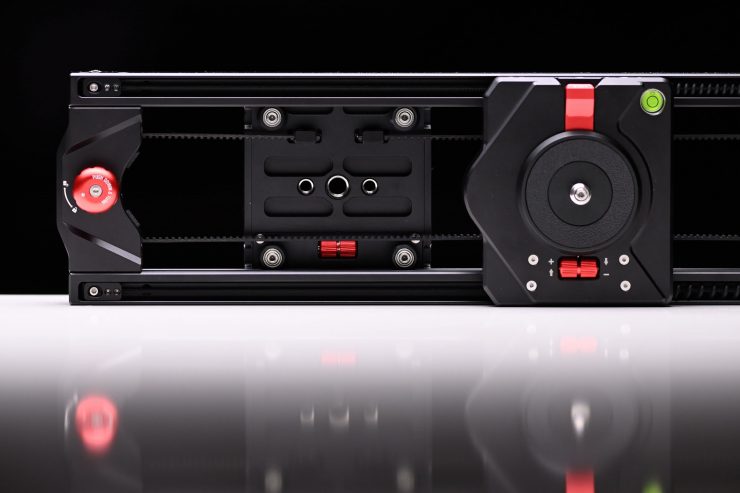
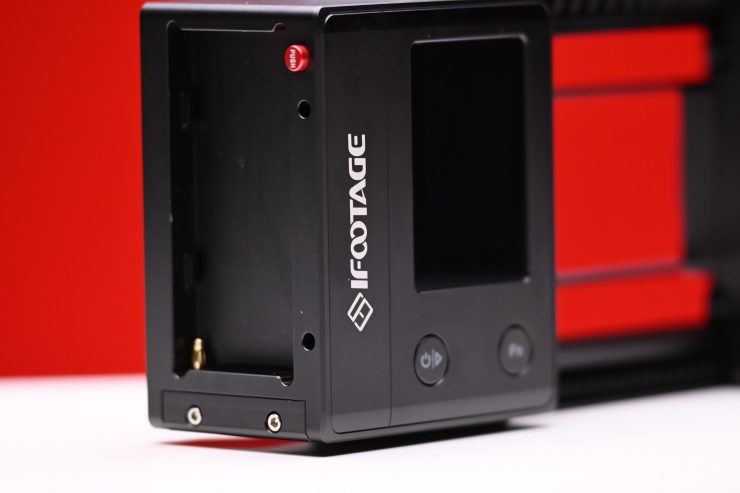
Design
The design of the Shark Nano Slider has been well thought out.
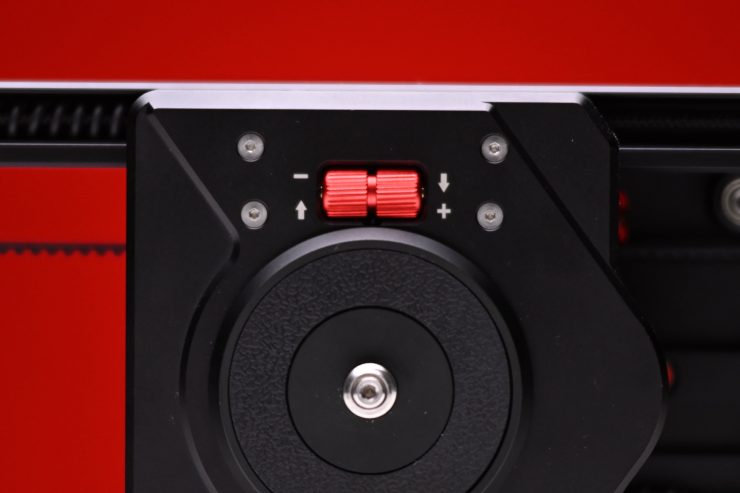
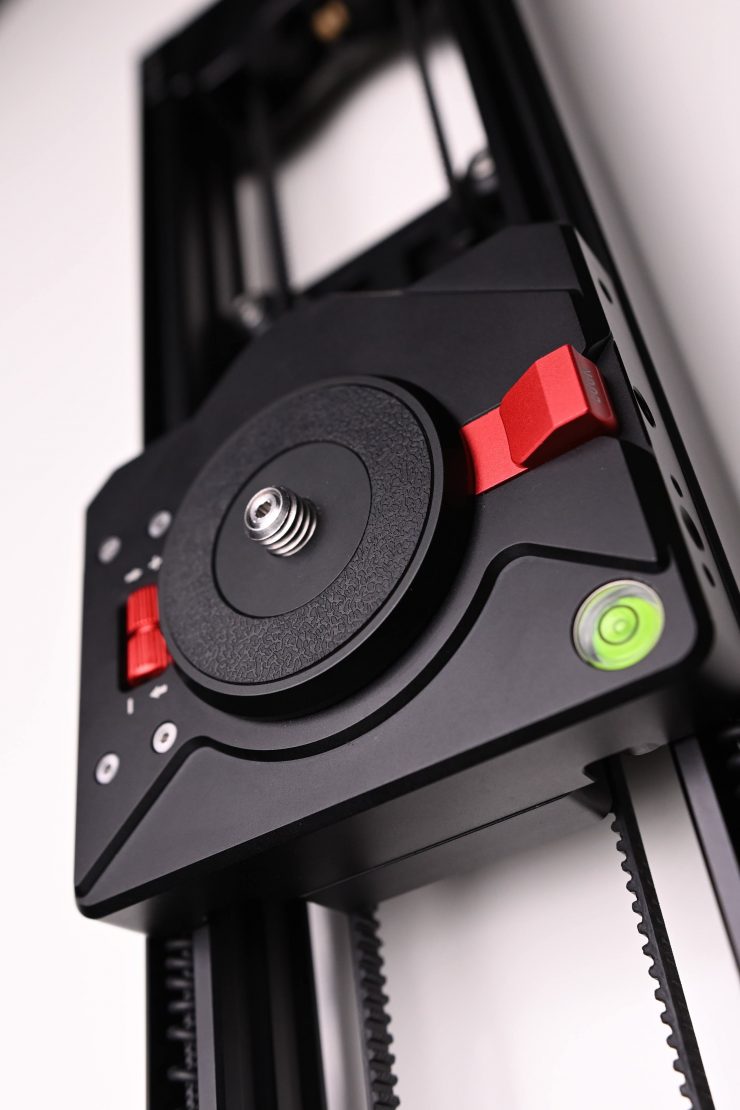
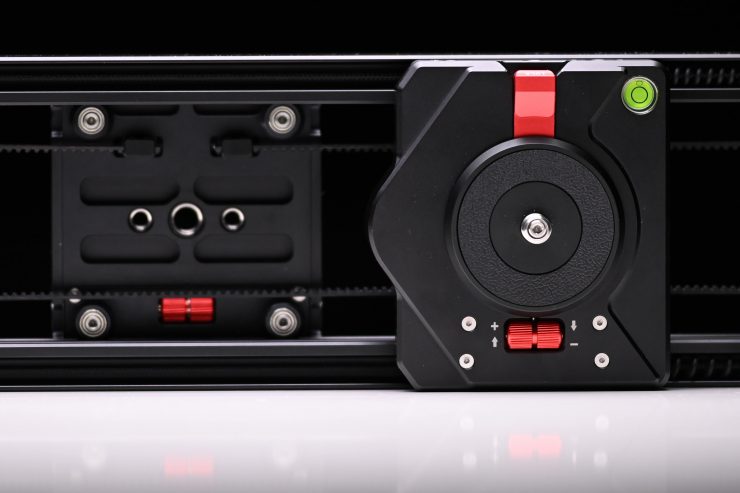
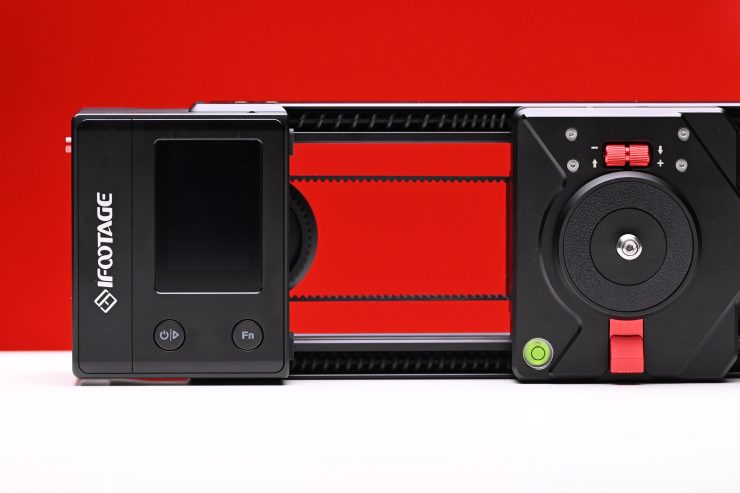
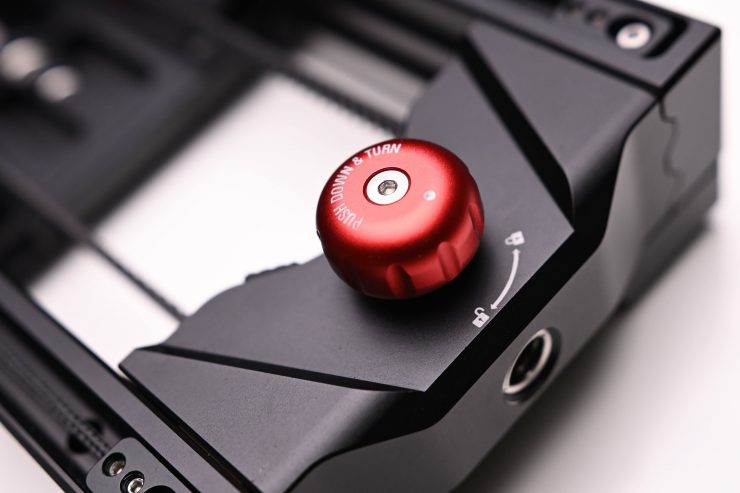
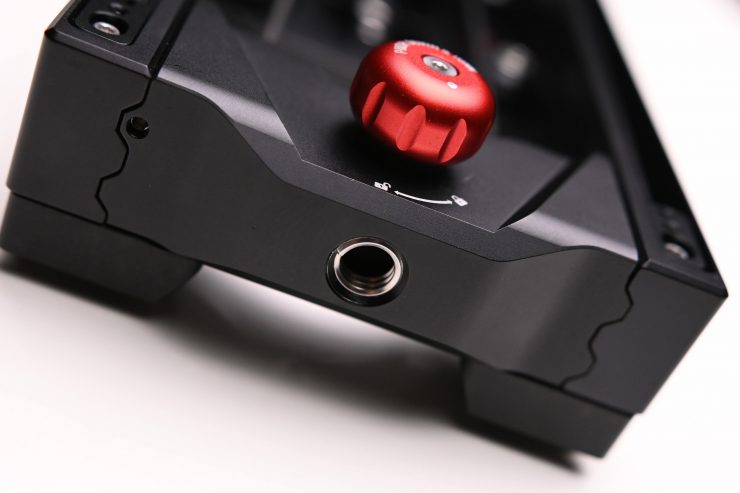
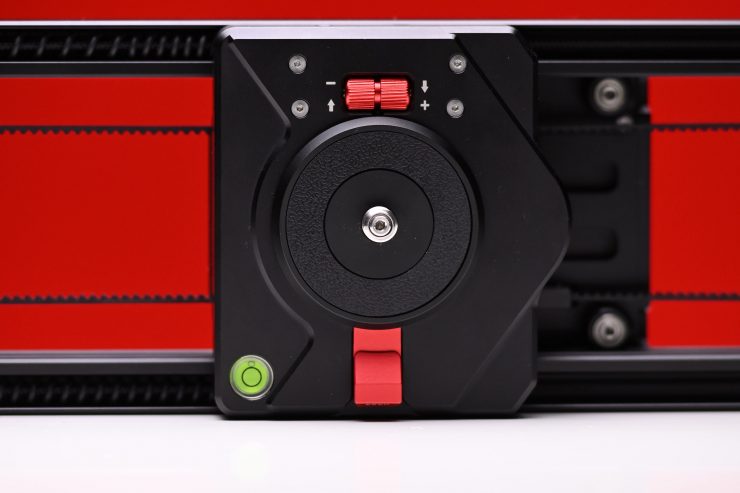
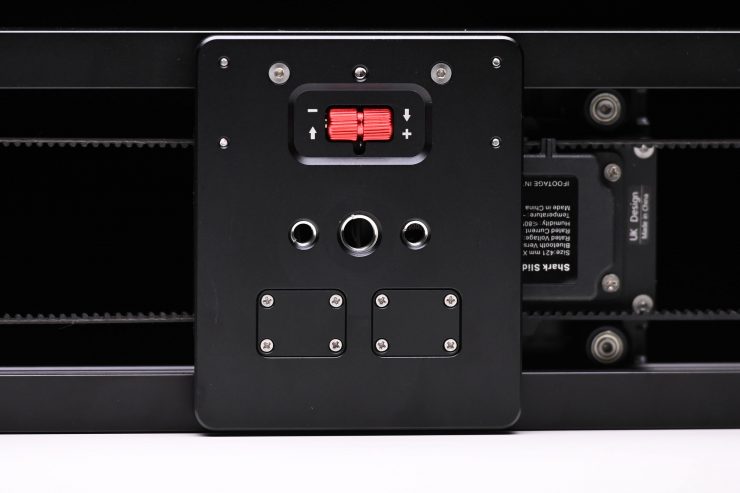
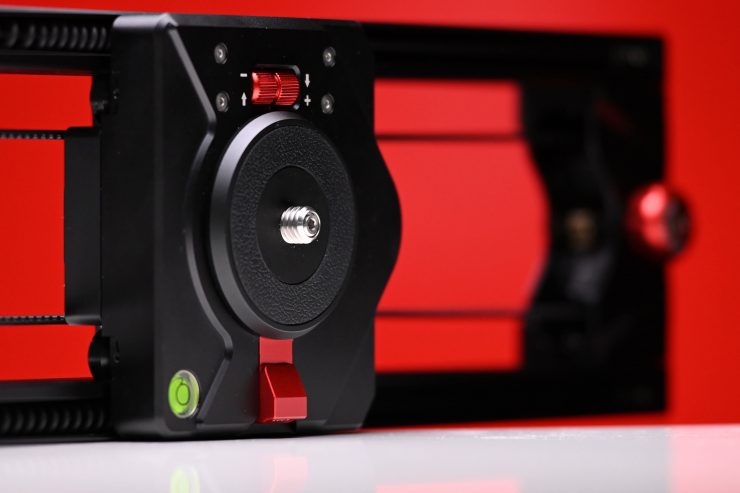
Both the main plate and the plate you attach to a tripod have tension adjustments.
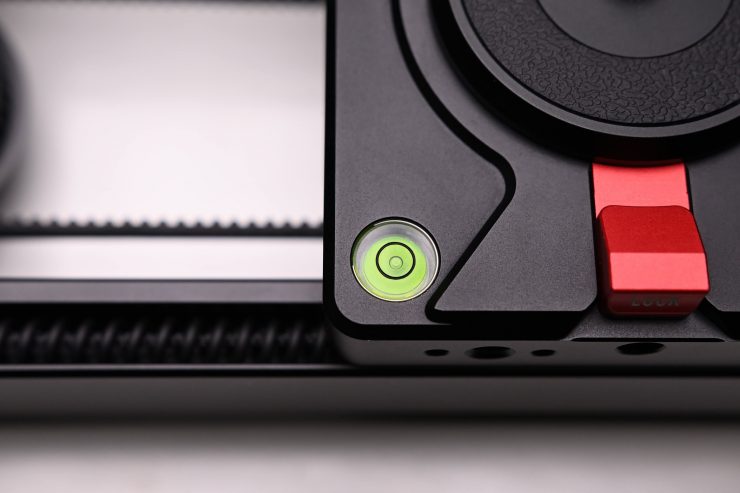
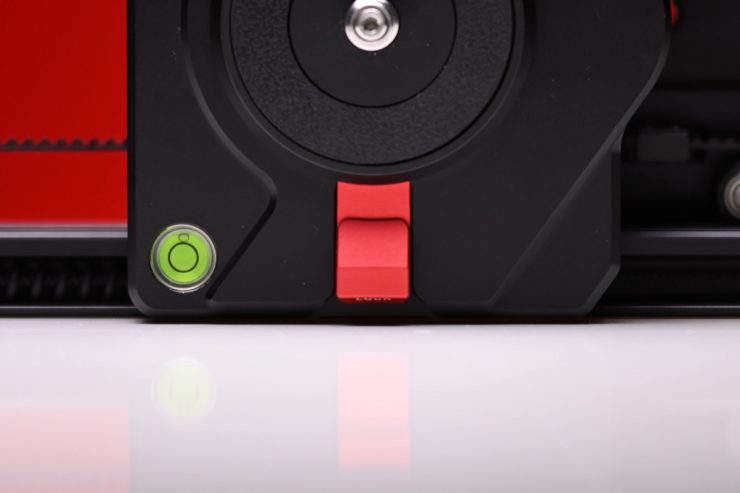
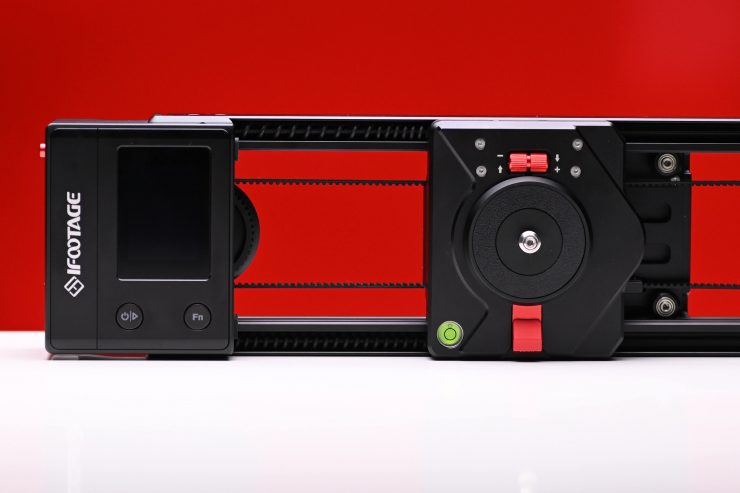
There is also a bubble level on the main carriage plate.
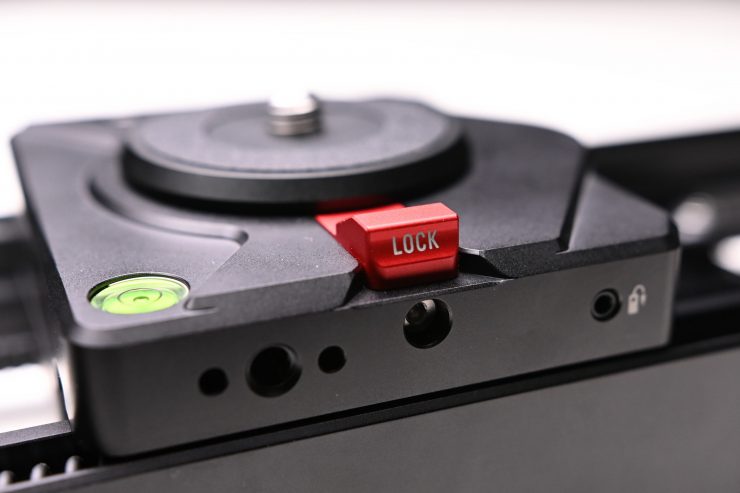
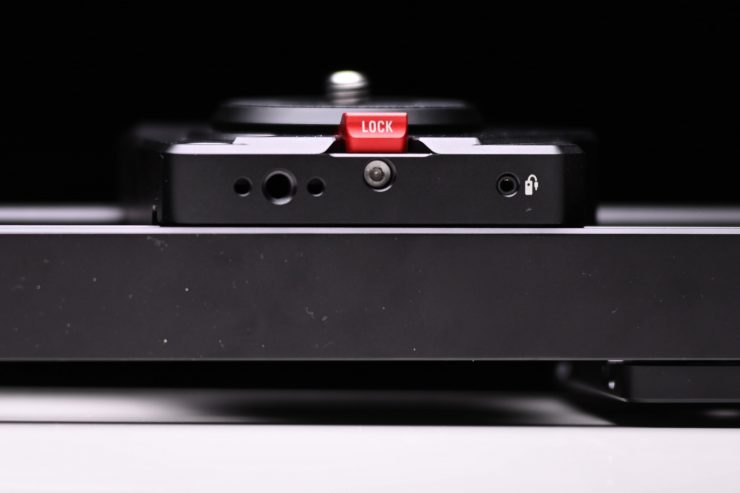
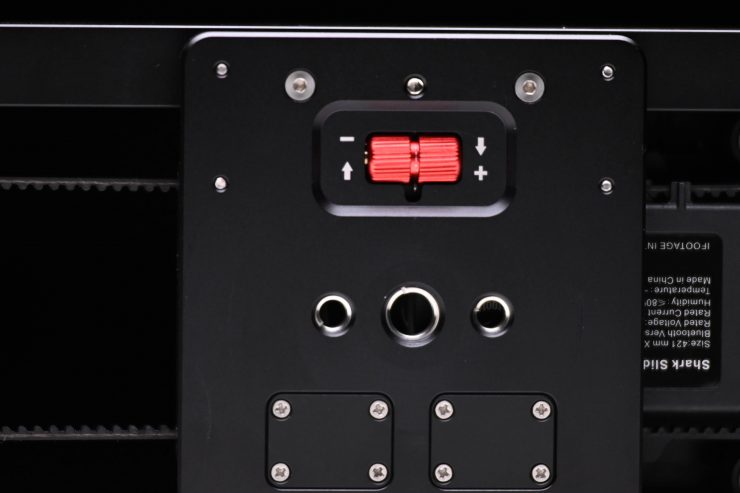
On the main carriage that slides there is also a 1/4 20″ hole if you wanted to mount a monitor arm or accessory. There is also a receptor for attaching the camera control cables for doing timelapse and stop motion.
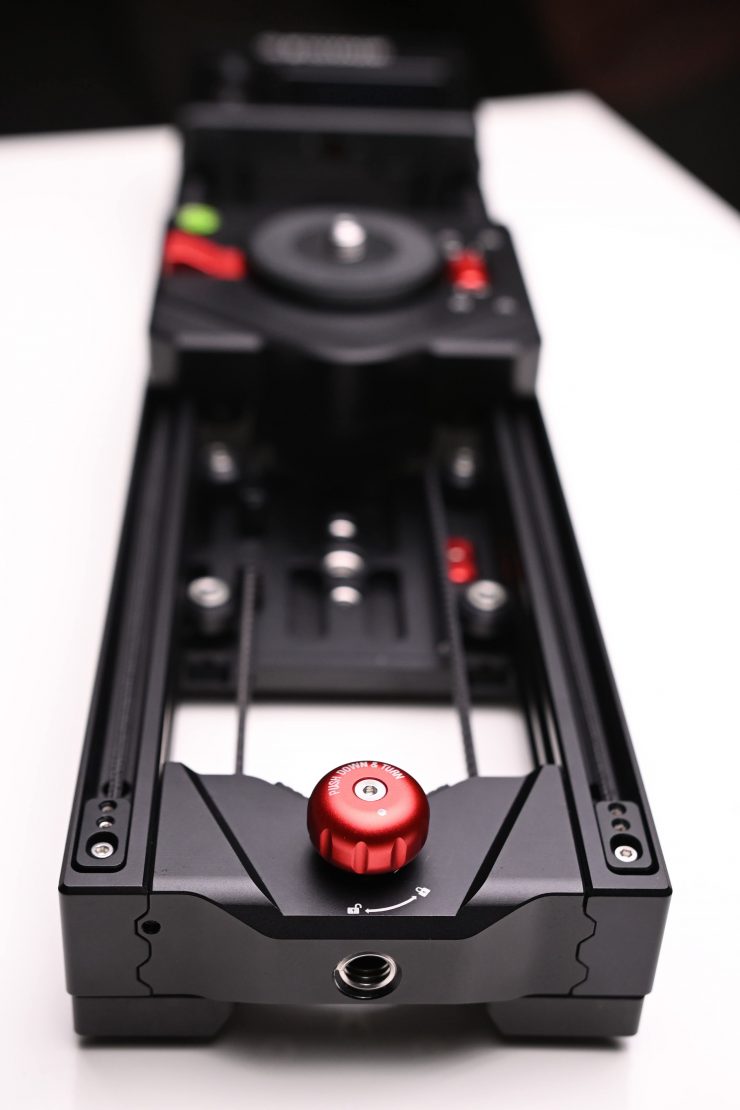
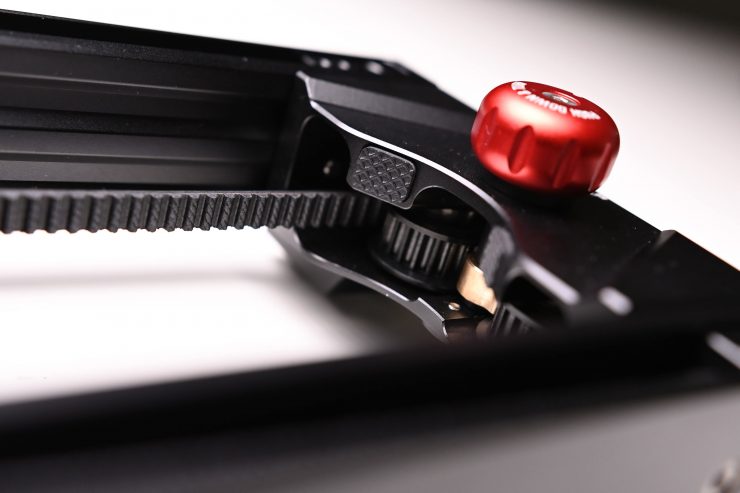
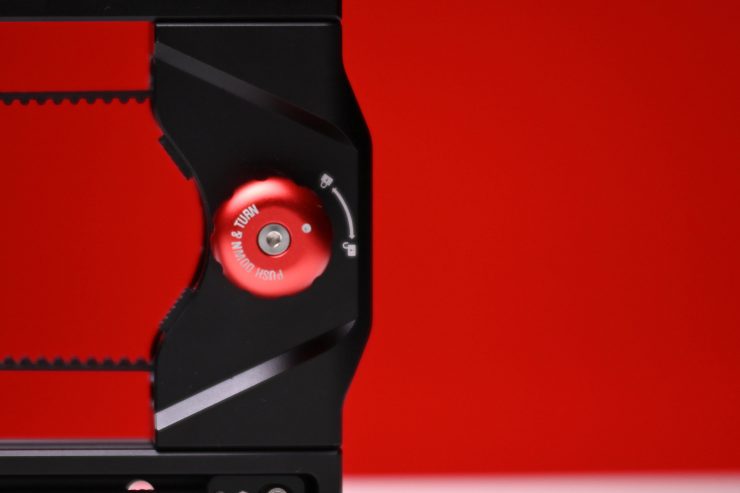
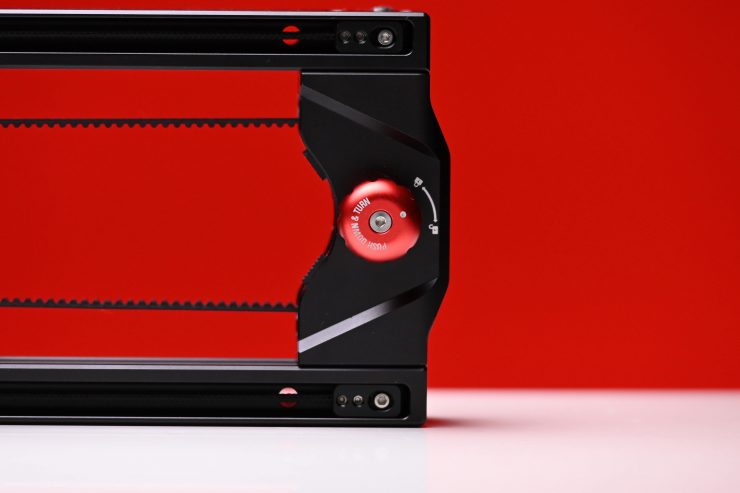
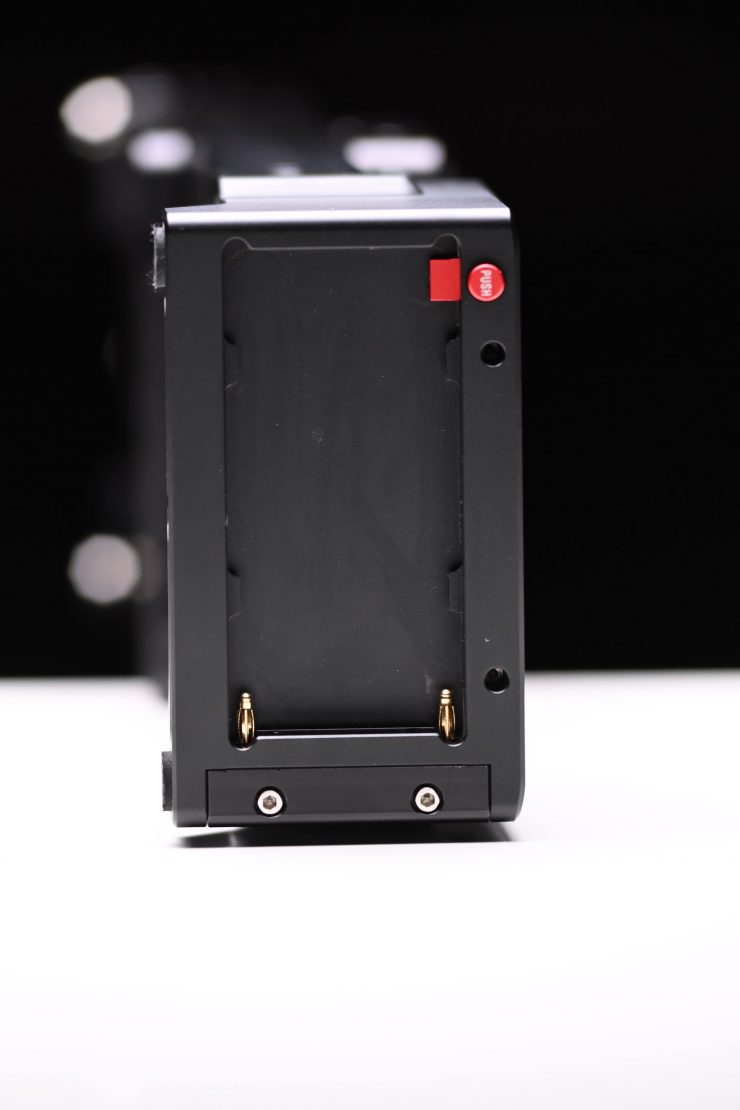
At one end of the slider there is a locking mechanism that you engage during transport and when you are not using the slider. This stops the carriage from moving.
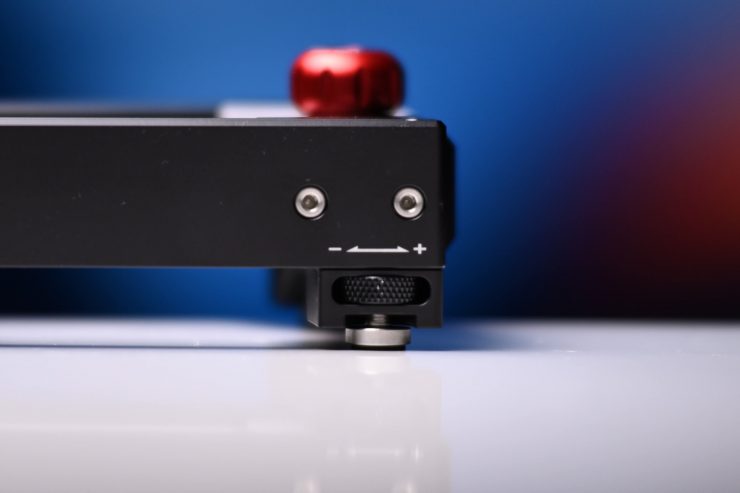
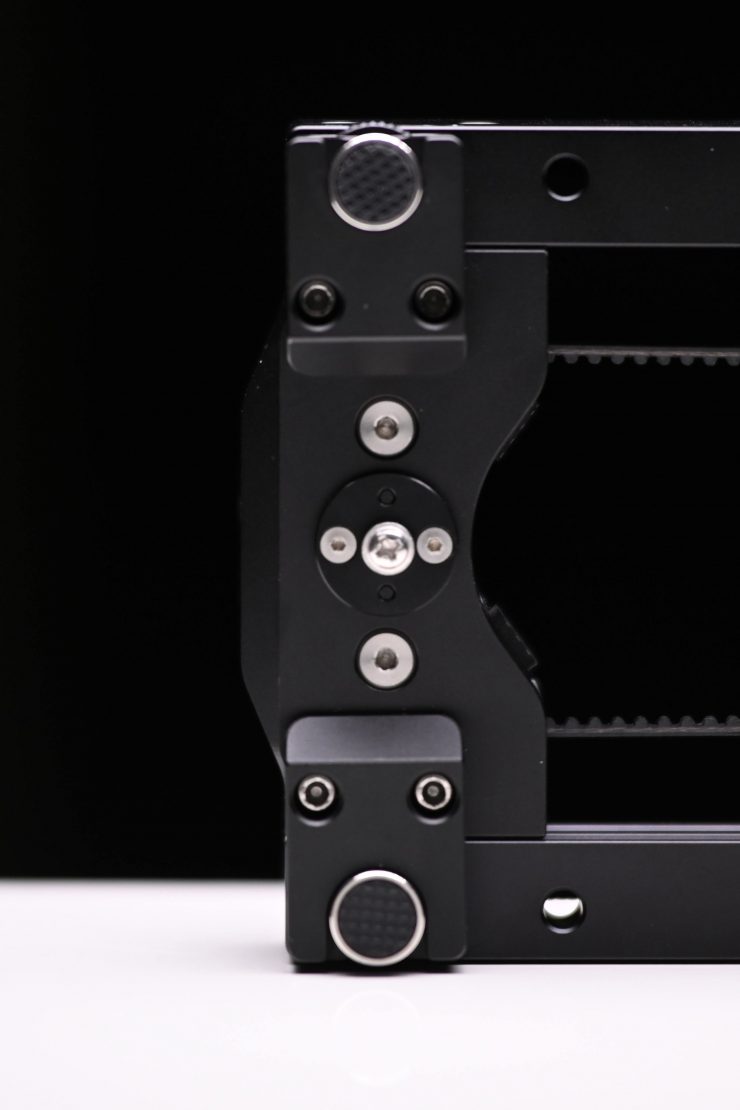
There are two leveling feet at one end of the slider that allows you to make small height adjustments when you use it on the ground or a flat surface.
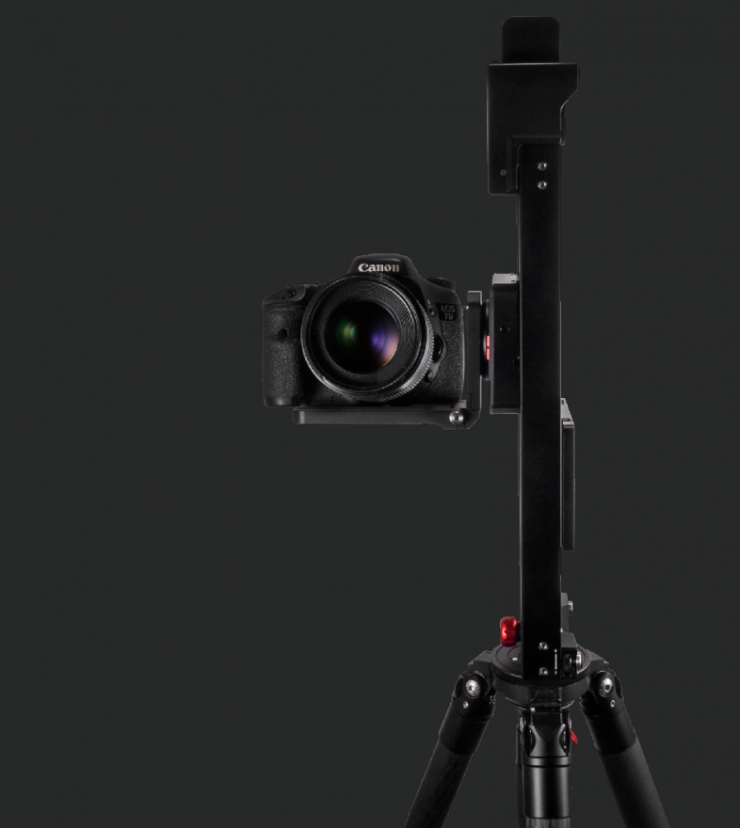
iFootage has also included a 3/8″ mounting hole so you can mount the slider vertically.
On the bottom of the slider, there are two 1/4 20″ threads and a 3/8″.
Build Quality
A lot of lower-cost sliders, especially motor driven ones, tend to be pretty badly made. I have never actually reviewed an iFootage product on the site before, and I was pleasantly surprised by how well made the Shark Slider Nano is.
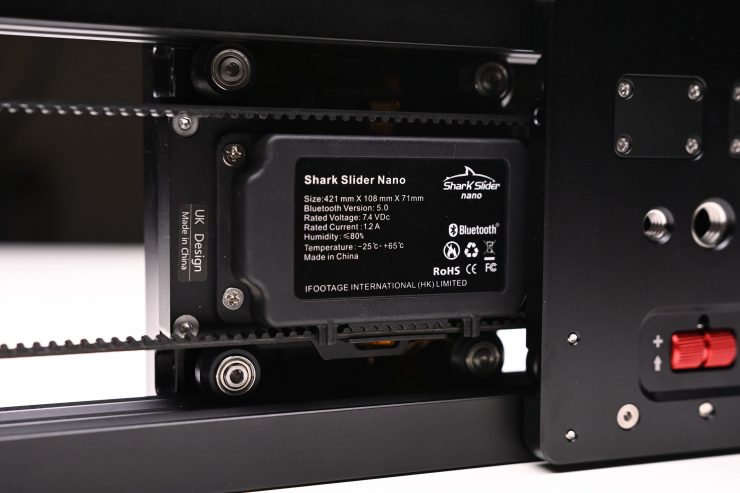
It feels very solid and the slider is made out of aerospace-grade aluminum and SUS304 stainless steel.
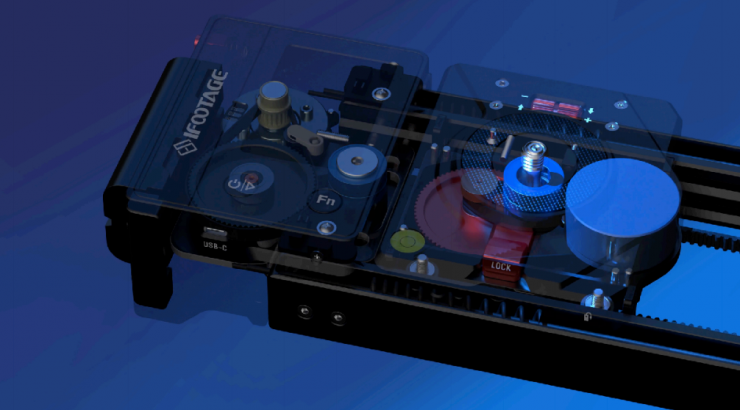
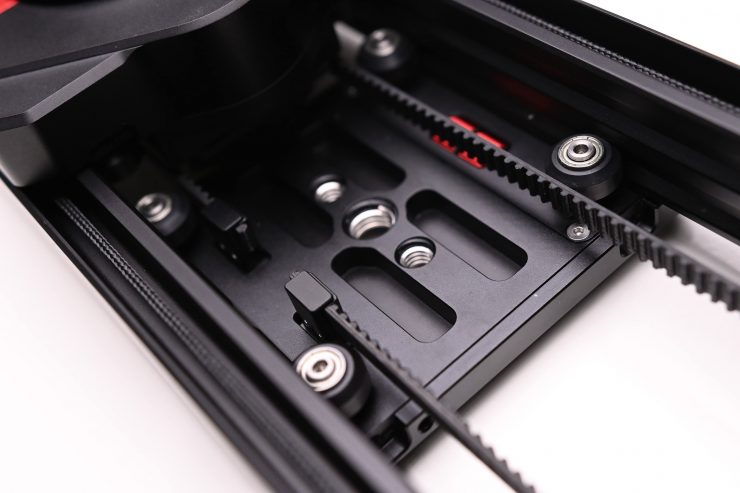
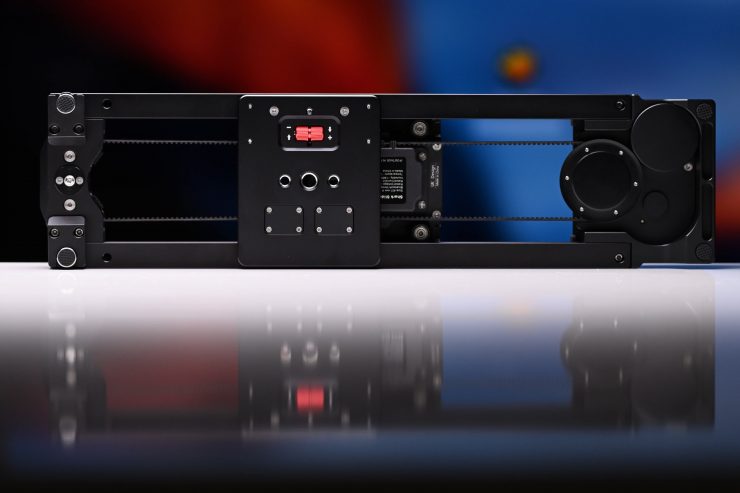
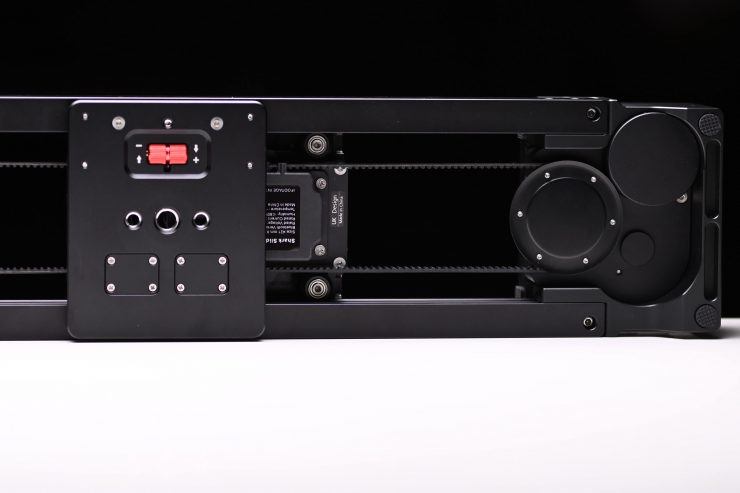
Above you can see what the internals of the slider looks like.
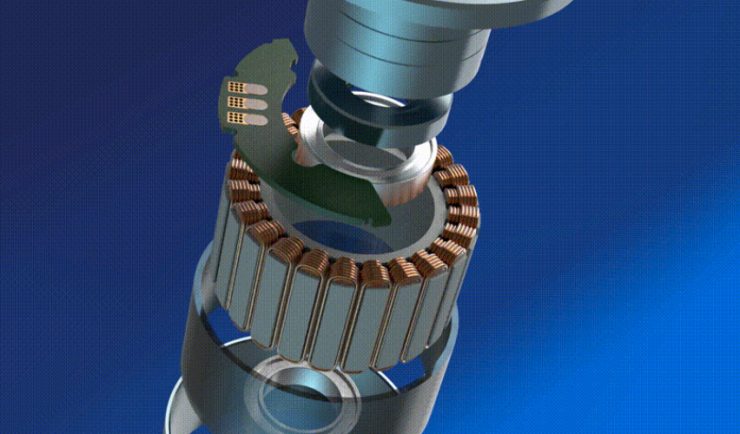
The motor being used is a high-performance three-
phase brushless DC motor driver from Texas Instruments.
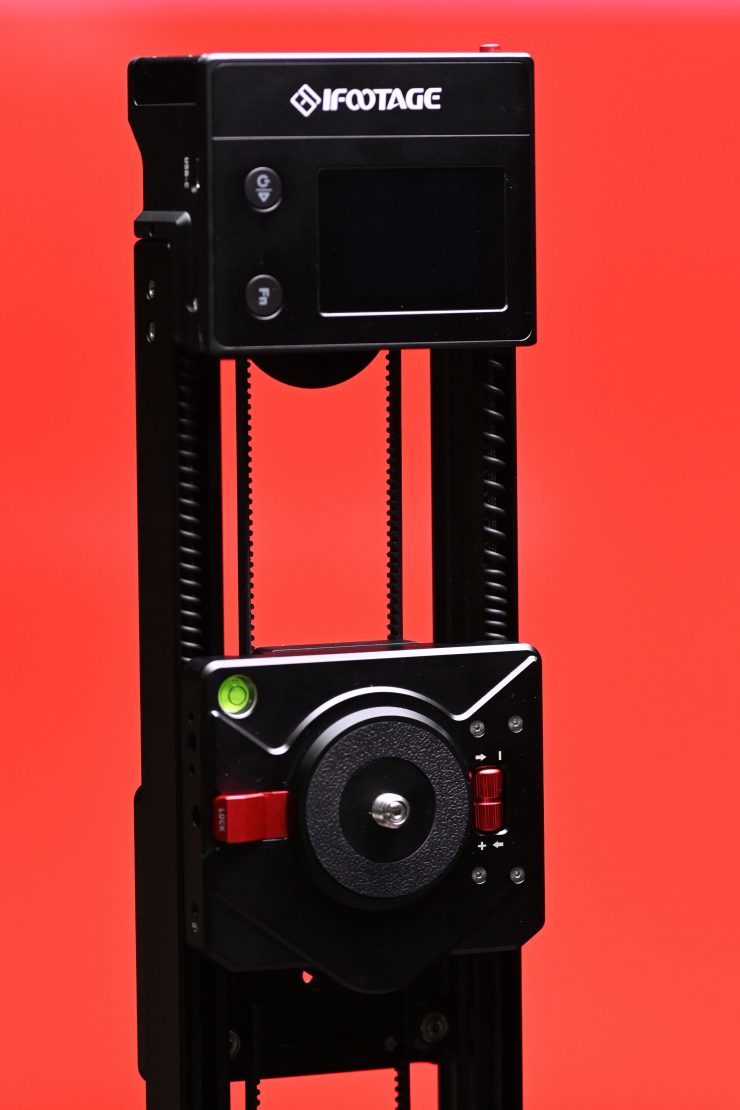
Weight & Size
It may be called a Nano, but it certainly isn’t lightweight. In saying that, it does only weigh 2.15kg (4.74lb). The slider has physical dimensions of 421mm x 108mm x 71mm (16.6″ x 4.2″ x 2.8″).
This size makes it reasonably easy to transport and to fit into bags or cases when you are traveling.
How much travel does it have?
The Nano itself has 200mm (7.87″) of travel, which is not that far. However, if you mount it on a tripod you can get 320mm (12.59″) of travel due to the way the whole slider moves while the tripod mount stays still.
This is also useful when you want to do push in or push out moves.
The trade-off when using any compact and small-sized slider is that you are only going to be able to do relatively small-sized moves.
Payload capacity
The Shark Slider Nano has a horizontal payload capacity of 3.5kg when placed on a flat surface such as a desk or the ground. If you place it on a tripod the payload capacity dips to 2.5kg. For vertical camera movements the payload capacity it 2kg.
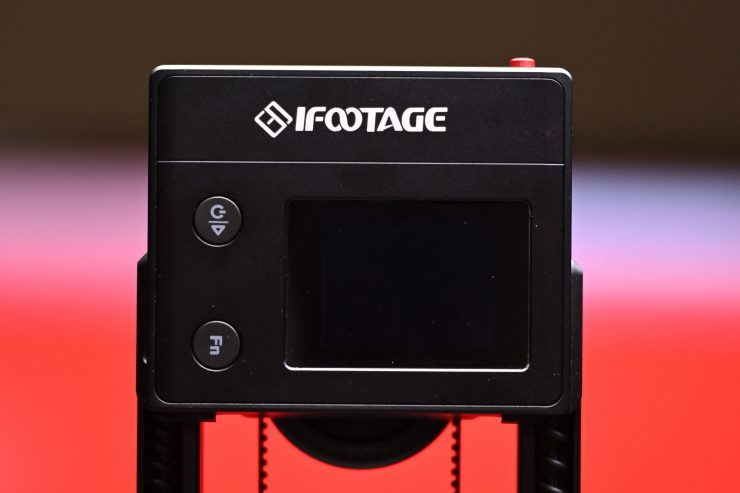
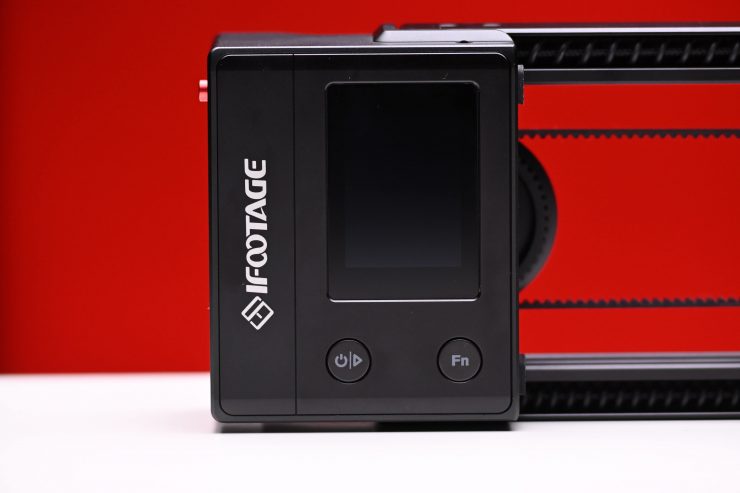
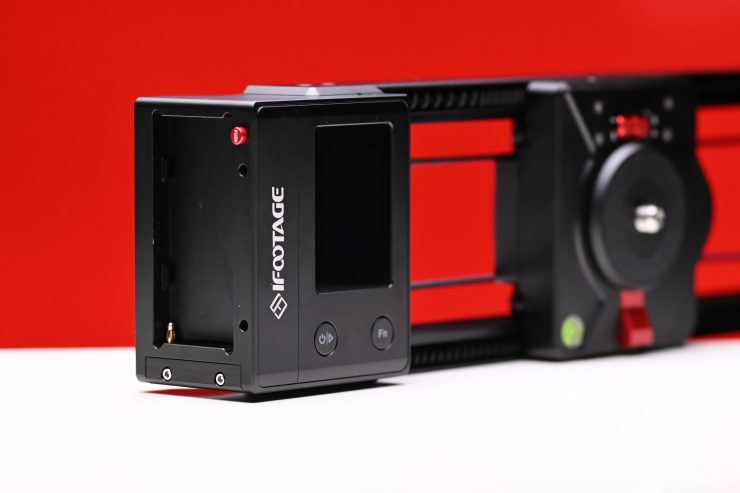
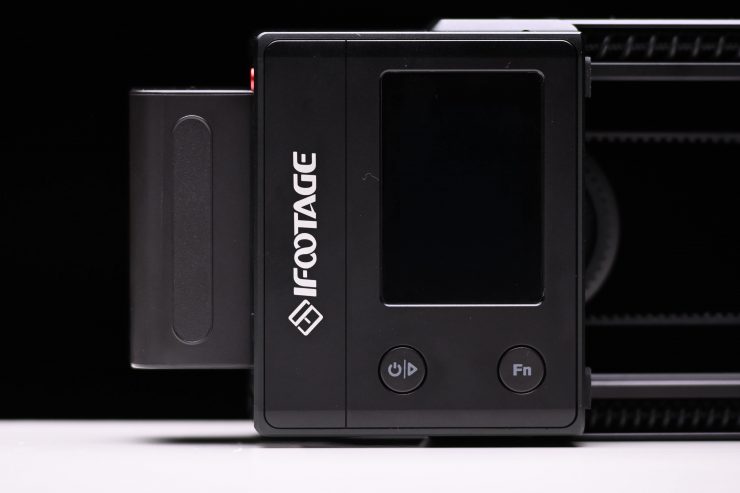
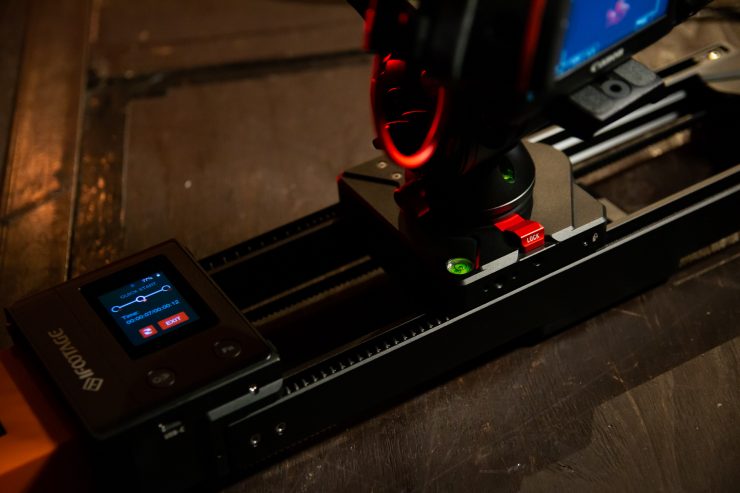
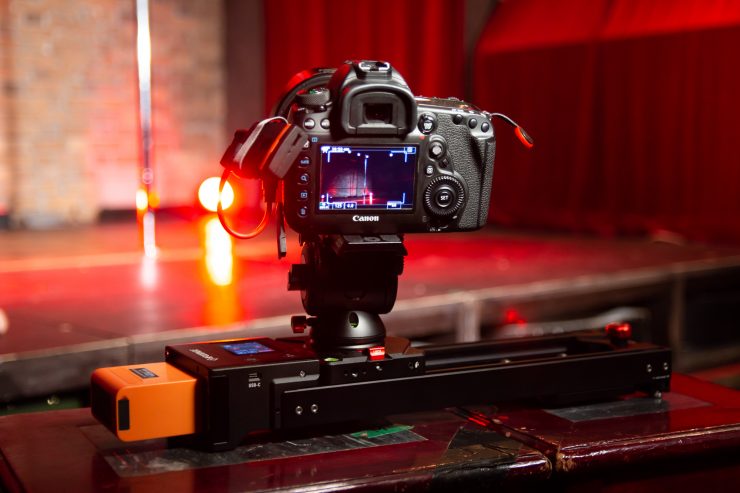
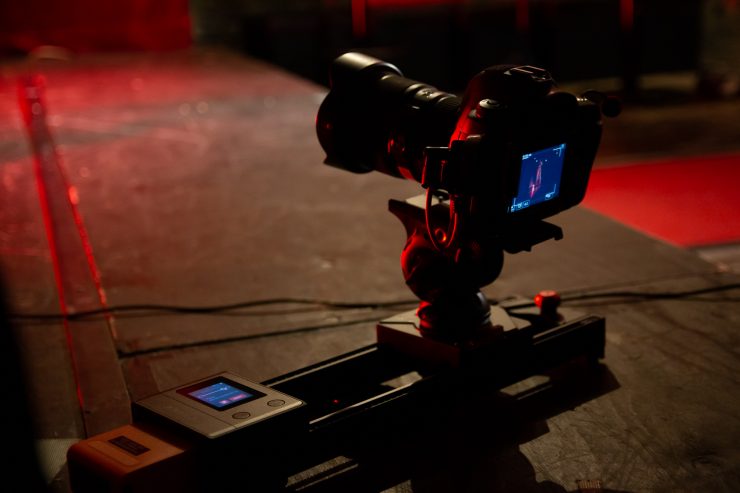
IPS Touchscreen Display
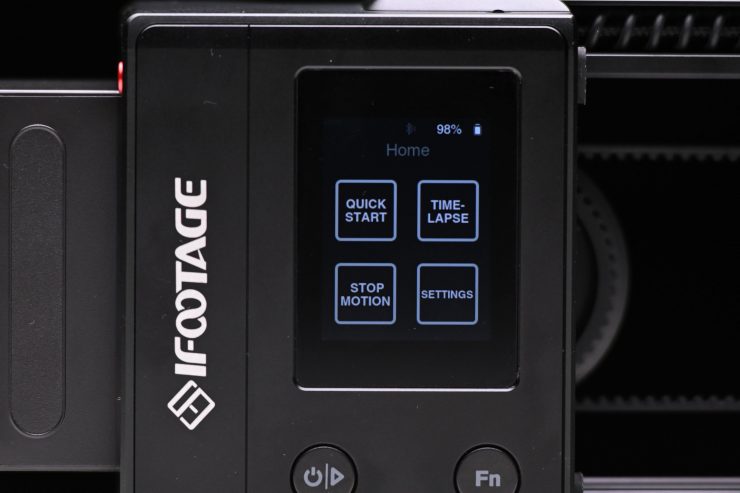
The Shark Slider Nano comes with a built-in IPS touchscreen. This is where you can make changes and control the operation of the slider.
How do you set it up?
The Shark Slider does a lot of the hard work for you. What you need to initially do is place the slider on a flat surface or mount it to a tripod. It is also important that you don’t have a tripod head or camera attached when you first turn it on.
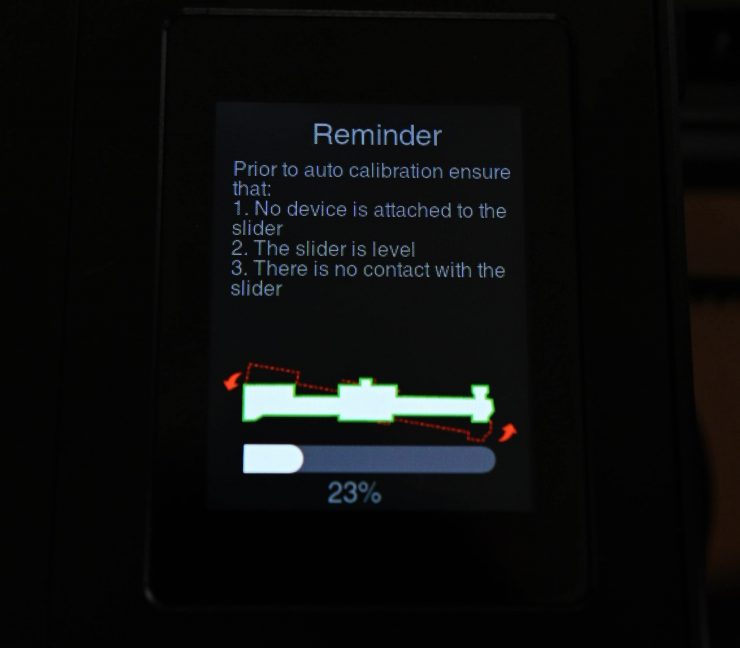
After you hold down the power on/off button for a few seconds the sliders’ touchscreen display will come up and it will automatically enter into a self-calibration mode.
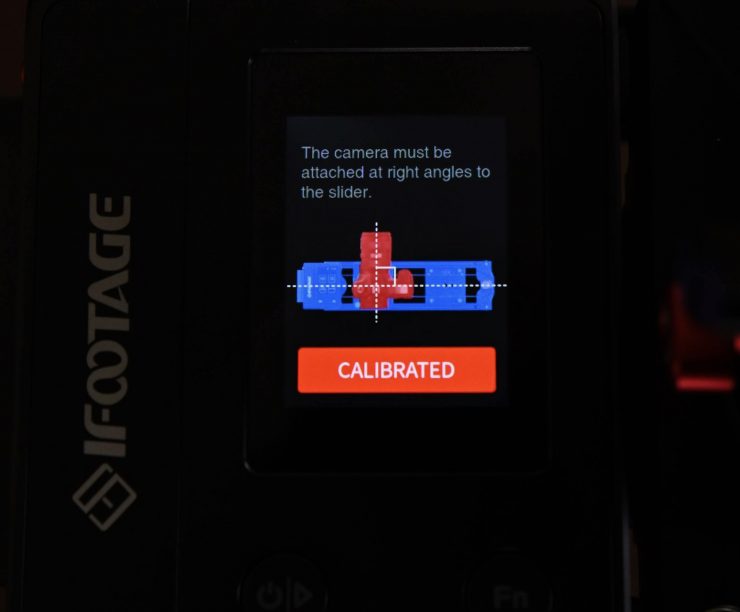
This does take a couple of minutes to complete. Once it has finished you can attach your tripod head and camera and you are ready to go. With an upcoming Firmware update, the bootup calibration will give you an option to skip this calibration process if you need to use it quickly.
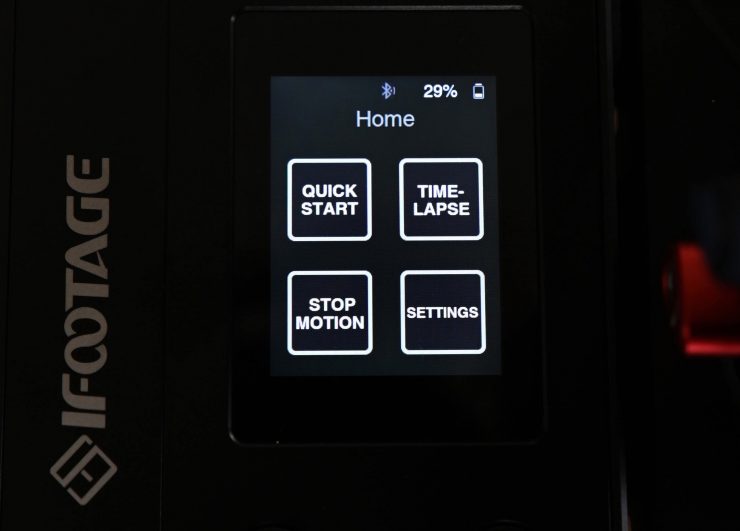
The main menu interface is fairly straight forward. You just choose Video, Timelapse, Stop Motion, or Settings depending on what you want to do.
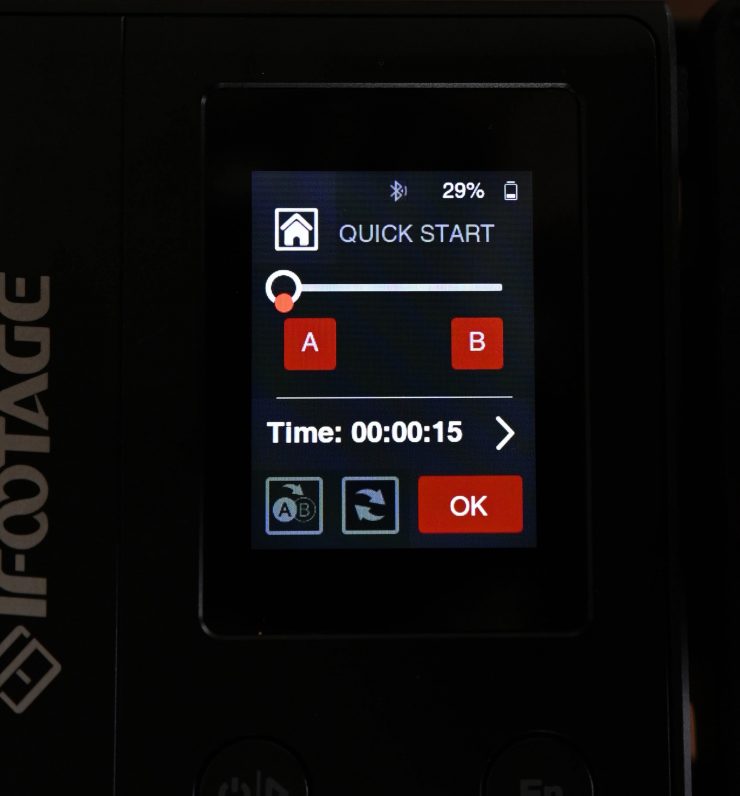
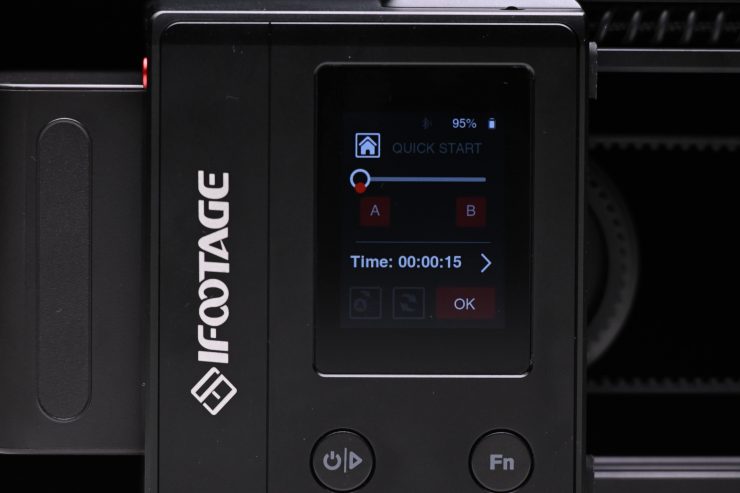
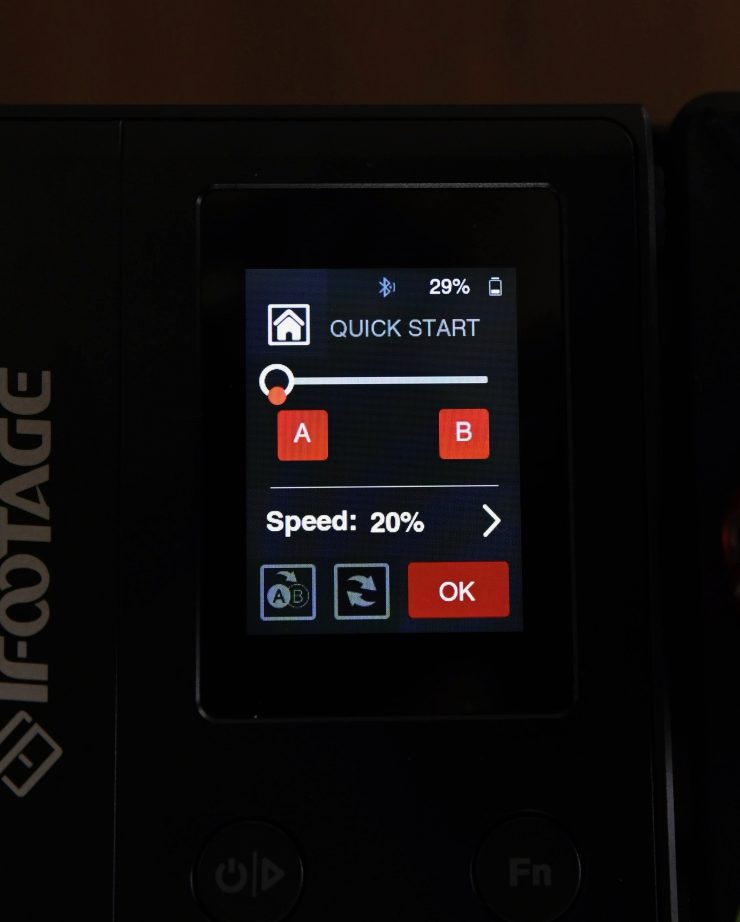
If you press Video you are greeted by a screen that allows you to:
- Set A and B points
- Change the speed at which it moves and the time it takes for the slider travel
- Turn the loop function on/off
- Change whether the slider travels from point A to B or B to A
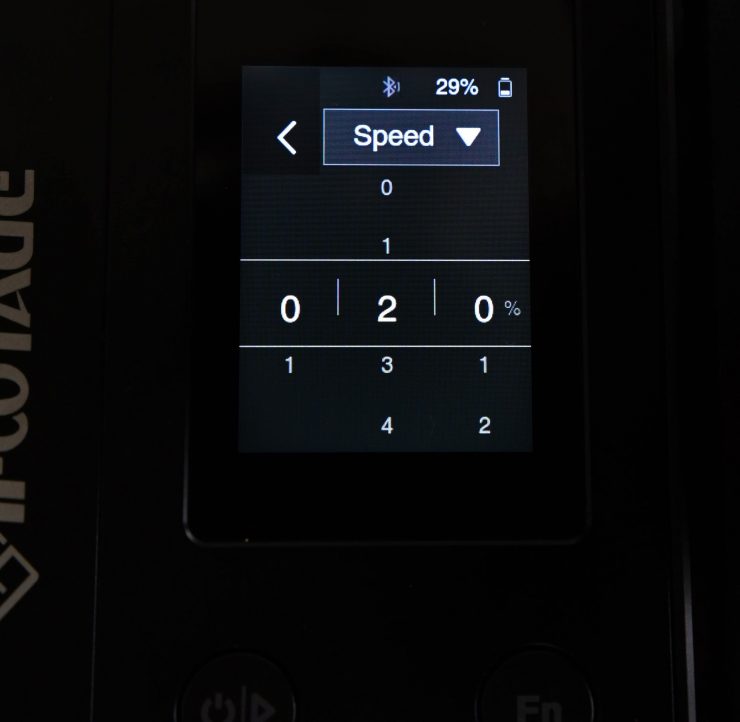
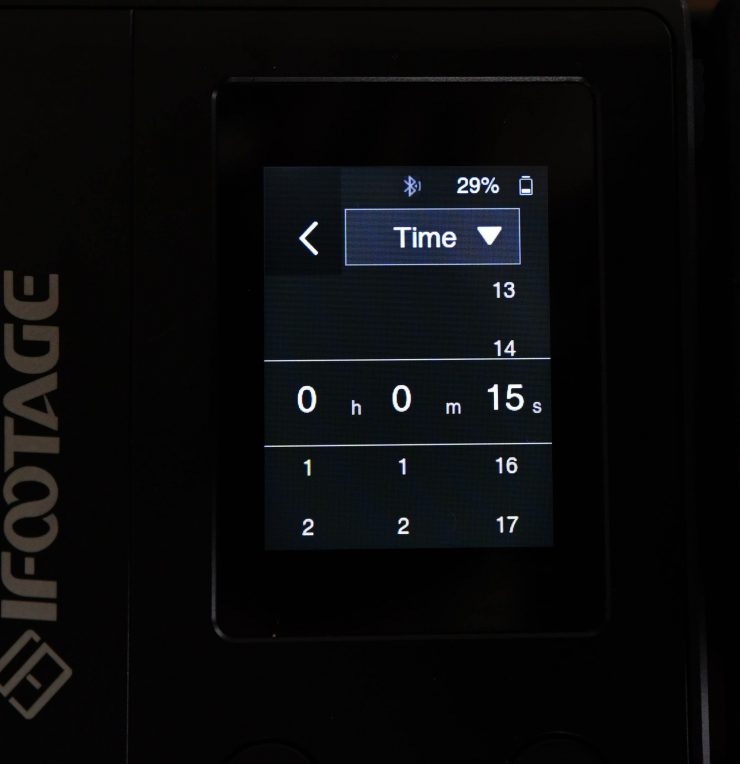
Changing the Speed and Time is very straightforward.
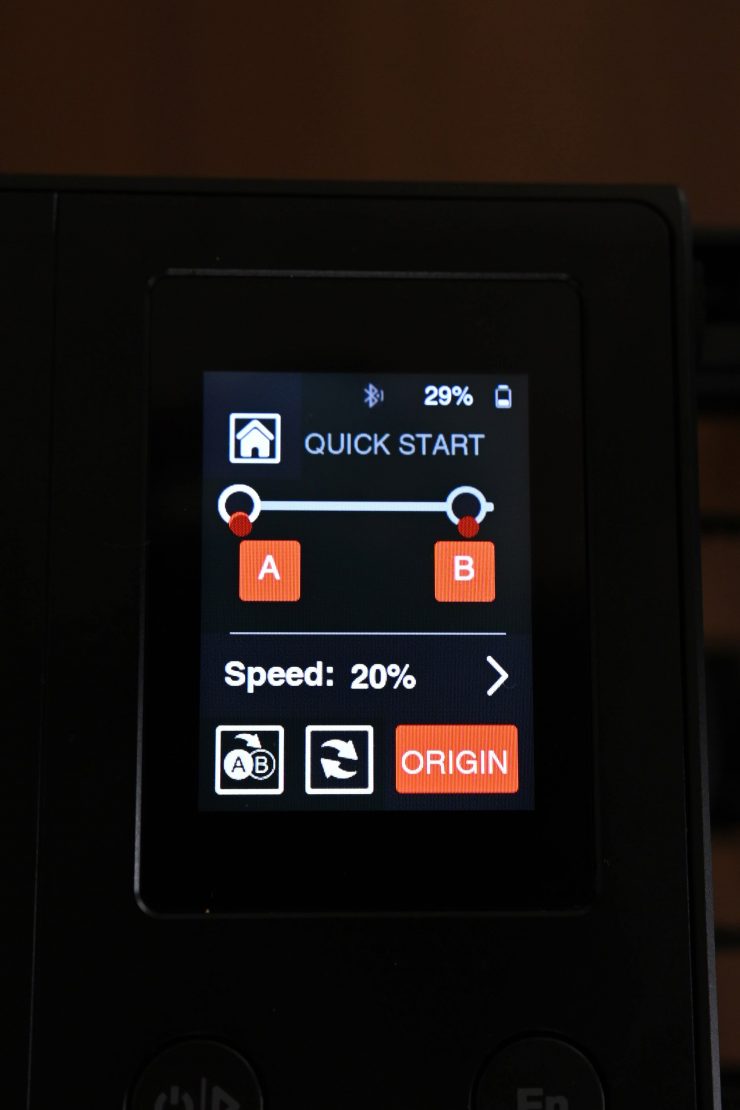
To set A and B points you have to push both the Power button and the Function button at once. You will then see both the A and the B icons on the touchscreen start flashing. When they start flashing you have to physically move the slider to the starting position you want and then you press the Function button. Once it stops flashing you then move the slider to the position you want it to stop and your press the Function button.
You need to press Origin first before anything happens. This brings the slider back to the A position you set. You then press Start and the slider will start its move.
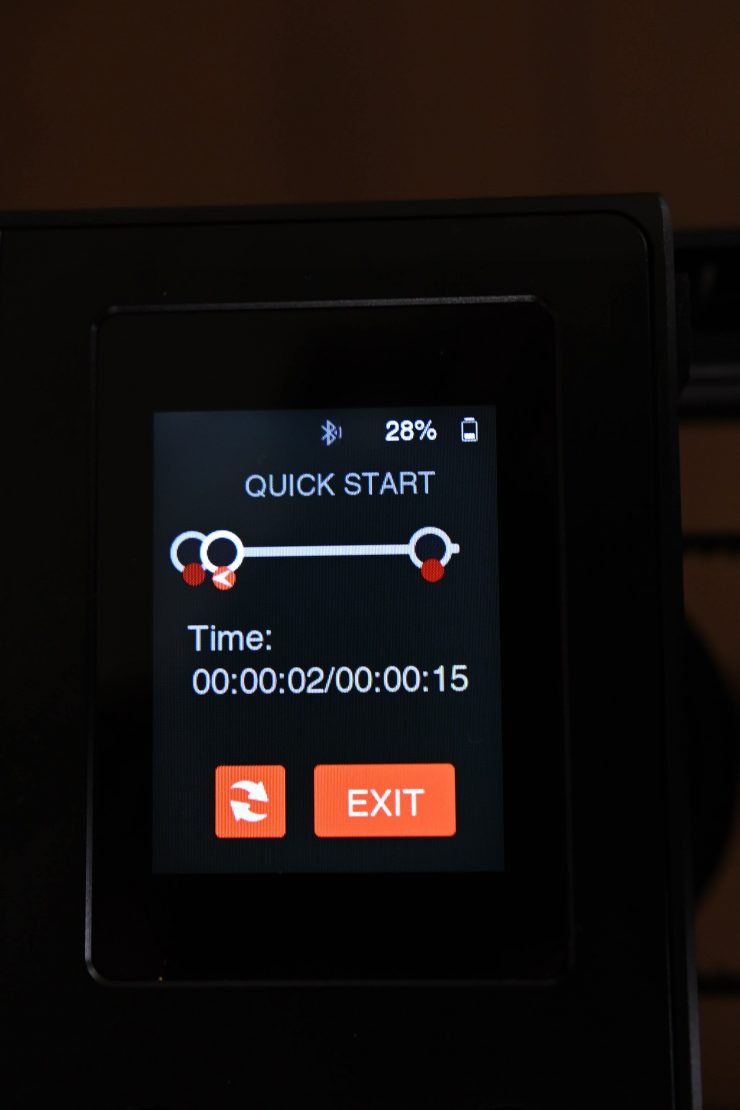
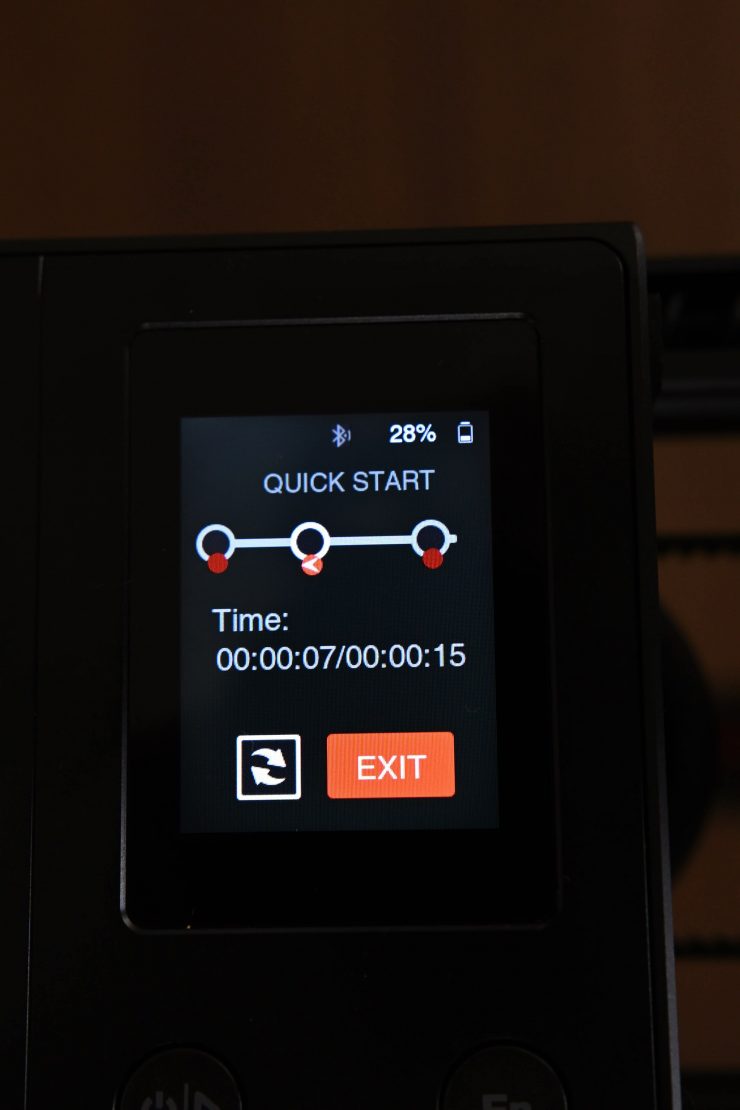
The display will show exactly where the slider is in relation to points A and B during its move. It will also tell you how many seconds into the move it is and how long the total move will take.
Now, most importantly it is also super easy to set the pan position for each A and B point. All you need to do is pan the head to the start position you want for point A and then when you move it to point B you can adjust the pan position again. This way, when the slider moves it will automatically slide and pan between the two points you choose. This lets you create a parallax move pretty easily, or even just a slight pan if you choose. You can also have the head move around multiple times, so for example, if you wanted to do a 720-degree shot, you can.
I found it a little strange that you can’t move the slider using the motor into the position you want and then set you A and B points. I can, however, see the logic for this, as it is easier to move it to the correct position you want quickly and it also allows you to adjust the pan position as well.
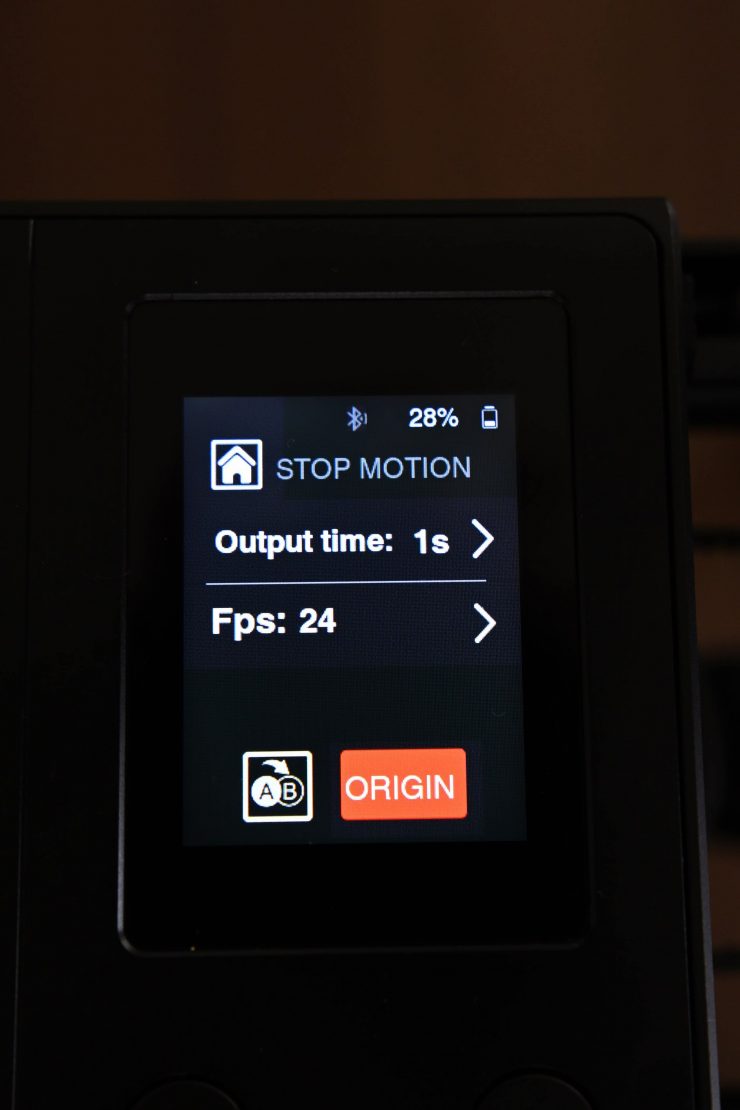
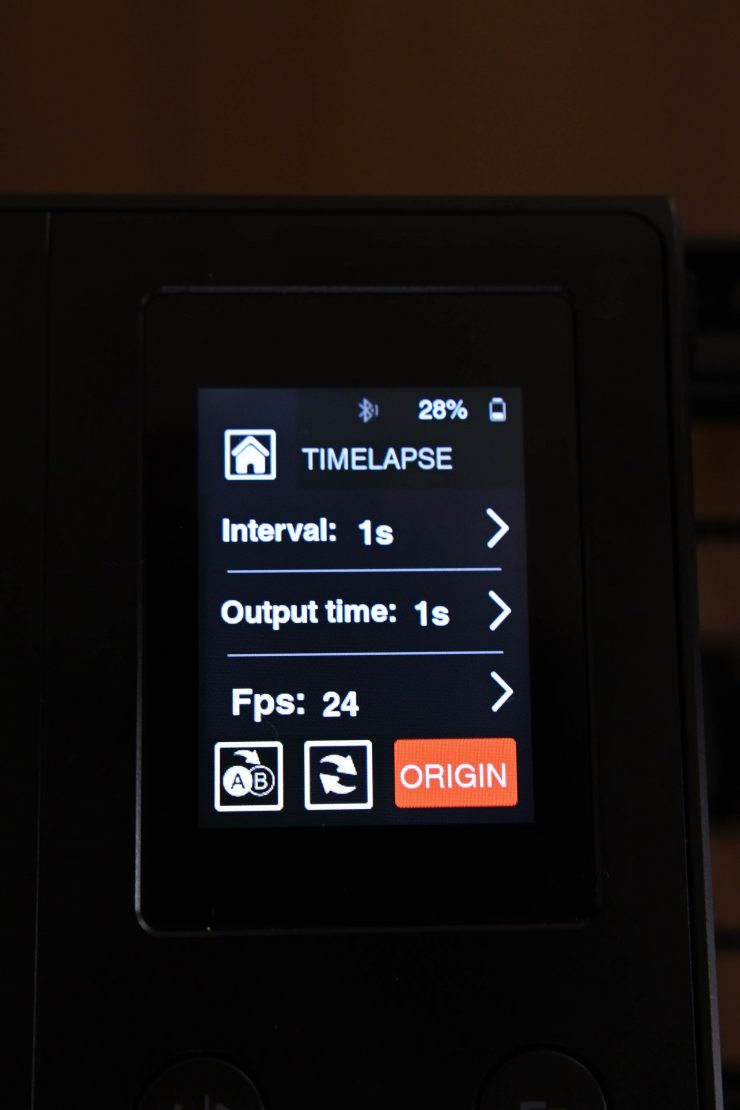
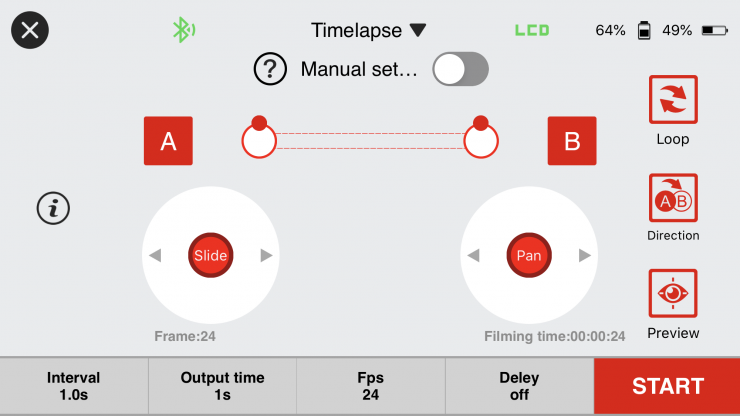
For Timelapse or Stop Motion, you can see what the control screens look like above. You can use one of the included camera control cables that you attach to the slider so the camera can communicate with the Nanon for doing timelapse and Stop Motion shots.
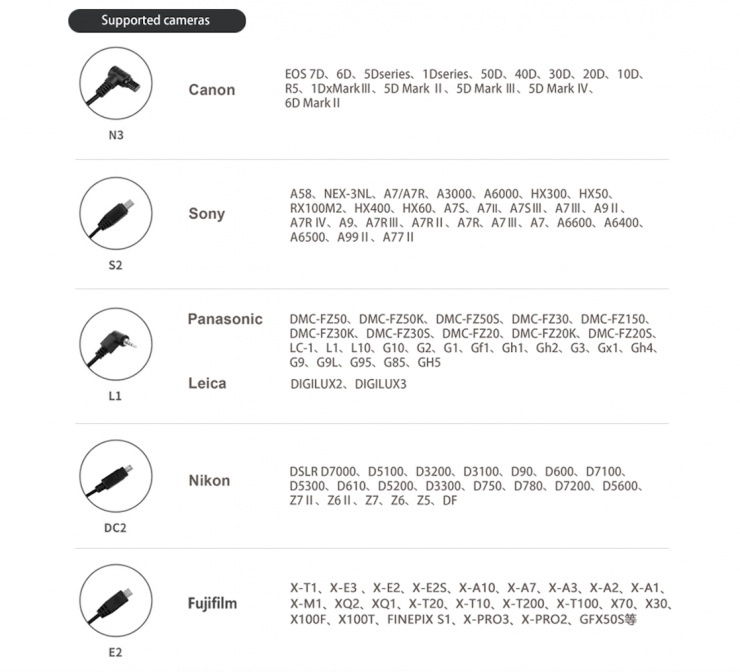
Above you can see the list of supported cameras you can use with a camera control cable.
iFootage Moco App
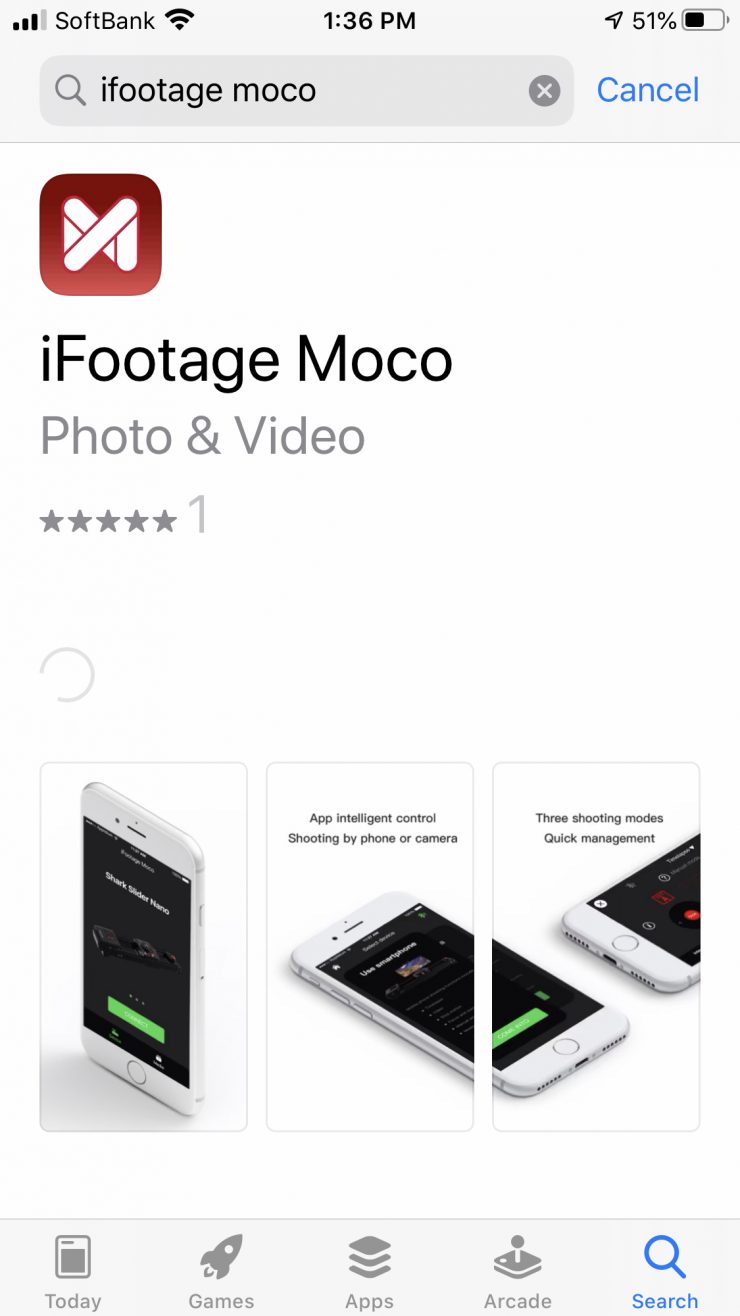
You can also control the Shark Slider Nano through iFootage’s Moco app. The Skark Slider Nano connects to the app through Bluetooth.
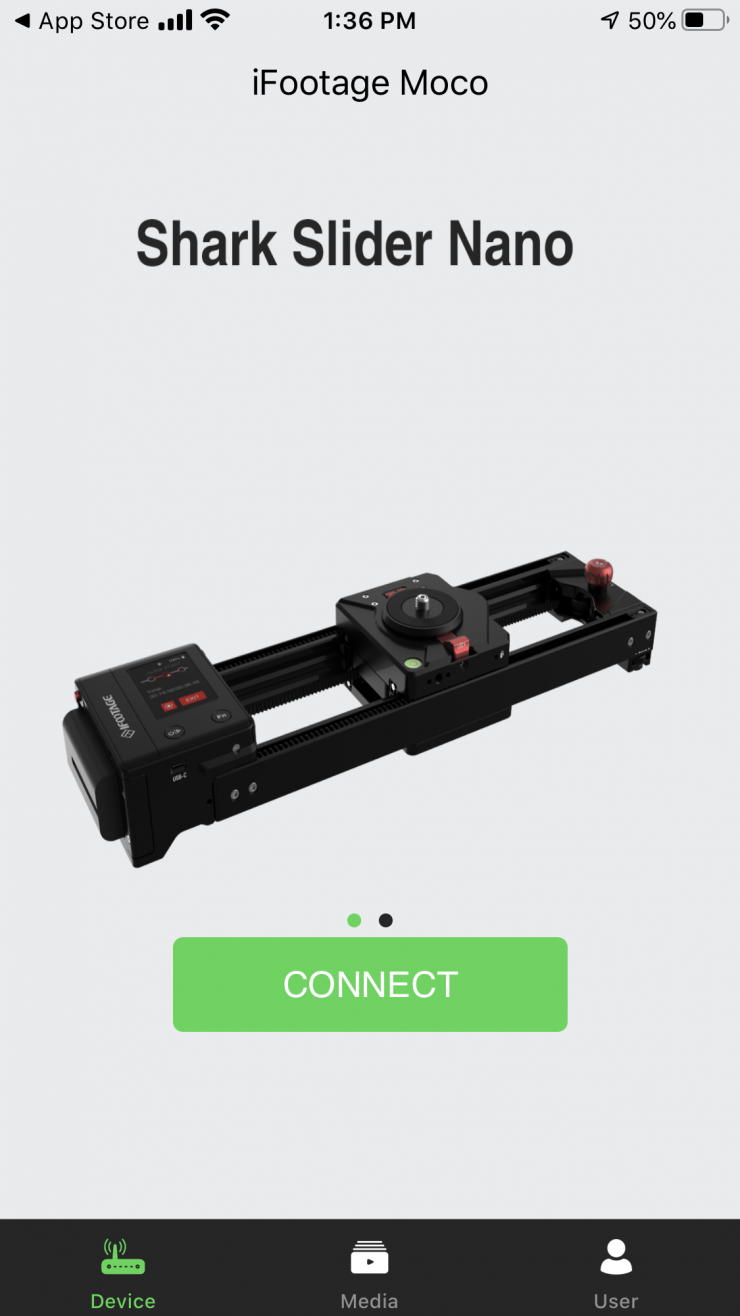
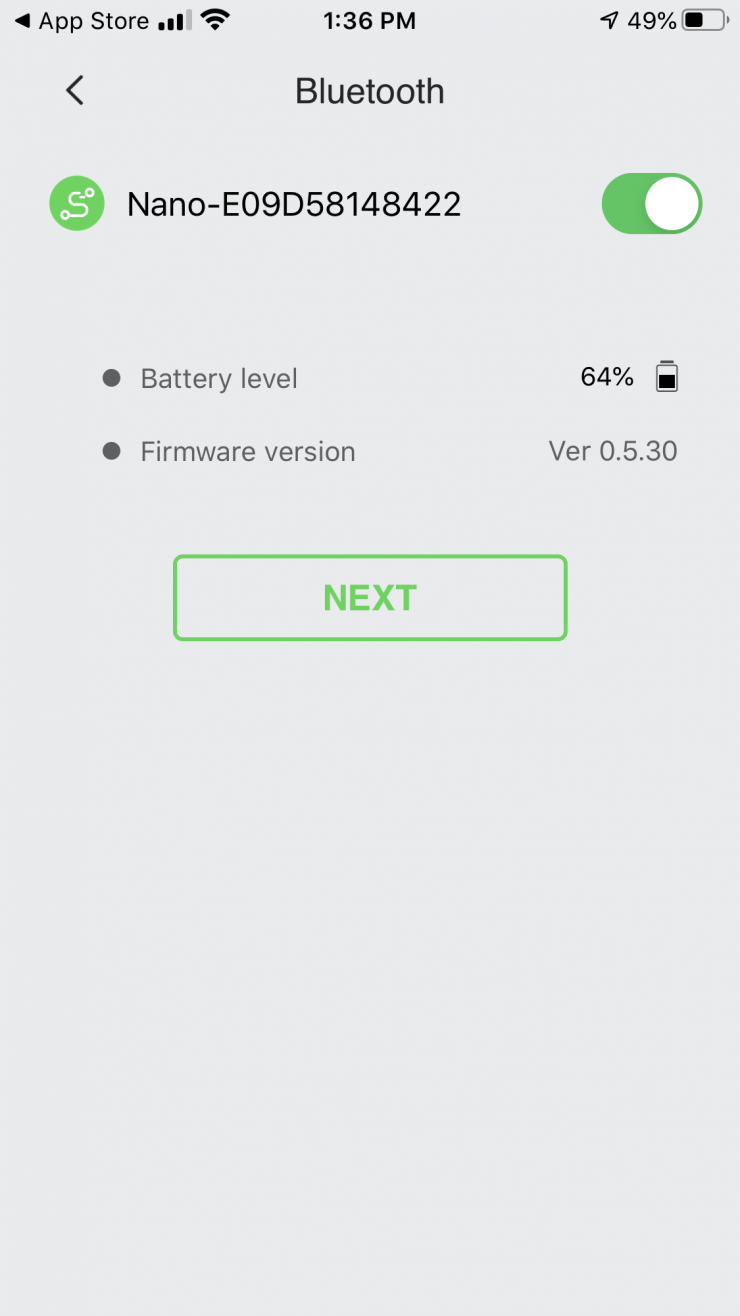
It is pretty easy to connect the slider to the app. With a couple of clicks, you can be up and running.
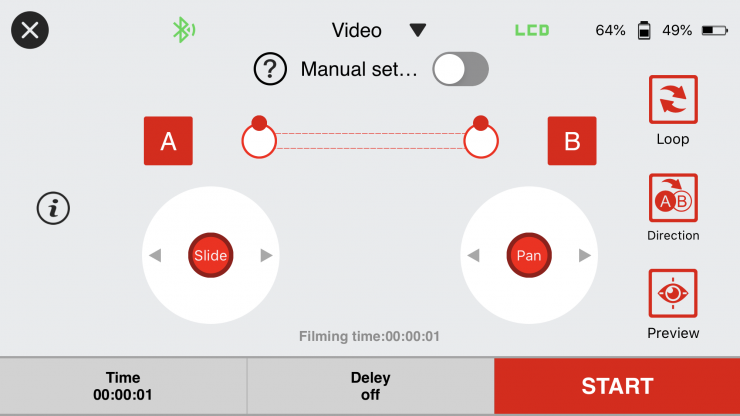
The interface for the app is fairly basic, but it is reasonably well laid out so that you can see all the adjustments you can make. The interface changes slightly depending on whether you are in Video mode, Timelapse mode, or Motion Control mode.
My biggest complaint with the app, is that setting A and B points is a lot more complicated than it should be. The rest of the interface is straight forward, but I just can’t work out why they made setting A and B points so counter-intuitive.
It would be much easier if you could just press A and then it changes to green and then you set B and then it changes to green. If you press A or B again then that point gets cleared.
I personally had problems with the app just freezing up and not letting me make changes. I found it easier to just makes adjustments on the Nano’s onboard touchscreen.
Power
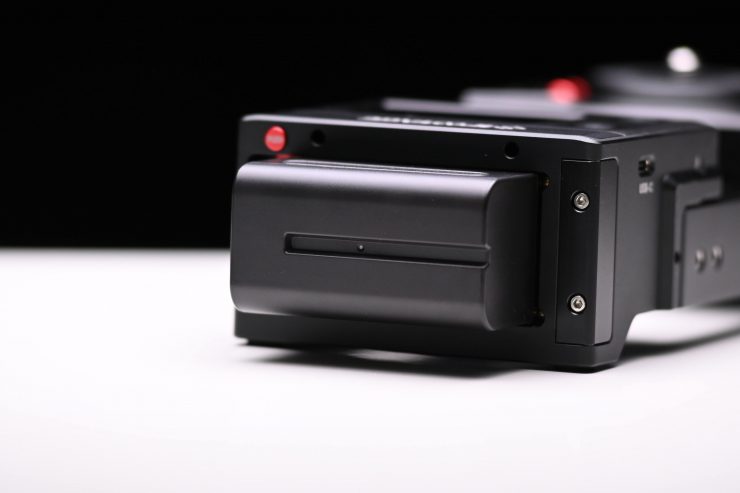
The Shark Slider Nano is easy to power. You just power it off a single NP-F battery (one is included). The battery plate is conveniently located at the end of the slider
There is no way of powering the slider directly off mains power, however, if you have the battery attached and the slider is turned on, you can attach a USB-C power source that will charge the battery and keep it powered on.
Does it make a lot of noise?
Motorized sliders all inherently make some amount of noise. The Shark Slider Nano is relatively quiet as far as motorized sliders are concerned, but you are not going to get completely silent operation. In saying that, unless you are in a very quiet room I doubt you will notice any noise.
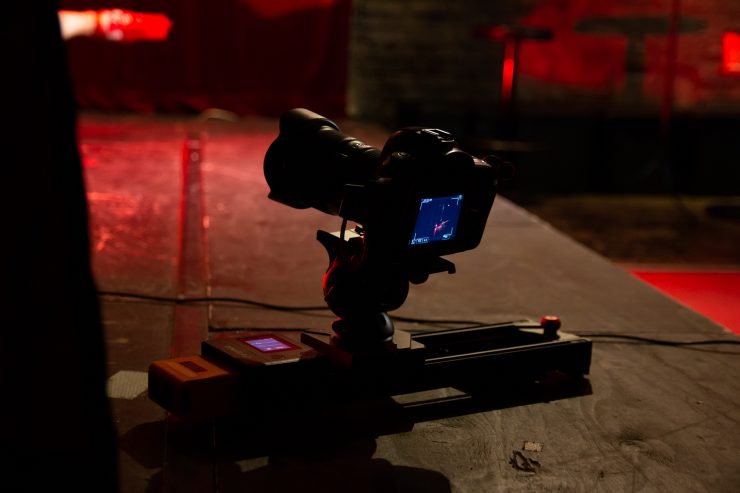
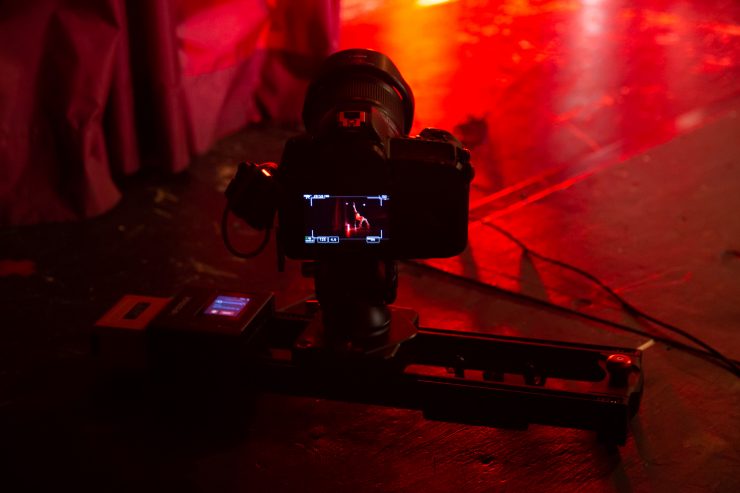
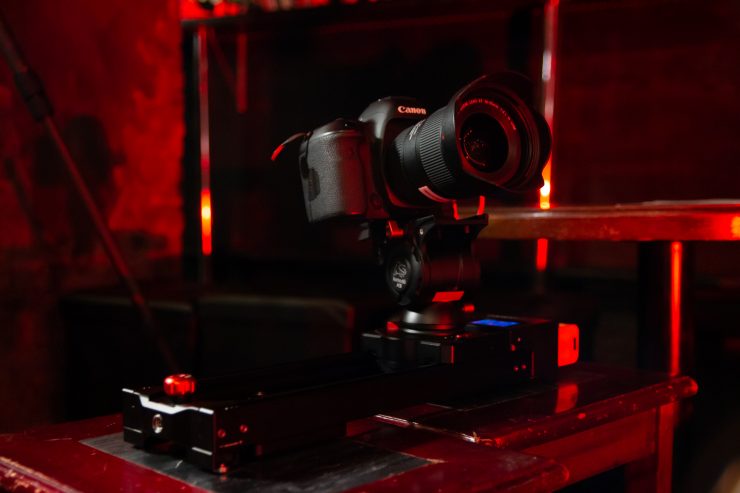
Real World Performance

The Shark Slider Nano is a fun little product. I’m personally not the biggest fan of sliders, however, I found that I could get some interesting shots with smaller sized cameras.
What you need to be aware of, and this goes for any small-sized slider, is that you really need to compose your shots carefully to convey a sense of movement. You need to utilize foreground or a compressed focal length to make the most out of the relatively small amount of travel these sliders have.

I tried it out in a variety of situations mostly to see how smooth and consistent the slide and pan movements were. I found that it was reasonably smooth for the most part, but if you do start using longer focal lengths you can see a little jump when it gets close to stopping its move. IFootage recommends that you an image stabilized lens or a camera with IBIS if you are shooting with focal lengths longer than 70mm. I personally don’t find IBIS to always be the best option when using cameras on any type of solid platforms, such as a tripod or a slider. Often IBIS just ends up causing issues.
You will also get a bit of judder is when the slider is set to its fastest speed, but even then, it is only particularly noticeable if you have it set to loop.
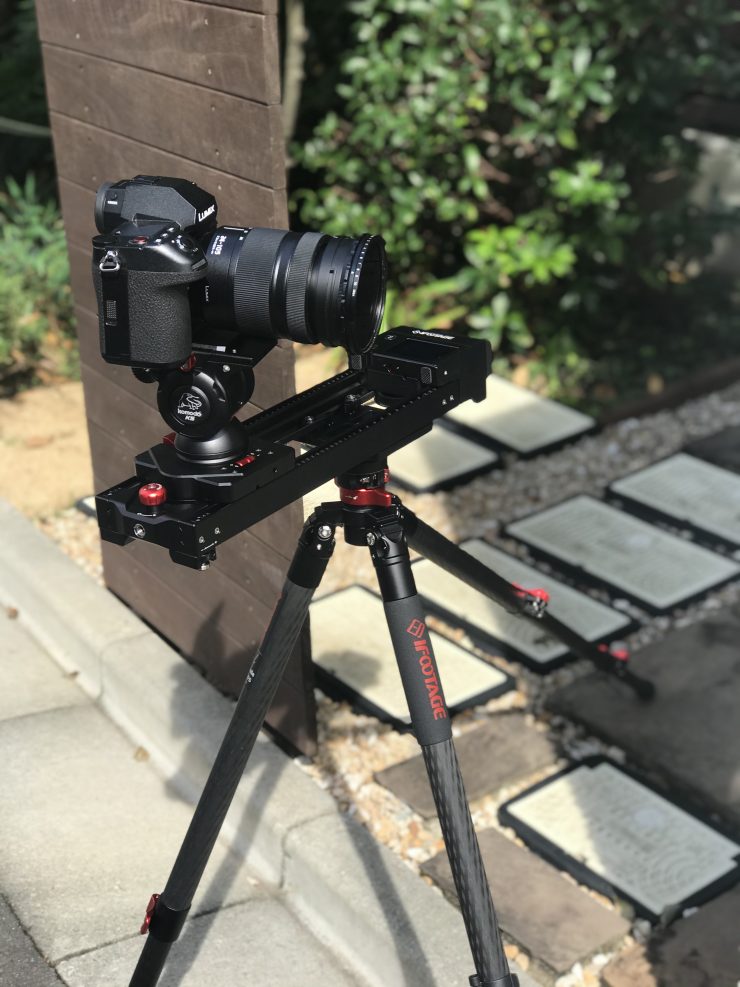
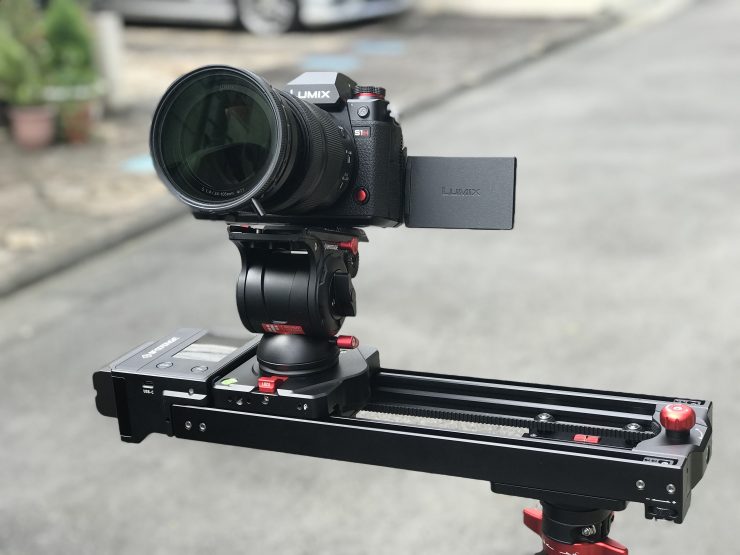
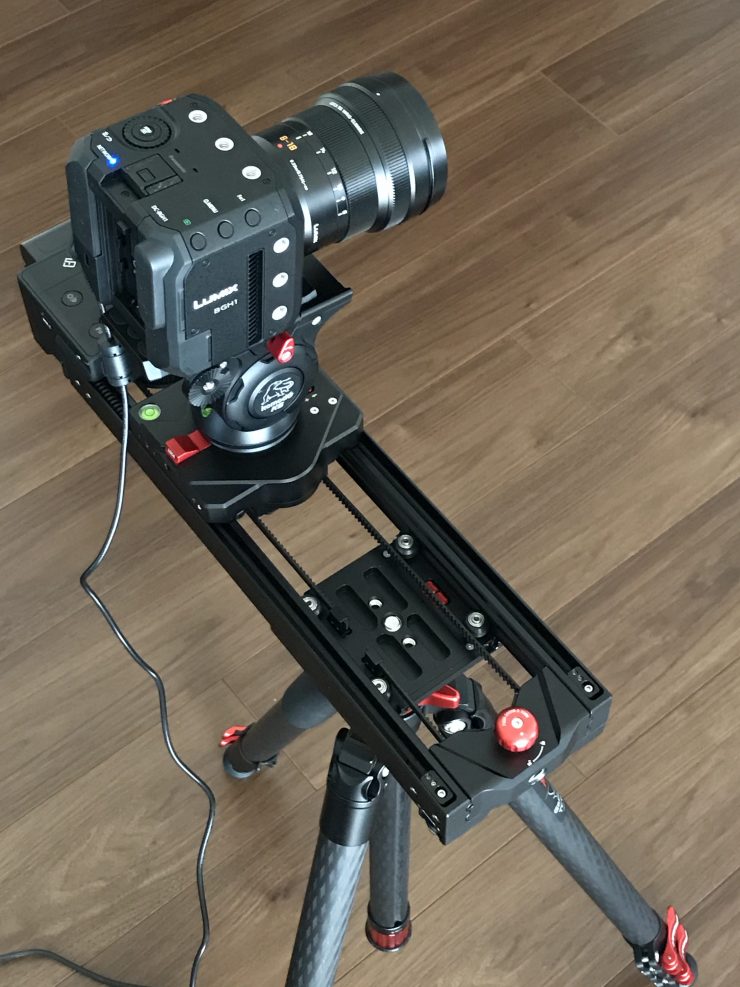
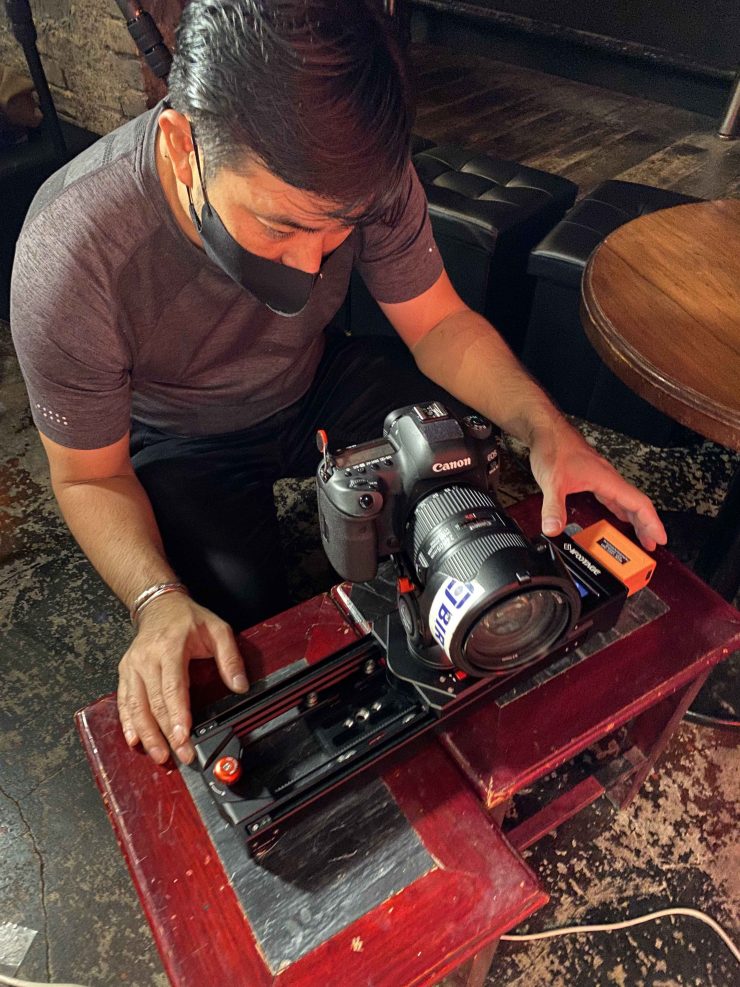
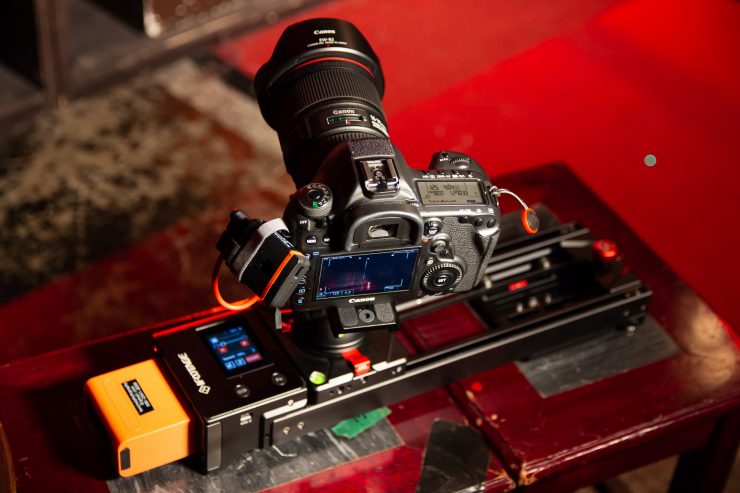
I tested the slider with a Panasonic LUMIX S1H, Panasonic LUMIX 24-105mm F4 lens, and an iFootage Komodo K5 head. This combined to give me a total weight of 2.6kg, which is actually just over its recommended 2.5kg payload capacity when used on a tripod. The slider still worked well, even with this payload configuration.
Having the onboard touchscreen control means you don’t have to fiddle around with using apps (even though there is one) and once you have the slider configured it is really easy to use and operate. I hate fiddling around with equipment and one of the nice aspects of the Sharl Slider Nano is that you can do shots quickly and easily without it taking up too much time.
I love how easy it is to set up a move where both the slider moves and pans at the same time. iFootage has done a really good job of making this quick and simple to do. I found that because of this functionality it was really easy to create a parallax move without having to mess around in apps. If you use a camera with face or object tracking auto focus you end up with a pretty powerful combination.
I also tried the slider out with a Laowa 24mm f/14 2X Macro Probe lens. This was a good test for any motorized slider because the slightest amount of movement or judder becomes very noticeable when using a lens like this. At slowish speeds, the slider performed really well. The above footage was taken using a Panasonic LUMIX BGH1 that has a M4/3 sensor. This is giving you a much closer field of view than if I was using the Laowa lens on an S35 or full frame sensor.
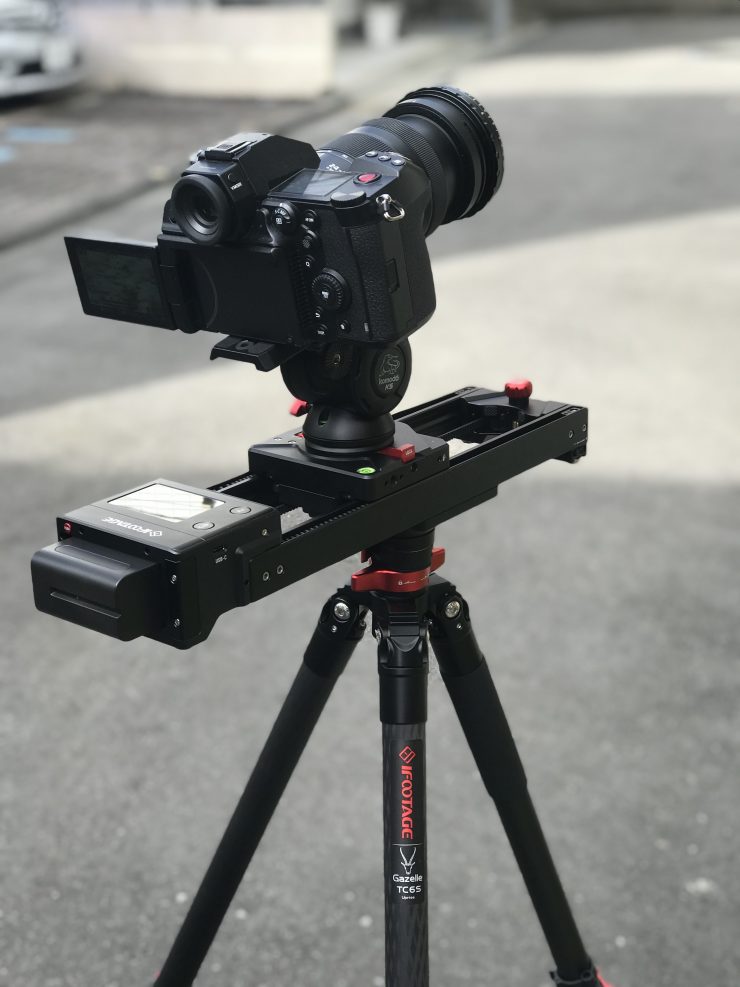
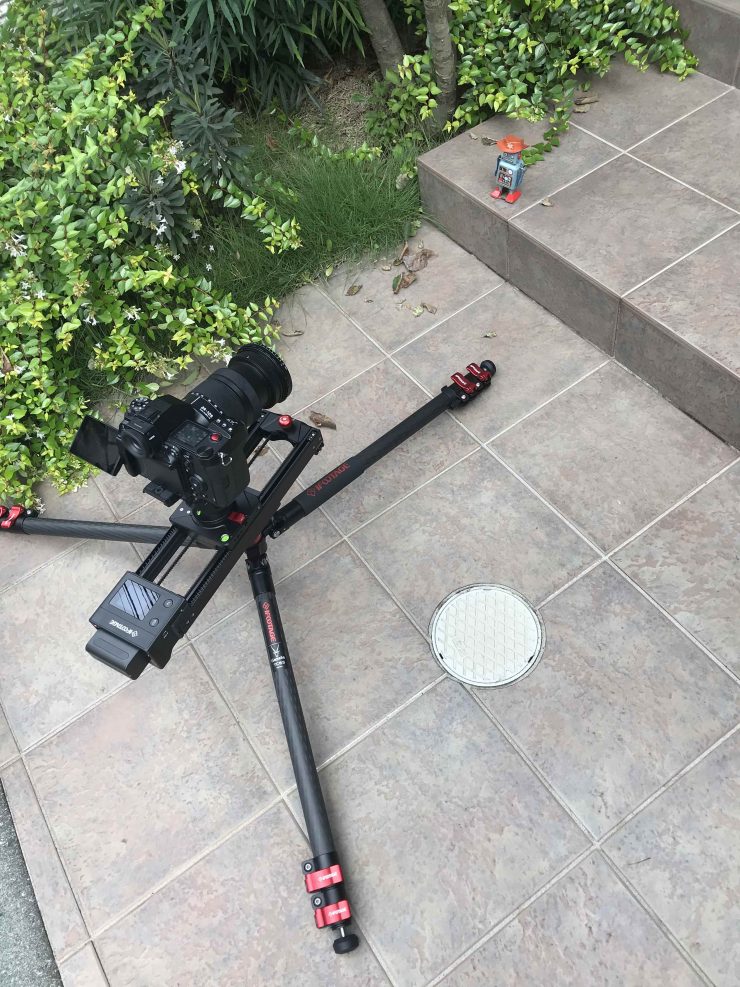
When you use it in conjunction with the Gazell tripod and a Komodo K5 head, you get a really good combination. It allows you to use the slider at a variety of heights and also on uneven surfaces outdoors.
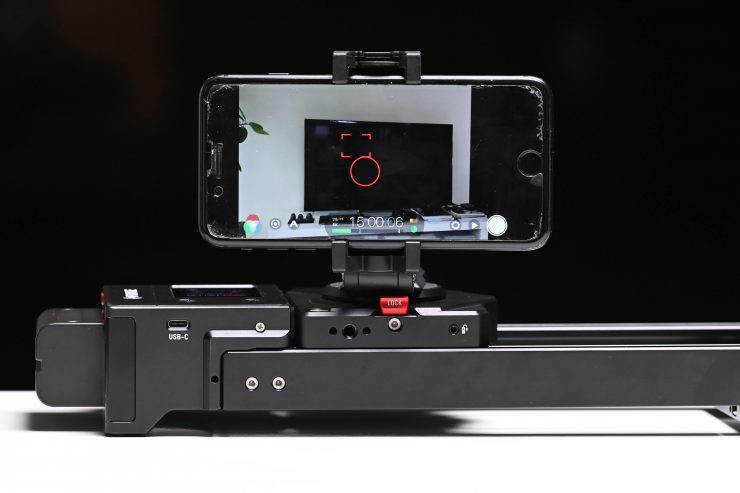
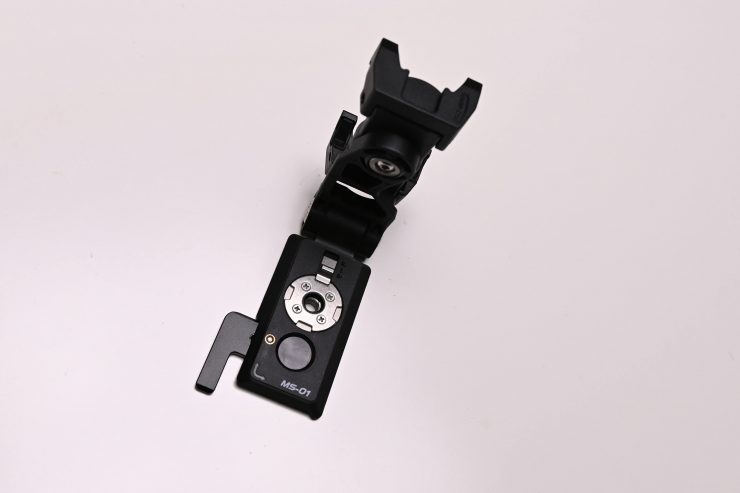
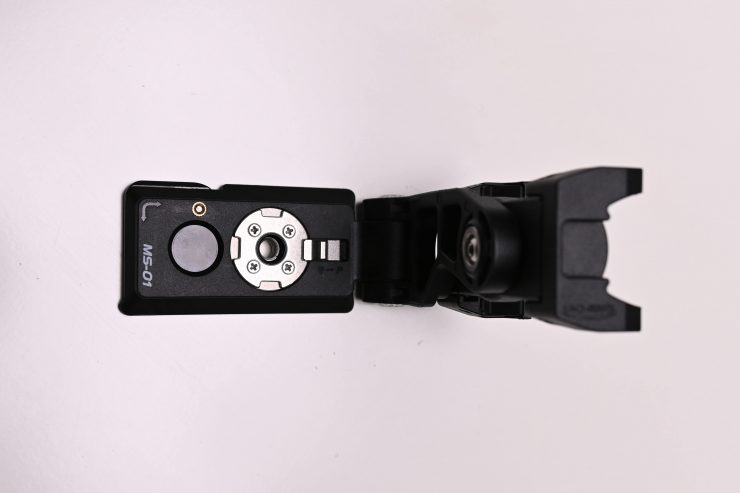
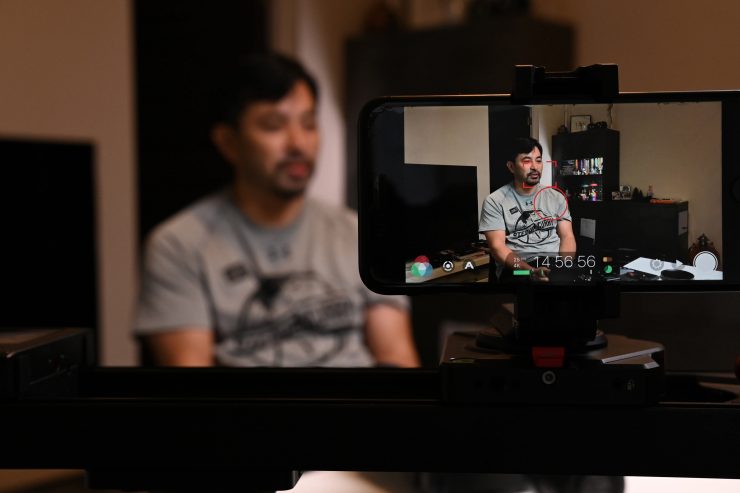
You can also use a smartphone adapter mount that iFootage gives you with the slider. This is a nice additional accessory and it lets you use smartphones with the slider. You can put it directly on the slider itself, or it can be attached to any Manfrotto or Arca Swiss compatible accessory.
Most importantly, the Shark Slider Nano is relatively quiet and it is pretty smooth the majority of the time. It doesn’t stutter down the track like some other motorized sliders I have previously used. Again, it does depend on the focal length you are using. I pushed the slider pretty hard by shooting some shots at a 200mm focal length.
Price & Availability
The iFootage Shark Slider Nano Standard version retails for $499 USD and the Bundle version is $599 USD.
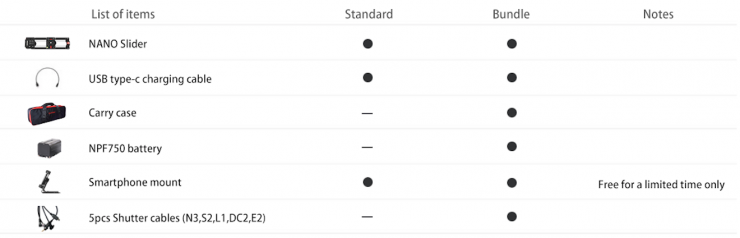
Above you can see what comes with the Standard and Bundle versions.
Technical Specifications
Total weight: 2.15kg (4.74lb)
Dimensions: 421mm x 108mm x 71mm
Operational temperature range: -25C to +65C
Horizontal payload: 3.5kg (7.7lb)
Vertical payload: 2.0kg (4.4kg)
Power: Single standard NP-F battery
Materials: Aerospace grade aluminum and SUS304 stainless steel
Operational voltage: 7.4VDC
Current: 1.2A
Max tabletop travel length: 200mm
Max tripod travel length: 320mm (bi-directional use)
Conclusion
The iFootage Shark Slider Nano performs as advertised and I found it to be well made and thought out product. With the proliferation of gimbals now on the market, sliders are not being used as much as they previously were. For smaller sized sliders to stay relevant they need to have useful features and be easy to use and set up.
Like any product, there is always room for improvement. I think quite a lot of the little issues I experienced could be addressed by firmware updates.
The ability to be able to pan and slide at the same time without having to attach additional modules makes the Shark Slider Nano a much more versatile slider solution. You can use it for creating parallax shots, simple push in and push out moves, traditional slides, or create more complex shots by having it both slide and pan at the same time.
It is smooth, quiet, you can run it off a regular Sony NP battery, and it has a decent payload capacity that allows you to use it with a good range of camera and lens packages.
As I mentioned at the top of this review, iFootage has forged a good reputation with their sliders and the Shark Slider Nano follows in those footsteps. No product is ever perfect, but in my opinion, the Shark Slider Nano is the best small-sized motorized slider that I have come across.


