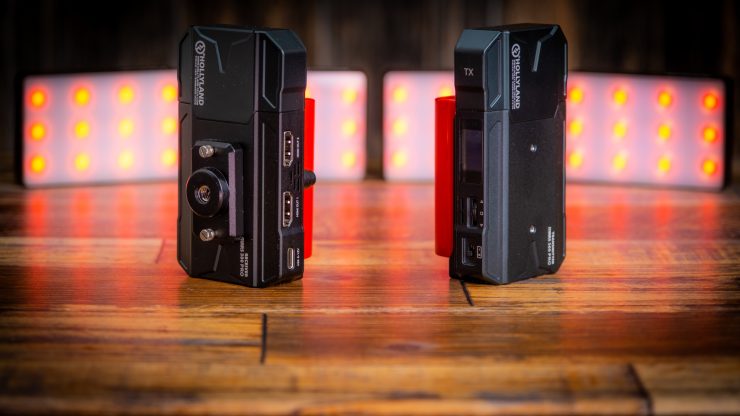
Wireless video systems have come way down in price in the last couple of years, making then attainable for almost all budgets. Hollyland’s Mars lineup is considered as a consumer product. Their professional line is called Cosmo. Hollyland has two versions of the new wireless video system that transmits up to 1080p60.
The Mars 300 Standard antennas are internal on both the transmitter TX and receiver RX as opposed to two attached antenna on the top, like the Enhanced model. This benefits users that need to keep it small, like on a gimbal.
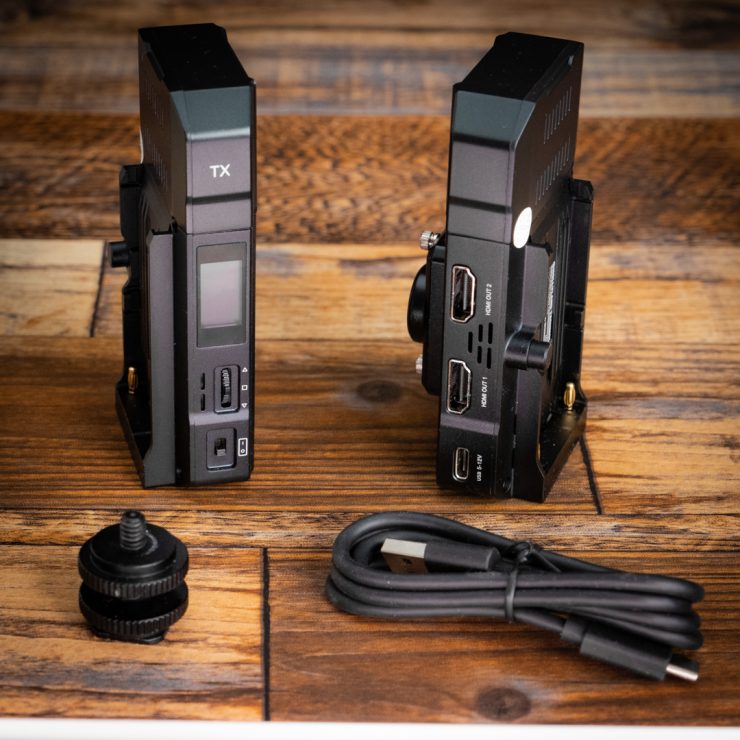
What’s Included
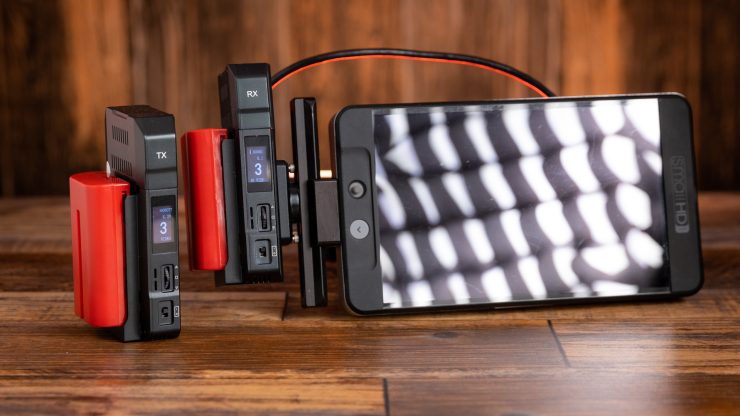
The TX and RX are compact, feature a bright OLED display for configuration, and they each have a 1/4″-20 mounting thread on the bottom. They both can be powered using a USB Type-C source, or an L-series NPF type battery (not included). The Mars 300 set also includes an accessory expansion plate, a shoe mount, and a USB Type-C cable.
Hollyland Mars 300 PRO Kit
- Hollyland Mars 300 PRO HDMI Wireless Video Transmitter/Receiver Set (Standard)
- Transmitter
- Receiver
- Expansion Mount
- Shoe Mount
- USB Type-C Cable
- Limited 1-Year Warranty
Hollyland states having internal antennas will affect its reliability, however, I didn’t notice issues that would make it problematic. Like all wireless devices, the area you use them in will affect the performance. I reviewed the original Mars 300 and found it to be a very good product at a fair price.
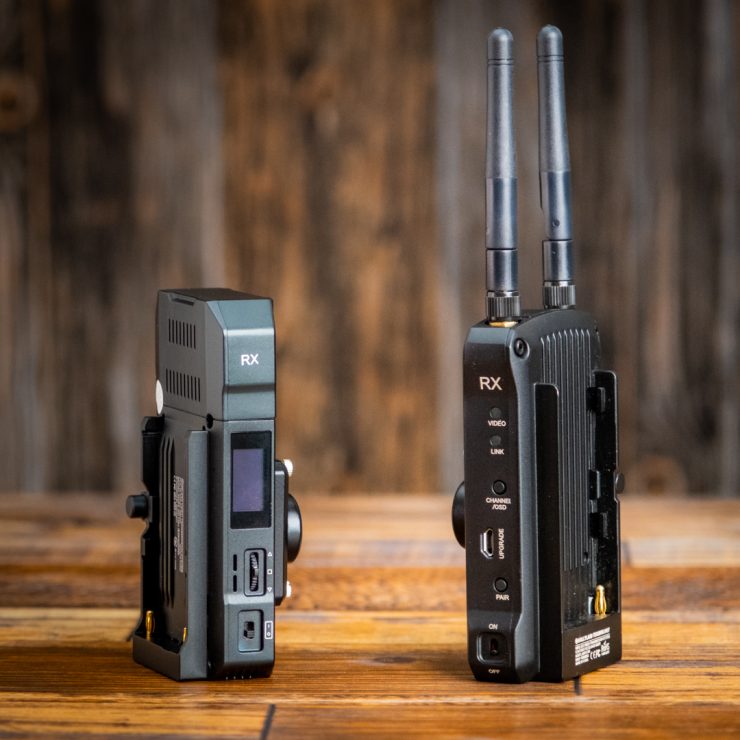
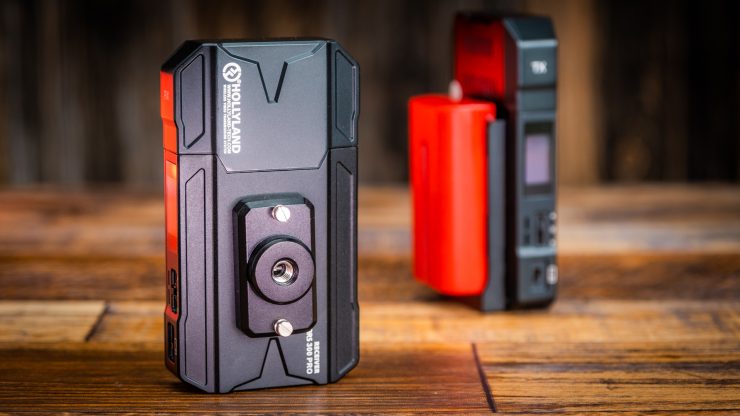
Here is the Mars 300 Pro side by side with the Mars 300. As you can see it’s a little taller, but no antennas.
Mars 300 PRO Standard Key features
- 400′ to RX, 300′ to App Line-of-Sight
- Transmit up to 1080p60
- Transmitter: HDMI Input & HDMI Loop-Out
- Receiver Has 2 x HDMI Outputs
- Internal Antennas on Both Units
- Real-Time iOS/Android App Monitoring
- Integrated L-Series Battery Plates
- 1/4″-20 Mounting Threads
- Power via USB Type-C Port
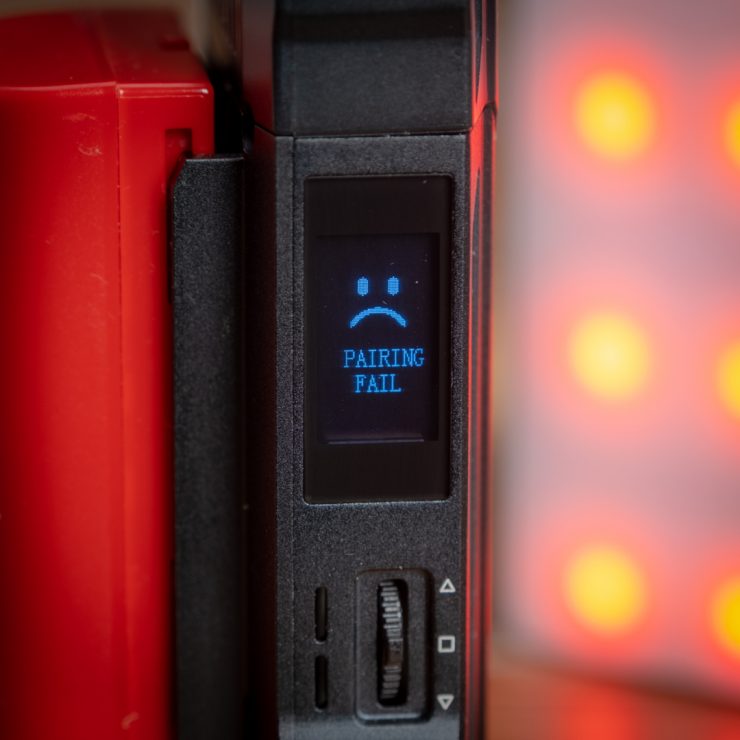
Pairing and Channels
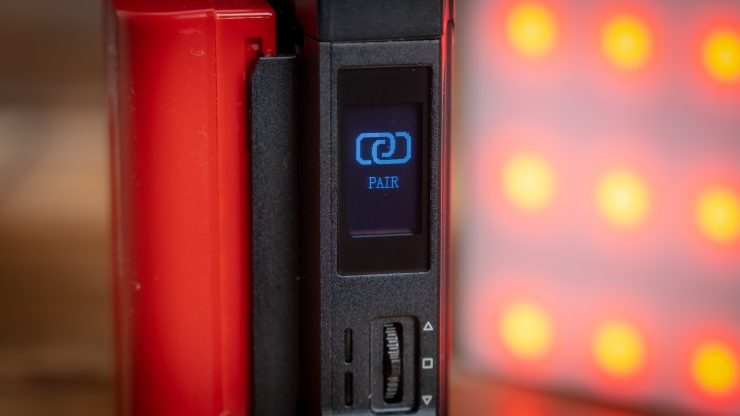
The process is straightforward. Mine came already paired, so that is nice. To manually pair the TX and RX you go into the menu and select pair on both TX and RX0. After a few seconds, it’s all done.
The Mars 300 Pro has eight channels to choose from with the TX. When set to auto the Mars 300 Pro selects the cleanest and strongest channel to use.
Reconnecting
I tested the recovery of the signal by pulling the HDMI cable out of the camera. It took 4-seconds to reestablish the signal to the iPhone. To see how long it would take if the TX lost power and restarted. I turned off the TX and turned it back on. After 12-seconds, the TX connected with the camera, and I reestablished the WiFi connection on my iPhone. At 30-seconds the picture was back up. Not bad from a full shutdown.
You can select a channel manually on the TX or by using the HollyView App.
Connecting to the camera takes about 12-seconds, and approximately 21-seconds for the RX to sync with the TX once it’s turned on. From fully powered down to using the Mars 300 Pro you are up and running in 30-seconds. Not bad at all.
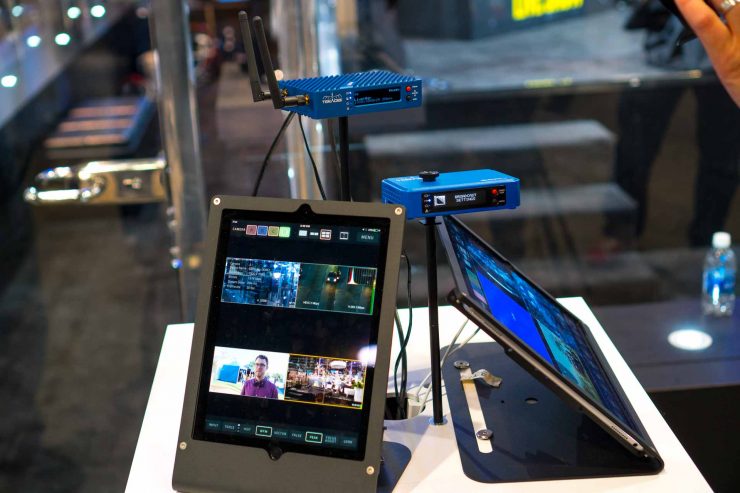
Smartphone & Tablet Support
The big new feature is with iPhone, Android, and tablet support. You can use one receiver and two apps, or to three apps without the receiver. While it is slightly limiting it’s a very cool feature to have as everyone has a smartphone. All you need is the free HollyView app installed on your device, and you’re ready to go.
While more wireless systems offer smartphone and tablet support the king of the hill is the $1800 Teradek Serv Pro that can transmit up to 10 app users. It doesn’t come with a dedicated wireless TX and RX, however, it can be used with the Bolt system to have both wireless video and aiOS option together. The Serv is a powerful system with other features such as cloud-based viewing options when you can’t be on set, but want to watch the production.
While using the HollyView App the signal occasionally dropped for a couple of seconds every so often. This is from a minimal twelve feet away from the TX. I would say it’s not for critical use such as pulling focus, however, having this option is nice. I think it’s great to easily be able to share the footage with others on set.
Smartphone and Tablet Image Quality
The smartphone and tablet support is a great addition, but it isn’t as good as using a dedicated monitor with the RX. The latency is pretty high, and the frames are dropped during transition. This can be an issue if the image has a lot of camera movement as the image just can’t keep up. It’s also a bit fuzzy even though it’s transmitting full HD it looks soft to me.
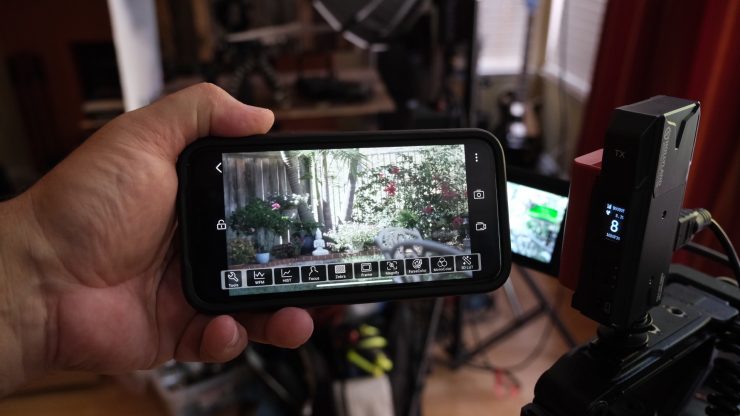
HollyView App Tools & Features
The HollyView app has a lot of assist features for checking the image. With a simple tap on the screen, the Toolbar appears at the bottom of the screen. It stays up for 10 seconds. If you want to exit the toolbar sooner you tap on the screen again.
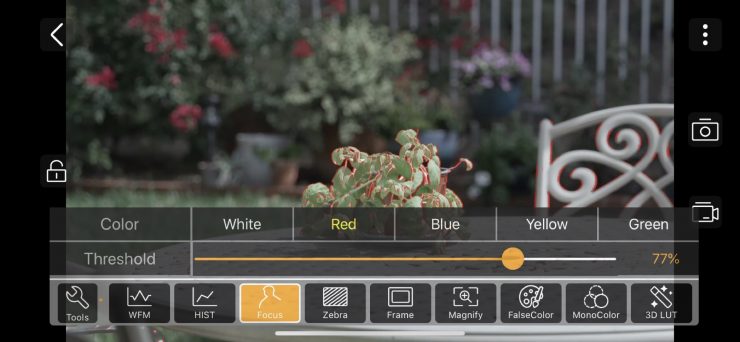
To make customize settings you give the icon a long press and the options pop onto the screen.
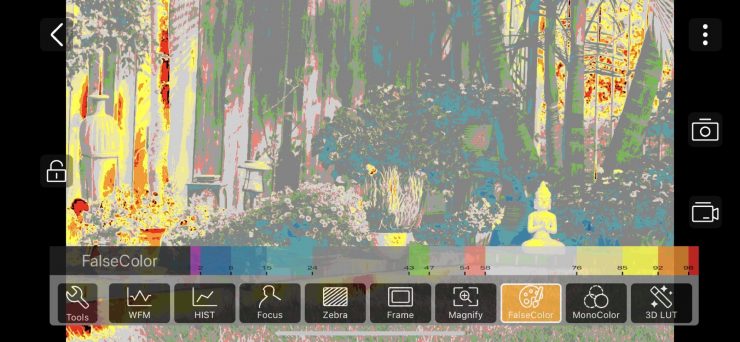
False Color also has a scale view option 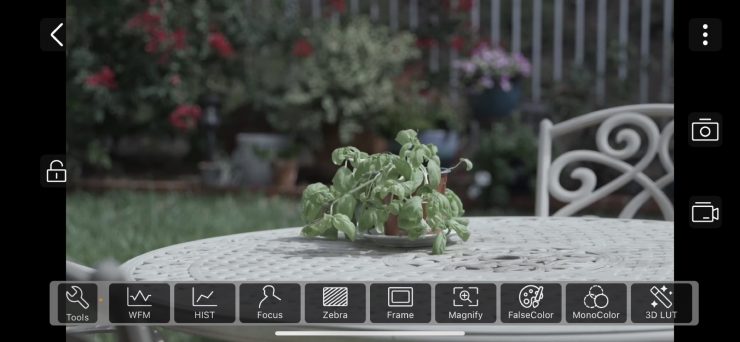

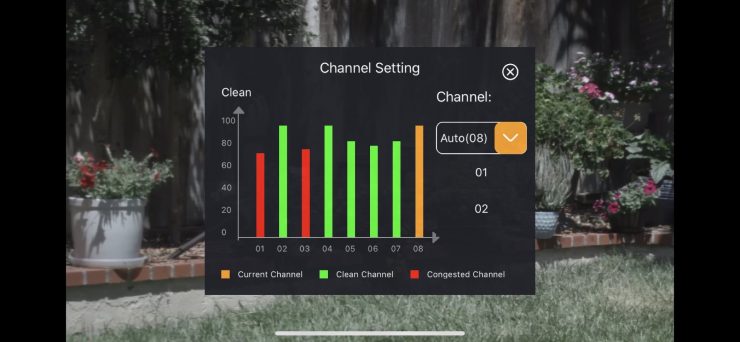
In the app, you can also see what the other channel’s strengths look like, and either manually select a new one or let the Mars 300 Pro choose the best channel for you.
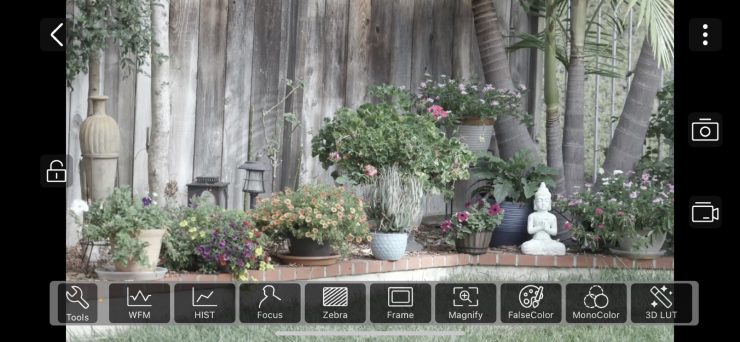
Tools Available
- Waveform
- Histogram
- Focus Peaking
- Zebra 0-100 Threshold
- Frame Guides
- Magnify
- FalseColor – Scale appears when you tap on the icon a second time
- MonoColor – Red, Green, Blue, Grey
- 3D LUT- Canon C-Log, C-Log2, Sony S-Log, S-Log2, S-Log3
Another option is the ability to record the feed you are getting or take a snapshot. This is very clever, but also could be an issue if the production doesn’t want people to take footage of the project while filming. There isn’t a way to disable the feature.
To access the images captured, you tap on the three dots in the right top corner. This opens a menu that includes the HollyView Album and WiFi settings.
From this screen, you can playback footage and share it. The video file is an MP4 H.264 1920×1080 clip at 25fps. The camera was set to 23.976. The image is a little fuzzy. Audio is also passed through the app so you can hear dialogue from the camera.
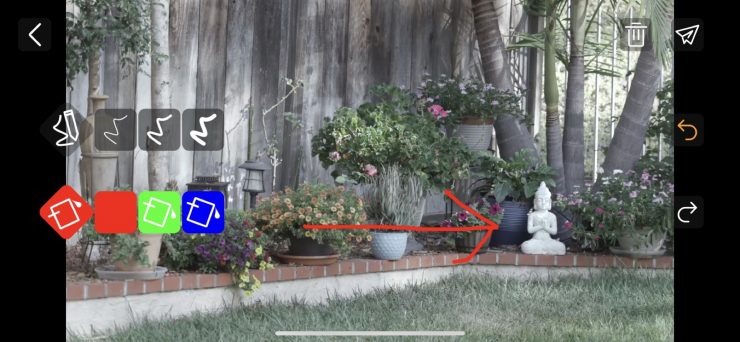
With photo snapshots, you can draw on top of the image with three colors. Red, Green, or Blue and with three-line thicknesses. You can switch between colors and line thicknesses on the same image and send it via your send options on your device. This is very easy to use and pretty darn cool. Again, you can’t edit the controls people have access to on the app so everyone that has the feed on their device can share it and use the available tools.
Loading LUTS
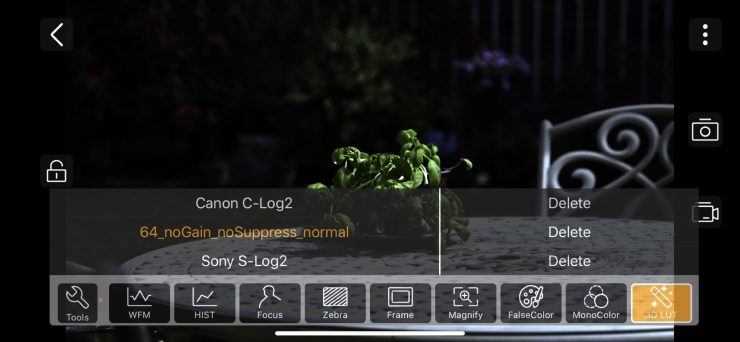
In the HollyView app, you have .cube LUTS preloaded for Canon C-Log, C-Log2, and Sony S-Log, S-Log2, S-Log3. Only .cube files are compatible.
You can upload your own LUTS with Dropbox or Google Drive. I believe other file sharing services will work as long as it has an App on the smartphone or tablet used with HollyView. I use Google Drive, so here is how it works.
After I uploaded the LUT file to Google Drive I opened the file in the Drive App and tap on the options. This is the three dots in the right corner. Select Open In. On iOS, you scroll to the More option and a full list of apps opens. Scroll to Copy to HollyView.
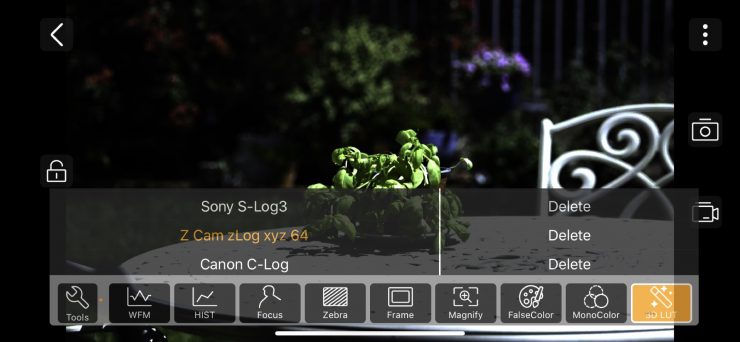
Now the LUT is loaded and ready to use. I did notice the LUT title had missing characters so I recommend changing the name with fewer characters. The example above was titled zLog_xyz_64_noGain_noSuppress_normal.cube. As you can see, the zLog_xyz_ was removed. I edited the title and reimported it. Now that makes more sense! The naming limitation can be a hassle as you know titles for Luts tend to very long, so it can be a challenge to rename them with the limitations.
Brightness and Volume

The screen brightness and device audio can be adjusted. This one was a little tricky as I couldn’t figure out how to go between the two settings. The controls are separated by screen space. For brightness, it’s on the left side of the screen and the audio level is on the right side. The setting is activated by tapping and holding your finger on either side of the screen. The icon will appear as soon as you drag up and down. It works well once you figure it out. 😀
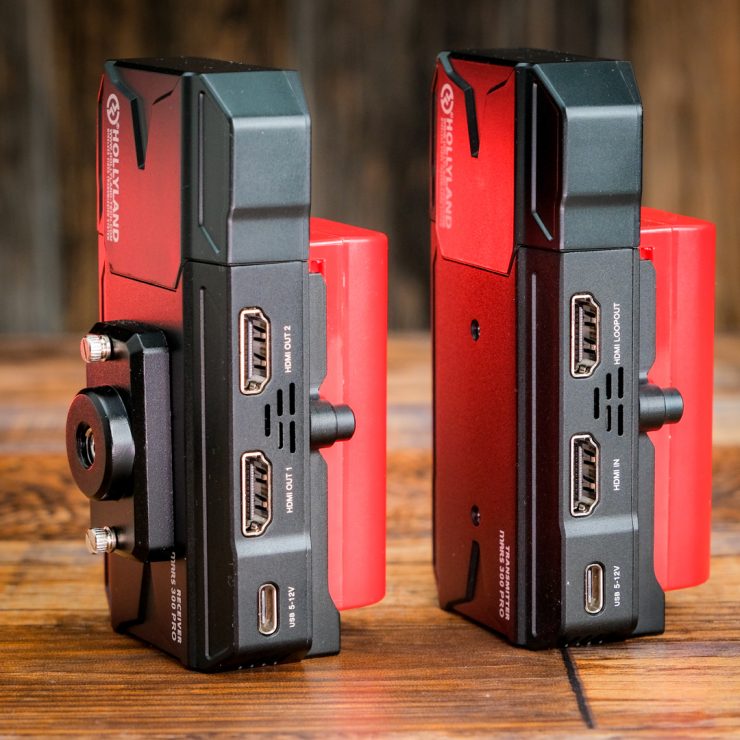
HDMI I/O
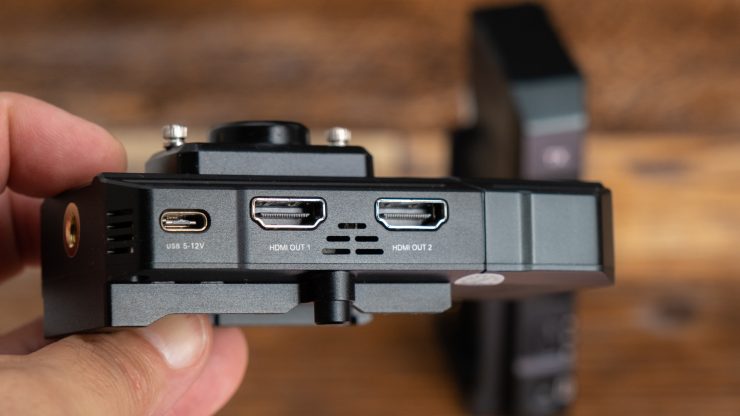
The transmitter has an HDMI input plus an HDMI loop-out for connecting and viewing to an external monitor. The receiver provides two HDMI outputs. Both TX and RX can be powered from the USB-C as well.
Keeping It Cool
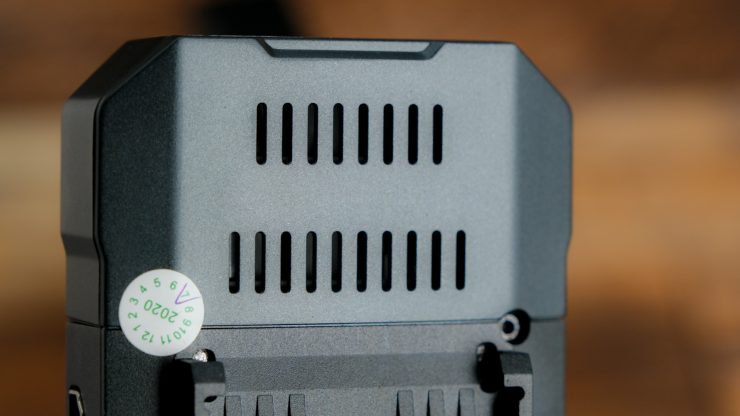
Both the TX and RX have a built-in fan to keep them cool. From my testing, I couldn’t hear them running, and that’s a good thing. You can set the fan for Auto and Low settings in the menu. It ships set to Auto. I just left it in auto, and it never got noisy or overheated.
Menu System
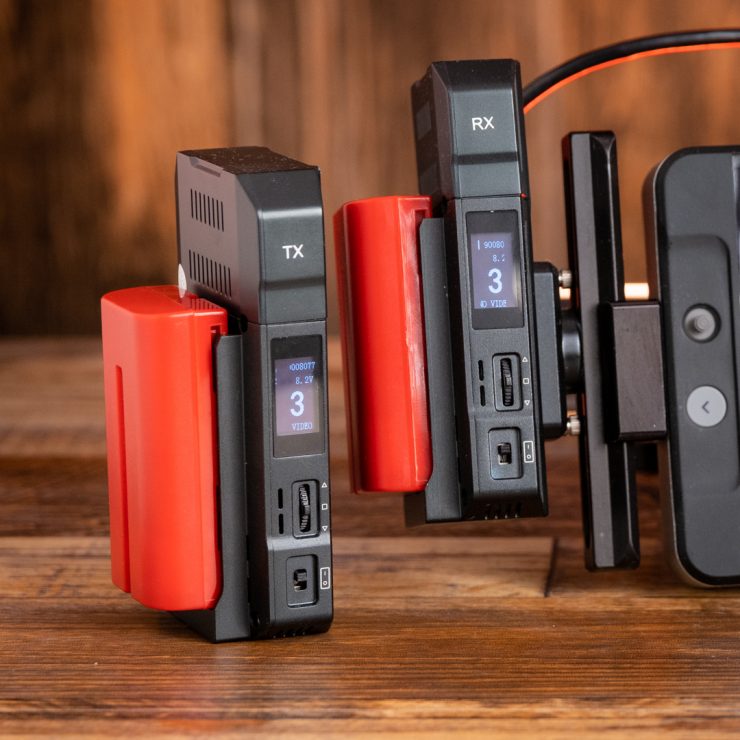
If you like a simple menu, then you will love the Mars 300 Pro. It’s so simple even I can figure it out 😀 The menu is accessed with the multipurpose click wheel. Push it in, and the menu opens. Use the same wheel to navigate the menu. The menu uses icons and bright text that is very easy to use.
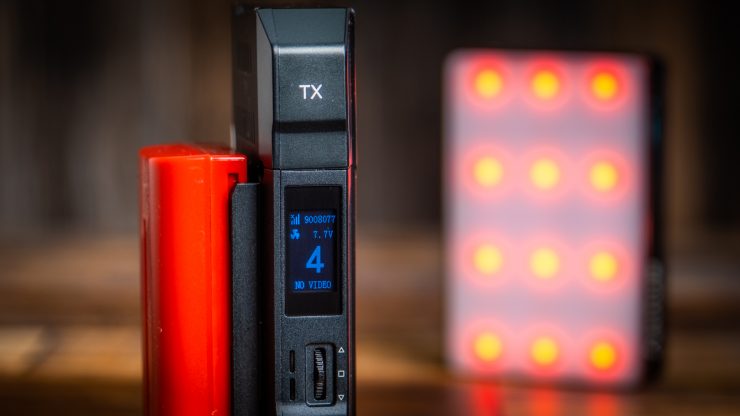
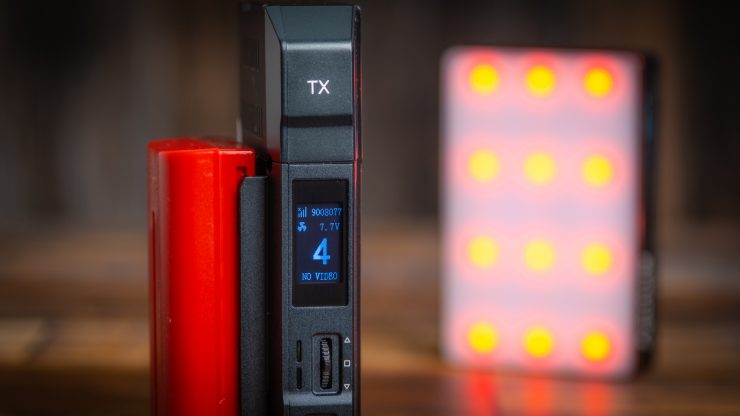
The LCD shows the status of the RX or TX at all times. Included info is signal strength, voltage left, and video connection. That’s it. Nice and simple.
Powering Options
The main power option is with the Sony NPF style batteries. You can also use the USB-C input with a 5-12v battery like a D-Tap from an ENG battery or a 5v minimum output portable battery pack.
The TX consumes 11W and the RX 4W This means the TX will use up the battery almost three times faster. With a smaller NP-F550 18.7 Wh battery, you can power the TX for approximately 1.7 hours. The RX will last for approximately 4.5 hours.
Your mileage may vary depending on the weather conditions and the quality of the battery cells, however, this will give you a general guideline. I like the small NPF batteries as it keeps the unit slim and light. You could opt for the medium-sized NP-F770 for the TX and go with the smaller for the RX.
Mounting Options
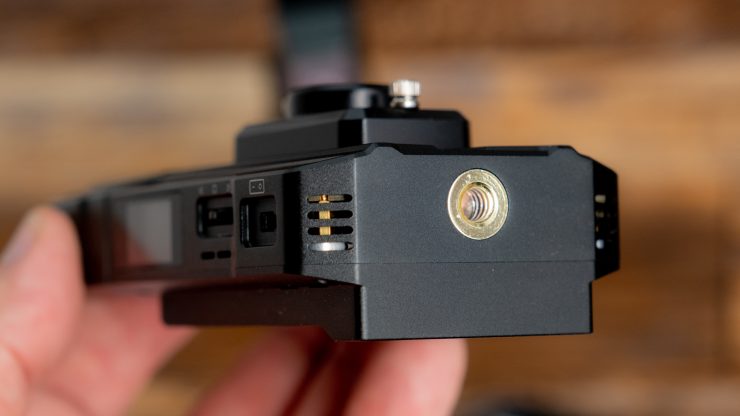
Both the RX and TX have a 1/4 20″ tap on the bottom. Hollyland includes one 1/4 20″ mount that screws to the face of either. Unfortunately, you get only one. This is the same for the original Mars 300, and I would have hoped they would include two, as I like the location since it makes the module mount flush.
I attached a long NATO rail to the RX 1/4 20″ mount to use with my SmallHD 702 Bright. Usually, the monitor is mounted to a stand so it doesn’t need to be held as it is a bit heavy to hold for a long period of time. There are a lot of director monitor cage kits available if being mobile is important.
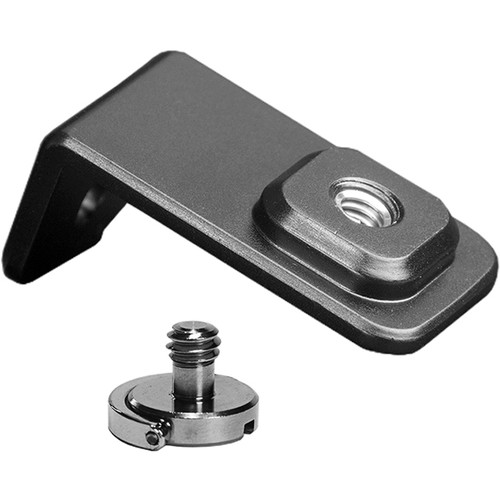
L-Shaped Bracket 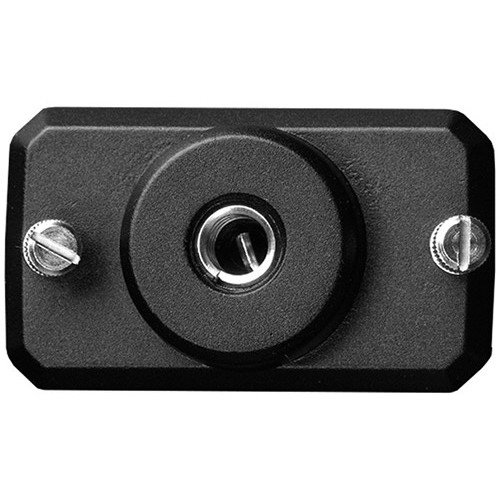
Screw Fitting
Hollyland offers a few mounting accessories if the included one doesn’t work for you. An additional it was. The Hollyland L-Shaped Bracket for Mars 300/400/400S
Performance
From my understanding, the Mars 300 Pro is the same as the Mars 300 with the added smartphone and tablet support. I found the line of sight performance to be very reliable. Like with the Mars 300, if you go past its limits, the digital signal fails quickly, and with digital, it either works or doesn’t. 300 feet is pretty far away. I generally need 50-100 feet max on my shoots, and that is being generous.
While Hollyland states the Mars 300 Pro is a line of sight system only, I found it to be usable in my home. With the camera set up in the family room, which is in the back of the house, I took the system outside on my porch.
The front door was 30-feet away from the camera. I went outside, closed the door, and stood on the porch. The signal looked good and was stable. I then kept walking towards the street until it disconnected at 37-feet from the front door. I walked it back a few feet, and the single came back quickly and was stable. The signal went through one wall with a walkway and a front door for a total of 67-feet. Not bad.
I also walked upstairs and went into several rooms and the signal was solid. This tells me in some indoor setups you could use the system at closer range without it being line of sight to the TX, but like all wireless gear, you need to test it to make sure.
latency
Latency is the biggest issue with monitoring from a camera or wireless devices. It’s measured in milliseconds. To put this into perspective one second is equal to 1000ms.
Hollyland states 80 milliseconds (0.08 seconds) of latency. While this is very low, it will change depending on the camera and monitor you are using. For example, Panasonic hybrid cameras like the GH and S1H full-frame have really bad latency. Add in wireless latency will make it even worse. Most hybrids suffer from high latency as they are budget-minded video capture tools that have to cut corners due to pricing, so it doesn’t surprise me.
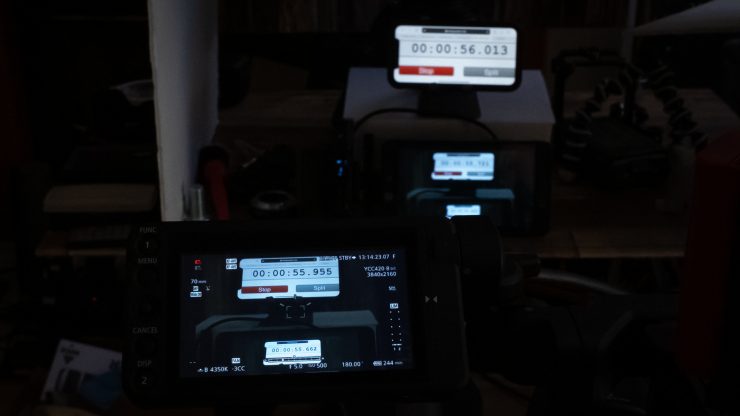
I tested the Mars 300 Pro with a Canon C200 that performs well via HDMI, and the SmallHD 702 bright monitor. Let’s start with the SmallHD latency. It came in at 58 milliseconds from the Canon C200. It really performs very well via HDMI. SDI has no latency.
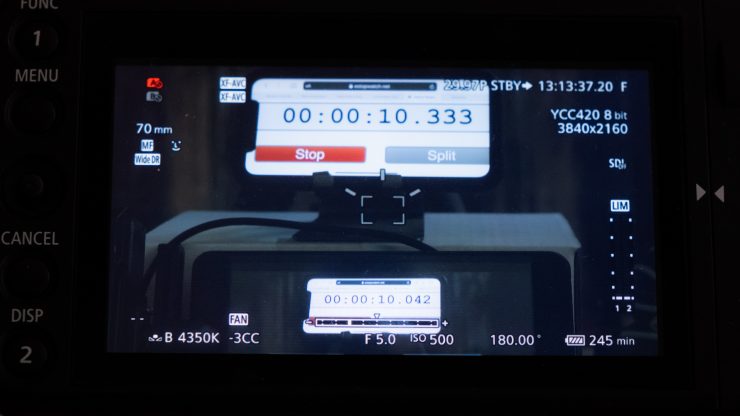
With the Mars 300 Pro Standard attached I got 291ms of latency. When I subtract the 702 Bright latency of 58ms my tests show the Mars 300 Pro latency to be 233 milliseconds. This is almost three times the advertised latency of 80ms, however, I consider it very low as it’s not easy to tell the difference between 80ms and 233ms.
Other Options
Boy, are there a lot of options out there. The thing with wireless video is knowing what camera you are using, such as HDMI or SDI output and the distance and latency you need. This will weed out a lot of products. Be prepared to pay higher for no latency models as they are designed for professional use. All the models below also offer iOS and Android Apps for viewing on smartphones and tablets.
| BRAND | MODEL | PRICE |
| CAME-TV | Crystal V Wireless Full HD Video Transmission System | $578 USD |
| Crystal Video Tech | Swift 800 Wireless HDMI Video Transmission System | $550 USD |
| CINEGEARS | CINEGEARS Wireless Prime 500S Wireless HDMI | $480 USD |
| Accsoon | CineEye Wireless Video Transmitter | $249 USD |
| INKEE | Benbox Dual-Band Wireless Video Transmitter | $109 USD |
Final Thoughts
This is a budget wireless system that will work best in closer proximity to the TX. If you need that 300 plus feet distance, I feel you should look at a higher-powered system for better performance. Again, for me, the 300 feet line of sight is way more than I need. I would also trade distance for no latency, but I don’t think it works that way.
Not having to be tied down by a cable to a monitor is liberating. Being able to share to smartphones and tablets is also a great feature. At $450 for the Standard version, it’s also fairly priced for the budget-minded shopper. If I was purchasing, I would opt for the $469 Mars 300 Pro Enhanced version as I feel external antennas will perform better even though I didn’t feel the performance was lacking without them.
Like what we do and want to support Newsshooter? Consider becoming a Patreon supporter and help us to continue being the best source of news and reviews for professional tools for the independent filmmaker.


