The Monet Grading System is a workflow project solution for DaVinci Resolve developed by Yusuke Hayashi, a former Ricoh camera engineer and co-founder of the visual production studio bird and insect. Before moving into commercial filmmaking and visual production, he worked on
camera development projects at Ricoh, including the GR series. His later work expanded into branding, color supervision, and advertising projects in Japan.
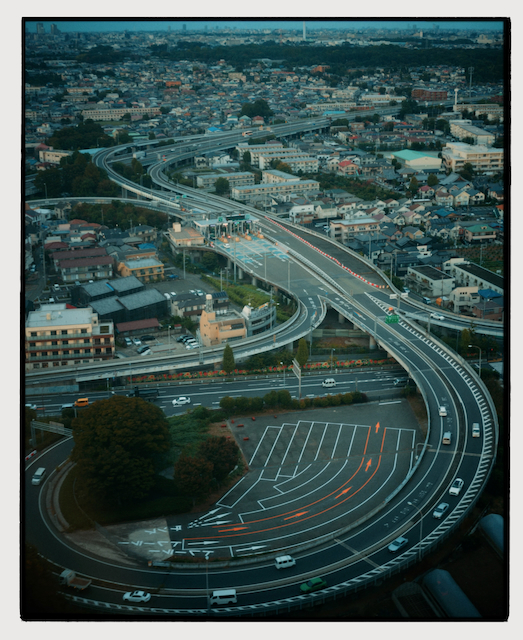
According to Hayashi, the system has grown out of color supervision work for HONDA’s RoadMovies+ project, where he dealt with footage coming from different cameras and shooting conditions. The project gradually evolved into an attempt to build a more flexible alternative to fixed LUT-based workflows that enables mixing colors like paint, hence the name Monet.
Rather than approaching color grading as a collection of presets or looks, Hayashi wanted to come up with a more controllable mixing process influenced by engineering methodology, particularly Design of Experiments (DOE), as well as physical paint mixing.
The first version of Monet was released in 2023 as a PowerGrade-based grading tool for DaVinci Resolve. More recently, he rebuilt much of the system using DaVinci Resolve’s DCTL framework, which was released as Monet V2.0 in April 2026.
Key Aspects
- Making colors like mixing paint
- Letting creators build their own look more intuitively
- Separating exposure, density, saturation behavior, and color interaction into modular stages
- Building the workflow around logic and mathematical transforms, including Design of Experiments (DOE) and DaVinci Color Transform Language (DCTL)
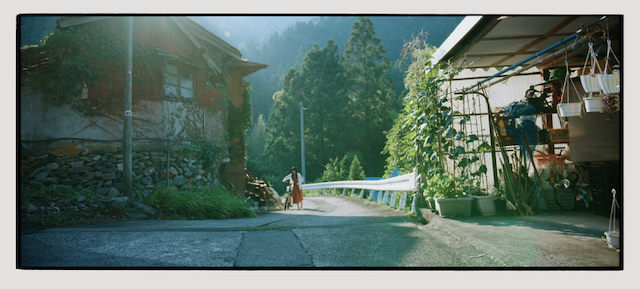
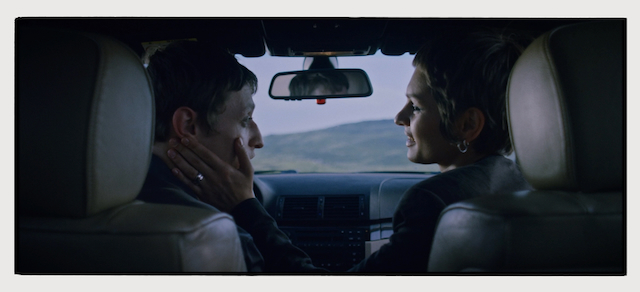
Monet focuses on intuitive creation of intended looks, which Hayashi calls “mixing colors like paint,” but is based on logic and mathematics to embody the philosophy. The system seems quite different from LUTs and presets.
The Monet Grading System utilizes the concept of mixing colors. Users can lay colours over one another as freely as they would with paint to create their own unique look. It utilises polynomial color transformation via DCTL (DaVinci Color Transform Language), enabling smooth and precise color grading that was difficult to achieve with conventional LUTs.
These are the 12 base colors used for mixing

There are 12 iconic shades, which represent the colors of the world, and are designed to create a polished look when used on their own, yet are also specially formulated to allow you to create any look imaginable when mixed together.
The 12 shades are:
- KP400 Accurate
- Dream
- Vision
- Porcelain
- Haze
- Cinematic
- Moss
- Linen
- Print Contrast
- Amber
- Century
- Retrograde
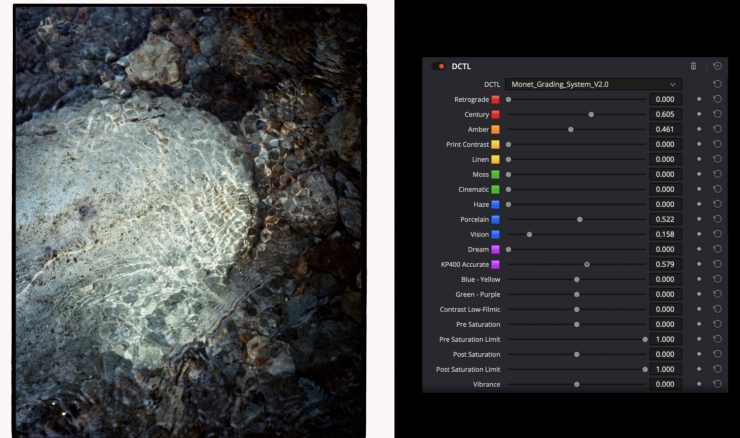
Creative Controls
Monet not only allows you to mix colors, but also offers features to further refine hues to your liking. It does this by allowing you to make adjustments to parameters that are referred to as Aging, Nuance, Blue-Yellow/Green-Purple, Contrast Low-Filmic, Pre-Saturation, Post-Saturation, Vibrance, Density, RGB Chroma, Fade/Highlight Roll, and Push/Pull.
Aging
A slider that simulates the fading of film over time.
Nuance
This feature allows you to add color at random. You can set it to a higher level for a completely random blend, or to a lower level to add just a subtle nuance to the result.
Blue-Yellow/Green-Purple
This allows you to adjust colors in the ‘Blue-Yellow’ and ‘Green-Purple’ directions, producing a more natural color balance than standard white balance.
Contrast Low-Filmic
A ‘cinematic’ contrast curve. Although contrast adjustments can be made in preceding or subsequent nodes, performing them within the DCTL workflow allows for more intuitive operation.
Pre-Saturation
This is a saturation adjustment applied in a processing sequence where saturation is adjusted before color mixing takes place. By changing the saturation limit, you can achieve a look similar to that of reversal film.
Post-Saturation
This is a method of adjusting saturation where the colors are mixed first, followed by the saturation adjustment. By using both this and Pre-Saturation side by side, you can achieve a more ideal saturation adjustment.
Vibrance
You can use ‘saturation compression’ to increase the saturation only in areas with low saturation.
Density
This function allows you to increase or decrease the density of a color. Increasing the density deepens the colour, creating a richer, more substantial impression.
RGB Chroma
You can adjust the RGB components of a color independently.
Fade/Highlight Roll
You can adjust the prominence of shadows and the subtlety of highlights.
Push/Pull
This simulates the color changes that occur when over-exposed film is corrected to the correct exposure during development, and the changes that occur when under-exposed film is corrected to the correct exposure during development.
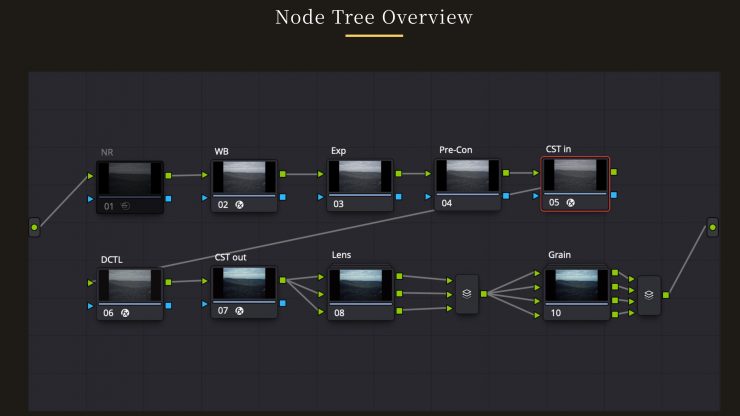
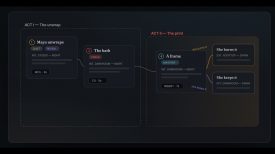
- NR– Removes noise. (Set to OFF by default)
- WB- Adjusts white balance
- EXP– Adjusts exposure
- Pre-Con– Adjusts contrast
- CST in– Converts the color space to DaVinci Wide Gamut
- DCTL– Applies the Monet Grading System DCTL
- CST out– Converts the color space back to the timeline
- Lens– Applies lens characteristics (Old, Vintage, Modern).
- Grain– Adds grain (8mm, 16mm, 35mm, 65mm).
The system also focuses on reducing workflow friction by providing benefits such as fewer corrective adjustments, more predictable tonal behavior, and a grading process that reacts more continuously as footage conditions change.
Monet is not replacing creativity with presets, not chasing film emulation alone, and not positioning grading as expert-only work. Instead, Monet tries to make more flexible and expressive grading accessible to creators who are not professional colorists while maintaining reliability and stability as a tool.
Pricing & Availability
The Monet Grading System costs $149.99 USD.
Monet requires DaVinci Resolve Studio 20 or later. Does not work with the free version. It also requires NVIDIA GPUs (Windows) / Metal (macOS). Does not work with the iPad version of DaVinci Resolve.
Monet official site (currently Japanese only):
https://monet-grading.studio.site/