
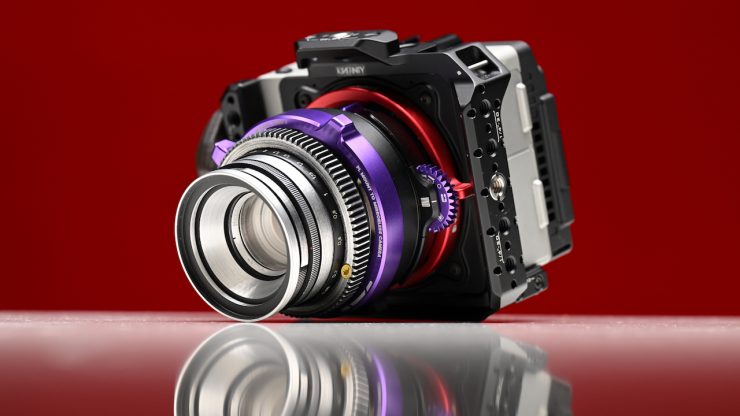
The Mofage POCO II Drop-In Filter Adapter is a follow-up to the very popular POCO Drop-In Filter Adapter that was introduced way back in 2022.
We first saw the new POCO II Drop-In Filter Adapter at NAB back in April.
The new POCO II features four key new improvements:
- EF front mount added in addition to the PL Mount
- 26mm depth (NiSi Athena compatible)
- Smaller & lighter
- Stylized insert system
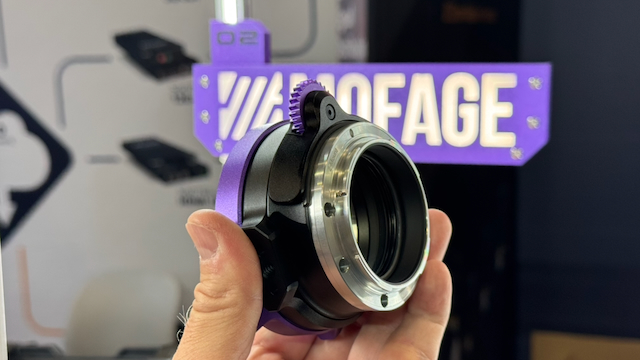
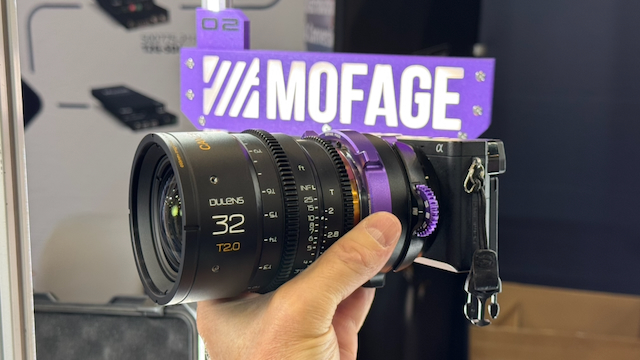
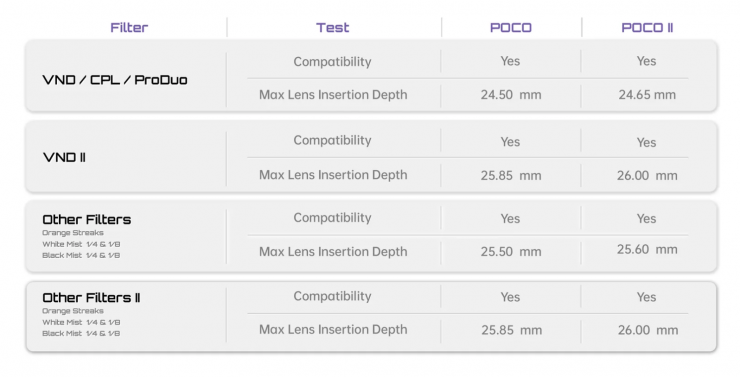
Mofage has completely redesigned the adapter’s internal structure to provide increased clearance. It now accepts lenses with an insertion depth of up to 26mm. This allows you to use lenses with longer rear elements, such as the NiSi Athena and some anamorphic lenses that previously couldn’t be used.
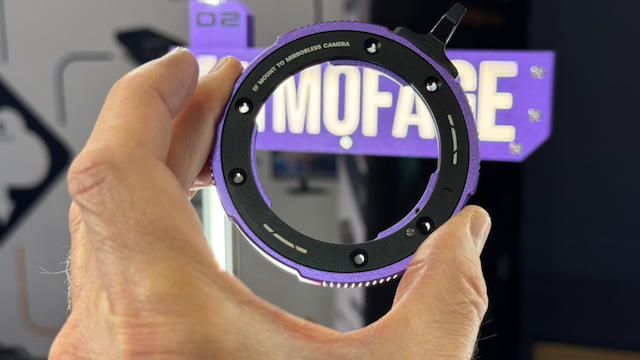
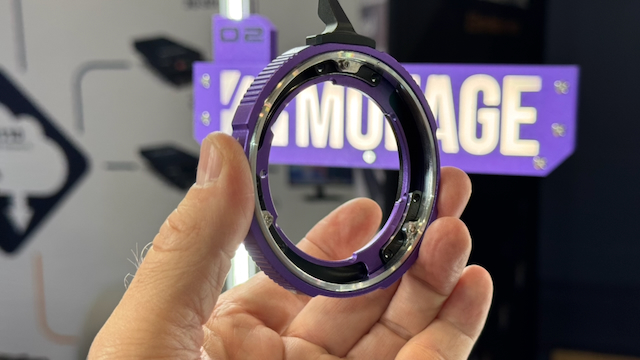
The POCO II comes in either an ARRI PL or Canon EF lens mount version. You can replace the front PL mount with an optional Canon EF mount if you want to run EF lenses, or conversely swap the EF mount for a PL one. Both the adapter ring and lens mount can be swapped for other camera and lens mount types.
Key features
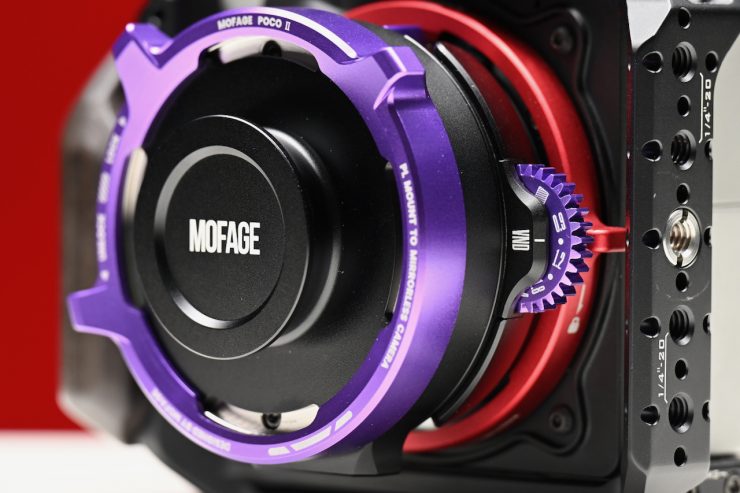
- Built-in ND (gear-controlled)
- Modular design (NEW EF front mount)
- One-click quick swap filters
- Expanded compatibility (26mm depth)
- Lighter & more compact
- Stylized creative inserts
- Full filter ecosystem
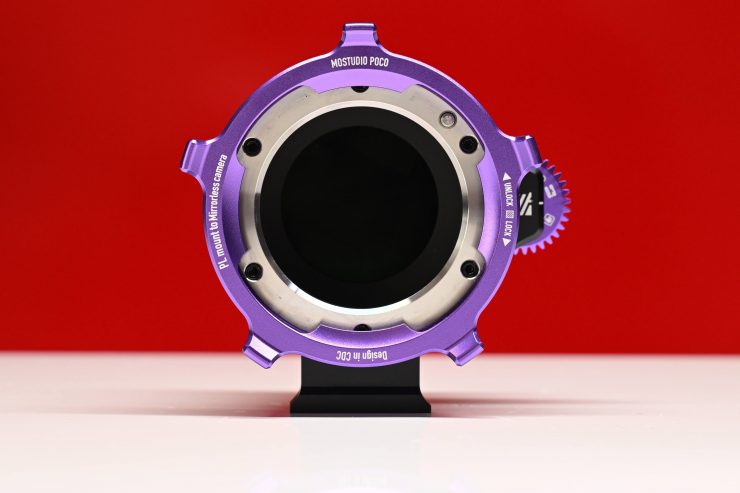
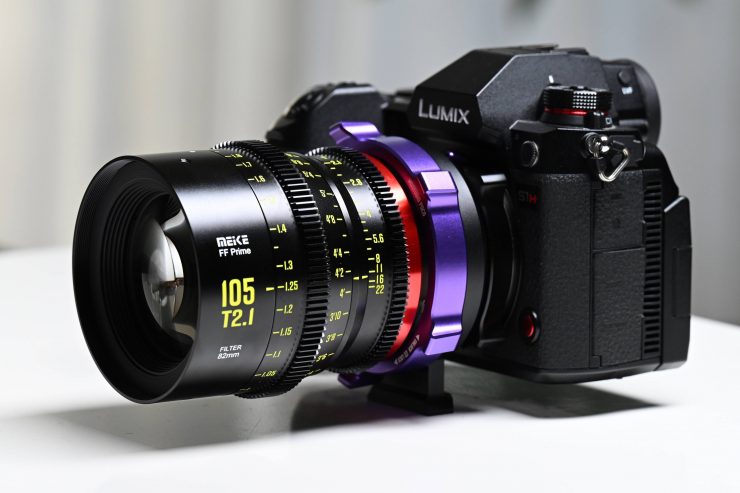
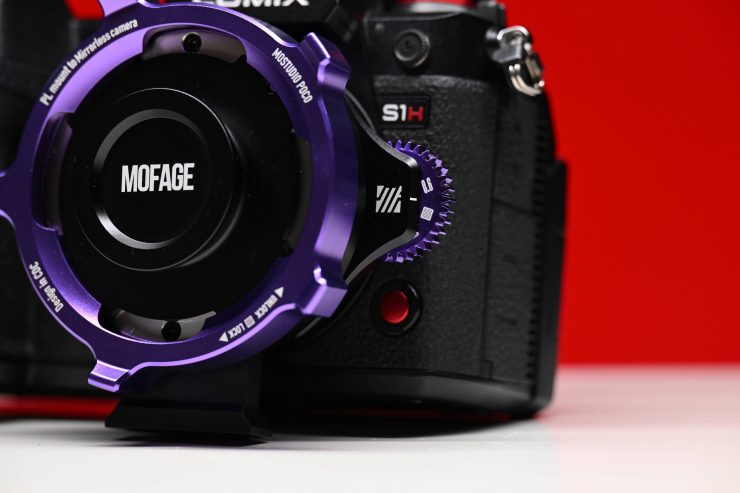
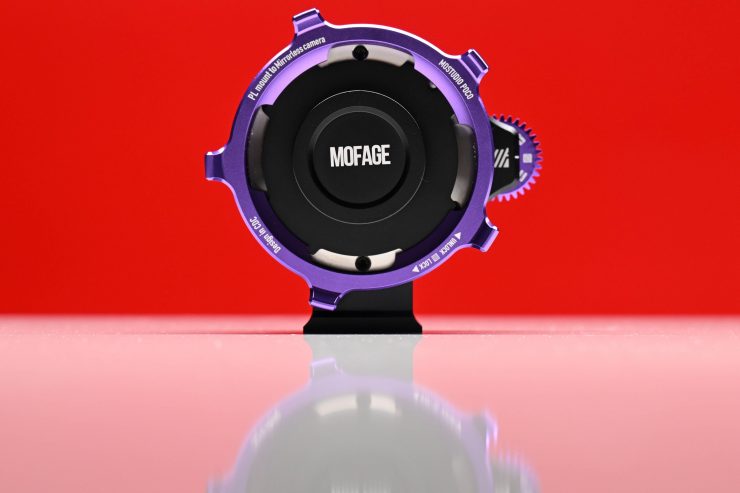
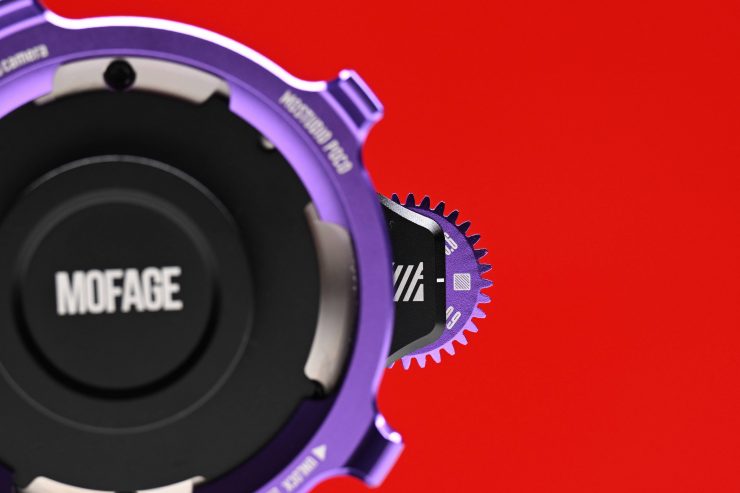
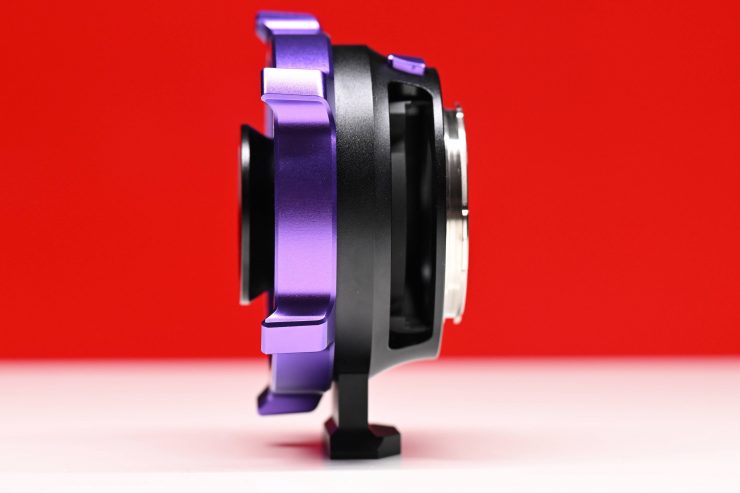
I reviewed the original Mofage POCO drop-in filters adapter on the site back in 2022. In case you are not familiar with the product, the MOFAGE POCO PL to E/RF/L/Z Mount Adapter combined rear filters with adapters. The POCO was compatible with most PL mount lenses, although there were certain lenses (such as rear anamorphic) that would not work due to clearance issues.
I really liked the original Mofage POCO drop-in filters adapter, and I actually chose it as my favorite camera accessory of 2023.
In 2024, Mofage added more filter options to its POCO drop-in filter adapter. Some of the filters that were introduced included the Pro Duo (FSND), CPL, Glimmer filters, and a new Kine mount.
I reviewed the filters, but I found some color discrepancies that I passed on to Mofage, which they then identified in the manufacturing process. The filters subsequently got changed, and those issues were addressed.
Mofage POCO II
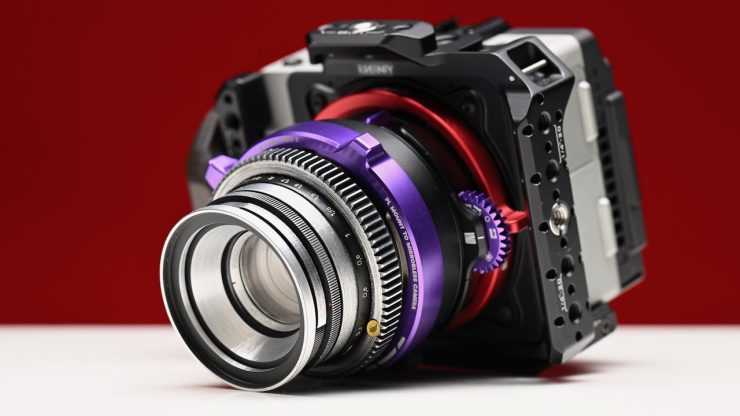
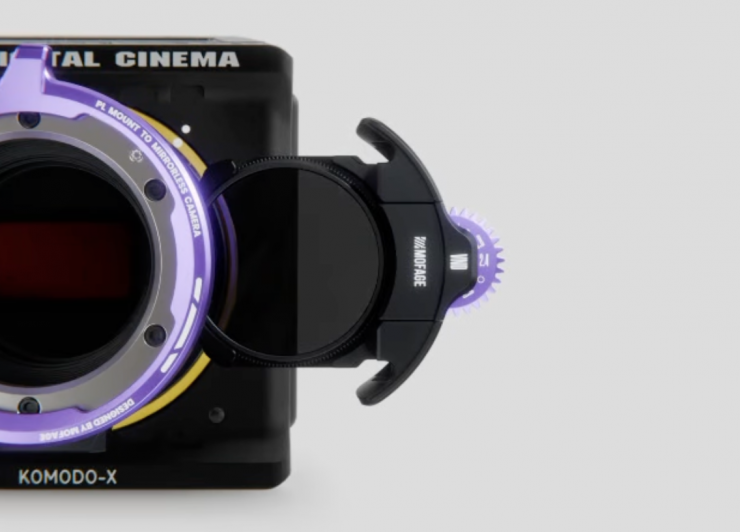
The drop-in filter system is the same as the original POCO; exposure can be adjusted simply by rotating the geared dial, compensating for cameras without internal ND.
Filters can be removed with one click, allowing for fast filter changes. The locking mechanism ensures the filter cartridge is securely fixed inside the adapter, so there’s no risk of the filter coming loose.
Camera Mounts
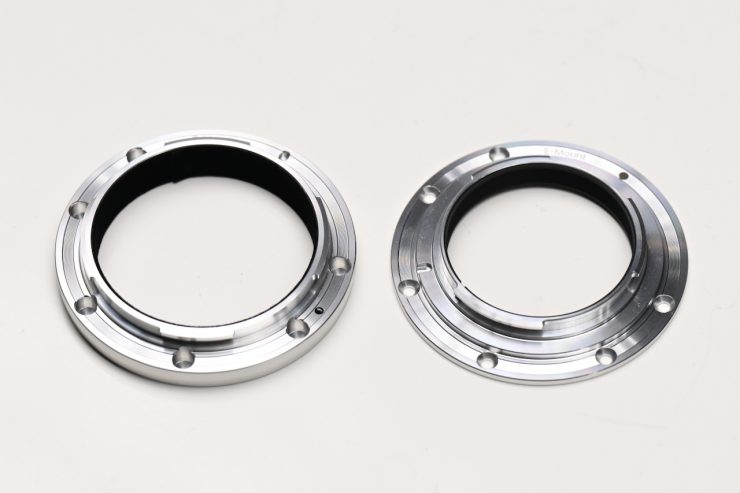
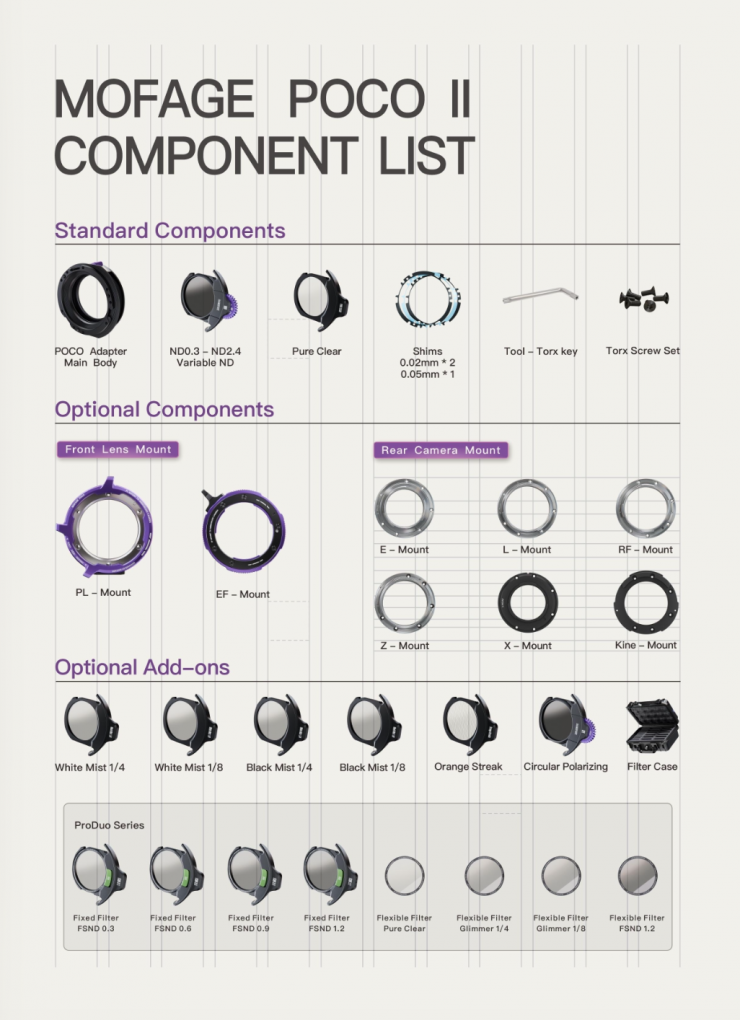
The POCO II is available in the following camera mounts:
- Sony E
- Canon RF
- Leica L
- Nikon Z
- Fujifilm X
- Kine Mount
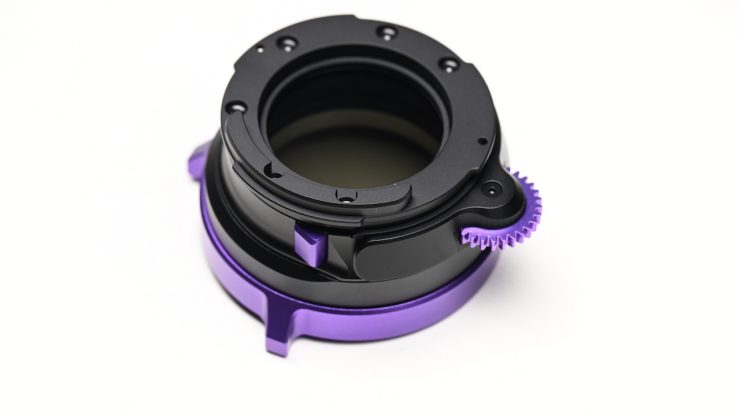
It is nice to see a Kine Mount. This is a great combo when used in conjunction with the Kinefinity VISTA.
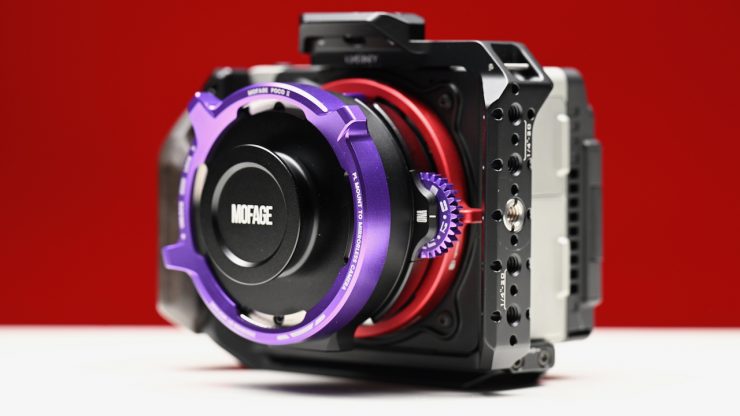
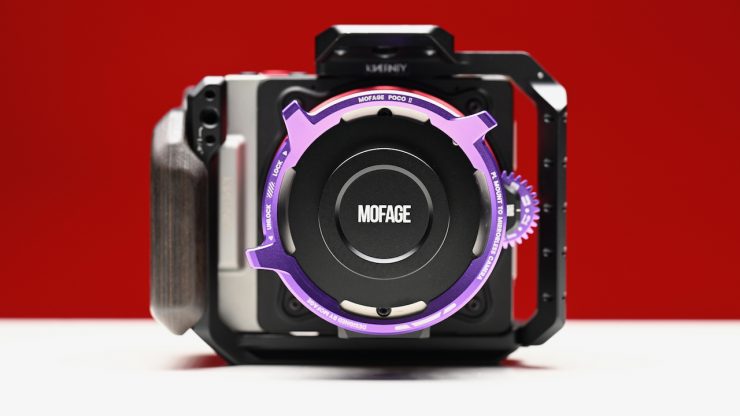
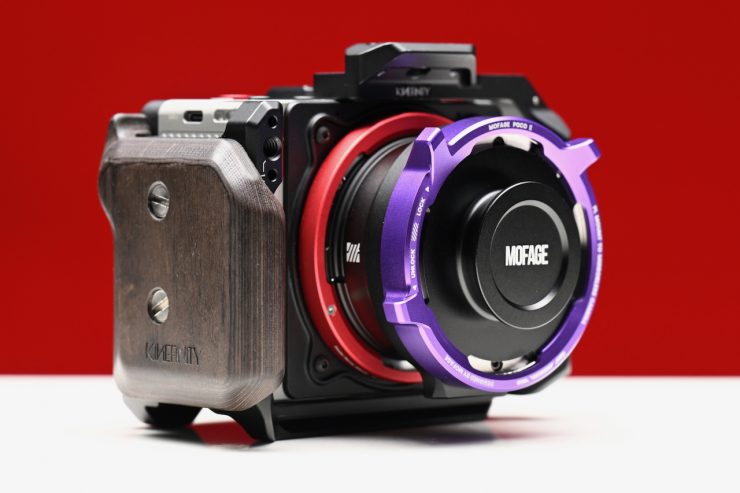
In my opinion, this makes for the lightest and most compact VND and PL solution for this camera.
Construct it up
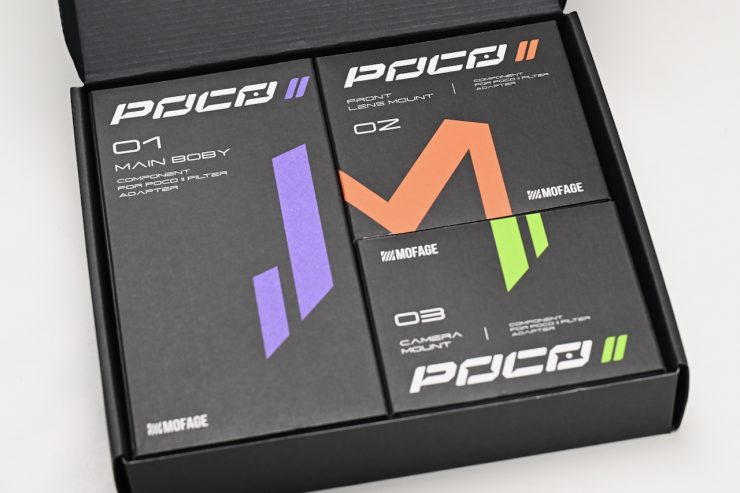
Unlike the original POCO, which came as a ready-to-go unit, the POCO II needs to be assembled. It comes in three separate parts:
- Main Body
- Lens Mount
- Camera Mount
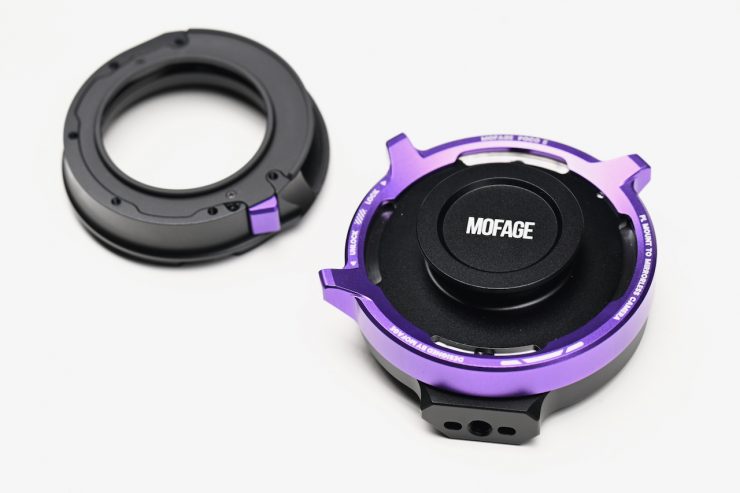
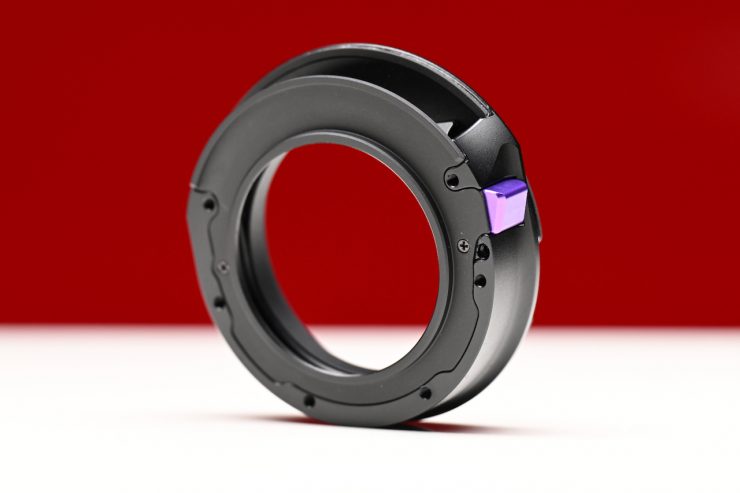
The first step is to attach the Lens Mount to the Main Body.
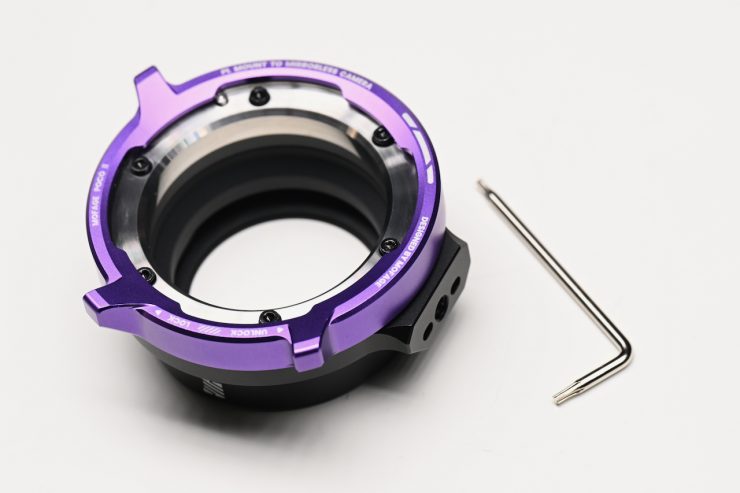
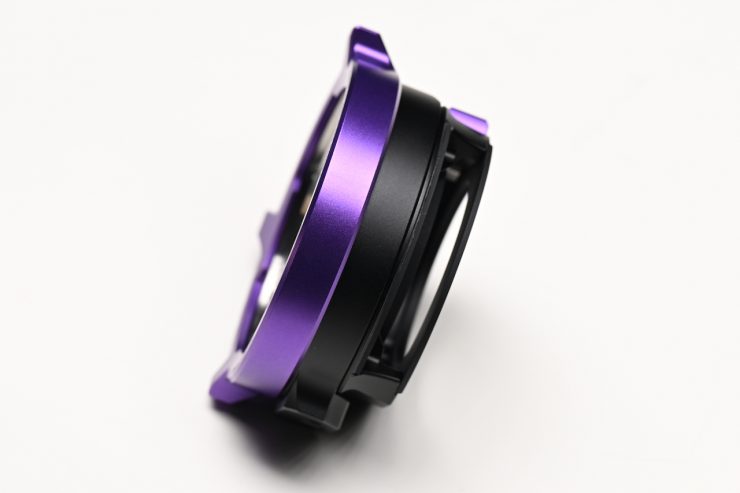
You do this by using the included Torx Wrench and screws. It is nice that Mofage gives you two spare screws.
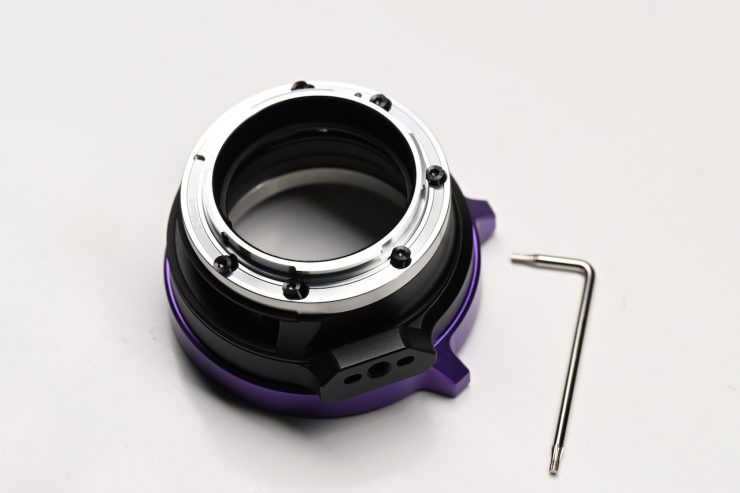
The next step is to attach the Camera Mount to the rear of the adapter. In this case, I am going to attach a Nikon Z version. Again, you use the Torx Wrench and screws to do this.
Build Quality
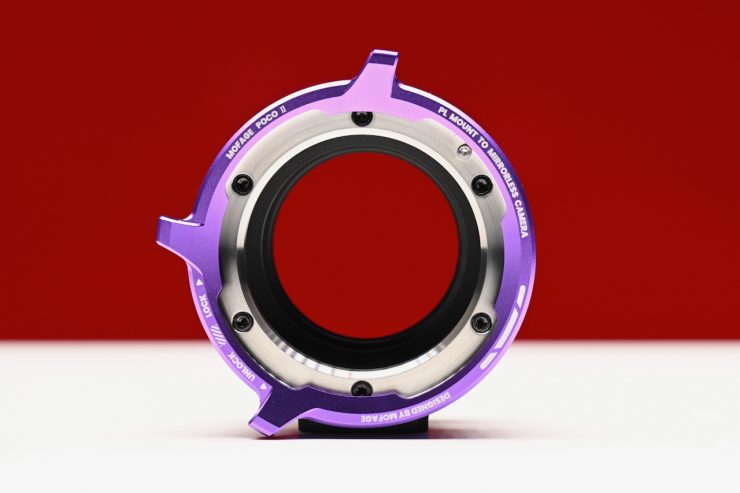
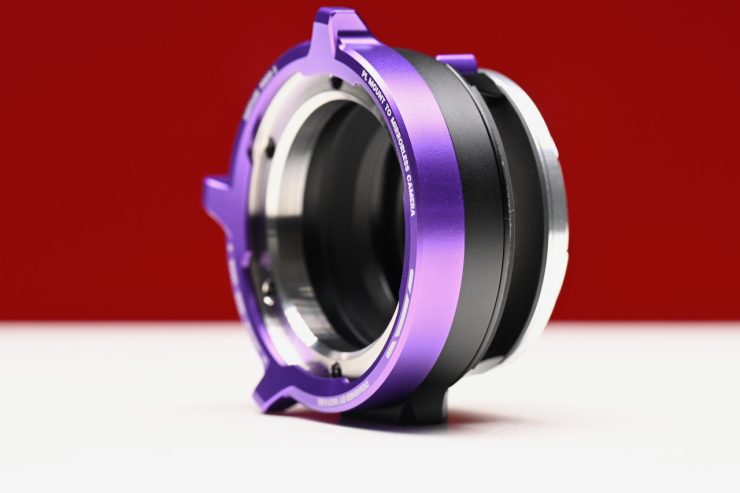
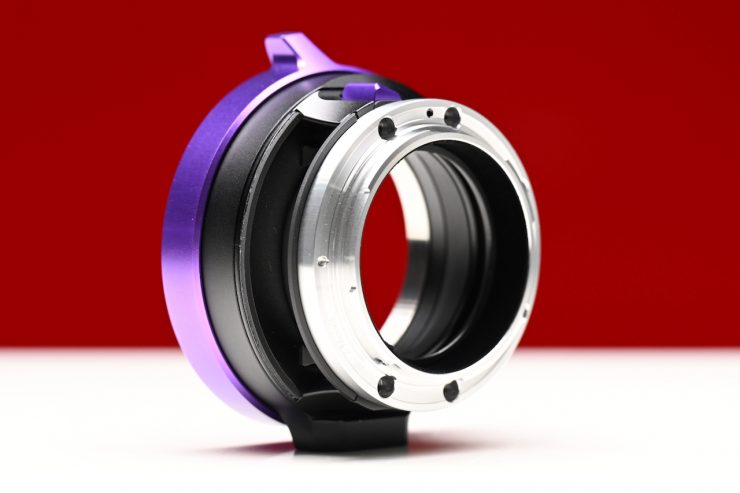
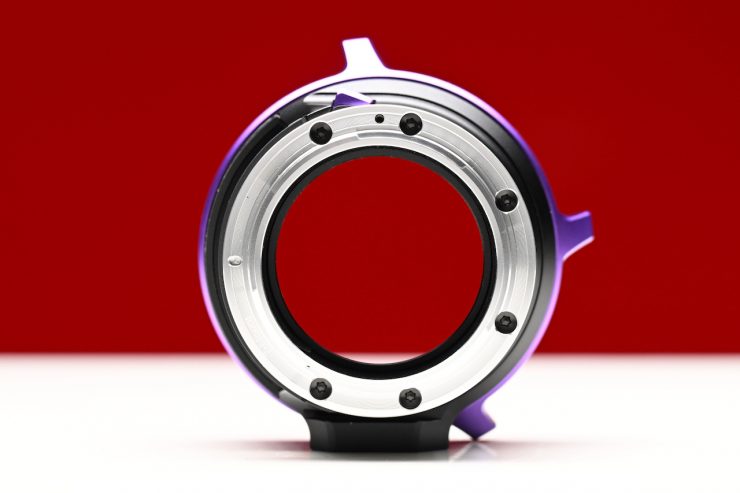
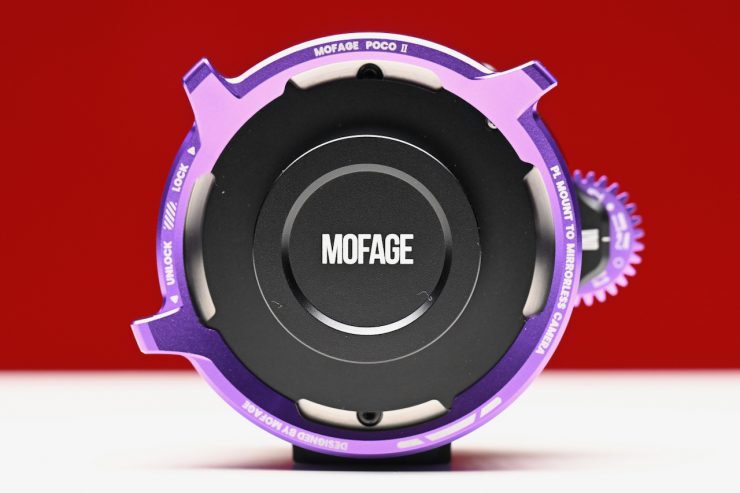
The Mofage POCO II is solidly made and well finished. I didn’t come across anything that concerned me.
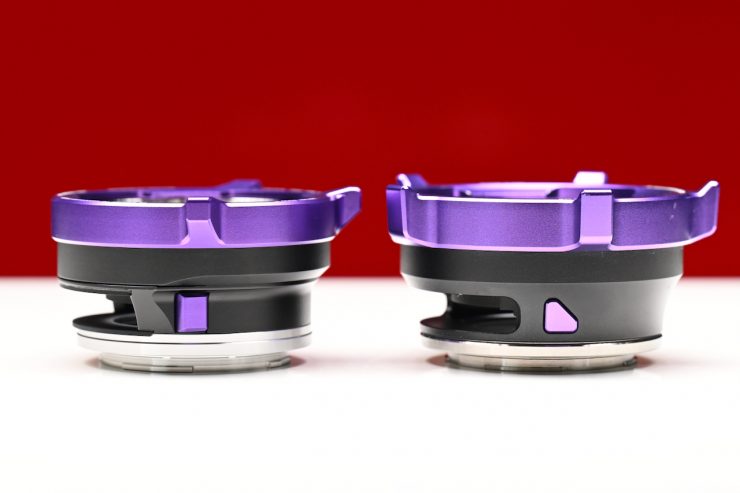
On the POCO II, the release mechanism for the filters has been slightly redesigned, and I found it easier and more tactile to use.
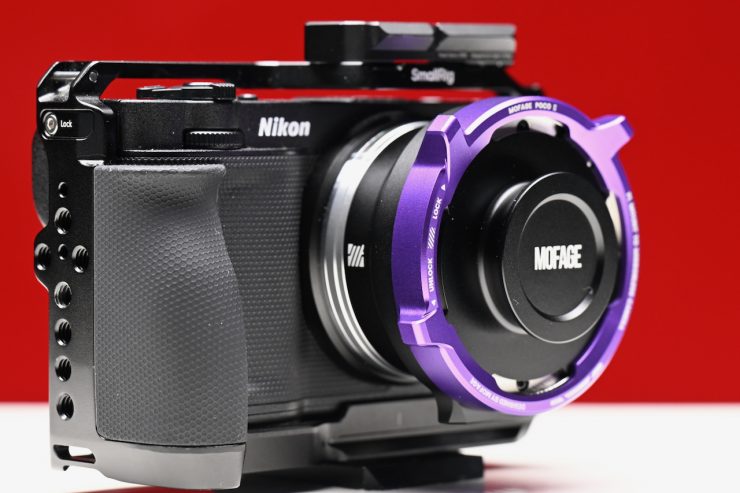
The adapter attaches to the camera, and there is no wobble or movement.
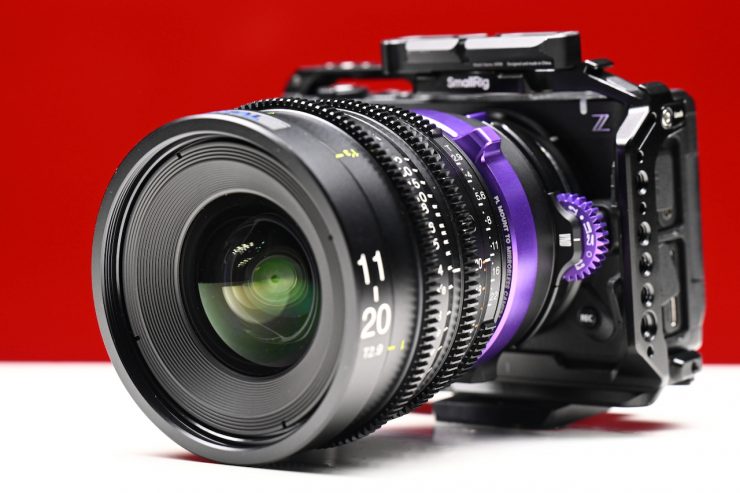
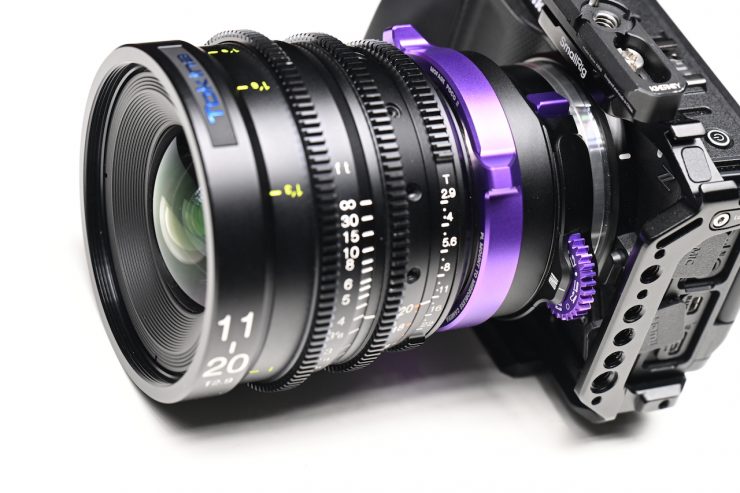
The front PL attachment also locks down very securely.
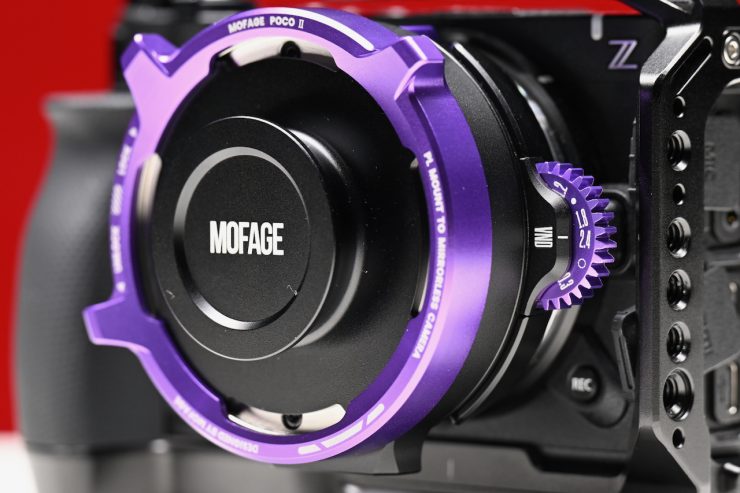
The markings on the VND filter are clear and easy to see, and the wheel is tactile to move.
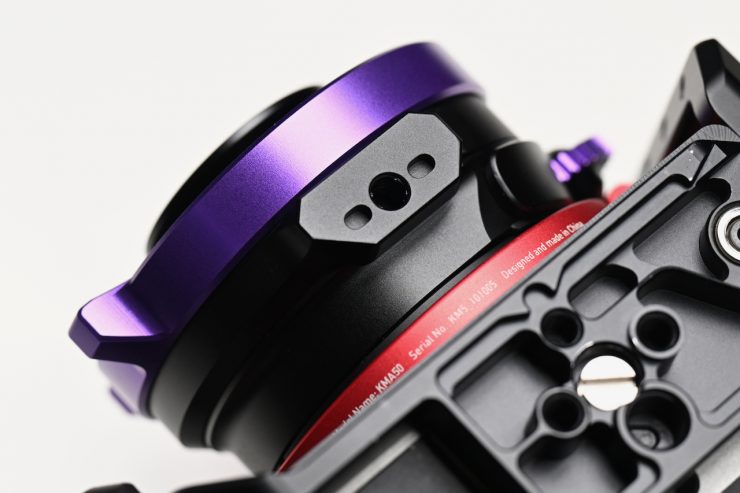
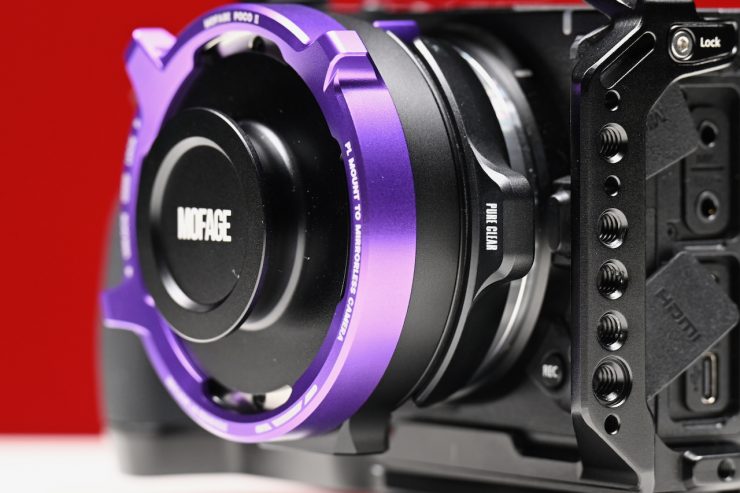
It is nice that Mofage has put in an integrated lens support onto the adapter, instead of a removable one. It doesn’t take up more real estate, so, at least in my opinion, it makes more sense to have it always available.
Size & Weight
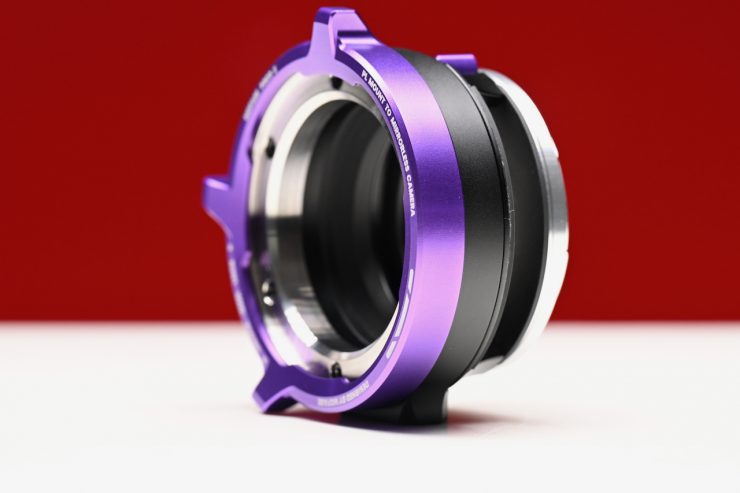
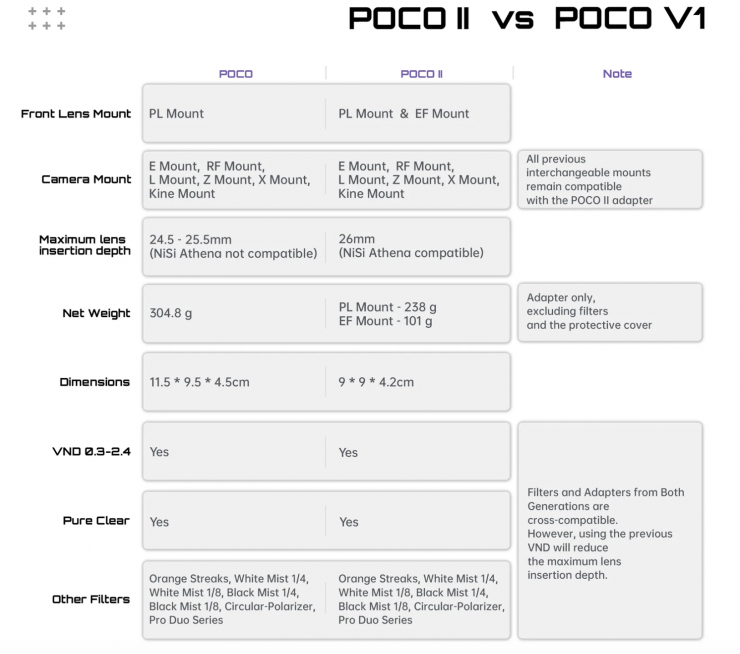
The POCO II is smaller and lighter than its predecessor. It has physical dimensions of 3.5 x 3.5 x 1.7″ / 9 x 9 x 4.2 cm, and it weighs in at 8.4 oz / 238 g (PL Mount). As a comparison, the original POCO weighed 10.75 oz / 304.8g, and it had physical dimensions of 4.52 x 3.74 x 1.77″ / 11.5 x 9.5 x 4.5cm.
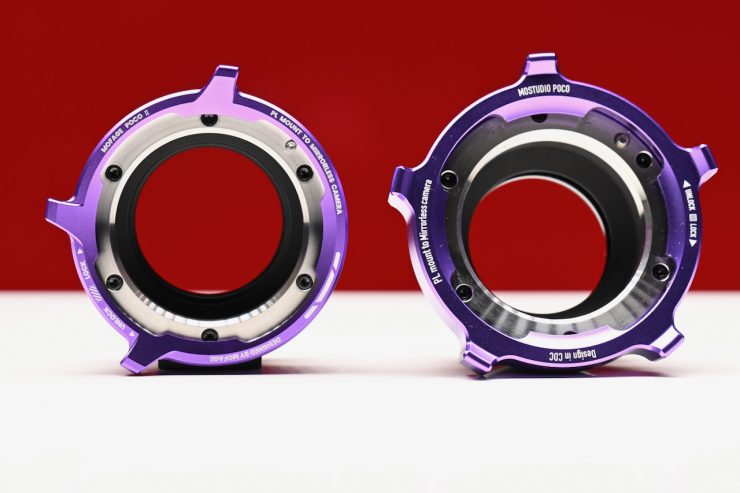
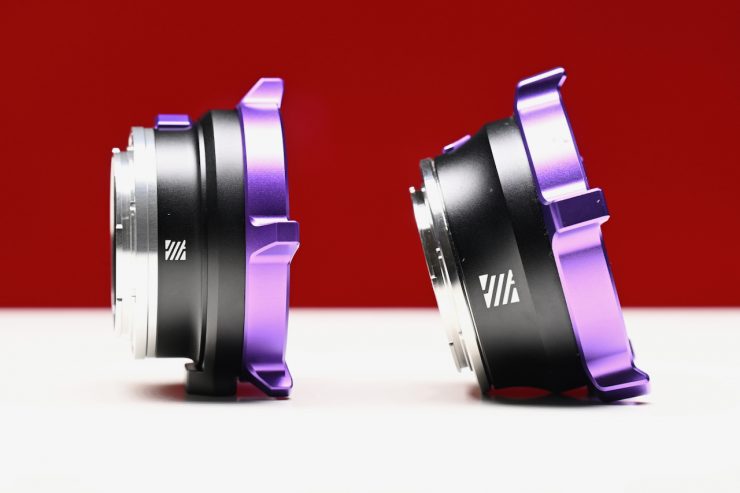
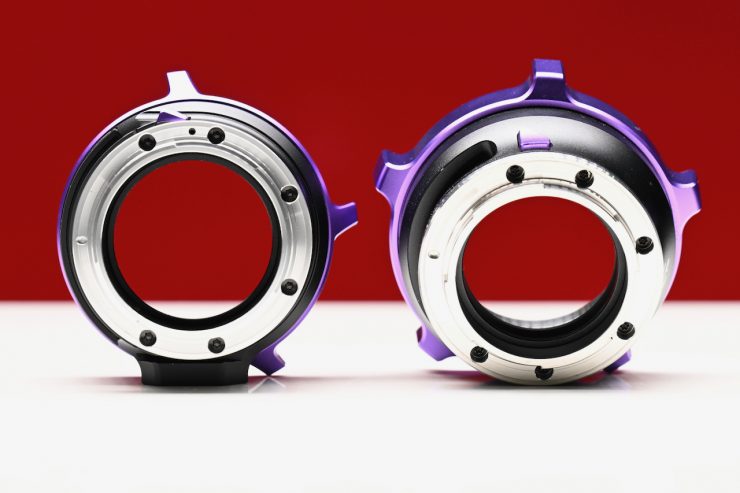

Above, you can see how the new POCO II compares to the original.
Better Clearance
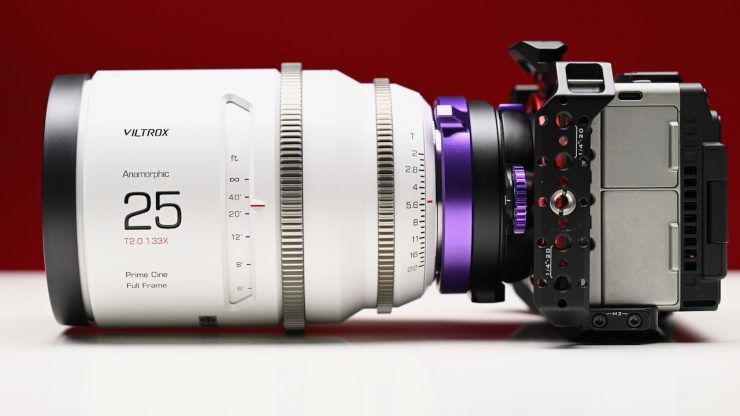
The original POCO had a maximum lens insertion depth of 24.5 – 25.5mm, and it wasn’t compatible with the NiSi Athens primes and ceratin anmorphics, etc. The new POCO II has a maximum lens insertion depth of 26mm, so it is compatible with the Athenas and anamorphics I couldn’t previously use.
What filters can you use with it?
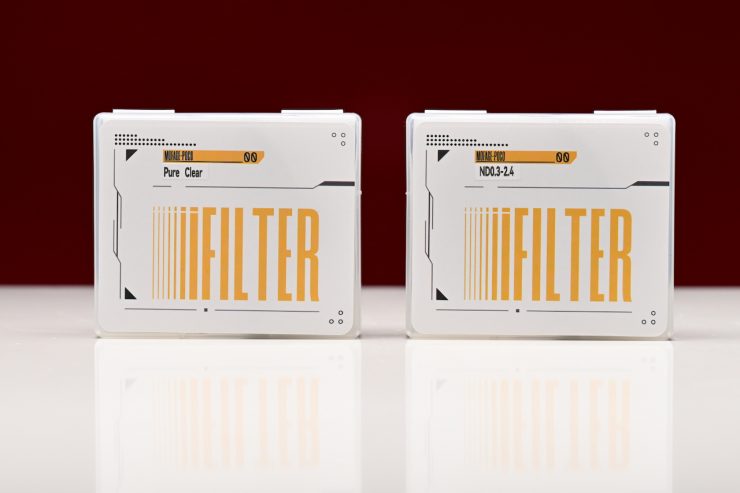
In the standard kit, you get a VND 0.3-2.4 Filter (1-8 Stops) and a Pure Clear Filter.
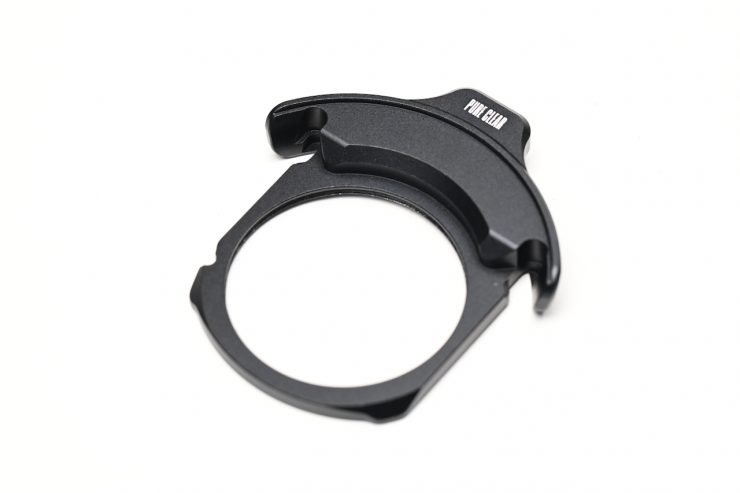
You use the Pure Clear filter when you don’t need to add any VND or ND.
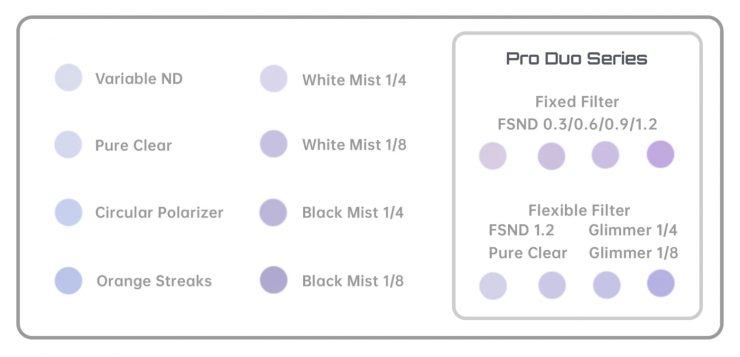
The POCO II supports a wide range of drop-in filters:
- Variable ND 0.3–2.4
- Pure Clear
- Circular Polarizer
- Orange Streaks
- White Mist (1/4, 1/8)
- Black Mist (1/4, 1/8)
- Pro Duo Series: FSND 0.3 / 0.6 / 0.9 / 1.2 & Glimmer 1/4 / 1/8
Please note that all of the filters are cross-compatible with the original POCO system.
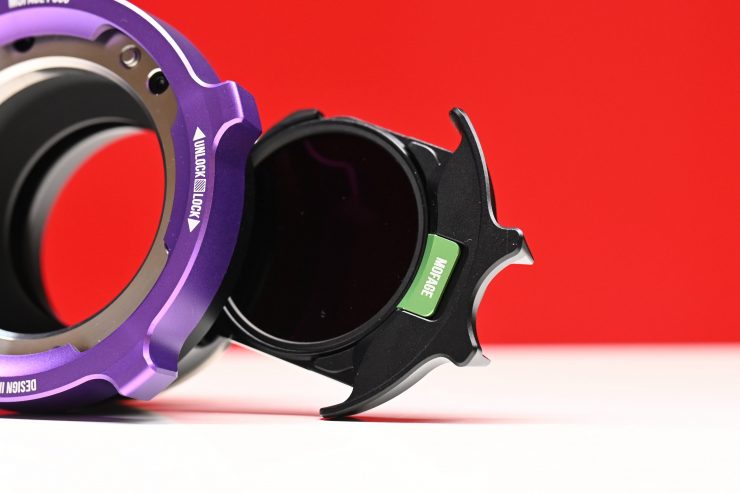
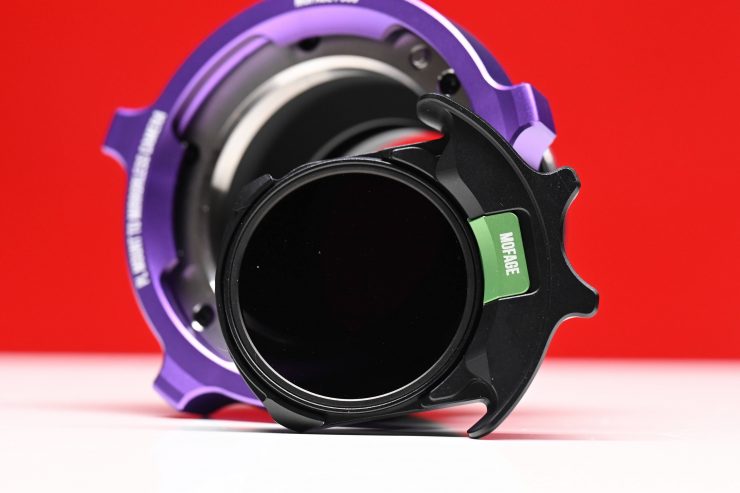
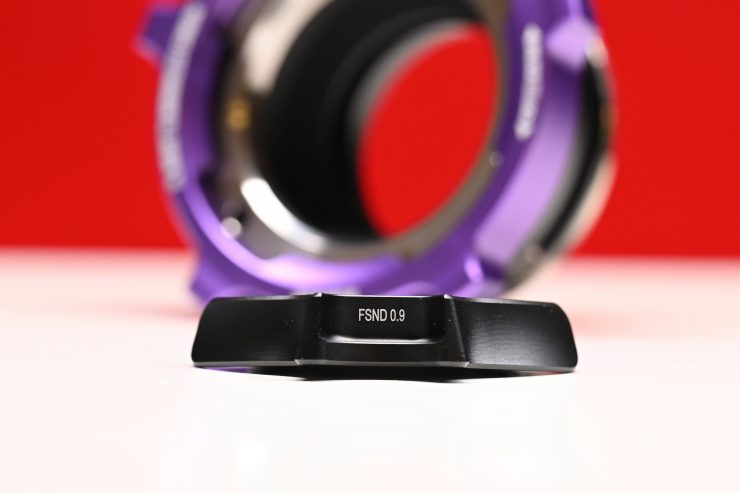
The FSND filters come in the following strengths:
- 0.3
- 0.6
- 0.9
- 1.2
You also get an additional 1.2 filter that isn’t in a tray. You can use this to stack with the other filters to create additional strengths.
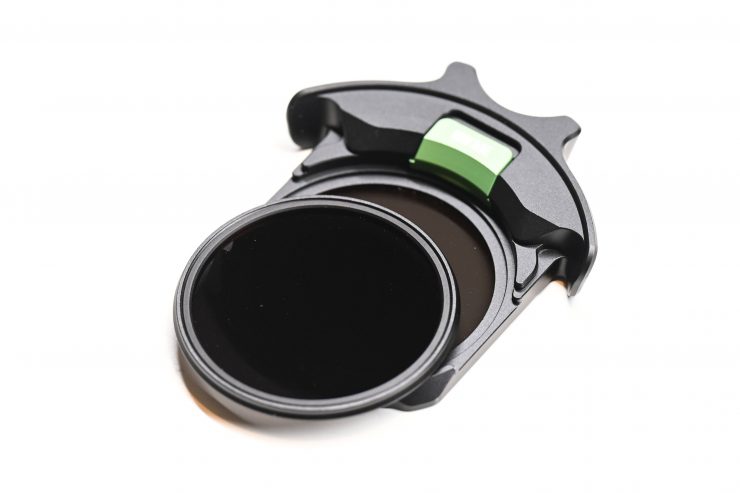
With the 1.2 filter used in combination with the other filters, you can create the following:
- 1.5
- 1.8
- 2.1
- 2.4
This gives you a good range of fixed-strength ND, and you can use anything from 0.3 all the way up to 2.4.
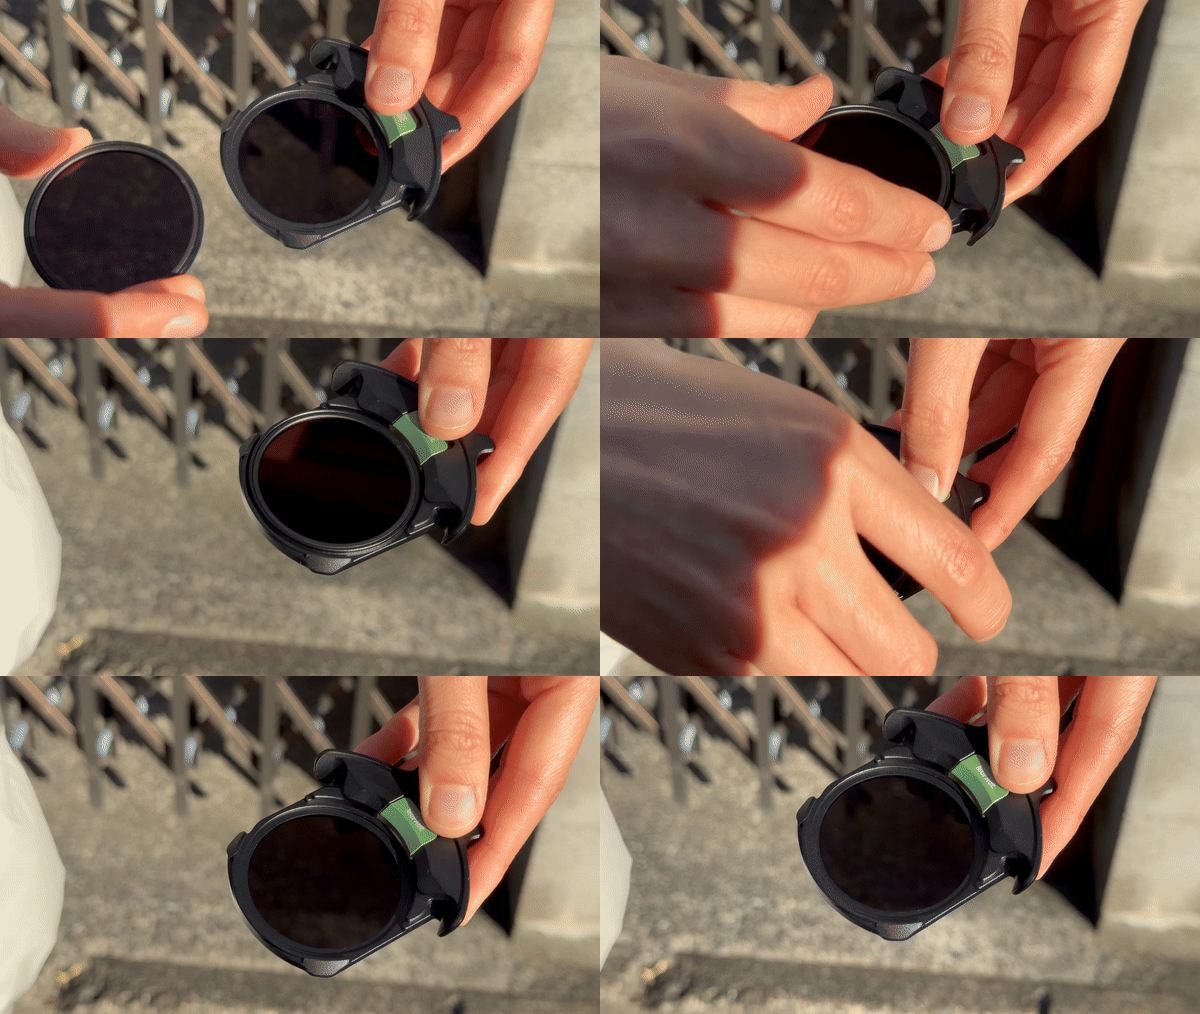
Stacking the filters is a fairly easy task. You simply pull back the small purple lever and place the 1.2 filter on top of the other filter, and then release the lever.
Putting the filters in and taking them out of the POCO II adapter is very straightforward.
According to Mofage, the FSND (Full Spectrum Neutral Density Filter) enables you to have control over light variations, reducing brightness without causing color shifts and eliminating distortion.
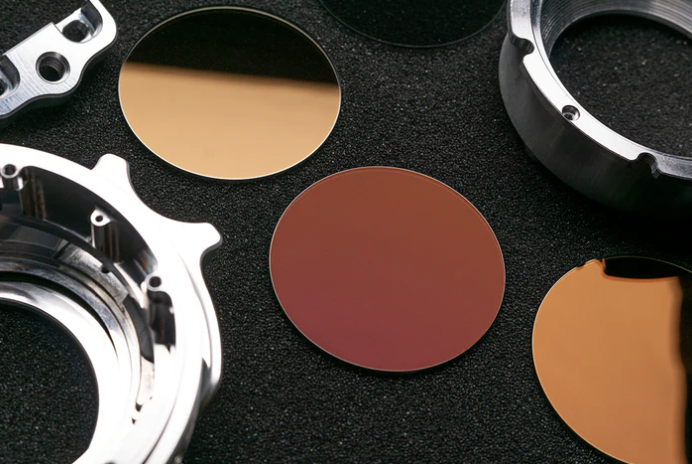
The filters are claimed to effectively remove far-infrared (IR) contamination to restore genuine skin tones, ensuring accurate and natural representation.
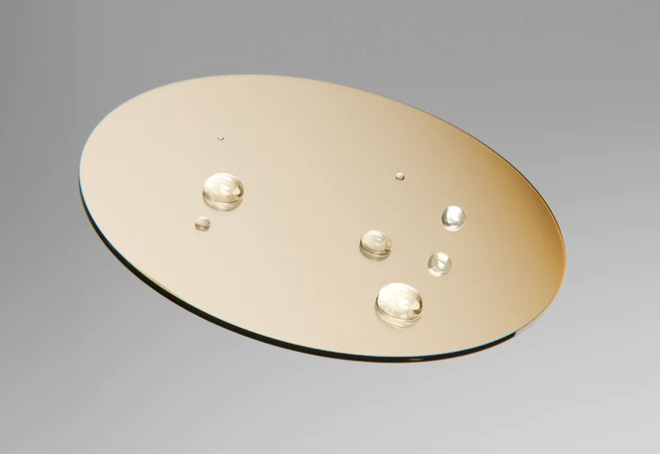
The filters feature scratch resistance, waterproofing, and oil resistance to significantly enhance their lifespan.
Does the VND have a color cast?
It is important to check and know if the filters you are using are causing a color cast. While it is always best practice to re-white balance your camera when changing ND, that is not always going to be possible in certain shooting situations.
I did a controlled test where I white-balanced the camera with the clear filter and then started to introduce the different strengths of VND. The ISO (kept at the two Base ISOs), WB, and lighting were kept the same for all of the tests. To keep the exposure the same for all of the ND strengths, I simply adjusted either the aperture or the shutter speed to compensate.

Clear Filter 
VND 0.3 
VND 0.6 
VND 0.9 
VND 1.2 
VND 1.8 
VND 2.4
Above you can see the individual shots for all of the tests. I have kept the color picker up so you can see the RGB values when placed on white.

Clear Filter 
VND 0.3 
VND 0.6 
VND 0.9 
VND 1.2 
VND 1.8 
VND 2.4
Above, you can see crops of the individual shots for all the tests where I have zoomed into the white panel of the color checker chart.
Below, you can see the RGB values for each shot:
- Clear Filter: R 203, G 202, B204
- VND 0.3: R 205, G 203, B200
- VND 0.6: R 204, G 202, B198
- VND 0.9: R 204, G 202, B198
- VND 1.2: R 204, G 202, B198
- VND 1.8: R 206, G 204, B200
- VND 2.4: R 206, G 205, B202
As you can see, there is certainly a change when you add the VND, but the VND remains very consistent from 0.3 up to 1.2. At 1.8 and 2.4 is does change again slightly, but not by any massive margin that would ring alarm bells.

Clear Filter 
VND 0.3 
VND 0.6 
VND 0.9 
VND 1.2 
VND 1.8 
VND 2.4
Above you can see the vectorscope images (2x zoom) for all the tests. As you can see, as soon as you start to introduce the VND, there is a slight push towards yellow/green. This is something you don’t get if you use the fixed-strength Mofage FSND filters. The good news, as I previously mentioned, is that the VND color is pretty consistent across the whole 0.3 to 2.4 VND range.

Clear Filter 
VND 2.4
Above you can see the difference between the Clear filter and the maximum strength of 2.4. Ideally, you would always do a WB when introducing VND, but then again, it would be pretty easy to dial this out in post.
As a comparison, above are tests I previously did using the Mofage fixed-strength FSND filters.
Usability
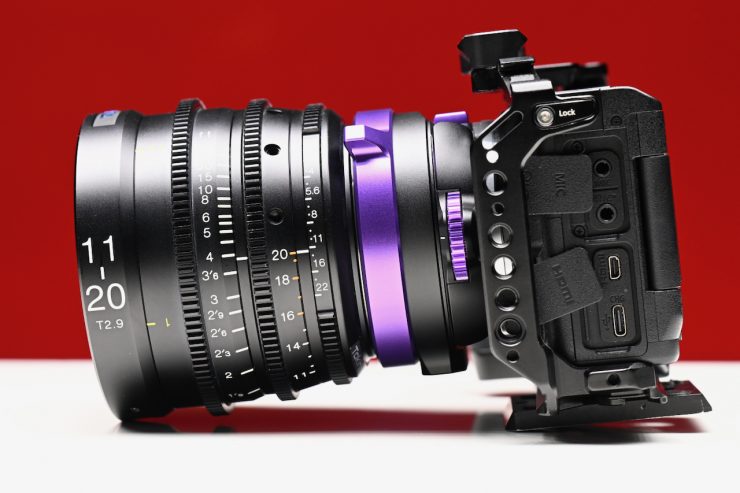
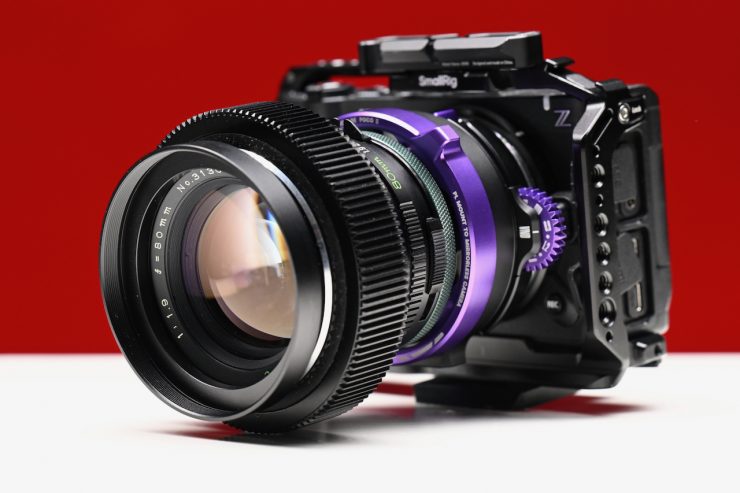
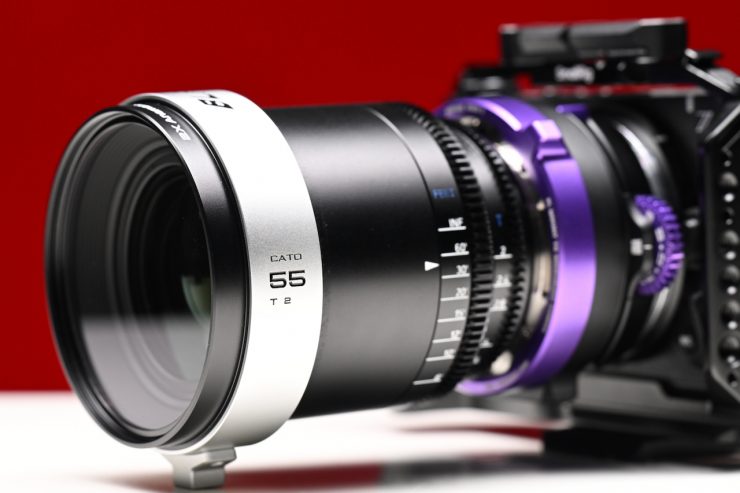
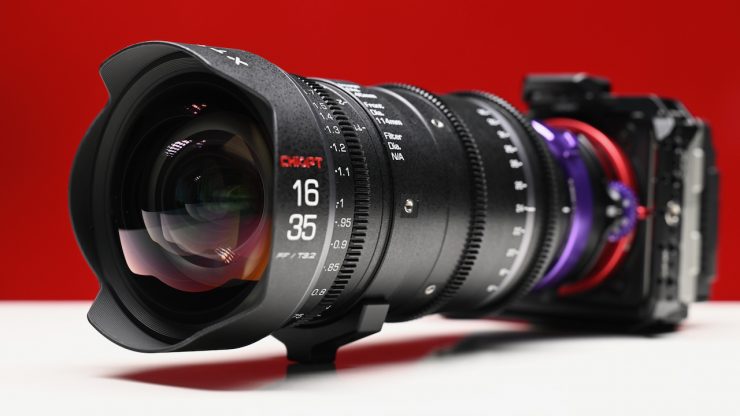
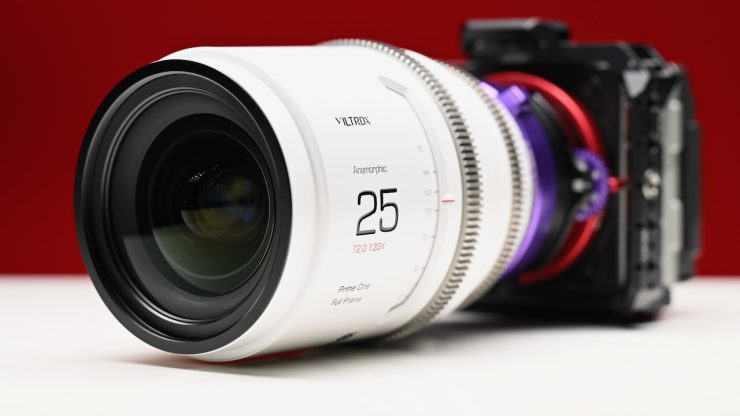
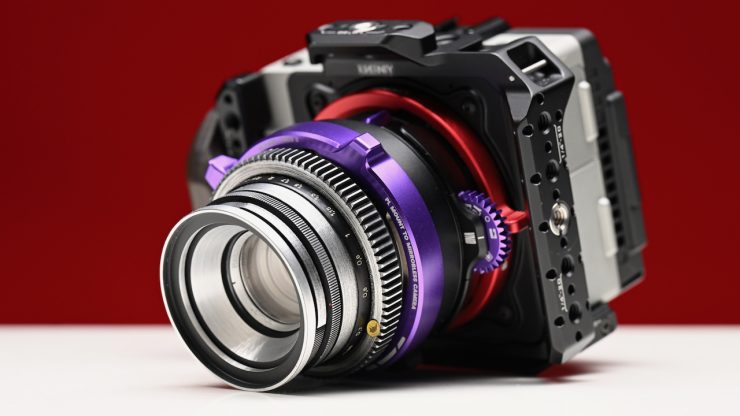
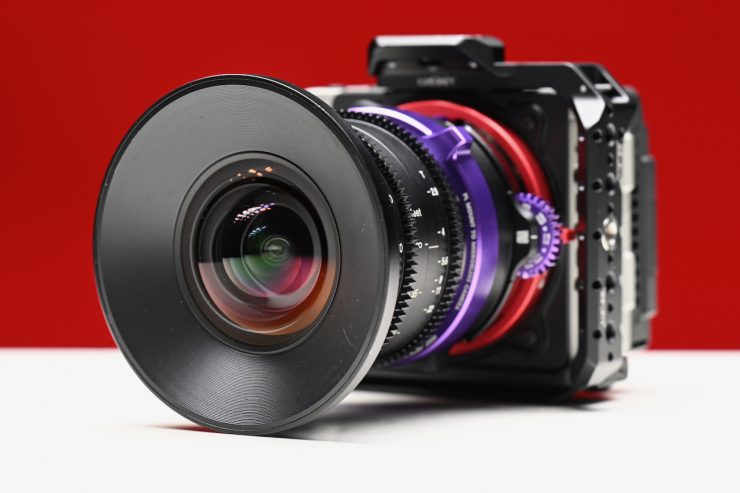
The Mofage POCO II is easy to use. I tried it with a wide variety of lenses and didn’t run into any issues.
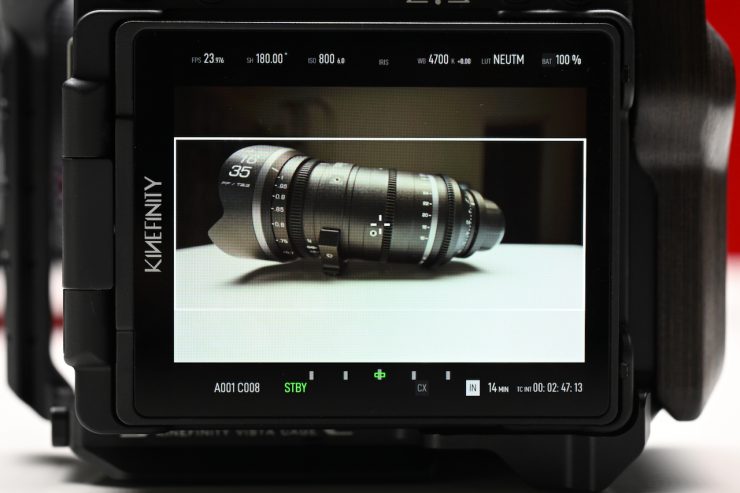
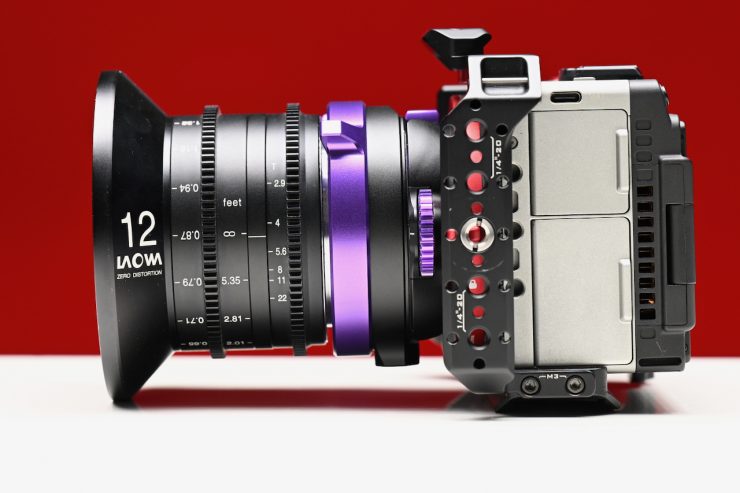
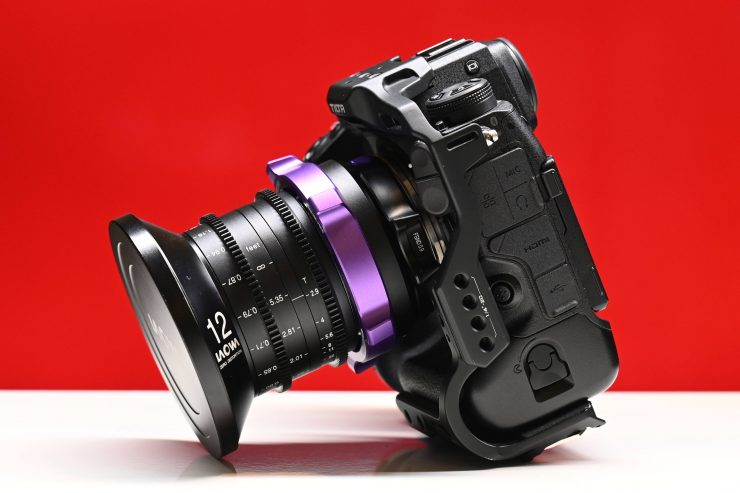
I didn’t get any vignetting even when using a 12mm full-frame lens on the Kinefinity VISTA when shooting 6K Open Gate.
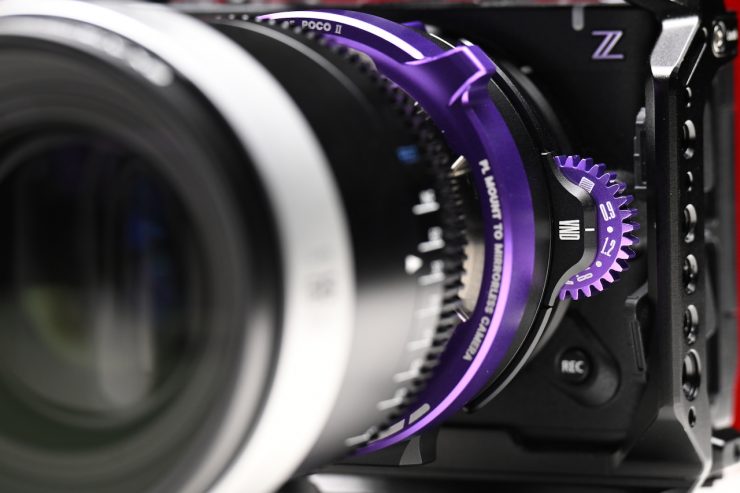
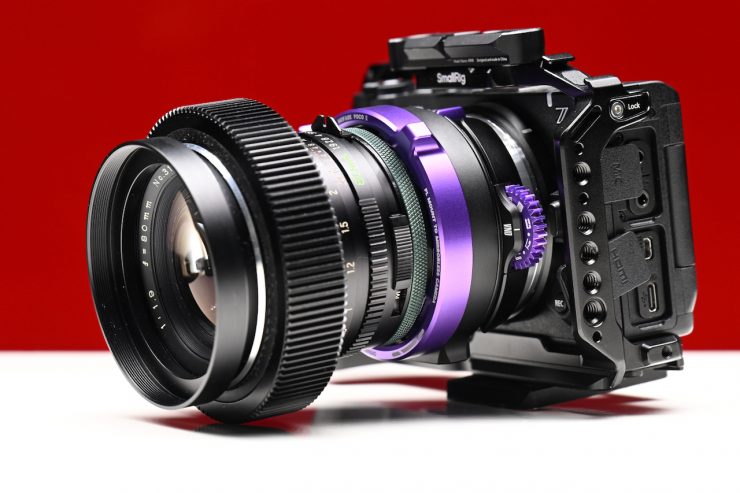
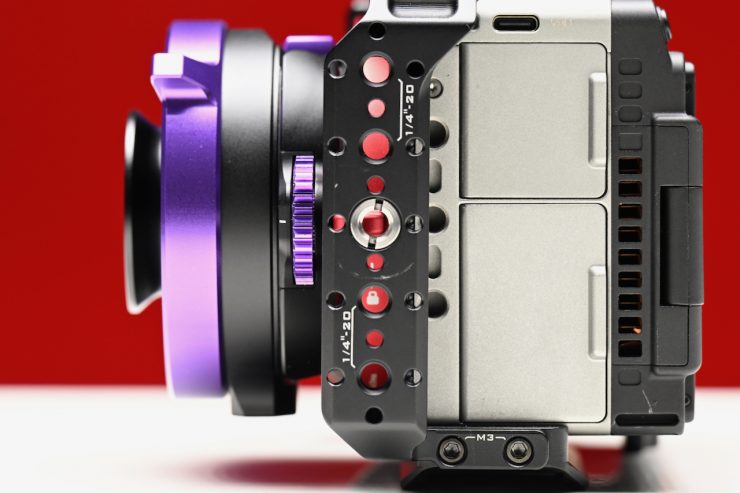
If you are running a camera cage (and this depends on the cage), it can be difficult to access the dial on the VND and to release the adapter from the camera. It is a pity that more cage manufacturers don’t design their cages with this in mind, or at least offer alternative versions.
Other Caveats?
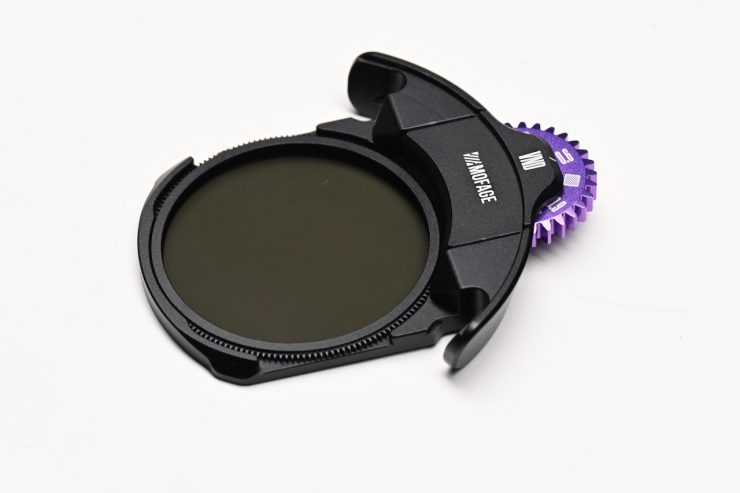
Using rear-mounted filters and putting them in and taking them out also opens up the possibility of you getting dust or particles on your sensor. I would recommend (and I know this is not possible to do in a lot of scenarios) that you use a small blower to give the filters a quick clean before you put them into the adapter.
As I previously mentioned, the other issue that you may experience when using rear filters and a hybrid mirrorless in some camera cages is that you may not be able to put filters in or take them out because of clearance issues.
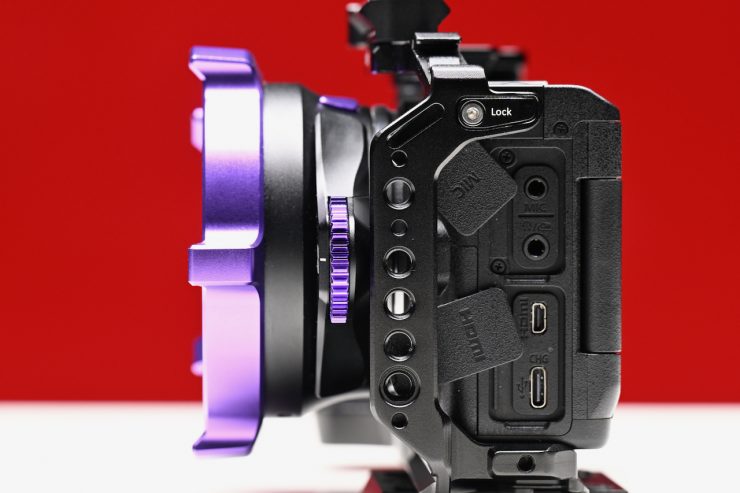
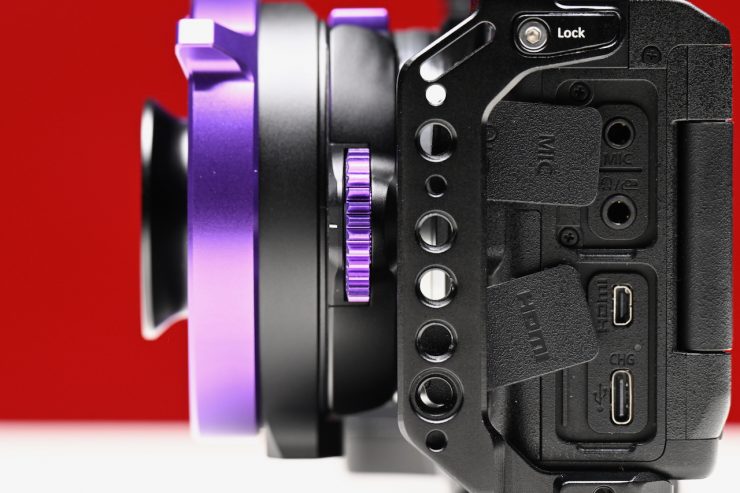
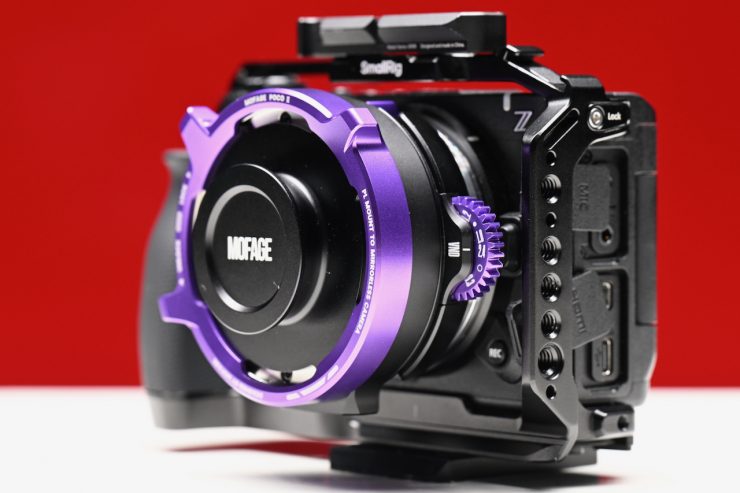
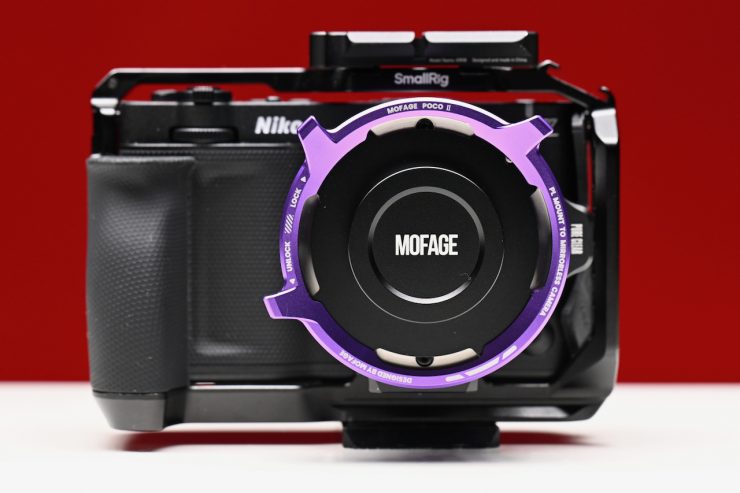
With the new POCO II, Mofage has done what they can to rectify some of these issues. Because the adapter is smaller, and the 0.8 pitch gear on the VND is also slightly thinner, there is more clearance available. Above, I am using a Nikon ZR with a SmallRig cage.
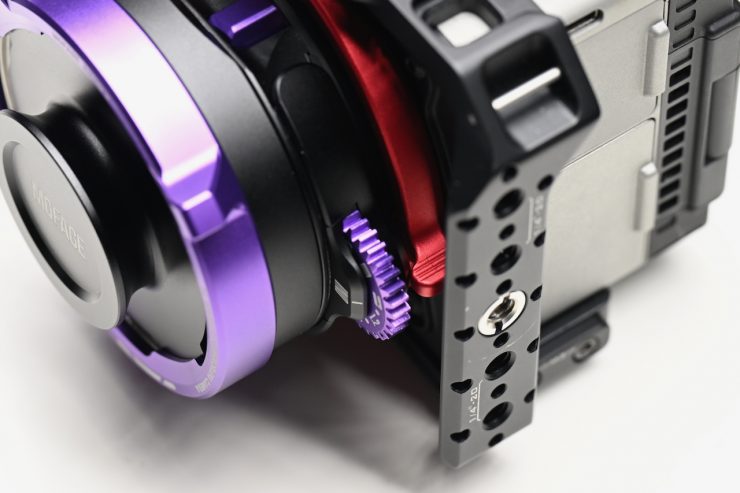
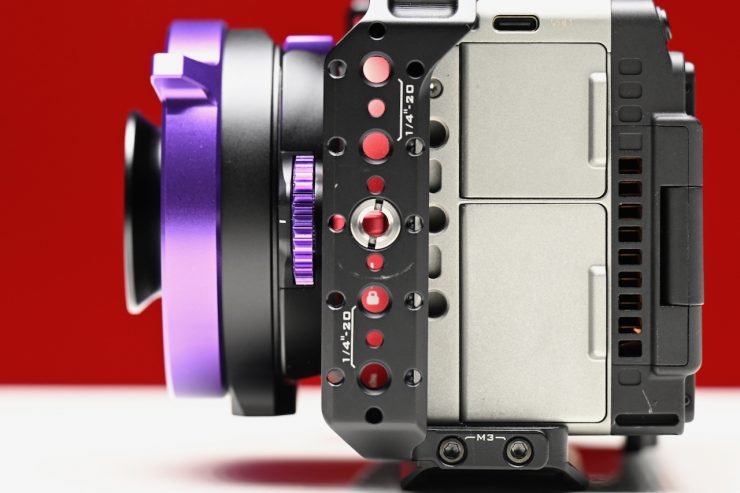
Now, despite these improvements, I encountered an issue where I couldn’t remove the VND filter when using the POCO II and a Kine Mount on the Kinefinity VISTA, as the tab on the geared filter wheel ended up coming into contact with the locking mechanism on the camera.
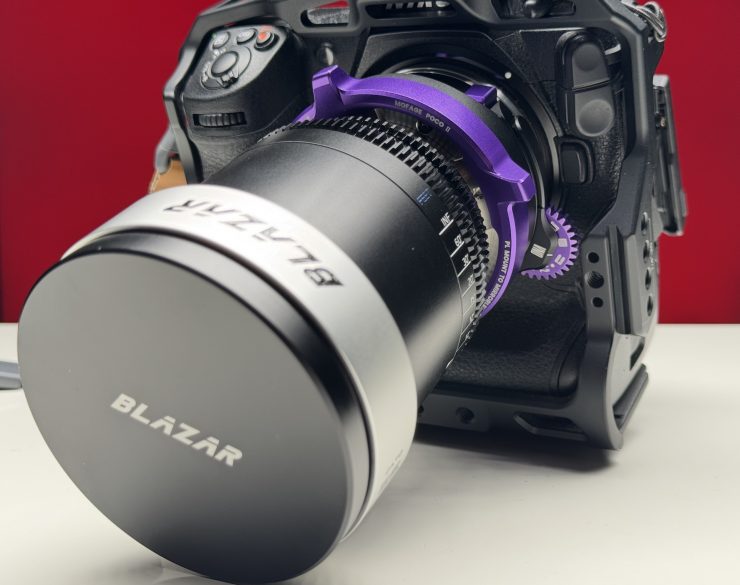
When I tried using the adapter on a Nikon Z9 with a Tilta cage, the VND filter module wouldn’t work at all because it was impossible to put the adapter on the camera with the cage, as the 0.8 pitch gears on the VND filter end up hitting the cage. This is the same issue I encountered with the original POCO.
With rear-mounted filter adapters, you need to be careful, because they may not work with some mirrorless hybrids and certain cage solutions.
Pricing & Availability
The Mofage POCO II Drop-In Filter Adapter is now available to order from $439 USD.
Competition
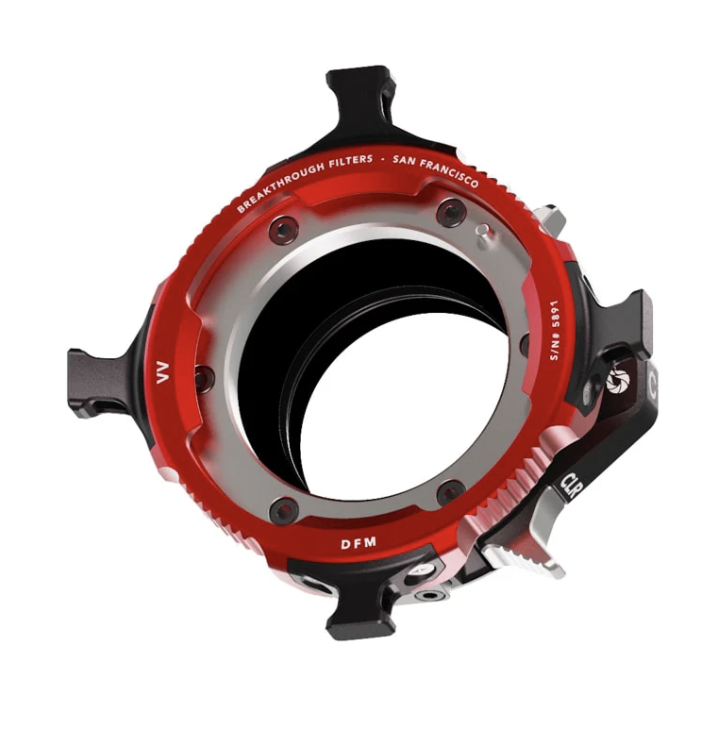
This is the Breakthrough CINEMA DFM, which is $999 USD and is available in Canon RF to PL, Sony E to PL, Leica L to PL, and Blackmagic and DSMC2 compatible versions.
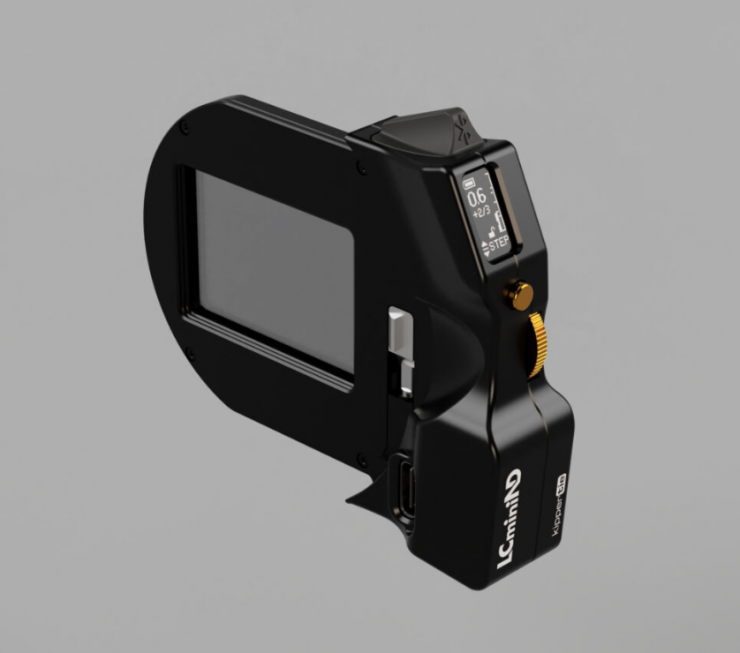
KipperTie also has its LCminiND that costs £625.00, but it needs to be used in conjunction with the AdaptaLC range, which starts at £440.00.
Conclusion

The Mofage POCO II Drop-In Filter Adapter is a worthy successor to its predecessor. If you are looking for a PL/EF to mirrorless mount drop-in rear filter system, the POCO II is definitely worth looking at.
The adapter is well made and easy to use, but there are some small caveats when using it with certain camera and cage configurations.
The VND does introduce a slight color cast, and it isn’t going to be as accurate as using the company’s fixed-strength FSND filters.
Mofage has done a good job of staying true to the original, but making improvements to the usability.