Why shoot RAW? It’s a surprisingly common question. Surprising, because of how much everybody seems to talk about RAW now – but also how rarely we stop and consider what it is and when it’s the right choice.
Bayer patterns: three is a magic number
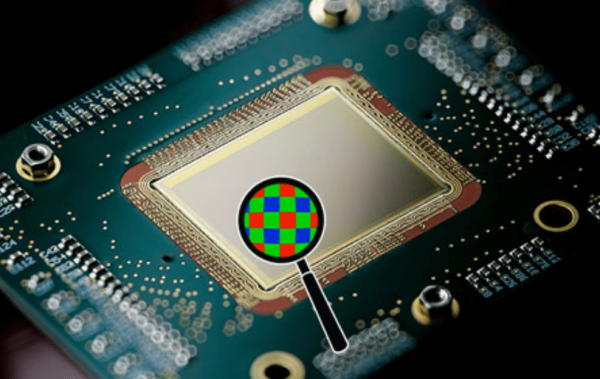
RAW as we know it, exists because of the bayer pattern sensors used to produce good resolution colour images from single sensor cameras. Plenty has been written about bayer patterns and why they work so well but the short version is that they use an array of red, green and blue pixels with green on every row and red and blue on alternating rows.
This can be interpolated with an amazing degree of accuracy into a full resolution RGB image. This has many advantages such as eliminating the issues with a beam splitter for three-chip cameras, and relatively large photosites so more light falls on each pixel, which in turn provides better low light performance and a whole lot of other advantages.
Suffice to say that in 2017, if there’s a camera you love, it probably has a bayer pattern sensor.
Making the unwatchable, watchable
The process of turning the unwatchable bayer image into a full resolution colour picture involves interpolating between the the R, G and B pixels in the array and creating the R, G and B pixels for each one. So, for the first red pixel in the image, the surrounding pixels are analysed and a green and a blue are created to fit with the red to create a complete RGB pixel.
People often get nervous about talk of interpolation, as if it’s cheating or fake but when it’s done well it can produce results that are indistinguishable from the original.

The first thing that RAW recording does is postpone this process until post production and records the bayer image as is. There are some esoteric advantages to this but most of the advantages we think about when we talk about RAW are the result of the fact that postponing the debayer results in eliminating two thirds of the uncompressed data that the RGB image would require.
It’s ironic when most conversations about whether or not to shoot RAW now revolve around whether it’s practical to handle the relatively large amount of data, but RAW itself is a way of reducing the data!
When RAW first made it’s debut in digital stills cameras, the manufacturers realised that by keeping the image in the bayer pattern they could use some of those data savings to increase bit depth and this is where RAW gets the advantages we know.
RAW not raw!
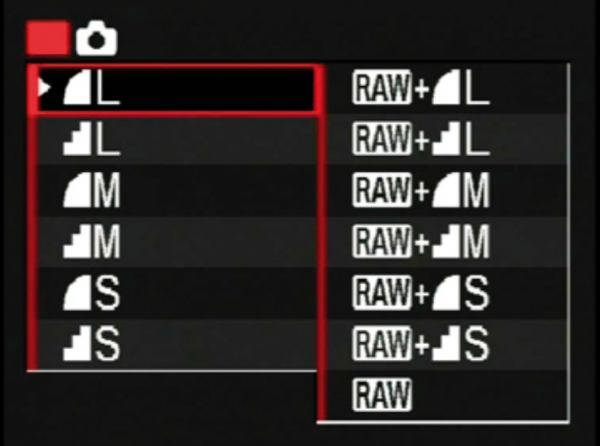
I think this is also where RAW gets it’s “all-caps” spelling because on the little LCD of DSLR’s they displayed the mode as “RAW” in a simple caps display! I think it has stuck because it helps us differentiate between raw footage (which could be in any format) and RAW footage which needs to be debayered.
In the original RAW stills formats like Canon’s CRW they had 12 bits per pixel of color depth. On most recent cameras this was improved to 14 bits. To put this into perspective, a 12-bit RAW file still has half of the data required for the equivalent 8-bit RGB file.
More bits are a bit better
Bit depth is a wonderful thing. Even though human vision rarely perceives anything more than the 16.7 million colours available in 8-bit, it is the additional colours available in high bit-depth recordings that means it is possible to make changes to a RAW image in post, as if you were doing them in camera.
Yes, it’s as simple (and as complex as that).
And it’s here that we get to the heart of the question. Why shoot RAW? It’s really a question of why do we need that bit depth.
Well, why do we need RAW?
Let’s think about digital white balance as an example. When you set white balance in a digital camera, what you’re doing is a digital RGB colour balance, and in-camera this happens after the debayer and at 14 bits or higher. So even if you’re recording to a highly compressed 8-bit format like h.264, say in a DSLR, the white balance is being handled in uncompressed 14-bit colour just after the debayer.
Because binary data doubles how much tonal subtlety available with each additional bit, this high bit depth processing has enough tonal information to change the RGB color balance (white balance) dramatically without any visible compromises. So 10-bit has four times as many tonal steps as 8-bit. 12-bit has 16 times as many and 14-bit has 64 times as much tonal subtlety per pixel.
By putting off the debayer until post production and using some of those data savings to record a high bit depth image, the same quality of processing can be done in post as if it was done in camera. That’s where we get the effect of RAW being the original, a virtual negative.
Leave it till later
The same effects apply to ISO and gamma curves. Whether it’s in camera or in post, having that high bit depth, which is afforded by the data savings of the bayer recording allows the ISO to be changed by the same amounts available in camera and with virtually the same results.
The big caveat here is that it also depends on how that processing is done. The post processing could be using the same algorithms but there can also be differences in quality.
All of these issues though, assume that we will need to make dramatic changes to these settings in post. Of course, a good 10-bit Log recording with accurate and consistent exposure and the correct white balance (i.e. daylight or tungsten) will rarely be identifiably different to a higher bit depth recording. So the question then becomes how much safety net do we need?
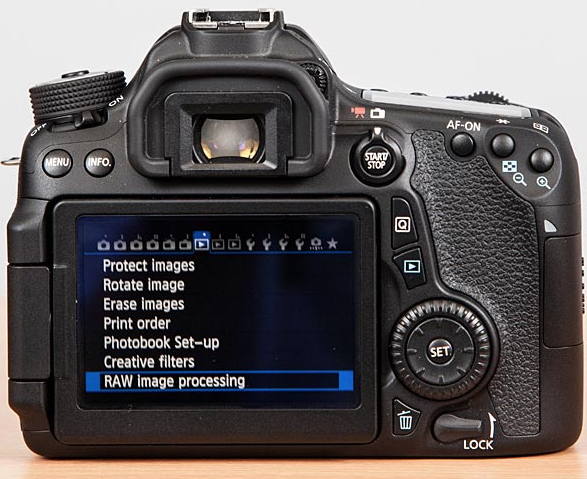
When is post better than in-camera?
Most cameras are getting to the point of having very good internal processing for the debayer but there can also be limitations.
One example of this is if you want to do some dramatic sharpening of eyes in the color grade. This is now quite easy and quick to do and can greatly increase the perception of picture quality and dramatic focus. If there is sharpening applied in the camera processing (and many do this even when sharpness is set to “0”) then it will be impossible to get the same quality of targeted sharpening later in the grade. So shooting RAW and controlling the amount of sharpening added in post can be very effective.
The important thing to remember is that while we all talk of the advantages of doing things “in the debayer” what we’re really talking about is postponing all of the processing that happens after the debayer, even if we’re controlling it in a single step.
We are also starting to see some very high quality RGB formats that work well at higher bit depths. One example of this is Sony’s new OCN format and another is the 4444 XQ variant of ProRes.
With both of these is possible to retain the advantages with white balance, ISO etc. that you traditionally get with RAW and take advantage of the high quality, realtime debayer in the camera. When we’re talking about cameras that have this high level of realtime processing built in, there is a lot of merit in making use of it while still having the bit depth advantages of RAW.
When lower data rates are required there can also be advantages to using compression that is applied after the debayer rather than before it. So in comparing compressed RAW versus compressed RGB, the results are not always a forgone conclusion.
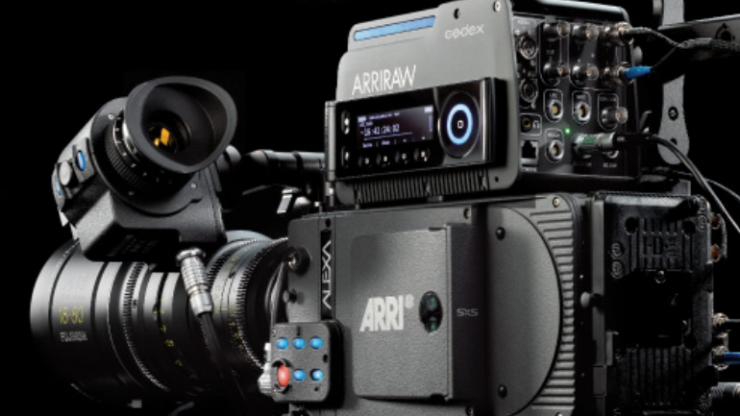
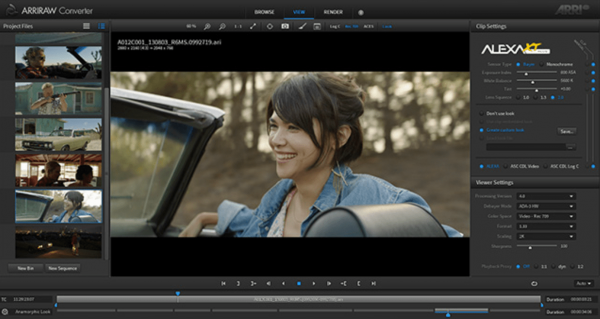
12-bit ARRI-RAW v 12-bit RGB

To take the ARRI Alexa as an easy example. ARRI-RAW is 12-bit bayer, the Alexa has great realtime debayering built in and it’s ProRes XQ also records 12-bit color but in 4444 RGB.
When lower data rates are required there can also be advantages to using compression that is applied after the debayer rather than before it. So compressed RAW Vs compressed RGB is not always a forgone conclusion in terms of quality against data rate.
RAW and RGB based images can both be compressed in a variety of ways and comparing these can often be a bit of an apples to oranges thing as there are such different ways of compressing images and they can behave in different ways for RAW and RGB, or indeed YUV such as ProRes 422 & HQ.
The most common mode of compression is DCT based codecs. The Discreet Cosine Transform is a mathematical process that is applied in square blocks of pixels on the assumption that similar parts of the picture will have similar content so efficiencies can be achieved by compressing those blocks as a group. In the most crude terms, the bigger these blocks, the easier it is to reduce the data rate and we’ve all seen heavily compressed still & moving images on the web where these DCT blocks are clearly visible. At higher data rates and with appropriate algorithms DCT can be a very effective and efficient way of compressing pictures. All the ProRes flavours, Cinema-DNG, Avid DnX and HDCAM-SR are all built on a cornerstone of DCT.
The other major way of compressing images is using Wavelet Compression. Wavelet also assumes that similar parts of the image contain similar color and brightness information but instead of breaking down the image into square blocks like DCT, it breaks down the image by “detail frequency”. In simple terms, fine details are compressed together, low detail information is compressed together etc. The big advantage of this is that when artefacts are visible, they tend to look more like natural optical effects like slight blurs or smudges rather than electronic blocks. The main downside is that the encoding is many times more processor intensive than the equivalent DCT encoding. The two big examples of Wavelet encoding in action are the DCP cinema format and RECODE-RAW.
Sometimes on its own and sometimes hand in hand with either of these is Lossless compression which is like the kind of compression used in a ZIP file. It uses mathematical efficiencies to store the numbers but doesn’t actually throw any information away.
On a recent project for the massive new cinema screen at Sydney’s Taronga Zoo, I did quite a bit of testing and ended up deciding to use Lossless RAW for our acquisition. This was using a 3 camera panoramic array or BMD Micro Cinema Cameras and the URSA Mini 4.6k. While this resulted in relatively massive amounts of data (averaging 1.5 TB per day) it meant that we could avoid any compression issues when blowing up to the 82 ft wide screen in 5.4k.
However, in DaVinci Resolve we conformed to ProRes 4444 XQ and did the debayer and resizing at this stage. This meant that I still had access to the full 12 bit color depth and dynamic range in the final grade but had the debayer and resizing out of the way so that we had very efficient grading and renders given the high resolution.
So in the un-processed bayer pattern sense of the term, RAW is actually an amazingly efficient way of recording high color depth images that have incredible color, brightness and contrast latitude in post and usually to the same extent and quality that we can make those changes in camera.
Sometimes very mild compression after the debayer can produce equal or even better results. It’s the bit depth and the minimal in-camera processing that are the key to what we think of as RAW and we’re now at a point in time where we often have the choice whether the debayer happens in camera or in post without having that choice locked to whether we also have the flexibility of RAW processing available in the colour grade.
You don’t have to shoot RAW. Some of the biggest movies at the cinema (especially ones shot on film) still use 10-bit post workflows (eg. DPX based) so even without RAW or RAW-like RGB you can create incredible quality visuals. Moonlight which won three Academy Awards was all shot in ProRes and not ARRI-RAW. Even in 8-bit it just means we need to be a little bit more careful that our white balance and exposure are roughly in the ballpark. Something that we should all be doing whatever we’re shooting.
So why shoot RAW then?
So why RAW? Because it is usually the easiest way to get the high bit depth that gives maximum flexibility in post.
More to the point, why not RAW? Well the first reason is if you’re using a good camera that has a great internal debayer then the workflow and file handling advantages of using a high bit depth RGB format could be well worth it.

Or, you just might not need that high bit depth. Even 10-bit has some amazing latitude if it’s treated well. So formats like ProRes HQ or XAVC can deliver great results at much lower data rates with a just a little bit of care.
Which parts of the shooting and post production process do you need the most speed or flexibility? There’s always some sort of a trade off but with the range of options available now, it is easier than ever to choose the right combination for each individual project. Sometimes that’s RAW. Sometimes not RAW. Sometimes, as with our Taronga film, it’s really a combination of both.