The new flagship Olympus OMD E-M1 II has been getting quite a lot of attention lately thanks to its amazing image stabilisation capabilities and high bitrate internal DCI 4K recording. We’ve just received the highly specced Micro 4/3rds camera to test and will be taking a closer look at it over the coming days.
In this first article I’m going to look at the design and handling of the camera for video. In later articles we’ll examine the image stabilisation system, autofocus and image quality. Bitrates, crops and colour settings will have to wait till then. (spolier – there is no Log profile on the camera)
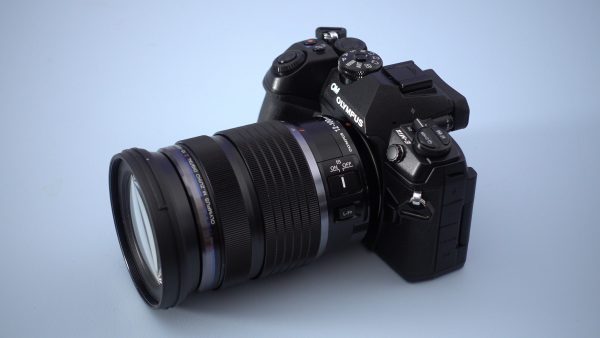
The body of the camera is nicely put together and is weather sealed. There is a good sized handgrip that felt good in my hands.
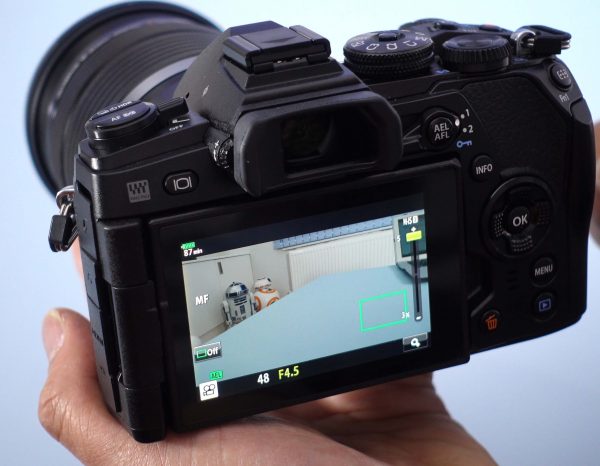
The LCD screen is a flip-out type similar to cameras like the GH4. You can angle it up, down or a full 180 degrees around for selfies – video bloggers will be happy. The electronic viewfinder has a 120 hz refresh rate and is very good, with little noticable lag or image judder. There is a histogram function, peaking and also focus magnification. These all work well, but the one major annoyance is that the magnification function doesn’t work while recording – unlike the competing Sony a7 and a6xxx series.
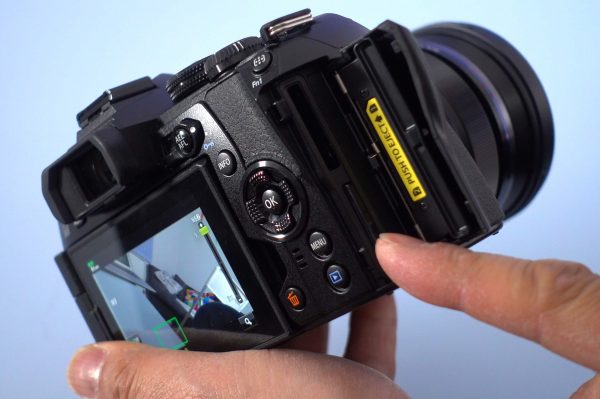
There are twin SD card slots and you can record video to one and photos to the other if you choose. The battery is a new 7.4V 1720mAh type which seems to last quite well – although I haven’t scientifically tested this. I did however find that the battery status indicator was a bit erratic – going rapidly from showing three chips full to empty in no time at all. This may of course be an issue specific to my sample camera or battery and I don’t have another OMD E-M1 to compare it with at present.
The body is covered in dials and buttons that are highly customisable. In my case I assigned aperture adjustment to the front dial on the top plate, and ISO to the rear one. This way I made no more inadvertent shutter speed changes when fiddling with the camera controls.
By flipping a switch you can then have the same two dials perform different tasks such as white balance adjustment (you can dial in a kelvin value) and audio level control. This is really very neat and you can even do this mid shot. The one downside is that these dials are clicked and adjusting them whilst recording is going to be picked up on the internal microphone, or a shotgun mic on top of the camera.
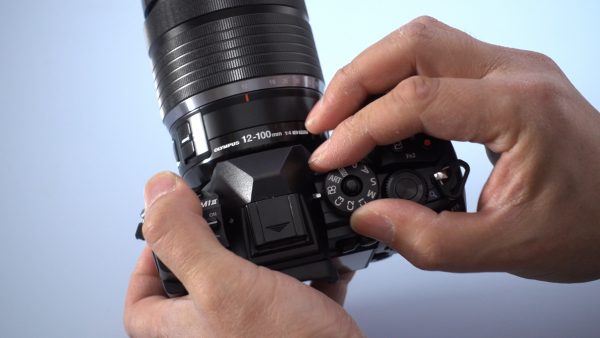
The main mode dial has a nice lock so you can’t accidentally knock it out of video mode. The menu structure is a little daunting at first – although after a day or so I had mostly figured it out. One nice nod to video users is that the menu items that aren’t relevant to video are greyed out when you are in video mode. This avoids unnecessary confusion and I wish other makers would do the same.
You also can assign almost any feature you might need to a specific button. Record start/stop can be assigned to the shutter button – this is great.
In terms of inputs and outputs the camera has a 3.5mm mic jack and also the all important headphone jack (I’m looking at you Sony a6500). There is no option for a XLR jackpack like the Sony XLR-K2m, but you an connect an Olympus audio recorder and use that to get better sound. I’ll need to look at the audio side of things more in a later article.
There is a HDMI port which should be capable of UHD 4K 10-bit 4:2:2 output – something we’ll also test in more detail at a later stage. It’s worth noting that you can’t currently get DCI 4K out of the HDMI for external monitoring or recording, but I’m hoping this will change. For now this is doubly annoying as you can’t view the image externally, or magnify it, while recording DCI 4K.
You can hook the camera up to your computer using the USB-C port and there is also a 2.5mm remote jack, which I haven’t yet tested.
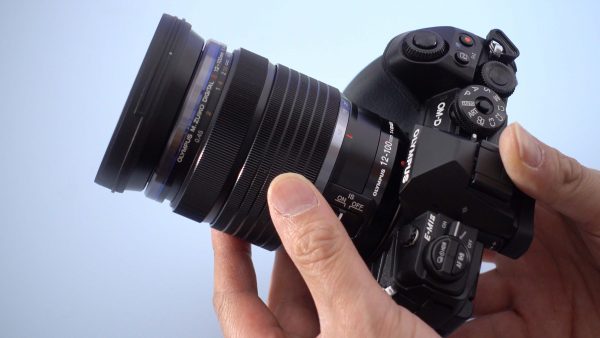
The lens I have for testing is the new 12-100mm f4 zoom. This is one of two lenses with the new Olympus Sync IS system. This allows both lens and in-body IS to function in tandem and I’ll demonstrate this in the next article. The lens itself isn’t too big considering the usefully wide to tele range, although the f4 maximum aperture isn’t going to give you super shallow depth of field. The focus is either AF, or fly-by-wire manual. The manual focus is the same style as some other Olympus lenses like the popular 12mm f2. You pull back a collar on the lens to reveal the focus scale.
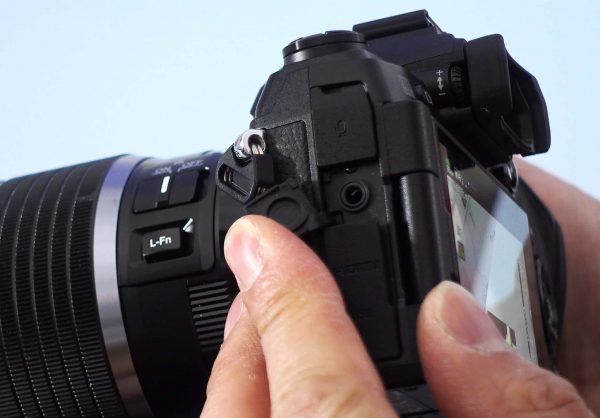
The manual focus is smooth and it has hard stops, but goes quite far past infinity and doesn’t have a particularly large focus throw. Still, its much better than lenses that have no distance scale at all. The lens also has a custom button that can be assigned to do different things.
I found the autofocus with this lens to be reasonably quick at the wide end, but sometimes hesitant at the long end. I need to investigate this more too. There are several AF modes, including one where you autofocus initially, then revert to manual control (but without pulling the lens collar back to reveal the scale). The problem I found was that there was no way to switch between autofocus and manual focus once you started to record. Many users find this kind of ‘push AF’ feature very useful on cameras like the C300 mkII, C100 mkII and Sony a7R II. This seems like a strange omission. For now all I can suggest as a work around if you want to switch between AF and manual focus during a recording, is to use an external recorder and not record internally.
Overall the level of customisation and control of this camera is first class. The OMD E-M1 II is not without its annoyances though – the magnification not working while recording and the clicking dials are the biggest two. After shooting with the camera for a couple of days I found that adjusting most of the controls became second nature. Being able to reassign the shutter dial to be ISO, or something else, was really useful. The body itself seem sturdy and well built, without being too big or heavy. So so far, so good. Now I need to look at the stabilisation and the image. Stay tuned.