Guest post by Roger Price:
When the Ronin Gimbal arrived I couldn’t wait to tear open the cardbord box to see what it was like, let alone put it together and use a camera stabiliser gimbal for the first time. It was a daunting purchase, not knowing the build quality or how well it would perform. I really had no idea what to expect, except for what was on DJI’s website and a few forums and a Vimeo video or two telling me it could do everything a MoVi could and more for less coin.
Inside the box was a fantastic Pelican-style hard case. It weighs in at 22kg fully packed, for those thinking of flying with it.
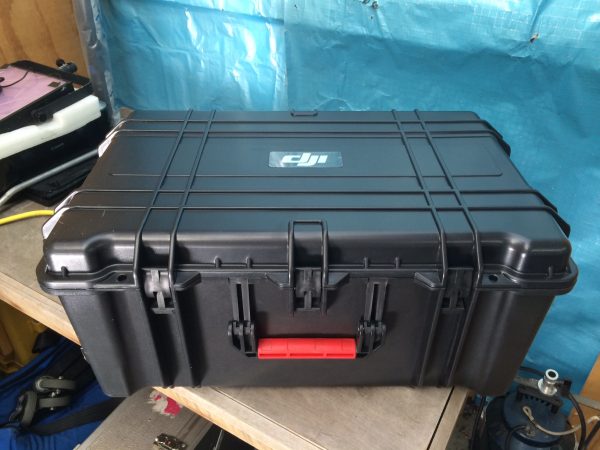
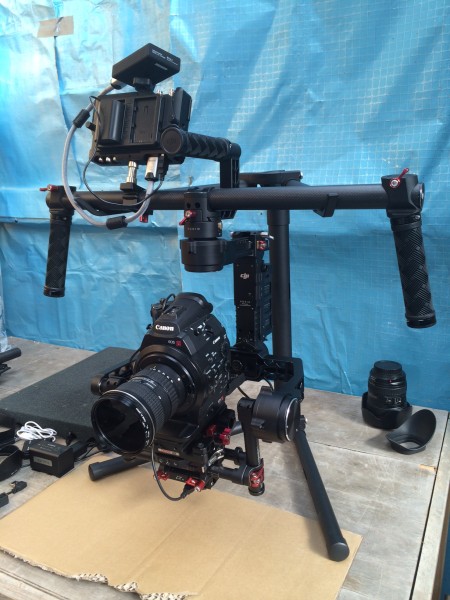
My first impression of the Ronin was its superb build. Everything was packed neatly in the included case and was easy to access. The professional finish on everything was surprisingly good.
No instructions were included but working out how to put it altogether was an easy process. It’s basically two pieces that click together with arrows showing you the direction and a stand for balancing.
I popped the base plate to the C300 and slid it on to the Ronin, got it to balance like a seesaw and thought well, that’s it: Easy. Without knowing how to balance anything I went ahead and installed the battery, tried to find an ON switch (there isn’t one), then gave up, looked on the DJI website, found the documentation and started the step by step balancing process on the gimbal head with the C300. Okay: so there was a little more balancing to do. I won’t bore you with all that, you can read for yourself here.
When I turned the battery on (by holding the button on its top for two seconds), the gimbal swung into action. I installed the DJI Assistant app on my iPhone, opened it up and signed in. The app itself is very easy to navigate through and at the push of a button I did a “full calibrate” and the Ronin was ready for its first run. There are settings galore in there for speed and smoothness control.
I took it off the stand and went walking out of my shed and around the garden. I could see the picture on the smallHD monitor and it seemed pretty smooth. Then I started panning and because that didn’t happen as fast as I expected I had to keep panning further. That meant my hands were in shot half the time.
There had to be a way of fixing the panning speed, so I went back to the app, changed things and pushed buttons and gave it another go. It was still not really responding how I thought it would. It turns out there is a setting called Deadband, so I changed that to 0 from 6 and Wow – what a difference it made. I got the settings to where everything was tilting and panning smoothly and at the right speed with a little lag for stability and took it out a few more times, this time running, jumping, twisting around corners, up stairs, through doors, around my car and back to the shed. I had just produced enough sweat to power a hydro electric power station. Okay, maybe not that much. But it is a workout. I found myself picking up the phone to cancel my gym membership for this year.
There are different modes of operation: single operator (smooth track), two person operation via supplied DJI remote or a mix of the two modes.
The remote (included) works well when needing to use it more as a hothead with a second person walking or running the gimbal for you.
There are also Upright, Underslung and Briefcase modes. It does take some practice to get used to getting into these modes quickly. I like the two hands underslung mode the best (the typical gimbal stance) but have used the upright mode and it’s great for getting the right eyeline and maintaining headroom on the shot.
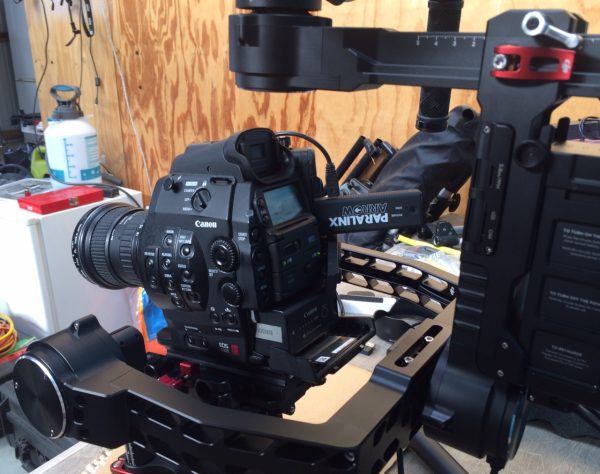
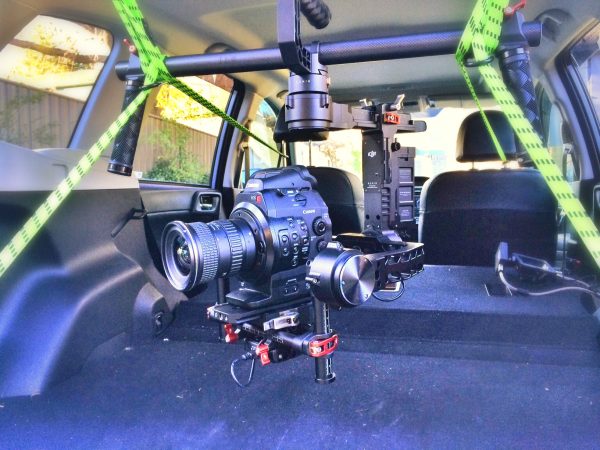
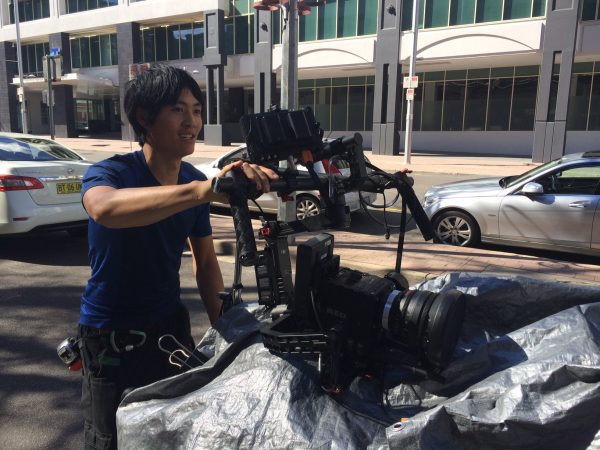
It’s reasonably heavy when loaded: 7.5kg with the Canon C300 and lens, small battery, two CF cards, SmallHD DP6 monitor and a Paralinx Arrow wireless HD setup. Now I’m not sure on the weight of the MoVi, Defy or others but the C300 with everything on was only 3kg + SmallHD 0.5kg – leaving the Ronin at just under 4kg by itself.
I think that holding any gimbal for long periods will get heavy as the blood rushes from your arms to never be seen again. Yes, it’s heavy after 20 minutes of use, but for short runs, walking around for one or two minutes, it’s totally fine and well worth the effort.
I can see room for improvement: better telephone or email support and different plates for mounting different gear, including base plate options for different cameras and common quick-release plates like the one from Kessler.
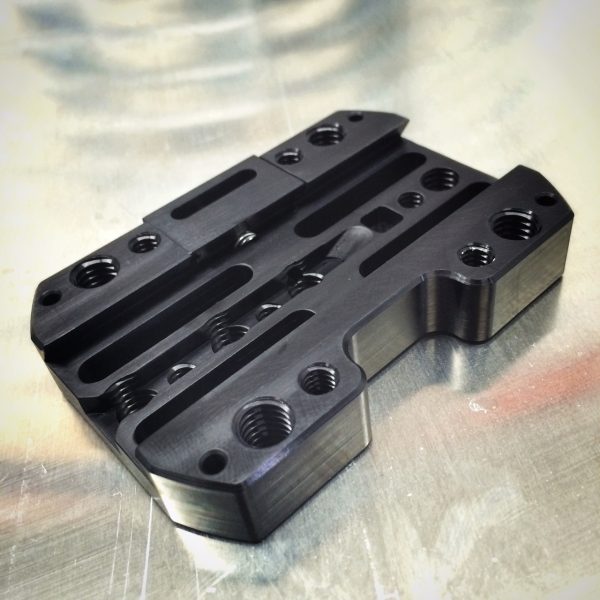
I also purchased from www.cinemilled.com a mounting plate that can be used instead of the handle bars. I will be able to mount the Ronin on some ropes for long dolly type shots and also being able to mount it as a hot head just about anywhere, they also make a Steadicam plate.
CineMilled Ronin Quick Plate adaptor intro from Pedro Guimaraes on Vimeo.
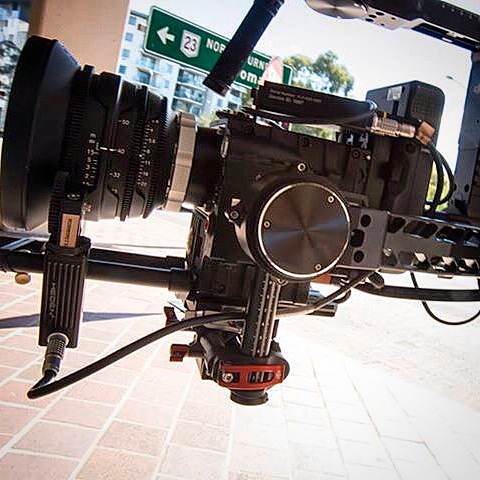
My main camera is the C300 and I have the set-up time down to about 5 minutes from tripod to gimbal. The other day I did pop on an RED Epic and I can say that it does fit but only just. I had to strip it down to a V-lock battery, 17-50mm RED lens and follow focus unit.
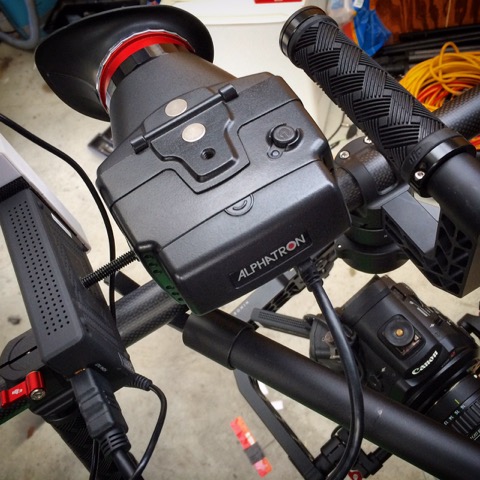
For monitoring I usually use a SmallHD DP6 but have recently tried the Alphatron EVF attached to the top bar instead so that I could get my eye in and check the shot for better reference, focus etc, then flip the eye piece and use it as a monitor when I actually roll. It works really well and keeps the weight down.
I think I would now use the Ronin where I left off with the Glidecam. I was a big fan of using a Glidecam (no arm or vest) to do the odd piece to camera with a presenter when travelling. We pulled off some awesome shots from time to time. I look forward to using the new Ronin gimbal as a replacement, to help that process to be smoother and more inventive.
I’m also thinking I will use it for general views for a floating effect on scenes, where I would otherwise use a pan or dolly with interesting foreground. I do think I will be limiting its use though, as there is nothing worse in storytelling than to see every shot the same. Variety is the spice of life.
Summing up, I think it’s a great, well-built product and for the money (AUD$3700) is something that most of us will now have in our kits, whereas before we would have needed a bigger production to fund a $15k Movi M10 price tag.
The only problem so far that has happened is the app and gimbal having a freak out together. I tend to power off and on again if I notice anything weird. I recalibrate via the app and restart the power on the gimbal and it always fixes itself. This maybe just an update needed for the app. It has only happened once in 10 Ronin sessions.
Tips: Get the balance right from the start in all directions (you should not be able to hear the motors if you have it right) and stay away from lenses 50mm and longer unless you like a challenge. Remember there is no fourth axis either – that’s you – so practice makes perfect. Walk light and smooth. And enjoy the workout.
You can learn more about Roger and his work on his website.


