Although this article focuses on the Canon R5 and R5C, most of the mods apply to almost every other brand and camera out there.
Long ago I wrote an article about how I modified my Canon C100. Well, it’s been a while and I swapped over to the RF system when the EOS R came out. I have been shooting with 2 Canon R5s since their release and recently I swapped one of them for the R5C.
So, as always, I try to find ways to make the cameras work better for my needs. I am a solo shooter doing both stills and video, not at the same time, but sometimes on the same day.
As I’m based in Tokyo, most of the time I ride the subway to get to my destination, so I need a system that stays compact and uses the same lenses, batteries, and accessories. Redundancy is very important to me.
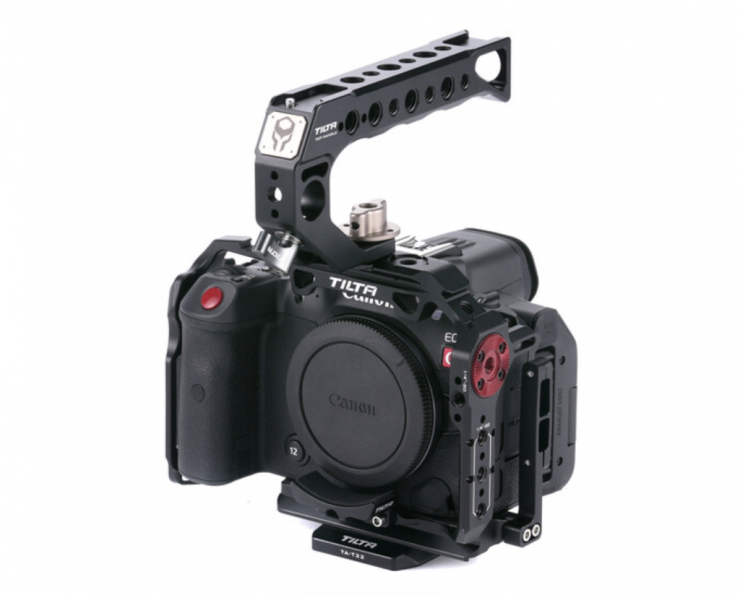
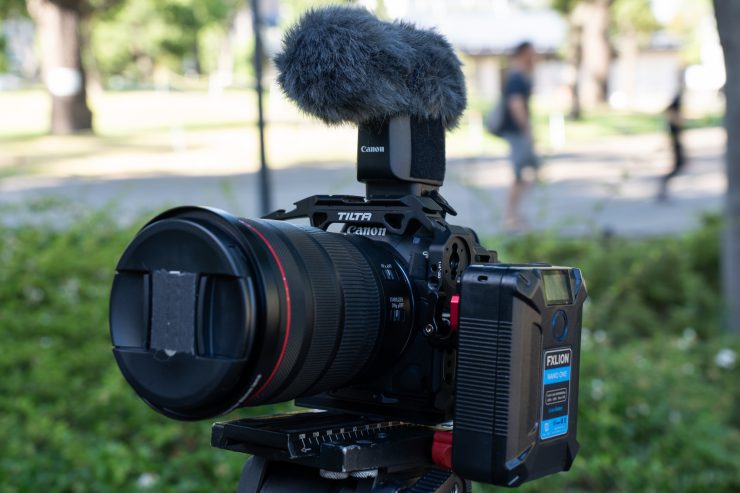
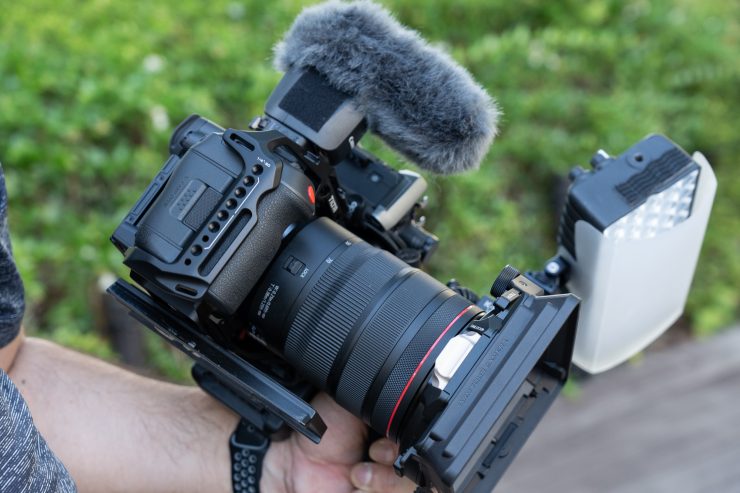
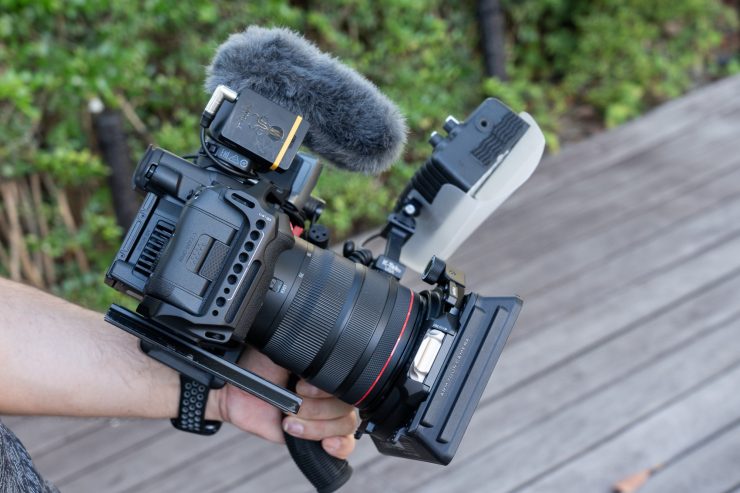
With past cameras I used, like the EOS 5D Mark IV and the EOS R, I used to remove the cages when shooting stills, but with the new cages for the R5 series, I find them ergonomic enough to keep them on all the time and the flash and remotes can be used without problem. I’m using the Tilta cage on the R5C and a Small Rig Black Mamba cage on the R5.
So what have I done to my cameras? Well, let’s find out.
Battery Solution

Both the R5 and R5C can be powered by PD delivery using the USB-C port.
On the R5C, you can hot-swap both the external battery and the internal battery while recording. This means you can keep rolling indefinitely. The R5 allows you to hot-swap the external battery, but not the LP-E6 in the camera.
The USB-C power delivery method is safer, as even if the cable gets disconnected or the battery dies, your recording will not be affected. This is why I prefer this method to the dummy battery one, as that solution does not offer redundancy. Also, in the case of the R5C, you need USB-C power in order to run Auto Focus in 8K mode.
There are different battery solutions and several mounting options on the market, some more compact than others.

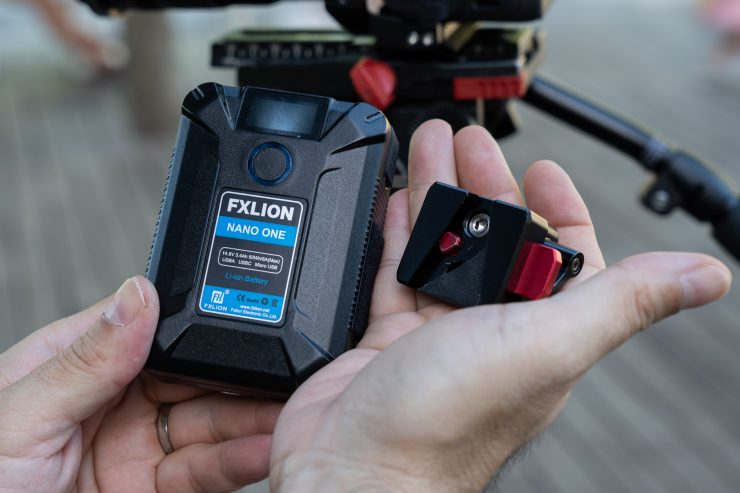
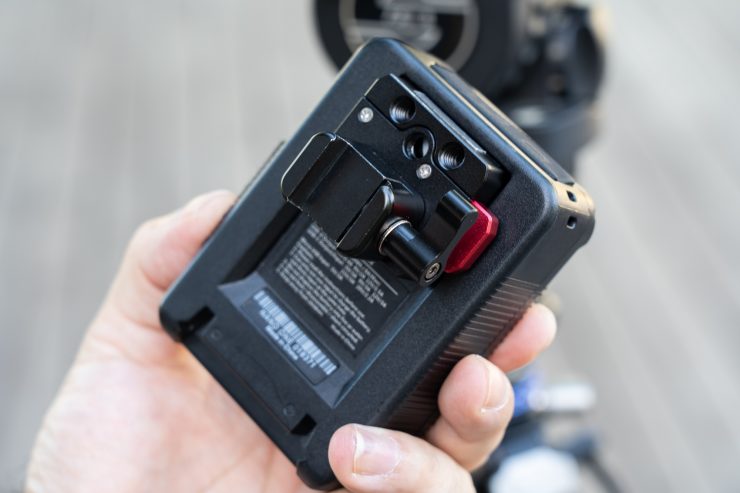
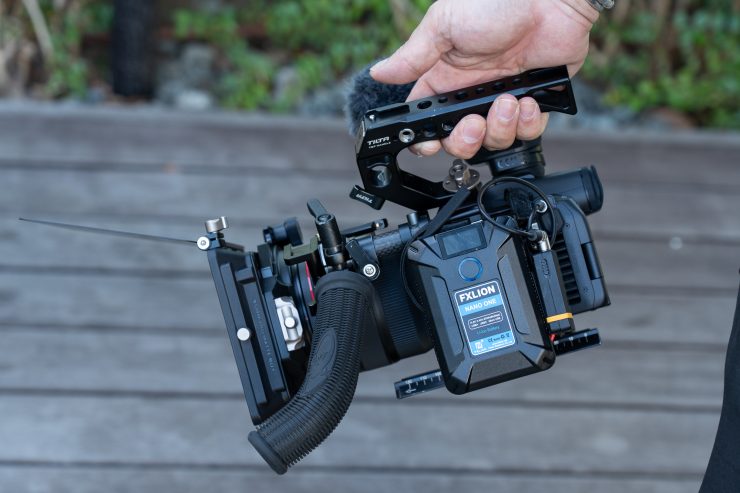
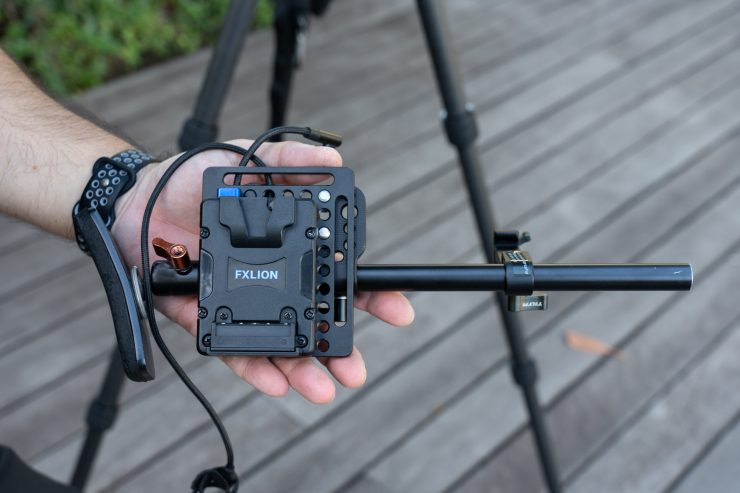
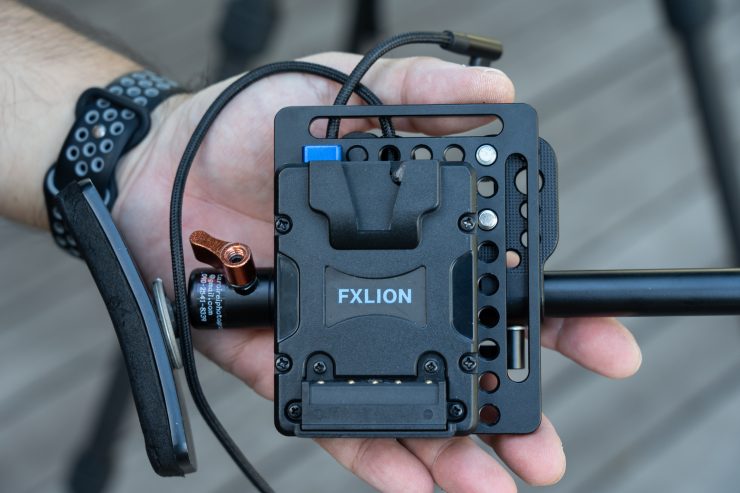
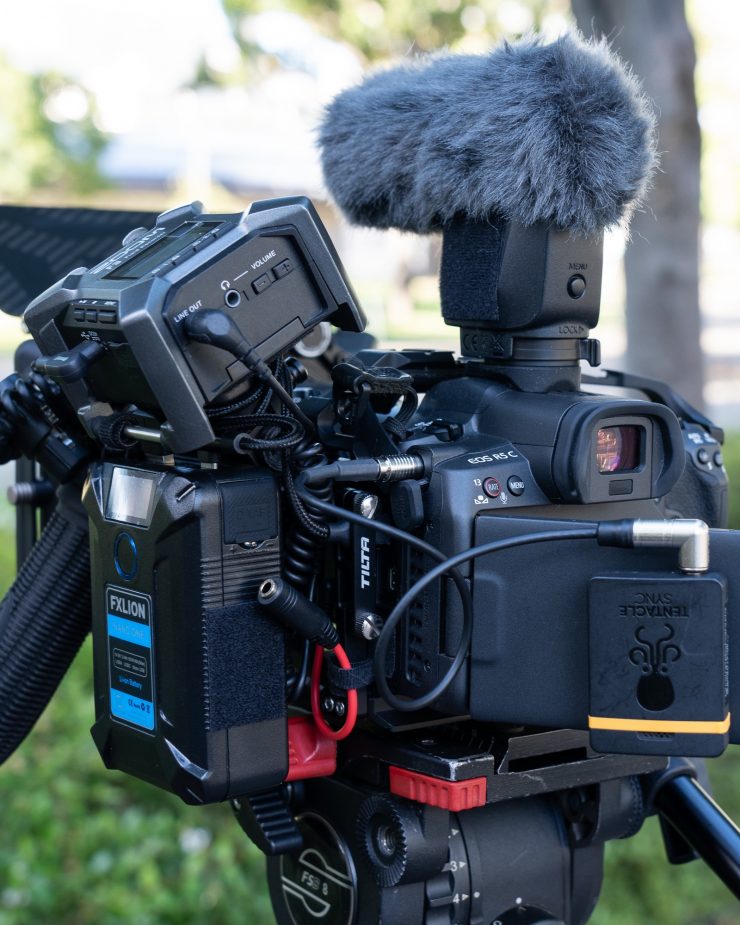
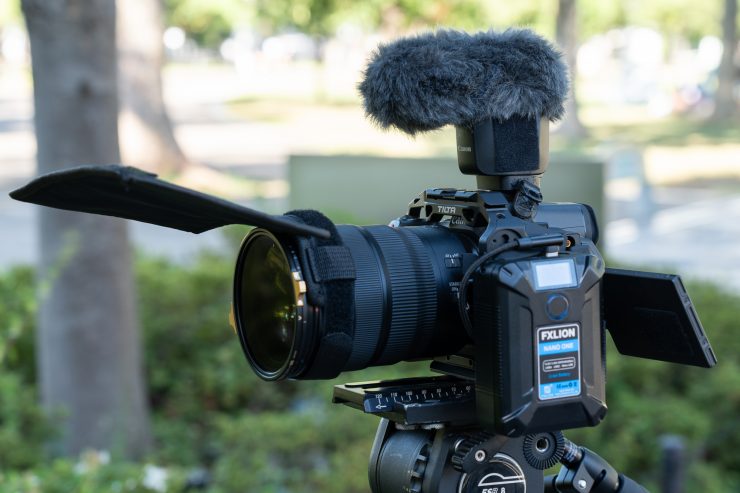
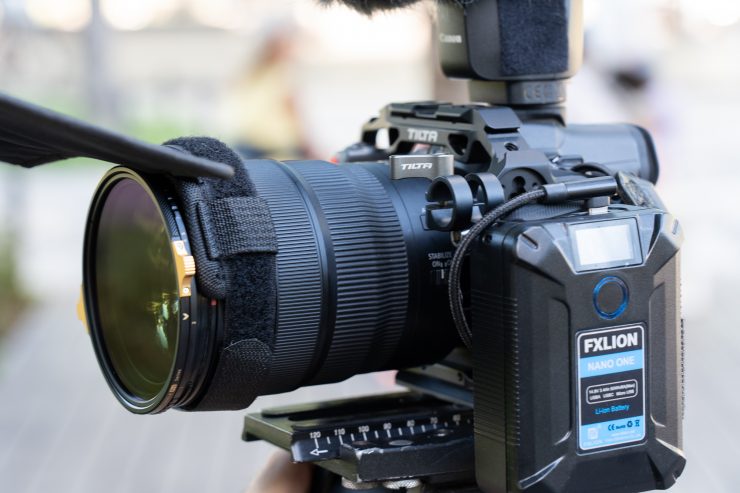
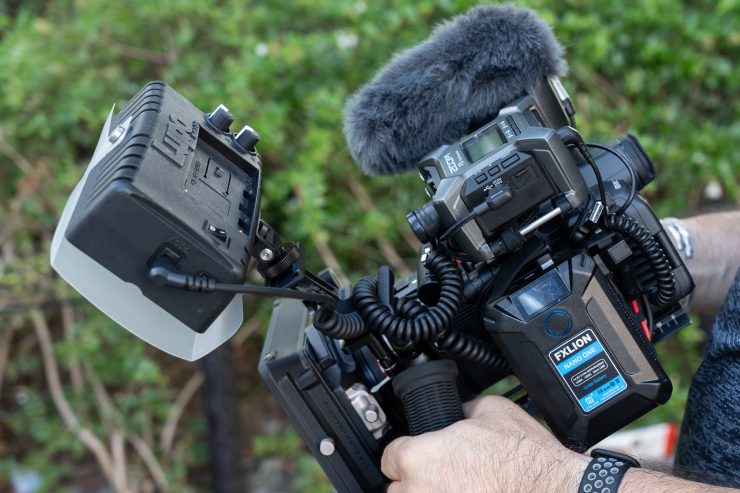
As I’m using a cage, and I want to use the camera’s viewfinder, especially when shooting outdoors, I opted for a simple mini plate for a V-mount battery that has a quick-release plate that is made by SmallRig. This is attached to a Nato clamp from Niceyrig.
The Tilta cage also has a Nato rail built-in on the left-hand side. The SmallRig cage does not, so I added a low-profile Nato rail to it to make it work.
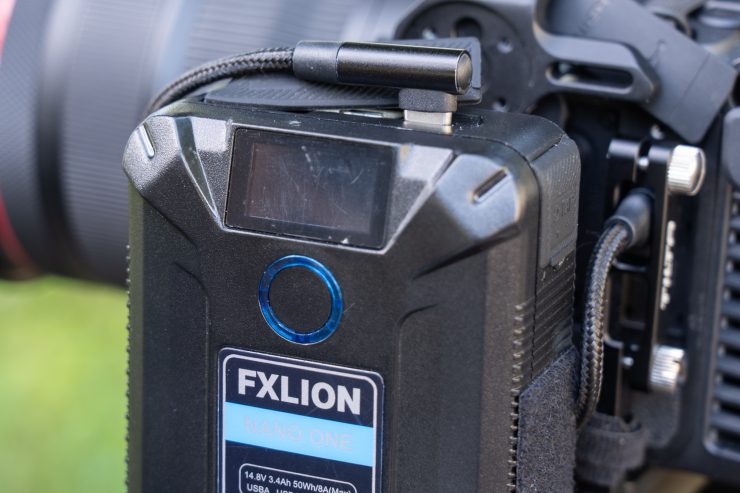

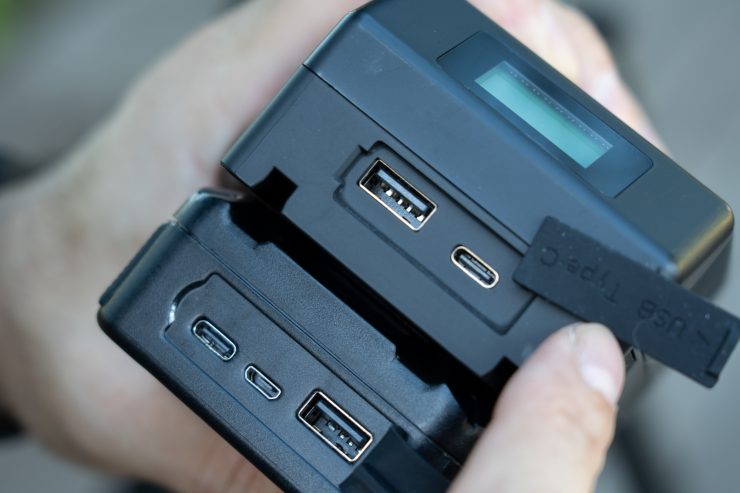
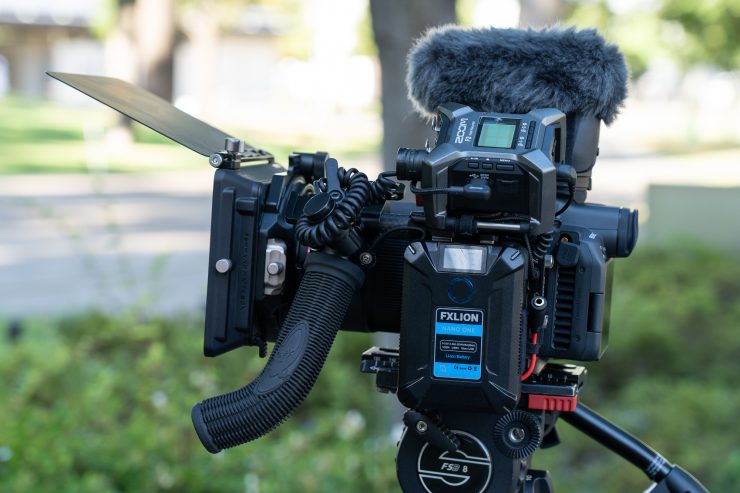
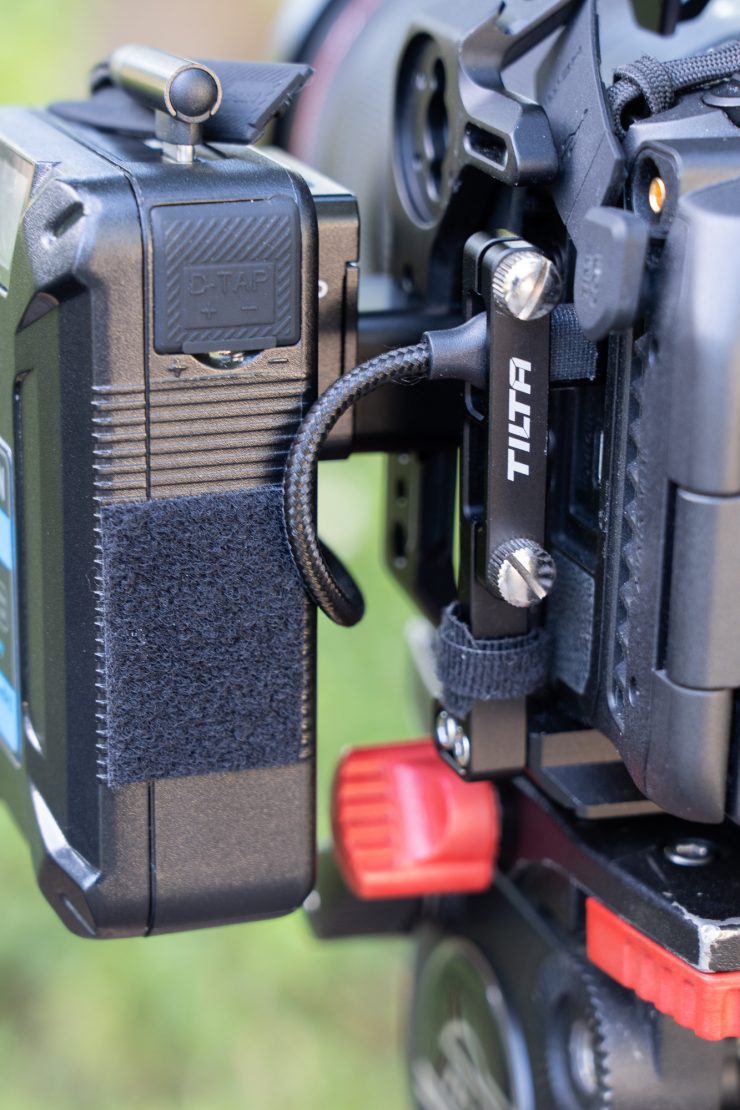
As for batteries, I use mini V-mount batteries that have USB-C PD delivery. I have tested the ones from FXLION, ZGCine, and Wimaxit, and they all work well. These batteries also have a USB-A port and D-tap, which come in handy for powering other accessories. If you don’t need a D-tap, you can also use a PD delivery mobile battery and attach it with a mobile battery clamp. V-mount batteries have come down in price and when compared to the brand’s proprietary ones, they offer really good cost performance. Also, as these batteries can be charged via their USB-C port, there is no need to carry bulky chargers, allowing me to use my MacBook Pro charger. In my case, I’ve replaced that one with one that has 2 ports. Smaller USB-C chargers work as well.
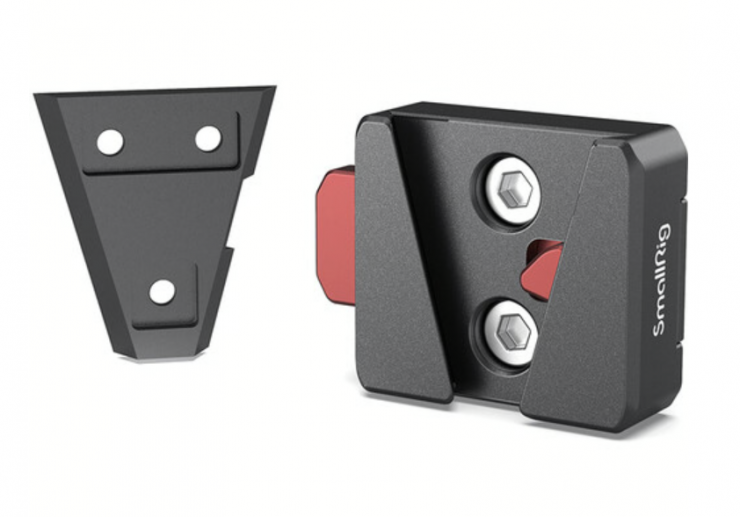
One note about the Smallrig V-mount quick-release plate. If you find that your battery wiggles a bit too much on the quick-release mount, change the mounting plate on the battery with the one provided by SmallRig.
Sound
The Canon R5C has 4 channels of audio, 2 through its multifunction shoe, and 2 more via the 3.5 stereo port. As far as I know, there are only 2 products in the market that work with this shoe: The Tascam CA-XLR-2d-C, and the Canon DM-E1D microphone.
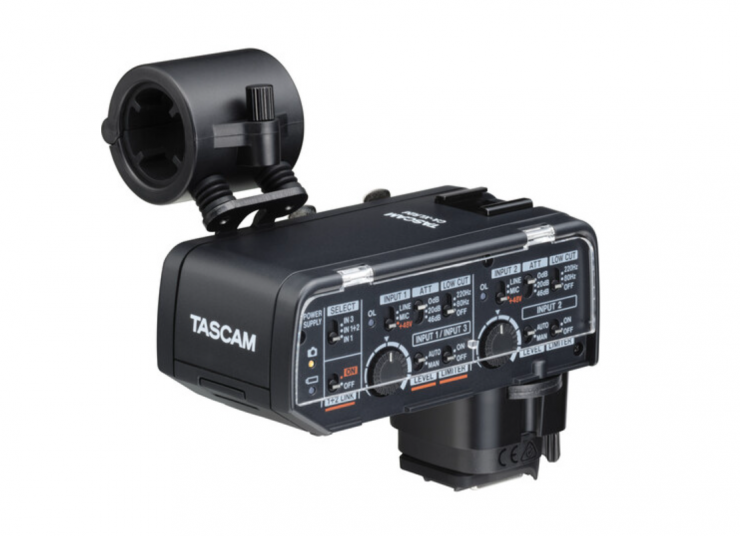
I tested the Tascam and although it is a nice unit, it has a problem that for me, as a one-man shooter, makes it unsuitable for my needs. This problem is that even when using the AA batteries mounted under the unit, there is a delay when powering the device, which makes it unable to record for a couple of seconds. This means that if you switch the camera on and hit record right away, you will not get audio at the beginning of your recording. This is a major problem and I still can’t understand why Canon has not made its own solution like Panasonic and Sony.

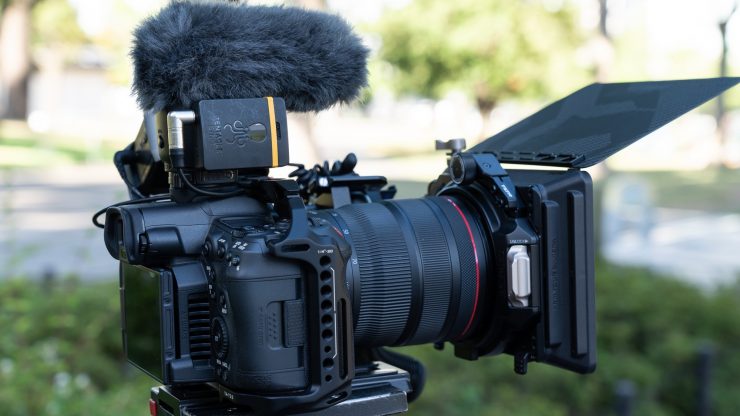
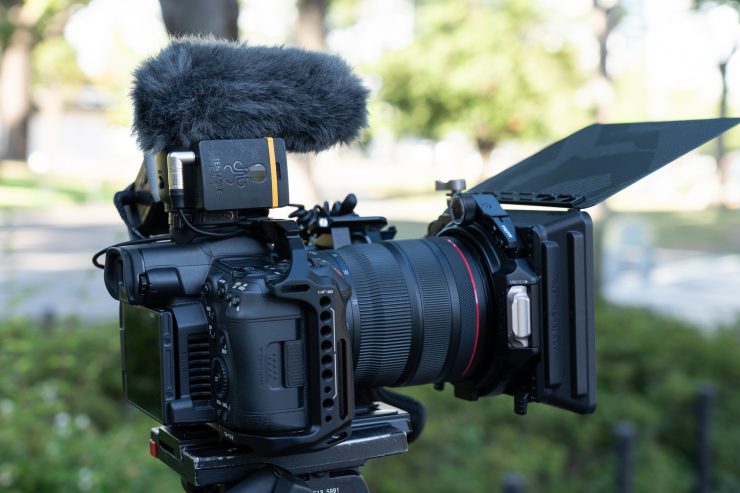
For this reason, I chose the Canon DM-E1D as the on-camera mic.

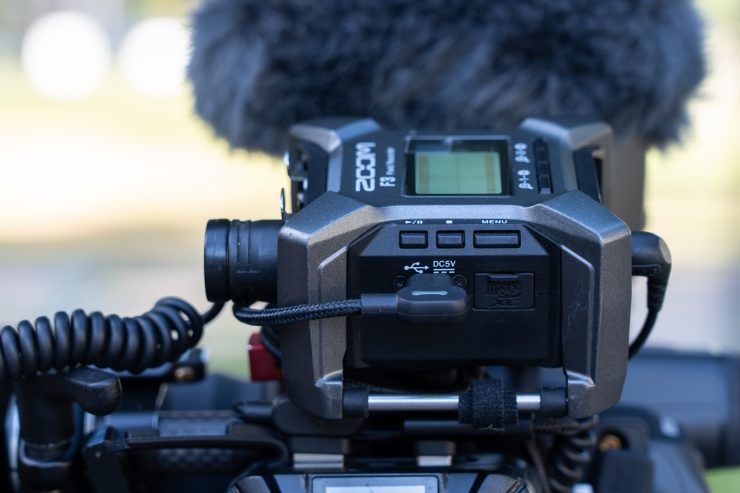
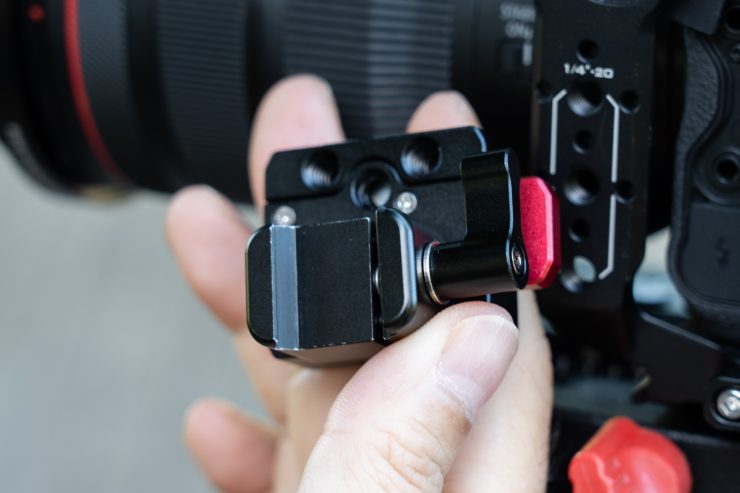
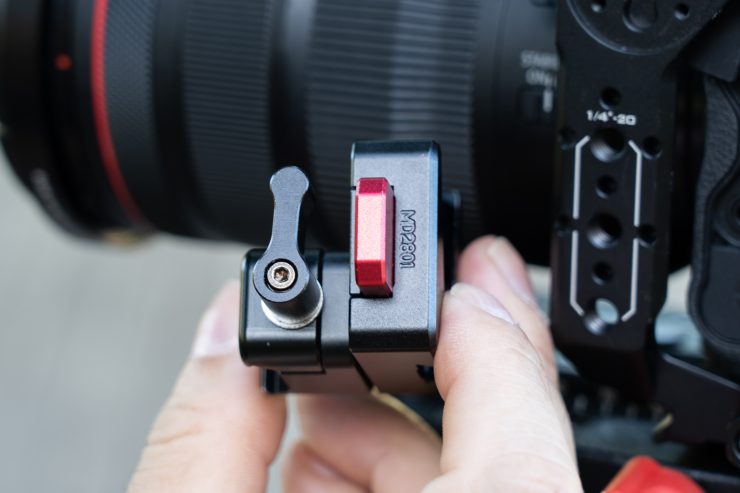
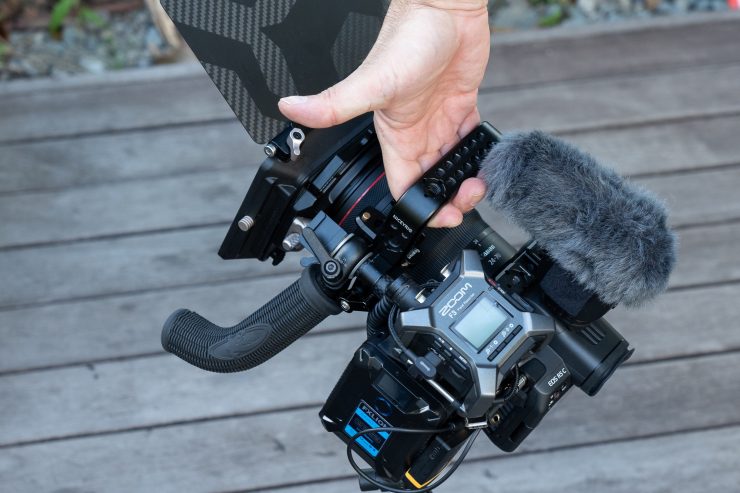
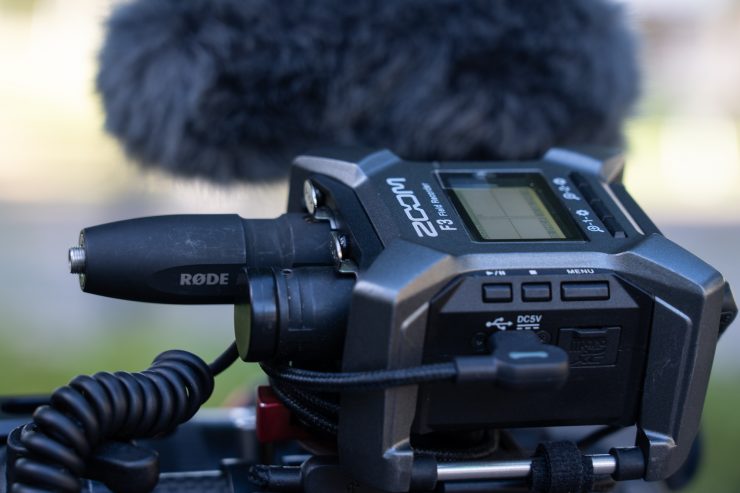
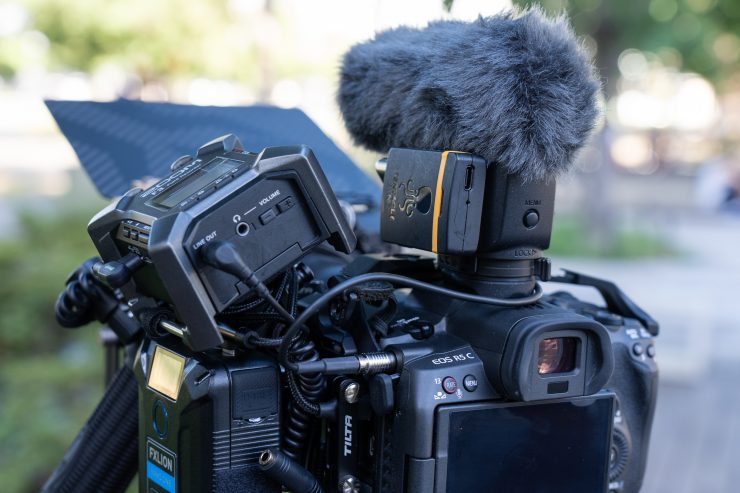
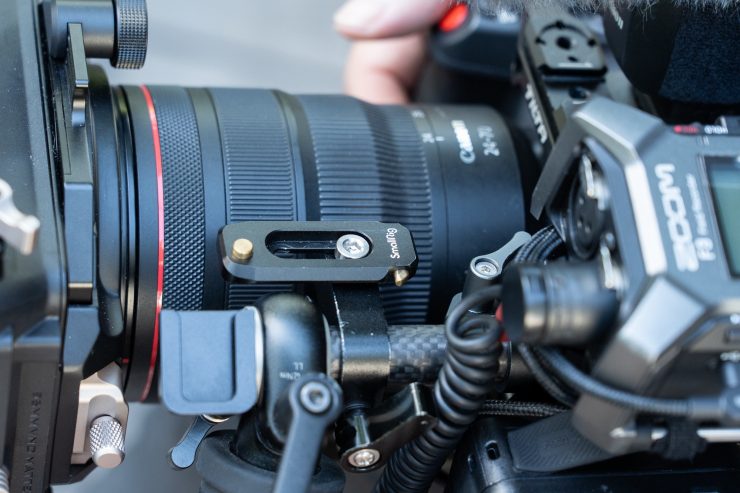
In addition, I also use the Zoom F3 on a quick release that is connected to the 3.5mm port. This allows me to have 2 phantom-powered individual 32-bit float channels recorded to the F3 memory card and an analog cable connected to the camera via the 3.5mm port, plus one stereo or mono input via the DM-E1D connected to the multifunction shoe. This Canon mic has 3 polar patterns: Shotgun Mono, 90 and 120 Degrees Stereo.
As for the R5, as it only has the 3.5mm port, there are only 2 channels of audio, so it is either the Zoom F3 or just a regular on-camera mic.
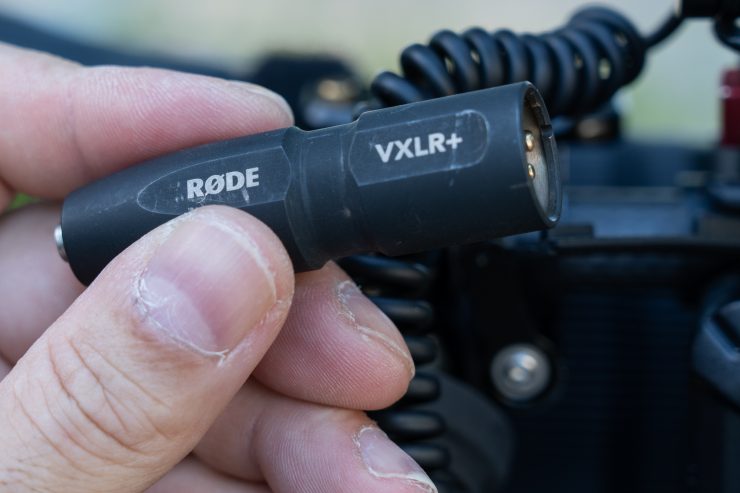
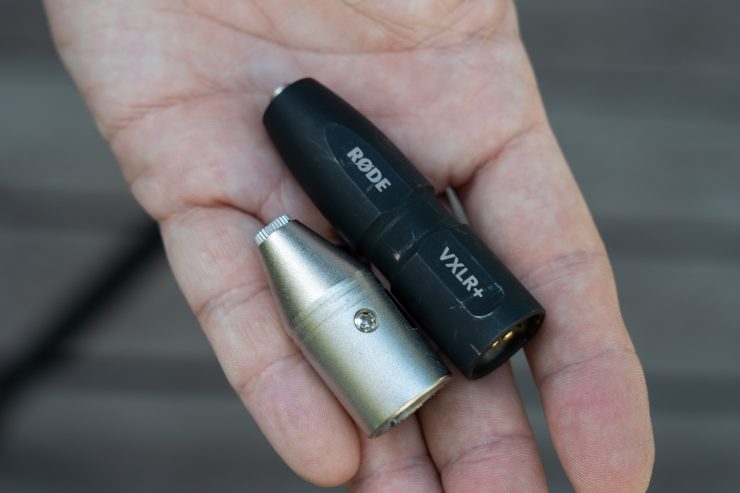
Please note that camera mics like the Rode Micro or the Deity V-Mic D4 Mini require plugin power to work, so they will not work with a simple XLR to 3.5mm adaptor connected to the Zoom F3. You will need to use a 48v to plugin power XLR adaptor like the Rode VXL+ or Pro, or Deity’s D-XLR. Note that these adaptors are longer and heavier than a regular XLR plug.
Now, if you are a hybrid shooter like me, you are probably also disappointed that the multifunction shoe does not work on the stills side of the camera like on the R3, R7, or R6 Mark II, so you cannot use it with the new EL-5 flash or the Canon ST-E10 remote trigger. I hope Canon releases a firmware update to make this work (as well as the Wi-Fi, custom presets in video mode, and the re-centering of the AF by pushing the joystick, etc, etc.
I also wish someone made an adaptor for the advanced shoe with 2 XLRs or a stereo 3.5 port.
Timecode
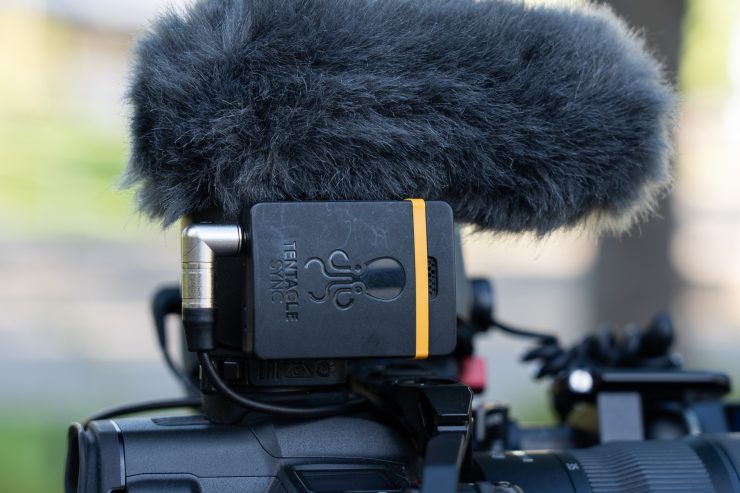
One nice thing about the R5C is that it has a dedicated port for timecode. I am a fan of the Tentacle Sync and now I can still use all 4 audio channels and get timecode as well.
You need to be aware that the connector for the timecode is a DIN BNC cable. The Canon user manual states that you need to use a cable with a long quick-release mechanism, as the short quick-release will get stuck in the port.
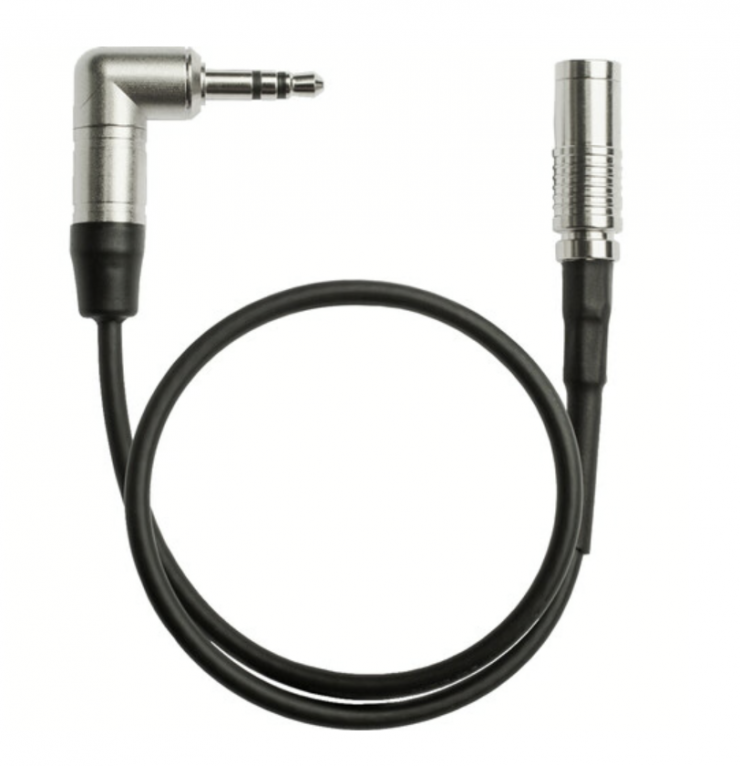
I ordered one from Amazon and it works but the cable is super stiff, so I ended up ordering the cable from Tentacle Sync, and it works well. I also ordered a right-angle one from Kondor Blue, which is advertised for the R5C, but it got stuck. I asked Kondor Blue tech support about it, and their answer was to use needle pliers to remove it. No joke, that’s what they said. A cable that has been designed specifically for this camera needs needle nose pliers to be removed! So stick to the Tentacle Sync one.
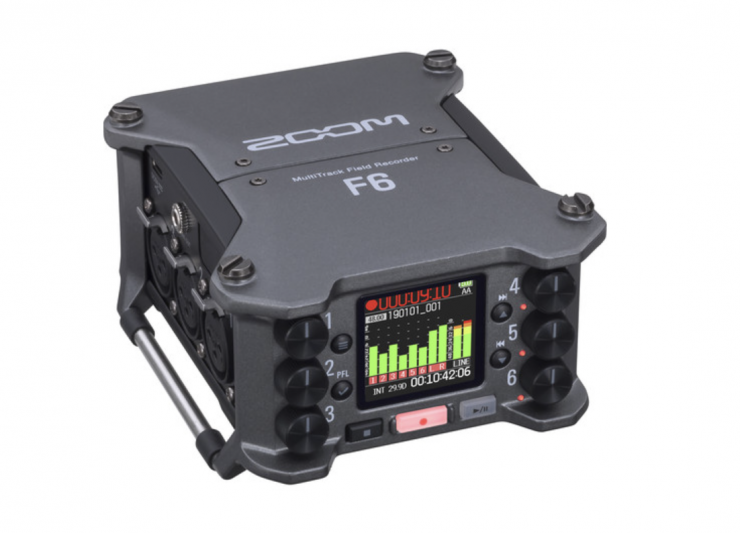
Now, the F3 does not have a timecode port, and adding a Tentacle Sync to it would mean losing one audio channel. So for sit-down multicam interviews, I prefer to use a Zoom F6 recorder, which has a timecode port (there is a timecode solution when using the Ultra Sync BLUE system, but unfortunately this one does not mix and match with other systems like Tentacle does with Deity for example.
I normally set the timecode to time of the day, and since the F3 is also feeding the camera via the 3.5mm port, I can sync in post with the NLE’s built-in system.
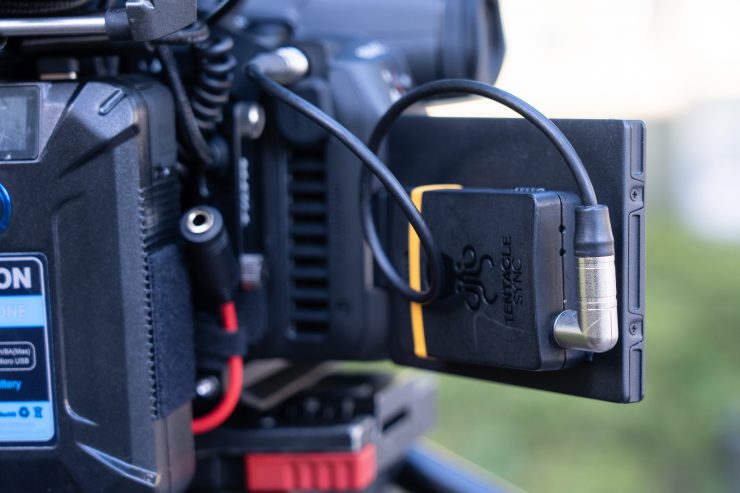
The Tentacle Sync is attached via velcro to the mic side or to the camera’s LCD screen back.
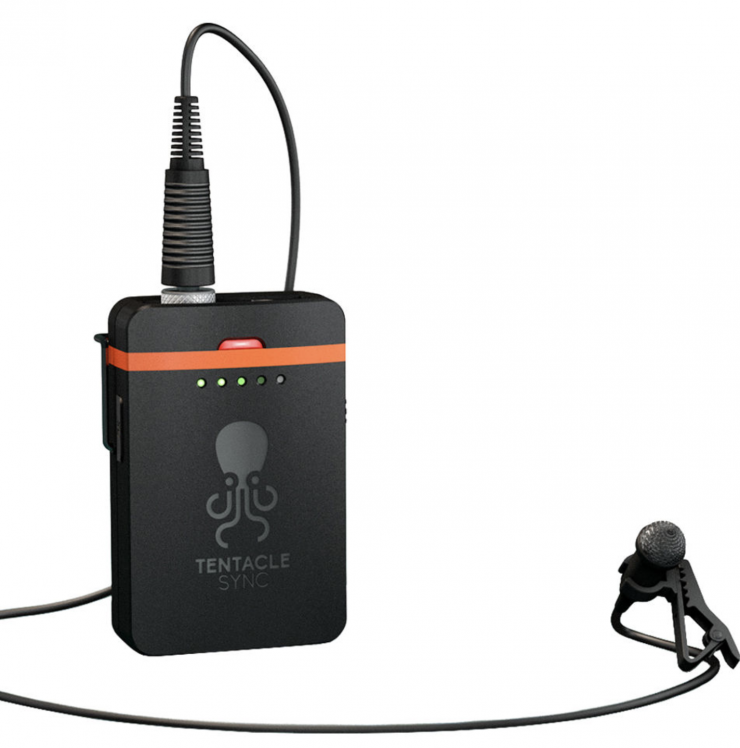
For interviews, I like to have mic redundancy. I use Tentacle Track E recorders on the talent. These devices are 32-bit float and have timecode as well.
ND filters
Both of these cameras do not have built-in ND filters, so I have 2 options when using RF glass. (Yes there is also a variable ND with the EF-RF adaptor when using EF mount lenses, too)
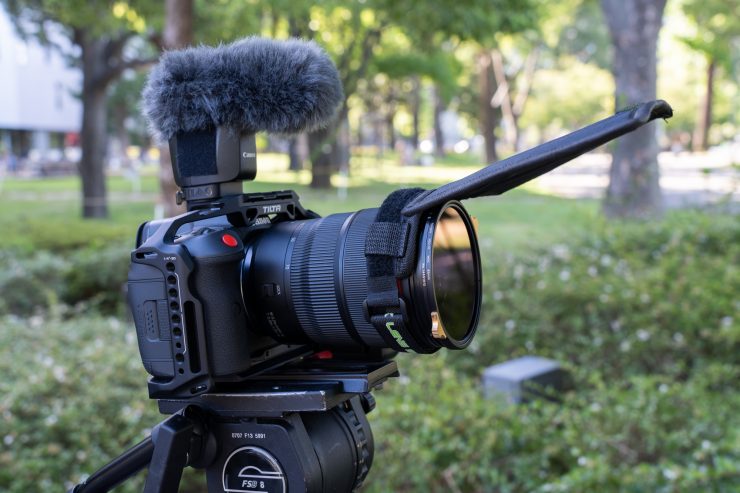
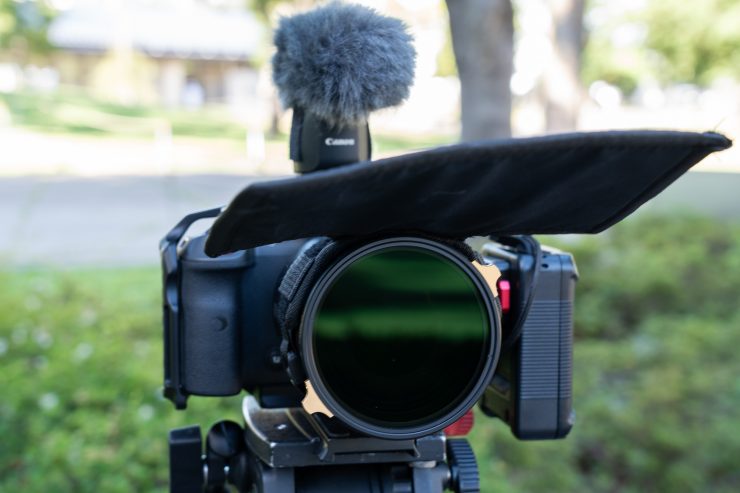
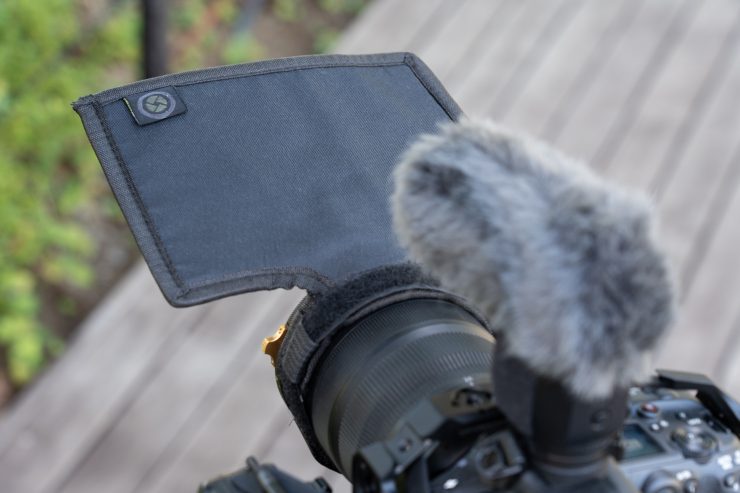
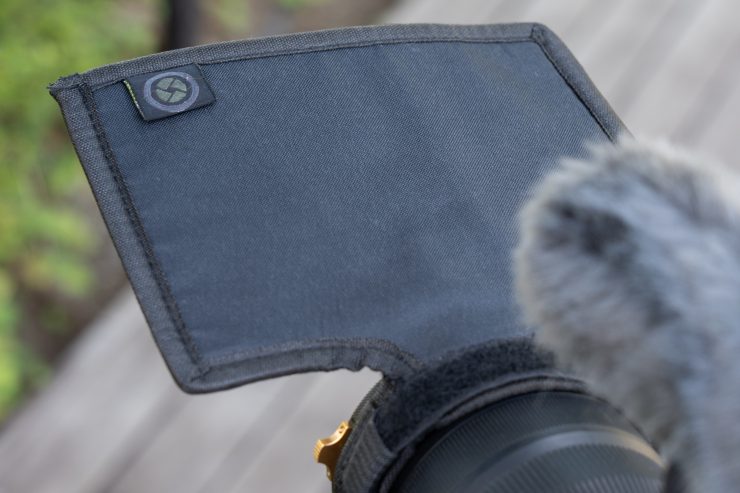
My most compact option is to use a screw-in style variable ND filter and a flex lens shade to protect it from glare.
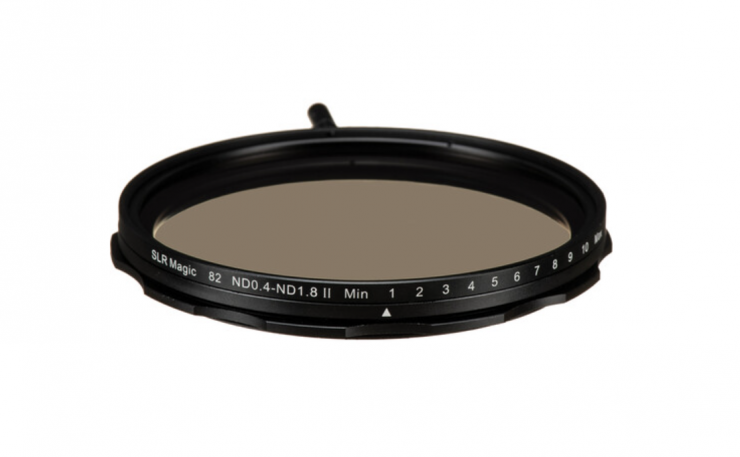
For a long time, I’ve used a pair of 82mm variable NDs from SLR Magic. For smaller diameter lenses I use step-up rings.
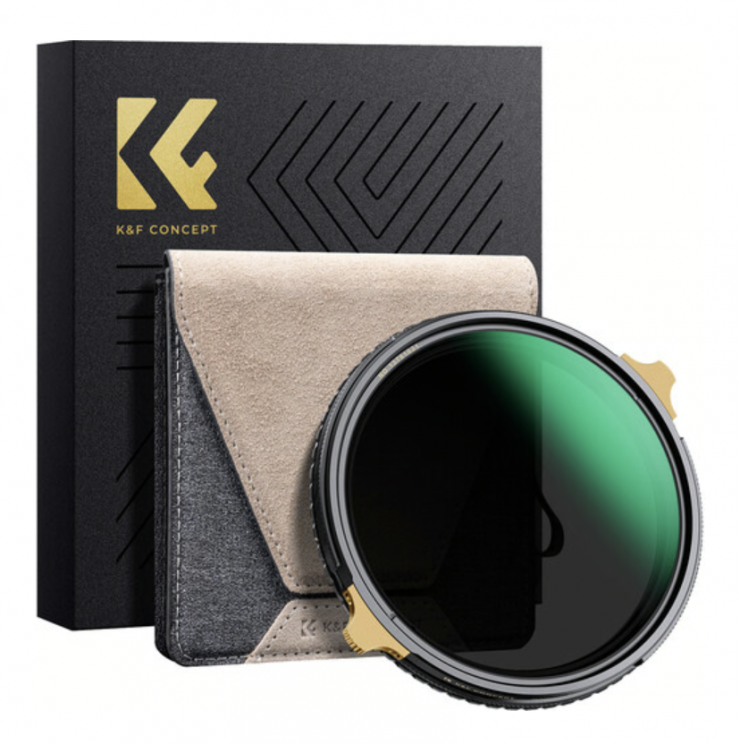
Recently I’ve tried the ones from Vaxis and the Nano X Pro from K&F concept. When using effects filters indoors with prime lenses, I sometimes use XUME magnetic filter rings from Manfrotto. Lately, many brands have released magnetic filter systems, but I’ve had these for years so I haven’t tried the new ones yet.
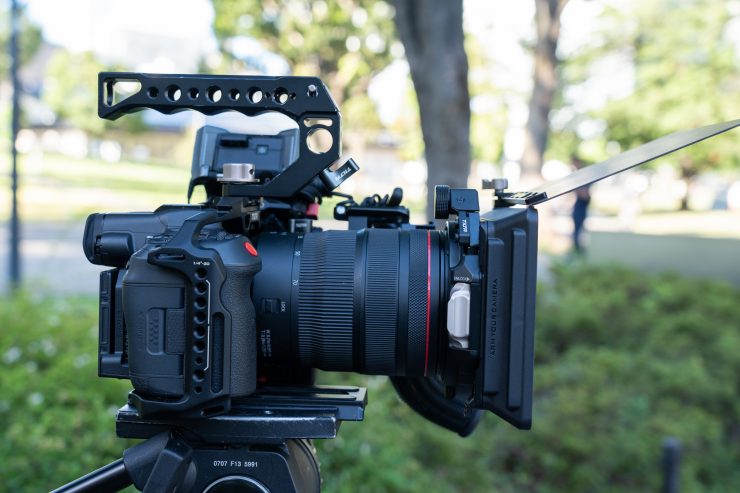
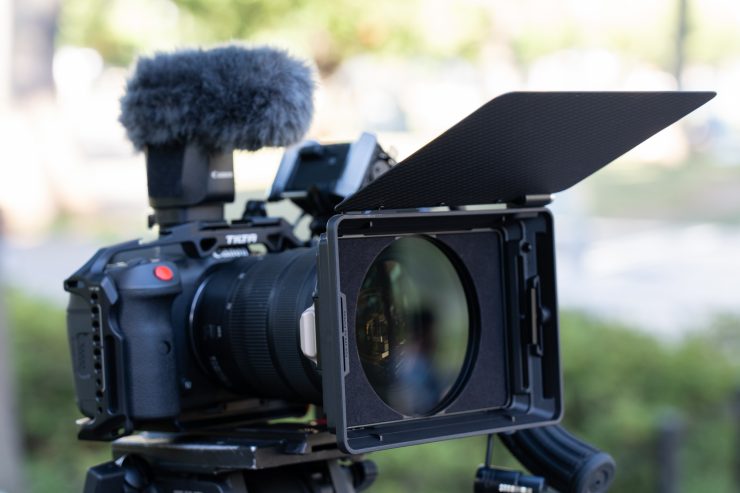
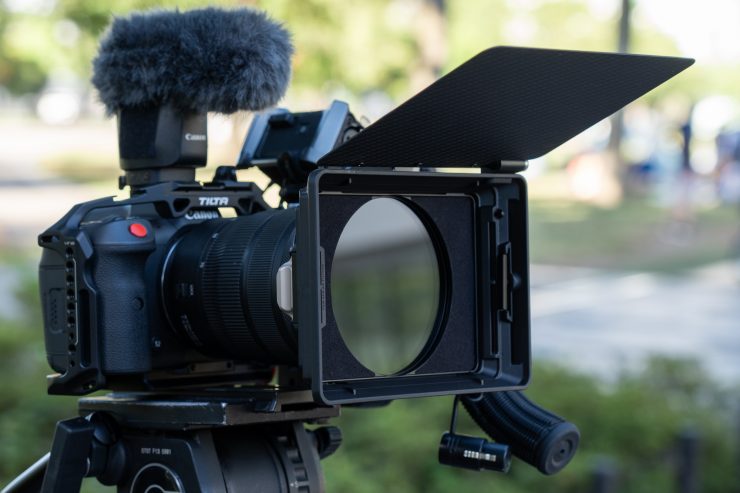
For gimbal use, or when you want the camera to look more “professional”, I use the Tilta Mirage motorized VND matte box, as you can control the ND amount via a wireless remote dial. Now, I got this matte box recently, and there is a mod that I am still working on, because there is one issue with the balance when using a gimbal, especially when using something like the Tilta Float. Because the motor for the variable ND is mounted on the filter tray and to the side, when you remove it and replace it with just an empty tray or one without a motor, the weight shifts to the left and back on the gimbal, and it makes the Tilta Float bottom heavy.
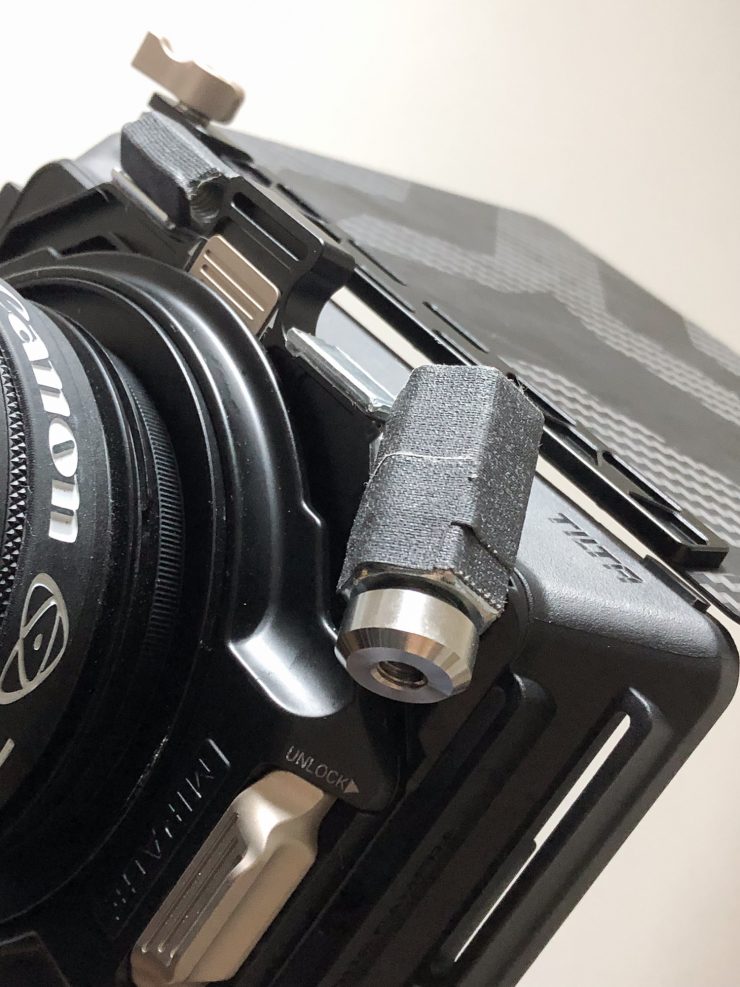
So as you can see in the picture (not pretty), I have added a couple of magnets via 3M double-sided tape and attached some 1/4” and 3/8” couplers from the hardware store, and added a little weight. Also, I added the Tilta rod adapter to the bottom of the matte box as this saves me from having to rebalance the gimbal and the Float system. I wish Tilta made a dummy tray with the same weight distribution.
It is also important to note that variable NDs tend to have slight color shifts that vary per brand and model. So if you are doing a lot of multicam shoots, the easiest solution is to use the same brand and model of filter on all cameras. Another reason to stick to one camera brand, as well.
Cable Management

The nice thing about USB-C cables is that they are available in all sorts of lengths and with right-angle connectors on one or both sides. This makes it so much easier to keep a clean look and it reduces the chances of getting a cable snagged.
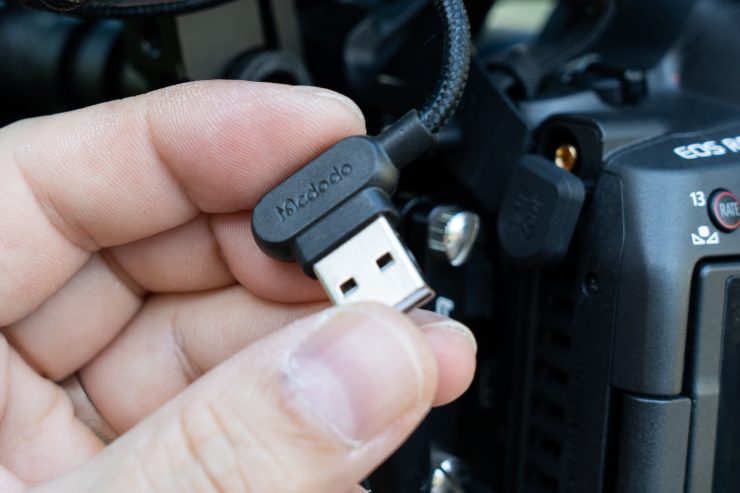
For USB-A, because different batteries have ports in different places, I use a reversible right-angle connector. The F3 audio recorder cable I use is coiled, so it stays snug around the quick release.
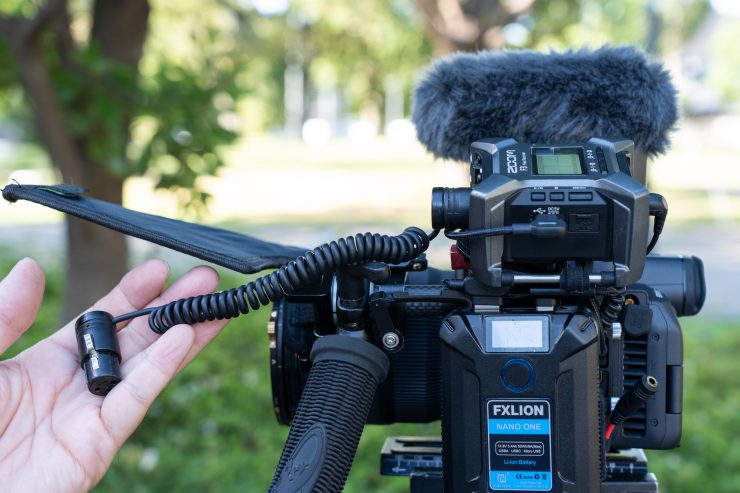
I also have a short coiled low profile XLR cable that I use to connect to longer XLR cables, so it protects the rig from a sudden pull.

For headphones, I have a short male-to-female cable so I can disconnect my headphones easily.
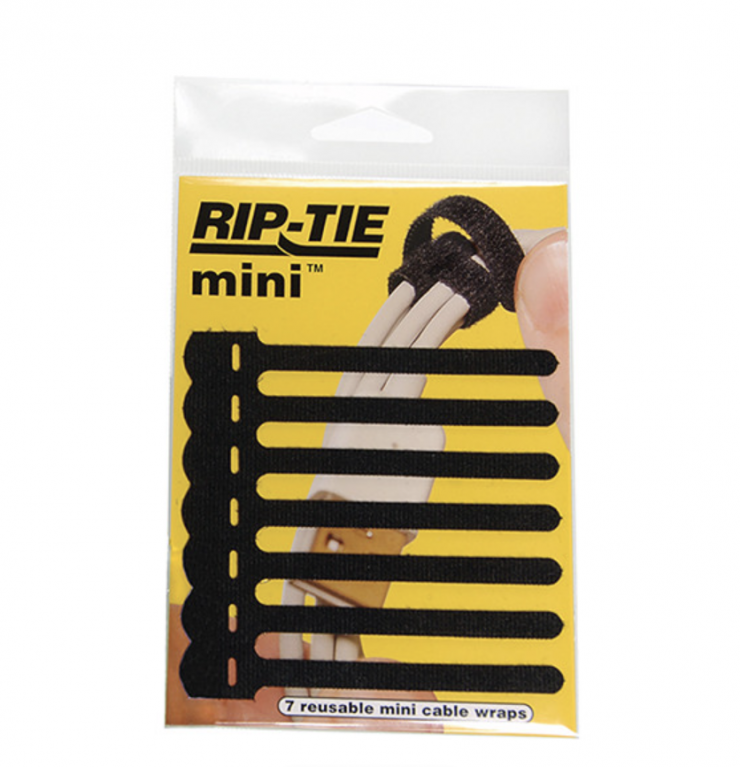
I also have RIP-TIE mini velcro ties on the carbon rod, the F3 recorder foot, and the USB/HDMI clamp on the cage. I also replaced the screws on the HDMI/USB clamp with thumbscrews. There are other ways to route cables using products like Sprig.
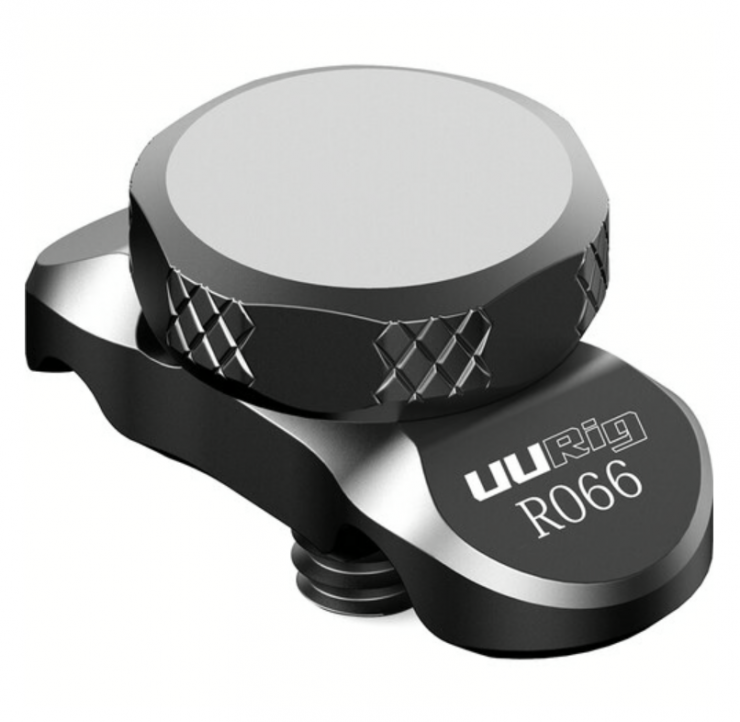
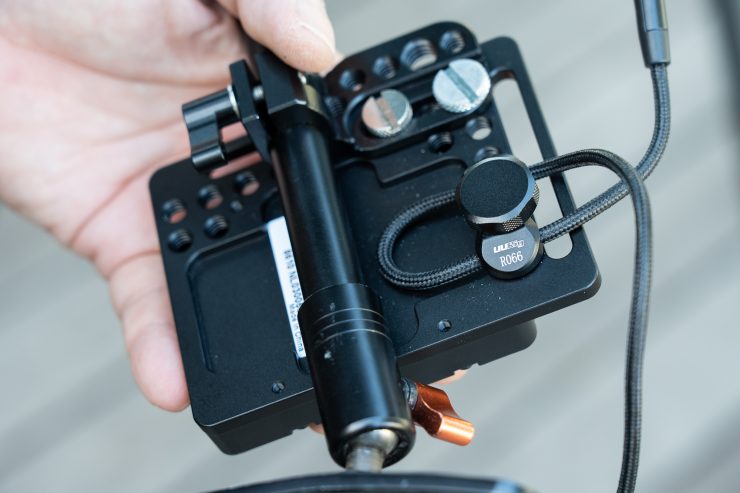
On the gunstock V-mount plate, I use a little UURIG R066 universal cable clip that allows me to regulate the cable length.
Stabilization
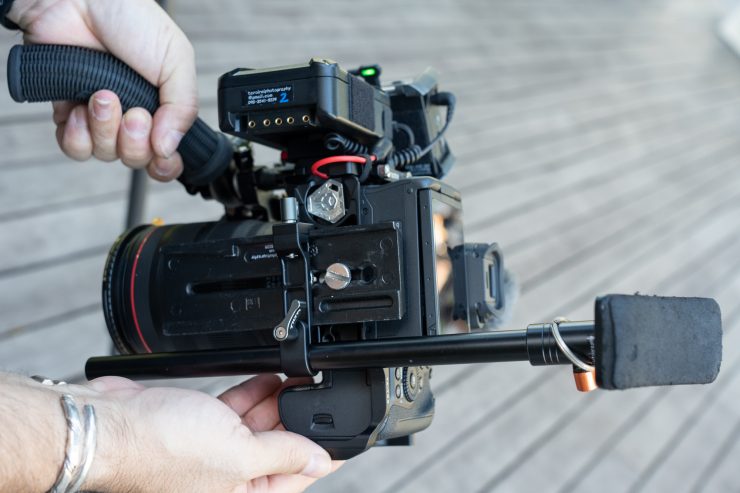
I still use the same gunstock style support that I used on my Canon C100, and the same grip from Swedish chameleon that I’ve had for years. When using the viewfinder, this gives another point of contact with your body to keep the camera stable during hand-held operation.
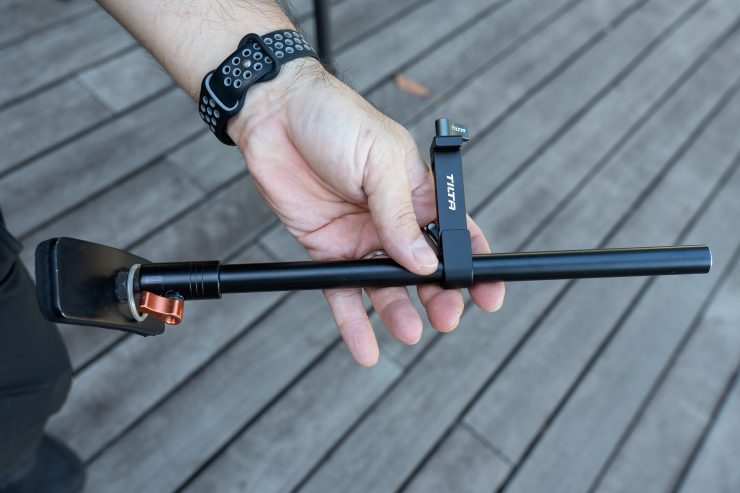
For the gunstock rod, I have replaced the Swedish chameleon rod bracket with one from Tilta, as it’s smaller and lighter.
Also, on the gunstock, it’s possible to add a V-mount plate so the weight comes toward the back. But if you are switching between handheld and a tripod, then it’s better to keep the battery on the side.
I find that having the grip forward on the left side gives me a few advantages compared to having it parallel to the camera body. It’s easier to hold the camera’s weight, especially with longer lenses. It also allows me to move the lens rings with my thumb or index finger. The same is true for the Tilta Mirage remote dial. Note that the handle can be removed and the carbon rod pushed back when shooting with shorter lenses. Btw, I cut carbon rods with a pipe cutter.
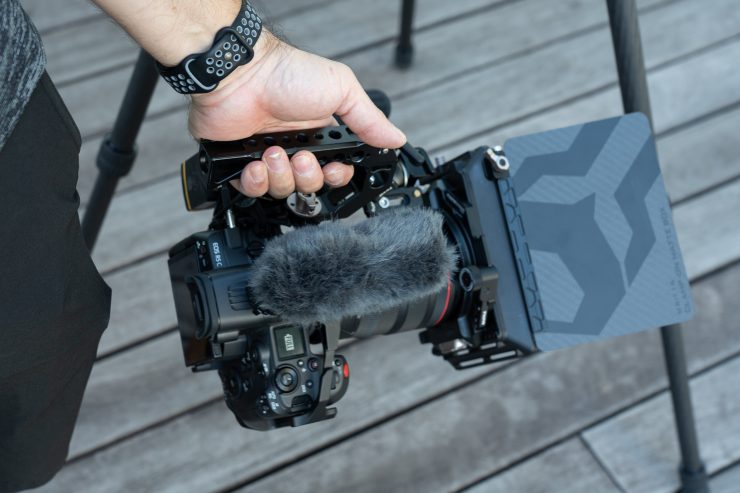
As for the top handle, with the Canon DME-1D removed, I can attach the regular Tilta handle to the cage, which makes it easier to carry and do low-angle handheld shots. I can attach a regular shotgun mic to the 3.5mm port too.

When rigged for 4-channel use, I have a handle across the top of the lens just for carrying it.
Note that the DJI RS2 gimbal support for the R5C is limited to triggering the REC button. The dial on the gimbal does not work like when the R5 is connected, and you can’t choose focus or ISO, for example.
If you want to control the variable ND on the Tilta matte box from the Float controller, rather than clamping its remote somewhere, you also lose the ability to trigger recording.
On Camera Light
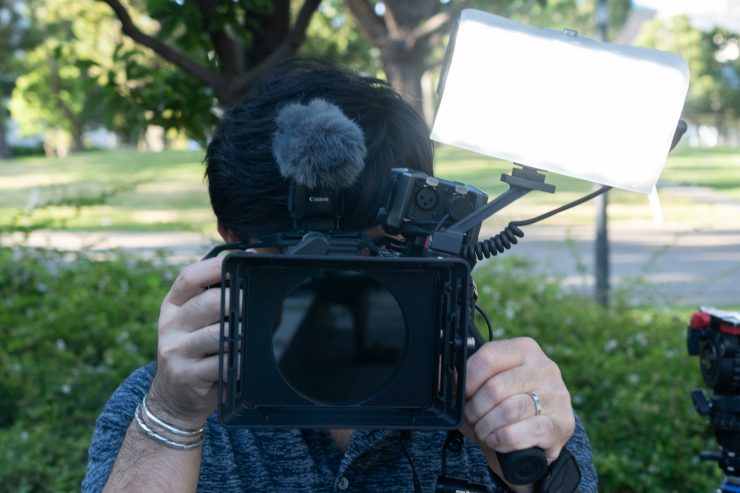
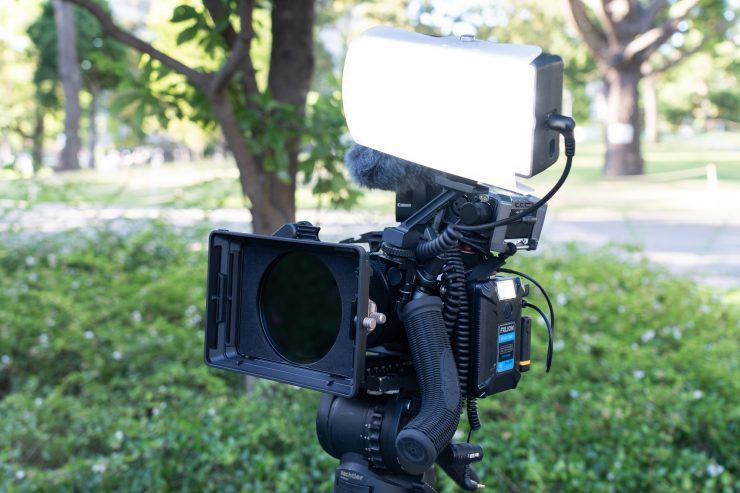
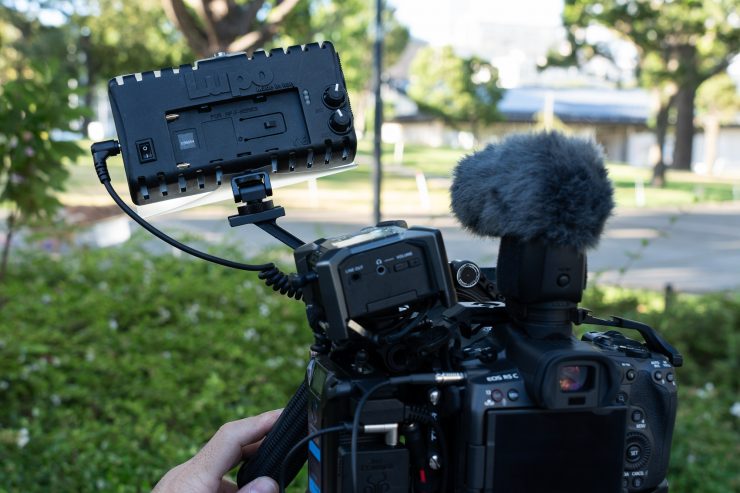
For run and gun, my preferred on-camera light is the Lupo 700 smart panel. Unfortunately, it is discontinued now. I like this light because it is lightweight and it produces 4,200 lux at one meter. It’s bi-color, too. I got it with a very simple removable diffuser, which I have slightly modified so I don’t need to remove the screw completely to take it off. I have 2 of these lights and use them off-camera as background and hair lights too. I also rigged a DIY frame to use them together as the key light for a job that involved going down 10 flights of stairs with all the gear. They can be powered by an NPF battery, or via USB-C or 5.5mm barrel connector to D-tap. This allows me to power it from the mini V-mount battery directly, which means I don’t need to add more weight to the camera and I also don’t need to carry that many NPF batteries. My NPF batteries can be charged via USB-C or micro USB, so no need to carry another charger. And talking about chargers, I use a USB-C charger for the LP-E6 batteries as well.
Final Thoughts
Although I can mount a lot of accessories on this rig in a very tight but reasonable ergonomic way, I recommend keeping things as simple as possible. The more you put on it, the more levers and thumbscrews you have to keep adjusting, and the more connectors you have to keep pushing in. Also, the more stuff you have, the more stuff you need to keep an eye on.
So if you need to mount all this stuff on the camera all the time, then your life sucks more than mine…. 🙂
If you have any questions about any of the mods or pieces of gear I am using let me know in the comments section and I will attempt to answer them.