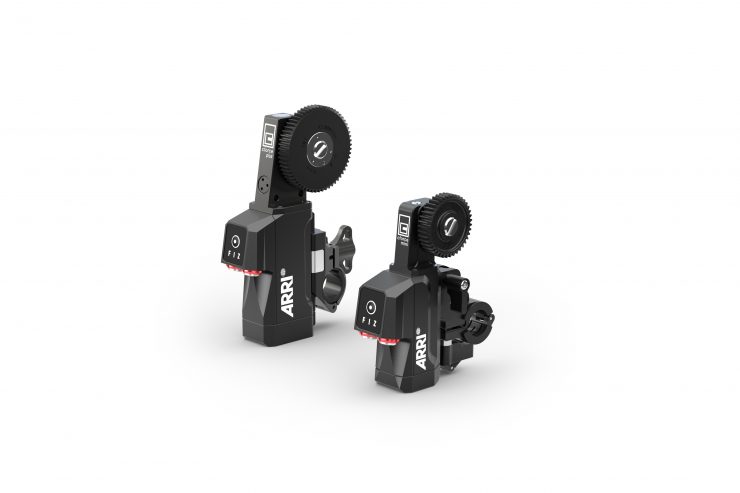
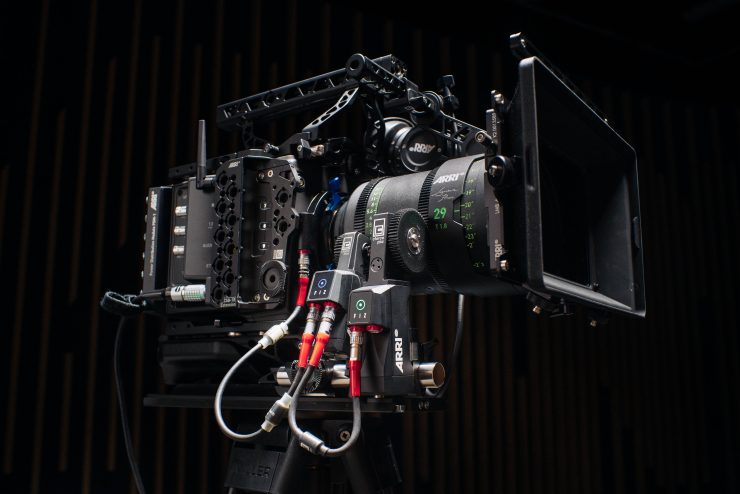
ARRi has announced a free software update for the cforce mini and cforce plus lens motors. SUP 2.0 dramatically improves the time it takes for cforce motors to respond to user inputs, making them twice as responsive.
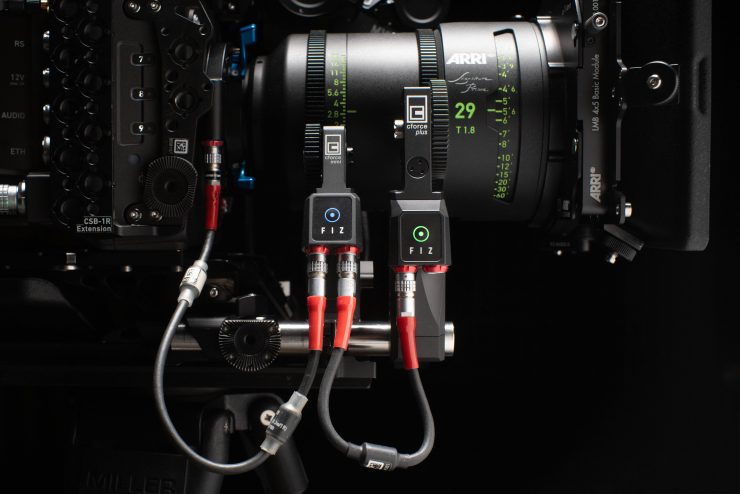
All cforce mini and cforce plus lens motors in the market are able to benefit from this free software update and the performance increase is not affected by the choice of hand unit. Any ARRI ECS configuration using the Hi-5, ZMU-4, SXU-1, or the legacy WCU-4 can take advantage of the motor’s halved latency.
SUP 2.0 for cforce mini and cforce plus is available now as a free download from the ARRI website: arri.com/sups
First introduced way back in 2014, the small and lightweight cforce mini motor has become the default motor for most productions, except for when exceptional torque or speed is required. Now, a cforce mini motor with the new SUP 2.0 firmware is able to cover even more use cases with ease.
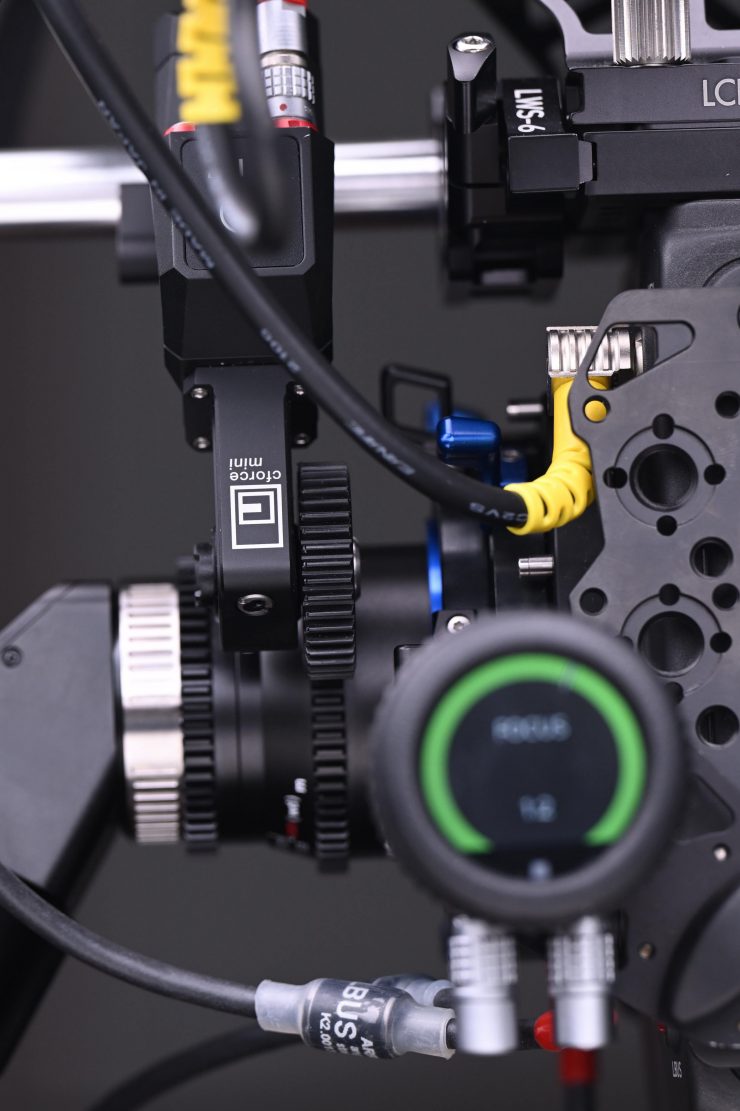
When working with a low-friction lens, the new motor firmware delivers improved performance when coupled with the larger 50t CLM-4 gear (K2.72108.0). This combination offers speeds 25% faster than with the default 40t gear but with a slight reduction in maximum torque.
The cforce plus motor is now the fastest-accelerating motor in ARRI’s product lineup. In focus-pulling situations where reaction time is critical, the cforce plus will help ensure marks are hit consistently.
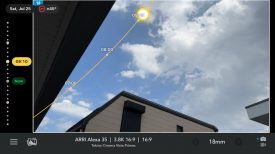
The Software Update Package 2.0 also offers a new Encoder Mode for the cforce mini motor. This mode permits the lens axis held by a lens motor to be rotated manually while still allowing data from custom lens files to be recorded and displayed. Encoder Mode enables a cinematographer to adjust the iris value directly on any lens without removing the motor. The T‑stop position can then be displayed in the status overlay on all monitors and hand units and streamed to virtual production systems. Encoder Mode is limited to the cforce mini motor, as the cforce plus has a higher internal resistance due to its greater torque capabilities.
Encoder Mode can also simplify virtual production workflows by offering an integrated solution for lens tracking. Focus pullers and virtual production technicians can utilize one set of cforce motors as both lens motors and encoders simultaneously, instead of needing to run parallel systems. The number of cables tethering cameras to virtual production hardware is also minimized; the Encoder Mode allows lens data to be streamed directly from cameras, such as the ALEXA 35, along with camera metadata and control parameters.
Encoder Mode Setup
- Attach the motor as usual and connect it to the LBUS daisy chain
- Load a Lens File
- Calibrate Motor
o Calibrate > all via Hi-5
o Calibrate > all via ARRI ALEXA cameras
o Calibrate > all via RIA-1
o Calibrate on motor directly by pressing & holding the motor button until the motor starts calibrating
Make sure the motor is not controlled by any control device. e.g. deactivate the corresponding axis in the Hi-5. The motor LED will flash red / green if everything is set up properly, indicating that the motor is calibrated, but not assigned to a control axis on a hand unit. The motor LED will turn solid blue as soon as the lens axis is rotated manually – indicating an active encoder mode.
Calibrate > all via the Hi-5 will only calibrate motors which are currently controlled by a hand unit on ALEXA Mini LF and older cameras. To calibrate a lens motor in Encoder Mode, use one of the other methods to calibrate the motor or activate the corresponding axis in the Hi-5 for calibrating.
How to update
The cforce mini & cforce plus can be updated as a LBUS device via Hi-5 (USB or ECS Sync App), WCU-4, UMC-4, ALEXA Mini, ALEXAMini LF and ALEXA 35 cameras.
Update with Hi-5 via USB
The software can be updated using a USB-A or USB-C drive. The USB-A slot is located below the display on the bottom of the Hi-5, covered by a plastic cap. Press the release pin to open the cover. The USB-C slot is located above the display on the top side of the Hi-5, covered by a rubber cap. Lift and turn the rubber cap gently to access the USB-C slot.
Performing the Update:
(1) Connect the cforce mini to the Hi-5 via LBUS.
(2) Connect the cforce mini to a power source (e.g. with K2.0006758 Cable LBUS to D-Tap).
(3) Turn the Hi-5 on.
(4) Insert the USB stick in the corresponding USB slot of the Hi-5
(5) Go to MENU > System > Update > LBUS Device Update.
(6) Select the cforce mini motor you wish to update. The serial number is printed on the side of the motor.
(7) Choose the desired Software Update Package and then press select to start the update.
(8) Wait until the update process is finished.
(9) Power cycle the cforce mini motor by disconnecting it from the power source.
Caution: The update process takes several seconds. Don’t remove the USB Stick and do not turn off the Hi-5 during the update!
Update with Hi-5 via ECS Sync App
The ECS Sync App connects to the Hi-5 via Bluetooth and the Bluetooth dongle must be connected to the lower USB-A port of the Hi-5.
Performing the Update:
(1) Connect the cforce mini to the Hi-5 via LBUS.
(2) Connect cforce mini to a power source (e.g. with K2.0006758 Cable LBUS to D-Tap).
(3) Ensure that Bluetooth is enabled on the Hi-5 via MENU > System > Bluetooth.
(4) Activate Bluetooth on your iOS device and add the Hi-5 to your device list (Hi-5 is shown as hi-5-xxxxx, with xxxxx being the serial number).
(5) Open the ECS Sync App. The app is now connected to your Hi-5 hand unit.
(6) Go to ARRI DEVICE > cforce mini xxxxx > Update to the latest SUP. The serial number is printed on the side of the motor.
(7) Select Download and proceed the software update
(8) Wait until the update process is finished.
(9) Power cycle the cforce mini motor by disconnecting it from the power source.
Caution: Do not leave the app during the update!
Update with WCU-4
Preparing the SD Card
Have a FAT16 or FAT32 formatted SD/SDHC card up to 32GB for updating. Copy the cforce mini Software Update
Package into the root folder of the SD/SDHC card.
Performing the Update
(1) Connect the cforce mini via LCS to LBUS cable (K2.0007318 or K2.0013044).
(2) Connect the cforce mini to a power source (e.g. with K2.0006758 Cable LBUS to D-Tap)
(3) Turn the WCU-4 on.
(4) Insert the SD card into the SD card slot of the WCU-4.
(5) Go to MENU > FIRMWARE > LBUS Update.
(6) Select the cforce mini you wish to update. The serial number is printed on the side of the motor.
(7) Choose the desired Software Update Package and then press the two UPDATE soft buttons simultaneously to start the update.
(8) Wait until the update process is finished.
(9) Power cycle the cforce mini motor by disconnecting it from the power source.
Caution: Do not remove the SD card during the update!
Update with ALEXA Mini, ALEXA Mini LF and ALEXA 35
Precautions: Have the ALEXA running with a stable power source during the update.
Preparing the USB Stick
Copy the cforce mini Software Update Package onto a USB memory stick by placing it in a folder called ECS.
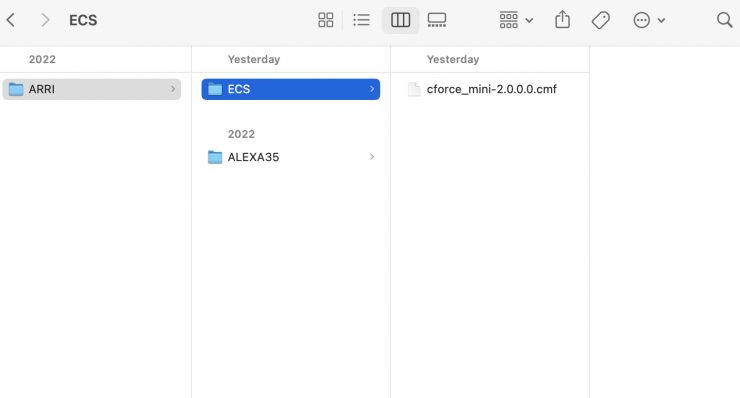
It is important that the ECS folder is put on the same level as your main camera folder. In this example, where the folder called ALEXA 35 is located.
Performing the Update
(1) Connect the cforce mini motor to the cameras LBUS connector.
(2) Connect camera to a stable power source (e.g. AC power supply and on-board battery).
(3) Connect the USB stick to the camera.
(4) In the camera menu, go to MENU > System > Update > LBUS.
(5) Select the cforce mini that you wish to update and press the jog wheel. A confirmation screen is displayed. Press CONFIRM to start the update.
(6) Choose the desired Software Update Package and then press the two UPDATE soft buttons simultaneously to start the update.
(7) Wait until the update process is finished.
(8) Power cycle the cforce mini motor by disconnecting it from the power source.
Caution: Do not remove the USB stick during the update!