
Installing a post production backup workflow is vitally important. We have all heard horror stories of lost data, whether it’s accidental or from hardware or software failure. Losing valuable raw footage or editing assets can be disastrous.
Backing up your raw footage and video production assets is definitely not the sexy part of the video production industry and spending that new lens or new light money you have tucked away on a backup solution is easily put off – but trust me, it’s worth it.
If you are being hired as a DP or production company to produce content, you need to minimize your exposure to something going wrong with your data. You will sleep much better at night because hard drive failure is not a case of if, but when. You have to be prepared for that.
Throughout my career, I have worked on many commercial paid shoots and so far, I have not had any failures or lost data, but the time came where I think I was pushing my luck with my current backup workflow so I decided to bite the bullet and invest in a new system that would provide a safety net for when that day came where things went wrong.
There are many solutions to create a reliable backup workflow, this is just one of them and it may not be the right one for you but so far, it’s been a great solution for me.
The solution
With the new workflow, whether I’m editing or just copying over raw camera files, all data is synced at the end of the day.
This is done automatically to 3 different backup systems, one with RAID 5 and software that verifies that all the data has been successfully copied, this happens automatically and like clockwork.
This provides peace of mind knowing that if, in the rare circumstance that I have TWO drives fail at the same time, I will still have a copy of the video footage.
Read on the learn how I have built this automatic workflow and how you can incorporate it into yours.
My previous post production backup workflow
For years, after a shoot, I was landing back at my desk and offloading the footage onto a desktop hard drive, waiting for that to finish transferring, and then copying over the raw footage folder onto a second hard drive next to the original one. This added an extra hour to a long shoot day which was not fun!
This worked ok for the footage, and there was at least some insurance that if the first hard drive failed, the second one would have all of the raw footage so I wouldn’t lose everything.
Premiere Pro and After Effects files were set to auto-save into the cloud so in theory, if one hard drive failed, I would have the raw footage on the backup drive and the project files in the cloud. This was my solution in the early years and it worked. Nothing ever went wrong but I really do think I was quite lucky, to be honest.
Previous post production backup workflow
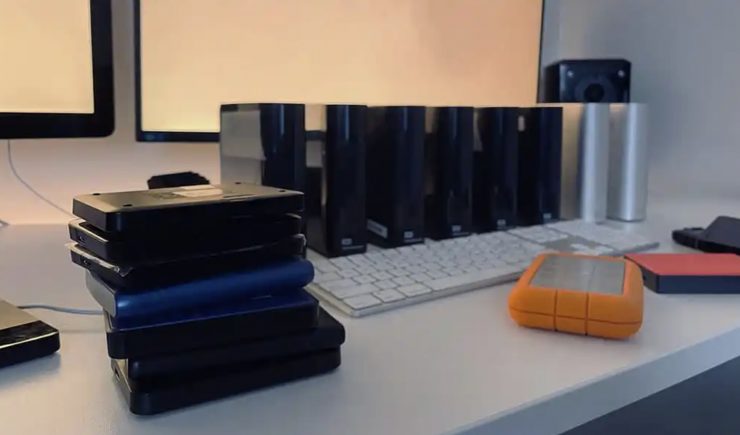
The previous way was to keep buying bulky external drives which are not only messy but unorganized and risky!
Why I decided to invest in a safer system
I worked on two projects over the span of a week, and the first project was a contracting role where my job was just to shoot and offload the raw footage. It was a piece to camera for a VIP who was only available for one day so it was very time sensitive.
We did the shoot, gave the client the raw footage on location and I also backed it up on my hard drives as I usually do for 2 weeks. I rarely keep raw ‘footage only’ type jobs for much longer due to the volume of data I shoot per week.
3 weeks later I got a call out of the blue telling me that the production company had lost the footage! This didn’t go down too well and we had to do a re-shoot.
The other job was a multi-cam performance where I was producing a series of clips. I had 3 camera operators shooting with me and the performance company supplied their own in-house sound engineer who was then going to send me the mastered sound files to sync to the multi-cam footage. Unfortunately, he lost his sound files a few days later. This was a big disaster, and he had to do a sound mix from the scratch audio mix from the 4 cameras, which was not ideal.
For these two events to happen over the span of 1 week prompted me to solidify my post production backup workflow as I didn’t want what had happened to them, to happen to me (and be wholly my fault)!
Video Production Backup Workflow Research
After weeks of researching online and speaking to a few colleagues in the industry, I narrowed it down to either going with a DAS (direct access storage) or a NAS (networked access storage). A DAS is basically a large capacity and high-speed hard drive connected directly to your computer. It is similar to a traditional hard drive, and while these do have their place, I decided it wasn’t right for me as it didn’t provide the necessary RAID fallbacks in case something went wrong.
I decided to take the plunge and learn all about Network Access Storage. A NAS is a standalone device/server that houses hard drives and connects to a network instead of connecting to your computer directly.
They rely on their own processors and operating systems and can run a suite of software applications. You can also access this private server from the cloud, anywhere with internet access.
Which NAS to choose?
Choosing the best NAS for my needs came down to a few key features:
Drive bays
I wanted to have enough drive bays inside the NAS to be able to store around 12 -18 months’ worth of video projects without having to swap out new drives. On average, I generate between 250GB to 1TB worth of data per week so I settled on a 4-bay NAS.
Network speed
The intention was never to be able to edit full-time off the NAS (I will cover this later in the article), but I did want the flexibility to be able to comfortably edit 4K footage off the NAS if needed. This would be great for a quick edit on archived projects and showreels and to be able to access various assets quickly.
To do this, 10GbE network speed was the requirement which, in theory, should be capable of editing multiple streams of 4K MXF-I Sony FX6 & Sony a7S3 files.
Processing Power
My specific needs from the NAS certainly don’t put me in the NAS power user club, I didn’t need top-of-the-range processing power but I did need just enough to do what I have mentioned above.
RAID 5
Nearly all NAS systems offer a RAID (Redundant Array of Independent Disks) solution so this wasn’t really much of a need but I did need to make sure I could configure the NAS in RAID 5. RAID 5 needs a minimum of three drive bays in order to work.
QNAP TS-473A
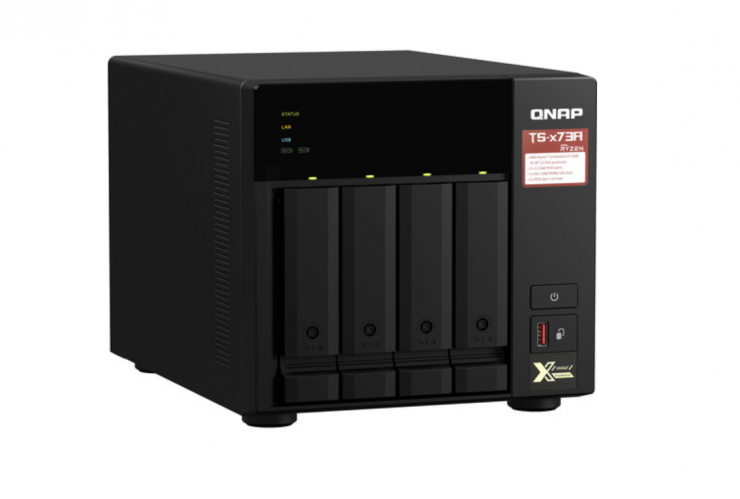
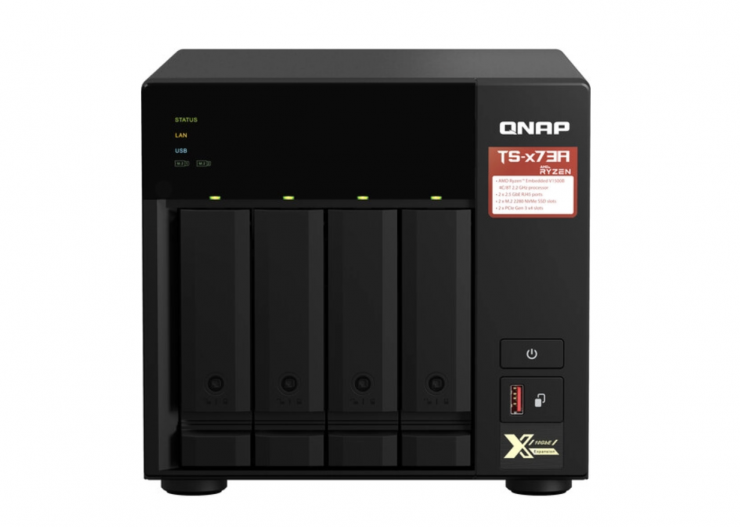
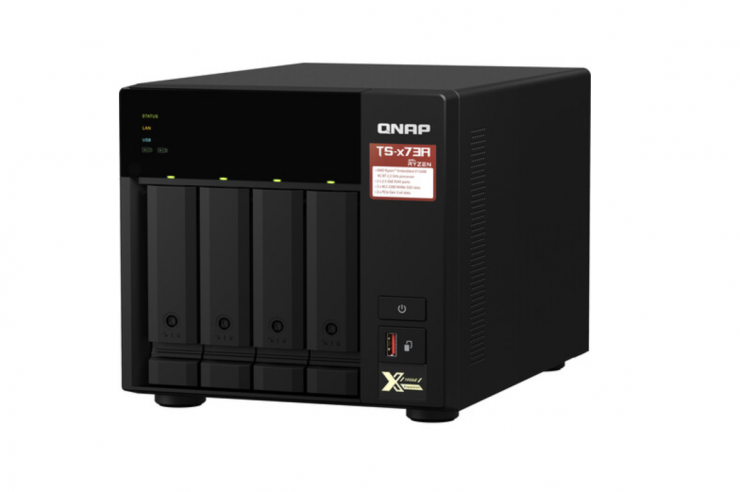
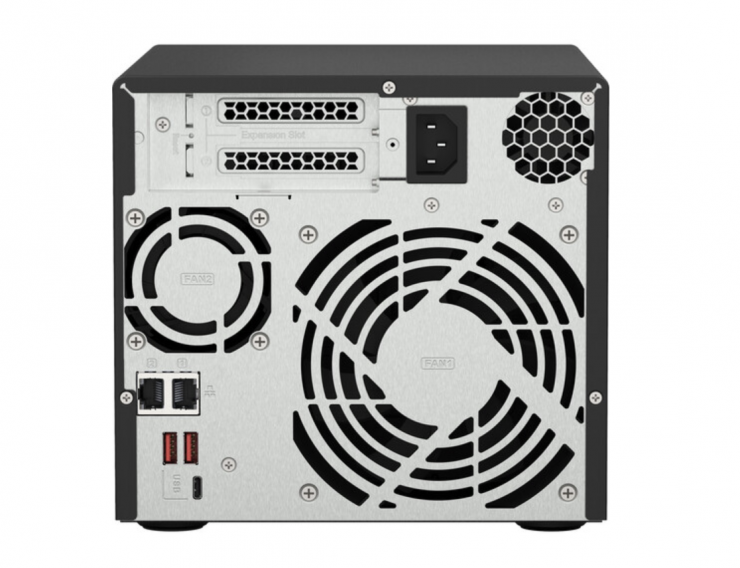
There are multiple choices on the market that met my above requirements and after a bit more reading I decided to go with the QNAP TS-473A-8G 4 Bay NAS.
This provided 4 hard drive bays, expandability to add 10GbE networking, and 4 GB RAM.
4GB RAM is a little light but I decided to see how it performed. Having the future expandability potential was great to know if I needed more.
Choosing Internal Hard Drives
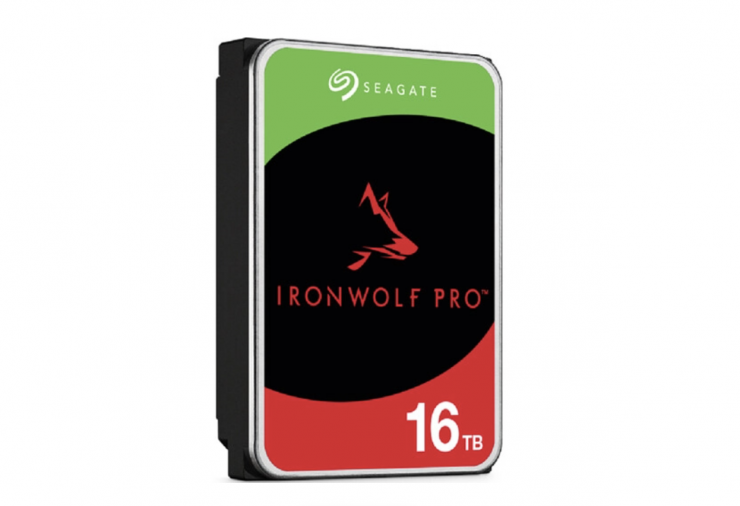
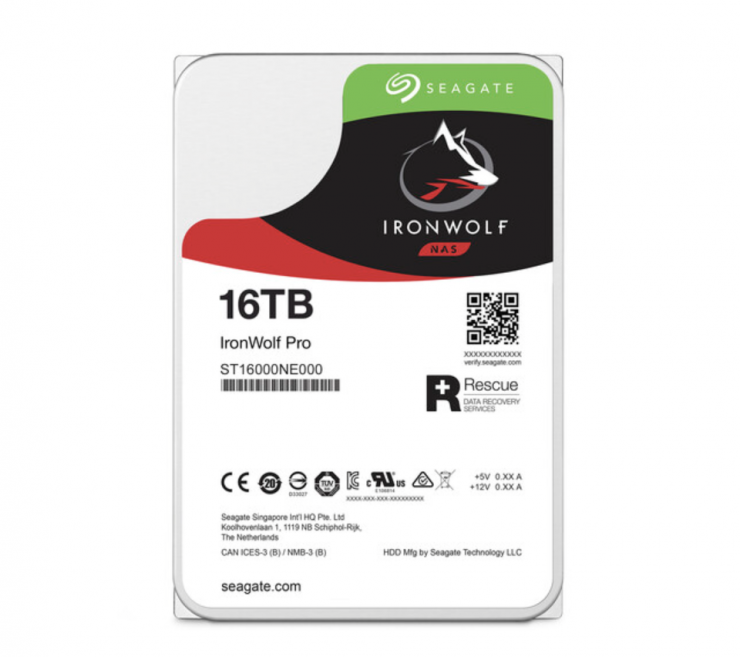
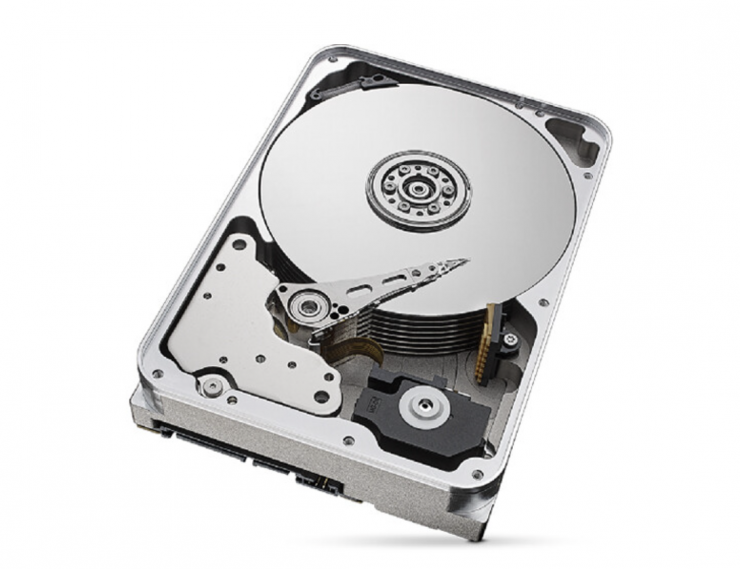
I decided to go with 4 Seagate 16TB IronWolf Pro 7200 rpm SATA III 3.5″ Internal NAS HDDs.
7200rpm is fast enough for the occasional edit directly off the NAS with a read / write speed of 80 – 160MB/s
I found a Black Friday deal with B&H for the 16TB versions which gave me theoretical storage of 64TB which should easily provide 12 – 18 months’ worth of video production asset backup.
Choosing a RAID type
There are many different types of RAID to choose from. You can read a full description of raid types here. Different RAID types suit different scenarios but I decided to go with RAID 5 in the server.
RAID 5 enables full data recovery in the event that one of the internal drives fails at a time. This is a nice peace of mind insurance but it does come at the cost of losing the capacity of one drive. So the 64TB worth of drives (4 x 16TB) now became 48TB total with one drive of redundancy. I was happy with this tradeoff as 48TB is still quite a lot of storage even for 4K RAW camera files.
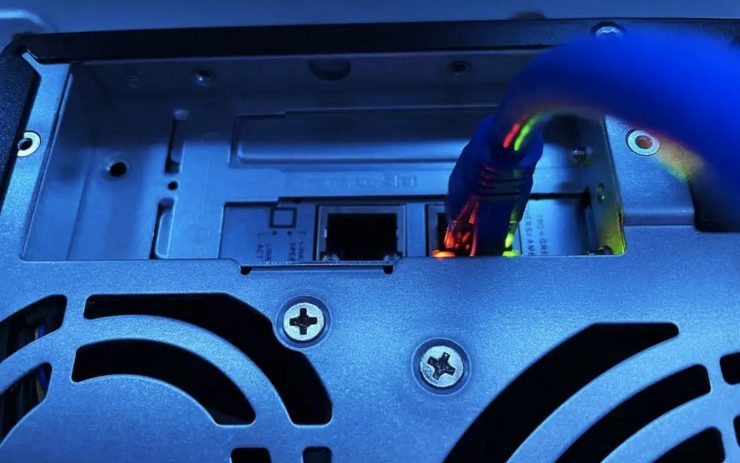
Upgrading to 10Gbe network speed
The QNAP comes with 2 x 10GbE ports which are ok for transferring smaller files and connecting the NAS to your router, but for 4K video editing it will just be a world of pain.

To achieve 10GbE editing off the NAS reliably and without any buffering I installed a QNAP QXG-10G2TB Dual-port 10Gbe network expansion card. To do this, you will need to be confident in removing the outer shell of the NAS and exposing its internal components. Sounds scary but it’s quite straightforward and I was able to do it in around 30 minutes.
If you are on a Mac, you will need to configure the network in network settings, make sure you go to System Settings > Network > Ethernet > Details > Hardware and select ‘Jumbo (9000)’ under the MTU menu. This essentially instructs your Mac to use larger packets of data when transferring files.
For reference, I am using a Mac Studio M1 Max.
Additional External Hard Drives
To complete the hardware side of the post production backup workflow, I purchased the following:
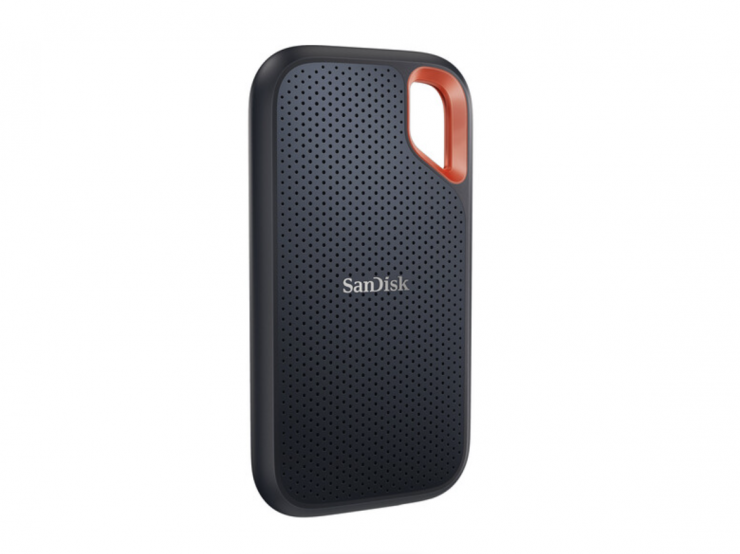
- SanDisk 2TB Extreme Portable SSD V2
- LaCie 1TB Rugged USB 3.1 Gen 1 Type-C External Hard Drive
- WD 12TB Elements Desktop USB 3.0 External Hard Drive
These were needed to enable editing to be as fast as possible and to provide an additional layer of backup in the event of NAS failure.
Setting up the post production backup workflow
Now that I had purchased and installed the NAS, built the RAID 5 configuration, and installed the 10GbE card and the supporting external hard drives, it was time to figure out how the process would work as seamlessly as possible.
Motion Base offers video production as a full service producing standalone videos for brands as well as supplying raw footage only to agencies so I have two different post production scenarios:
- Produce entire videos (pre production, shoot, edit, deliver)
- Shoot and supply raw footage
Produce entire videos for brands and clients – workflow
When creating a video for clients, I wanted to have all of the active project footage and video assets stored on one fast SSD, this minimizes any buffering or potential editing issues. This keeps the edit cleaner, portable, and fast at up to 1000MB/s write speeds.
The workflow for this scenario is:
Production RAW footage, sound files, and all initial assets are transferred to the SSD, NAS server, and 12TB HDD at the end of production/start of post production using Hedge.
At the end of each edit day, all assets for the project are synced over to the NAS server via 10GbE ethernet cable using Sync Folders Pro (more details below).
Once all of the updated assets are on the server, an additional copy is sent to the 12TB external HDD which is connected to the NAS via USB 3.2.
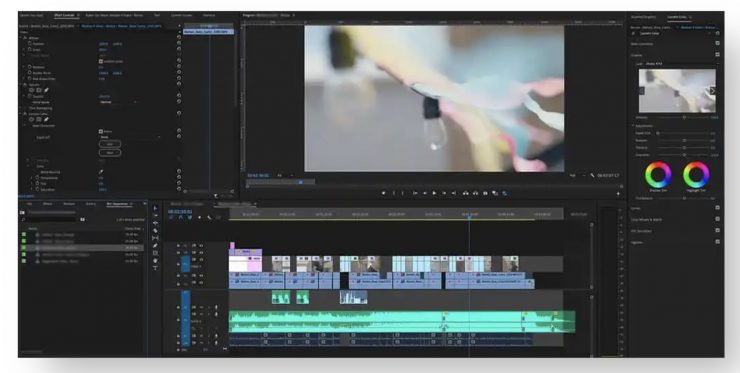
Autosave in Premiere and After Effects are sent both to the Adobe Creative Cloud account as well as the project folder on the SSD.
This provides a few layers of protection that are updated with new work at the end of each day. If the SSD fails during the day, I’ll be able to recover the project autosave files from the cloud, and all the raw assets from the server from the previous day’s sync.
Shoot and supply raw footage to clients (Copying raw data on location)
If all the camera and sound files are being transferred on set, I’ll use 2 x Lacie HDDs.
We use Hedge to transfer the data to both Lacie drives to get verification, when I arrive back at my desk, I’ll plug one of the drives into the Mac and leave it. Sync Folders Pro will backup the data overnight to the server.
If I’m supplying raw footage via the cloud, The raw footage is uploaded from the second Lacie drive to Frame.io ready for client delivery
Copying raw data at the edit desk
If I’m transferring the camera card data back at the edit desk, I use Hedge to copy it over to the Lacie hard drive, the NAS, and the 12TB HDD. Sync Folders Pro is not needed in this scenario.
For RAW footage that has been delivered, and signed off by the client saying they have it backed up on their end, the data is then removed from Frame.io and the two Lacie HDDs. The footage is then kept on the server.
Automating the editing backup workflow
The final stage of the post production backup workflow would be to minimize the time spent backing up and syncing the edit.
Keeping track of what footage is where, if it’s been updated or not and if it has all the recent editing assets would be a pain and it would get messy quickly.
I initially looked into installing backup software on the NAS but to be honest, I struggled to get my head around it all and how I could ‘fetch’ data from the SSD which was plugged into the Mac and not the NAS.
If you have a solution for this using QNAP software, please let me know in the comments section below.

I eventually stumbled across an app for Mac called ‘Sync folders Pro‘. This app has proved to have been the final piece of the puzzle and has been working very well to take the repetitive manual task of syncing daily editing work to backup drives.
Basically, you set up a folder on a drive to automatically copy over all of the footage to another drive at a certain time. You can also set it to transfer any changes the moment they occur if you wish.
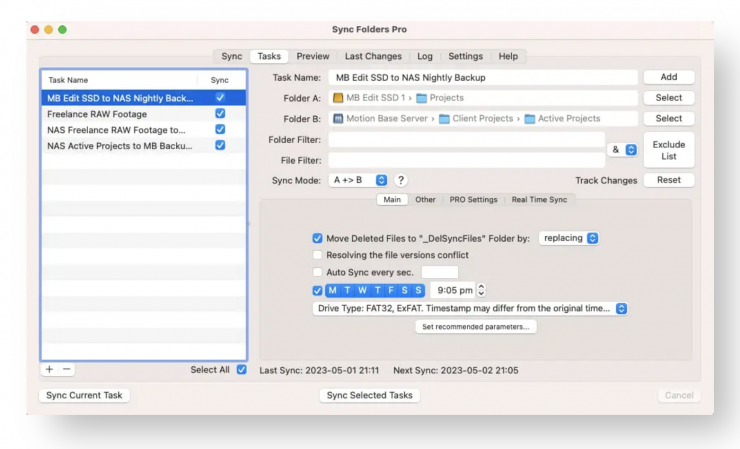
The interface is fairly straightforward where you specify what folders you want to sync and how often.

On this job, I have set the ‘projects’ folder on the edit SSD drive to sync to the NAS Server > Client Projects > Active Projects. This is scheduled to perform every night at 9.05pm.
Following on from the above job, I have set the ‘NAS Server > Client Projects > Active Projects’ folder on the server to sync to the 12TB HDD backup drive. This is scheduled to perform every night at 1 am.
The above example ensures that when editing assets are updated throughout the day on the SSD, it is then automatically sent over to the NAS at 9.05 pm. Then at 1am, it is automatically sent over to the 12TB HDD.
After using the app for six months, I’m yet to have any issues.
Sync Folders Pro has a number of different sync modes and it’s vitally important that you select the correct one. All of the sync modes are designed for different scenarios and I went with A +> B which is backup mode. This is best described directly from their website:
- All new files / subfolders that have been added to the “Folder A”, will be copied to the “Folder B”.
- The files in the “Folder A” will be copied to the “Folder B” (files will be replaced in the “Folder B”), if they have the same name and have different timestamps (changed files in the “Folder A”).
- All files that have been deleted in the “Folder A”, will not be removed from “Folder B”.
The last line is particularly important, when active edit projects on the SSD are completed and signed off, they are removed from the SSD to make way for the next project.
Being in backup mode ensures that the project on the server and 12TB HDD are not deleted!!)
Thoughts after six months
My experience of having this post production backup workflow after six months of real-world use has been very positive. The hardware has proved to be solid and has performed well.
I have had a notification in MacOS (Ventura 3.1) saying that the SSD has lost connection but I think that is a software issue as I have been editing in Premiere at the same time with footage on the SSD and Premiere has kept the files online.
The software when up and running has synced all of the files without any issues and it’s been a great experience to only have to copy camera cards once at the end of the shoot day and also not worry about if all the backup drives are updated after a day of editing.
One negative has been during times of power outage, I have needed to remount the NAS folders into finder in order for Sync Folder Pro to be able to see them and successfully sync.
A few months ago I had to update an edit for a client that was no longer on the SSD, I opened up the project from the server through the 10GbE ethernet cable and the project ran as smooth as butter.
Having the convenience of being able to open up any video production project from the last couple of years within seconds will save a lot of time swapping out hard drives (and remembering what drive the project is on)!
Ambient noise when the NAS is working
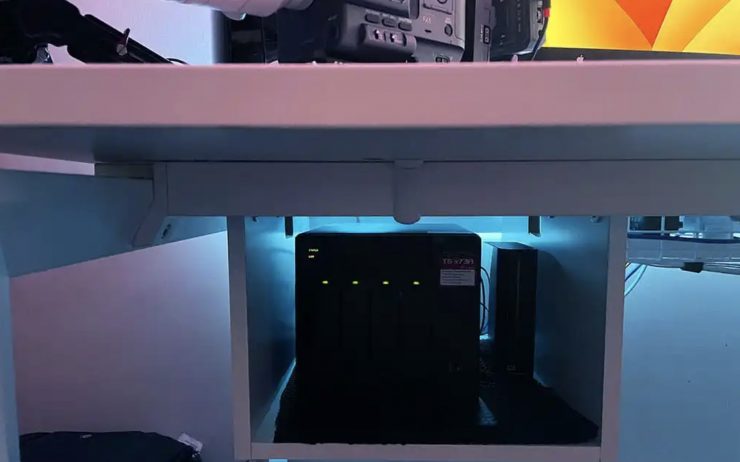
The NAS is definitely louder than running just a desktop hard drive, initially, it was sitting on the desk next to my monitors and I found it quite distracting while editing sound and interviews, etc so I picked up some laminate wood panels from a hardware store and knocked together a housing for the server under the desk.
Placing the NAS on some rubber matting in the housing has greatly reduced the ambient noise. These days, I barely notice the server and hard disks running.
Pros
- Redundancy of drive failure
- Fast editing of the SSD
- Every project is instantly accessible
- More organized data structure
- Automated backup workflow
- The server can run many applications
Cons
- Ambient noise of the server
- Higher initial cost compared to buying just hard drives
Total cost
As technology improves and the cost of data comes down, the cost will lower slightly over time.
It’s important to remember that this cost saving will likely be offset by the increasing data rate of camera files as we move into 6K and 8K capture.
Here is a breakdown of the total cost in Australian Dollars:
- Qnap NAS: AU $1,035
- 64TB Ironwolf Pro HDD: AU $1,890
- 10GbE expansion card: AU $301
- Sandisk SSD: AU $369
- 12TB HDD: AU $299
- Hedge software: AU $149
- Sync Folders Pro: AU $8.99
- Cables / Housing / Various: AU $60
Total Cost: AU $4,111 (Inc. GST)
As you can see, a tad over $4K for a post production backup workflow solution isn’t exactly small change, but having RAID 5 redundancy, direct NAS editing via 10GbE ethernet, fast SSD editing, and a fairly set-forget post-production workflow for the next few years has definitely been worth it in my opinion.
The ongoing costs moving forward will be lower considering the hardware should last 5 – 7 years. The cost of new hard drives to swap out in the server will be approximately AU $1600 every two years depending on space.
At the end of the day, data is very important, clients trust me to be able to look after the production data after a shoot and during post production and investing in this setup has helped put more protection against disaster and helped me sleep better at night!
The next step would be to find an off site backup location to ensure against fire or theft in the office
This will either involve uploading the footage to the cloud to a service like Backblaze or physically storing drives in a different location.


