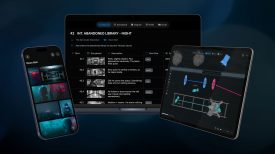
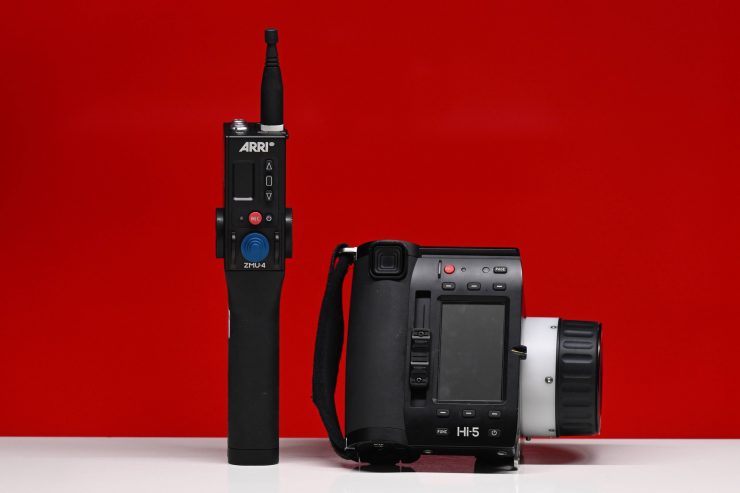
ARRI has just unveiled the ZMU-4 Zoom Command, although calling it a Zoom Command is probably doing it an injustice, as it is a whole lot more.
The ZMU-4 takes the same radio modules as the Hi-5 and it can act as a wireless transmitter or receiver depending on how you want to configure it. It also allows you to turn other devices into wireless devices.
Key features
- Easy switch between wired and wireless operation
- Camera and lens motor control combined in one unit
- Exchangeable radio modules for challenging environments
- Wireless expansion for other devices
- Easily readable status display with lens data
- Robust, weather-proof, ergonomic design
Please note that the ZMU-4 I was testing was still running on pre-release firmware.
Its roots date back more than 18 years
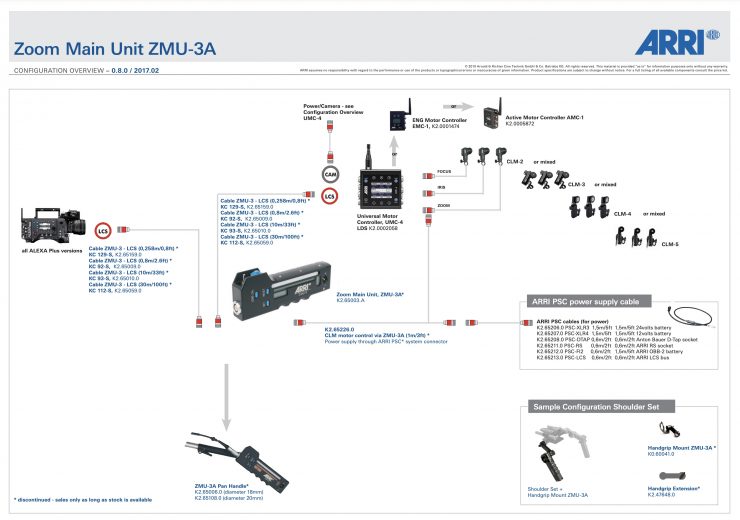
This isn’t the first time ARRI has made something like this. If you are old enough to remember, ARRI used to have the ZMU-3 way back in 2005. This was shaped like a classic handgrip zoom controller and it had the classic zoom knob that assistants‘ thumbs all over the world were familiar with.
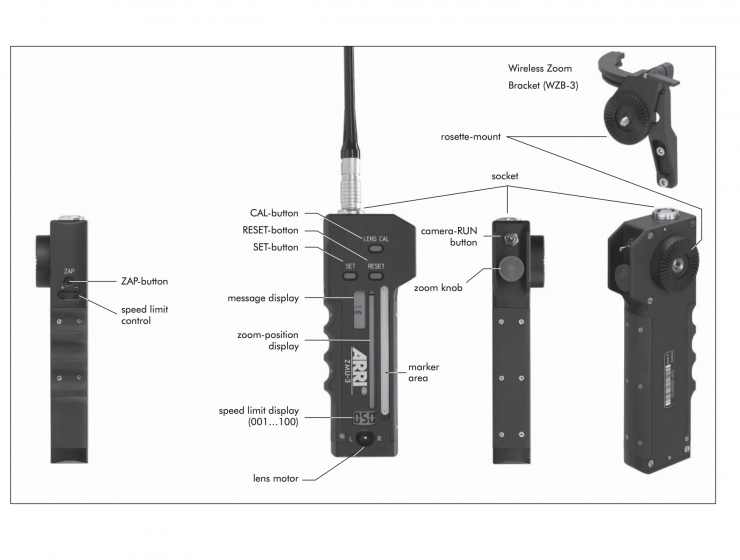
The ZMU-3’s zoom speed could be precisely adjusted and zoom limits could also be set. A large bar graph showed the zoom ring position, the zoom
speed, and various status messages, and a ZAP button allowed for a quick focus check. there was also a switch to change the running direction of the attached lens motor. The RUN switch was able to start film cameras, but the ZMU-3 could also start/stop some high-end video camcorders and control the zoom motor on various video lenses.
The ZMU-3 also allowed an ARRI LCS and WRS compatible zoom controller to be attached to the tripod handle. This could be done either using the ZMU-3 Pan Handle (K2.65006.0)
The ZMU-3 was ultimately discontinued because hardly anyone bought it.
Anyway, enough with the history lesson, let’s get back to the ZMU-4.
What can it do?
You can use the ZMU-4 as a completely self-contained stand-alone wireless zoom controller, or you can use it to turn other devices into wireless devices. So, for example, there is a bracket for the OCU-1 which you can attach to the ZMU-4, and then by plugging in an LBUS cable, you can turn it into a wireless device.

ARRI RIA-1
You can also use the ZMU-4 as a wireless receiver. What this means is that because the top of the ZMU-4 is essentially an RIA-1, it shares the same capabilities. This means you can use it for remote focus, iris, and/or zoom control and camera run/stop and tally functions.
You could mount the ZMU-4 to handgrips, although it probably isn’t going to be used by most people in that configuration. This would allow you to hook up lens motors directly to the ZMU-4 and then you could still have everything talk directly to the Hi-5 as well.
Back in the day, the ZMU-3 could be attached to the WMU-3 Wireless System using the KC105-S and WZB-3.
What ARRI has done with ZMU-4 is to modernize this same approach. As I mentioned earlier, by utilizing the ZMU-4 and an OCU-1, you can create a 2-channel system. Because ARRI currently doesn’t make a WCU-1 replacement and they only have the Hi-5, this becomes a good in-between solution.
By combining the ZMU-4 and the OCU-1 and placing that combination with or on a monitor, you can create a nice 2-axis system for controlling zoom and focus, or zoom and iris. I will show you how this works in more detail later down in the review.
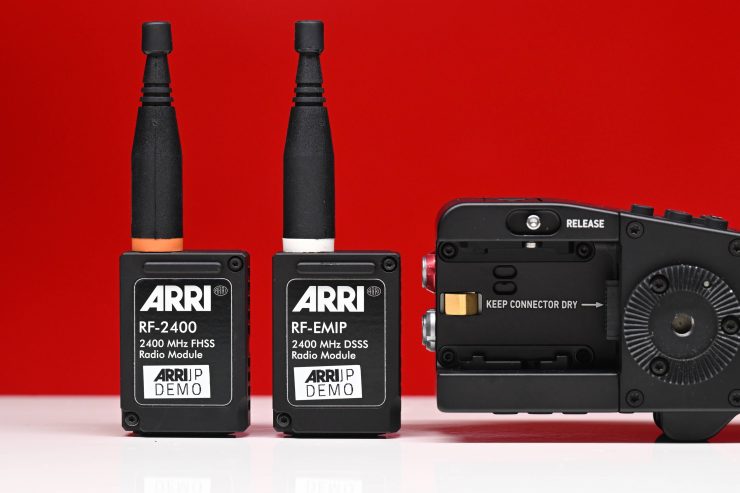
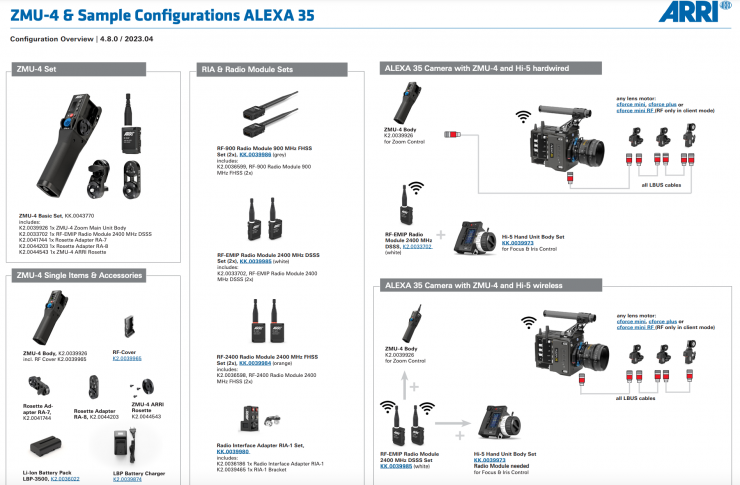
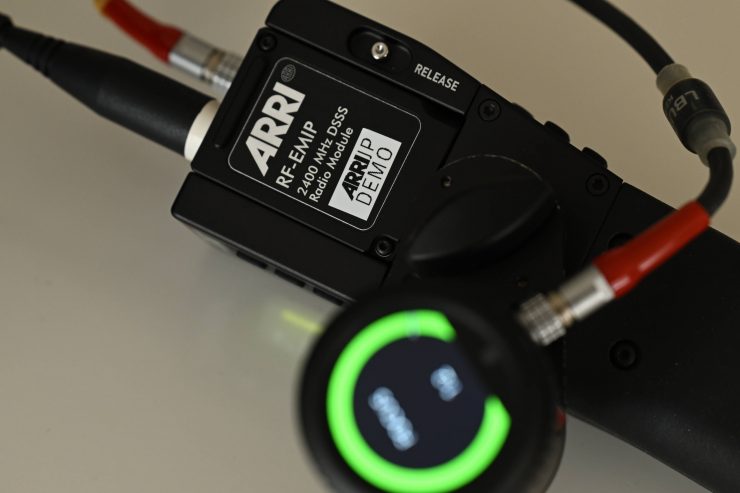
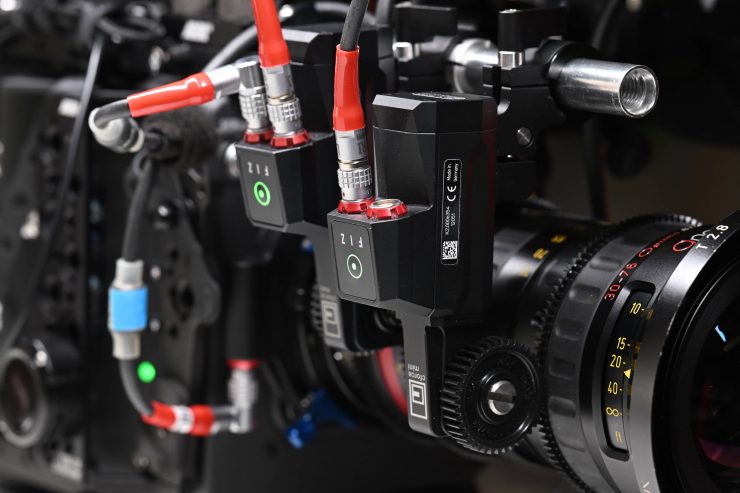
Just like the RIA-1, you can interchange the ARRI RF radio modules depending on your requirements.
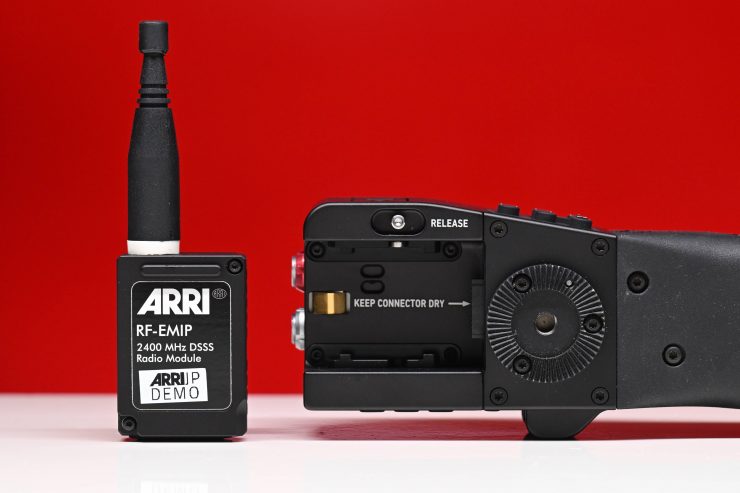
The ARRI RF radio modules simply clip into the top of the ZMU-4.
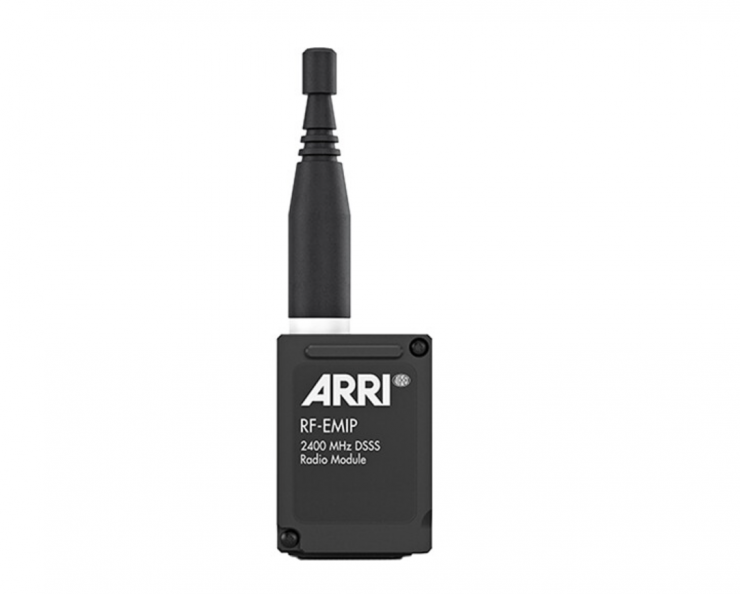
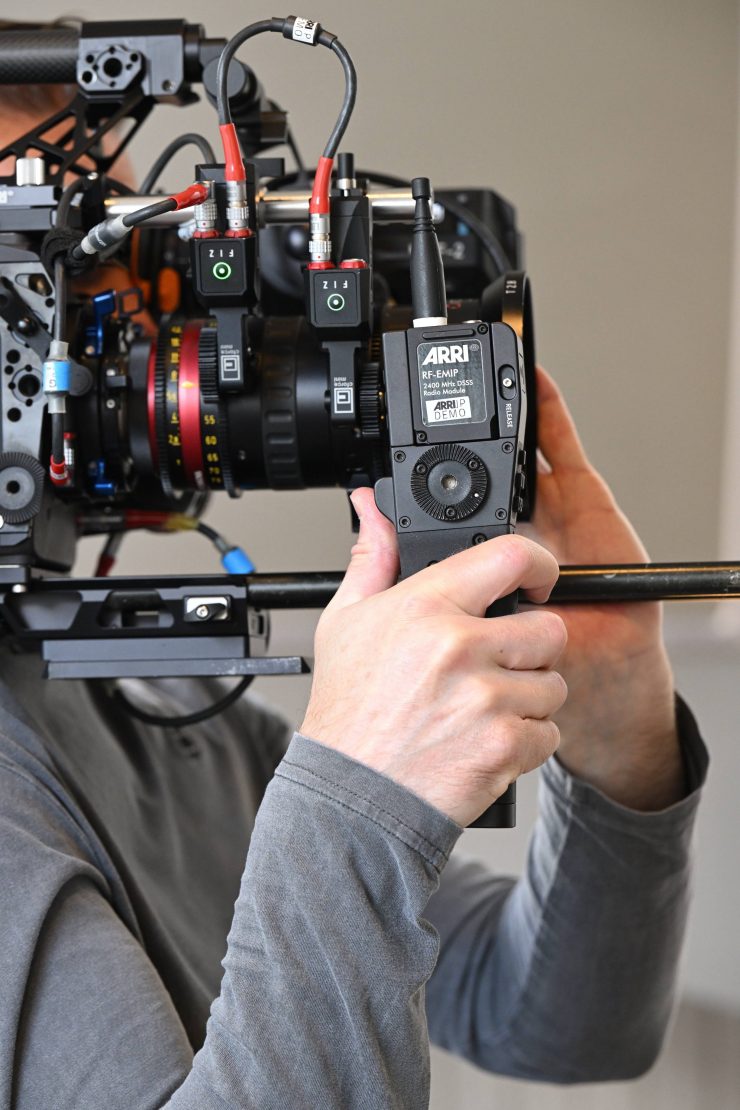
ARRI RF-EMIP Radio Module 2400 MHz DSSS
If you are using the ZMU-4 with the ALEXA 35, because the ALEXA 35 has the same integrated radio module as the ARRI RF-EMIP Radio Module 2400 MHz DSSS everything will communicate without the need for any additional components. This also means that you don’t need a cforce mini RF Motor Unit because the ZMU-4 is talking directly to the camera and not the motor. This allows you to plug lens motors directly into the camera and then control them through the ZMU-4.
Another way you could also use it is by attaching it directly via an LBUS cable to motors. This is handy for certain applications and just adds to the overall versatility of the product.
You can also combine it with a Hi-5 so someone else could control the zoom axis (or whichever axis you assign to the ZMU-4) if that was required. Where it may also come in handy is if you needed to control a fourth axis. If you were running a zoom lens with a filter such as a polarizer or VND that was in a filter frame with pitch gears you could use the ZMU-4 to control that axis, while the Hi-5 took care of the others.
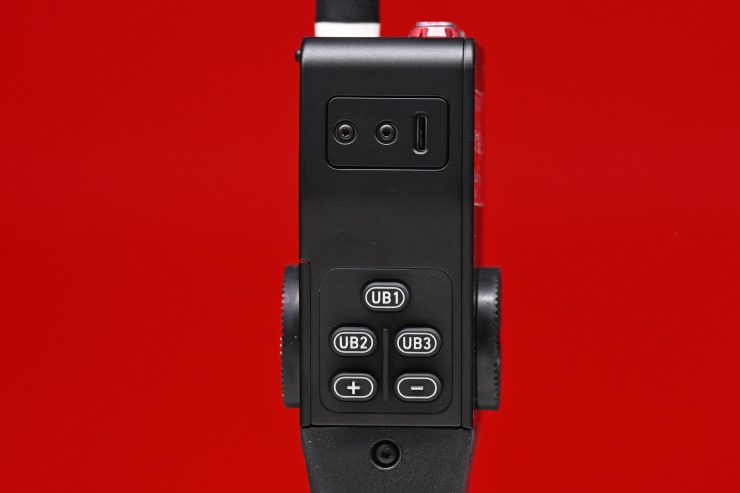
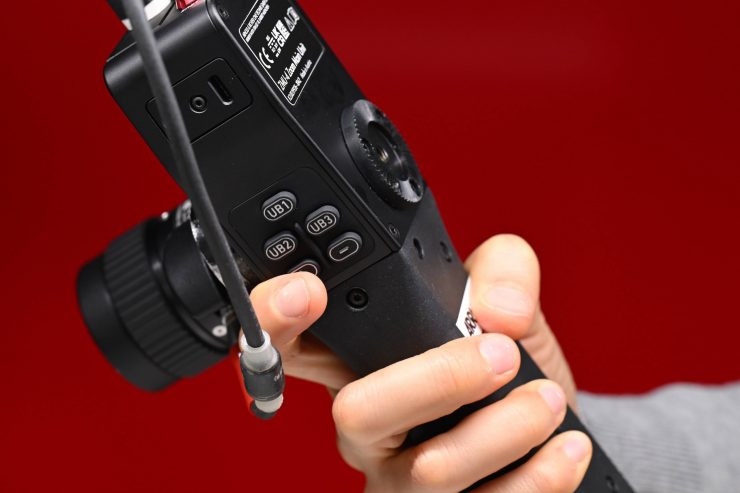
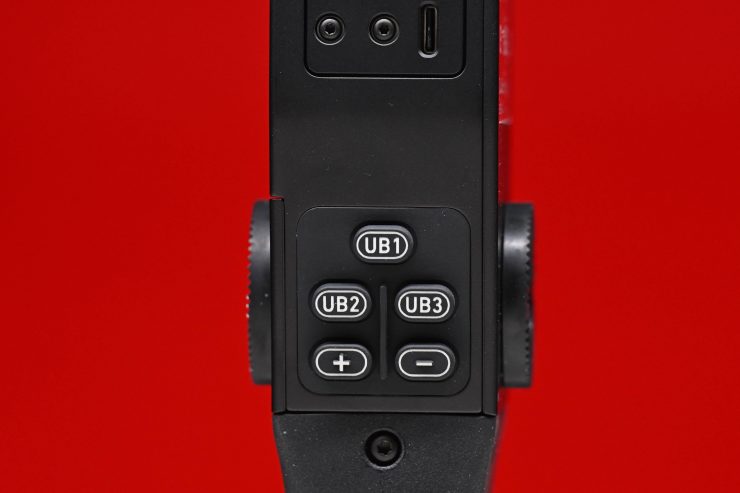
If that wasn’t all, it also features 3 user buttons that you can program to any of the same items that are assignable on your camera. This is very handy and it allows you to remotely change camera settings. I will talk more about this functionality further down in the review.
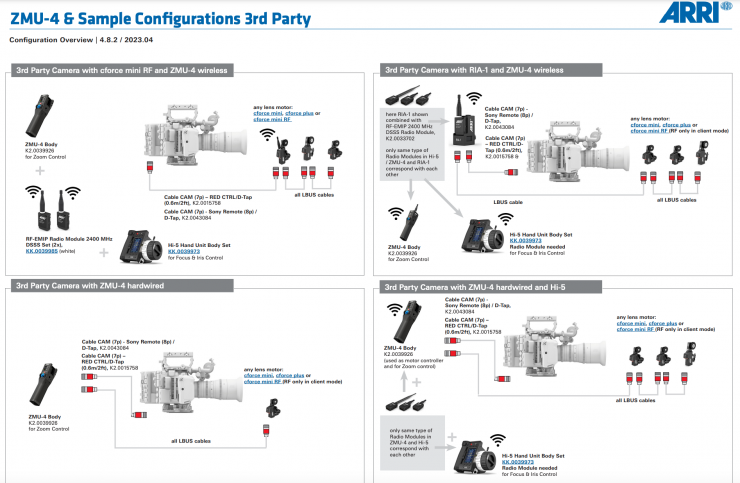
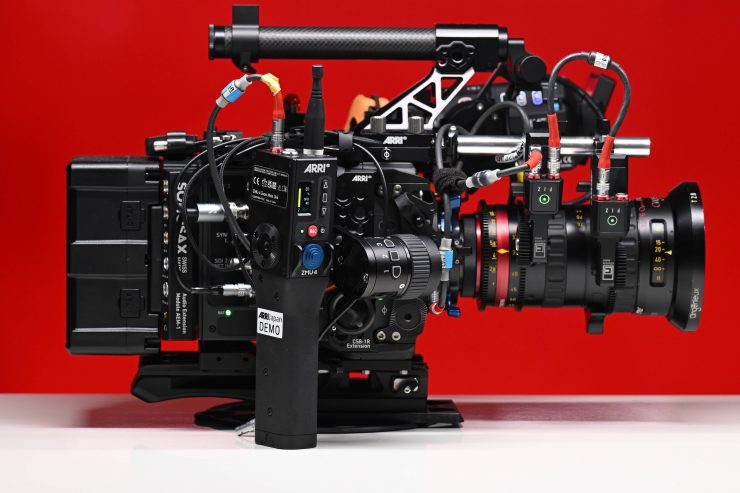
Above you can see how the ZMU-4 can be utilized with non-ARRI cameras.
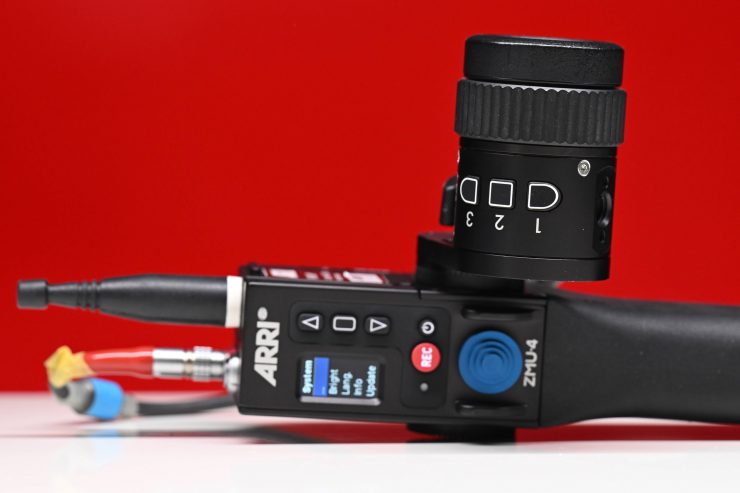
Build Quality & Design
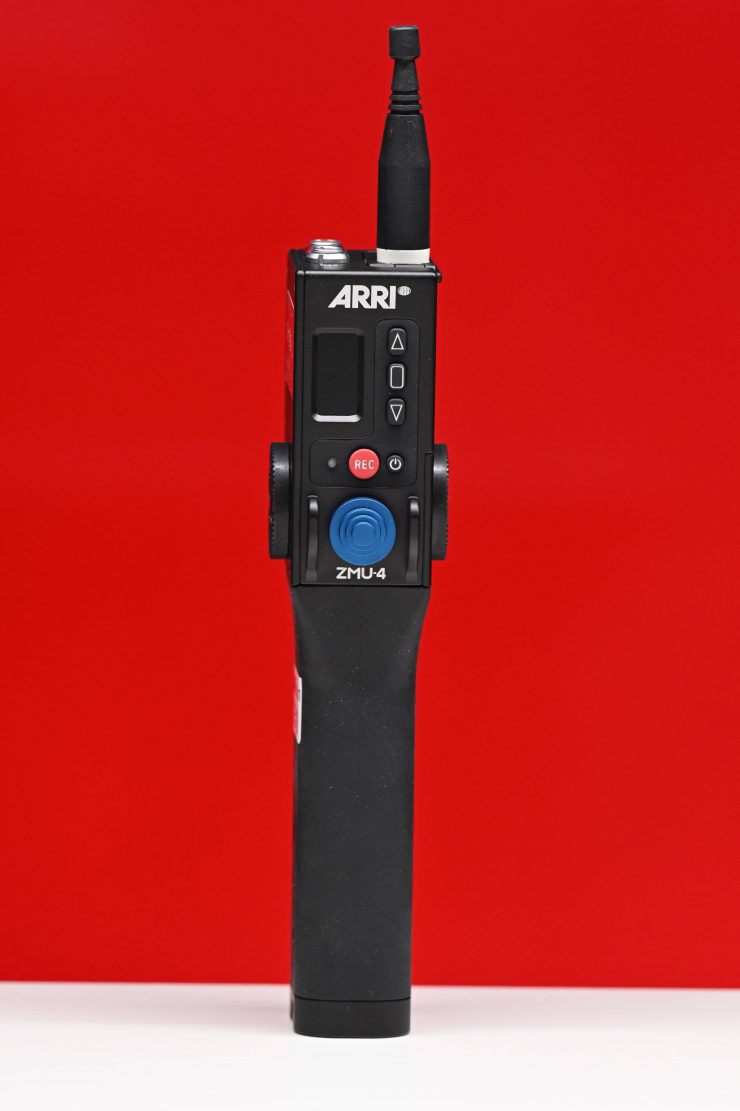

The ZMU-4 is claimed to have better weatherproofing than even the Hi-5 and it is built like a tank. As you would expect from an ARRI product it was designed to stand up to anything you can throw at it. It is made out of high-grade Aluminum and it is covered in rubber.
It features a fairly industrial design and there’s nothing overly pretty or aesthetically pleasing. Like all ARRI products, the ethos is about how well it works and operates as opposed to trying to make something look good.
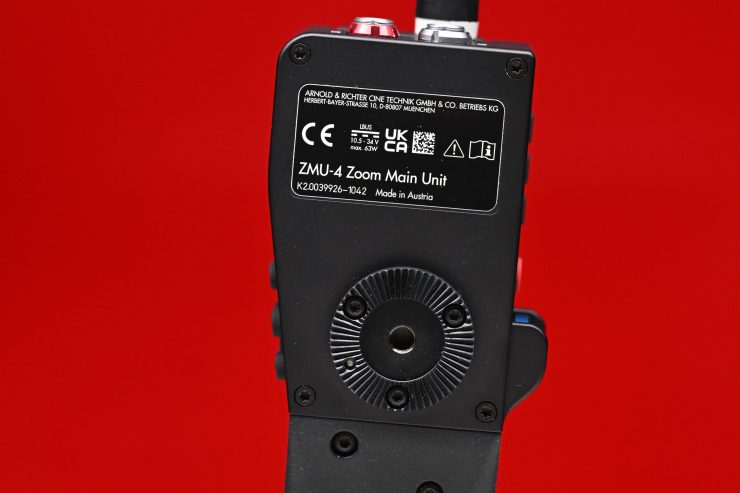

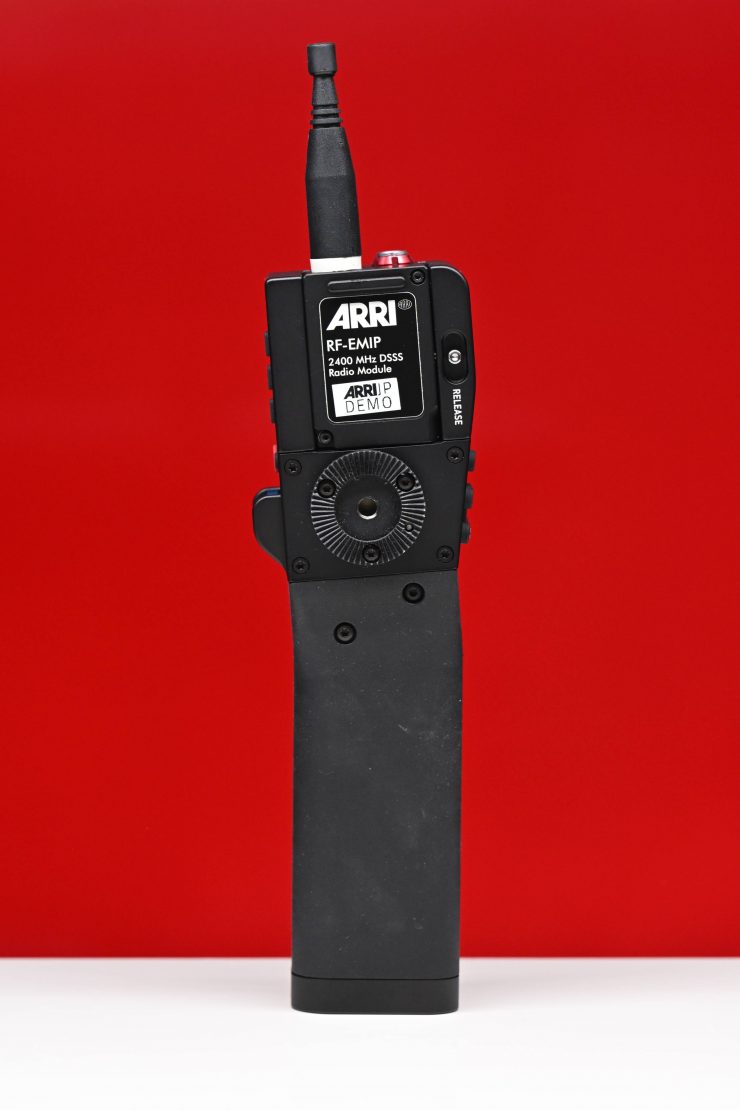
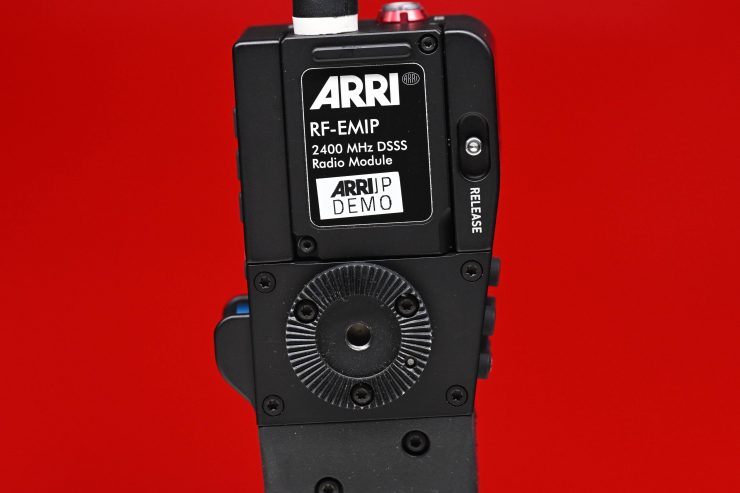
There are two ARRI rosettes on either side of the ZMU-4.
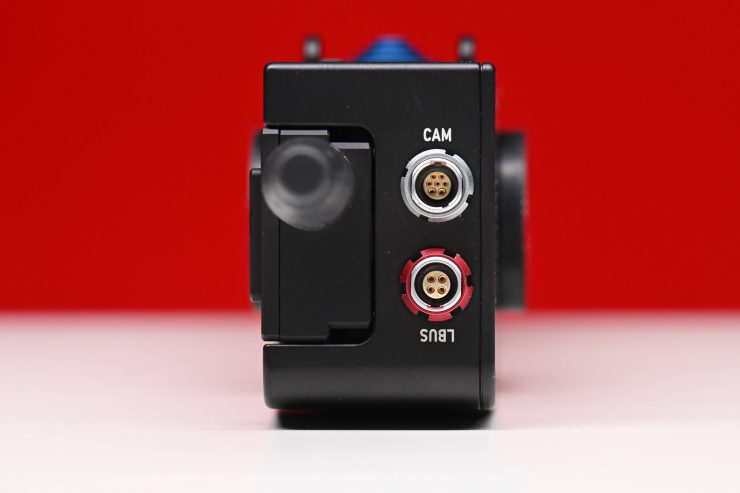
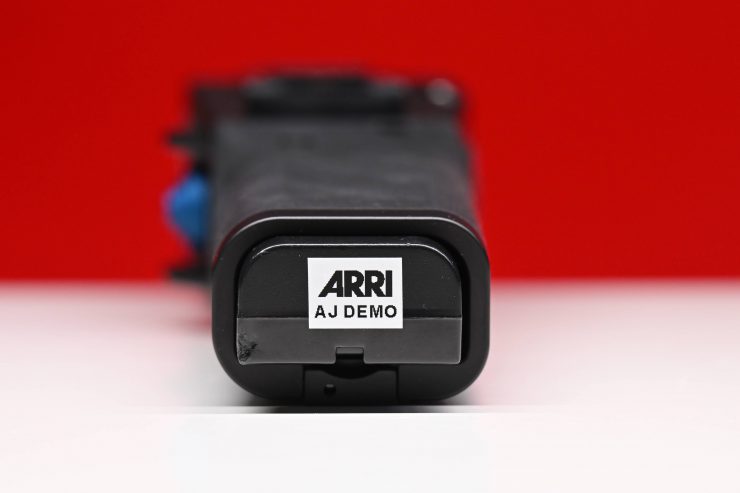
On the top of the ZMU-4, there is a 7-pin CAM input and an LBUS connector.


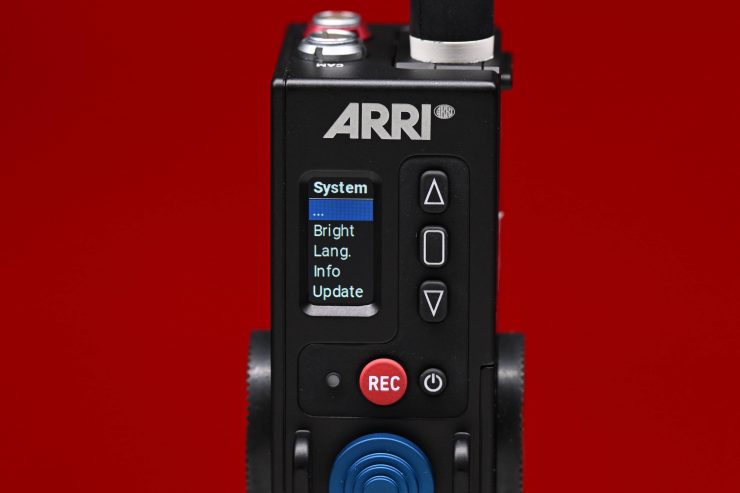
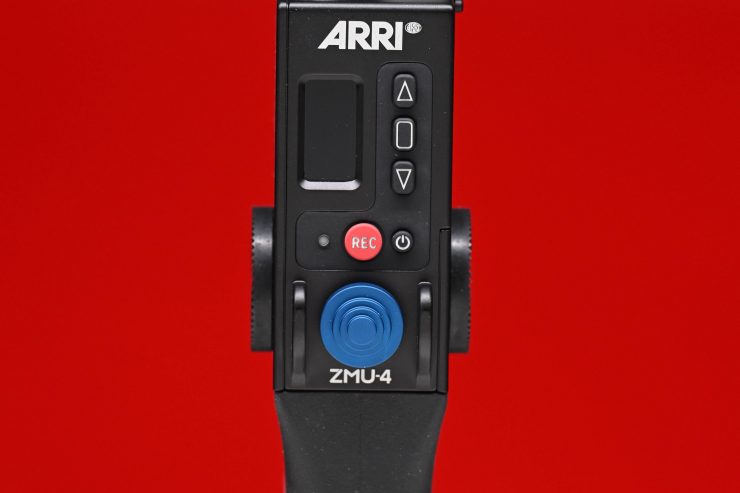
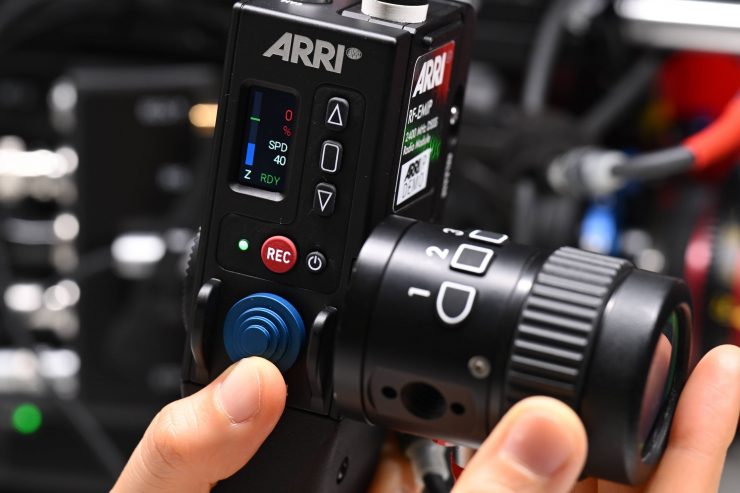
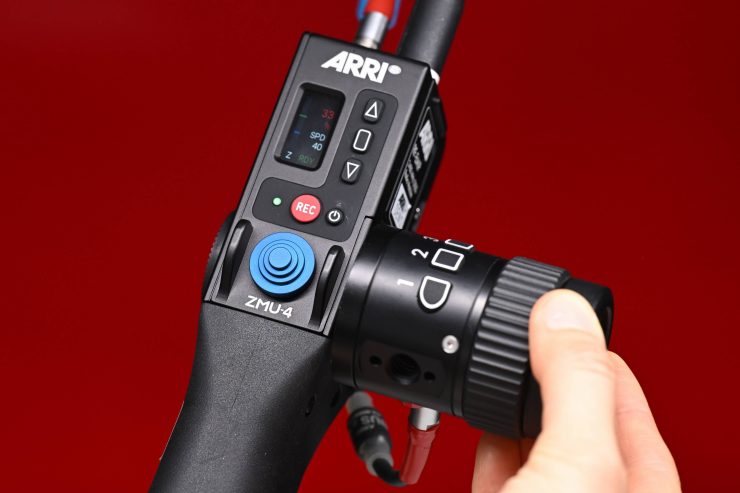
The ZMU-4 features a fairly basic interface and display, but it is easy and simple to operate and control. While it is a little old school in the way you navigate the menus it certainly gets the job done.
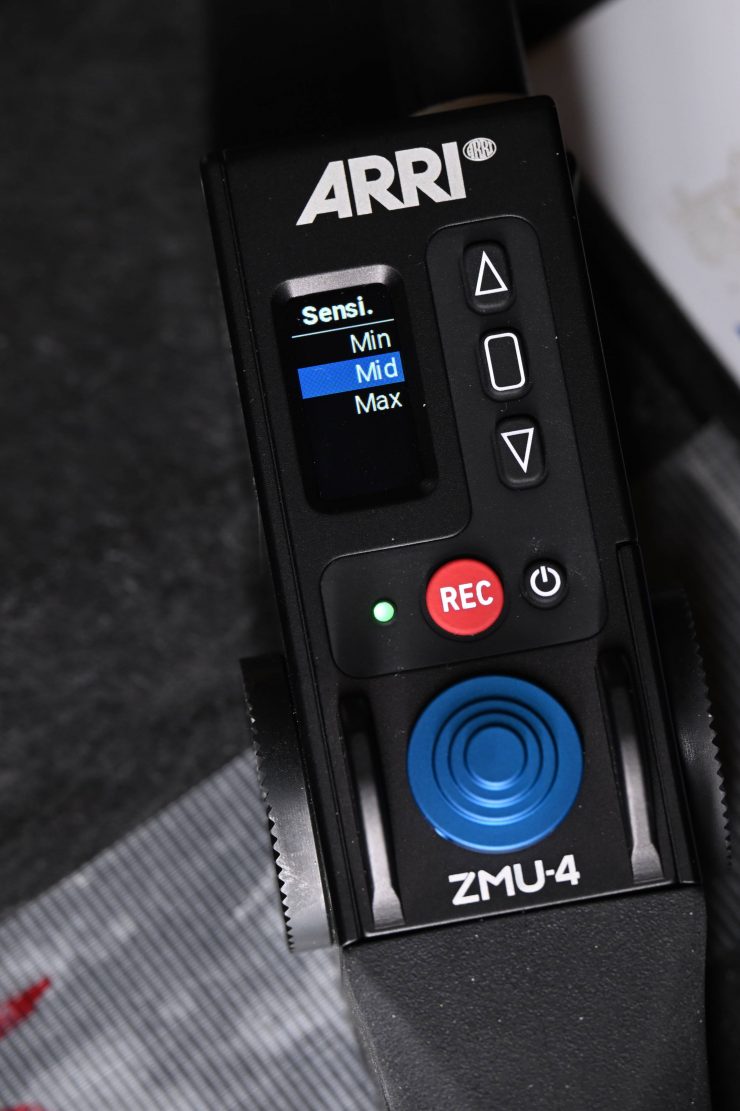
You can set the sensitivity of the zoom control joystick in the menu.
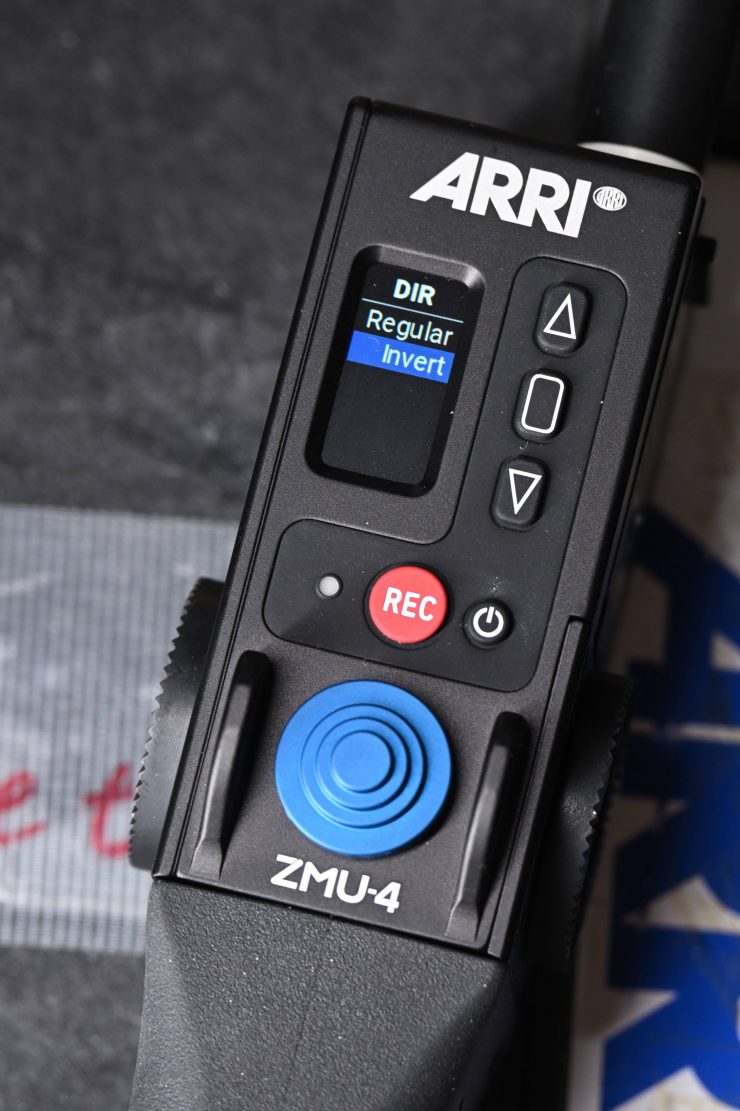
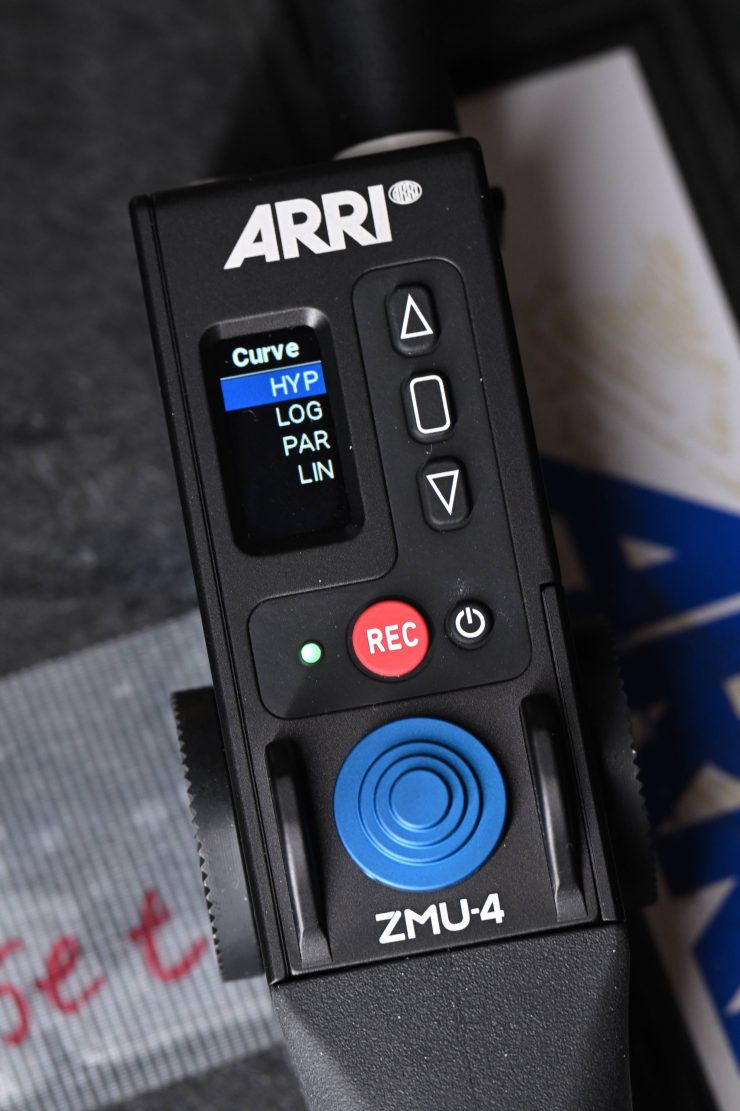
There is also the ability to change the direction of the motor as well as the curve of the zoom response.
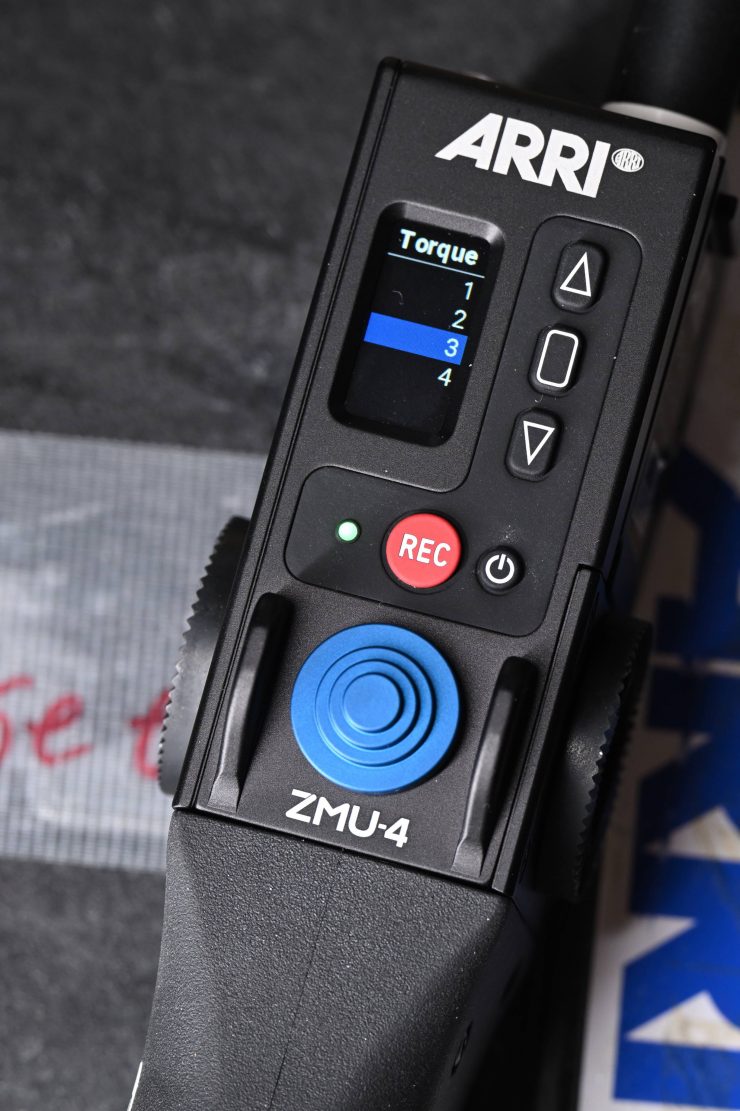
In the Zoom menu, you can also adjust the torque of the connected motor.
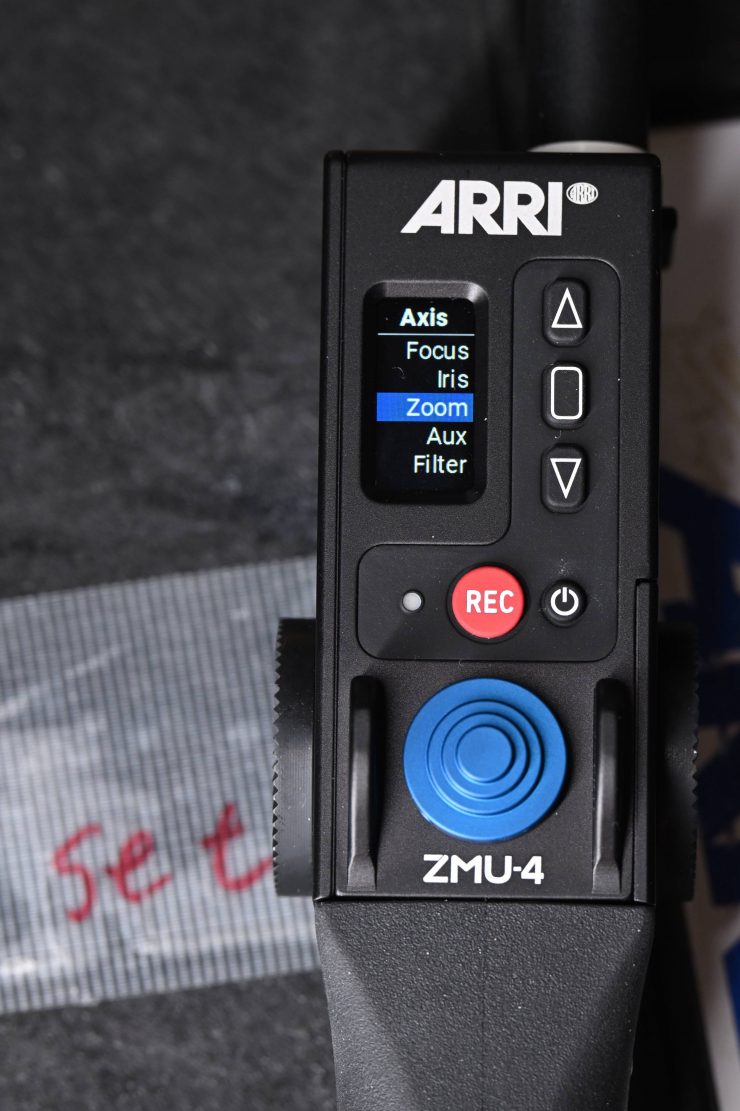
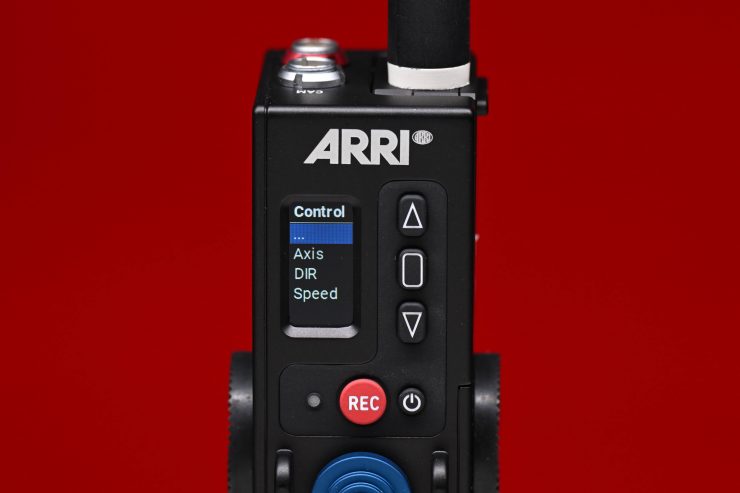
You can also change the parameter of the axis you wish to control. These can be changed between Focus, Iris, Zoom, Aux, and Filter. Filter is if you were running a geared variable ND such as a Cinefade system with a motor controlling it.
How is powered?
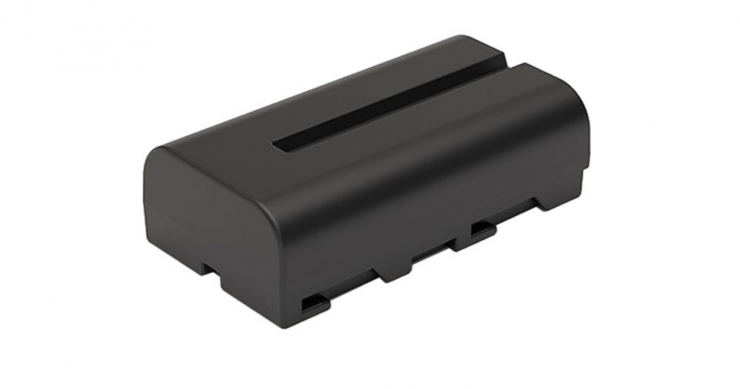
ARRI Lithium-Ion Battery Pack LBP-3500 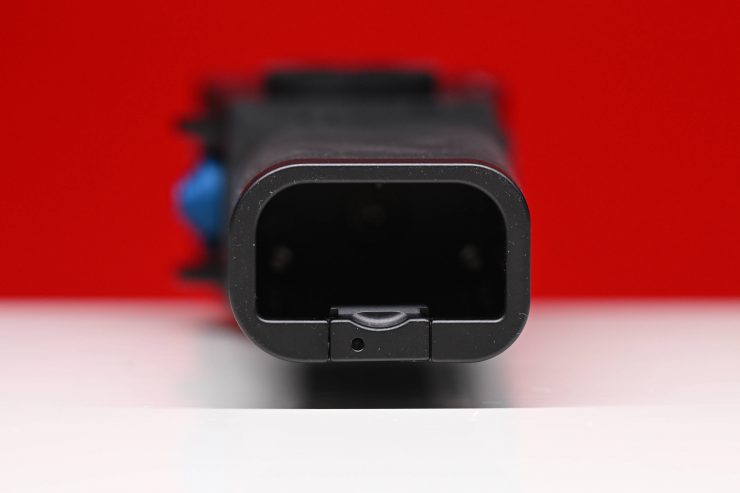
The ZMU-4 utilizes the exact same LBP-3500 Li-Ion battery as the Hi-5. I did find it slightly surprising that was no battery door on the unit.
A single battery will run the ZMU-4 for around 14-15 hours.
How do you set it up & use it?
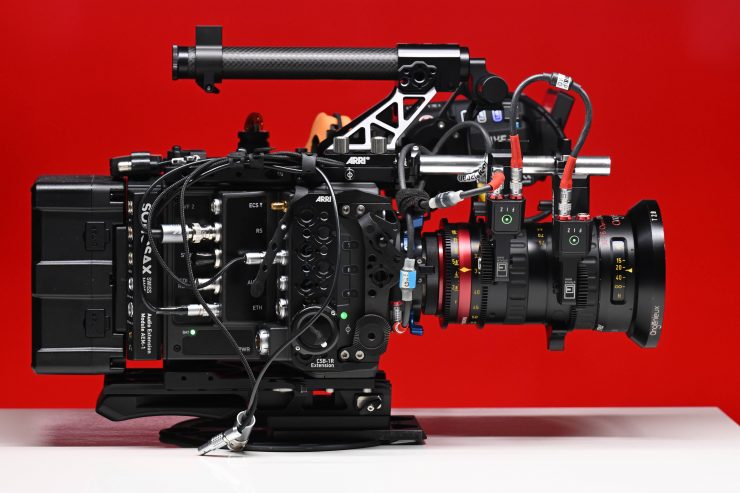
The ZMU-4 is pretty straightforward and easy to set up. For this particular example, I will show how it works with the ALEXA 35.

The first thing you need to do is to attach a cforce Mini motor directly to one of the LBUS connectors on the camera.
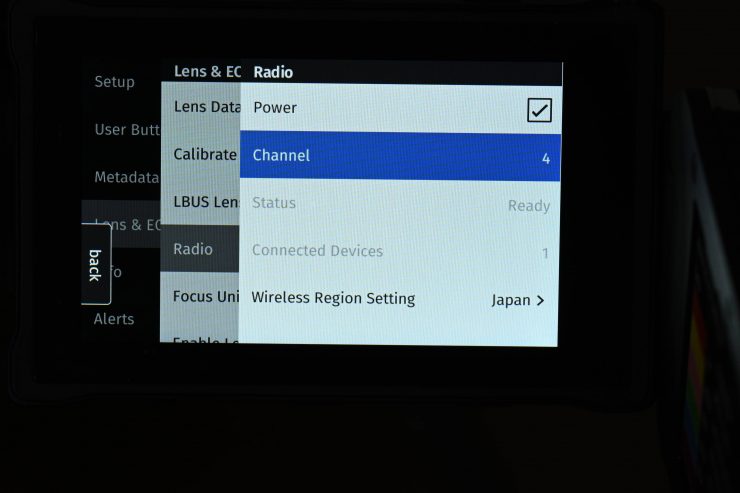
You then need to go into your camera’s Lens & ECS menu and access the Radio sub-menu and make sure that Power is set to On. You also need to select a Channel and the Wireless Region Setting. Your camera is now set up to receive the radio signal from the ZMU-4.
Now, you can go ahead and turn on your ZMU-4.

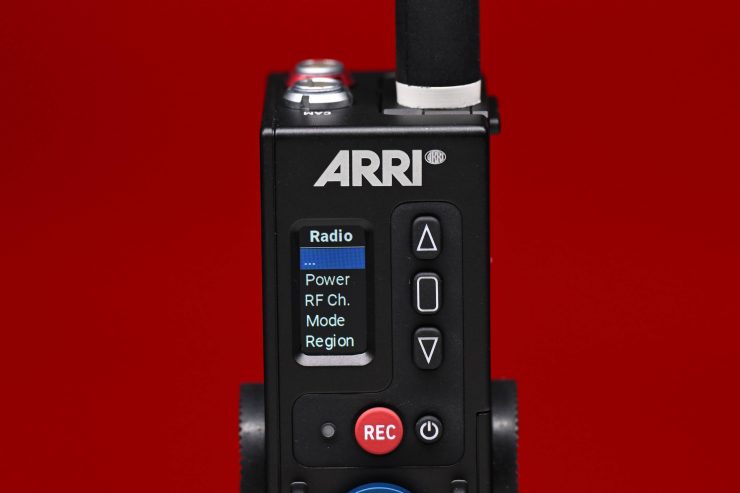
The next step is to access the menu by pressing the menu button that is between the two up and down arrows. You then scroll to Radio using the down arrow and press the middle button to access that setting.

In the Radio section you want to make sure that Power is set to On and that the RF Ch. is set to the same operating channel as your camera, in this case, we are using Ch 4. We also want to make sure that Mode is set to Client.
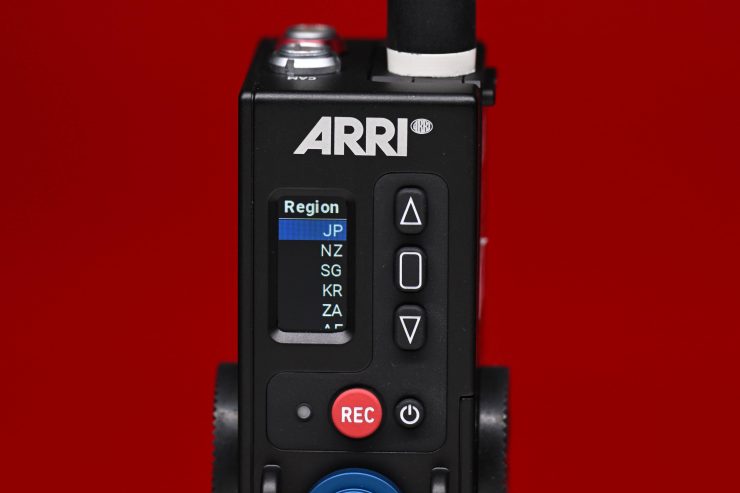
We also want to make sure that the Region setting is set to the same Region we selected on the camera, in this case, it is Japan.
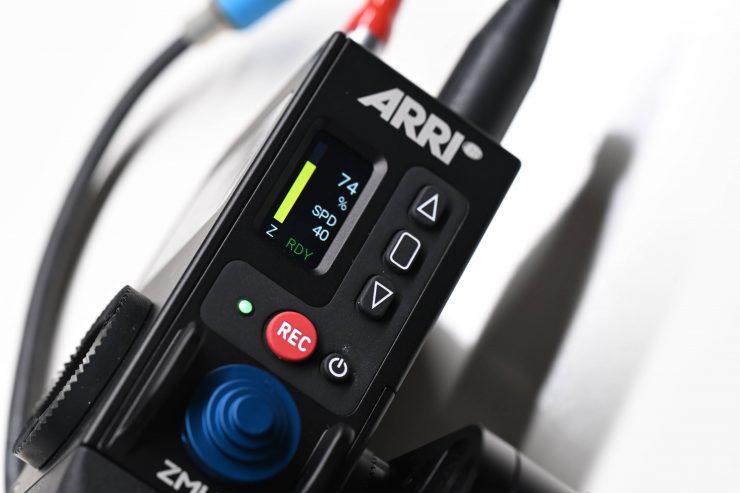
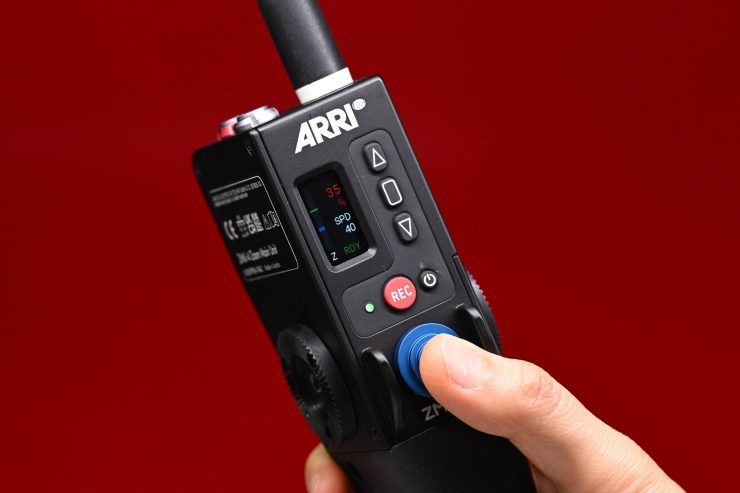
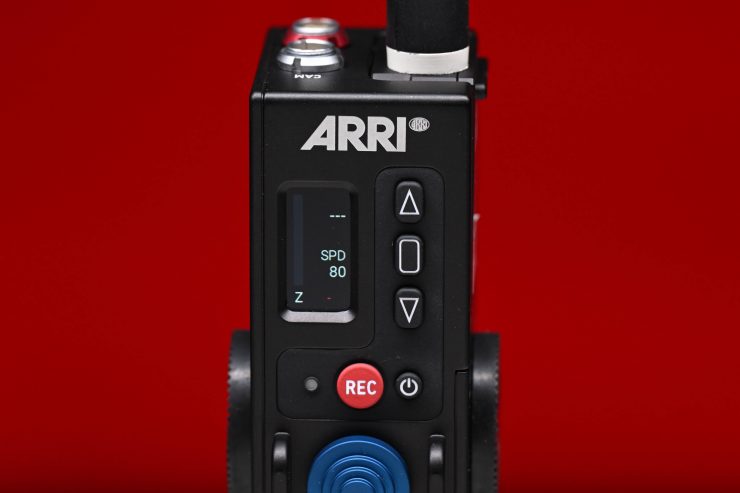
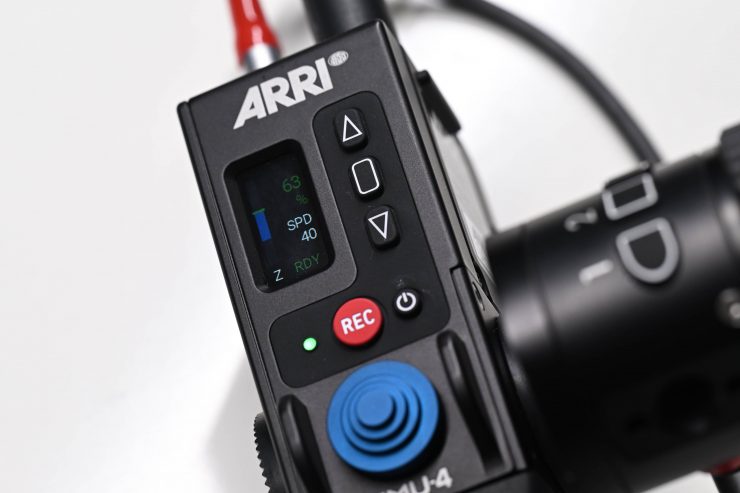
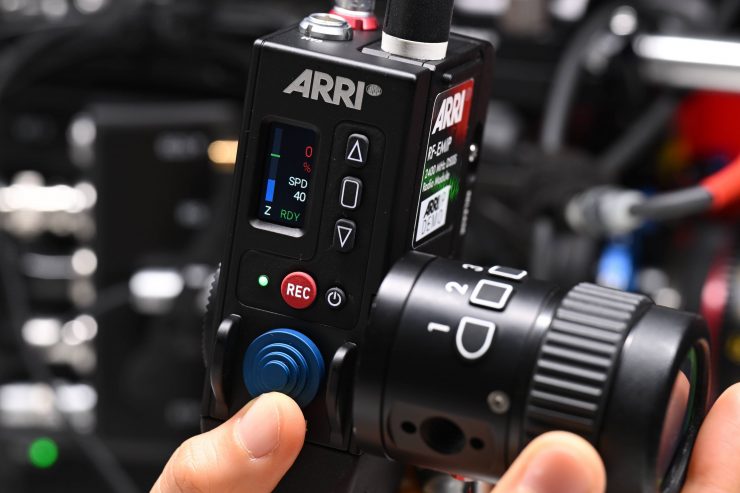
Once we have done all these steps the ZMU-4 will automatically connect up to the camera. You will see RDY appear and you will also a bar that represents the percentage of the zoom that is being used and a speed indicator.
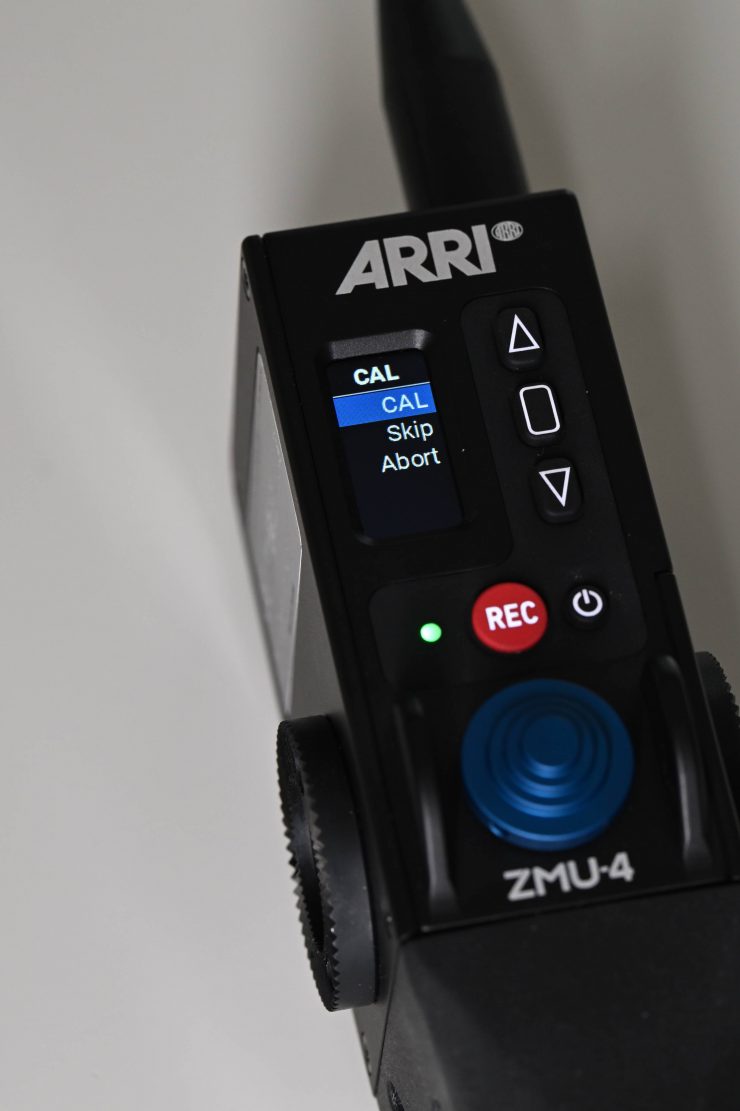
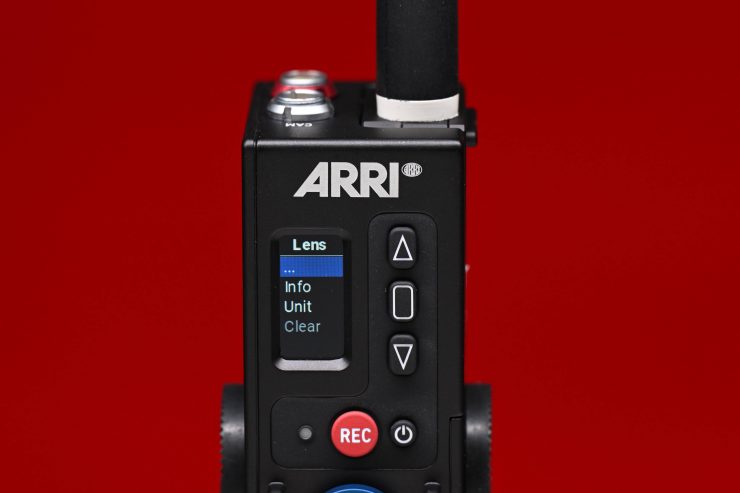
What is nice is that the ZMU-4 will automatically then go straight to the menu where you can do a lens calibration. Once you have done a calibration, if you turn the ZMU-4 off, you don’t have to re-calibrate the lens when you turn it back on.
Once the lens has been calibrated it is then just a question of how you want to use the ZMU-4.
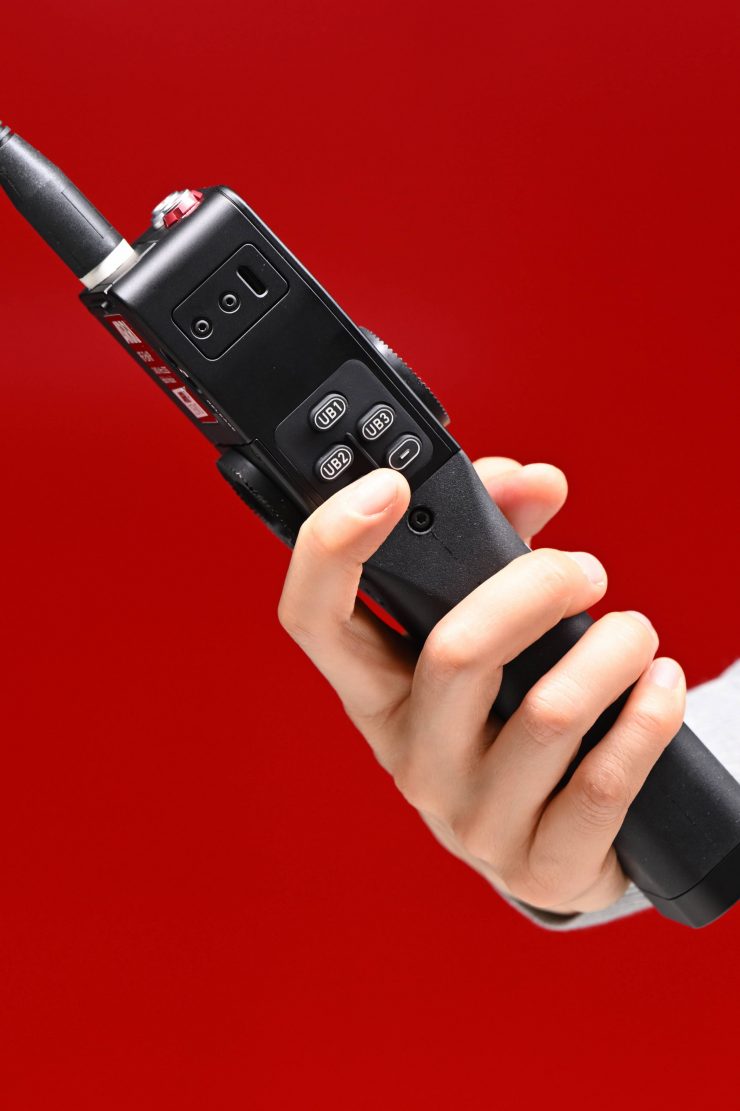
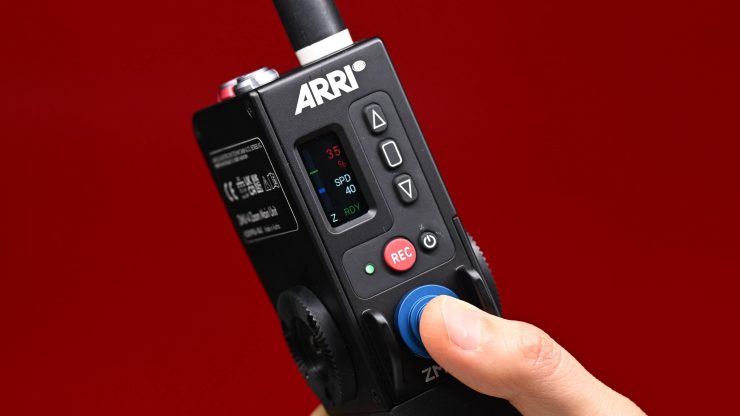
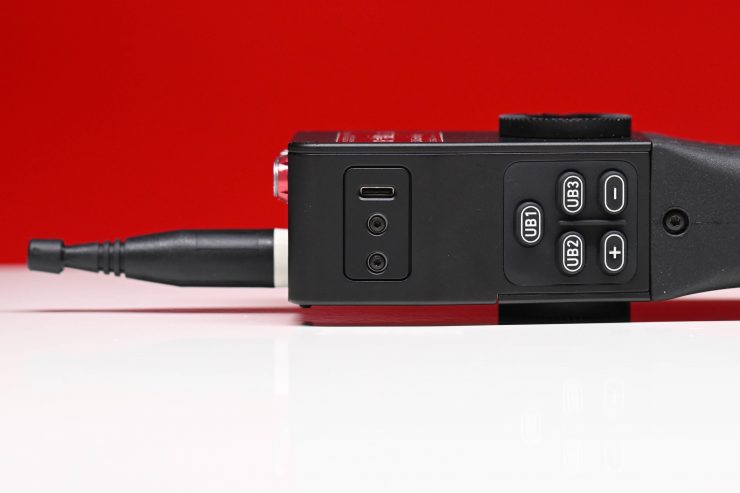
If you want to change the zoom speed you can by simply pressing the + or – buttons that are located on the back of the ZMU-4. You can also change it in the menu as well.
How is it to actually use?
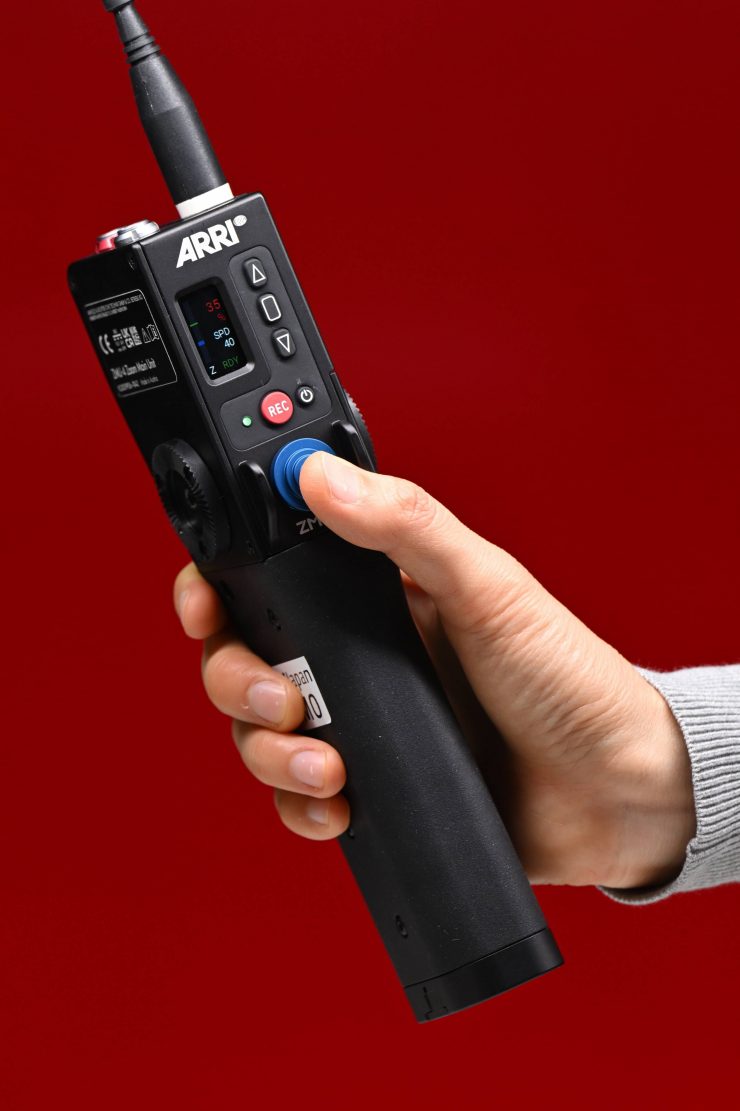
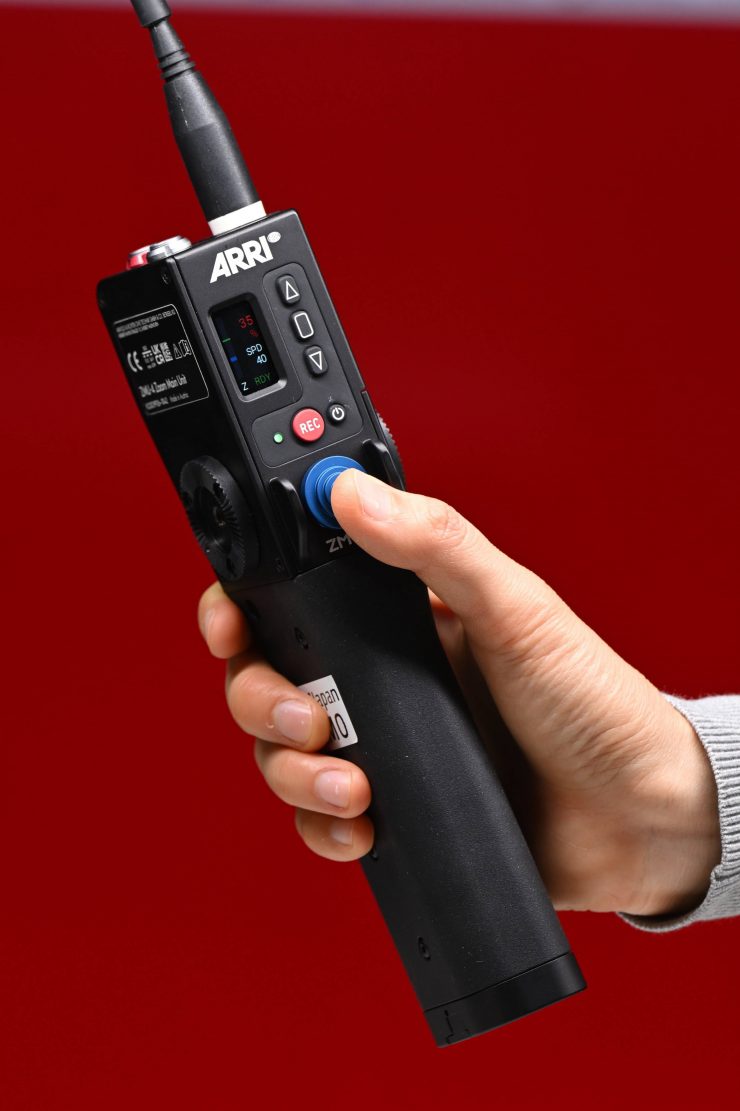
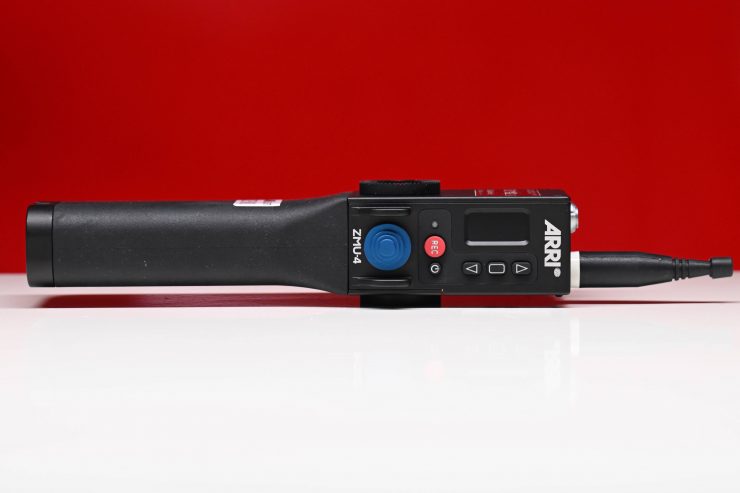
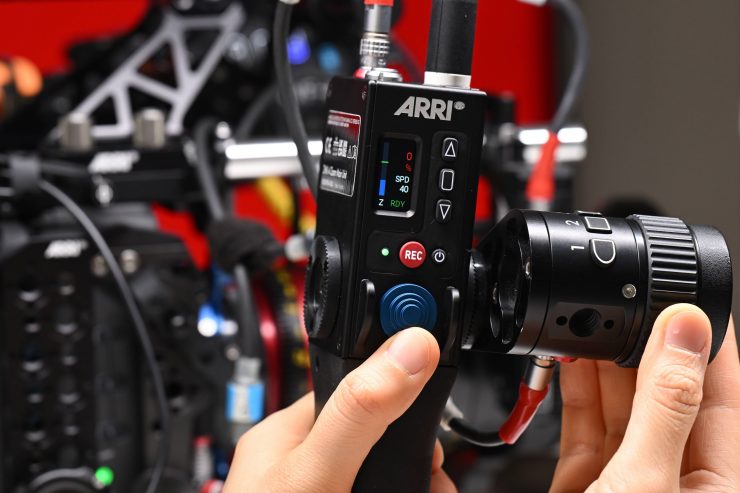
Despite its simplistic and underwhelming aesthetic design, the ZMU-4 is very comfortable to use and operate.
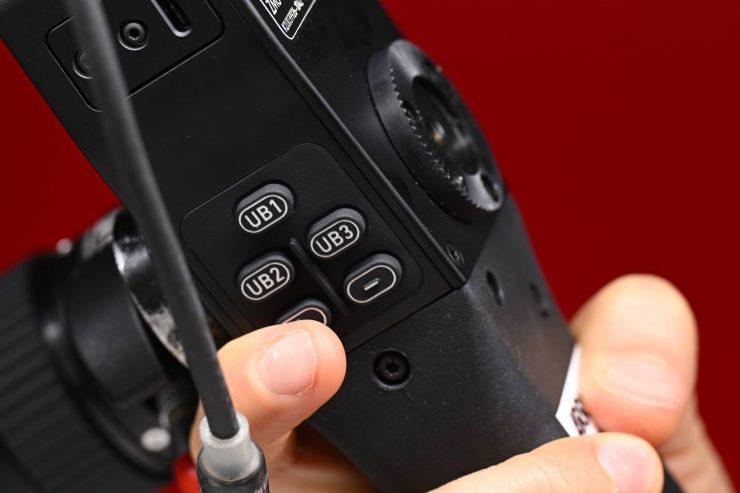
The rear buttons have been ergonomically positioned and they are easy to access while you are holding the ZMU-4. Now, because you can’t see them it does take some getting used to before you will be comfortable with knowing which button is which.
Yes, you could have put them on the front of the ZMU-4 but then that would have cluttered things up and it wouldn’t have been possible to make adjustments using just one hand when operating.
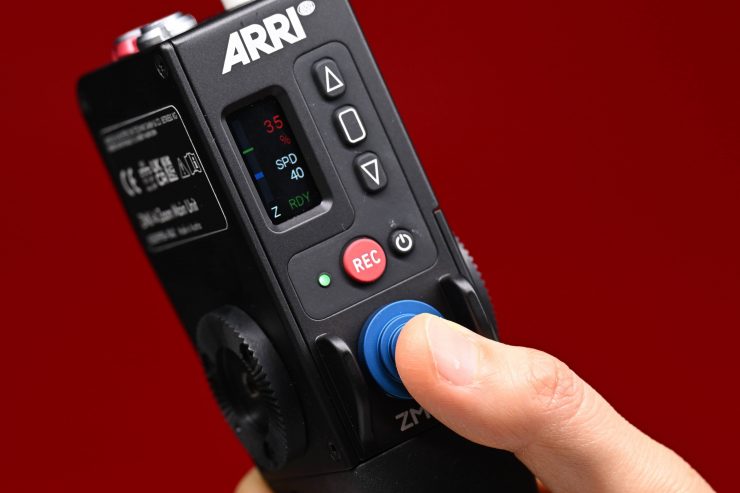
The zoom control is very tactile and it has a nice feel to it. Zoom joysticks can be finicky at the best of times and some of them can be sticky and not very responsive, which makes it extremely hard to do a smooth zoom. ARRI has obviously paid a lot of attention to this and the zoom control joystick has just the right amount of sensitivity and touch to it. Attention to detail matters and making sure you can do repeat moves easily and concisely is key to creating a good product.

The record button is easy to access and you get a visual red indicator to the immediate left of the record button when the camera is recording.
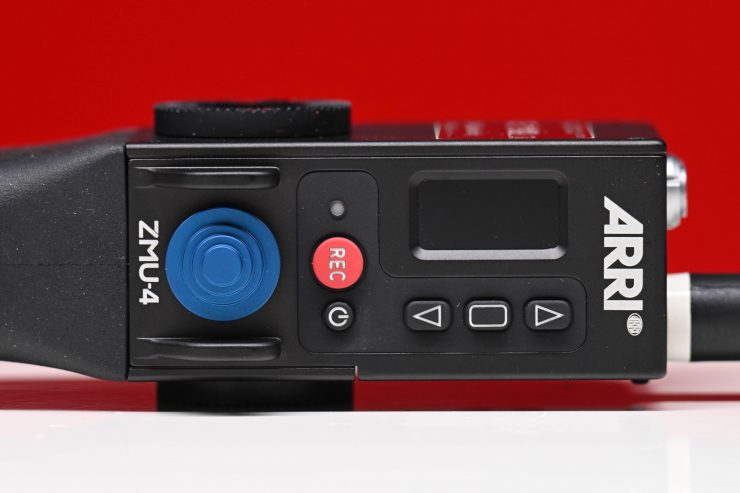
The menu and up and down arrow buttons are nice and tactile and easy to use when you need to make adjustments.
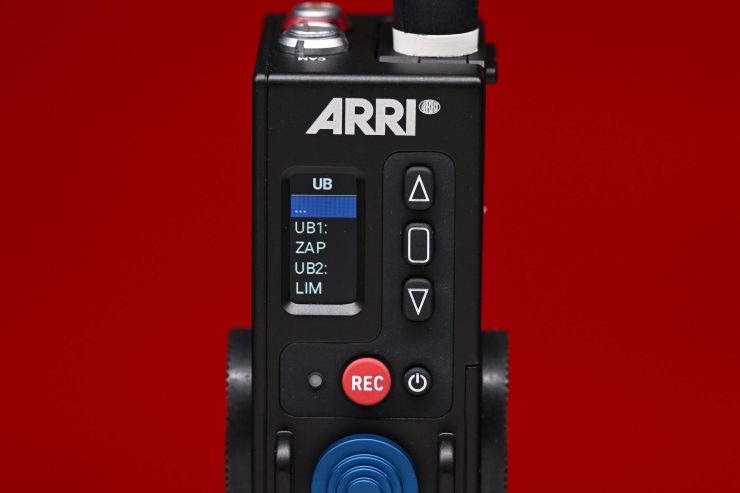
You can set a limit indicator as well as a mark on the ZMU-4. You need to do this by assigning the user buttons to these functions.
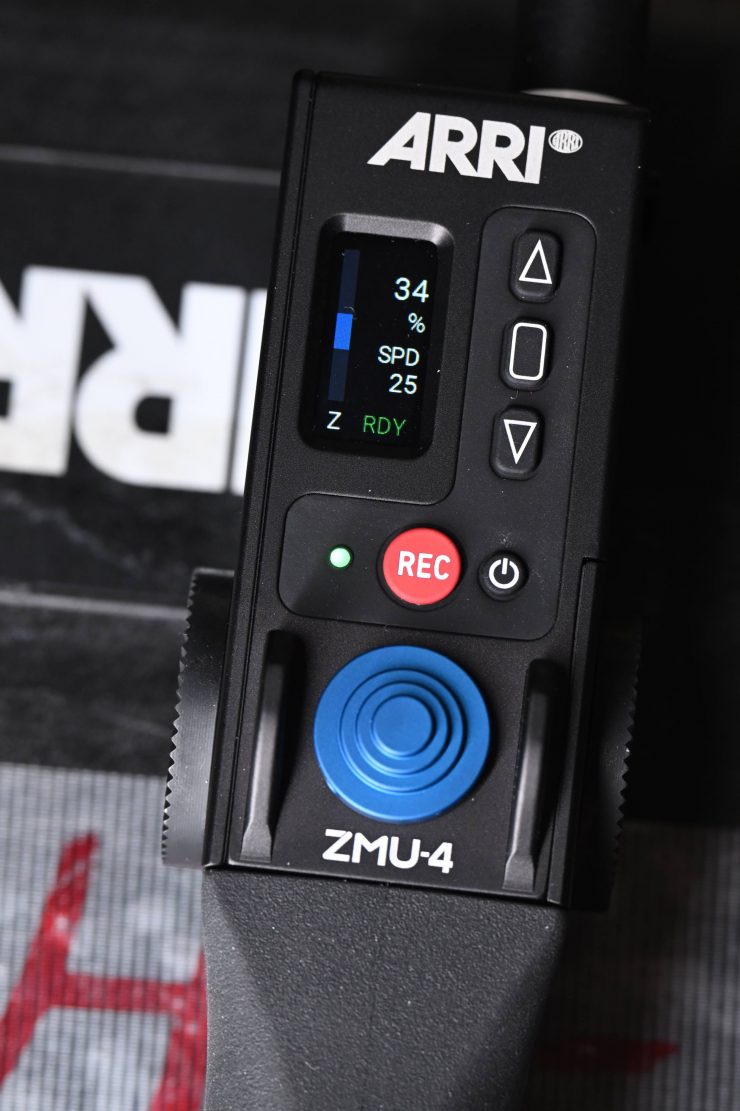
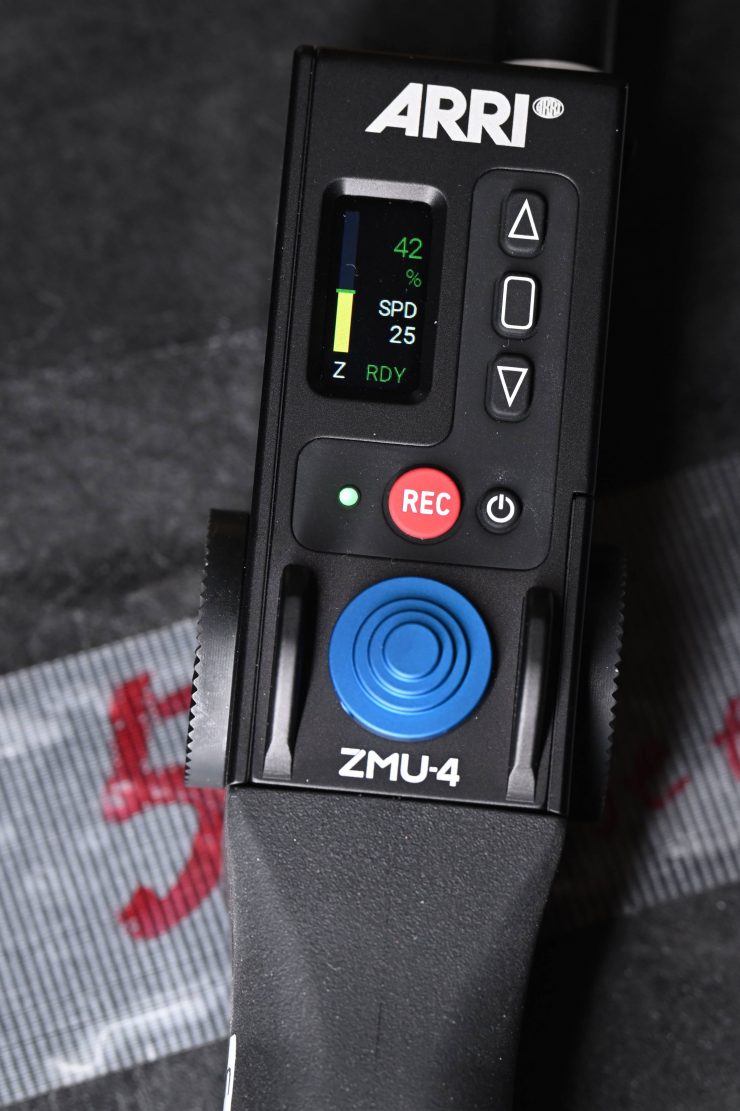
When you press the user button that is assigned to Limit you will see a blue line appear. This is your first limit point. You then zoom to the point where you want it to stop and press the same user button assigned to limit again. This then sets your limit range for the zoom and you will only be able to zoom between those two values. The simple way to know if limits are activated is that the bar display will always be blue. When limits are not in use it will be yellow.
To cancel the limits you press the user button assigned to limits once.
The process of setting limits could be a little more intuitive in my personal opinion. It does take some getting used to at first. It would have been better to simply put small limit markers labeled, for example, A and B, to avoid confusion. I think that ARRI is well aware of this and I would expect it gets changed via firmware at some stage.

When you set a Mark a green line will appear on the display.

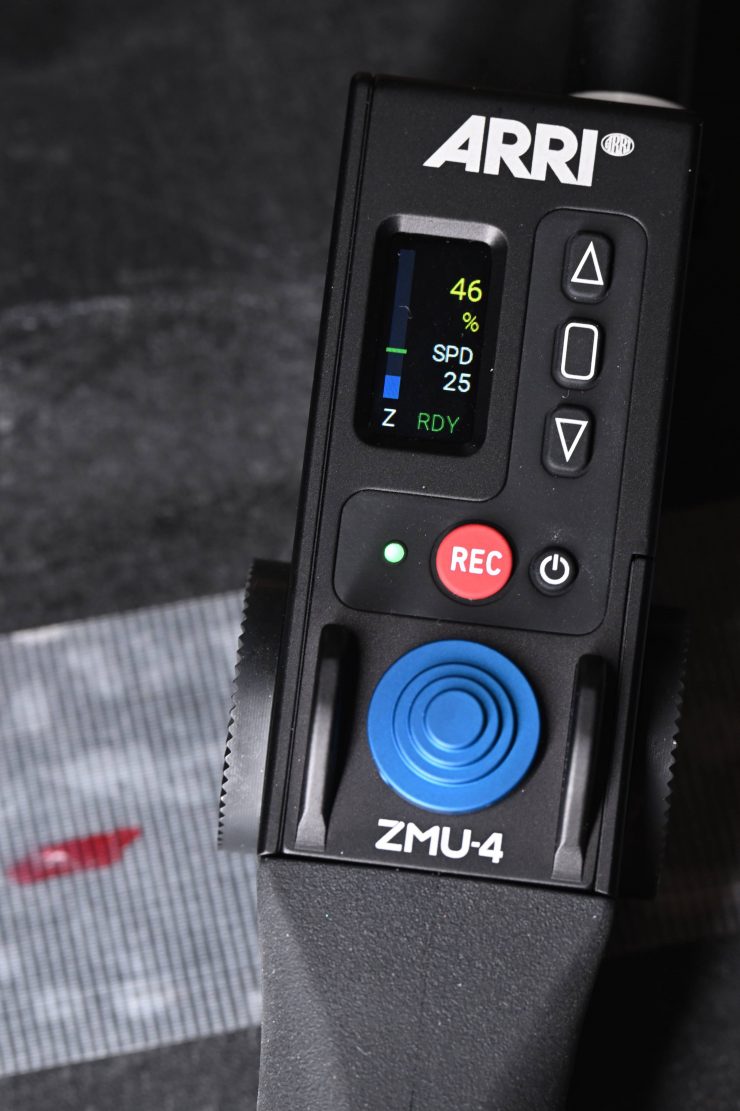
The percentage indicator will be blue if you are below that mark and red if you are above it.
When you are exactly on the mark it will be green.
I would have prefeed to have seen a dedicated Limits button that you could use on the front of the ZMU-4, so you didn’t have to assign it to a user button.
Using it with the OCU-1
For me personally, one of the best features of the ZMU-4 is its ability to turn the OCU-1 into a wireless controller.
If you don’t need a Hi-5 and are looking for something a little bit more affordable then the combination of the ZMU-4 and an OCU-1 is a great option.
All you need to do is attach the OCU-1 to the side of the ZMU-4 and connect it up using a short LBUS cable.
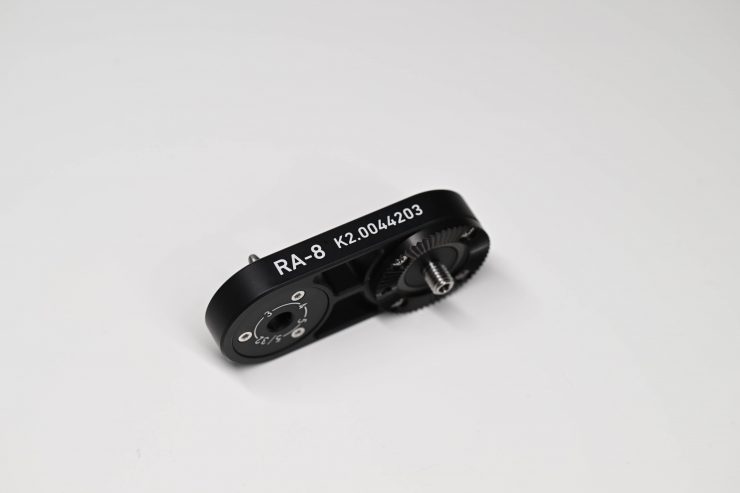
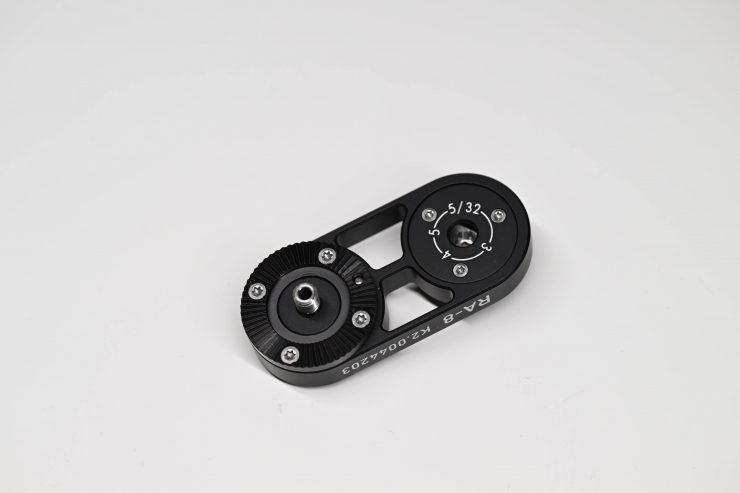
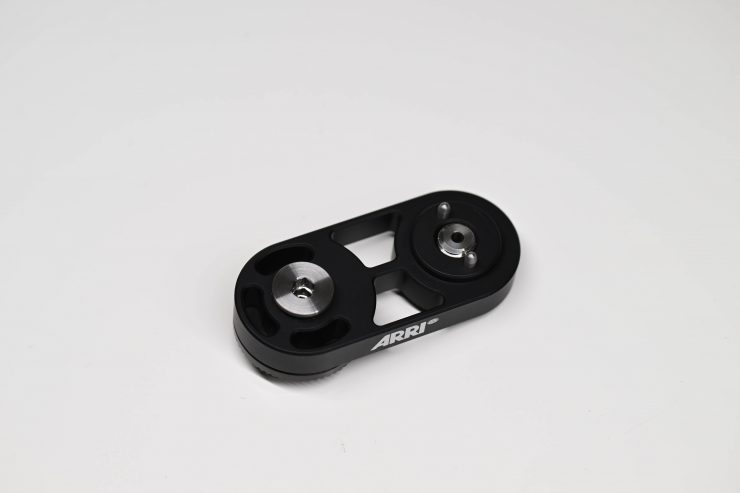
Now, ARRI does make a little adapter bracket specifically for this called the RA-8, but if you already have the ARRI OCU-1 Rosette Bracket, that works just as well.
Once you have the OCU-1 connected it automatically powers up once the ZMU-4 is turned on.
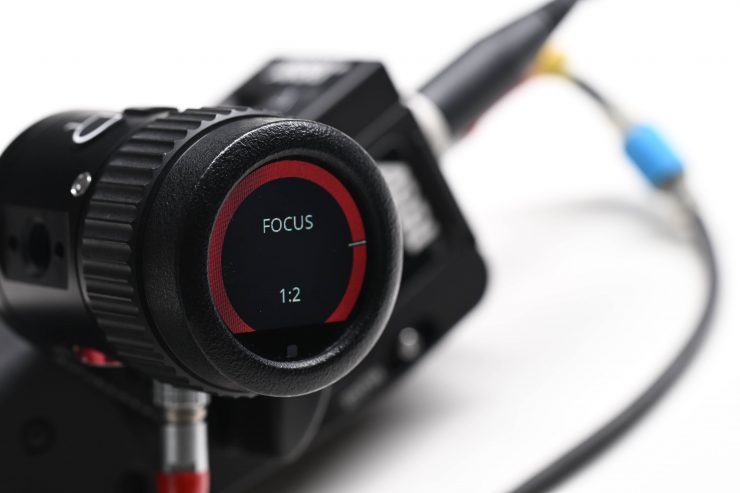
You don’t have to do anything in the ZMU-4 menu as the OCU-1 will act exactly as it would if it was hard-wired to the camera.
Because the ZMU-4 is using an RF radio the OCU-1 is able to independently piggyback onto that signal and send its information directly to the camera.
This massively increases the versatility of the OCU-1 as it turns into a very capable wireless follow focus (it can also control multiple other axis if set up that way).
Above you can see a quick demonstration of the combination in action.
This combination is a joy to use and it creates a very capable and simple-to-operate 2-axis wireless controller.
Having the ability to control 2-axis on an ARRI camera without needing to purchase a Hi-5 will certainly suit certain users’ needs more than others.
How smooth is the zoom operation?
Above you can see a quick test where I was using the ZMU-4 with a cForce Mini motor to control the zoom of an Angenieuc 30-70mm T2.8.
As you can see from the tets, the zoom movement is very smooth and consistent. Having the ability to perfectly tailor the desired speed to your requirements is always a welcome addition. Too often I have tried zoom controllers on FIZ units or third-party servo zooms that you can attach to lenses only to discover that they are usually jumpy and it is hard to start and stop zooms smoothly.
User Buttons
One of the big benefits of staying within the ARRI ecosystem is that you can use the ZMU-4 and/or OCU-1 to control your camera remotely.
By using both ZMU-4 and the OCU-1 together you have 6 assignable buttons that you can use to control a vast array of camera functionality.
So for example, here is what I can do by utilizing the user buttons. If I wanted to pull focus wirelessly using the OCU-1, and I didn’t want to take my hand off the control ring to press a user button, I could program the user buttons on the ZMU-4 to help me bring up focus assist tools on a monitor.
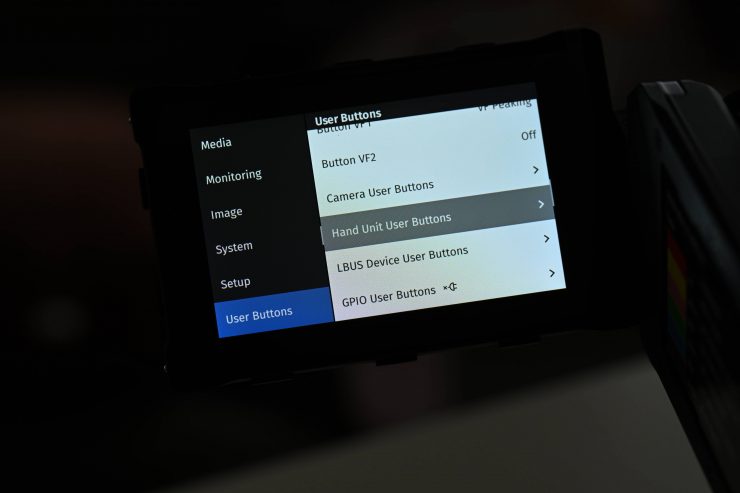
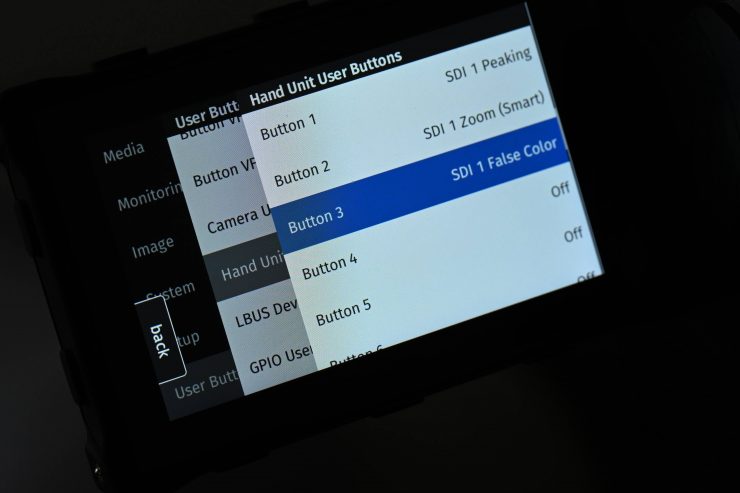
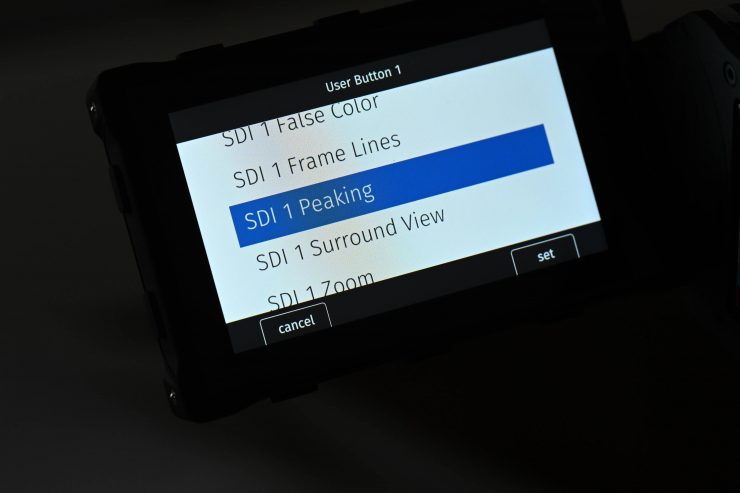
Because of the extensive list of assignable functions that I can map to user buttons, I can go into my camera’s User Buttons menu and then navigate to Hand Unit and set the user buttons to send focus and exposure assist tools over one of the SDI outputs.
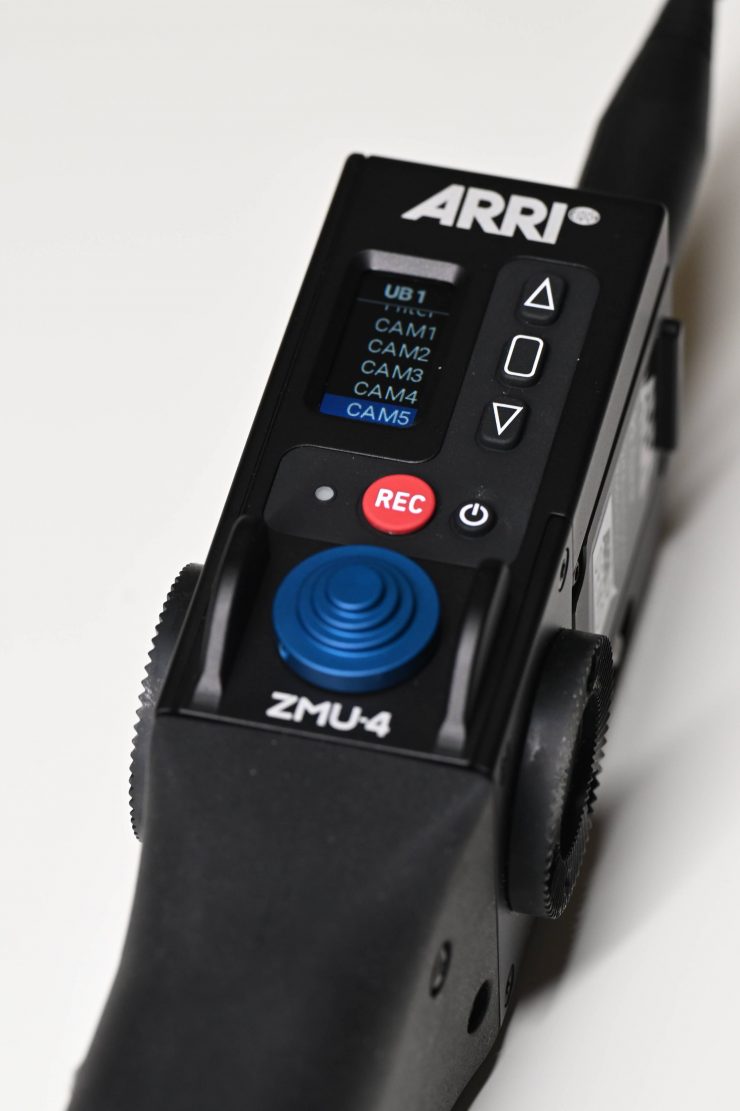
I then go into my ZMU-4 and assign the user buttons to CAM 1, CAM 2, CAM 3, etc.
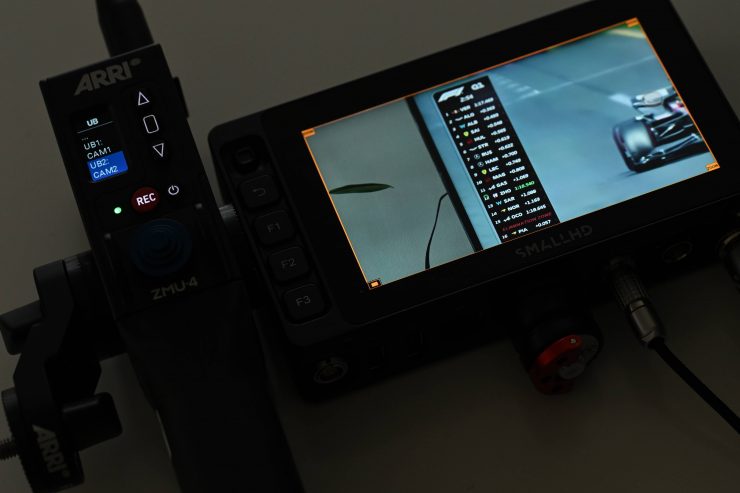
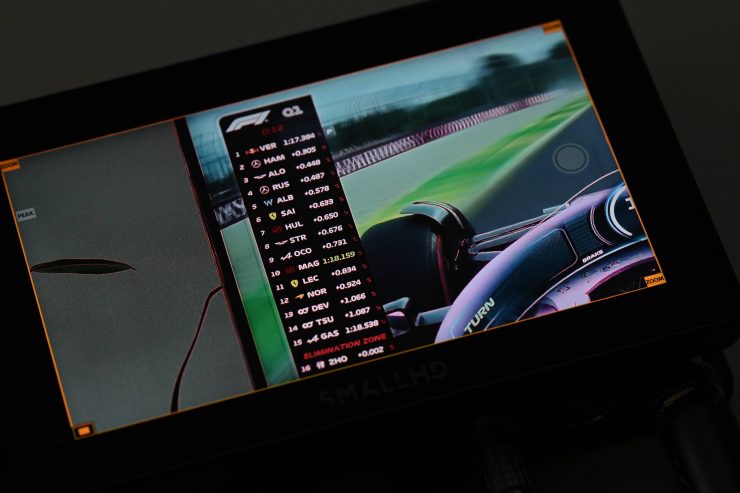
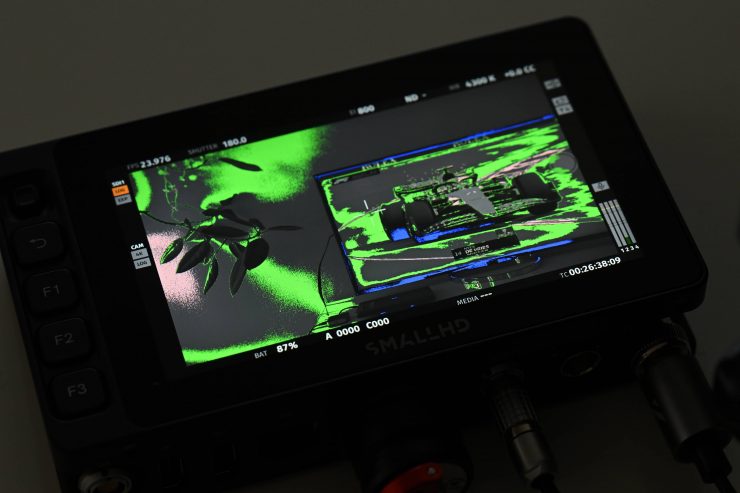
Now, if I am sending a signal from a camera directly to a monitor through a wired connection or through a wireless transmission system, as soon as I press that user button on the ZMU-4 I can activate focus peaking, image zoom, smart image zoom, or false color, etc. This saves me from having to touch a monitor to bring up any focus assist tools, as I can do it all through the controller.
This is a great feature and above you can see a quick demo of me doing exactly that. There is no delay as the system is using dedicated RF radio channels.
Using the ZMU-4 as a pan handle zoom controller
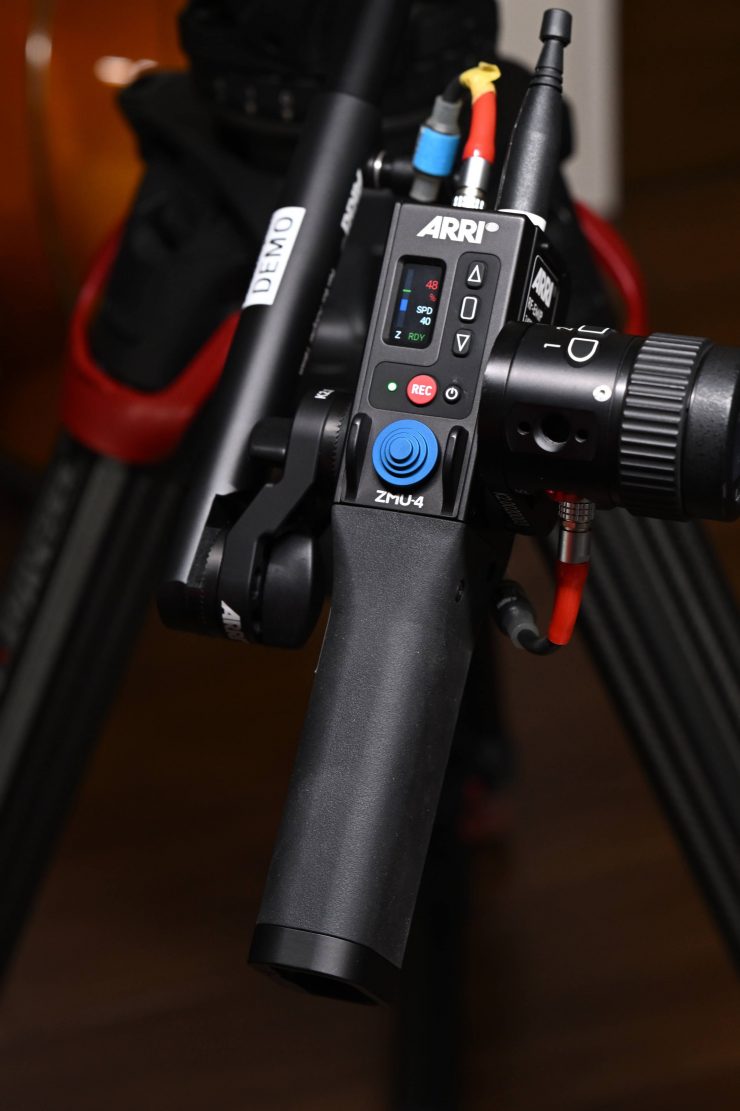
There are many ways you can use the ZMU-4 and one of them is to attach it to a pan handle on a tripod.

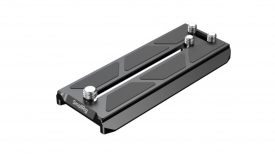
ARRI is introducing two new pan handle extensions to make this easier. The Pan Bar Adapter 18mm and Pan Handle Bar 20mm.
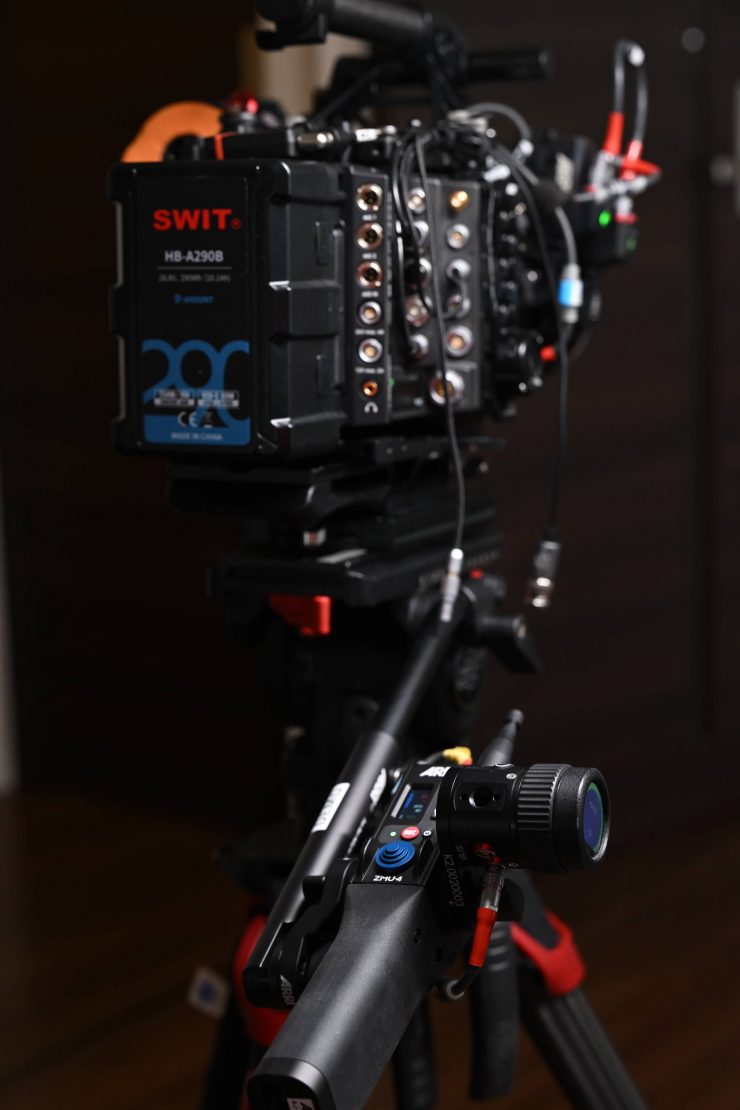
By taking off the bottom part of your tripod pan handle, and inserting in one of the ARRI Pan Bar extensions you can attach the ZMU-4 via a rosette adapter.
This works pretty well, although I did personally find the Pan Bar extension to be a little long. However, I can see why they made it that long because if you are standing behind the camera and using a monitor in more of a traditional OB-style configuration you would want that added length.
You could also attach the OCU-1 directly to the ZMU-4 or you could also separate it and put it on the opposite side via a wired connection so you had separate axis on two different panhandles.
Mounting it directly on the camera
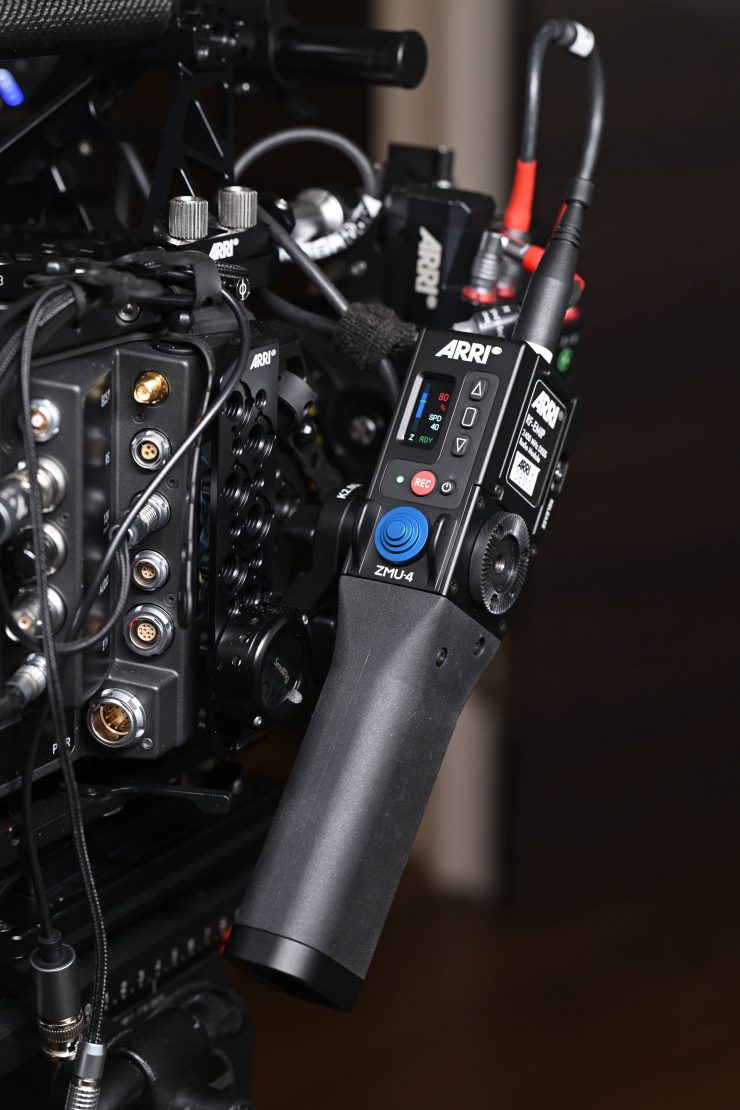
If you wanted to you could mount the ZMU-4 directly to the side of the camera and either use it wirelessly or hard wire it to the camera.
Again, this is just another option you could use.
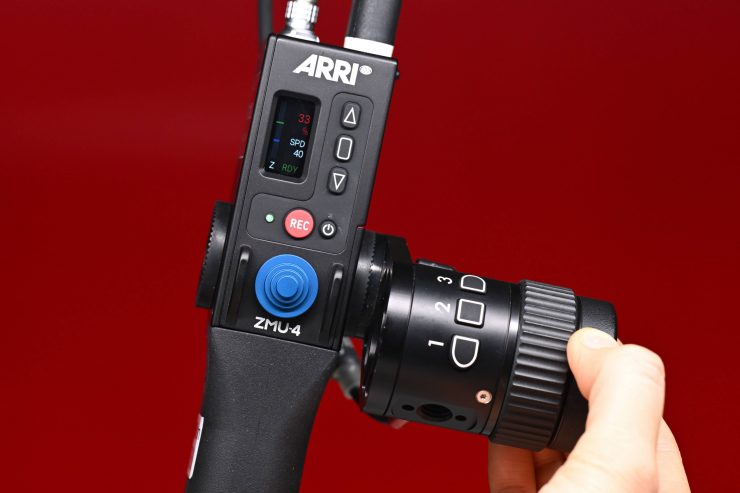
Using it as a hand grip when the camera is on your shoulder
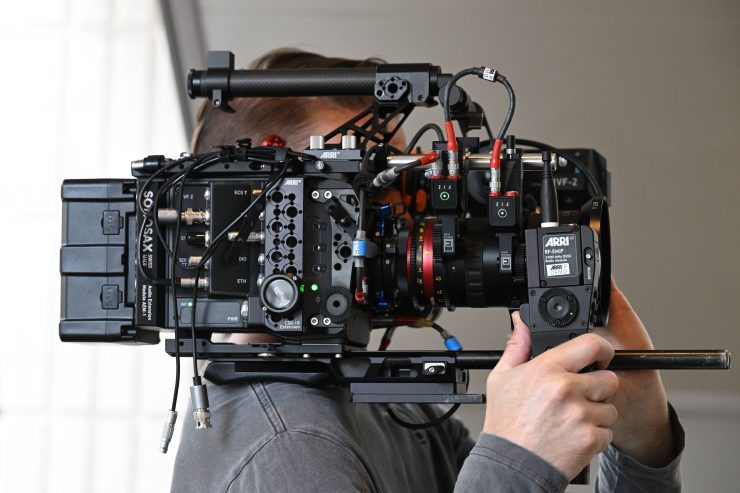
While this is probably not really its intended use, you could mount it onto rods and use it as a handheld controller when you have the camera on your shoulder.
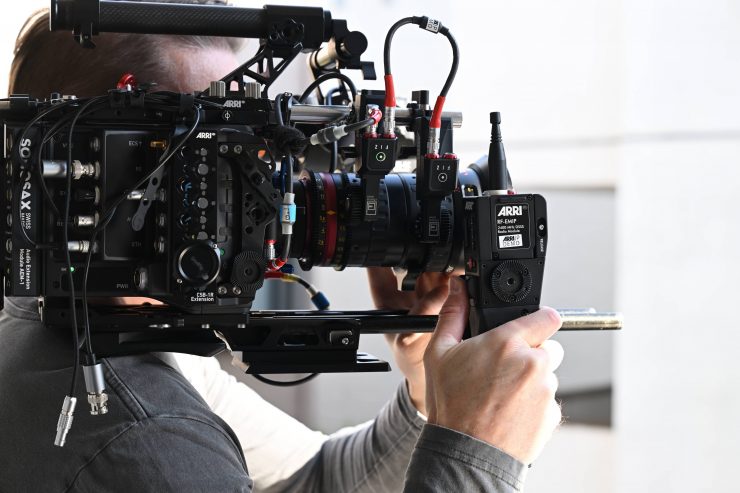
I tried this out and surprisingly it wasn’t too bad. It was still reasonably ergonomic to hold onto and operate.
I could see a use for it if an operator needed to do smooth zooms from a non-servo lens while operating without any other crew. While a dedicated servo zoom lens or an AC doing it for you makes sense in a lot of cases, there will always be times when being able to come up with an alternative solution is needed.
How did it perform?
With any type of wireless device in a professional environment, the experience needs to be flawless. Nobody wants to deal with repeated issues that slow production down.
In all of my testing with the ZMU-4, I didn’t run into any communication issues or have anything freeze up or not work correctly. Everything works as advertised.
Price & Availability
Here is the pricing:
ZMU-4 Basic Set KK.0043770 €5,290
ZMU-4 with white-coded RF-EMIP radio module and accessories. Wirelessly compatible with ALEXA 35, ALEXA Mini LF, ALEXA LF, ALEXA Mini,
ALEXA SXT W, ALEXA 65, cforce mini RF, UMC-4 and RIA-1/RF-EMIP.
INCLUDES
- 1x K2.0039926 Zoom Main Unit ZMU-4 Body
- 1x K2.0033702 RF-EMIP Radio Module 2400 MHz DSSS
- 1x K2.0041744 Rosette Adapter RA-7
- 1x K2.0044203 Rosette Adapter RA-8
- 1 x K2.0044543 ZMU-4 ARRI Rosette
Please note: Batteries and battery charger are not included
ZMU-4 Body K2.0039926 €3,750
ZMU-4 body without radio module and accessories.
If you are a rental house and you already have ARRI RF radio modules, then the ZMU-4 Body only may be a more appealing option.
I personally think that the €5,290 price for the ZMU-4 Basic Set is probably a little bit on the high side, especially when you can buy a Hi-5 for around €8,000.
Thoughts
The ZMU-4 is a nice addition to ARRI’s accessory line up and while it could be viewed as a niche product, when coupled together with the OCU-1 you can create a very solid and versatile 2-axis system. The ability of the ZMU-4 to turn the OCU-1 into a wireless device increases the flexibility of both products. Not only do you get 2-axis control when combining both products but having the ability to utilize 6 user preset buttons makes a world of difference when you need to control the camera or bring up focus assist tools on a monitor.
Any product that can save you time and get the job done with a minimal amount of fuss is always going to be welcome on set.