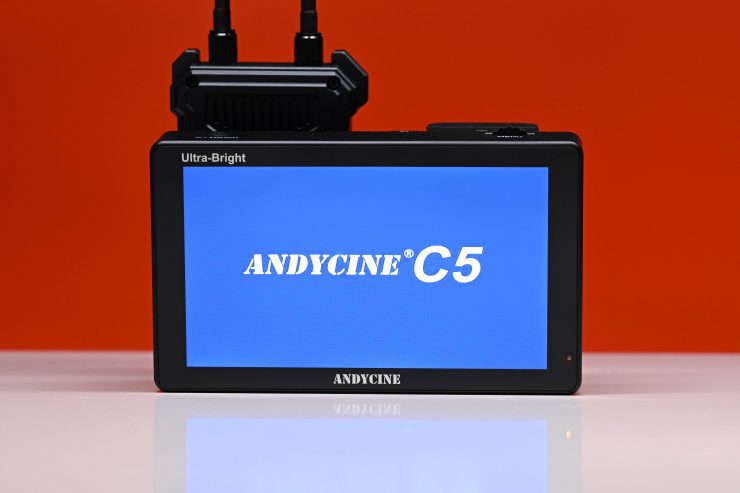
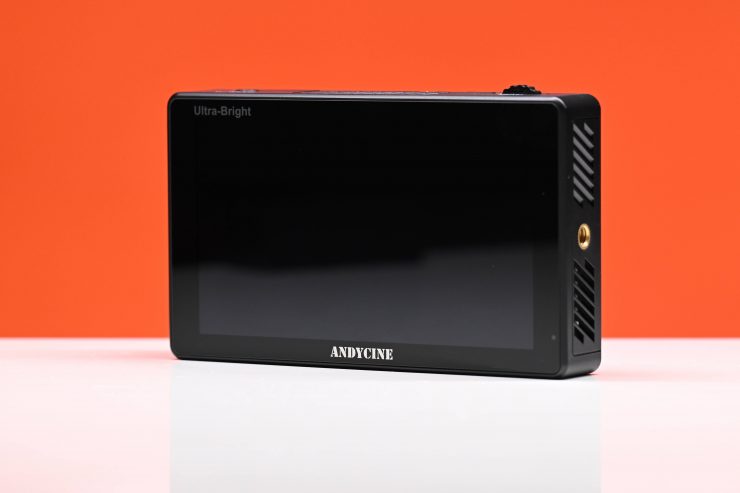
AndyCine recently announced the C5 5.5″ Ultrabright 3000nits Touchscreen Monitor. It is another budget-friendly, daylight viewable on-camera solution, along the same lines as the AndyCine C7 7″ Full HD HDMI Ultra-Bright Touchscreen Monitor and C6 6″ 2600nits Touchscreen Monitor that I have both previously reviewed.
Choosing a monitor, especially a budget-priced one is often a difficult proposition. There are so many options now available at similar price points, with very similar feature sets. What a lot of people perhaps don’t know is that there is very little difference with the actual panel being used on most of these monitors. There is only a handful of manufacturers in the world who make panels of this size and all of the companies who are selling monitors like this have to source them from only a few suppliers. This means that the actual quality of the panels being used isn’t necessarily going to be that different, especially on budget-priced monitors.
My advice would be that when choosing a budget monitor you should look more closely at the operating system, build quality, after-sales service, and general usability. Don’t get me wrong, image quality is also important, but with budget monitors, a lot of them are going to look fairly similar.
What really separates the budget monitors is the usability and operating system. A lot of them leave a lot to be desired and that is what often separates a good monitor from a bad one.
I approach each and every review the same regardless of how much the product costs or who makes it. Every product review I do gets the same thorough unbiased assessment.
Key features
- 5.5″ 1920 x 1080 Touchscreen Display
- Ultrabright at 3000 cd/m².
- Supports up to DCI 4K Input via HDMI
- HDMI Input and HDMI Loop Output
- Built-In Light Sensor
- L-Series Battery Plate
- 8 VDC Output Powers Camera/Accessories
- 160° AoV, 1000:1 Contrast Ratio
- Numerous Built-In Imaging Tools
What do you get?
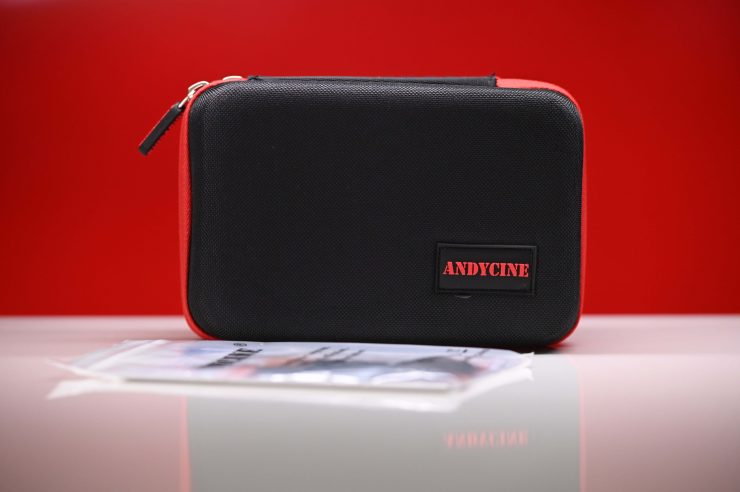
AnyCine gives you the following:
- C5 Monitor
- HDMI Type A to Micro-HDMI Cable
- Swivel mount
- Cleaning Cloth
- User manual
Optional accessories include an NP-F battery, carry case, HDMI to HDMI cable, HDMI to HDMI Mini cable, DC 12V Power Adapter, and a D-tap to 2-pin DC Power cable.
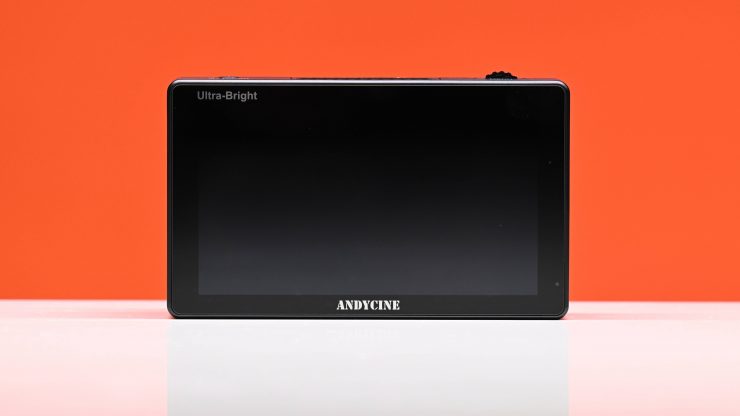
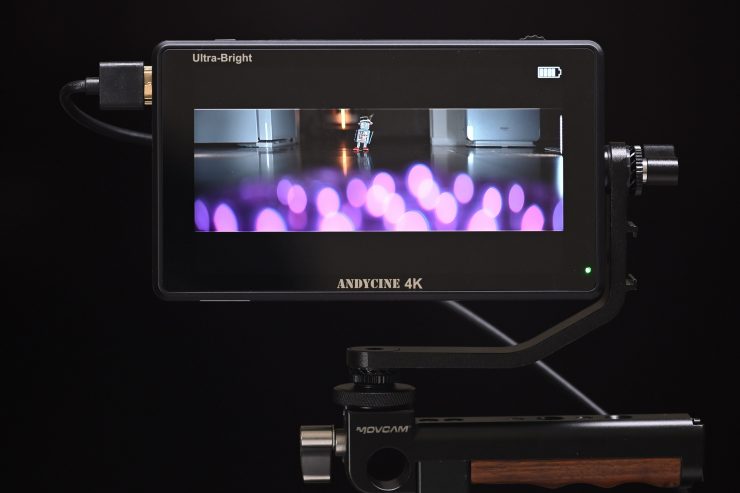
Screen
The screen is a 5.5″ 1920×1080 (8+2 FRC) IPS LCD panel. According to AndyCine it has 3000 cd/m2 of brightness, a contrast ratio of 1000:1, and a PPI of 400.
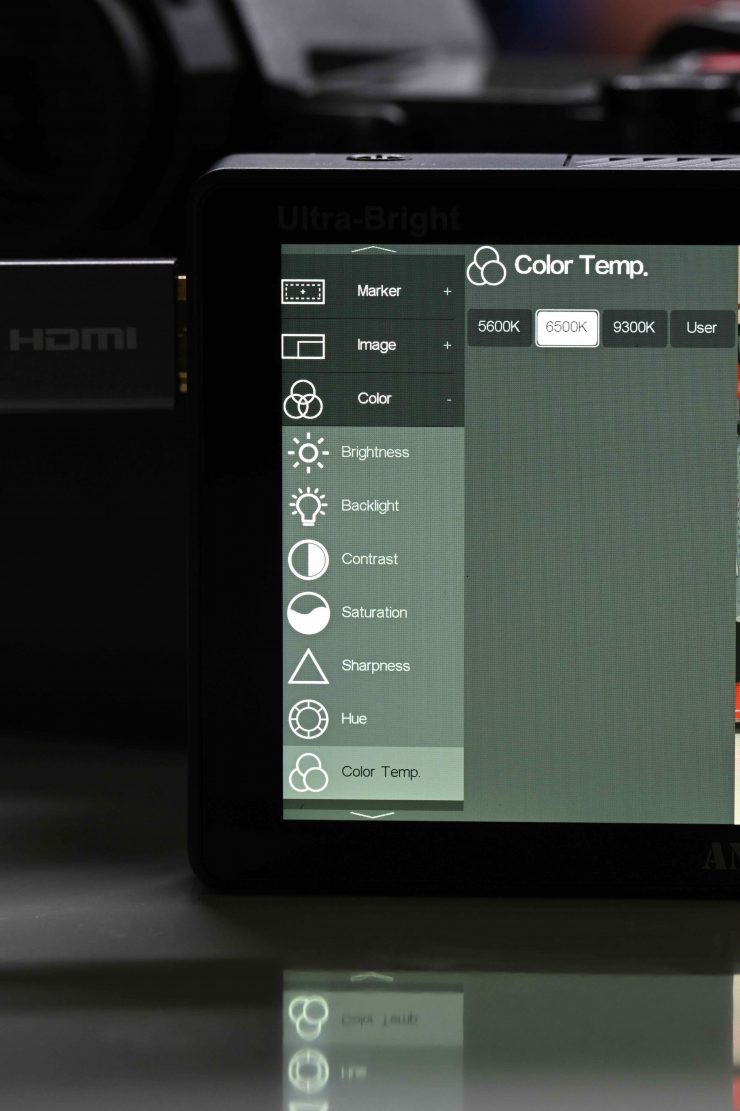
You can change the Kelvin color temperature of the screen as well as other parameters such as contrast, sharpness, hue, and brightness. More on the screen further down in the review.
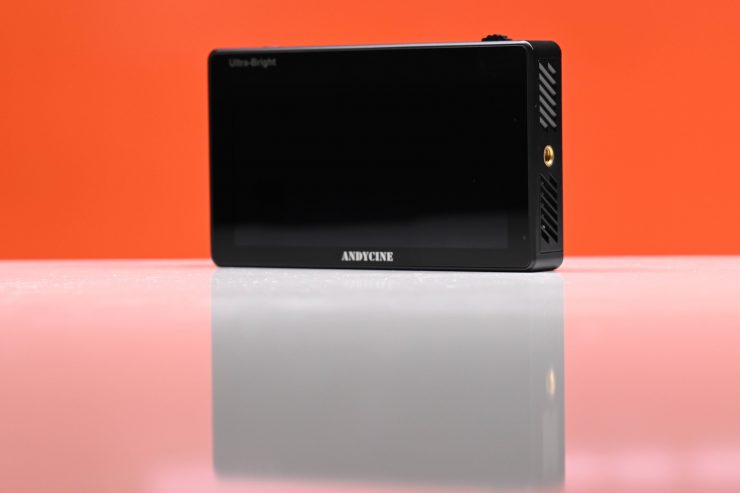
Design
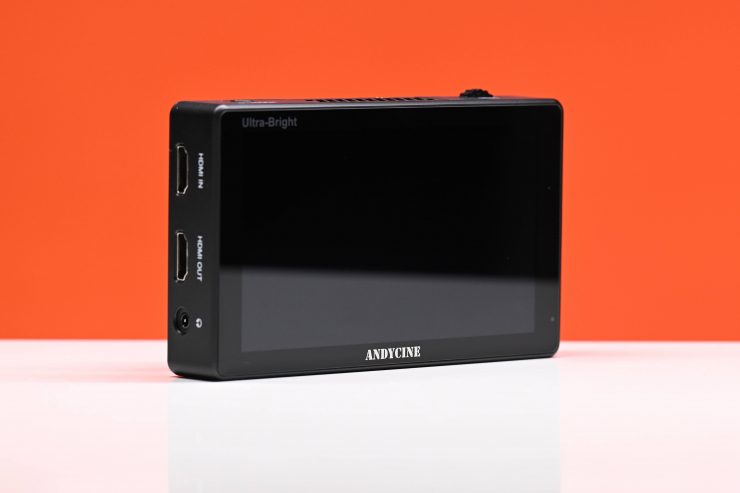
The monitor features a pretty basic design. The HDMI inputs and outputs are all on the left-hand side of the monitor, along with a 3.5mm headphone out.

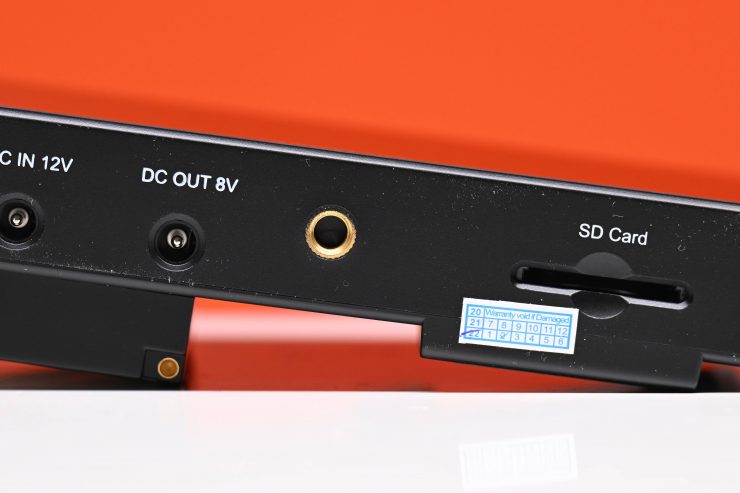
The SD card slot, 8.4V DC output, and 12V DC input are all located on the bottom of the monitor.
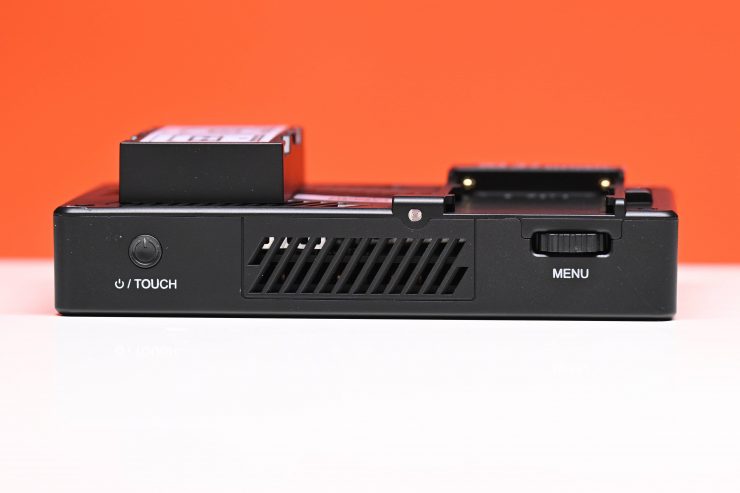
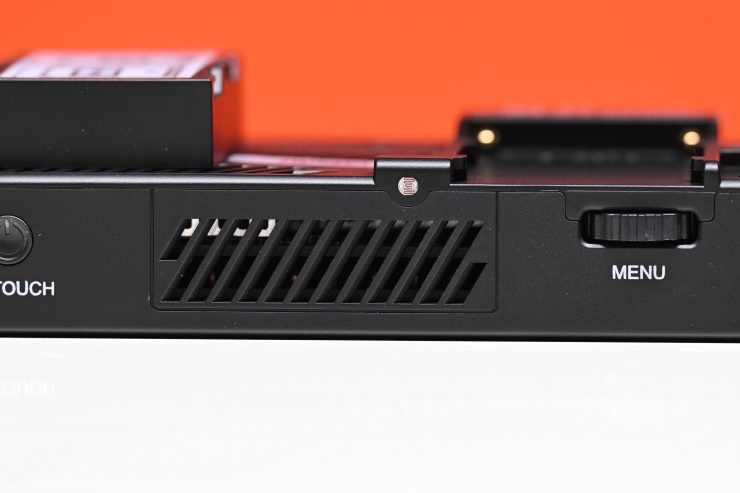
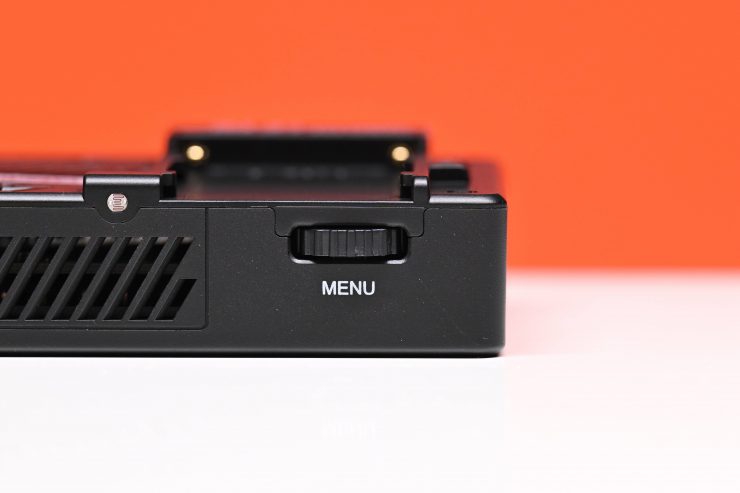
On the top, you will see a single button and a scroll wheel.

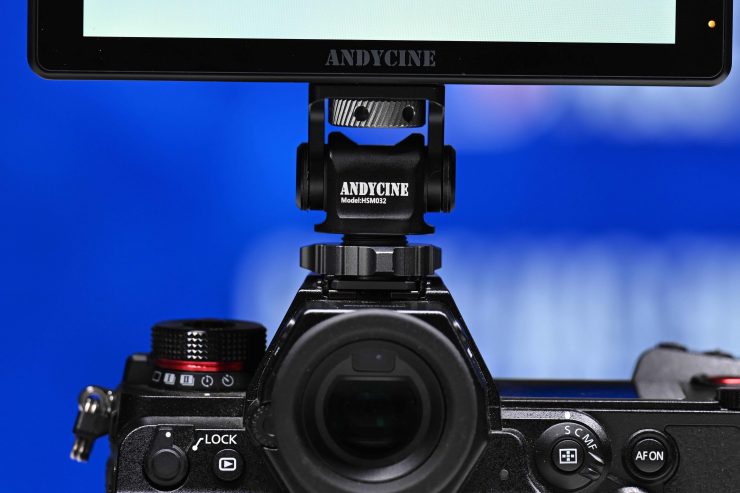
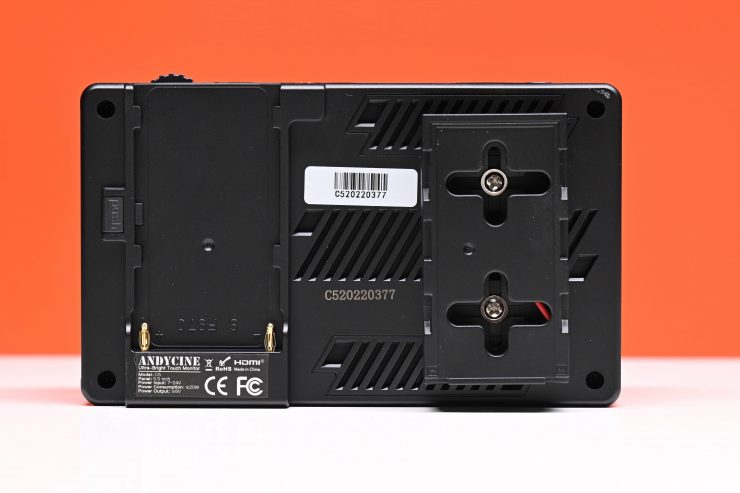
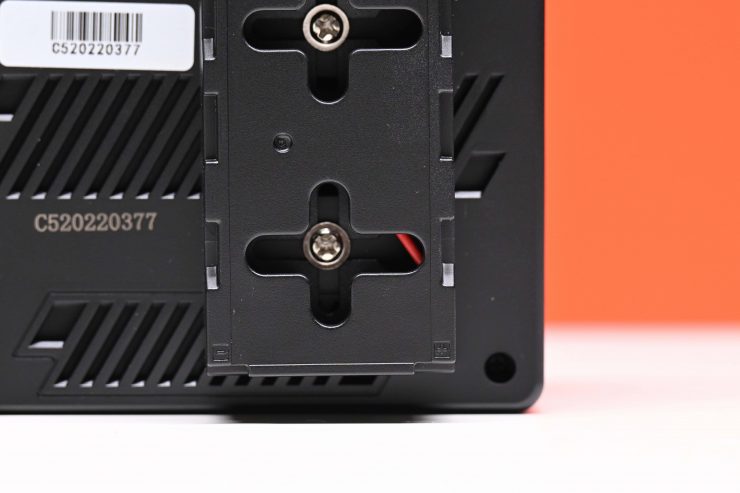
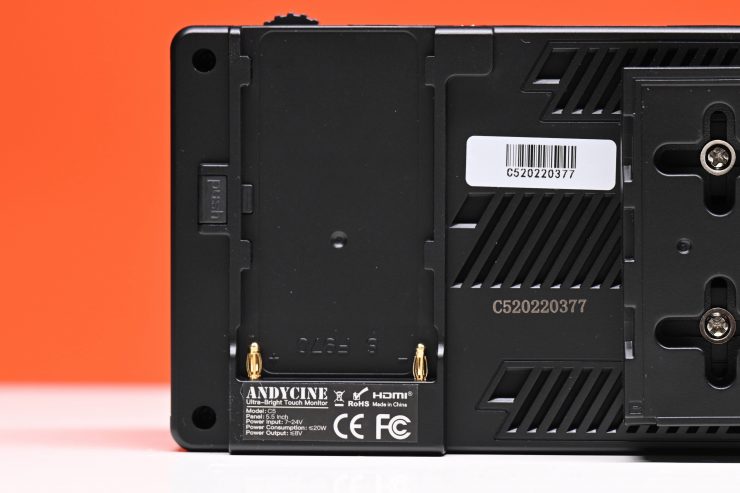
On the back, there is a single Sony NP battery plate.
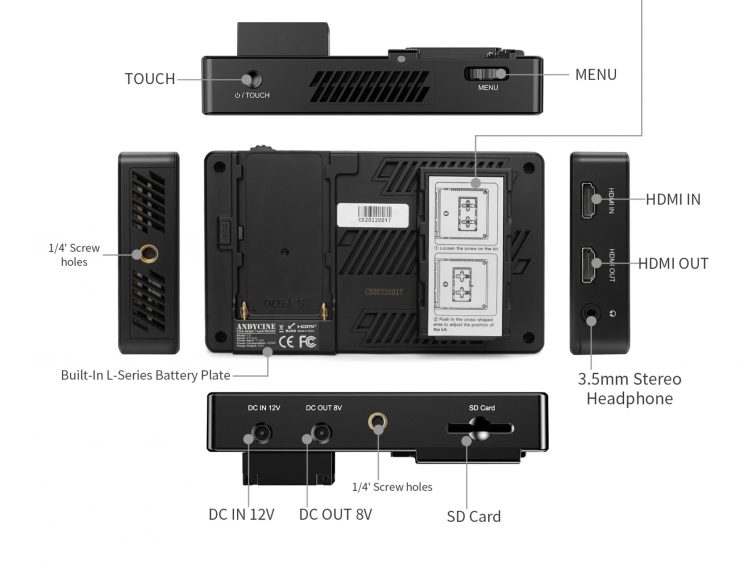
There is nothing overly unique or special about the design of the monitor, but that is neither a bad nor a good thing.
Build Quality


The build quality is decent enough, but it isn’t going to rival something like a SmallHD or Atomos. Like almost every affordable monitor, the HDMI ports are not countersunk which can be dangerous as your HDMI cables will face straight out and will be subject to getting knocked or possibly broken. I know manufacturers place the HDMI ports on the left-hand side because they are mainly targeting users of smaller sized mirrorless hybrids, but I wish they would at least provide some sort of protection or include a right angle adapter so you don’t have the cables sticking straight out the side of the monitor.
AndyCine has to save cost somewhere, and with a budget-priced monitor, it is arguably more important to have a better screen and OS system than better build quality.
Weight
The AndyCine C5 monitor at 270 g (9.52 oz). As a comparison, the AndyCine C7 weighs in at 460 g / 1.01 lb.

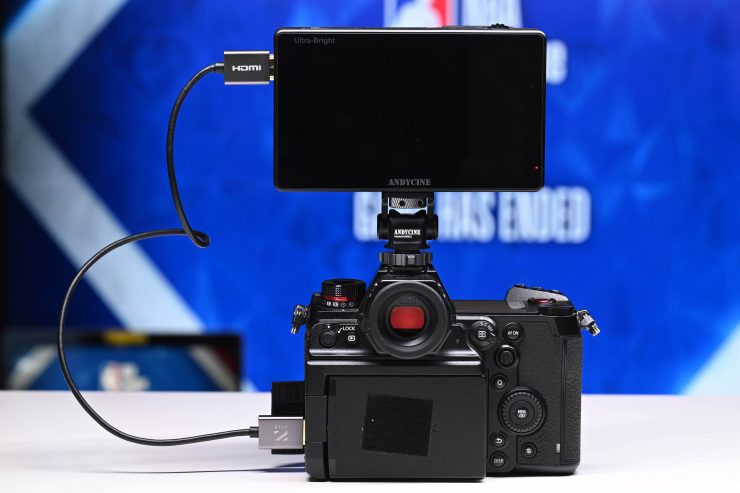
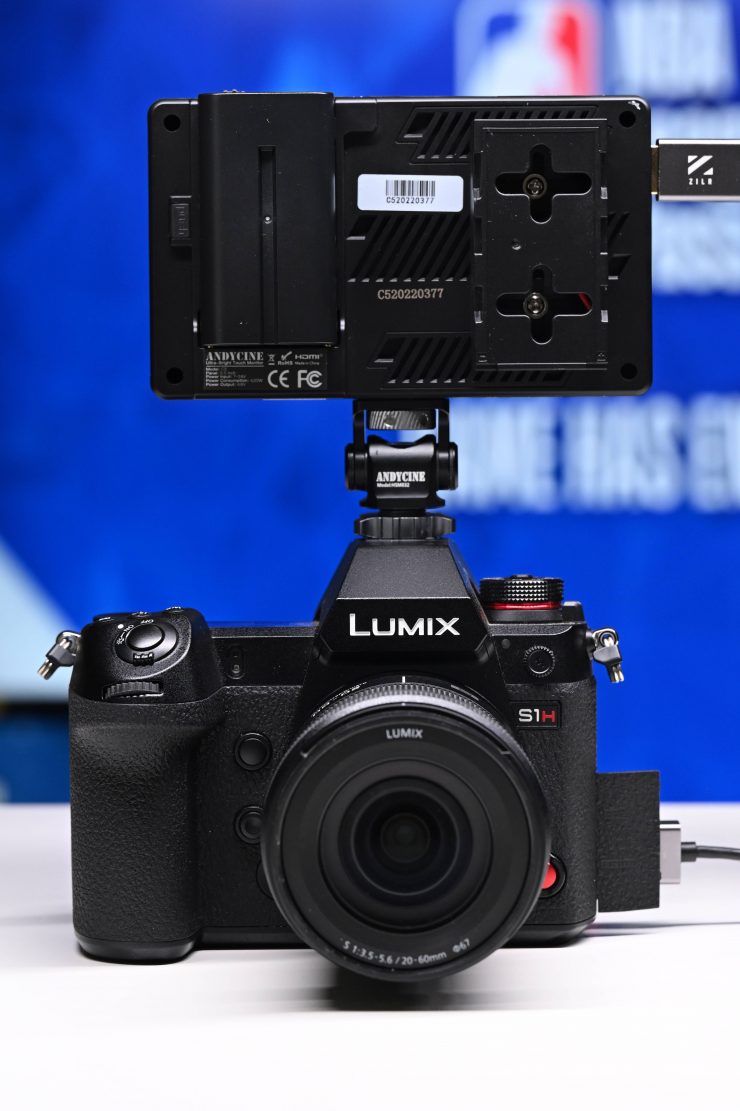
The monitor is pretty light, which makes it more suitable for use with a hybrid mirrorless or small digital cinema camera. I personally think 5″ is probably the ideal size for smaller-sized cameras. In my opinion, a 7″ monitor is too big for a hybrid mirrorless or DSLR. A 7″ monitor is much better suited to a mid-sized or larger digital cinema camera.
Mounting Points

AndyCine has put 1/4 20″ mounting points on the bottom, and the right-hand side of the monitor. There aren’t any mounting points on the top or the left-hand side.
AndyCine doesn’t include any locating pin holes, so you can end up with that issue of the monitor moving around and coming loose depending on what mounting solution you are using.
The included swivel mount is reasonably good. It tightens down nicely and it provides a nice amount of tension. You can adjust the tension using an included Allen key.
I much prefer this swivel mount over the mounting brackets that AndyCine used to include.
Boot Up Time
The monitor takes around 5 seconds to boot up and display an image once you press the on button. This is reasonably quick.
Inputs/Outputs
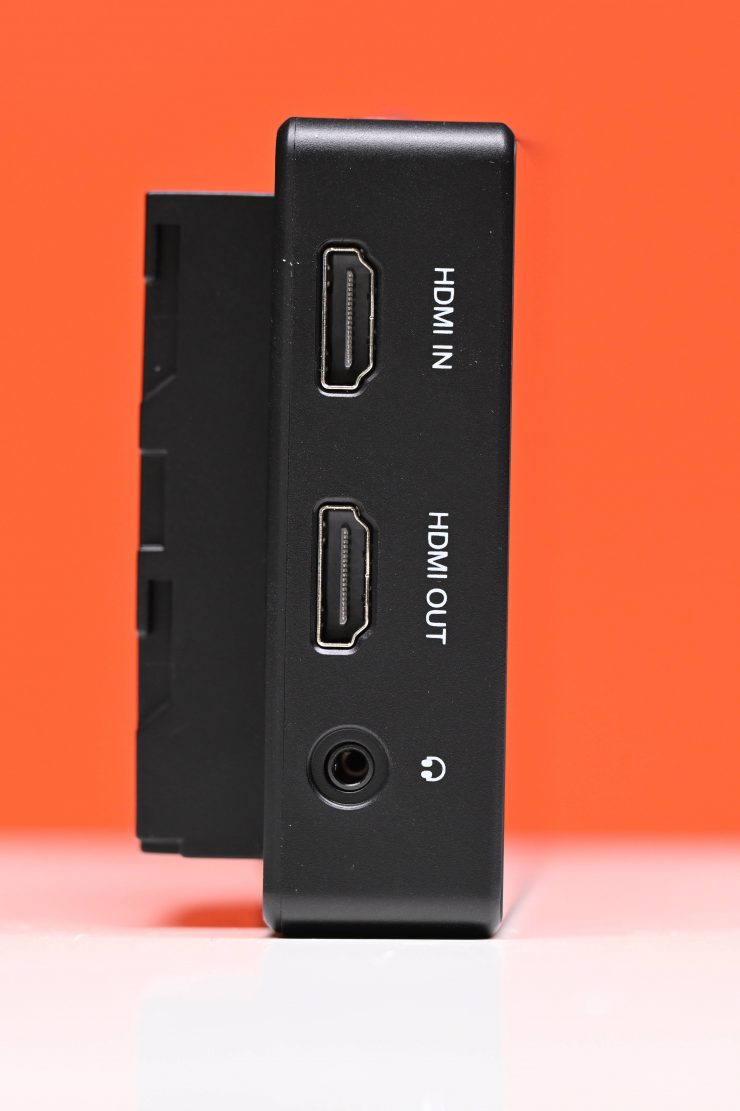
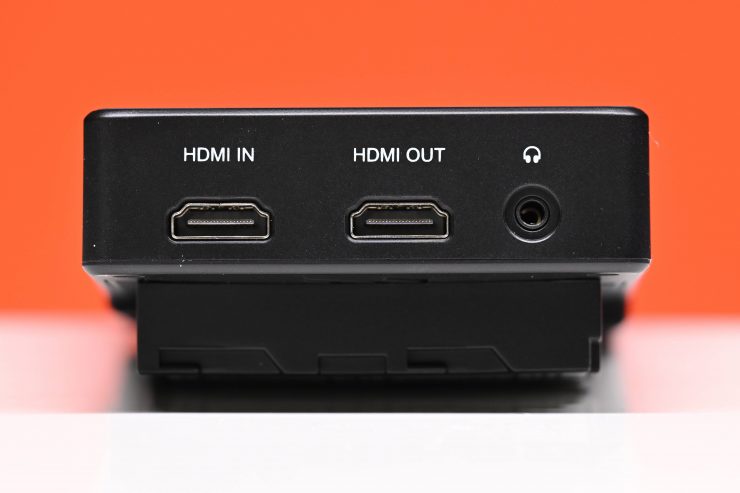
The monitor has an HDMI Type A Input and an HDMI Type A Output. You can loop signals through if need be.
As I mentioned earlier, the input and outputs are located on the left-hand side of the monitor, which is convenient when using most mirrorless hybrids. The HDMI In and Out are not countersunk so there is no protection.

As I previously mentioned, on the bottom of the monitor, you will find the SD card slot and the DC in and out ports.
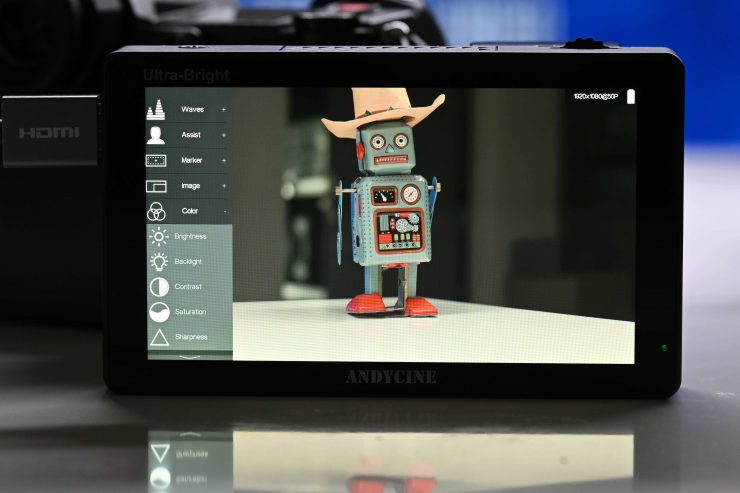
Operating System
The operating system of the monitor uses a combination of buttons, a scroll wheel, and touch screen functionality. This allows you to use the monitor completely via touchscreen operation, or through the use of buttons. It is nice to have both options because if you are using the monitor in cold conditions you may have gloves on and the touchscreen is then not always the easiest to use.
I’ll just come out and say it. I didn’t find that the OS system on this monitor was as easy to use as the system in their C6 monitors (which you can see above). Why companies continually feel the need to change how the on-screen menus and operating system work across various different models don’t make any sense to me. You want a sense of familiarity across your range. This is what makes it very easy to jump between different products in the Atomos and SmallHD line-up.
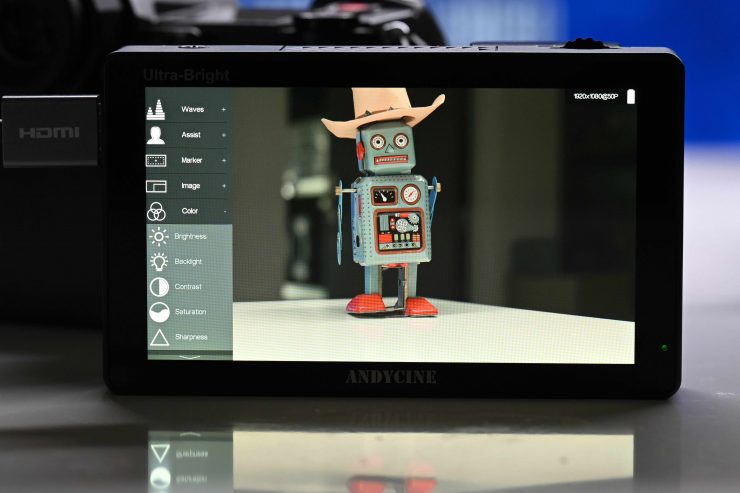
With the main menu using the touchscreen functionality is hard because everything is too small. It is far easier to use the scroll wheel on top of the monitor to make changes in the main menu.
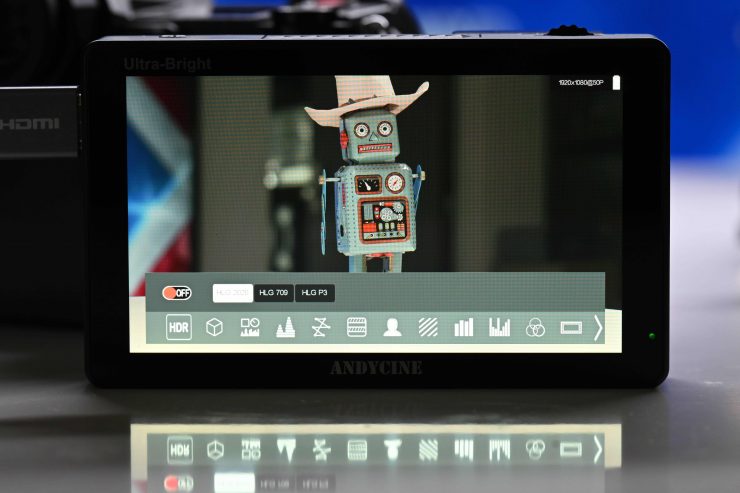
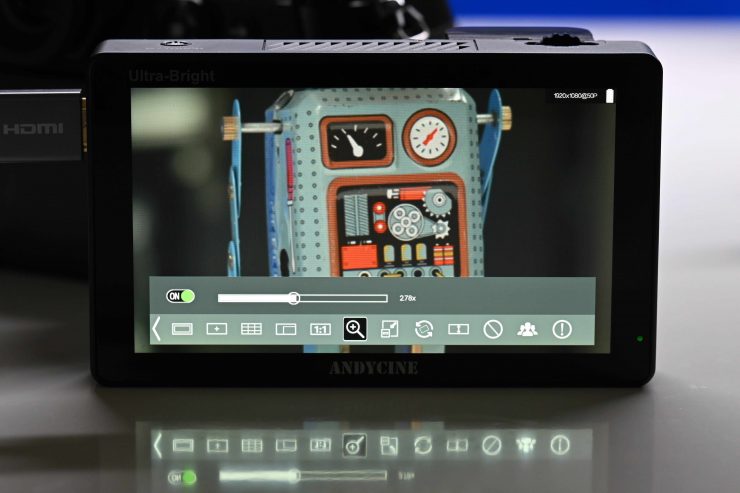
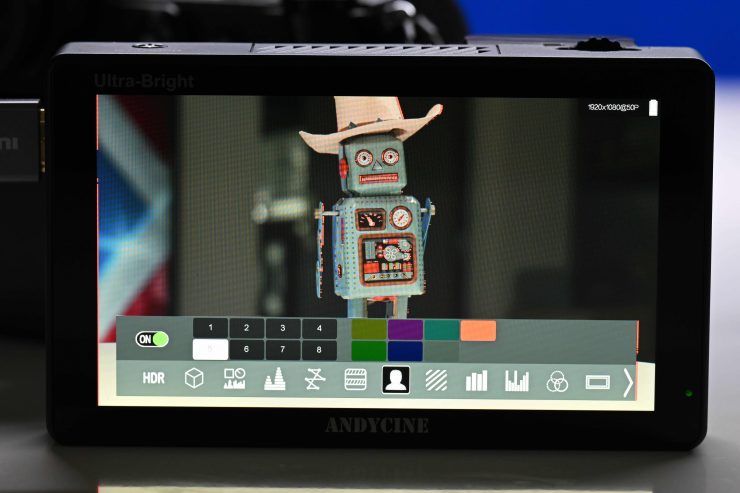
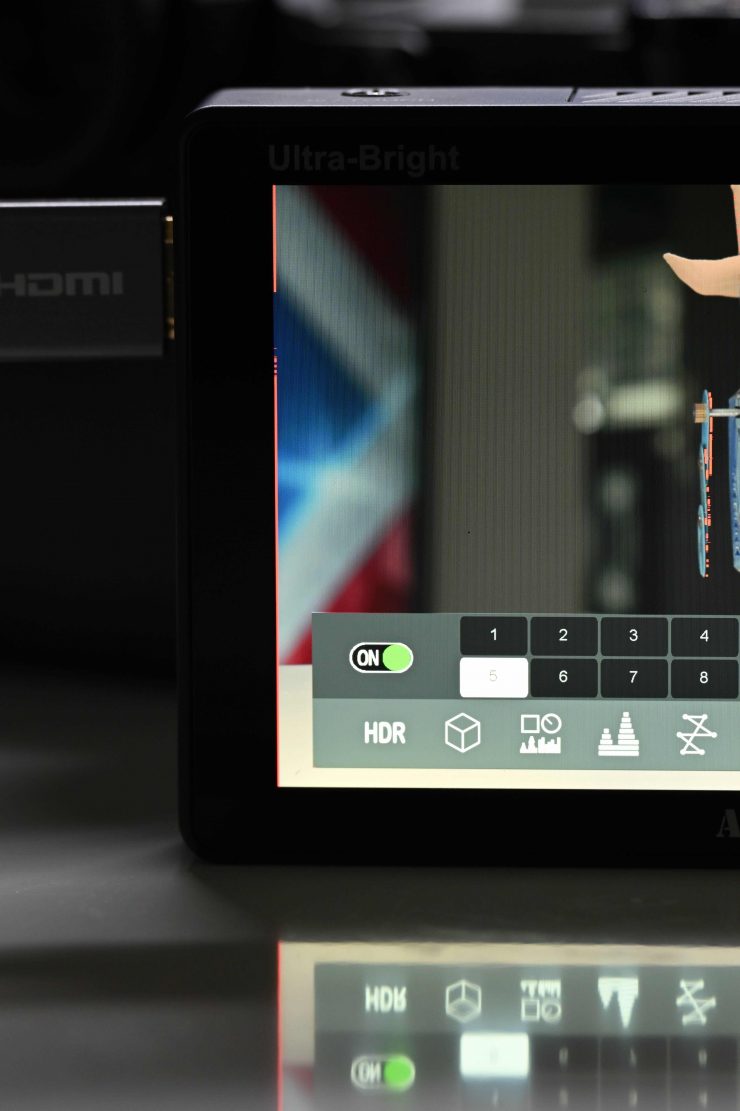
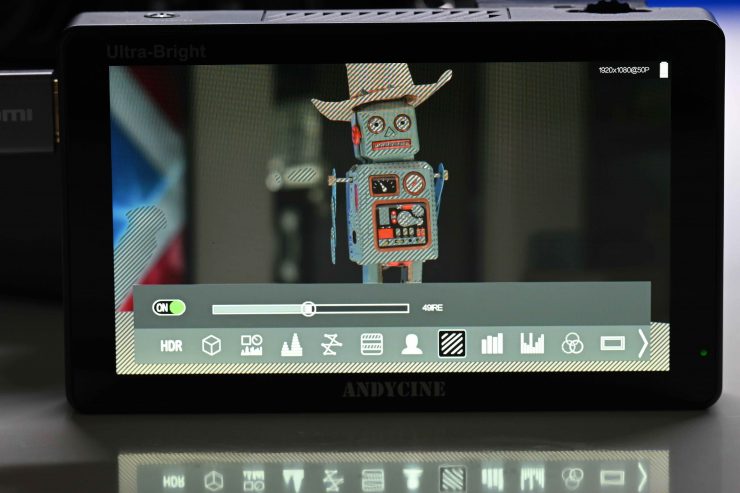
To bring up the main assist tools you will be using you need to swipe up from the bottom of the screen. Here you get an icon layout that you can scroll through to select various monitoring assist tools.
You shouldn’t confuse the touchscreen functionality with the same sort of way it works on a SmallHD or an Atomos. On the AndyCine C5, the touchscreen operation isn’t implemented nearly as well and sometimes you can find yourself having to touch the screen multiple times to get it to work. In saying that, it is still pretty good for a budget monitor.
The monitor does have pinch to zoom. The pinch to zoom works well and you can drag the position around on the screen. Like any touch screen device, sometimes you have to do it more than once to get it to work.
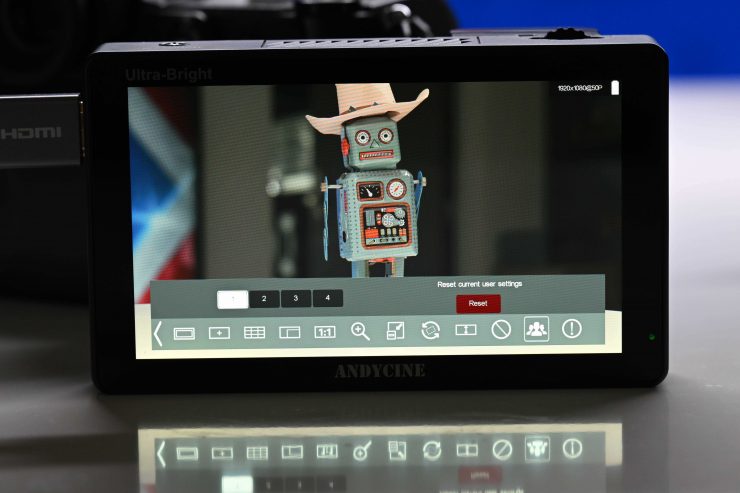
There are four presets you can assign which is handy if you only want to use specific tools.
To bring up the main menu you can double-tap on the screen or press the scroll wheel.
Having used SmallHD’s fantastic Page OS system over the last few years it is very hard to go back to anything else. In saying that, AndyCine has a pretty good job with the operating system and it is better than most other monitors in this price range.
Viewing Assist Tools
The monitor has quite an extensive array of monitoring assist tools:
- Waveform
- Vectorscope
- Histogram
- 3D Luts
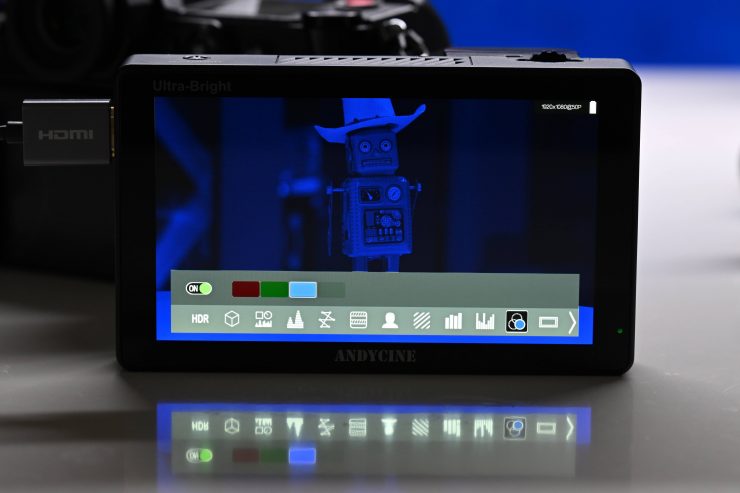
- Peaking focus assist (red, green, or blue)
- False color
- Zebras
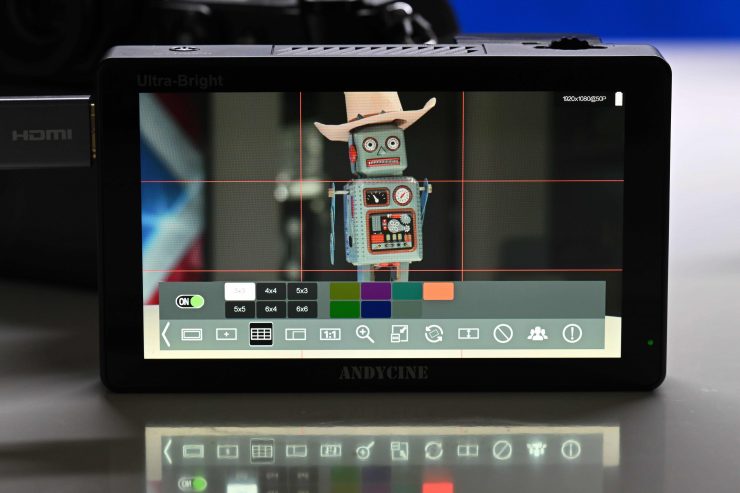
- Nine-grid
- Embedded audio
- Scan mode (underscan, overscan)
- Zoom (4x, 9x, 16x)
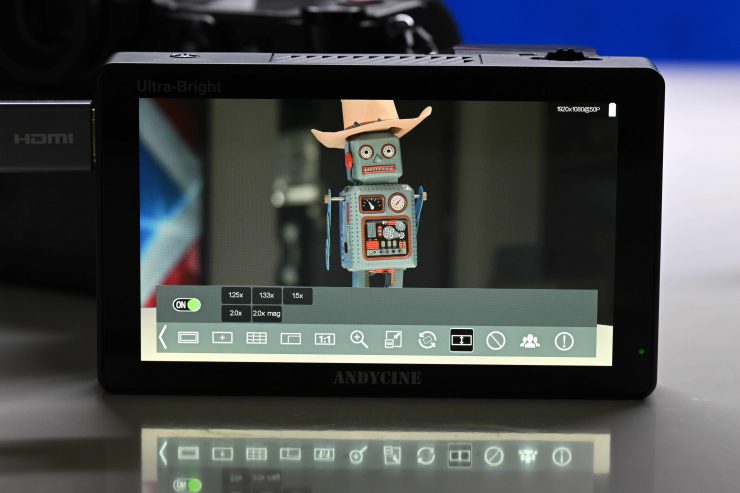
- Anamorphic mode (1.3x, 2x, 2x mag)
- Pixel-to-pixel
- Center marker
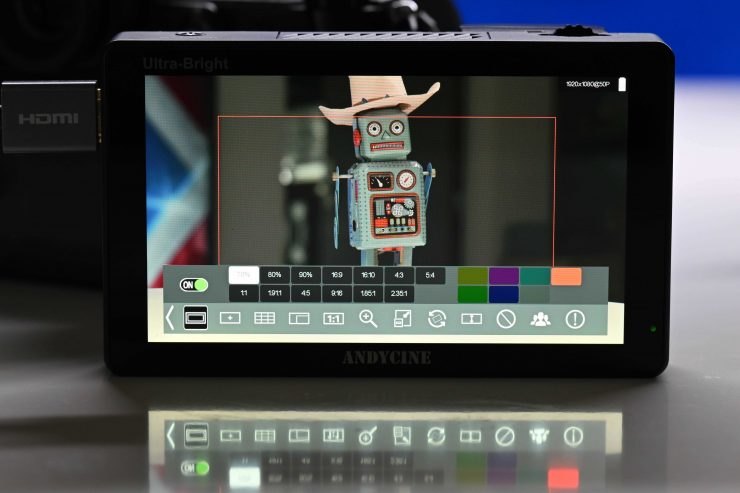
- Safe area (80, 85, 90, 93, 96%, 2.35:1)
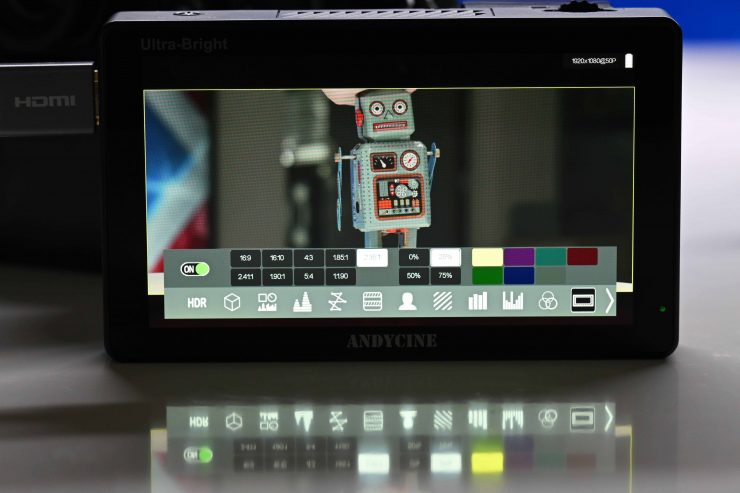
- Ratio marker (4:3, 13:9, 14:9, 15:9, 16:9, 1.85:1, 2.35:1)
- Marker color (red, green, blue, white, black)
- Check field (red, green, blue, mono)
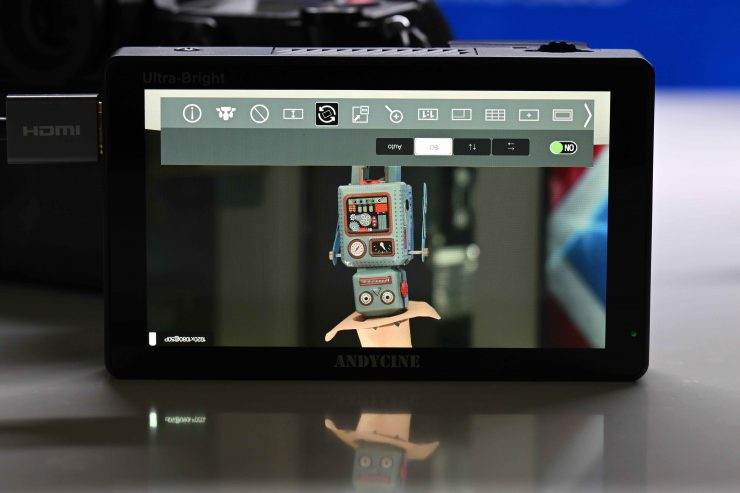
- Image flip (H, V, H/V)Image freeze
The majority of these tools can be adjusted and customized. It is nice to see items such as waveform, vectorscope, and false color on this monitor.
With focus peaking, you can adjust the color as well as the intensity.
A problem I had with the peaking is that it would come up on the far left-hand edge of the screen for no apparent reason.
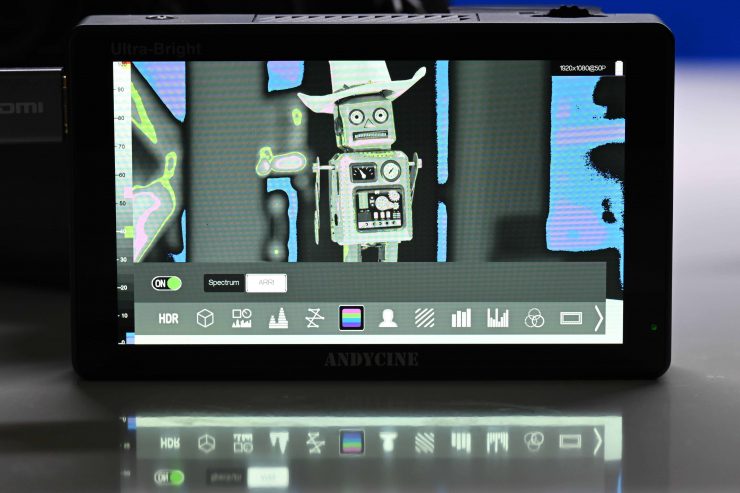
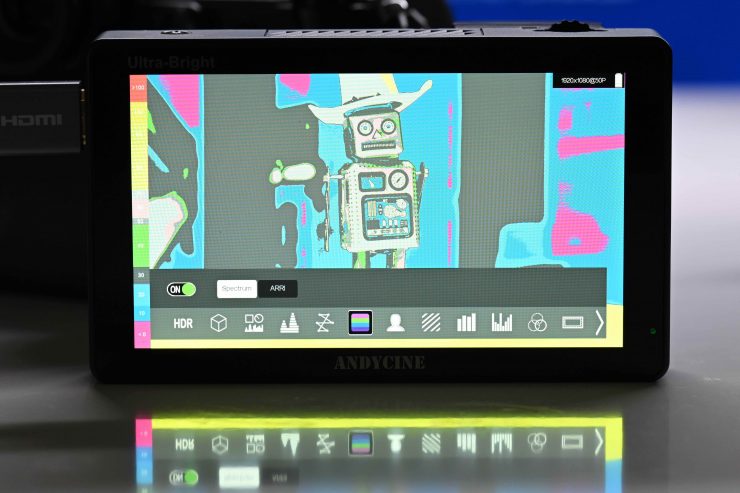
I like having False Color, and AndyCine gives you two different scales to choose from. There is a Spectrum based option and an ARRI option. I always find this a little odd as to why you would put an ARRI false color scale on a sub $300 USD monitor that only has HDMI inputs. I don’t think too many people will use this monitor on an ARRI camera.
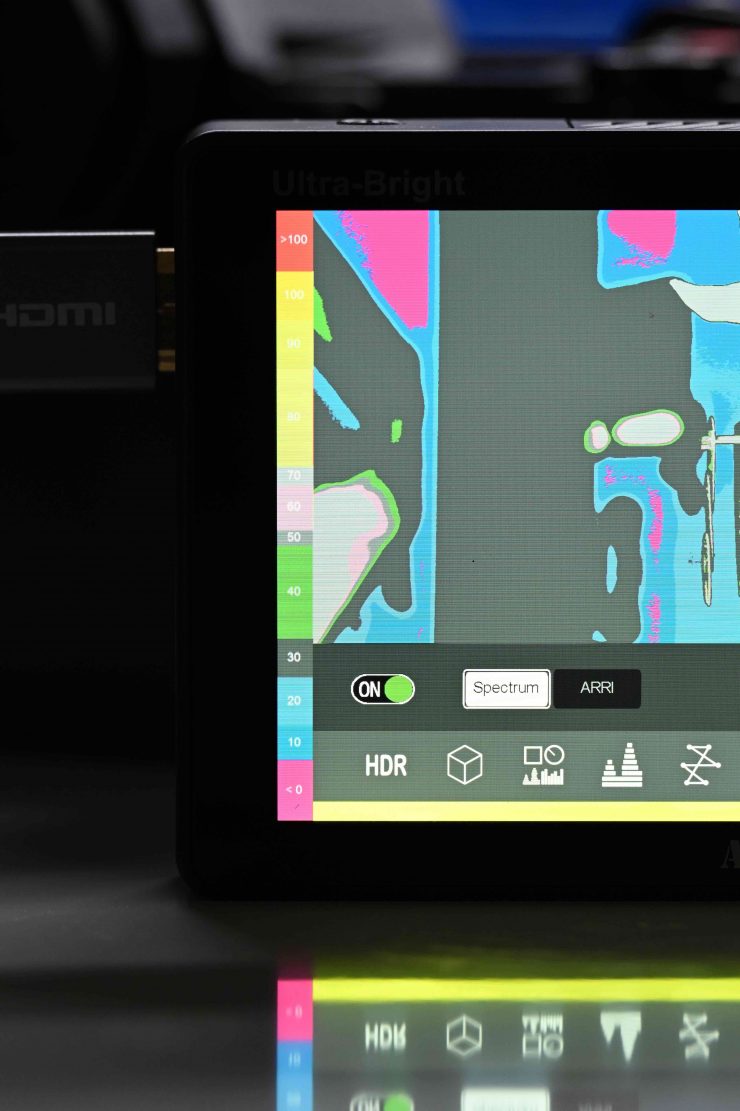
While a Spectrum based false color scale is ok, every camera’s false color scale is different because the IRE ratings for middle grey, etc. are not going to be the same. This makes a Spectrum based false color scale more of a ballpark guide rather than anything definitive. At least AndyCine has included IRE figures for what the various colors relate to.
I also found that the false-color indicator scale kept flashing. This appears to be some type of bug.
With zebras, you can adjust them from 0-100 IRE. This is nice because you can set the exact level for middle grey on your camera and use that to get more accurate exposure.
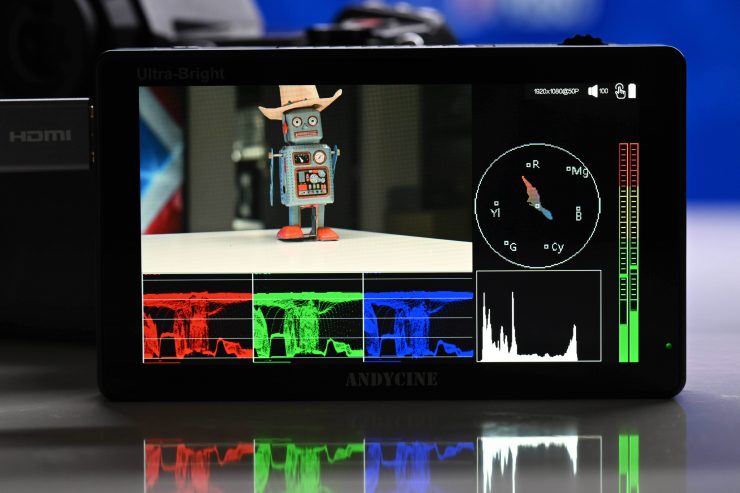
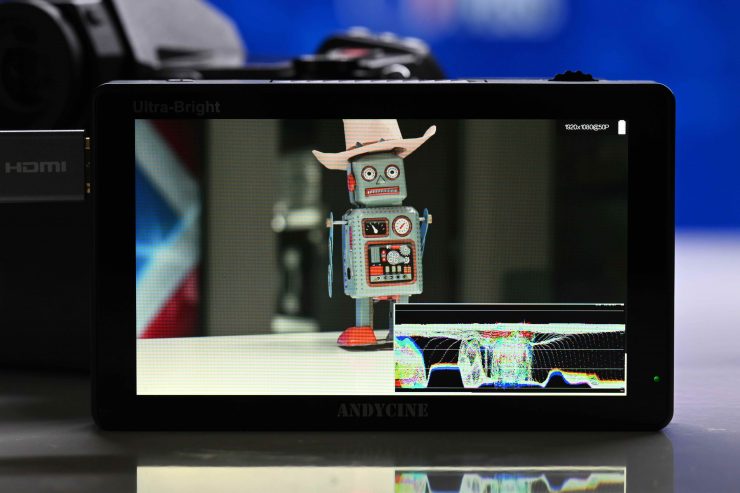
It is also nice that you can bring up one icon that shows a range of scopes. The only issue when using any of the scopes is that you can’t change their size, position, or opacity.
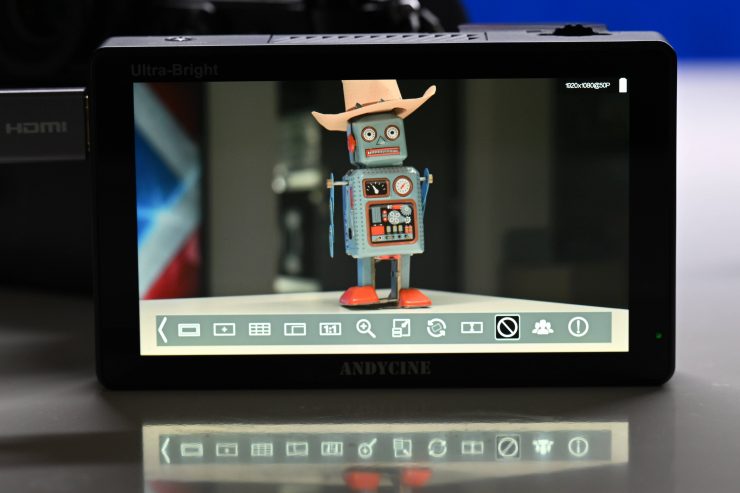
There is also a function called Freeze. Basically, if you set up a shot and then you go into the menu and turn the Freeze icon on it will keep displaying that exact shot until you turn it off.
Another nice feature is that you can have as many monitoring tools selected at once as you like.
3D LUTs
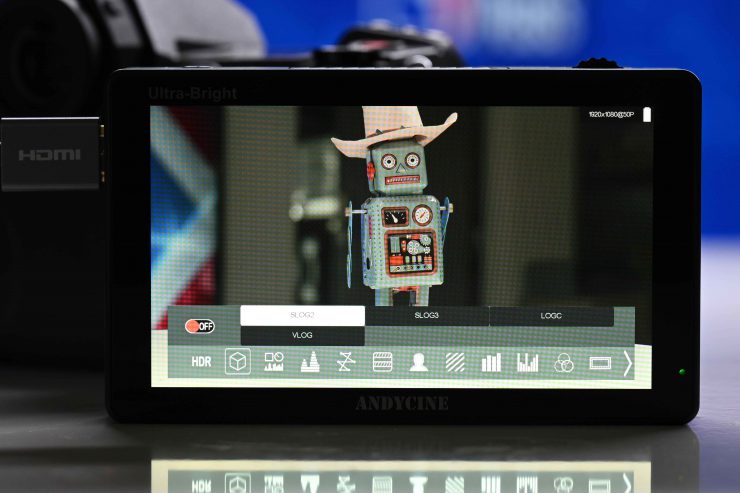
You can load up 3D LUT via the SD card slot. The monitor also has 4 pre-set onboard LUTs.
On the monitor I was testing these were the preset LUTs:
- SLOG2
- SLOG3
- LOGC
- VLOG
You can load up to 50 LUTS via the SD card slot. The SD card needs to be formatted as FAT32 or NTFS.
Power
The monitor draws ≤ 20W which is twice as much as some of the AndyCine C6 models. It can take an input voltage of 7-24V and it utilizes a single Sony NP battery plate.

The battery doesn’t move around or wobble on the battery plate.
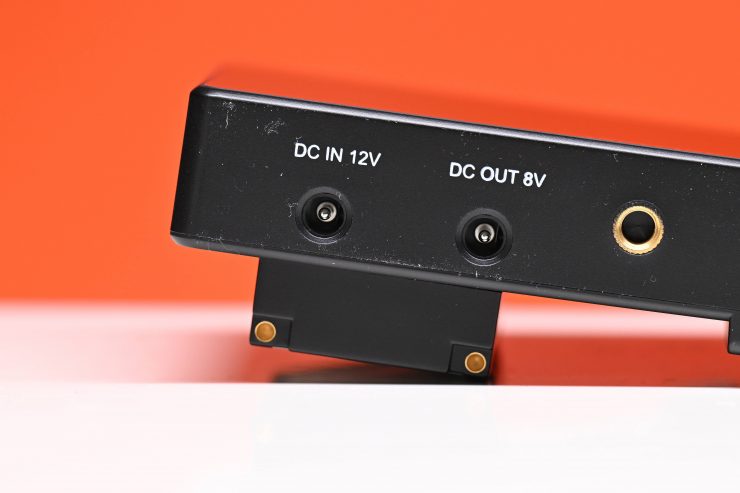
There is a 12V DC In as well as an 8.4V DC out for powering certain accessories.
What you clearly need to be aware of is that this monitor burns through batteries pretty quickly, especially with the backlight set at 100. You really need to use a larger-sized Sony NP battery otherwise you will find yourself changing batteries quite often.
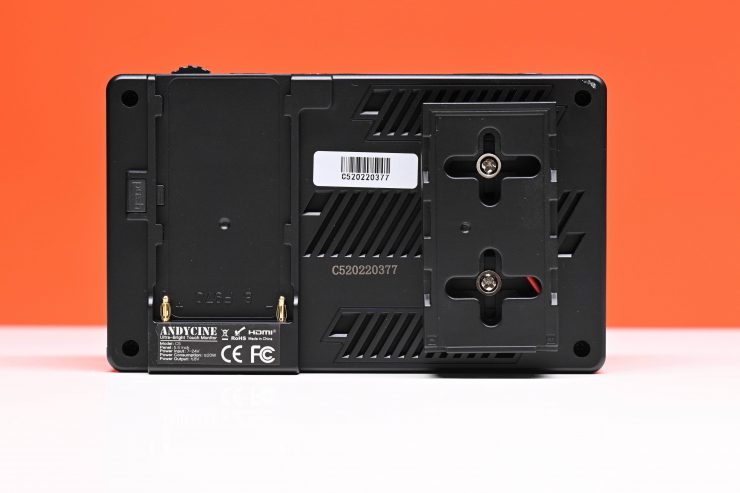
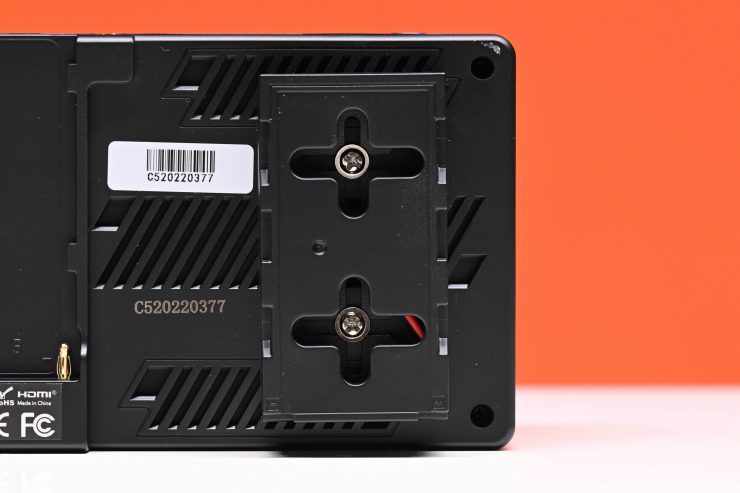
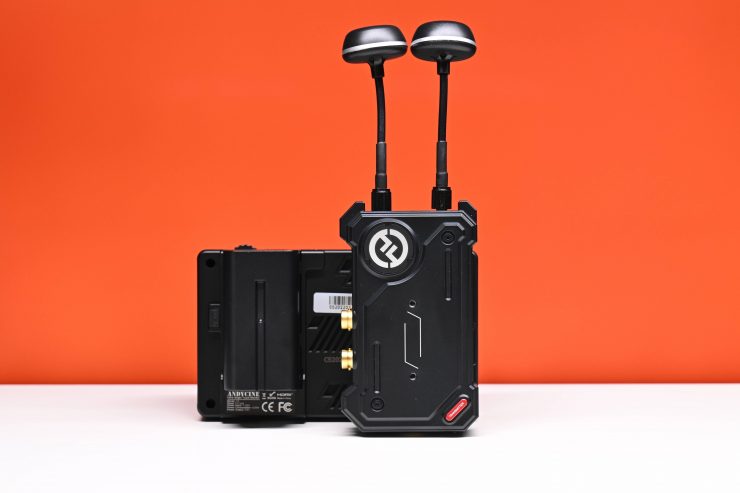
What is nice about this monitor is that it comes with a dummy Sony NP battery adapter on the back.
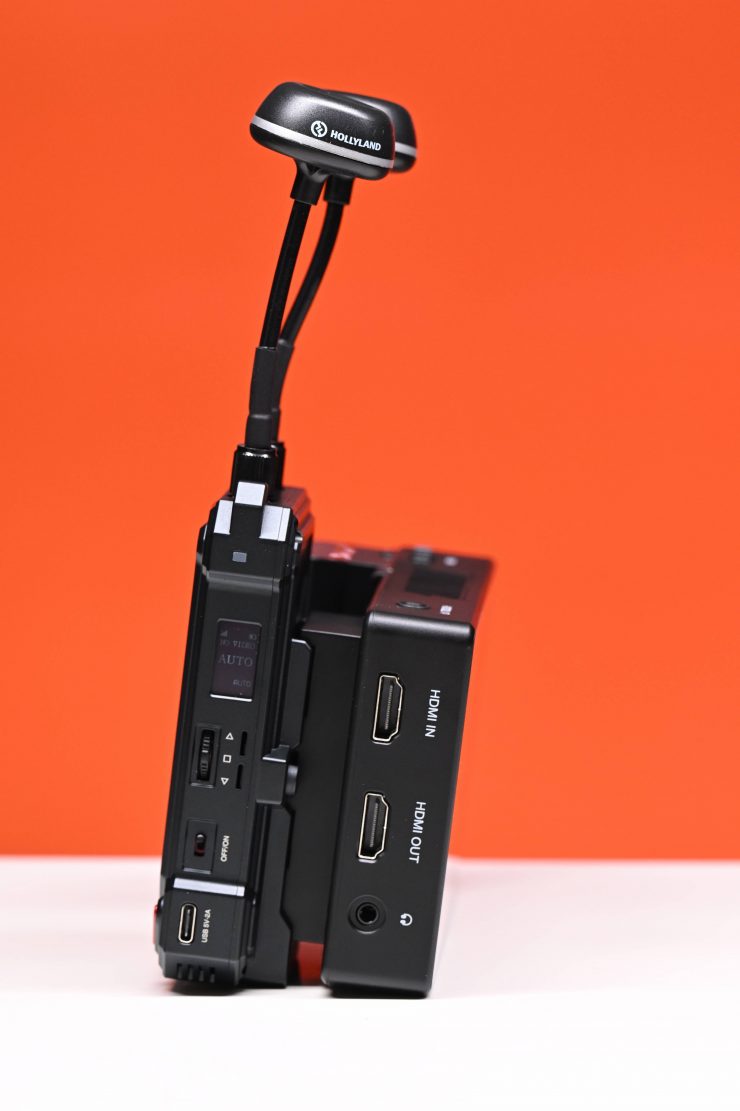
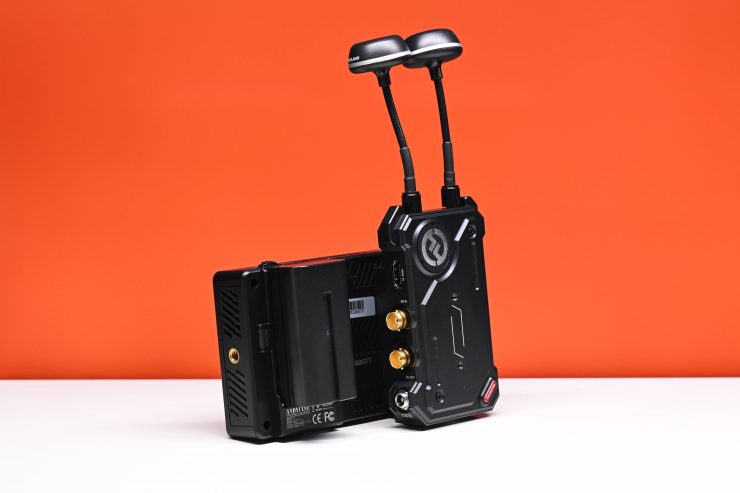
Having this dummy battery plate allows you to directly attach accessories such as wireless transmitters or receivers that utilize an NP battery plate and power them as well as the monitor.
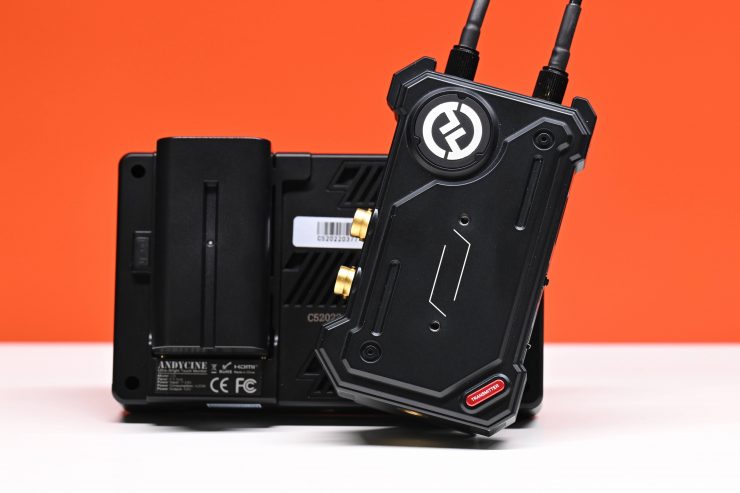
Now, according to AndyCine, you can change the orientation of this dummy plate and you can also remove it if you don’t want to use it. You can adjust it, but the angles you can place it on are quite limiting and you can’t change the orientation so it sits sideways. You also CAN NOT remove the battery plate as it is wired into the monitor.
What doesn’t inspire me with any confidence is that you can see exposed wires on the dummy battery plate and you would not want to use this product in any type of rainy conditions outdoors.
Is it quiet?
There is nothing worse than a monitor that has a very noisy fan. Some of the Atomos offerings sound like there is a mini hairdryer being used in the same room. The AndyCine does make quite a lot of noise and the fan has quite a high-pitched sound to it.
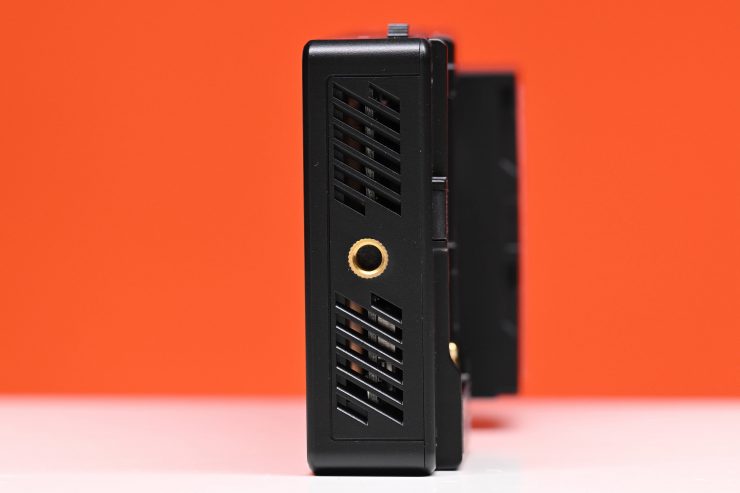

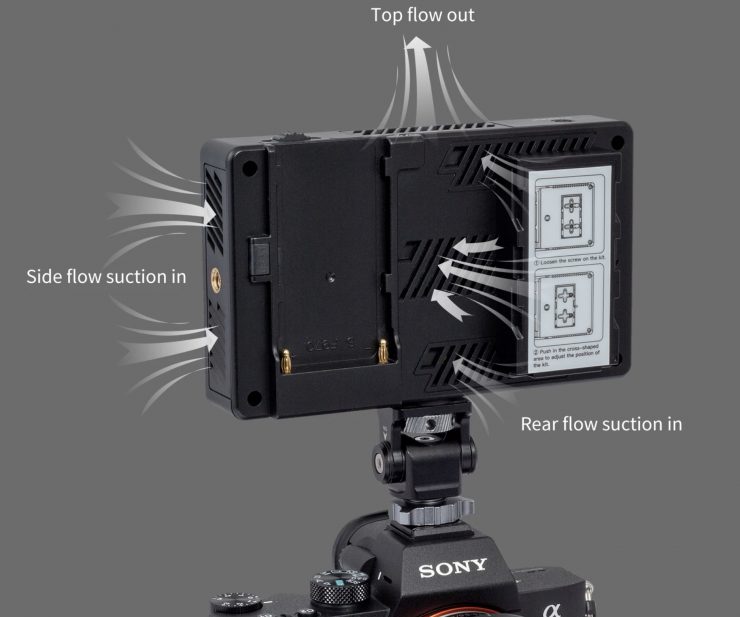
The monitor has air inlets on the back and on the right-hand side. hot air gets exhausted out of the top of the monitor.
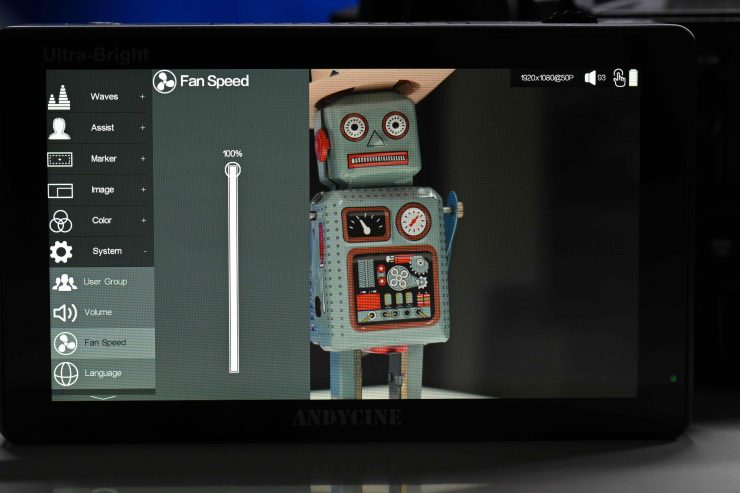
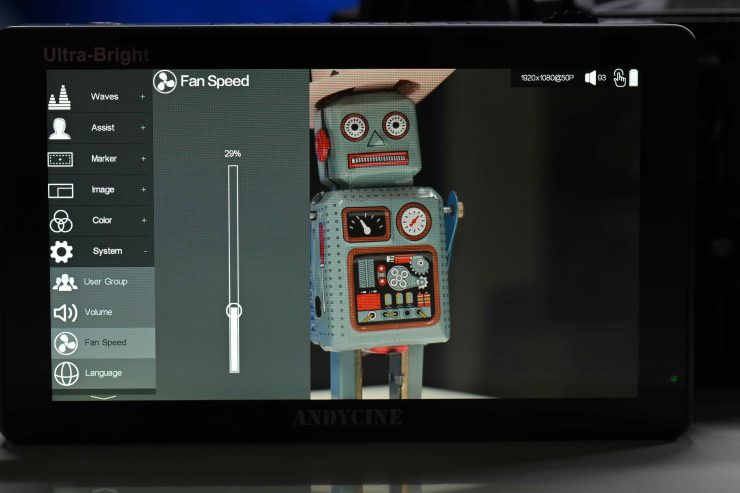
There is a fan control section in the main menu, where you can adjust it from 0-100%. In its default mode it is set at 50%. Strangely the noise of the fan didn’t sound any different regardless of whether it was set it at 50% or 100%. What you do need to be aware of is that if you set the backlight to 100 then the minimum fan speed setting you can choose is 70%. Although here is where things get even more confusing. Even if I set the backlight to 49 the minimum fan speed was still 70%.
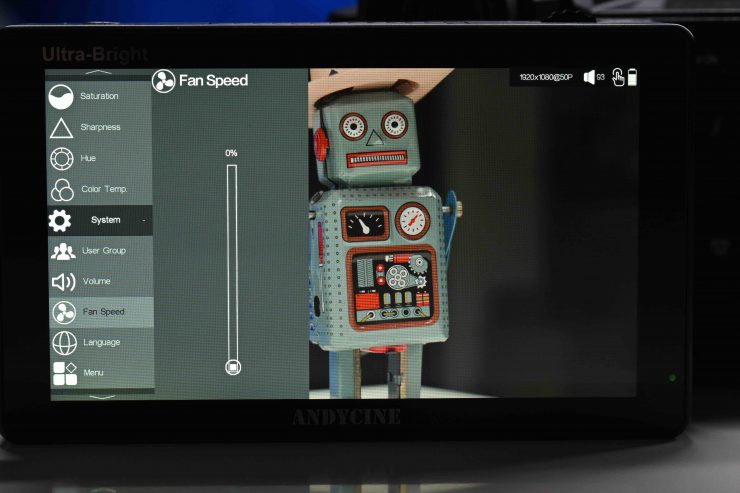
You need to have the backlight set at 29 or below to be able to turn the fan off. If you have the backlight set at 30 you can adjust the fan speed to zero, however, it just automatically kicks back in after about 10 seconds.
Despite having an in-built fan and plenty of airflow the monitor does still get hot to touch when let on for extended periods of time.
The fan speed settings are downright confusing and not intuitive for the user to understand.
The problem with this monitor is that you are going to have to live with the fan noise because I don’t see too many people using it with the backlight set below 30.
I personally wouldn’t use a monitor that has a noisy fan because I don’t want fan noise being recorded or even heard when I am shooting.
The other issue is that the screen itself gets very, very hot if you have the backlight set at 100. As this is a touchscreen monitor, if you keep your fingers on the screen for more than a few seconds they will start to feel like they are going to burn. I am not sure what someone was thinking when they thought this would be acceptable to consumers.
How is the image?

Image quality and usability are at least to me, the two biggest boxes that need to be ticked with any monitor that is going to be used in a professional environment.
As far as the image quality is concerned it is reasonably good. The screen is nice and bright and sharp, although the colors look slightly overly saturated. You can adjust the parameters of the image such as contrast, saturation, hue, and sharpness. I found that setting the saturation level to 40% produced the best results.
The images appear almost too sharp for my personal taste, however, I think most people would be happy with it. It is hard in a review to show you screen quality. You really need to see a screen yourself to be able to judge quality.
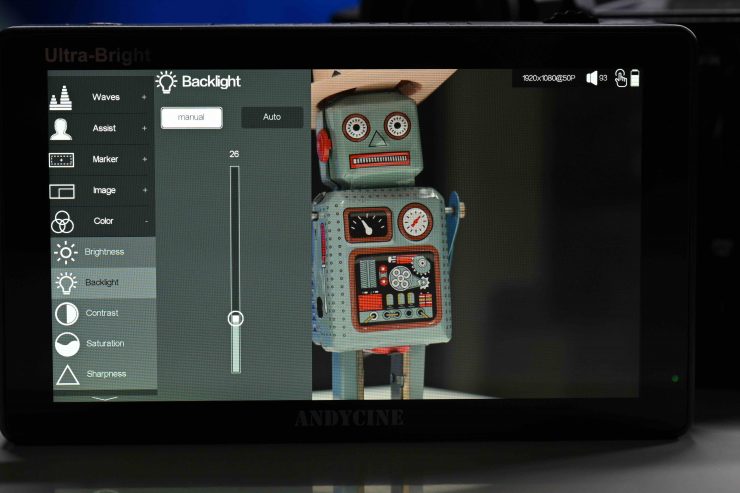
AndyCine does include a built-in light sensor so the monitor can adjust its brightness automatically when the light environment changes. You can change the Backlight from Manual to Auto in the settings. When it is on Auto it uses the built-in light sensor.
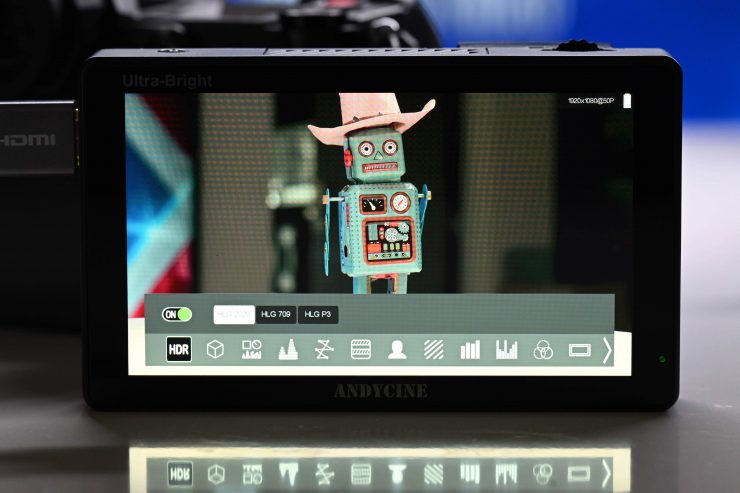
The screen only covers 100% of Rec.709, it doesn’t cover DCI-P3, nor will it cover Rec.2020, etc. Strangely the monitor does have HDR settings that include HLG P3, HLG.2020, and HLG.709. I’m not sure what good these modes would be given the monitor only covers a Rec.709 Color Gamut. They are really more like simulated views of what HDR would look like.
Is it actually 3000 nits?
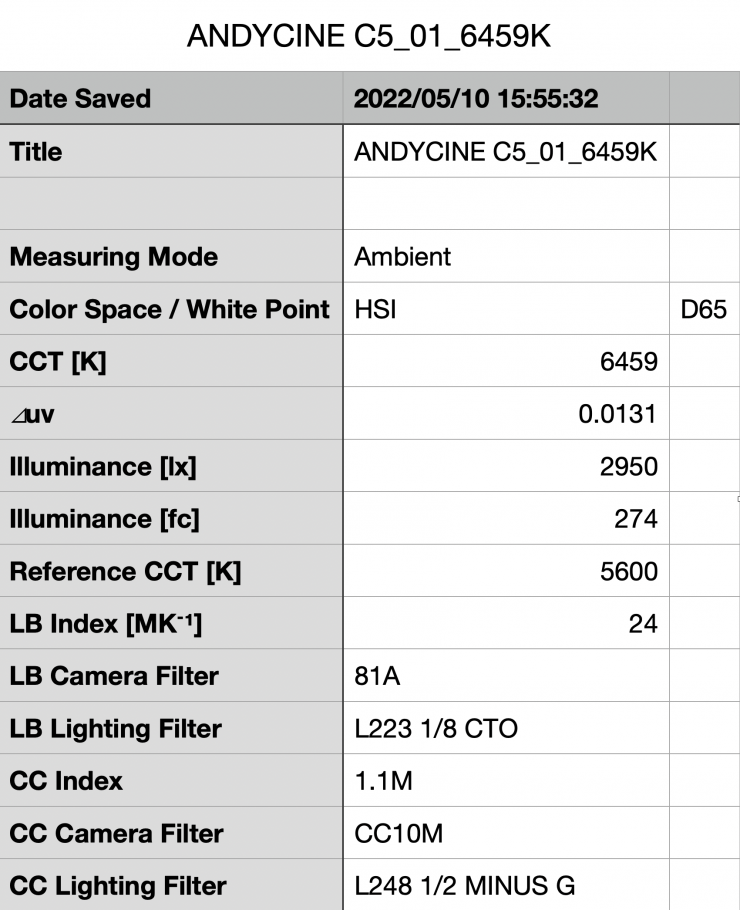
I tested the monitor by shooting a white card and exposing it at 100 IRE on a waveform. I then played back that clip and measured the brightness using a Sekonic C-800. The AndyCine C5 monitor had the backlight set to 100 and the brightness at 50%. It recorded a brightness level of 2950 lux, which was just 50 lux less than the claimed figure of 3000.
The brightness of the AndyCine C5 is impressive.
Usability
As I mentioned earlier, I am not quite sure why companies continually feel the need to change how the on-screen menus and operating systems work across various different models. While there is nothing that wrong with the operating system on this monitor, I would have preferred to see more consistency across the various different models.
With monitors, you need to be able to access assist tools quickly. With the AndyCine C5 you can do this reasonably quickly.
As I mentioned earlier in the review, the fan noise is a concern for me and something that a lot of potential users also need to be clearly aware of. You can’t use this monitor and have it run silently unless you are willing to use it with the backlight set below 30. Having it set at below 30 defeats the purpose of buying an ultra-bright monitor in the first place.
I like the fact that there is a dummy Sony NP battery integrated into the back so you can power a compatible wireless TX or RX unit.
The monitor is relatively easy to mount, but I do wish that the HDMI connectors were countersunk. With the ports on the side of the monitor, you need to be careful that your cable doesn’t get tangled on something.
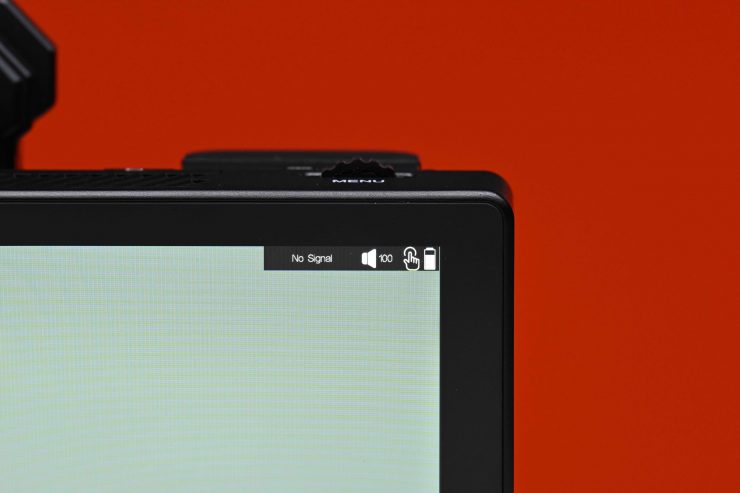
An issue I had is that even though the monitor is supposed to receive UHD signals over HDMI I couldn’t get it to work with a Nikon Z9. It just kept showing no signal regardless of whether I selected the HDMI output on the camera as UHD or 1080p, or Auto. What was even stranger is that the only way I could get a picture up on the AndyCine screen when I was shooting UHD was if I set the HDMI output to 1080i. If I was shooting HD on the Z9 then I could get a progressive signal showing up on the AndyCine.
Ok, so is this a camera-specific issue? Well, let’s try it out with a different camera and see. With the Panasonic S1H, it also wouldn’t recognize a UHD signal over HDMI and I had to select the HDMI Down Covert on the camera to 1080p to be able to get a signal. What was weird is that even though I was sending out a 25p signal from the camera, the monitor was showing it as being 50p. Another bug I discovered is that initially, I couldn’t get any images to playback on the monitor from the S1H, regardless of whether I shot them in UHD or HD. The AndyCine just kept coming up with no signal. What I had to do is have the AndyCine disconnected from the S1H and then enter the playback mode on the S1H and then put the HDMI cable back in.
Now, this isn’t a problem with either of these two cameras because if I hook up an Atomos Ninja V, it can display and playback UHD images without any issues. I am not sure if this is an issue with the AndyCine monitor.
Some of these bugs were really bizarre and nobody buying a monitor expects to find these sorts of issues.
Price & Availability

The ANDYCINE C5 5.5″ Daylight-Viewable Touchscreen On-Camera Monitor is now available to pre-order for $259.99 USD. This is certainly a competitive price given its feature set and included accessories.
Competition
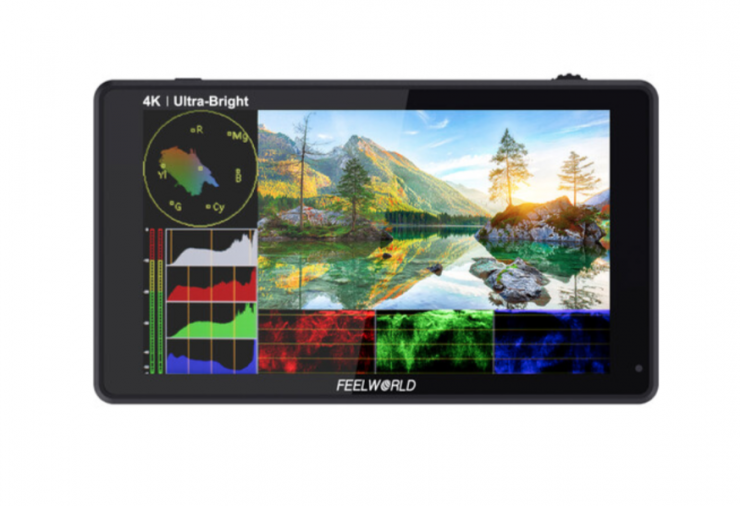
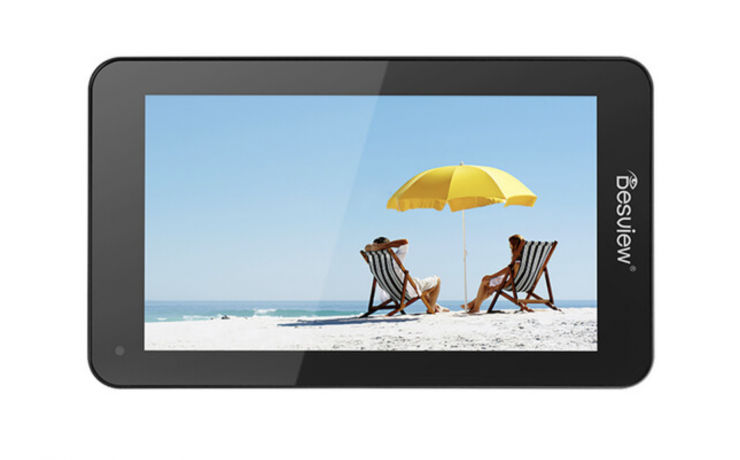
There are quite a few 5-6″ monitors from a range of manufacturers including FeelWorld, Portkeys, Desview, CAME-TV, Godox, etc. However, there aren’t actually a lot of Ultra-Bright monitors that have touchscreen functionality (particularly in this price range). The only ones that I can think of that have over 2500nits are the FeelWorld LUT6 6″ 2600 cd/m² 4K HDMI Touchscreen Monitor $289 USD and Desview U6 5.5″ 4K HDMI Camera Control Monitor $389 USD.
Full Specifications
- High-resolution 1920 x 1200
- High-contrast of 1000:1
- Ultrabright 3000 cd/m²
- 160° wide-view-angle IPS Panel
- Histogram
- Peaking focus assist (red, green, or blue highlight over parts of the image in focus)
- False color
- Zebra exposure
- Nine-grid
- Embedded audio
- Scan mode (underscan, overscan)
- Zoom (4x, 9x, 16x)
- Anamorphic mode (1.3x, 2x, 2x mag)
- Pixel-to-pixel
- Center marker
- Safe area (80, 85, 90, 93, 96%, 2.35:1)
- Ratio marker (4:3, 13:9, 14:9, 15:9, 16:9, 1.85:1, 2.35:1)
- Marker color (red, green, blue, white, black)Check field (red, green, blue, mono)
- Image flip (H, V, H/V)
- Image freeze
- Color temperature adjustment
- Rear battery mount is compatible with Sony L-series/NP batteries: F-970, F-960, F-950, F-930, F-770, F-750, F-730, F-570, F-550, F-530, QM91D, QM91, QM90D, QM90, QM71D, QM71, QM70D, QM70, QM51D, QM51, F-M71, F-M70 series.
- Display Colors 16.7M (8 bit)
- Pixel Density 400 PPI
- Color Gamut 90% NTSC,
- Rec.709 Color Celibration
- Aspect Ratio 16:9
- Adjustable Backlight YES
- Viewing Angle 85°/85°(L/R) 85°/85°(U/D)
- Input/Out Signal HDMI v1.4
- SD Card Slot SD Card for 3D LUT uploading and Firmware upgrades Audio 3.5mm Stereo Headphone
- HDMI Input & Out Support Format 480i/576i/480p/576p 1080i (60/59.94/50) 720p (60/59.94/50/30/29/25/24/23.98) 1080p (60/59.94/50/30/29.97/25/24/24sF/23.98/23.98sF) 4K UHD 3840×2160p (30/29.97/25/24/23.98Hz), DCI 4K 4096×2160p (24Hz)
- Power Out DC 8V to power camera with a separately available DC coupler
- Power Consumption ≤ 20WInput Voltage DC7 ~24V
Conclusion
The AndyCine C5 is a decent enough monitor and in line with previous offerings from the company. It is bright, sharp, and the colors it displays are reasonably accurate (although maybe slightly oversaturated in the default mode). The operating system and touchscreen functionality are decent enough.
The build quality is ok, but the massive red flags for me are the fan noise and the fact that the screen becomes too hot to touch. I also had issues getting signals to appear on the monitor from various cameras.
In my personal opinion, I think they just tried too hard with this monitor. While touting that it has 3000nits of brightness might be a good selling point, the reality is, that brightness comes at the expense of a loud fan and a screen that becomes too hot to touch. I don’t want to sound overly critical, because at $259.99 USD it offers pretty good value for money, but potential buyers need to be very aware of what they are purchasing.