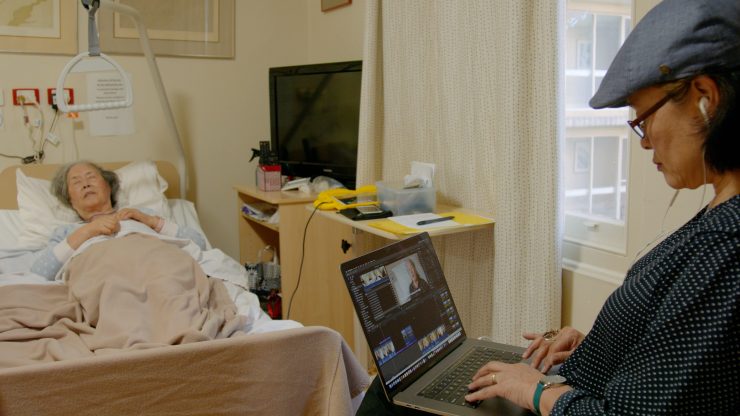
I remember learning to edit on those big bulky analog U-Matic machines with equally massive tapes that you could never fit more than a couple into a backpack. Today, on a feature documentary I’m working on, I fit my entire edit suite into my backpack. I edited full res on a laptop that has built-in 32GB of RAM, Radeon Pro GPU and a 4TB SSD drive – on which I’m also bringing in footage from multiple cameras at different resolutions into a 4K timeline.
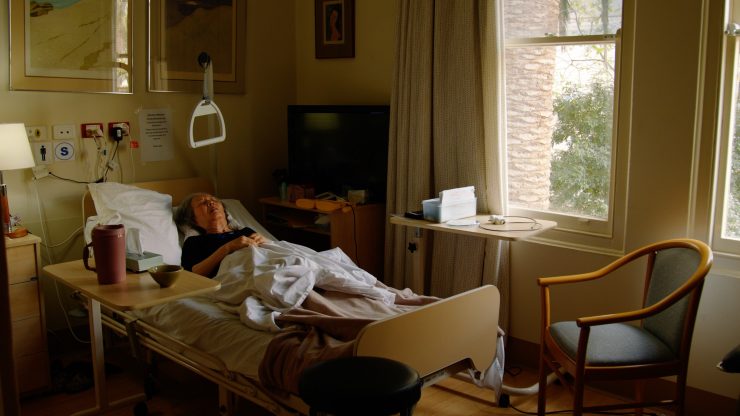
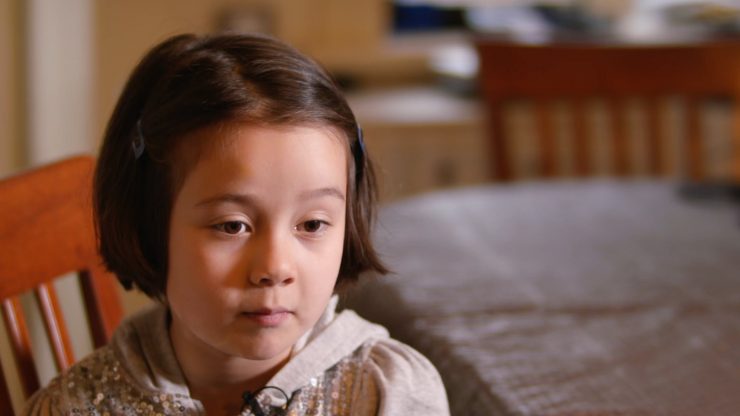
The feature documentary is a personal story about my mother who is dying from a rare neurological disease called MSA (Multiple System Atrophy) which affects just 4.5 people in 100,000. It’s a disease most have never heard of – even amongst medical professionals.
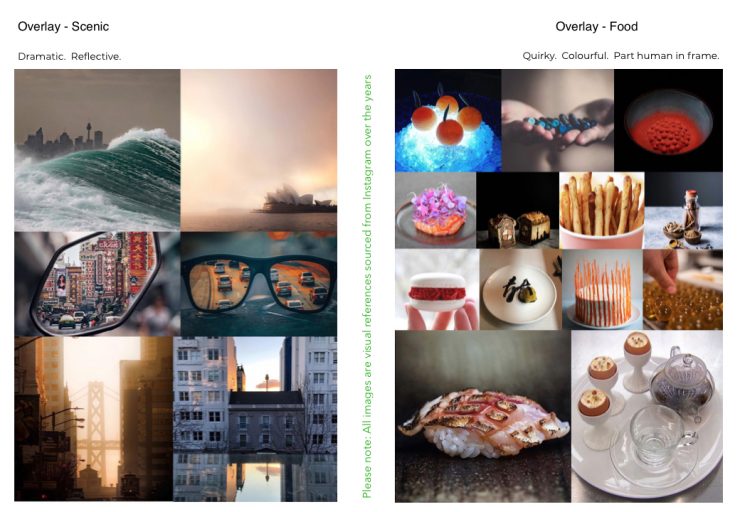
With personal stories, there’s sometimes a danger that they can feel small and claustrophobic on screen, so I made a conscious decision with the visuals to use B-roll/overlay to open up the film. Because the story has a lot of cultural elements as it covers my family’s Japanese background and my mother’s immigration to Australia, and food plays an important part, I decided to use big scenic visuals of Japan and Australia as a reflection of the more universal themes of the story, and used food to add colour and humour. The challenge was to create a story that wasn’t just a little niche film about a rare disease, but an emotional story with universal themes.
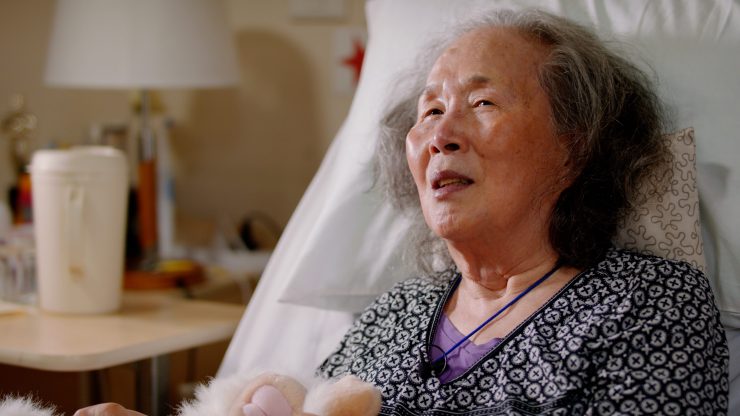
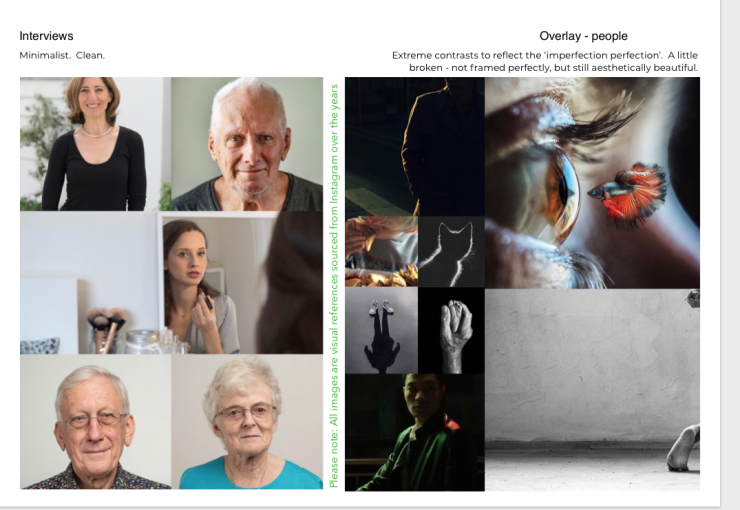
My mother is a vibrant, elegant but intense person, so stylistically, I decided on a very clean minimalist look – but with a strong color palette and drama. I was inspired by one of my favorite photographers John Slaytor whose portraits of his parents were the key inspiration for the interview look. The accents of character and flavor were inspired by various Instagram posts I’d been collating over the years. I love Instagram’s feature of being able to save to various folders. Because I always have several projects going at the same time, I separate visuals that I’m interested into folders by either project or theme, then reference back to these when the time is right.
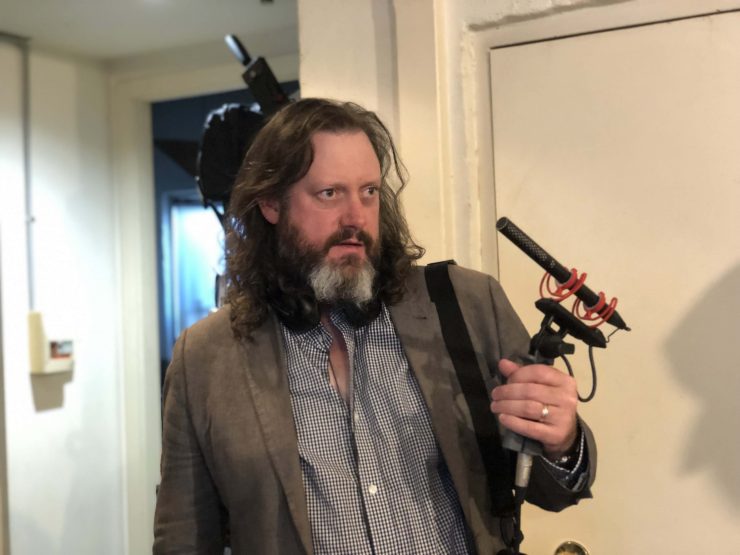
At the beginning of each project, Ben Allan ACS CSI and I talk through my Style References (usually a Director’s Treatment but on this project there was no time) and come up with a LUT. Ben is a Producer, Cinematographer, and Colorist who is also my longterm business and creative partner. Together, we run a bespoke production company, Main Course Films.
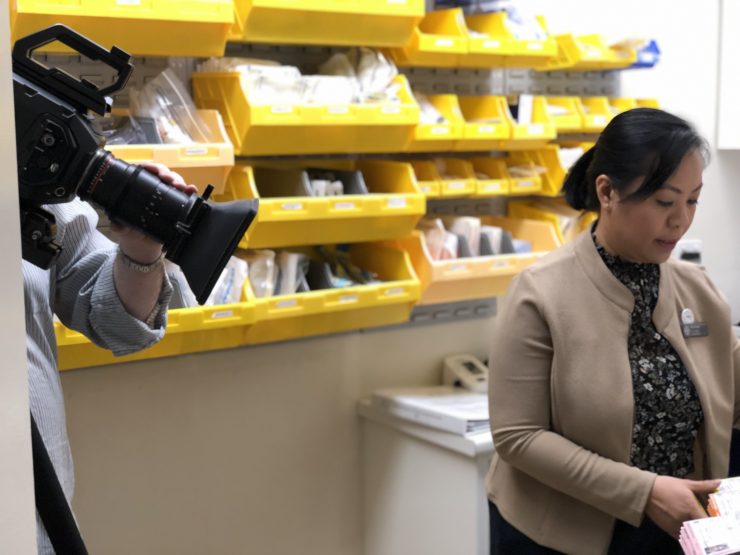
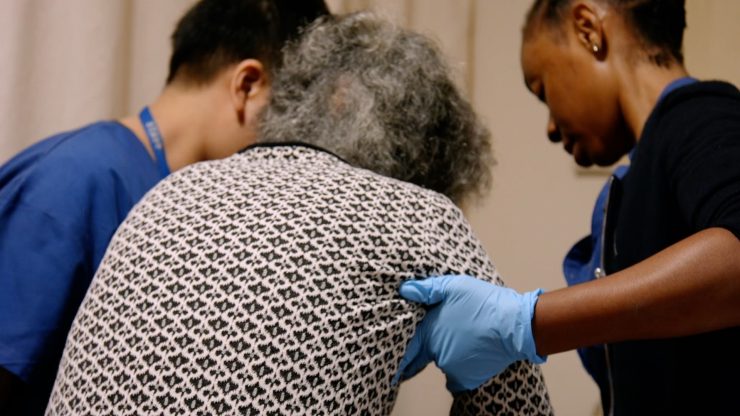
We knew in advance some interviews would have major time constraints, so if we weren’t going to be able to light these properly, then we would need latitude in post. With the overlay of people, I wanted to have some cropped, not-quite-right framing to represent ‘imperfection’ or ‘broken-ness’ – still aesthetically beautiful, but not ‘perfect’. With scenic shots, I was looking for drama and reflections – we didn’t quite get enough time for so many reflections, so we ended up focusing on drama. With the food overlay – this was about color pop and character, so I focused on finding interesting colors, textures, props, and backgrounds. I was also keen to add in a human factor wherever possible – fingers, hands to create a sense that they were tangible.
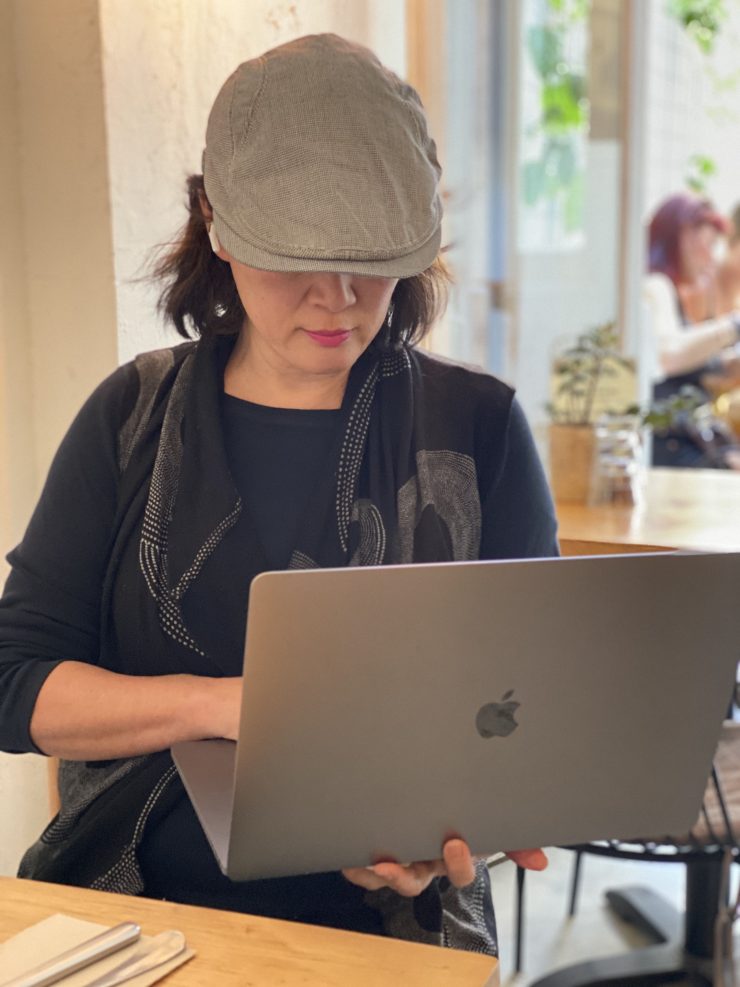
I edited in Final Cut Pro X in full 4.6K res on my MacBook Pro. And because everything is built into my laptop, I was able to edit not only without an external hard drive but anything else hanging off it. This was a big deal because the edit alone was roughly 2.5 TB but because this was a high spec laptop, I could fit the entire project on the built-in SSD drive.
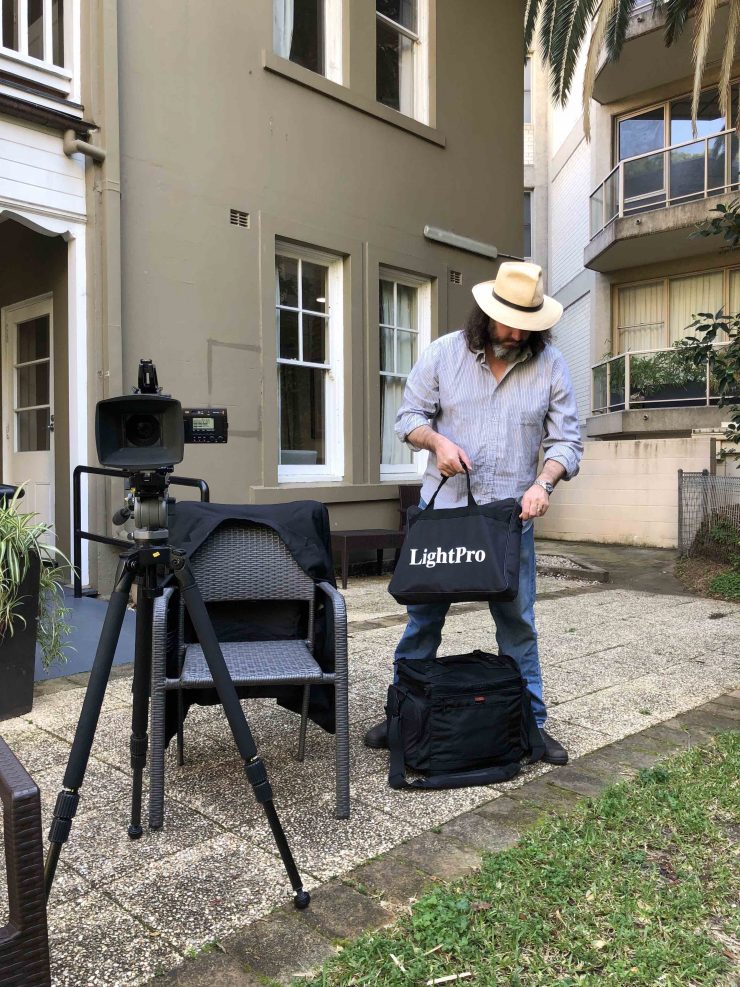
The way I work is all about mobility and portability as we’re always juggling multiple projects so we’re simultaneously in development, pre-production, shoot and post on projects, so I have to pick up and go wherever but still keep everything on schedule and budget. Technology has allowed me to be mobile, so while I was on location on another project or in between interviews on this documentary or waiting for the kids at school pick up, I could edit anywhere I had a good 15 minutes of concentration time.

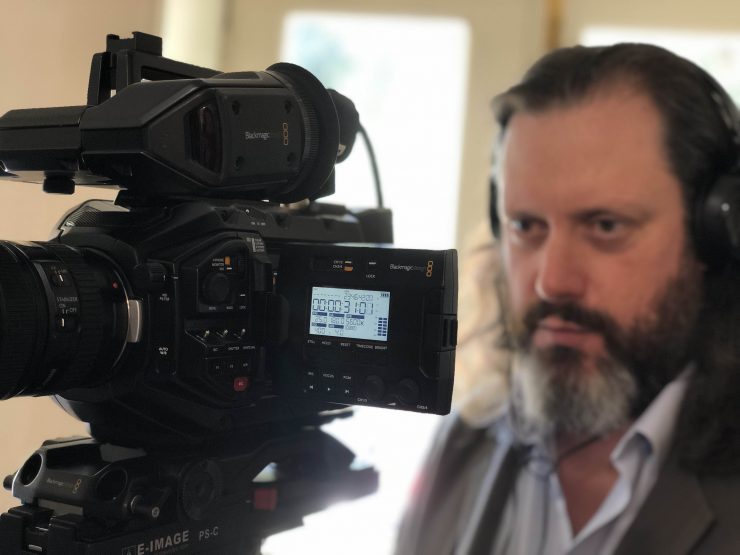
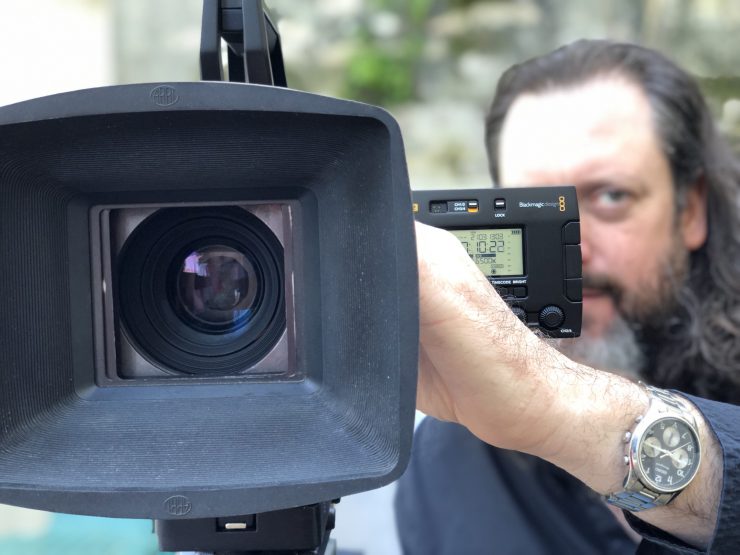
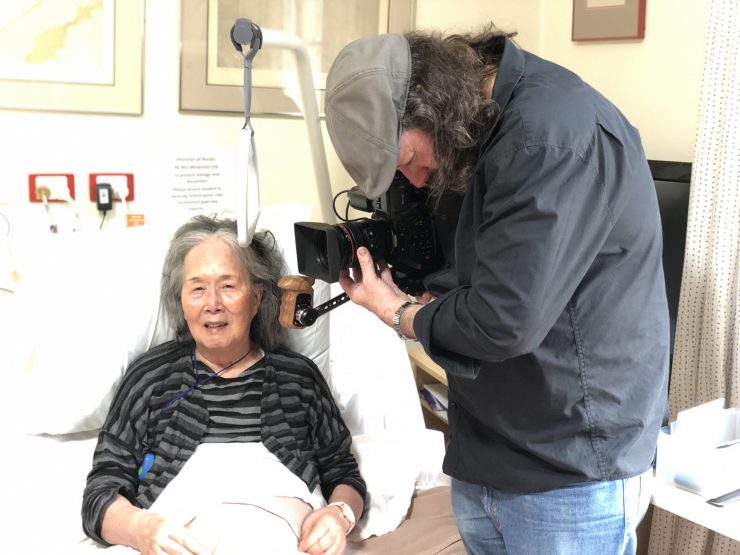
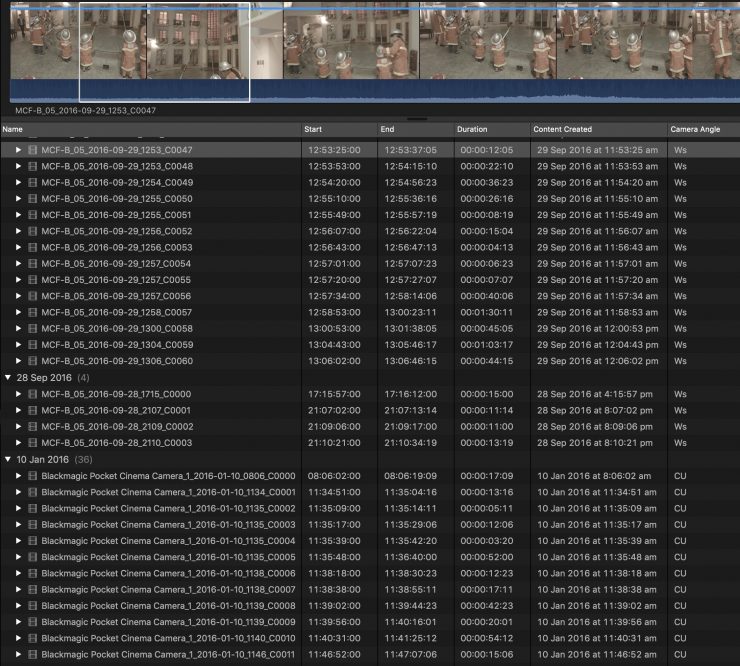
We filmed most of the interviews and food shots with the Blackmagic Ursa Mini Pro 4.6K G2. On the G2 we were shooting Blackmagic RAW at full 4.6K. I usually prefer to shoot RAW over ProRes as I like to leave as much latitude in the shot to color grade. I find that this allows me the best way to finish a project to the highest possible quality. I loved the way the G2 deals with skin tones – even with tricky skin, the look we captured was flattering and filmic with nice highlights and depth to the image. I also loved being able to push my slowmo to over 100fps in full 4.6K. This combined with a 100mm macro allowed us to create some pretty eye-popping shots to complement the story.

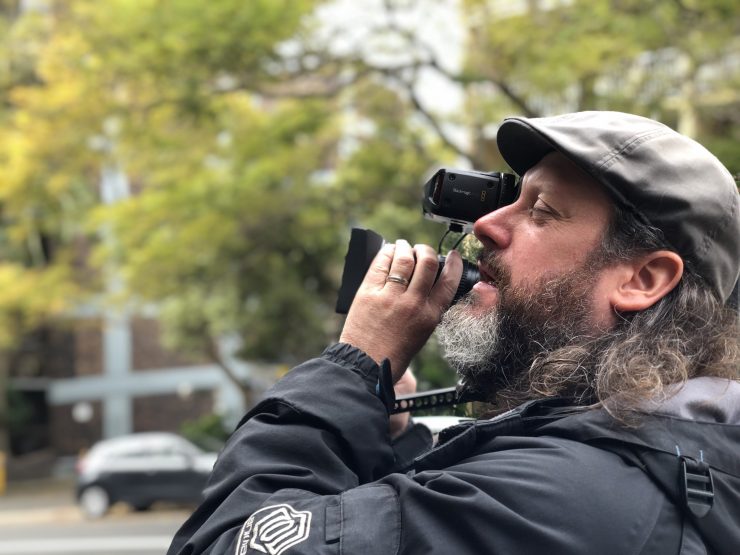
Scenic shots were a mixture of the G2, Blackmagic Pocket Cinema Camera which we captured ProRes HQ in Log HD, and Canon 600D with Magic Lantern hacked firmware.
Aerials were filmed with the DJI Mavic Pro. We had worked extensively in multiple locations and conditions with the Mavic Pro on a recent project, so we knew exactly the kind of visuals we would be able to achieve with the Mavic Pro for “Wabi-Sabi”.
Archival footage was a mix of the Canon 600D, Blackmagic Pocket Cinema Camera, SONY PMW-EX1 shooting HD in XDCAM HD, and iPhone stills and iPhone footage – the latter which was a mixture of H264 from older models, some 4K HEVC on the iPhoneX and some 4K using Filmic Pro recording filmic extreme and Log 2.
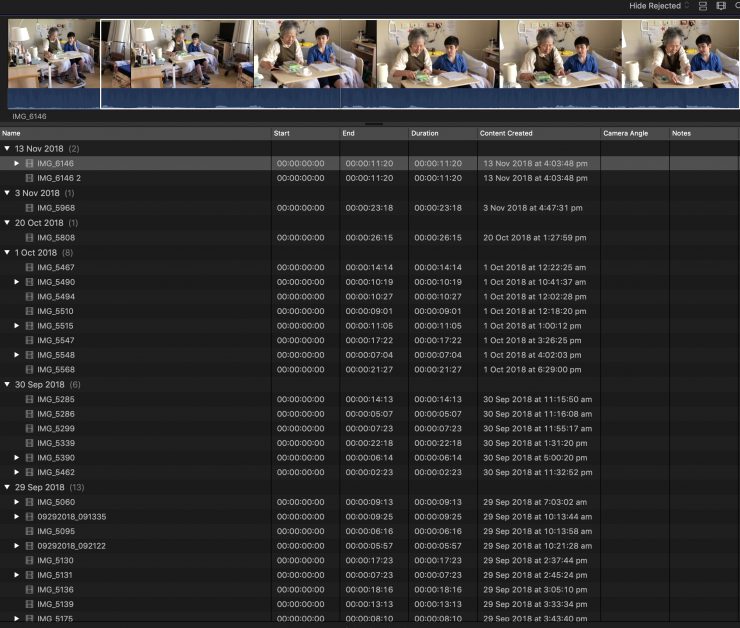
Final Cut Pro X handled all the source materials from the various cameras seamlessly and it was fascinating to see the evolution of the iPhone over the past decade – and what a noticeable leap forward the iPhone X was. In the edit, it was sometimes difficult to tell the iPhone overlay shot vs the professional digital cameras until we started color grading. It’s not a stretch to think after testing the latest iPhone 11 pro how we could integrate it as an additional camera in either a documentary or drama project.
I like to edit in full res because I know going in I need maximum coverage without realms of footage. We filmed single camera, so I needed the flexibility of cropping in on a shot, and editing in full res footage means I can make these decisions on the fly. I need to know with certainty that the cropping will hold up, so cutting in full res means I can make – and check – those decisions at the edit stage.
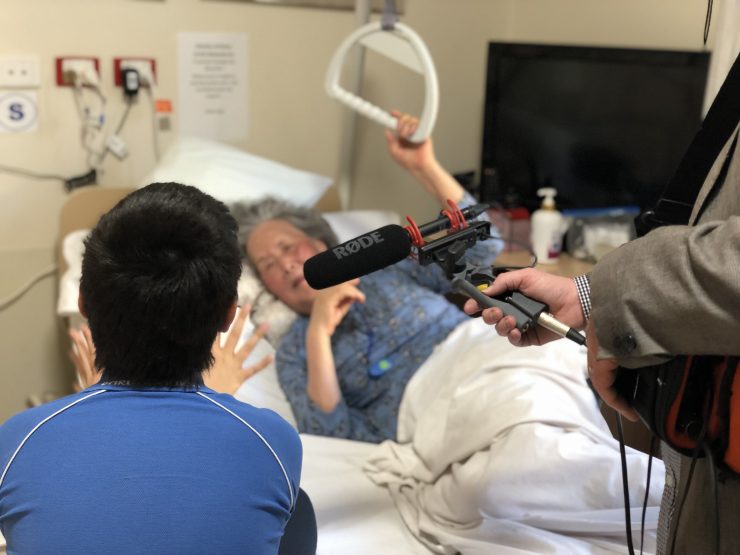
I find editing and sound design intrinsically linked as I can’t edit together a structure without allowing for sound, so I design the sounds as I edit. Initially for flexibility, I only edit in key sounds, then after I’m confident I’m close to the final edit, I go back and fill in the rest of the sound design. Without this sound design, I can’t lock off the edit as music, atmos and sound effects on the timing and flow of an edit – how it helps focus the emotional journey of the story, how it helps the story build and breathe, how it helps me bring the story to a close. We used the RØDE NTG5 to record foley and additional spot sound effects.
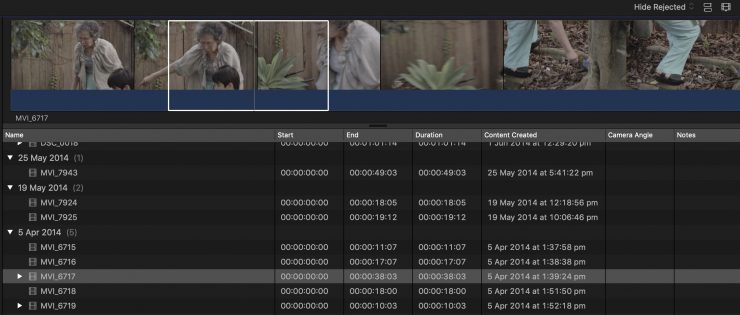
For narrative projects – including TV commercials or promos – I’ll always edit an animatic I use from Director’s Treatment green light stage, and these are complete edits with full sound design and music – but with interview-based documentaries, animatics don’t work as there’s often no traditional pre, shoot, and post. We were shooting & editing “Wabi-Sabi” from Day 1. I would edit as soon as I got the files from Ben at the end of each shoot day – initially just to play around with the images to see how they worked together, then as we filmed interviews, I’d bring together chunks of the interview and have a look at which way the story was evolving. Keeping an eye on the edit as the interviews unfolds also allowed me to alter my interview questions as the story changes and narrow in on where the story will end.
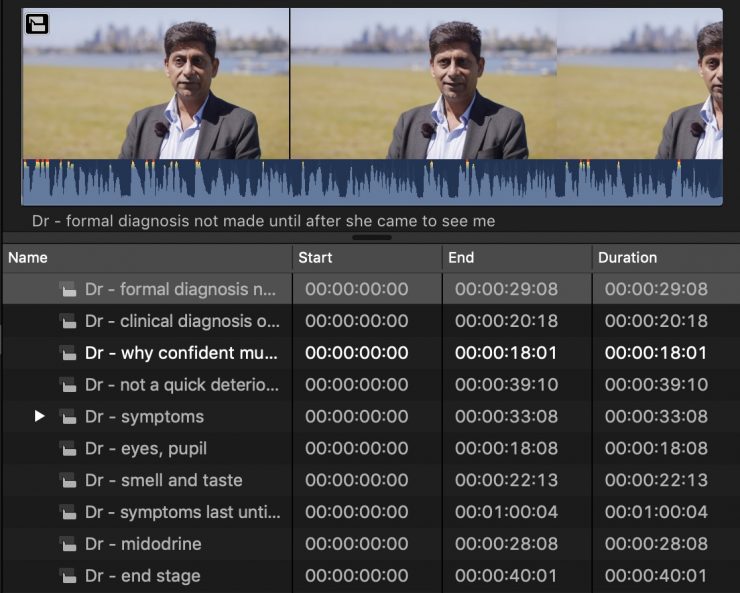
After each interview, I place the entire interview on the magnetic timeline and call this Interview v1-0. Then I go through the interview and use the blade tool to make my selects and lift these clips onto a separate video layer and re-save as separate edits. I save each soundbite as a compound clip so that I can refer back to the content of each soundbite when I’m ready to edit. It usually takes me around 3-4 passes to have the absolute best selects of an interview (v1-3 or v1-4) — but it’s v1-1 or v1-2 that I will refer back to as the cut evolves with additional interviews as the story shifts.
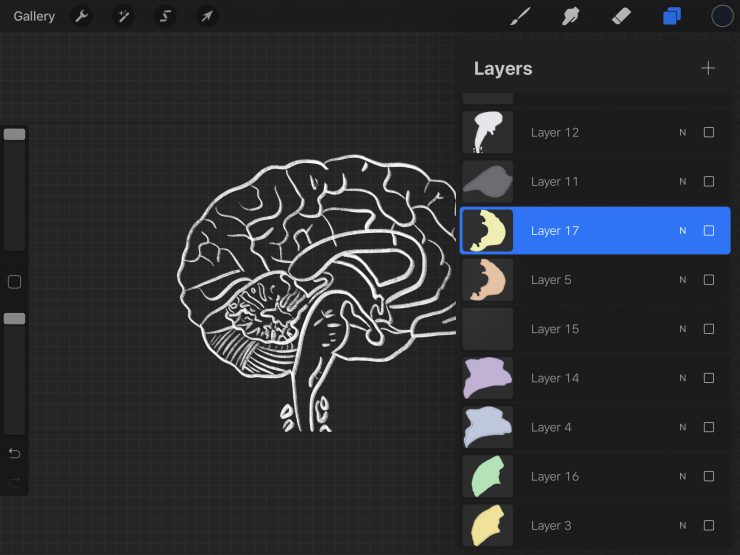
In recent years, I’ve been using Procreate on my iPad Pro to draw storyboards and design the graphics for my projects. For “Wabi-Sabi”, I wanted the viewer to focus on the disease without elaborate visual effects or graphics, so I settled on a simplistic calligraphy style where I sketched an outline of the human body, then used the ProDicator HUD self-animating line indicators from Pixel Film Studios to create movement in illustrating how MSA affected the human body.
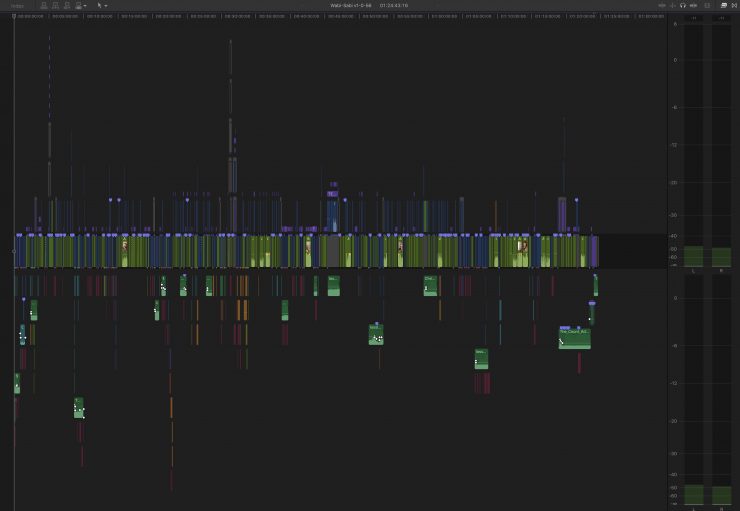
For our workflow, Ben came up with naming our edits as versions and sub-versions. We find this the most useful as there’s no getting confused later. Anything labeled v1-x-x we know is Edit 1, anything labeled v2-x-x is Edit 2 and so on. The middle number is a useful tool for using the same edit structure but where I’ve decided on a significant change in direction. I use a new version to start each new structure. The edit I signed off on as the first cut of “Wabi-Sabi” was v1-0-56. From start to finish of this first cut was 7 weeks. We also have additional versions we need for versions of the edit with just titles (“T”) or animation (“A”), graded (“G”) or mastered (“M”)
We used Da Vinci Resolve on an iMac Pro to convert the RAW footage to ProRes before we started the color grade. I love the specificity Resolve allows in order to fine-tune colors across highlights, shadows, and mid-tones and the multiple vignetting which we’ve used to maximum effect on many projects. Over the years, there are certain tricks we like to use in the grade to enhance a shot – adding a lower third grad, cleaning up shadows, layering vignettes – but with “Wabi-Sabi” more often than not, we kept the images simple, and only slightly tweaked. It was more about the LUT – and then adjusting a bit of blue or green out of the shadows rather than going in for heavy-duty grading.
It’s exciting times when technology allows filmmakers to make the most of the way you want to work – and while size does matter, being able to juggle projects comes down to being able to work efficiently anywhere, anytime. For me, a big part of that efficiency is being able to pack up my edit suit into my backpack and go.