The OBSBOT Tail is an AI camera that has the ability to track and record a subject without you having to do anything. A self-tracking camera can be used for a wide variety of applications. It’s important to note that the unit I am reviewing is not the shipping version, but a lot of the features are still working. The OBSBOT Tail is expected to start shipping in April.
OBSBOT Tail
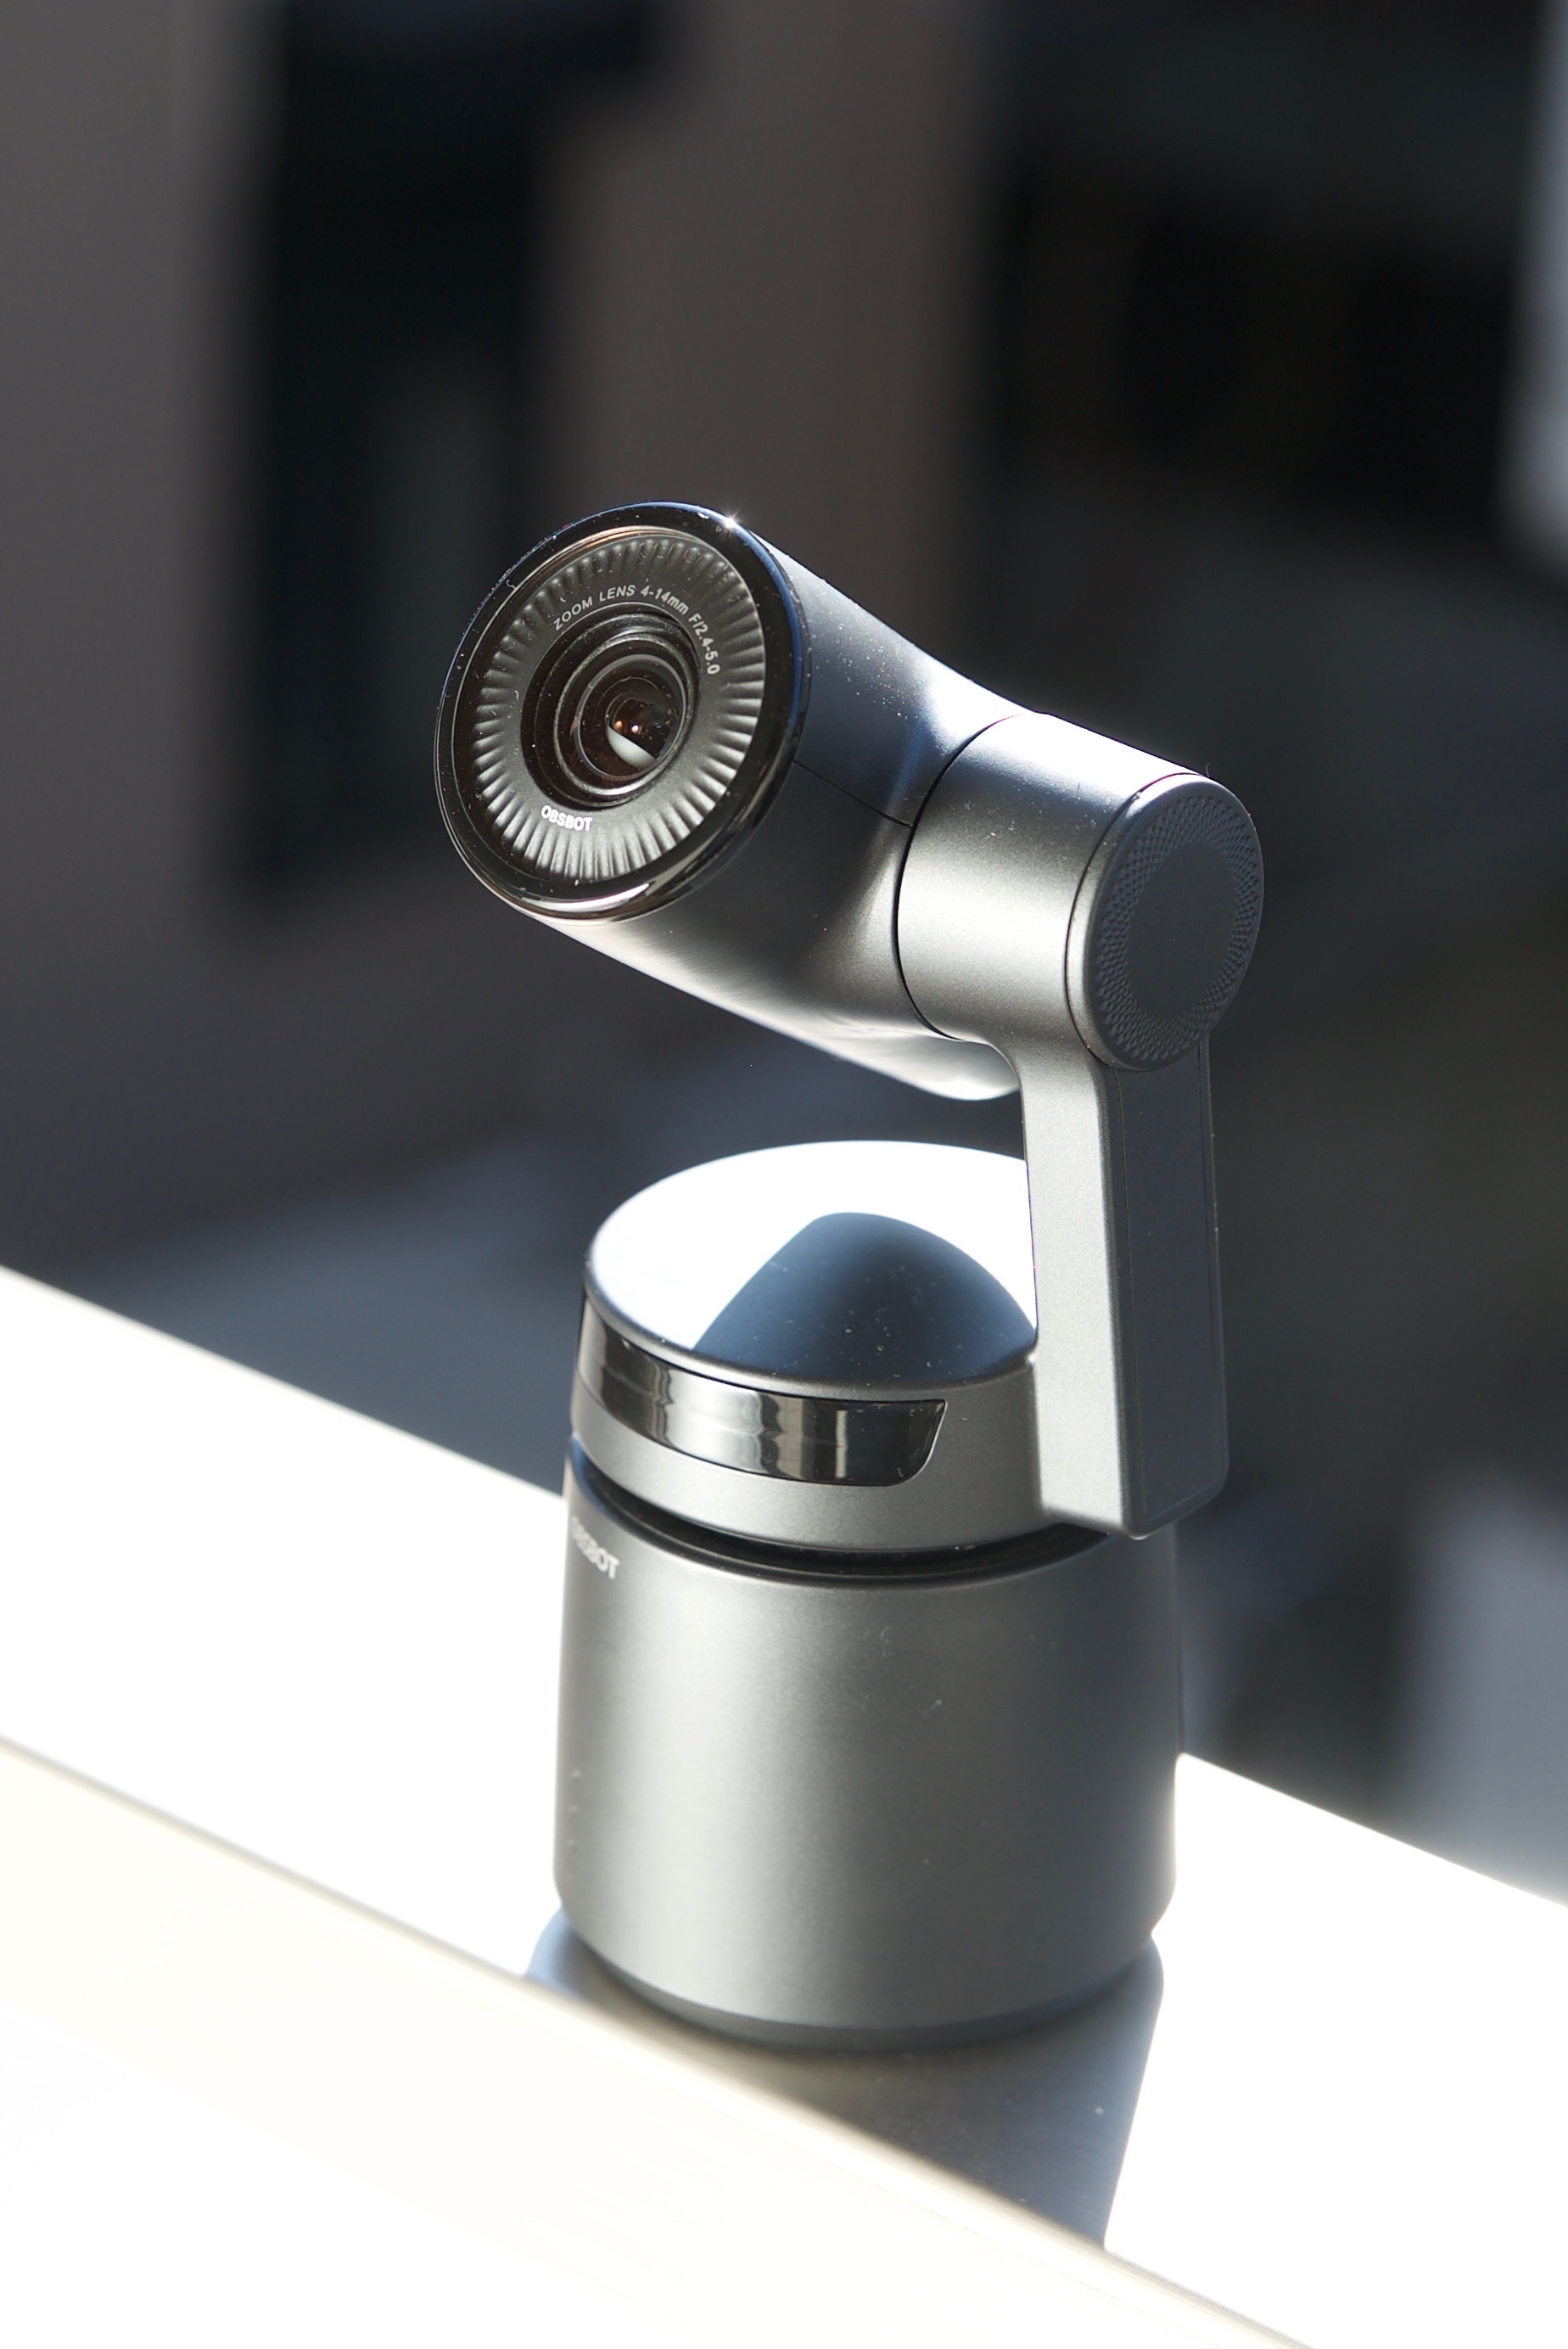
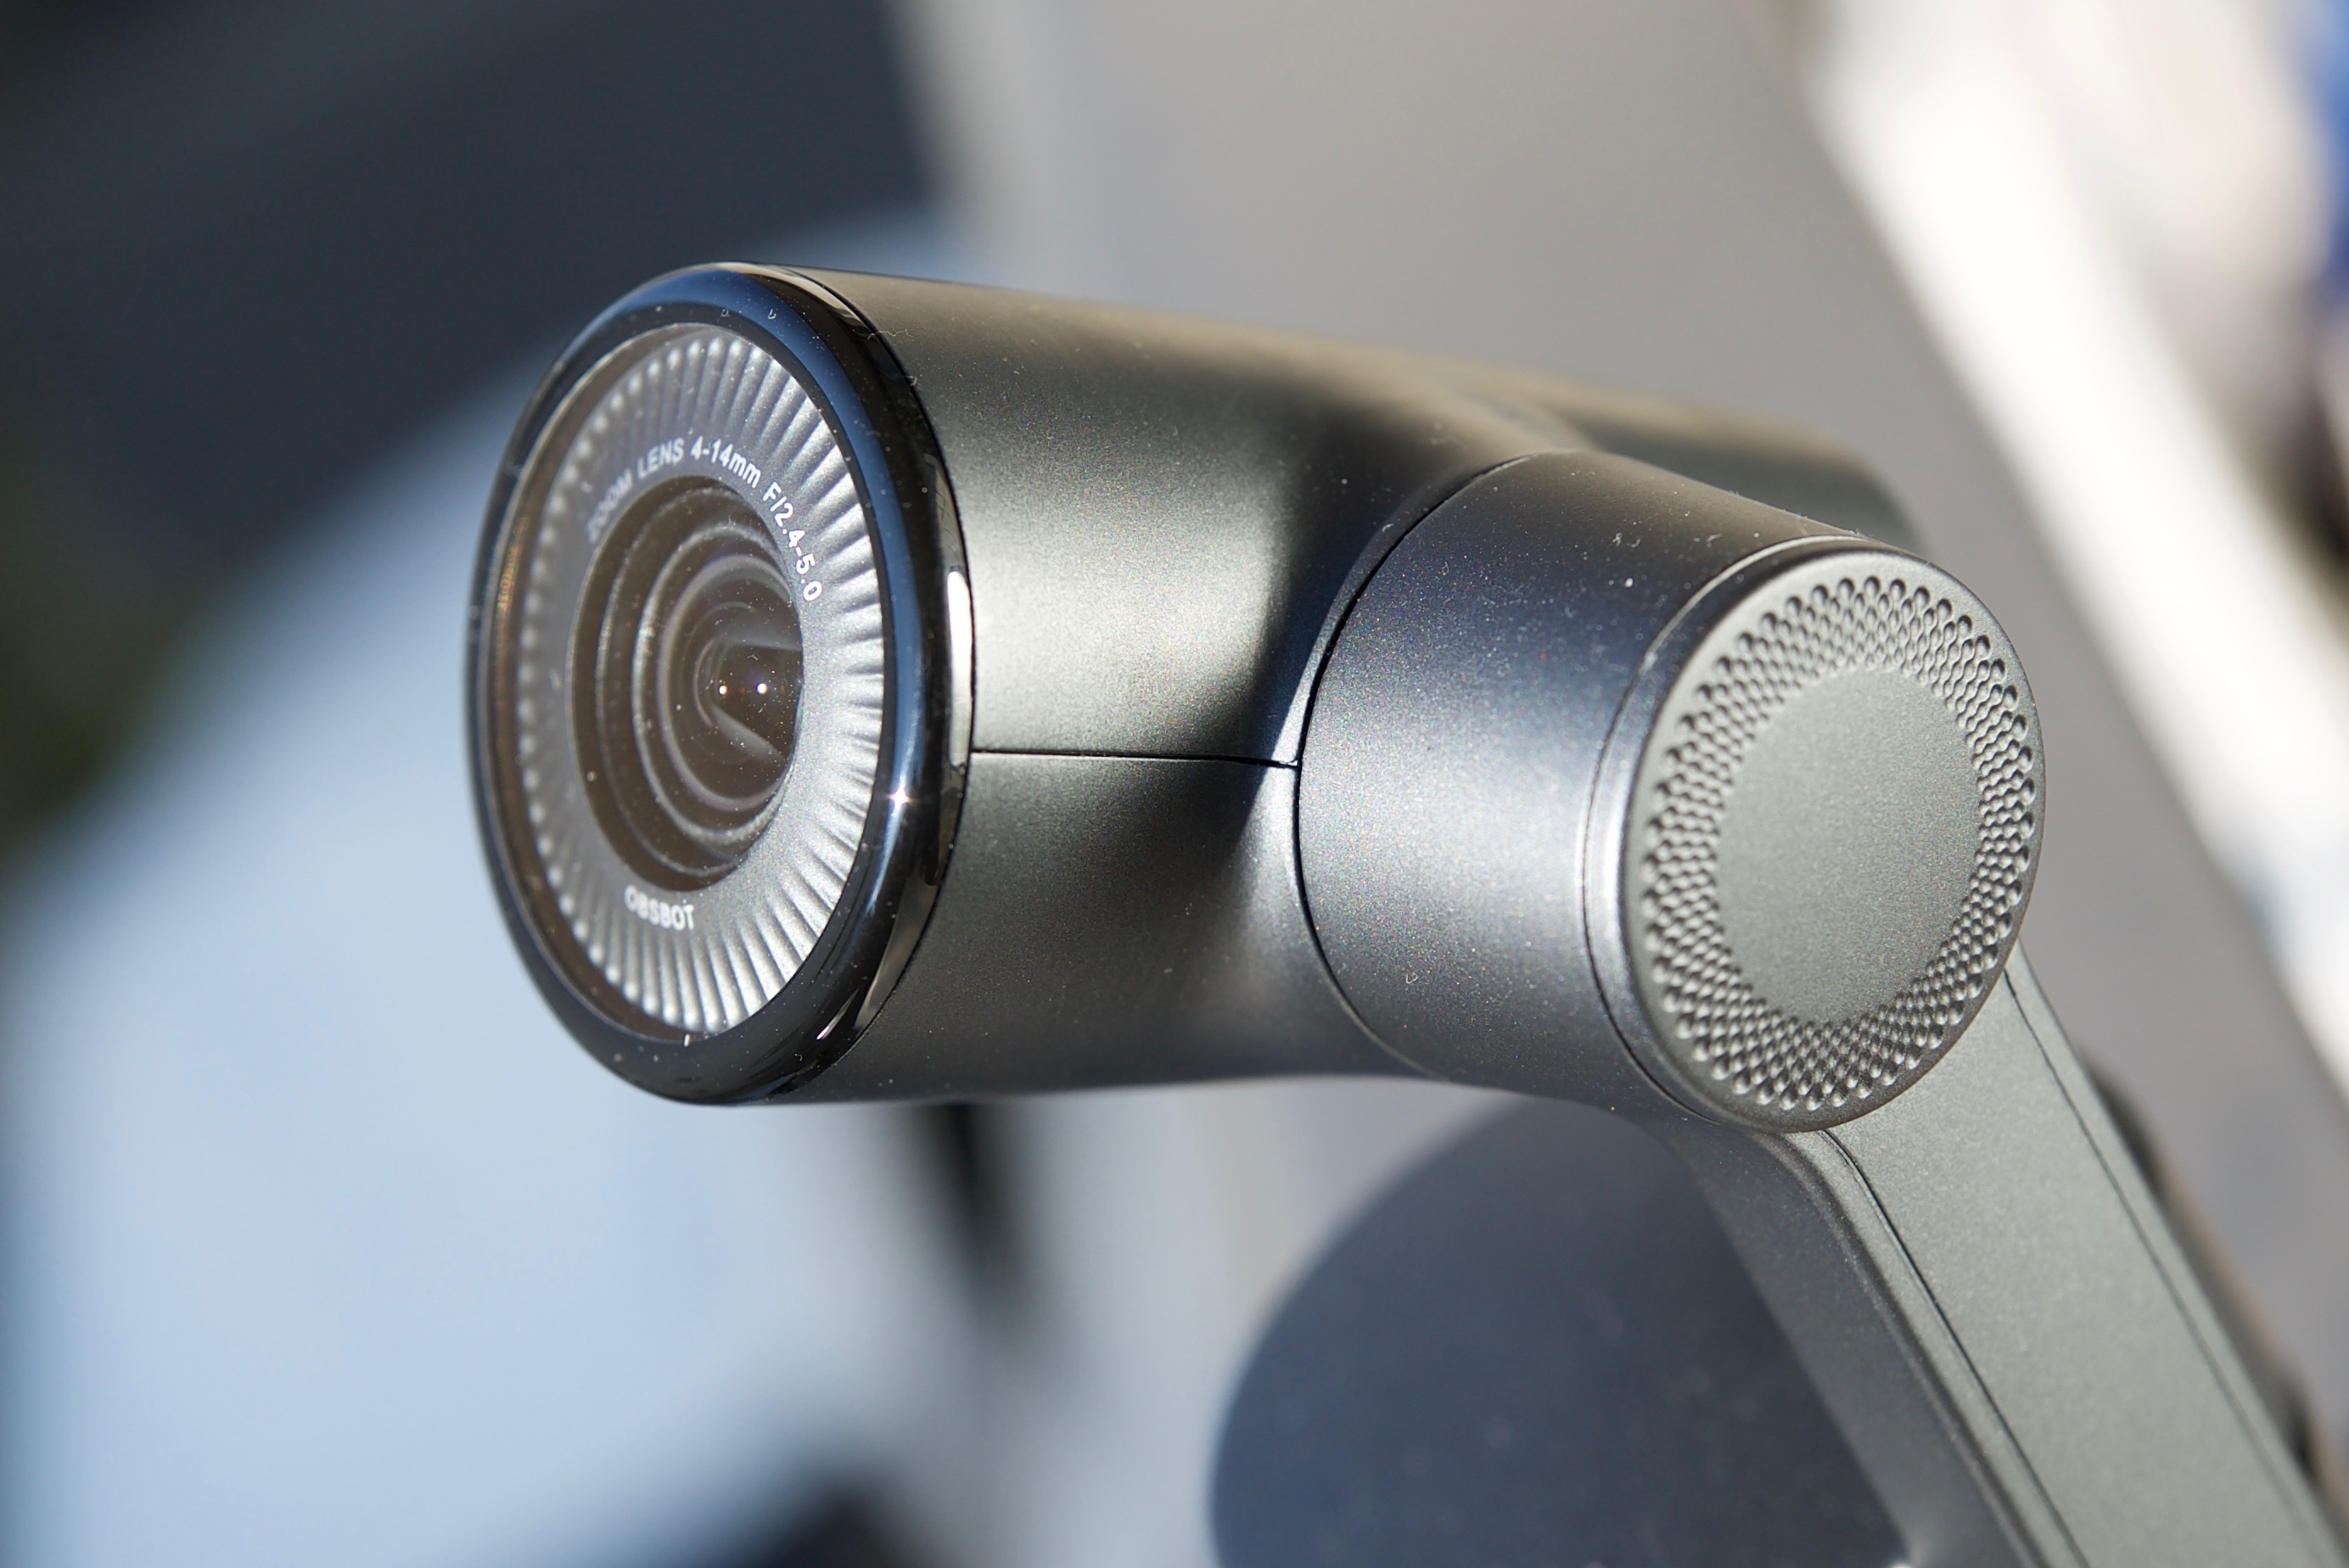
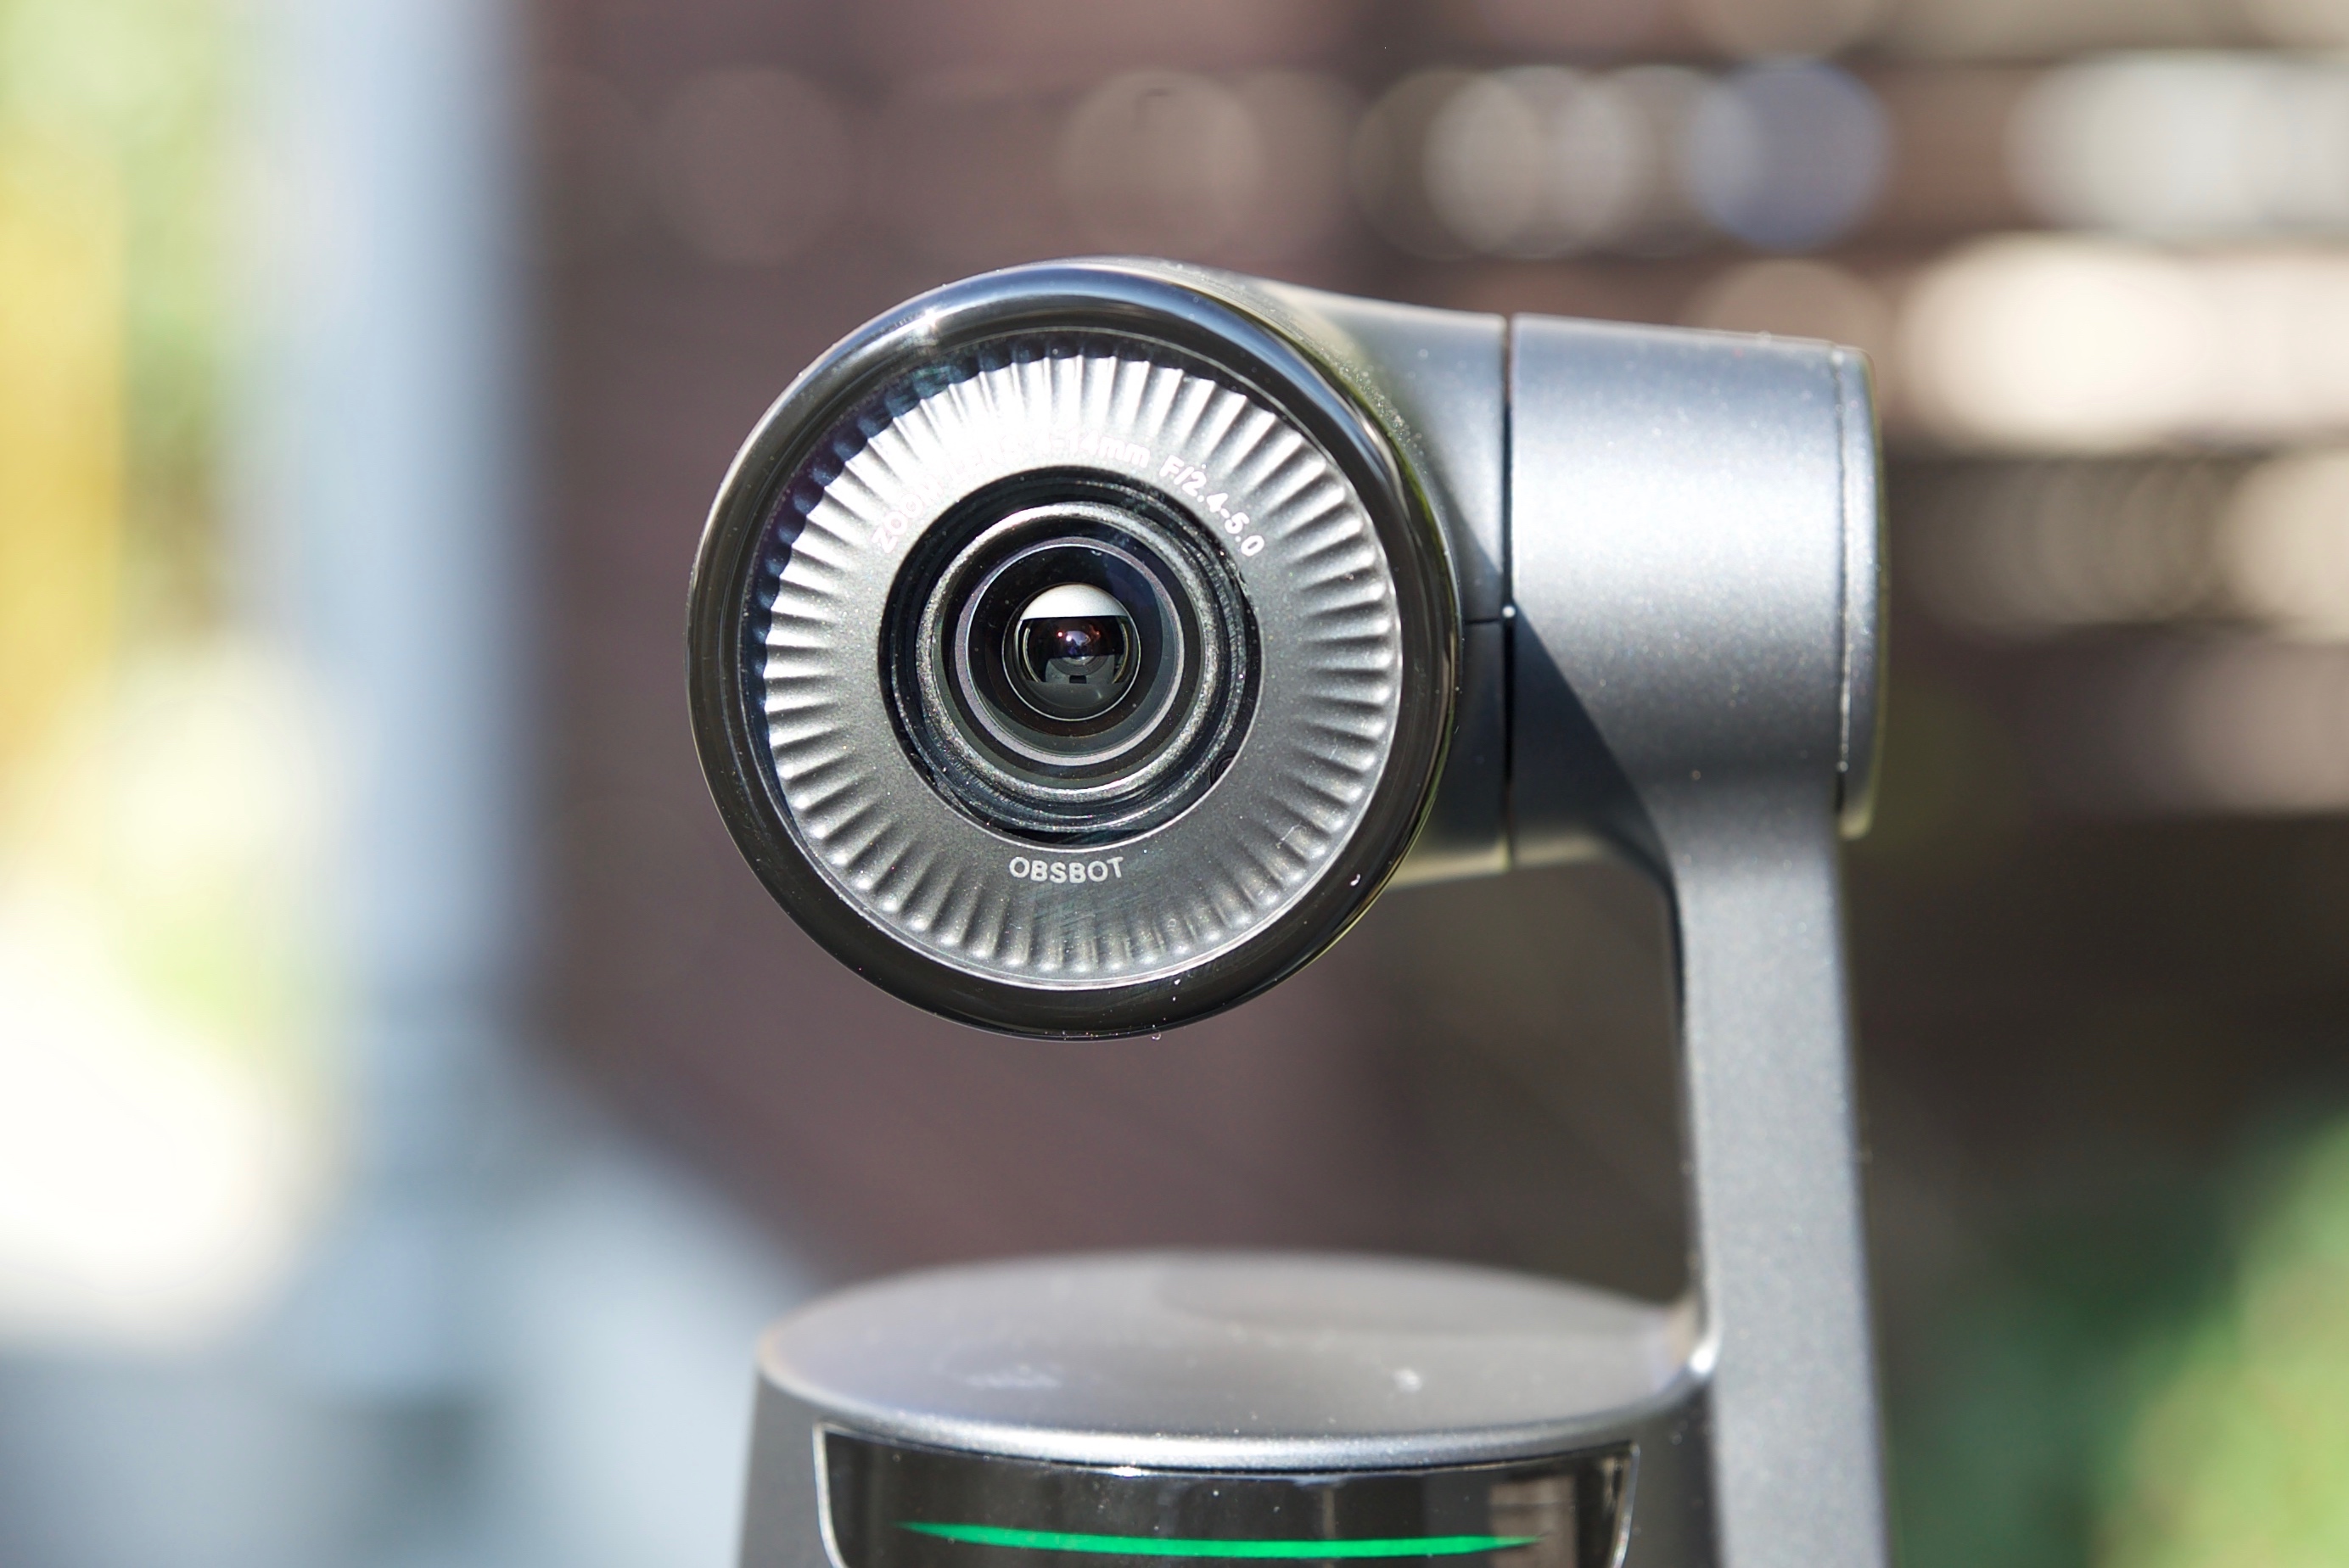
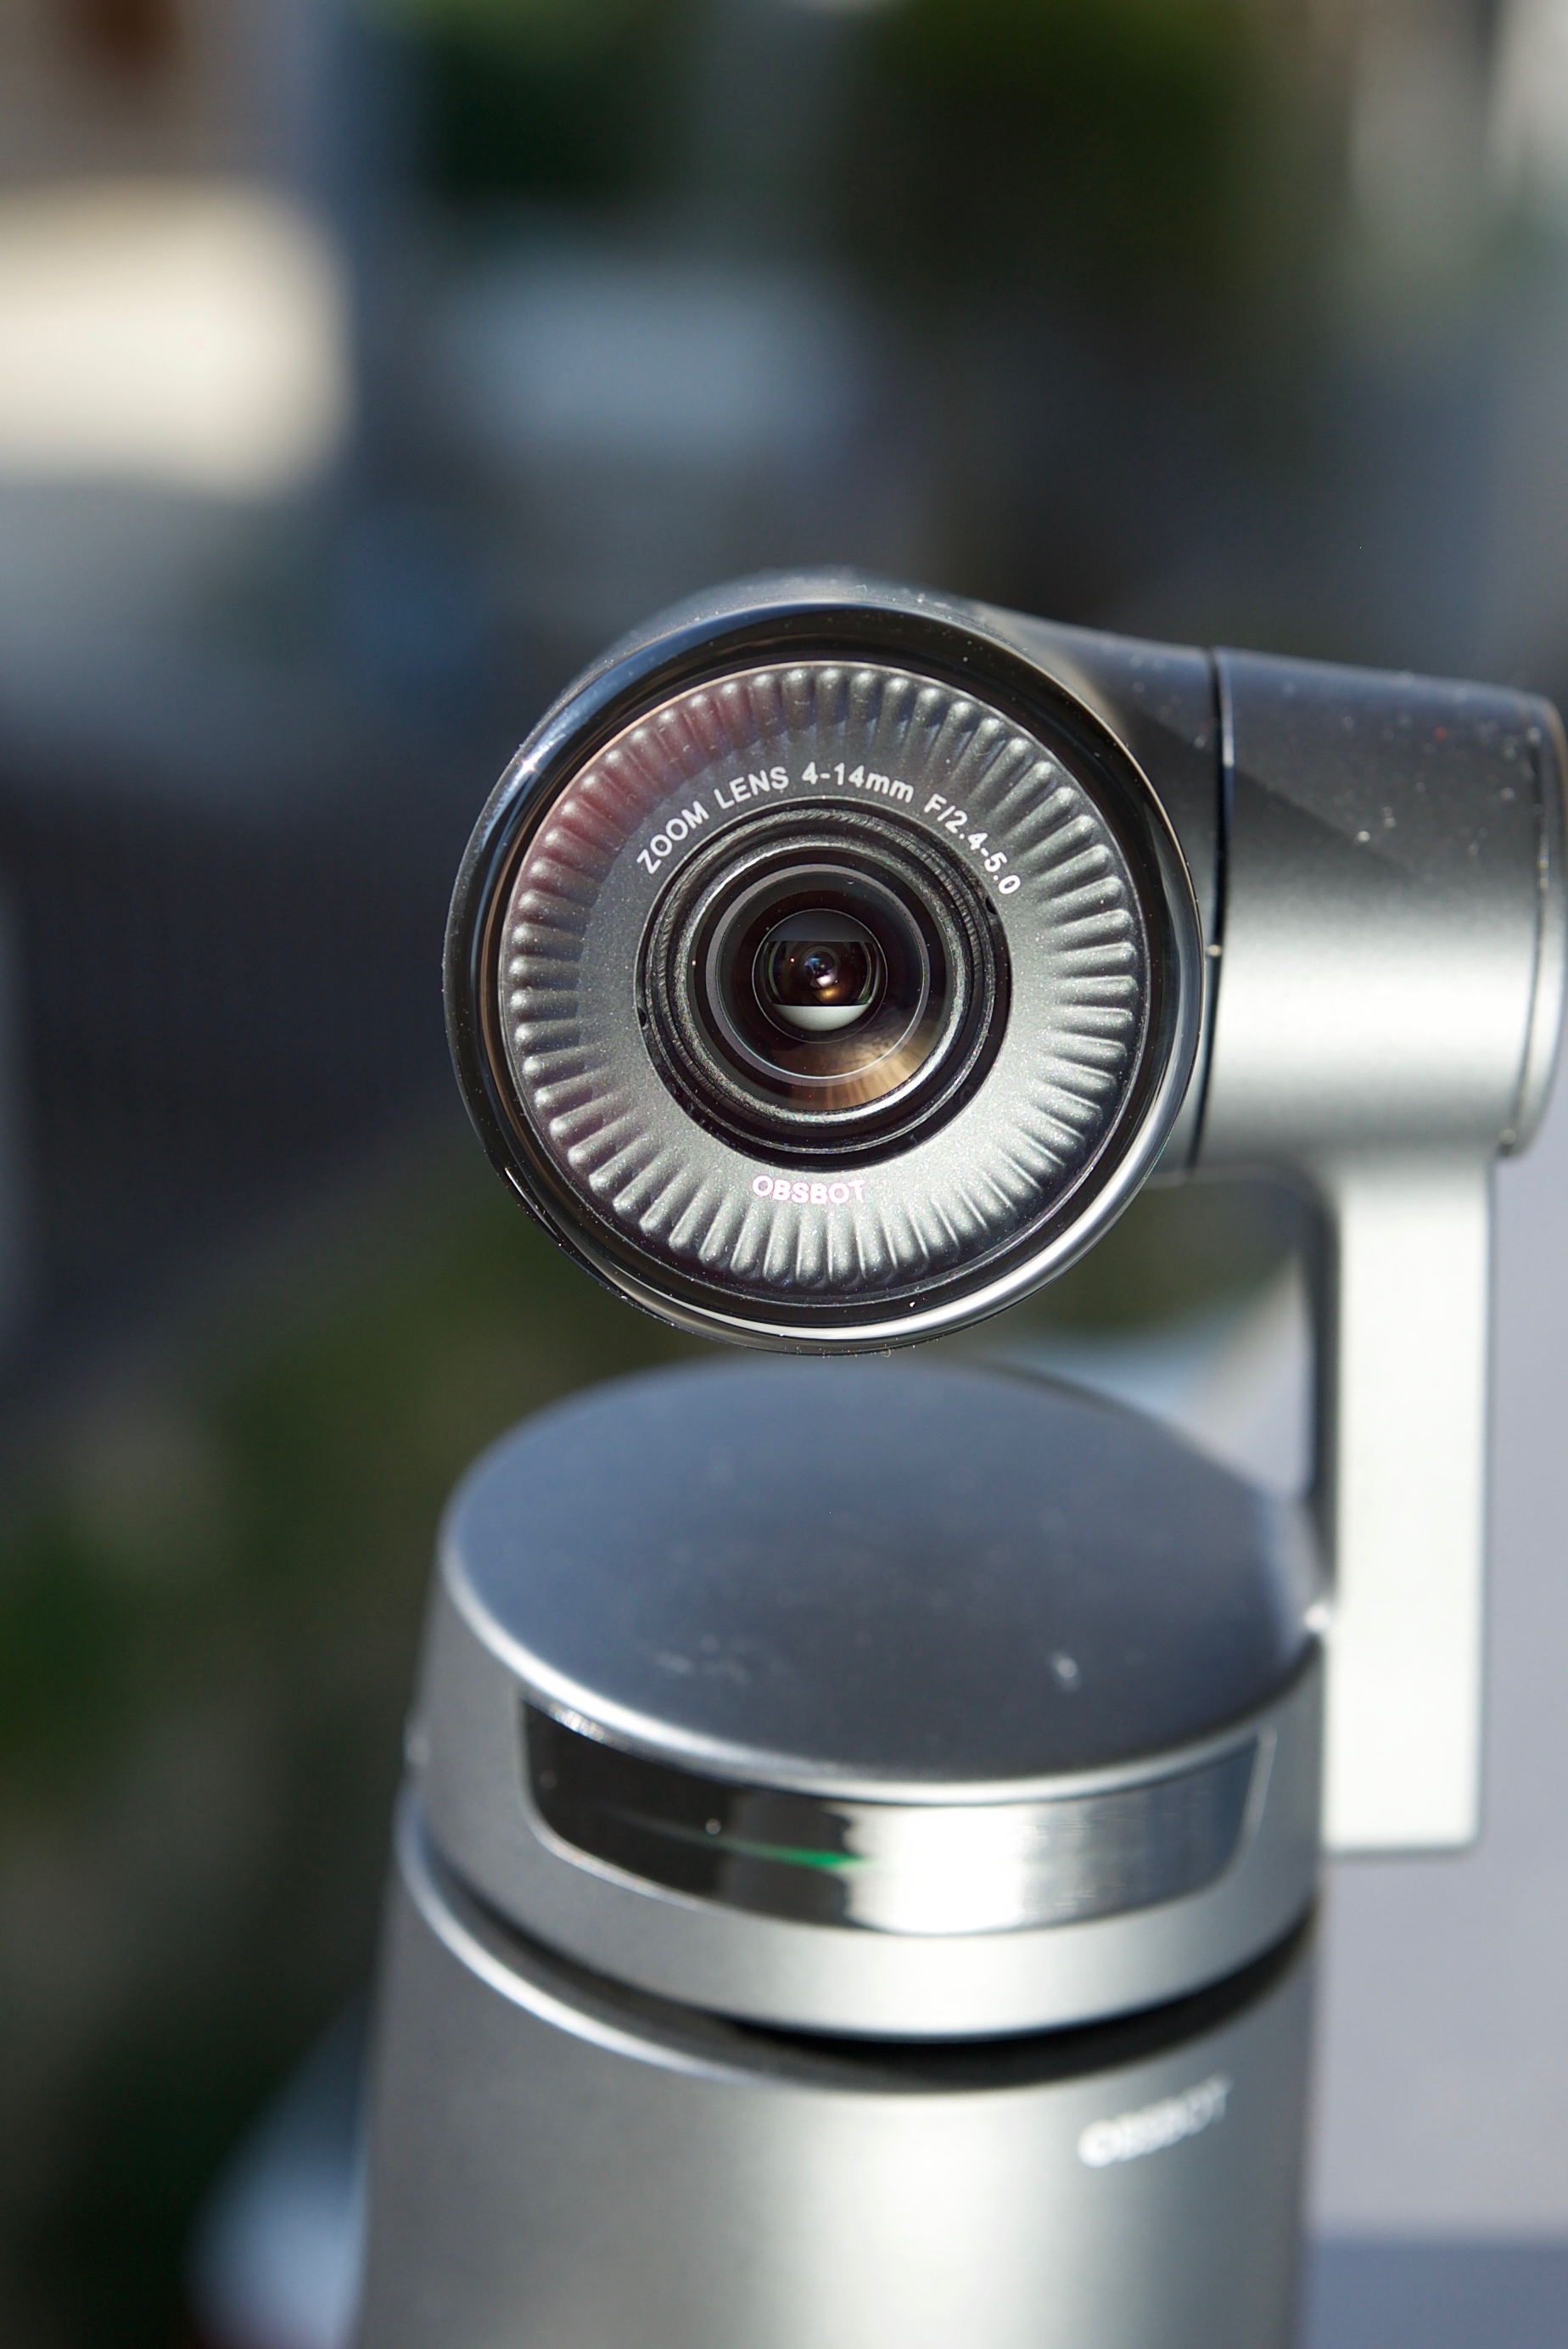
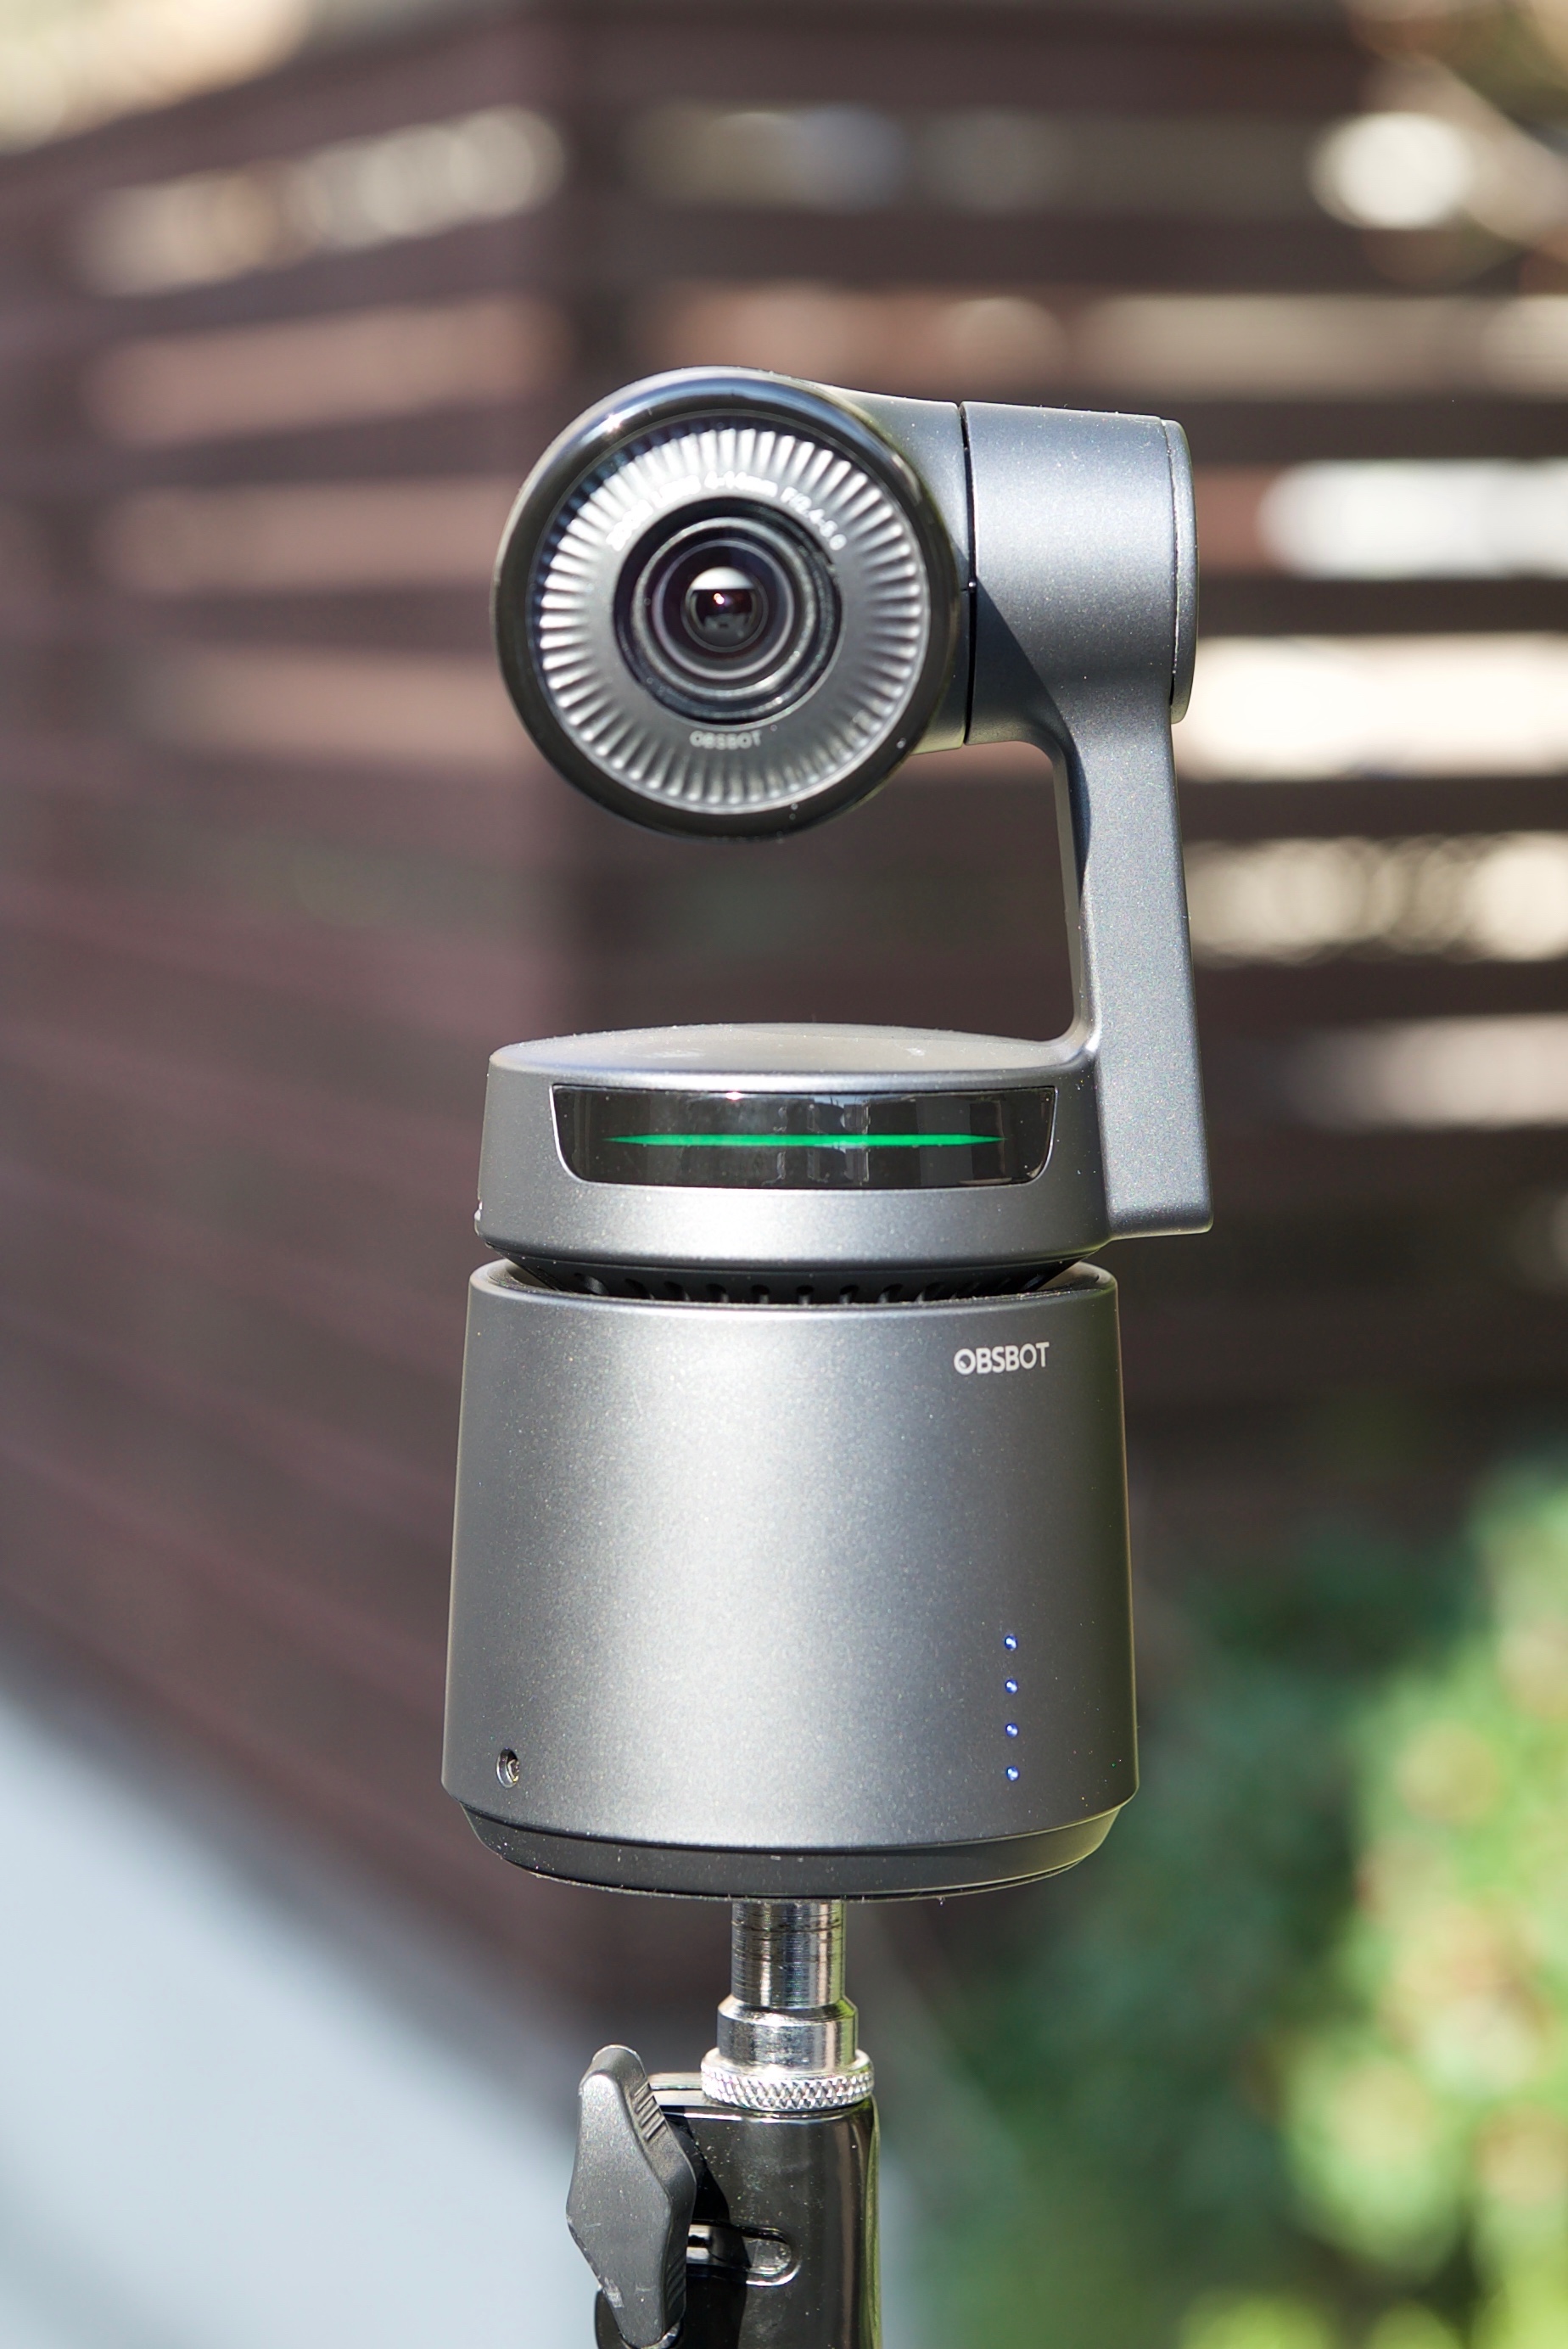
The OBSBOT Tail is being pitched as an Auto-Directing AI camera. It sort of looks like a cross between a DJI Zensmuse X5 and an Amazon Alexa.
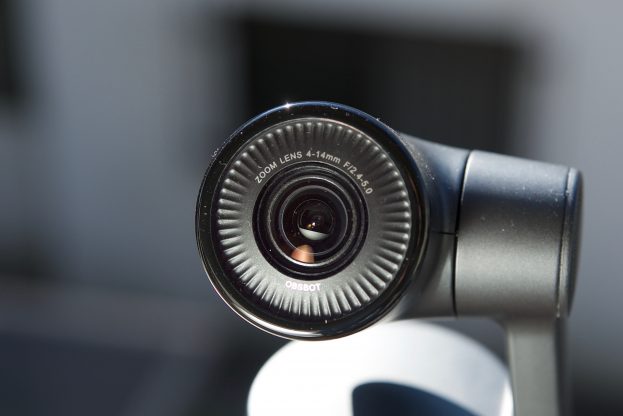
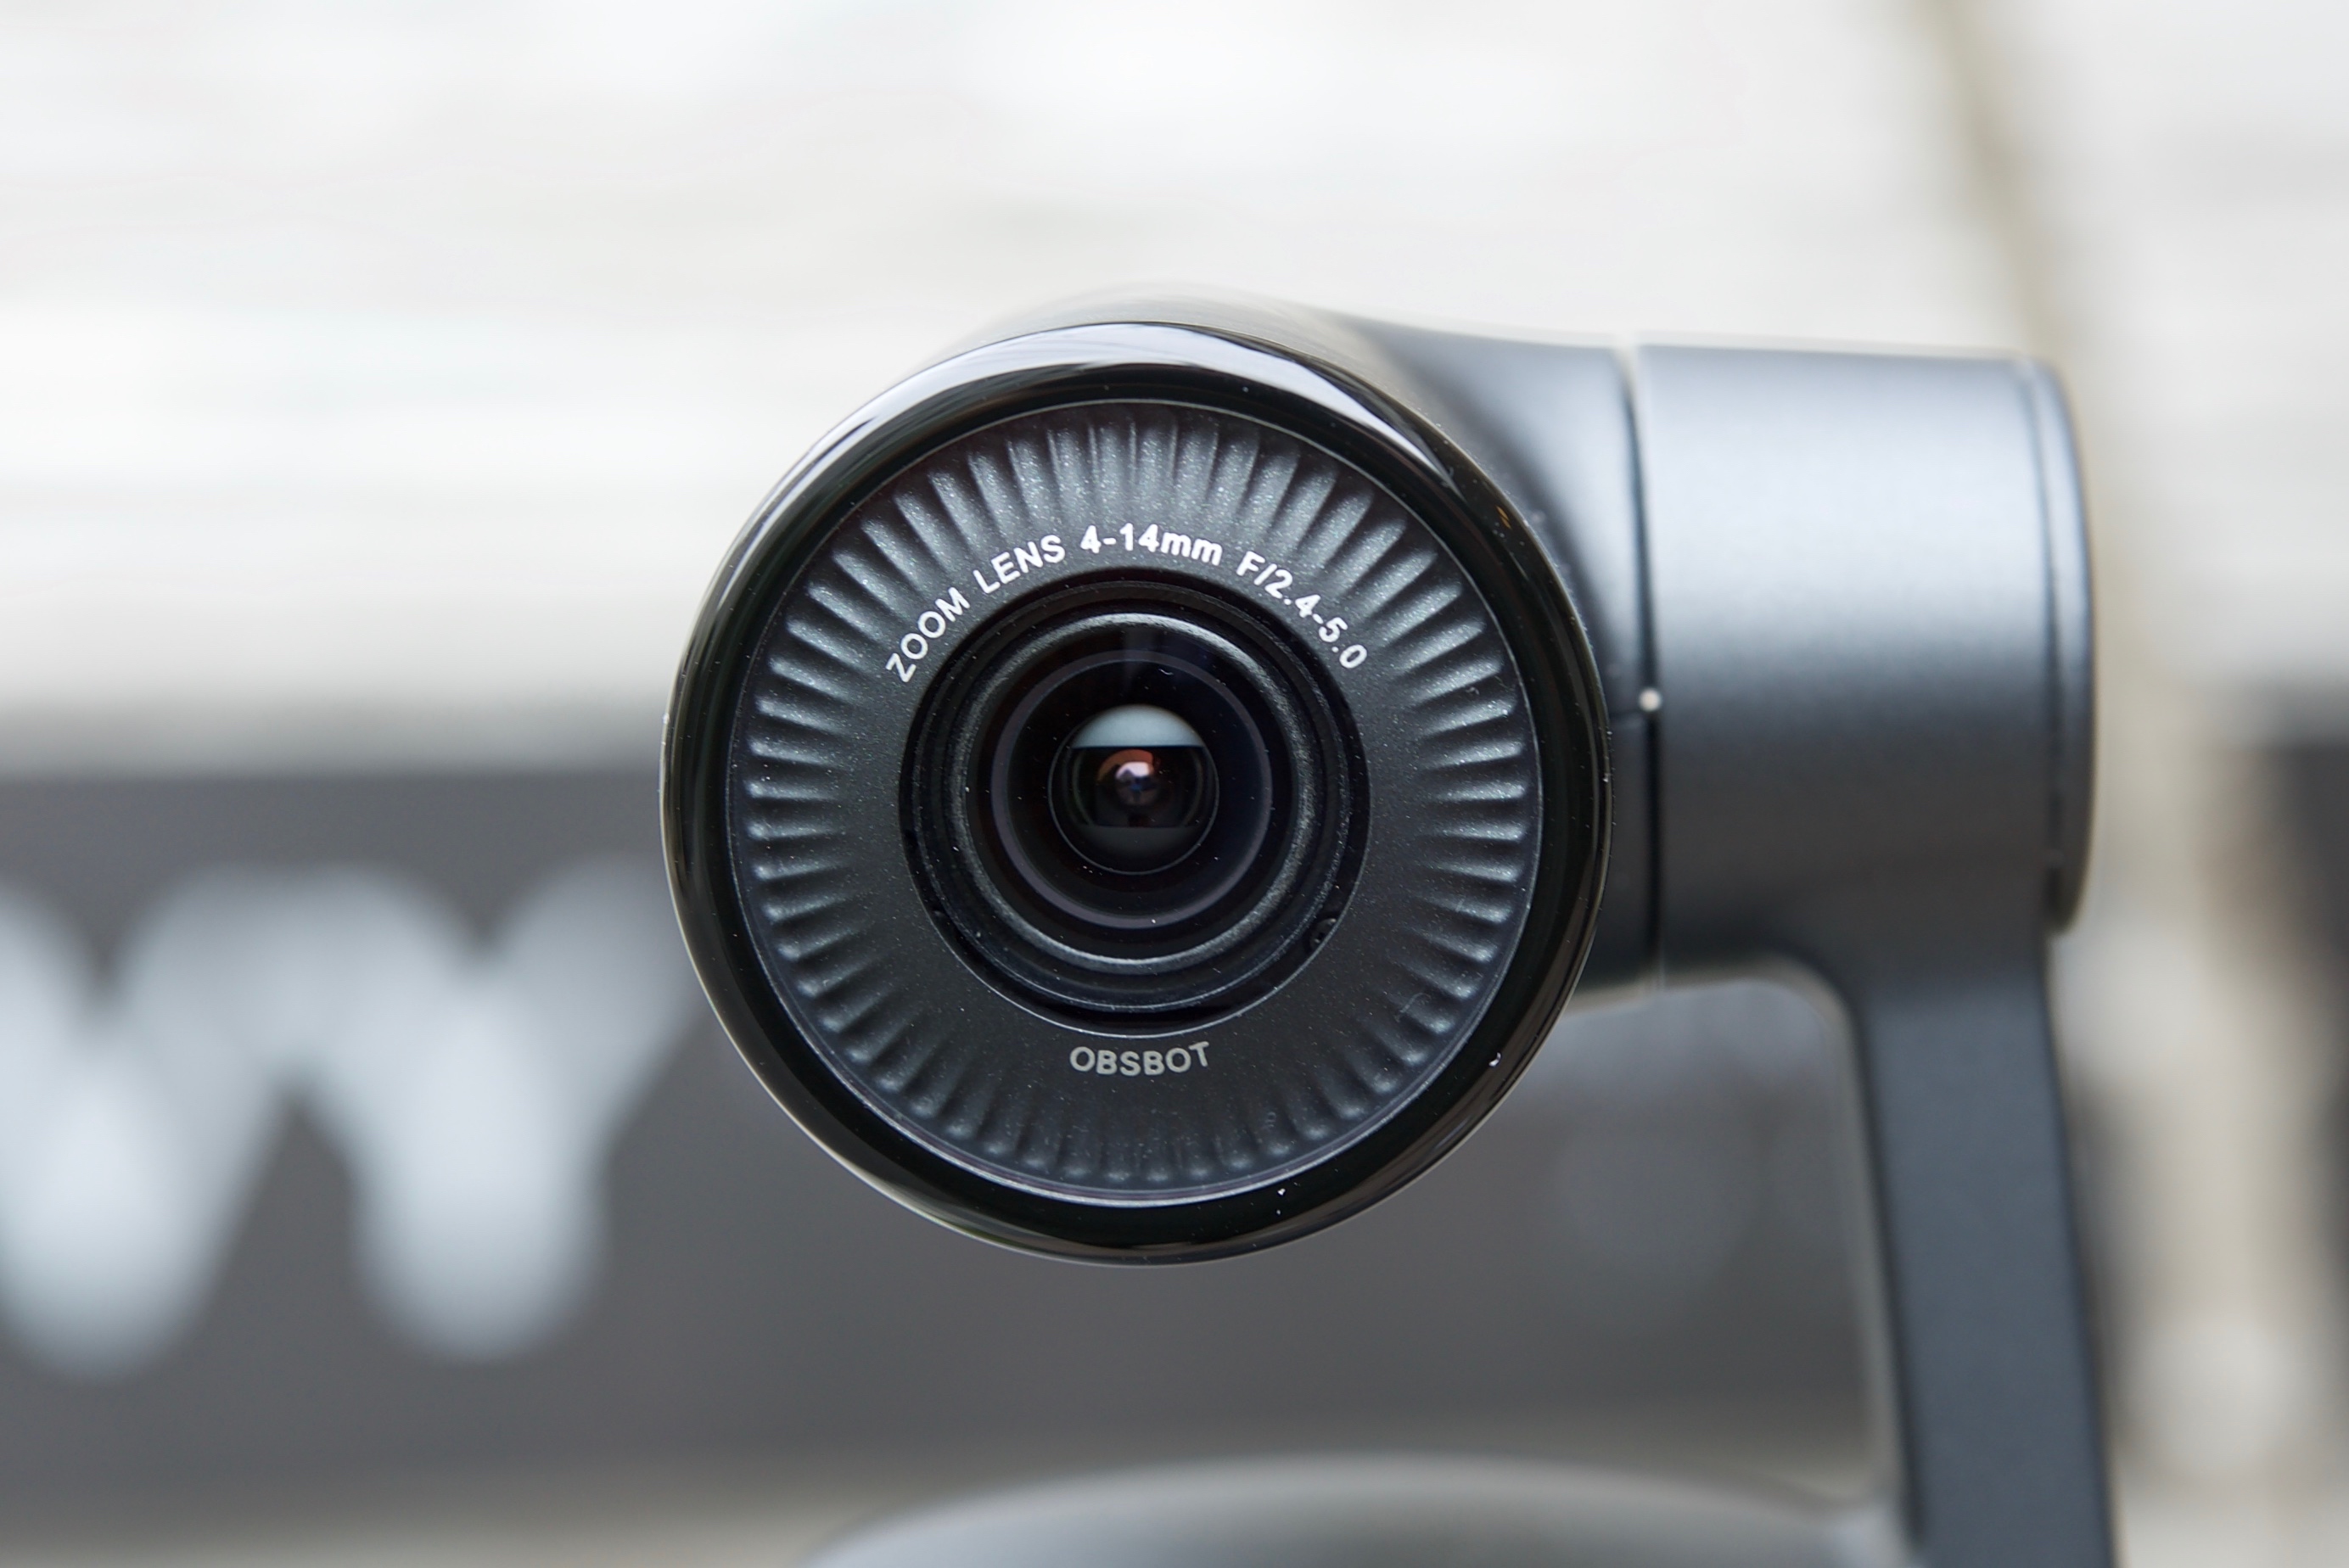
It features a 1/2.3″ Sony CMOS 12.40MP (effective pixels) sensor and a Hoya 3.85mm-13.4mm (equivalent focal length 24-84mm) F2.4-F5 lens. This lens has a FOV of 92 degrees (wide) and 32 degrees (telephoto). The 1/2.3″sized sensor looks to be the same, or similar, to the one that is used on the DJI Osmo+and the DJI Osmo Pocket.
The Tail has a 3-axis 360° gimbal and the processor uses a HiSilicon Hi3559A chip. Not only can the OBSBOT Tail auto track subjects, but everything can be controlled via an app. There are even gesture controls so you can control the device if you are shooting yourself.
What is it for?
It really has been designed as a ‘set and forget’ camera. Its main purposes are to track a subject or to film yourself if you are going to be moving around and don’t have a camera operator. This makes it useful for Vloggers, YouTubers, people who need to record presentations, dance performances, some sporting activities, anyone doing social media, and BTS material. There really is quite a few possible applications for this product.
The OBSBOT Tail shouldn’t be looked at as a stand-alone camera that you can manually move around and use. While it could be used to do that, there are better options out there.
Size and Weight
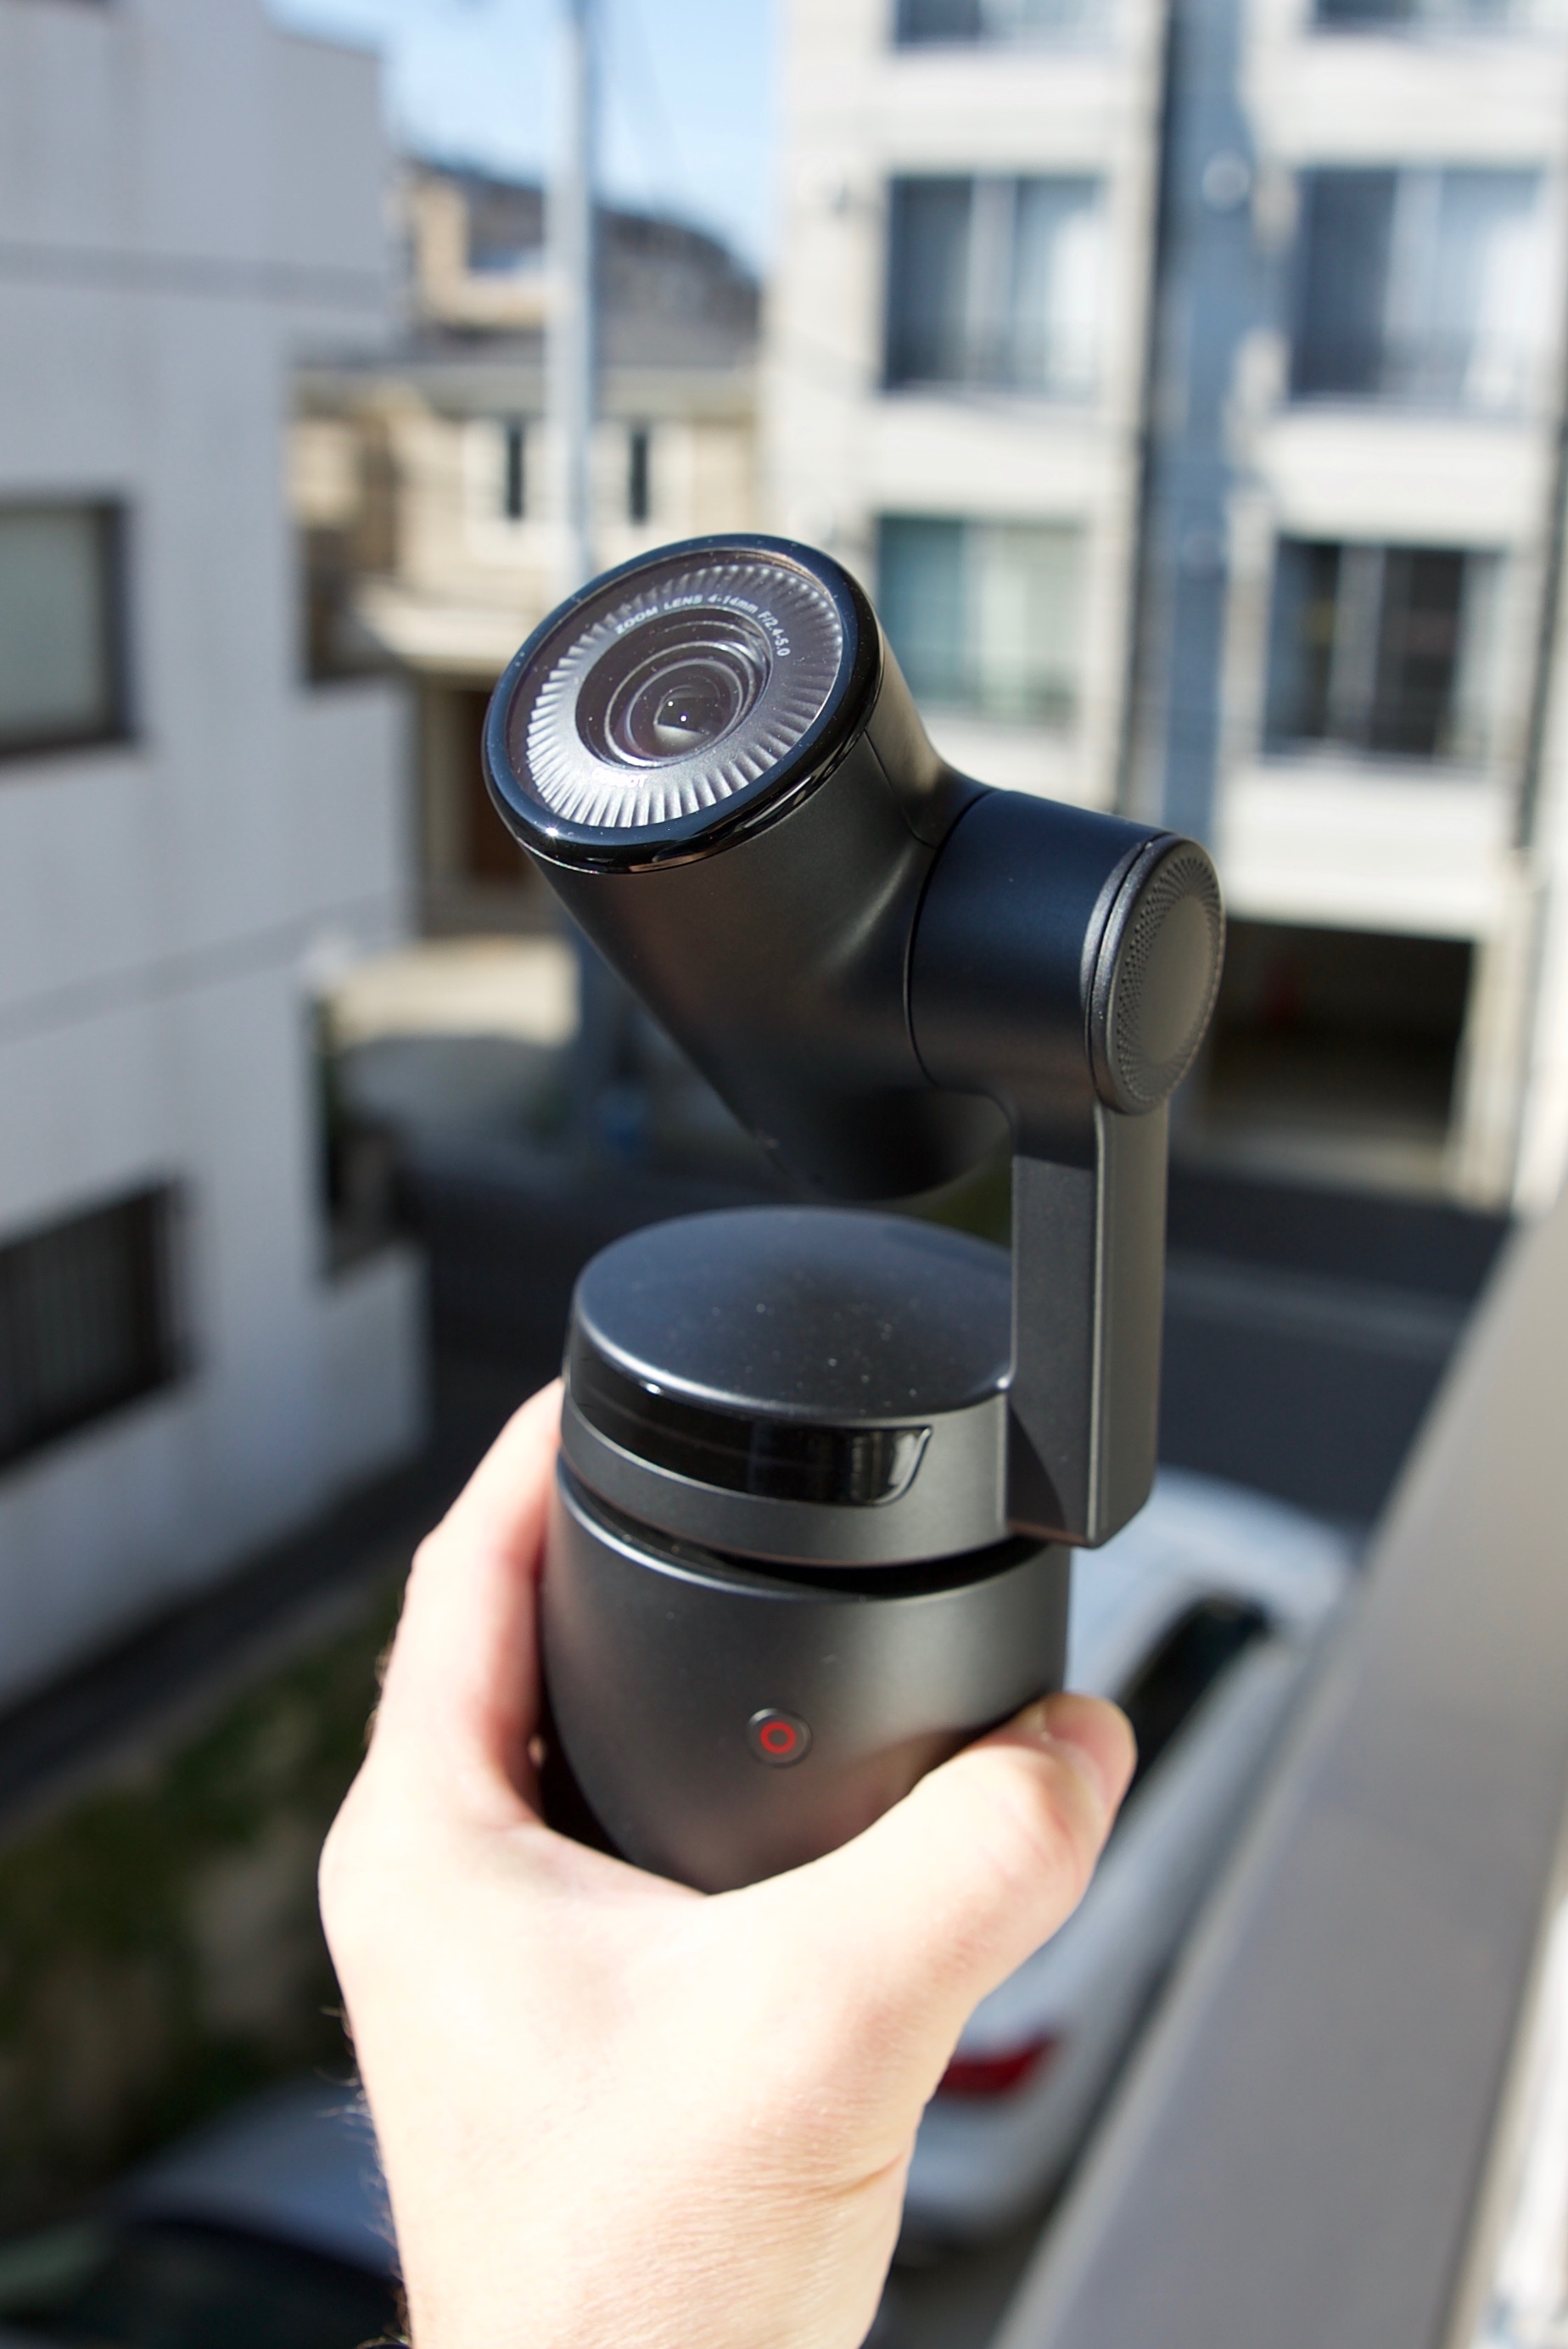
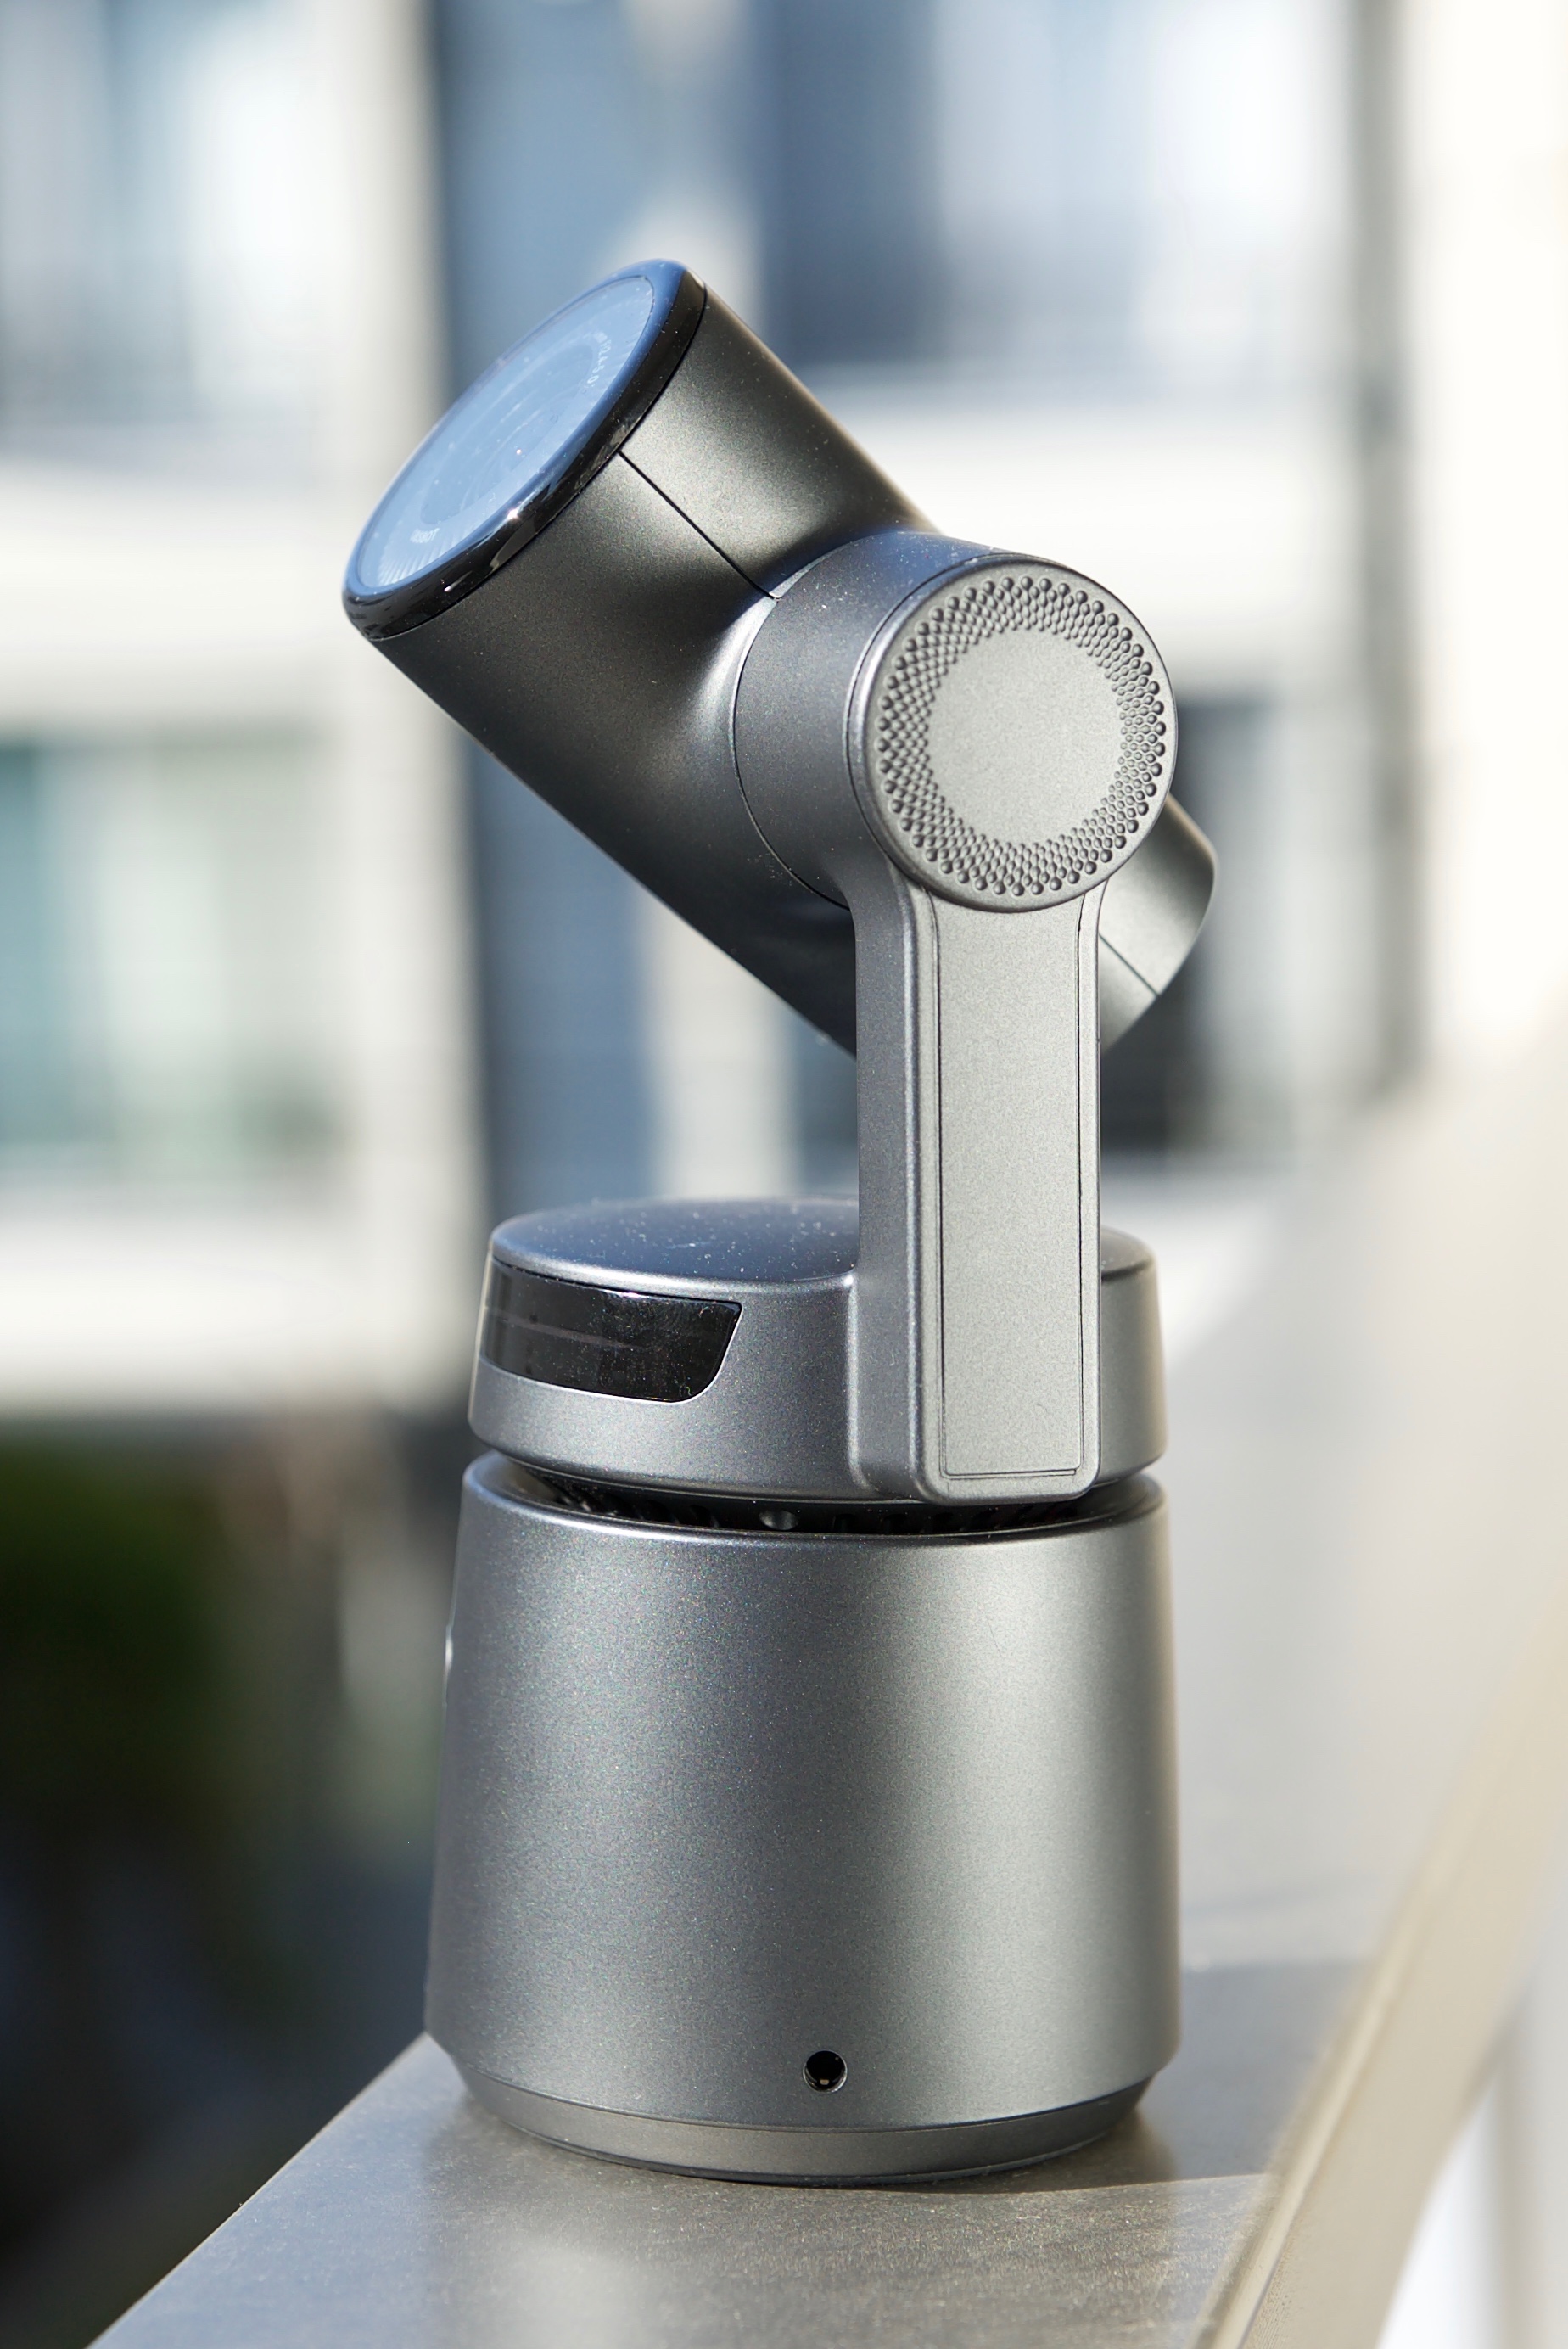
The OBSBOT Tail is a fairly large device, and it is certainly not action cam or OSMO Pocket-sized. It has physical dimensions of 16.72cm x 8.67cm x 8.5cm (6.58″ x 3.41″ x 3.34″) and weighs in at 580 g (20.45 oz).
Build Quality
For a consumer product, the OBSBOT Tail looks to be nice and robust. The casing and the gimbal arm are all solid.
Mounting Points
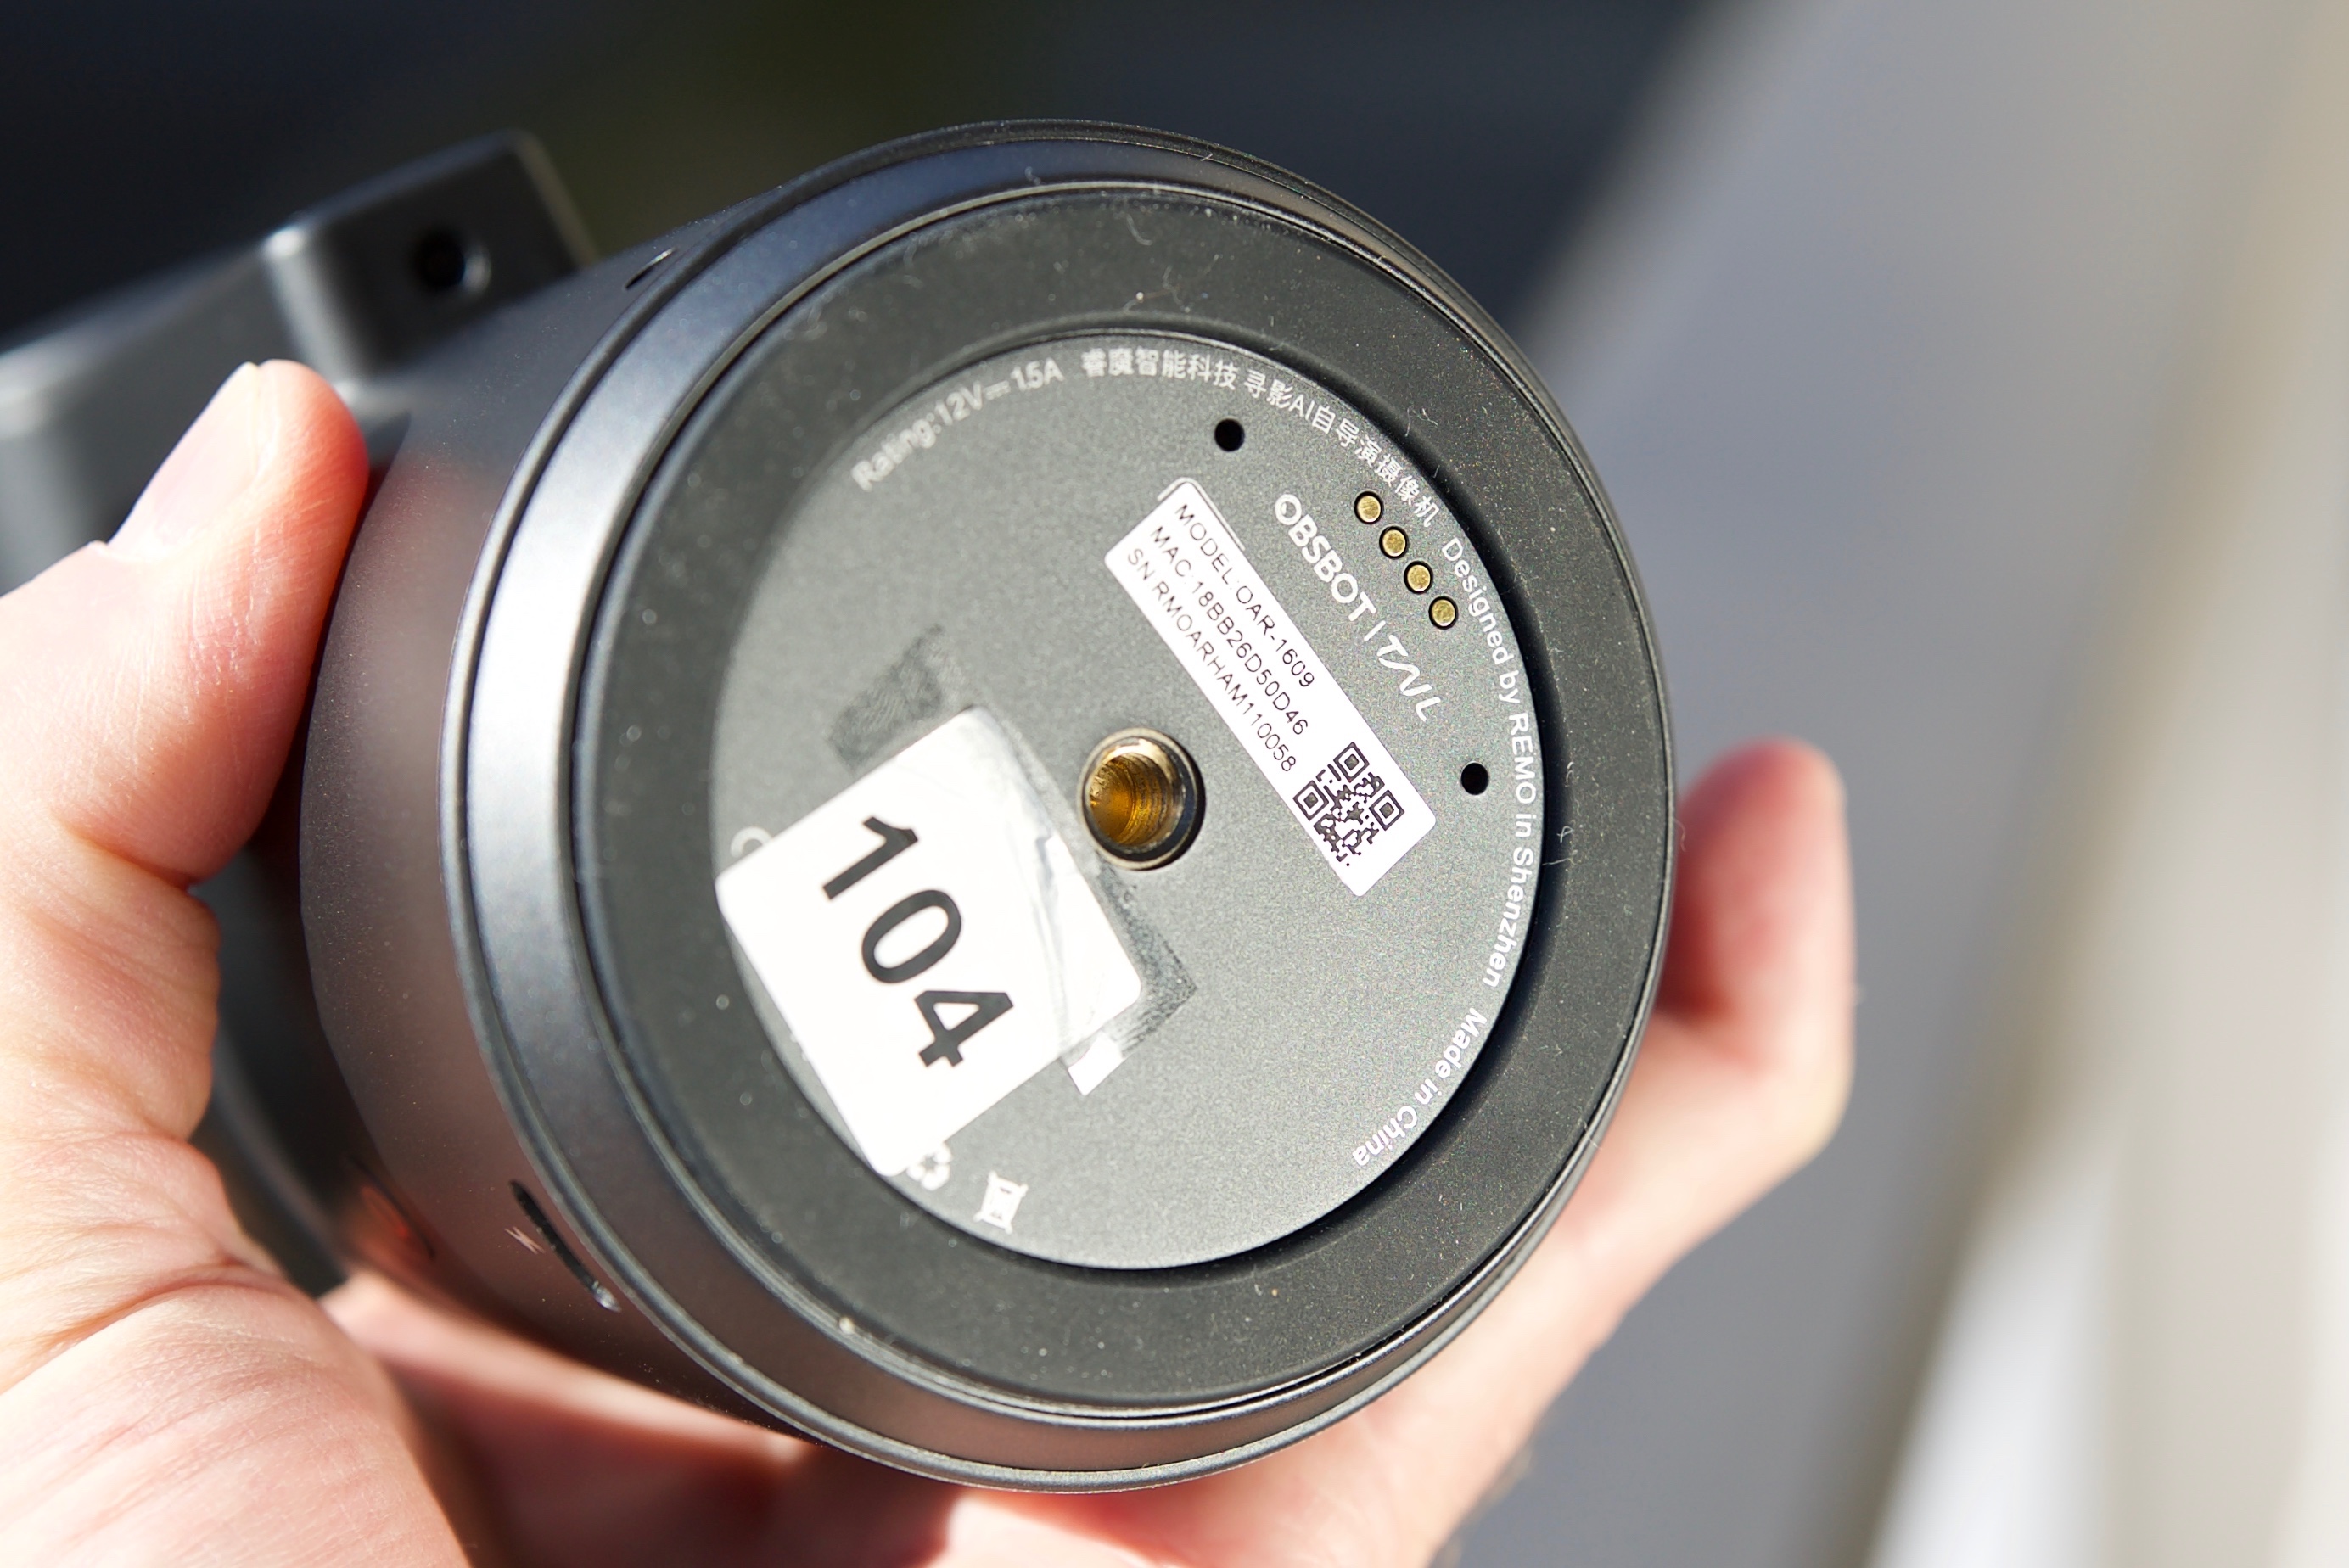
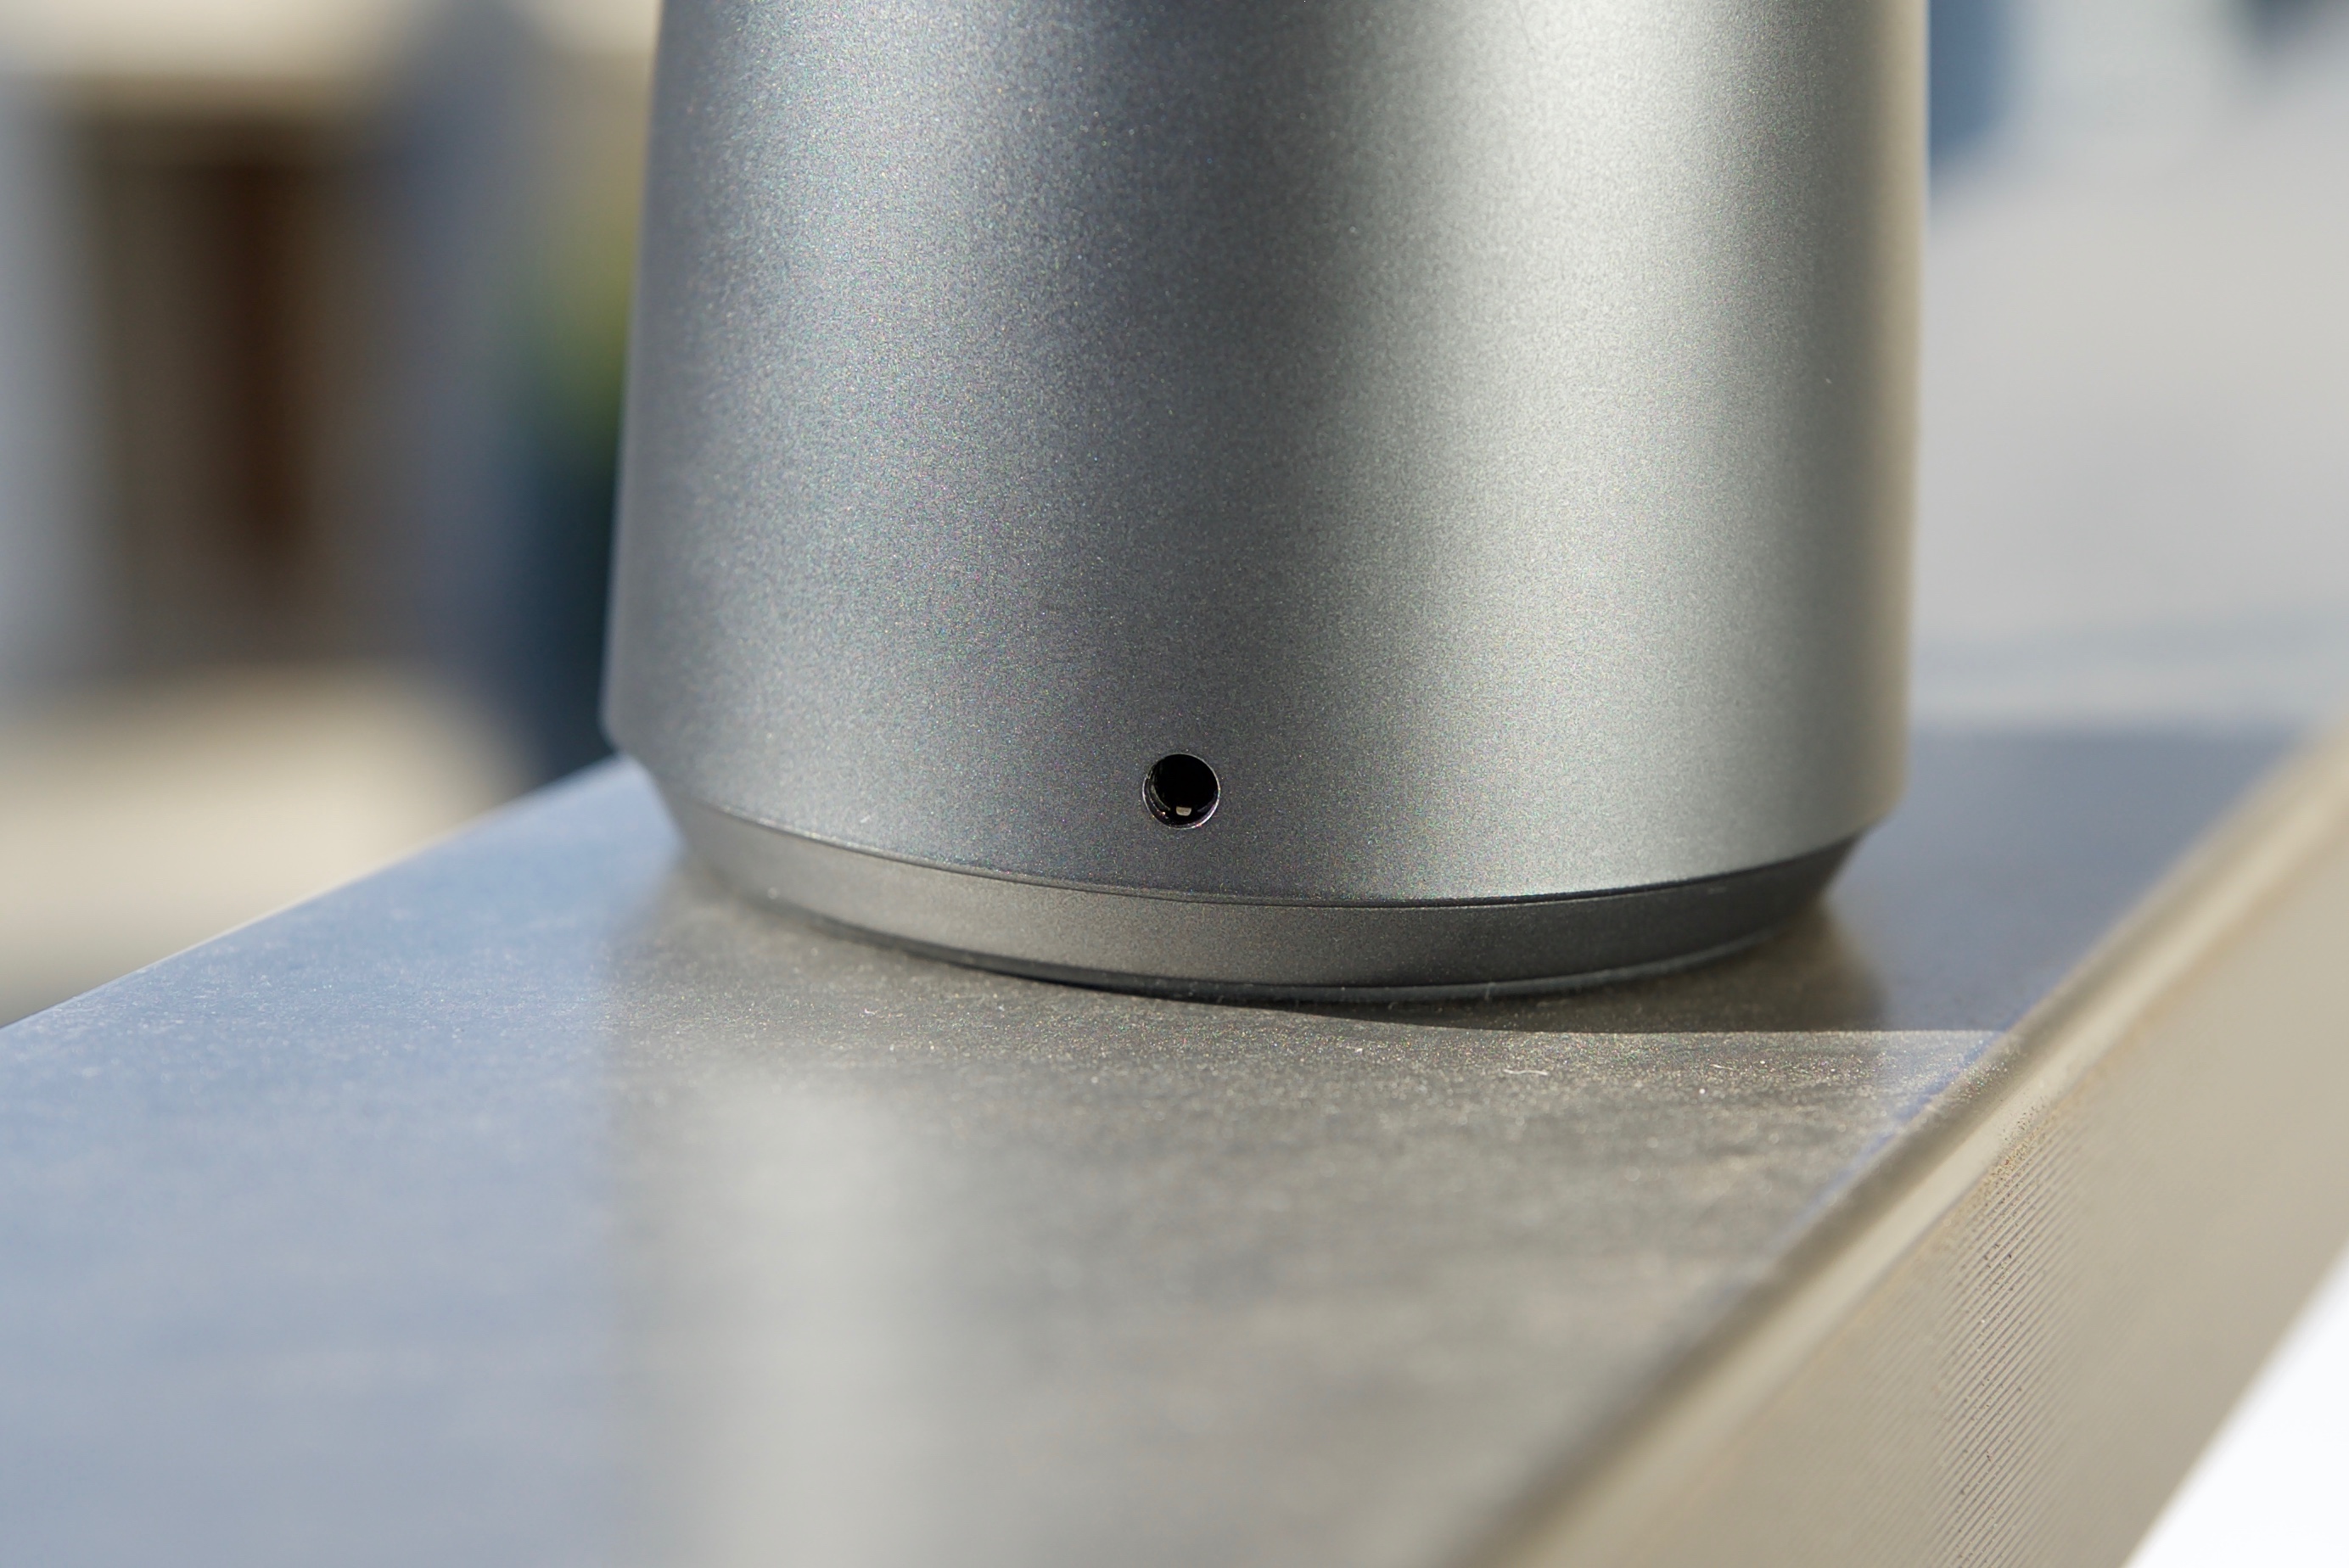
On the bottom of the OBSBOT there is a single 1/4-20″ mounting point so you can attach the device to a light stand, or anything else that has a 1/4-20″ thread.
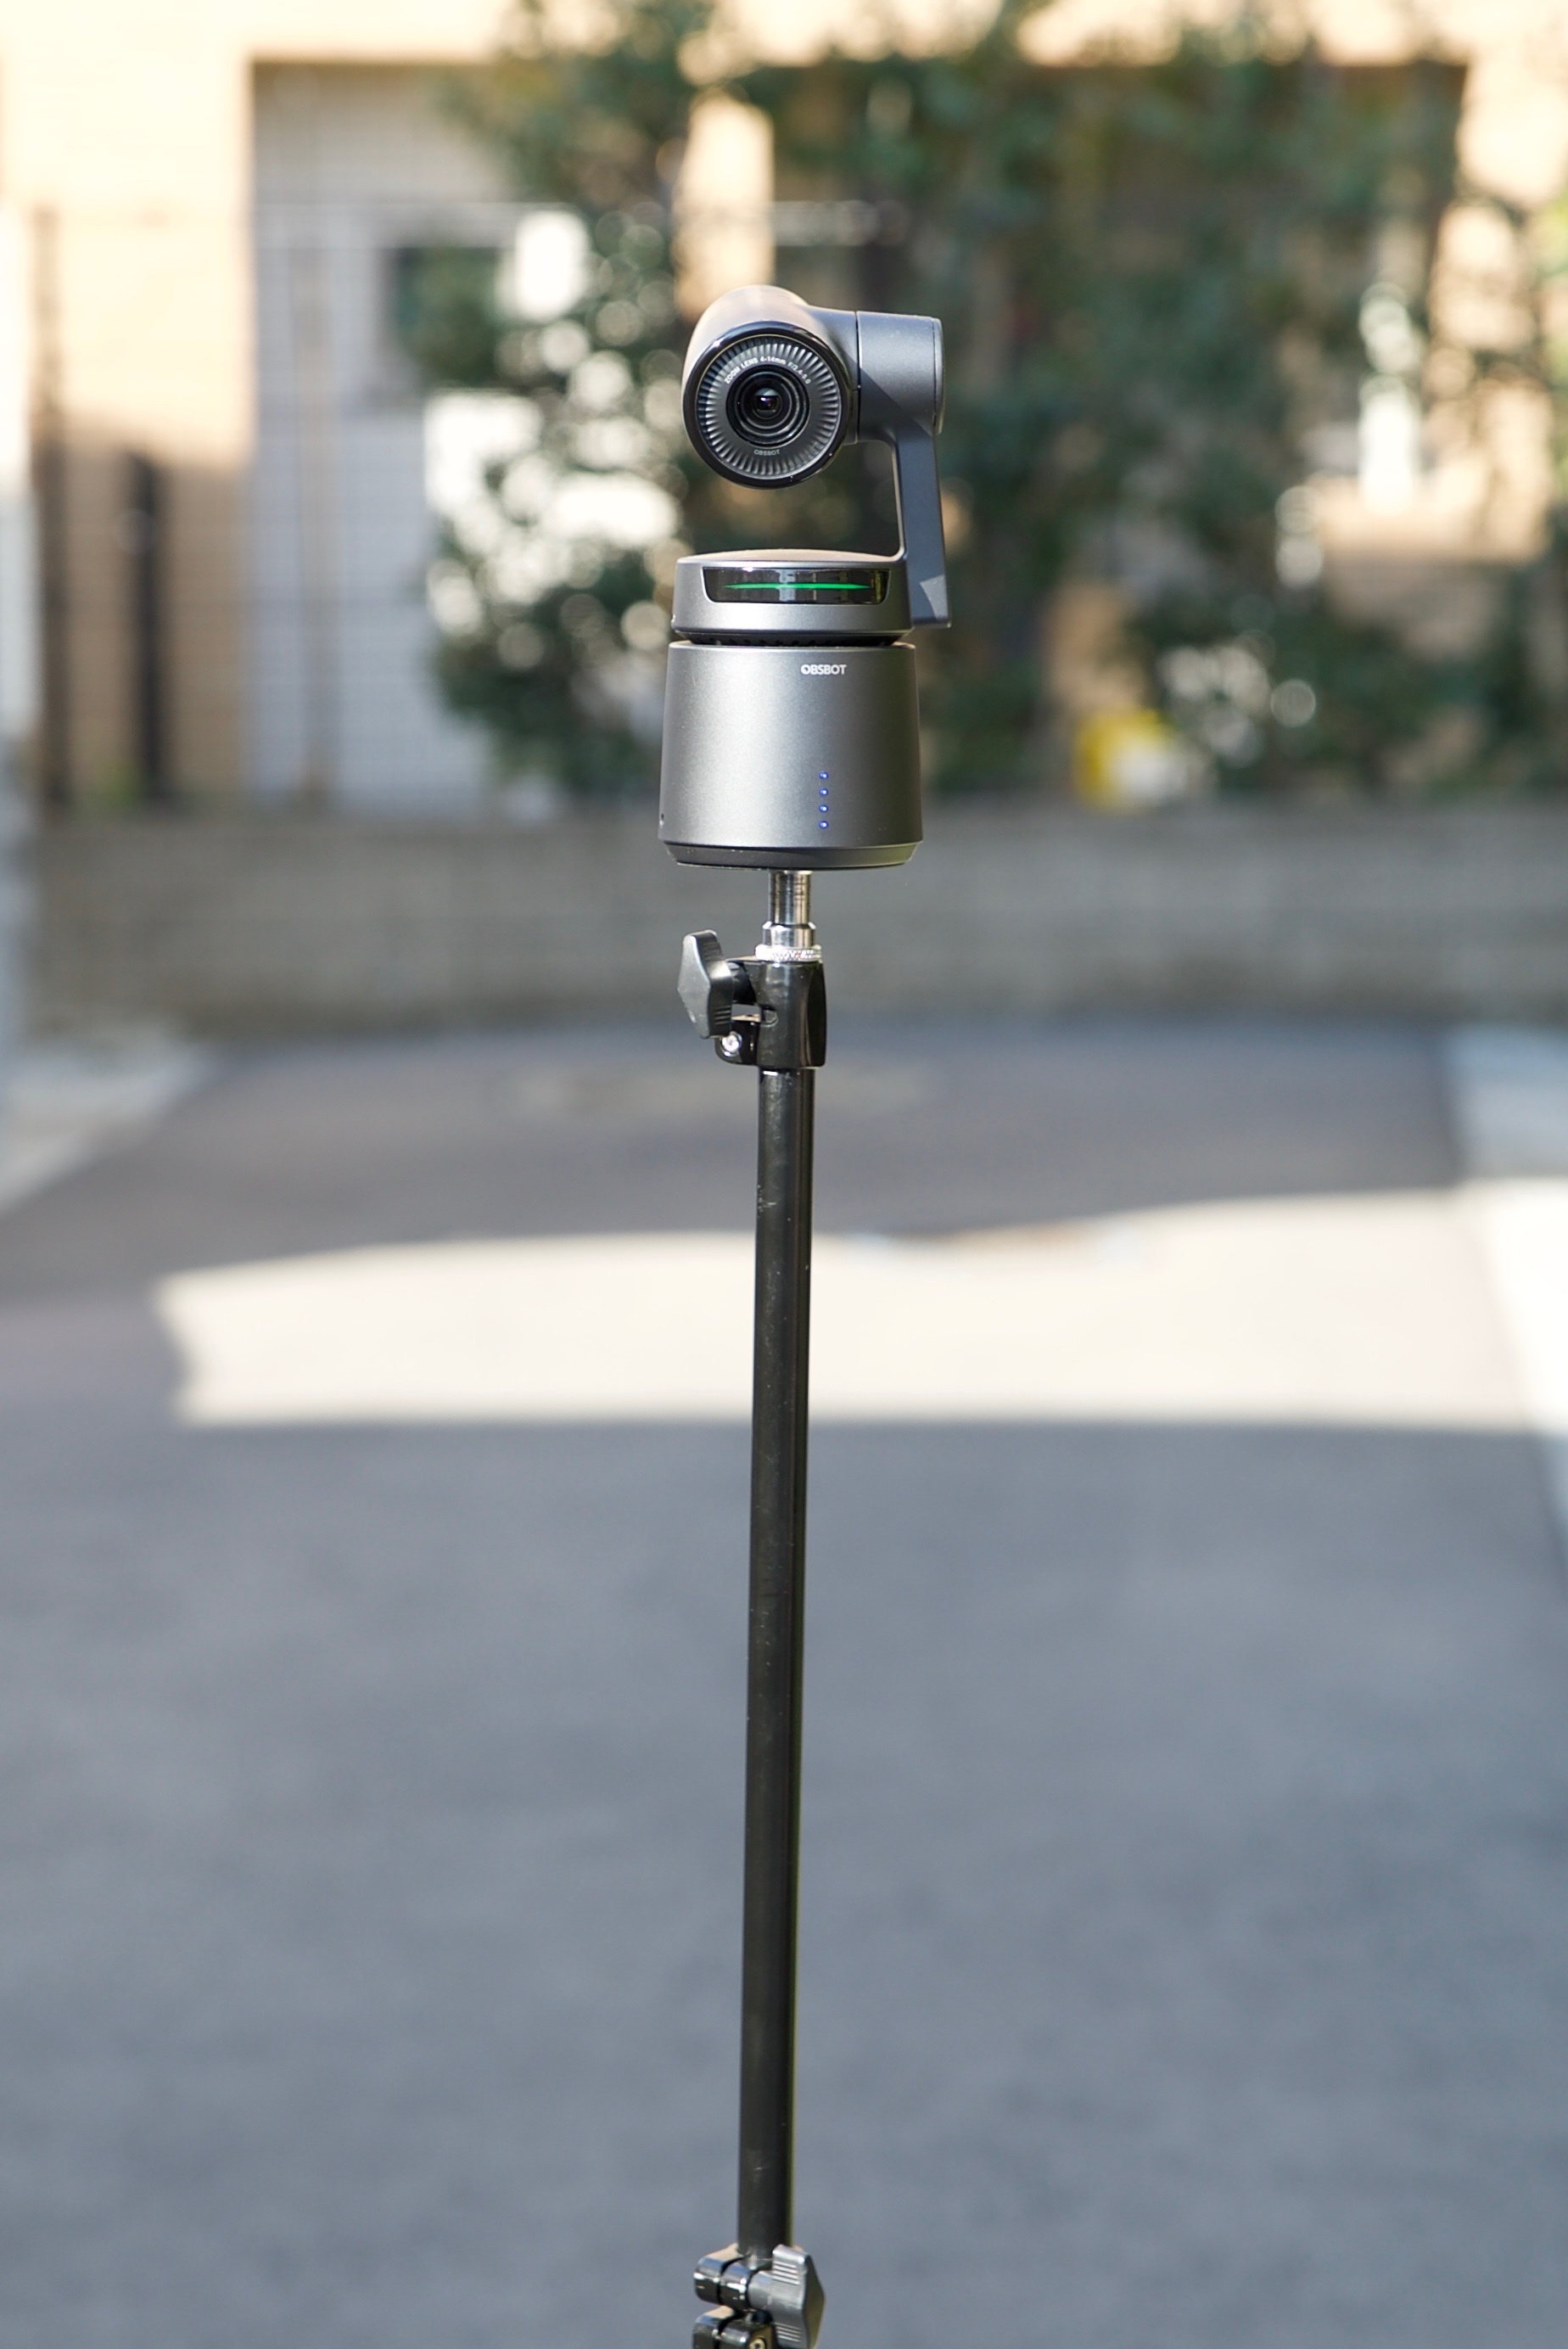
It’s nice that there is a mounting point on the bottom of the unit as it makes it very easy to attach to a tripod or light stands etc. to get it at the correct height you want to use it at.
Video Resolution and Framerates
For a consumer-based product, the OBSBOT Tail features an impressive range of resolutions and frame rates. It can record in resolutions from 720p all the way up to 4K UHD.
Here is what it can do:
4K UHD
- 24p
- 25p
- 30p
- 48p
- 50p
- 60p
2.7K
- 24p
- 25p
- 30p
- 48p
- 50p
- 60p
HD 1080
- 24p
- 25p
- 30p
- 48p
- 50p
- 60p
- 200fps
- 240fps
720
- 200fps
- 240fps
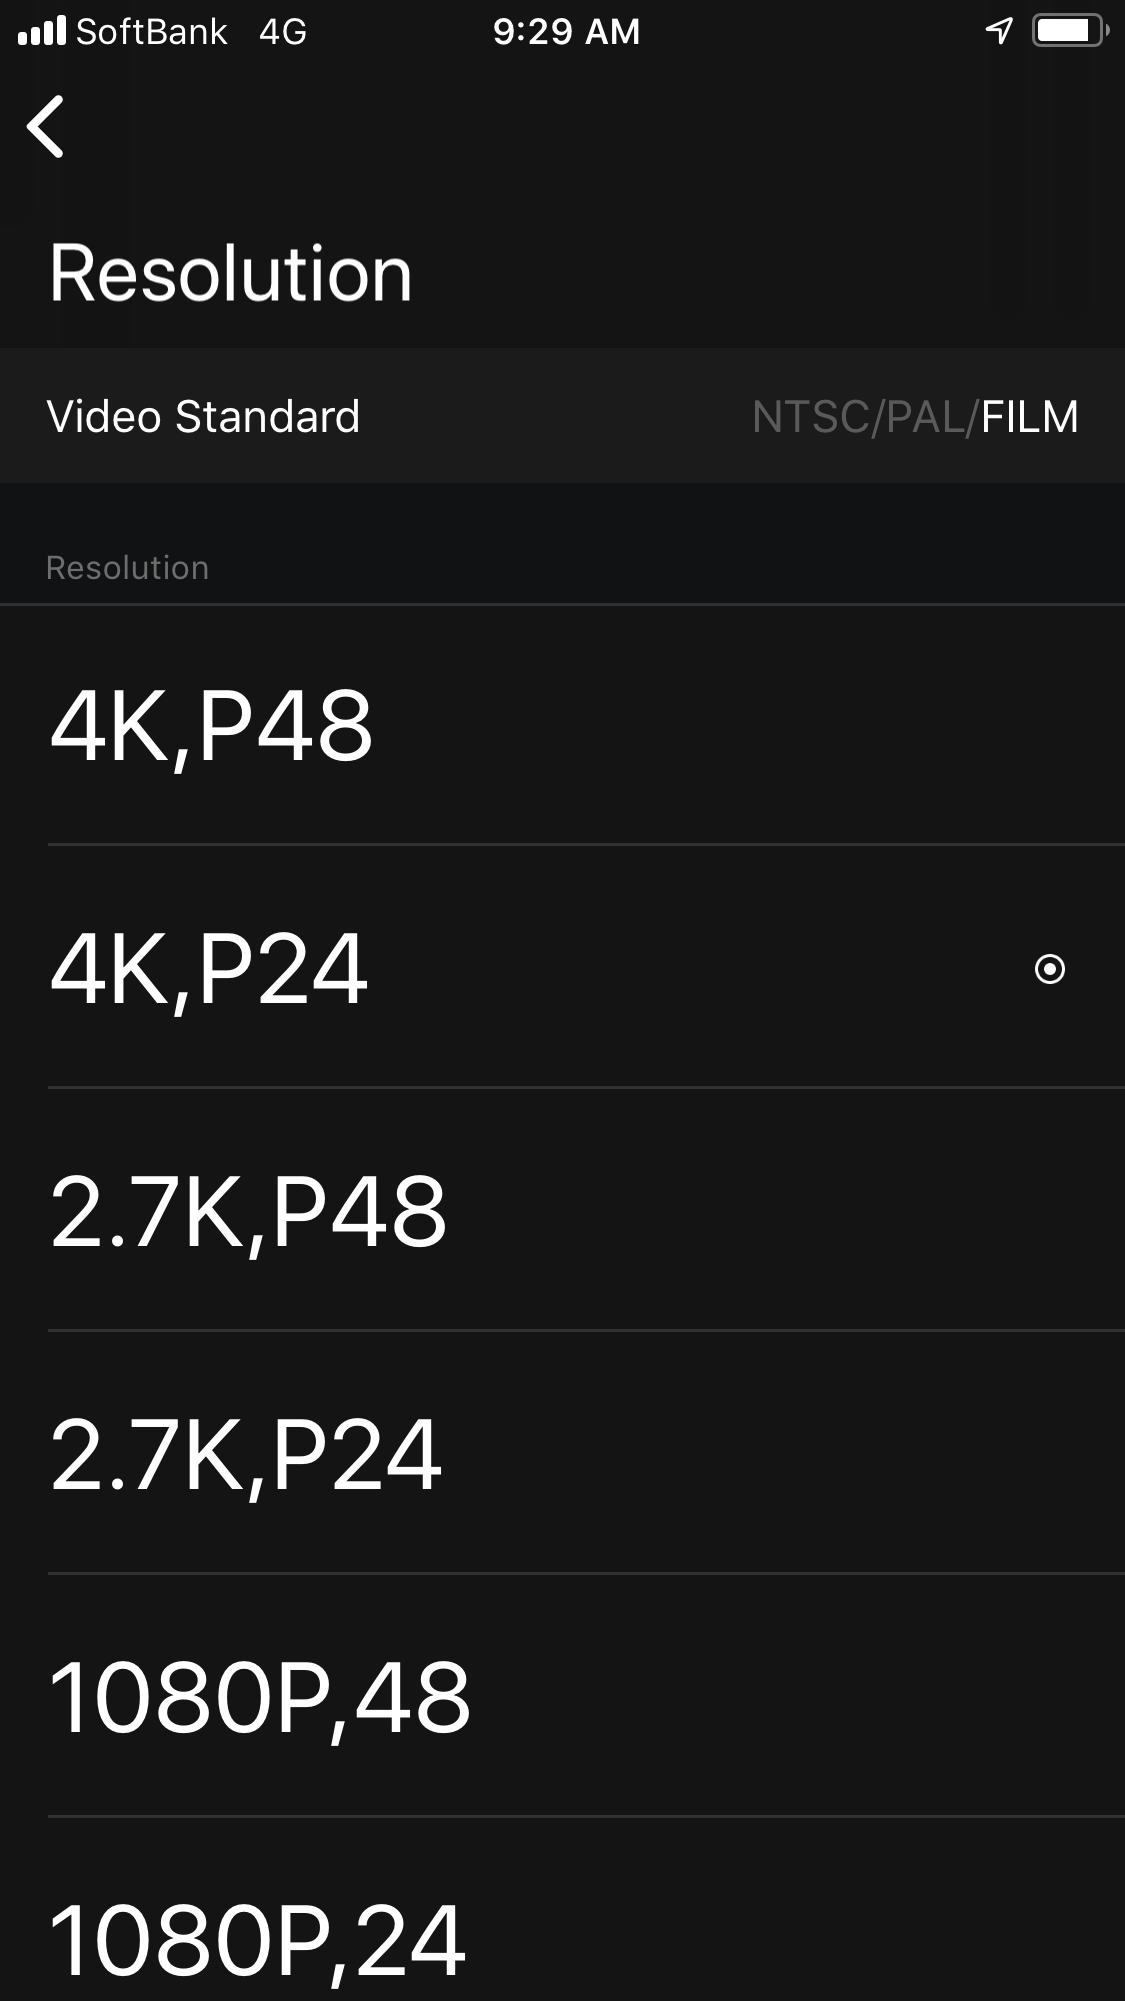
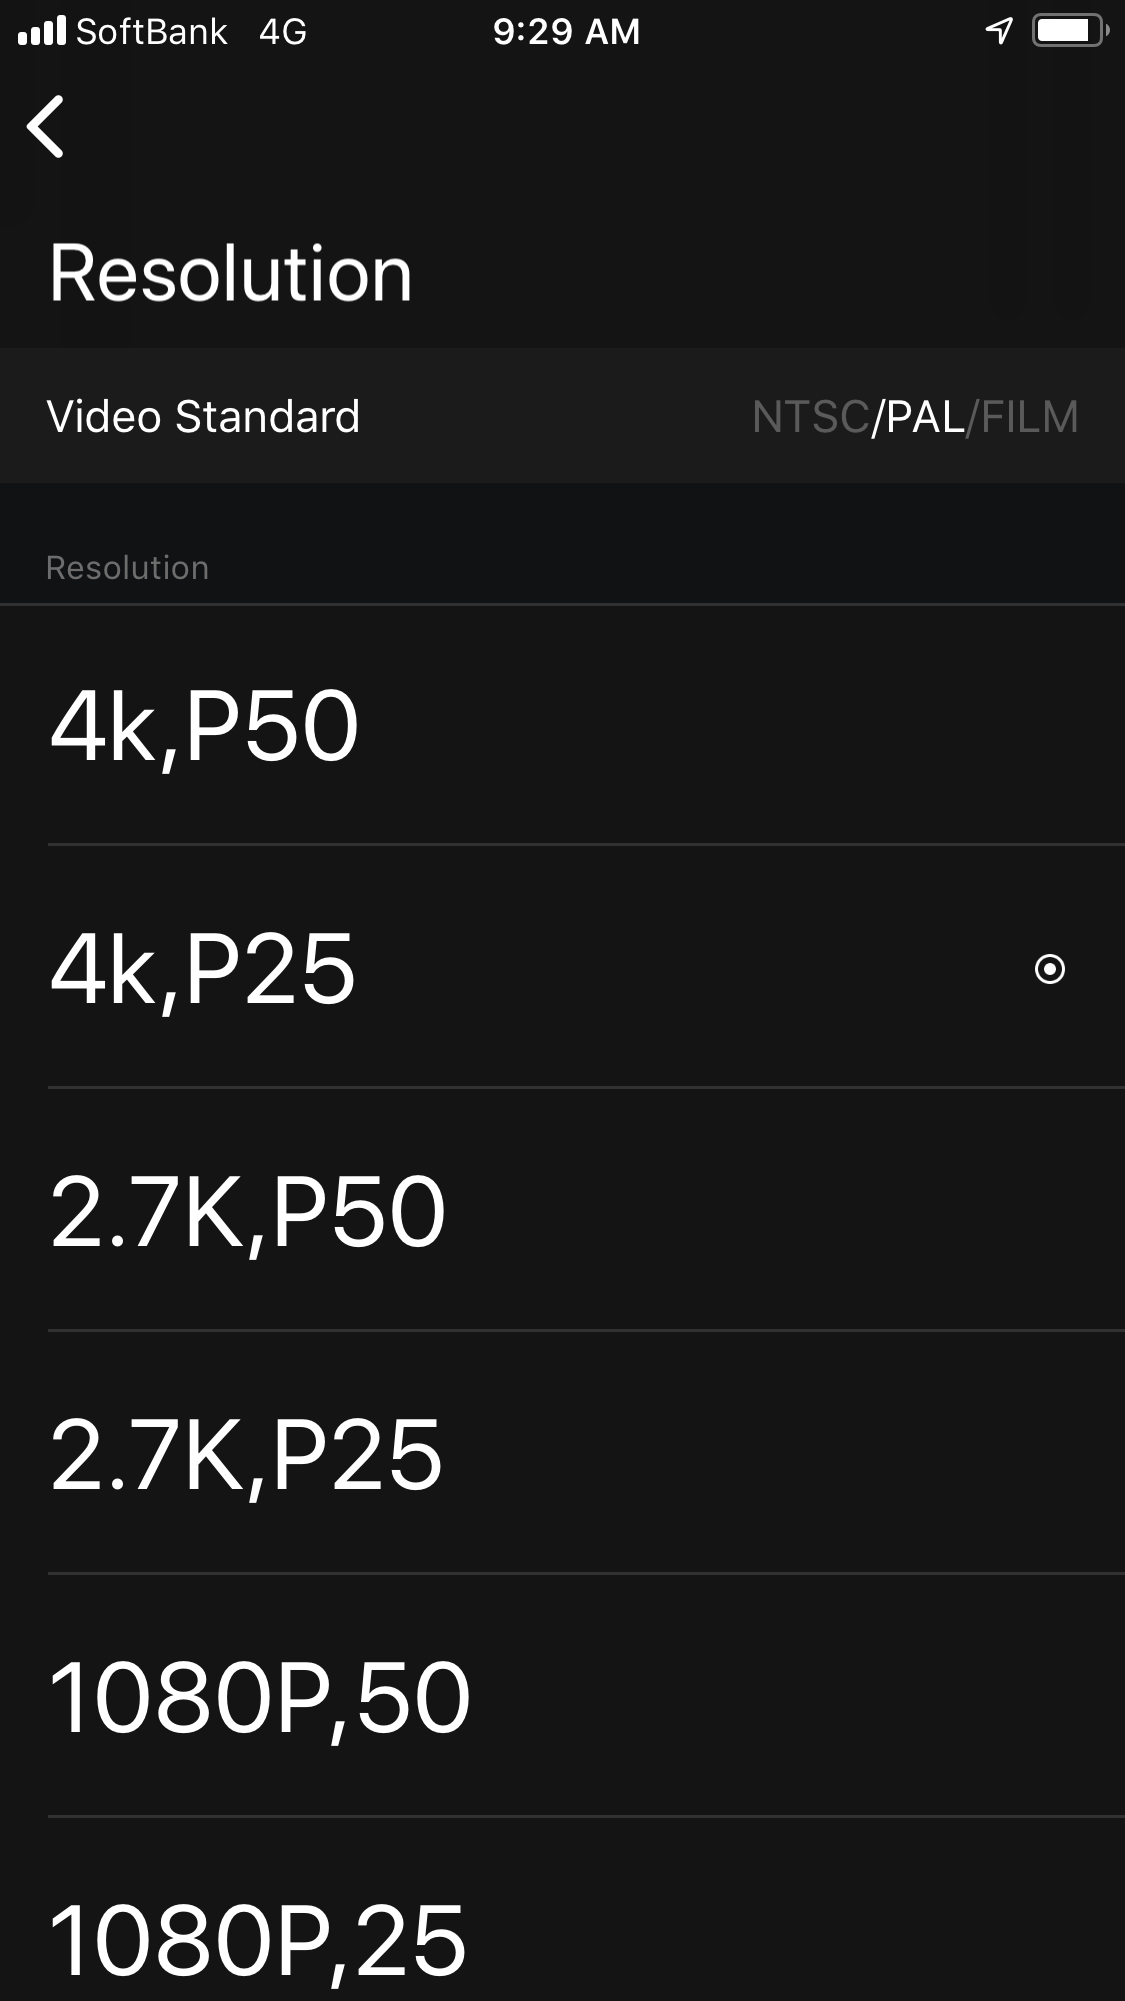
It’s certainly nice to see a variety of frame rates and resolutions. Not a lot of consumer products feature the ability to record 24p or 48p, or in 2.7K. To access various frame rates and resolutions you need to choose either NTSC, PAL, or Film.
The one thing I discovered is that if you change the resolution of frame rate and then turn off the OBSBOT Tail and turn it back on again, it defaults back to 4K 30p. As you can only change the resolution and frame rate on the home screen you have no idea what resolution or frame rate you are using when controlling the camera. I would have preferred to have seen the Tail keep whatever resolution and frame rate you last used whenever you turn the camera back on. It would also be nice to have a small indicator on the operations screen of the app that showed what frame rate and resolution you were shooting in.
I wasn’t able to test the 200 and 240fps modes in HD as they have yet to be implemented.
Codec and Bitrates
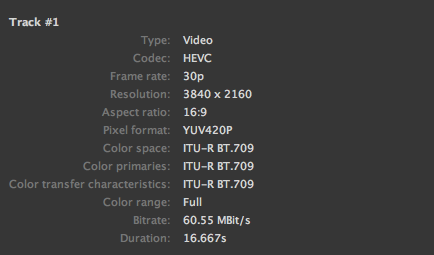
The video recordings are captured in MP4 HEVC 4.2.0 codec in an ITU-R BT.709 color space to Micro SD (Class 10 and above), or UHS-1 cards up to 128GB in capacity. The maximum bitrate is 80Mbps, which while not overly impressive, is fairly common for a consumer product. The 80Mbps isn’t quite as high as the 100Mbps that the DJI OSMO Pocket is capable of when shooting 4K UHD 60p (Fine Mode).
Now as this is a variable bit rate codec these figures will change depending on the shot, resolution, and frame rate. From my testing here is what I found out:
3840 x 2160 24/25/30p
Around 60Mbps
3840 x 2160 48/50/60p
Around 80Mbps
2.7K 24/25/30p
Around 50Mbps
2.7K 48/50/60p
Around 60Mpbs
HD 1080p 24/25/30p
Around 40Mbps
HD 1080p 48/50/60p
Around 60Mbps
The lowest bitrate is when you are shooting in HD 24/25/30p where the bitrate is around 40Mbps. When shooting in 24/45/30p in 4K UHD the bitrate only increases to 60Mbps. The best compromise between resolution and bitrate is probably going to be to shoot in 2.7K at 24/25/30p where it will record at 50Mbps.
If you capture 4K UHD videos and you then directly download them from the album to your phone, the default resolution is only 720p by default. The company has done this to avoid videos taking up large amounts of storage space on your phone. You can change the default resolution in the settings on the app or just directly take the 4K UHD video from the Micro SD card.
In a nice touch, if you don’t have a Micro SD card in the OBSBOT Tail it will make a beeping noise. This is handy as it is very easy to forget to put a Micro SD card back into your device if you are in a hurry.
Does it have manual video controls?
The Beta version I have been testing only allows you to change the resolution and frame rate, you can’t adjust the white balance, ISO, shutter speed, or f-stop of the OBSBOT Tail. You can’t even manually set the focus. Everything is done in auto settings. For video, the ISO is automatically adjusted between 100-3200 ISO.
I have been told that the shipping version will have full manual video controls. Just what you will be able to adjust is still unclear. There doesn’t currently seem to be any way of attaching ND filters to the front of the lens. Hopefully, a third party manufacturer may be able to come up with a solution.
The problem currently is when it comes to exposure. It seems as though the OBSBOT Tail is weighing up the entire scene and then using an algorithm to determine the exposure based on everything in the scene. This sometimes leads to instances where you are either over or underexposed. Given that the camera is primarily for tracking a subject I would have thought that it made more sense to base the exposure on whatever was being tracked.
There are a bunch of “Looks” you can choose to use, but I didn’t find any of them to be particularly useful. They are more of a gimmick than anything else.
Image quality
The image quality is a bit hit and miss, but just like any consumer based camera, it really depends on the environment you are using it in. In nice, even lighting conditions it will look ok, in bad or mixed lighting conditions it will struggle. Once the manual video controls are added it should certainly help how this camera will perform. Now, I don’t want to sound overly critical about the image quality, given that it is a consumer camera and it’s still not a finished product, but I think readers will want to know just what you should expect.
I found from my testing (especially if you shoot in 4K UHD) that the camera doesn’t resolve much detail at all. Shots can look sharp, but if you look closely there is very little detail. I found that peoples skin ends up looking like plastic and that the actual skin tone color rendition is not very nice.
Currently, because everything is auto, it does struggle in low lighting conditions. Instead of just raising the ISO, it also seems to slow the shutter speed down to a point where you start to get way too much motion blur and ghosting effects.
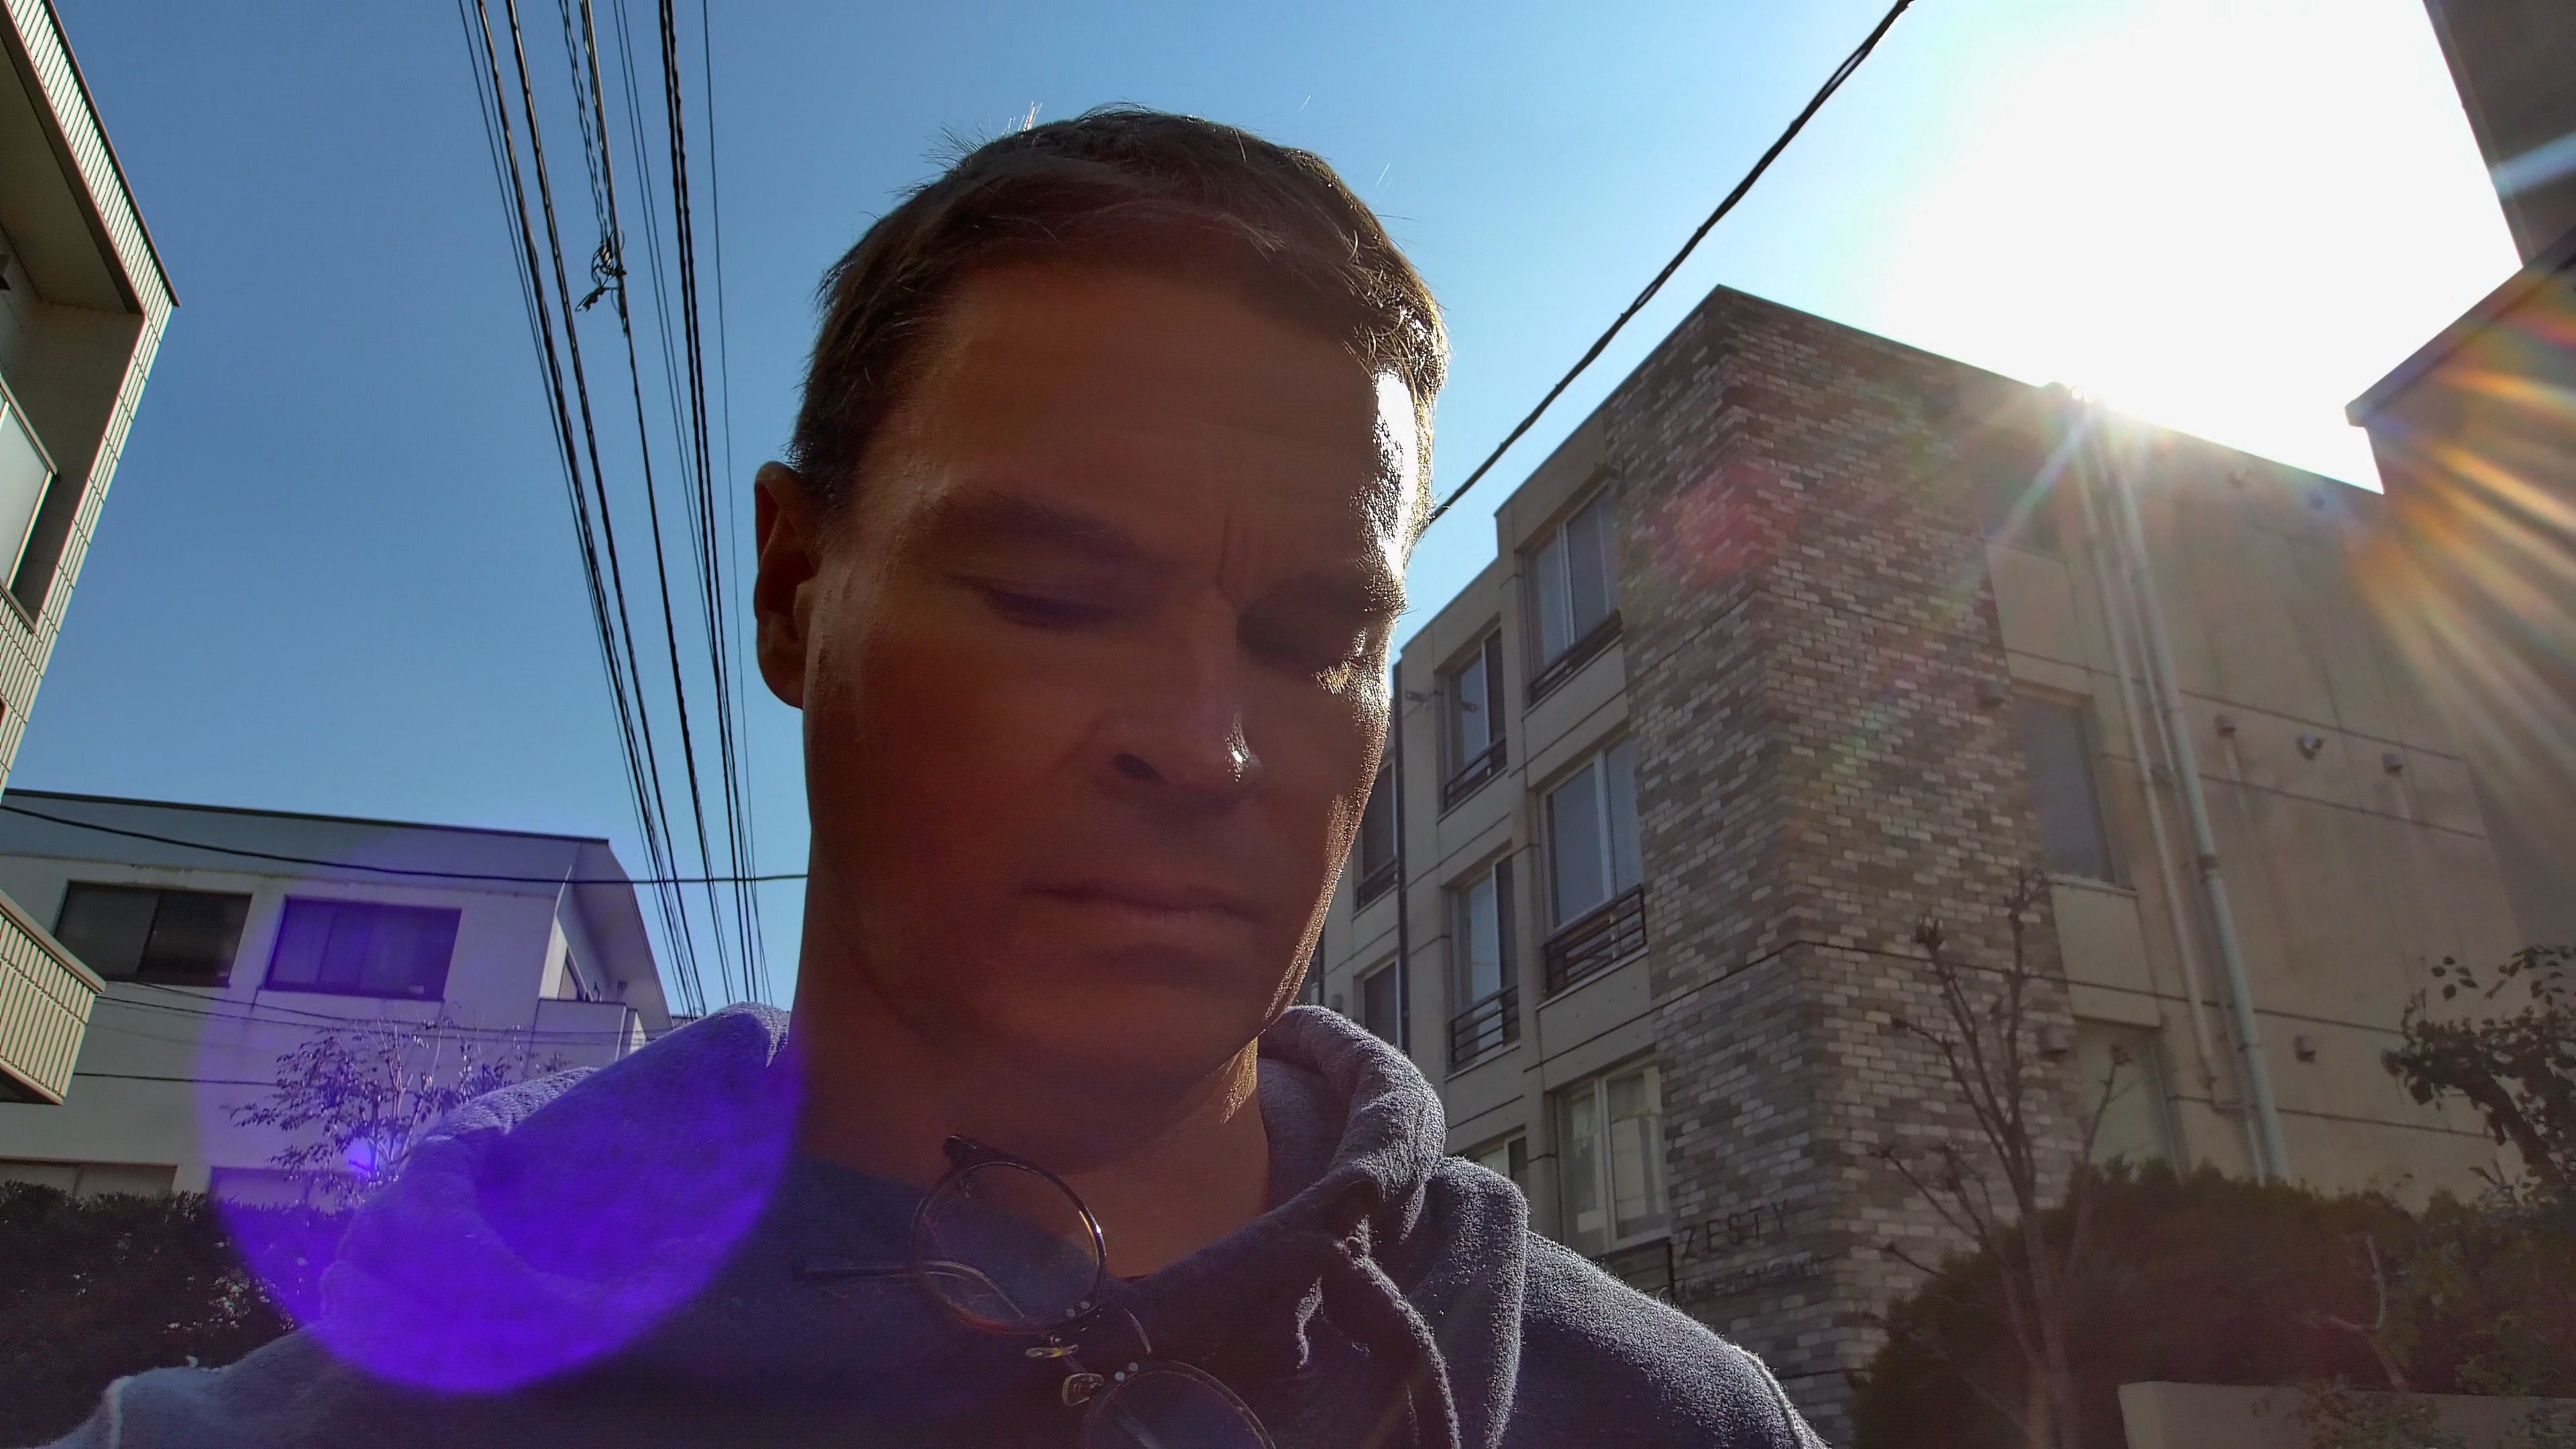
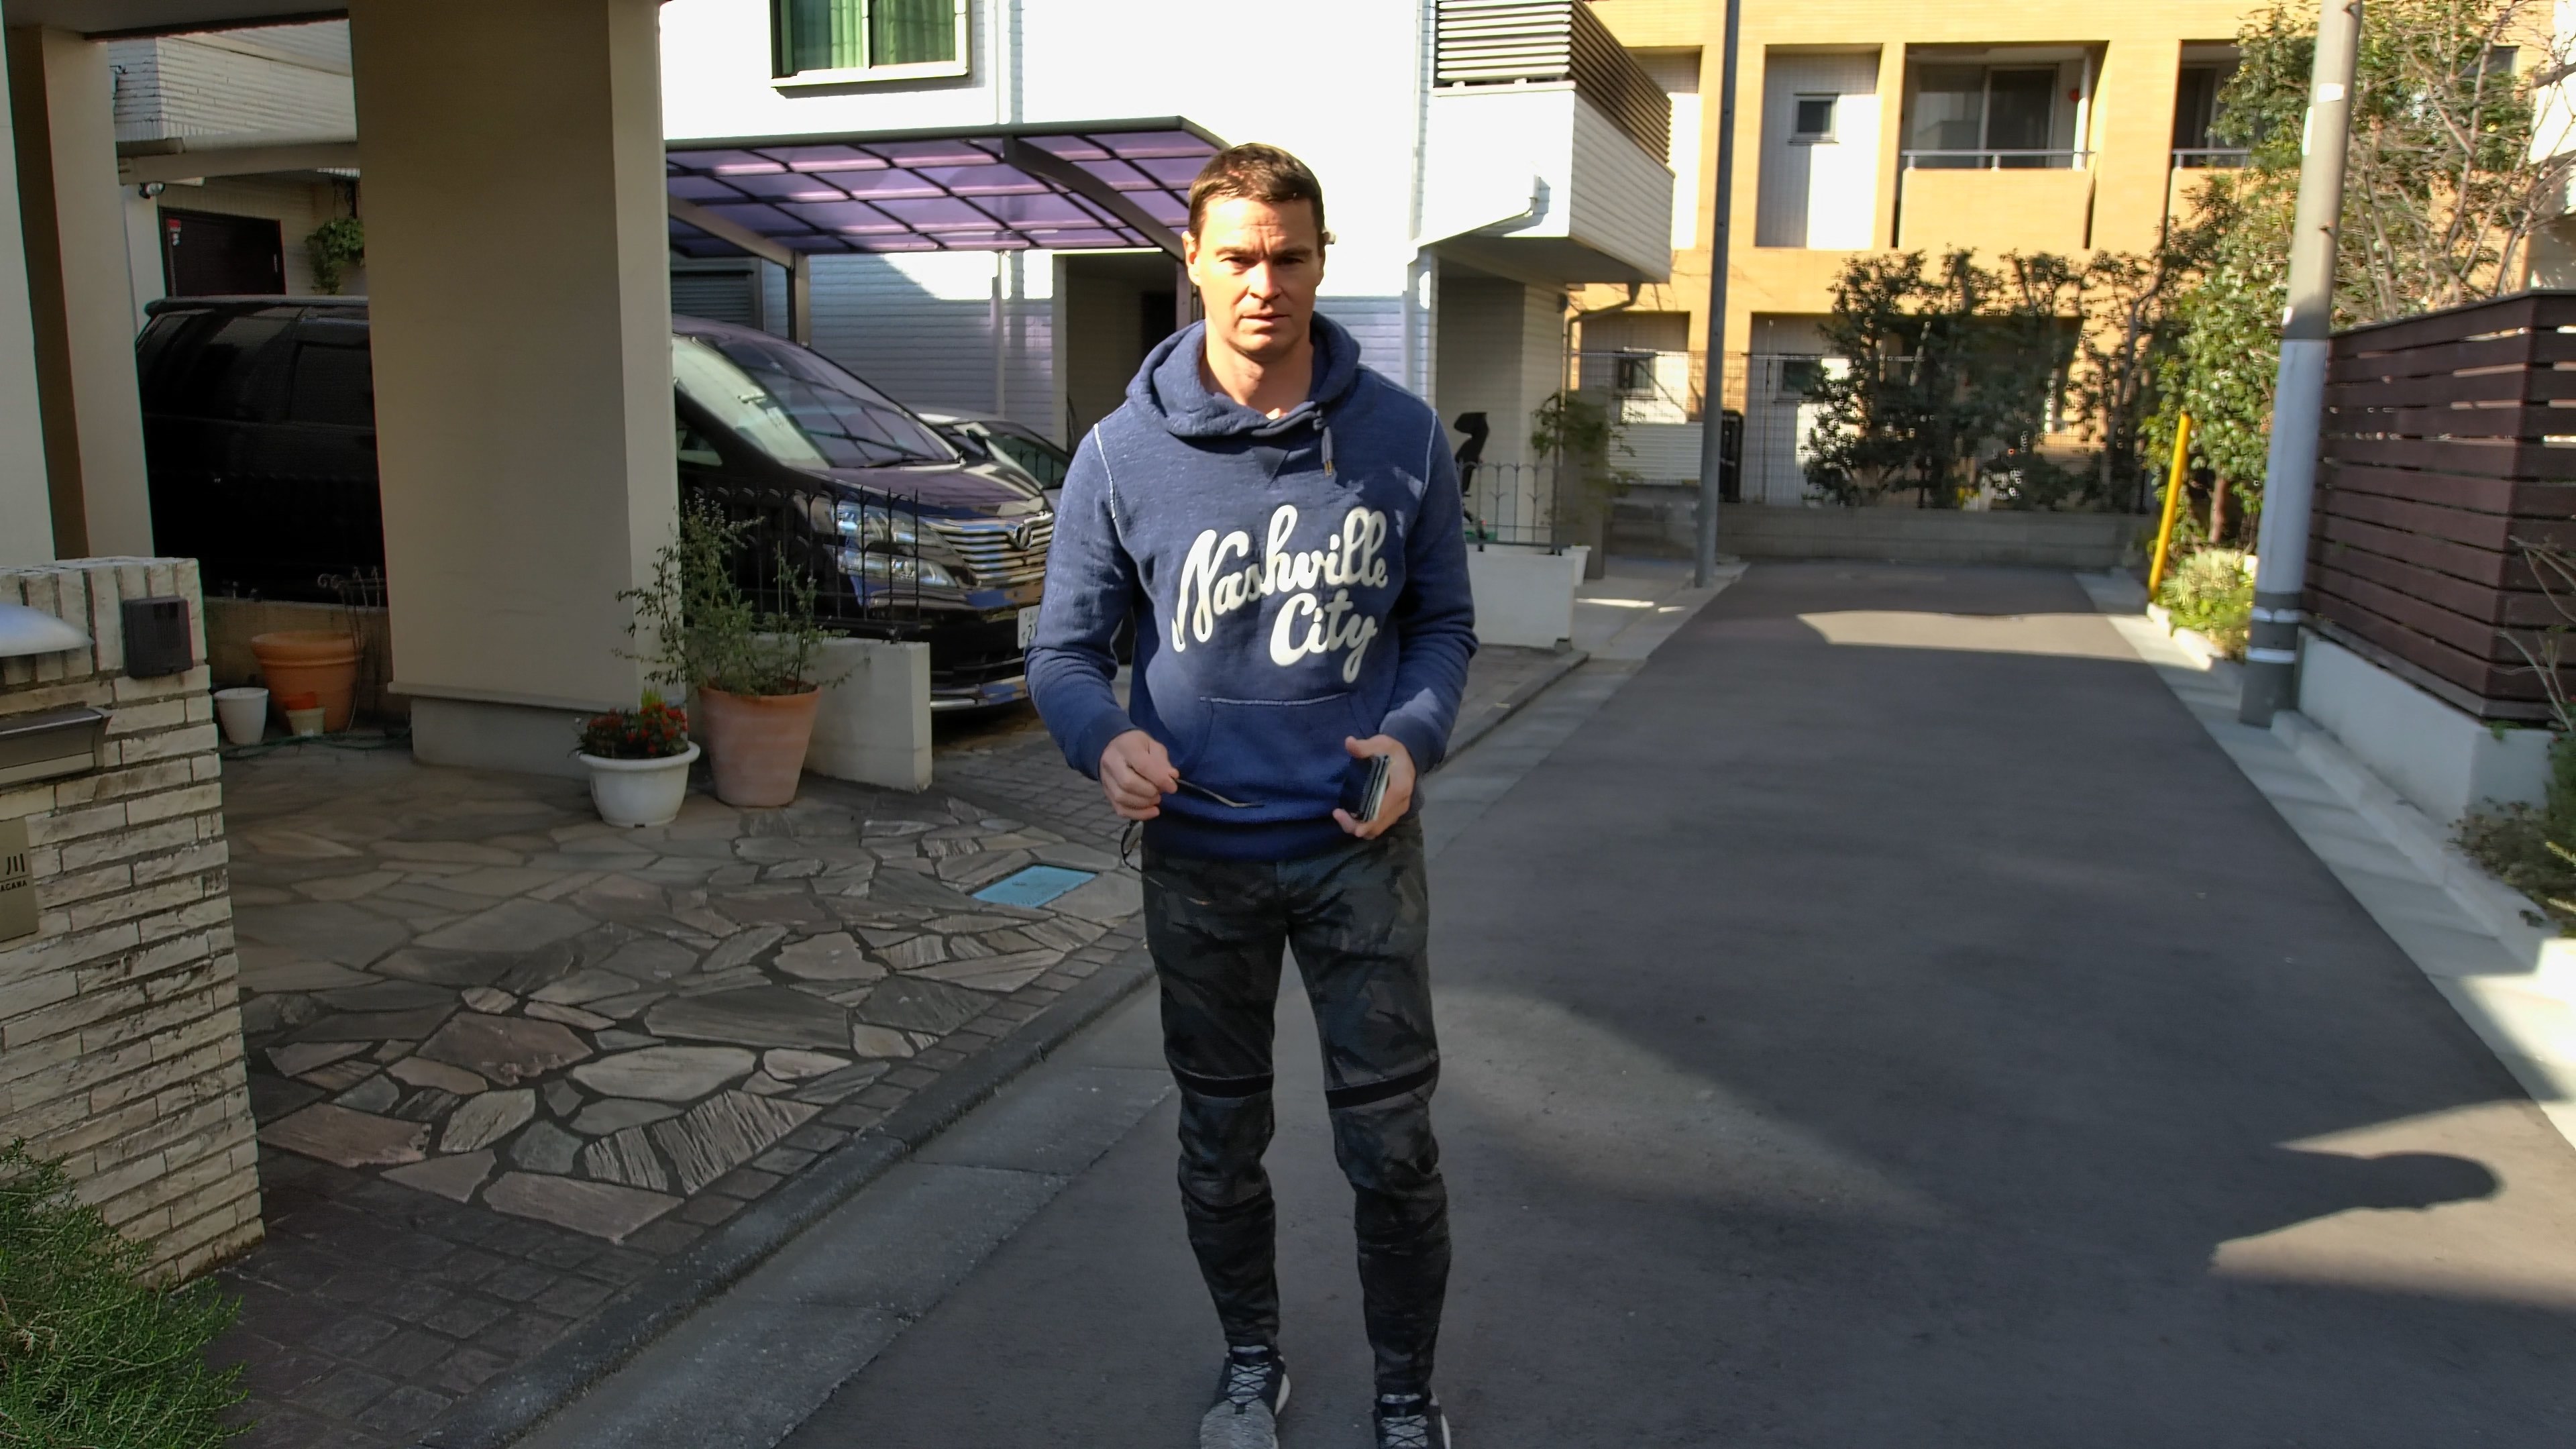
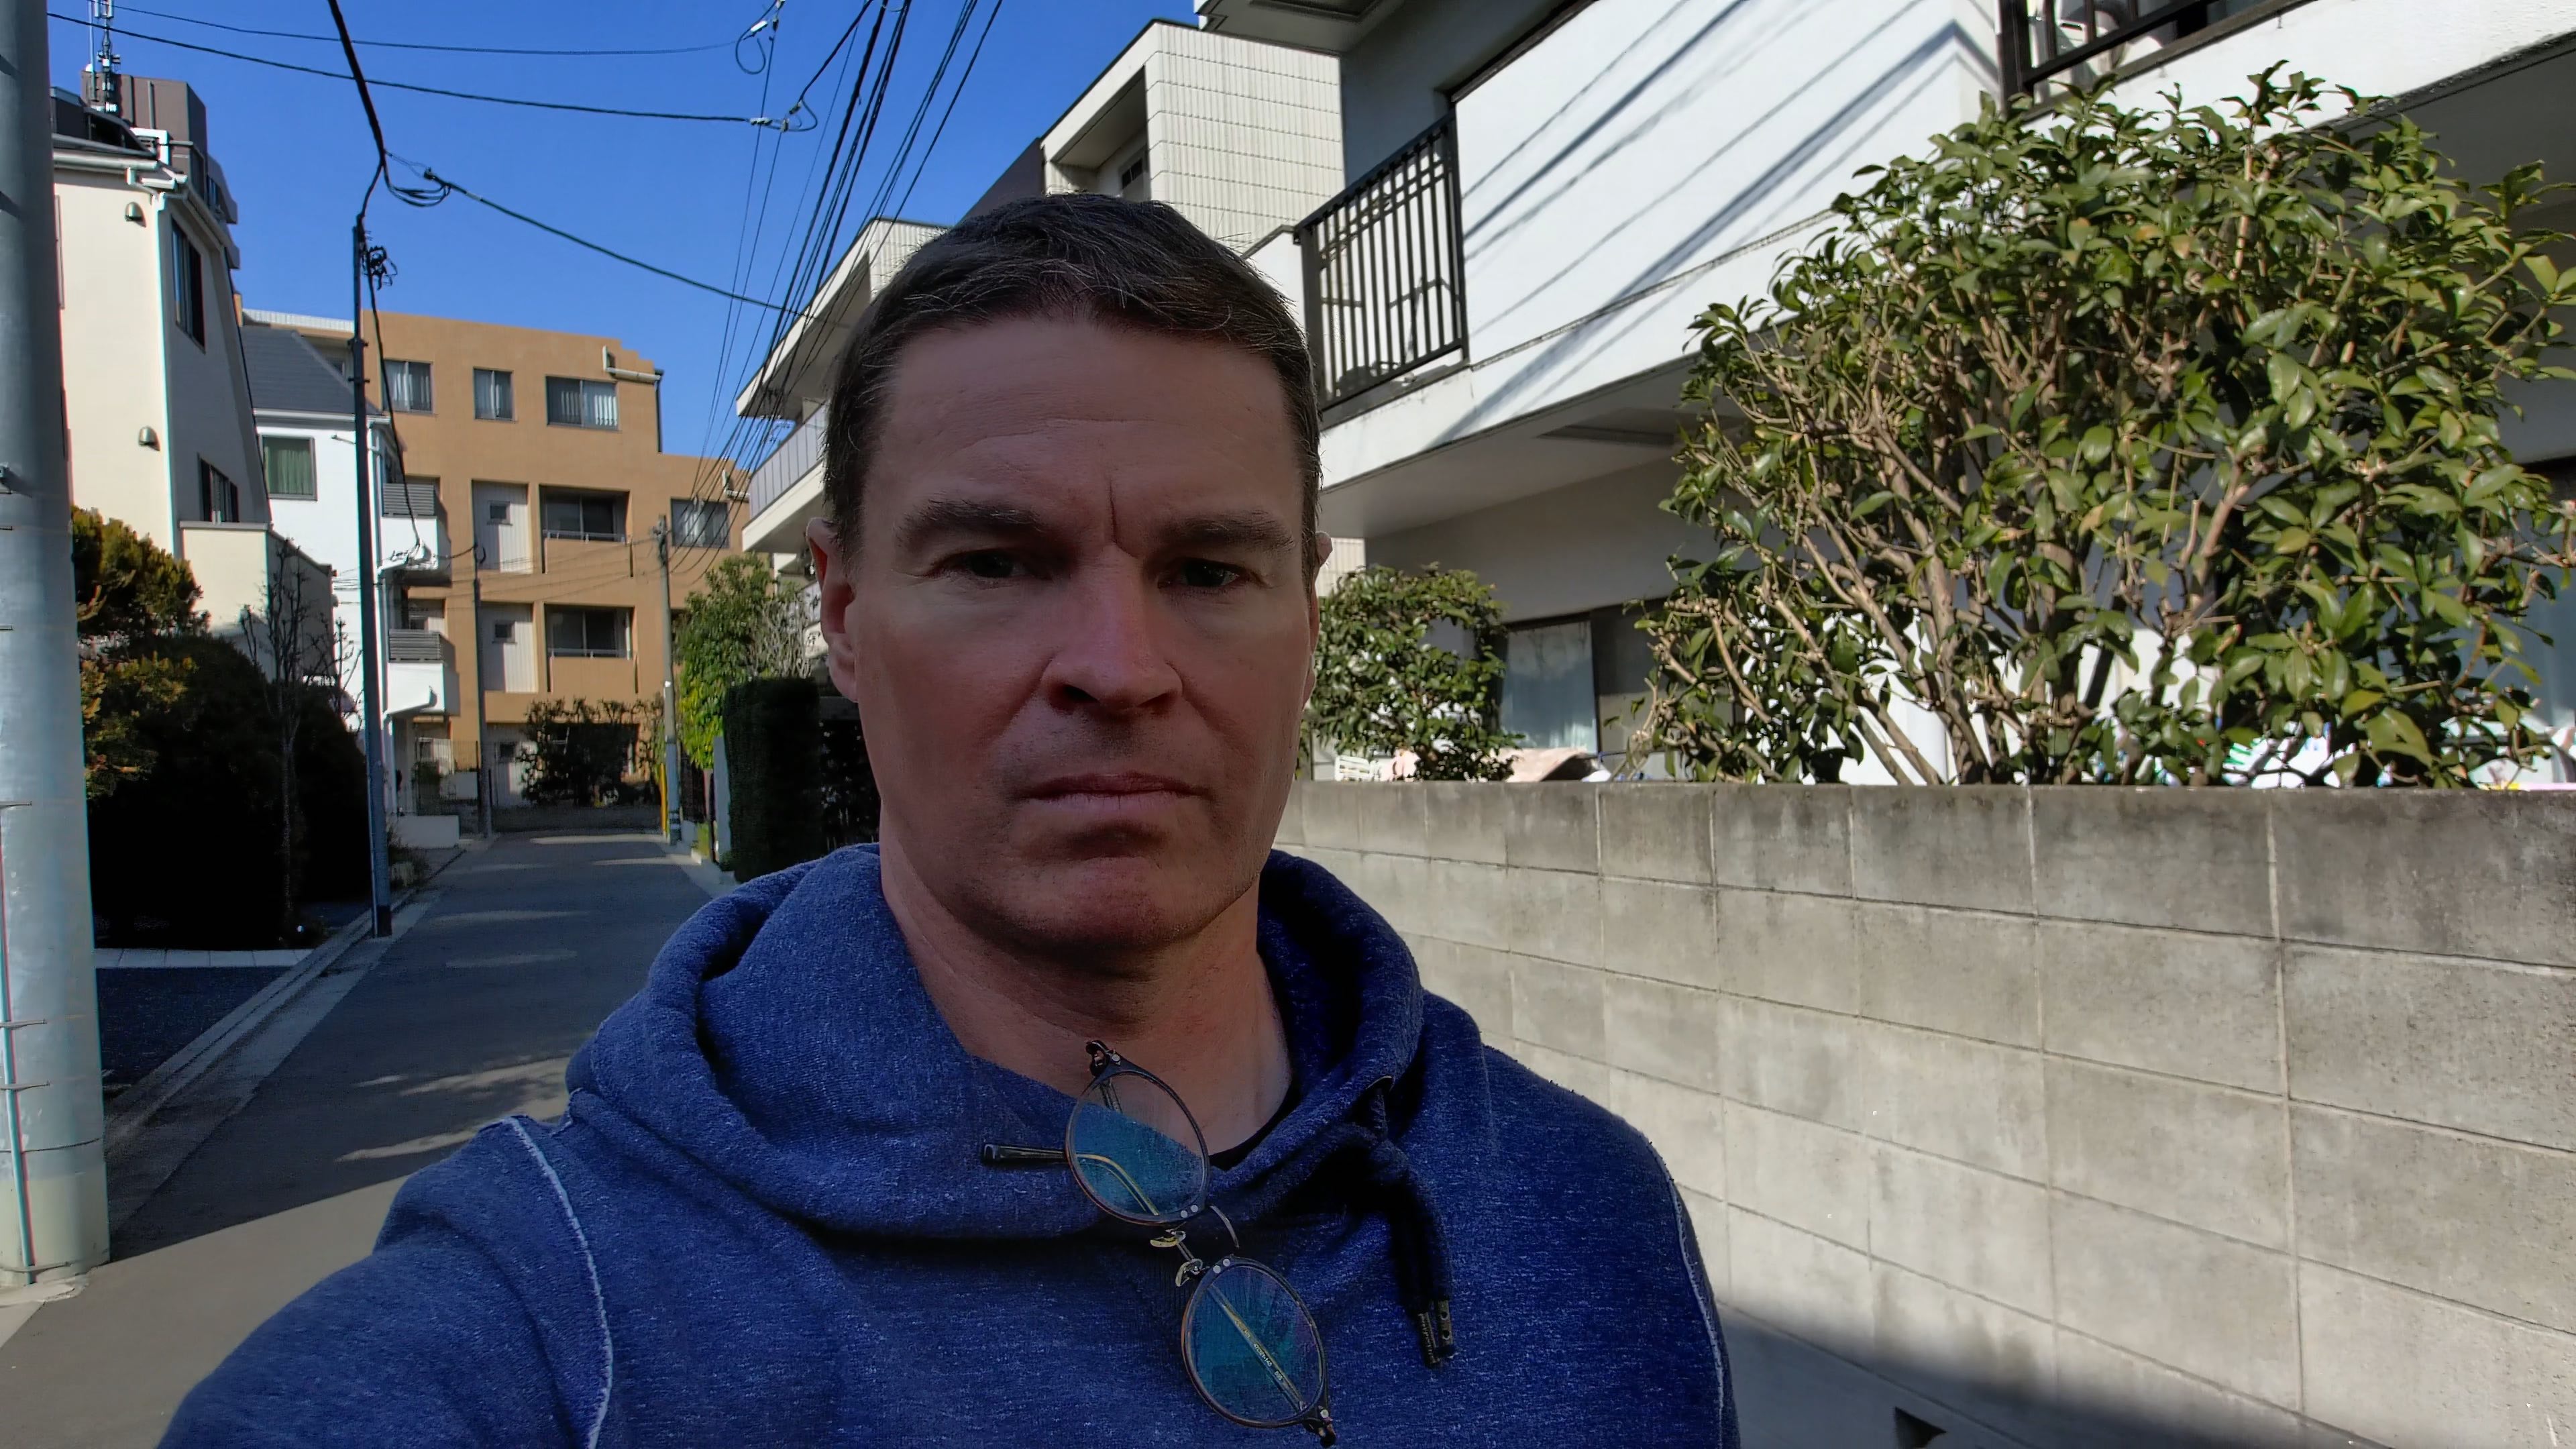
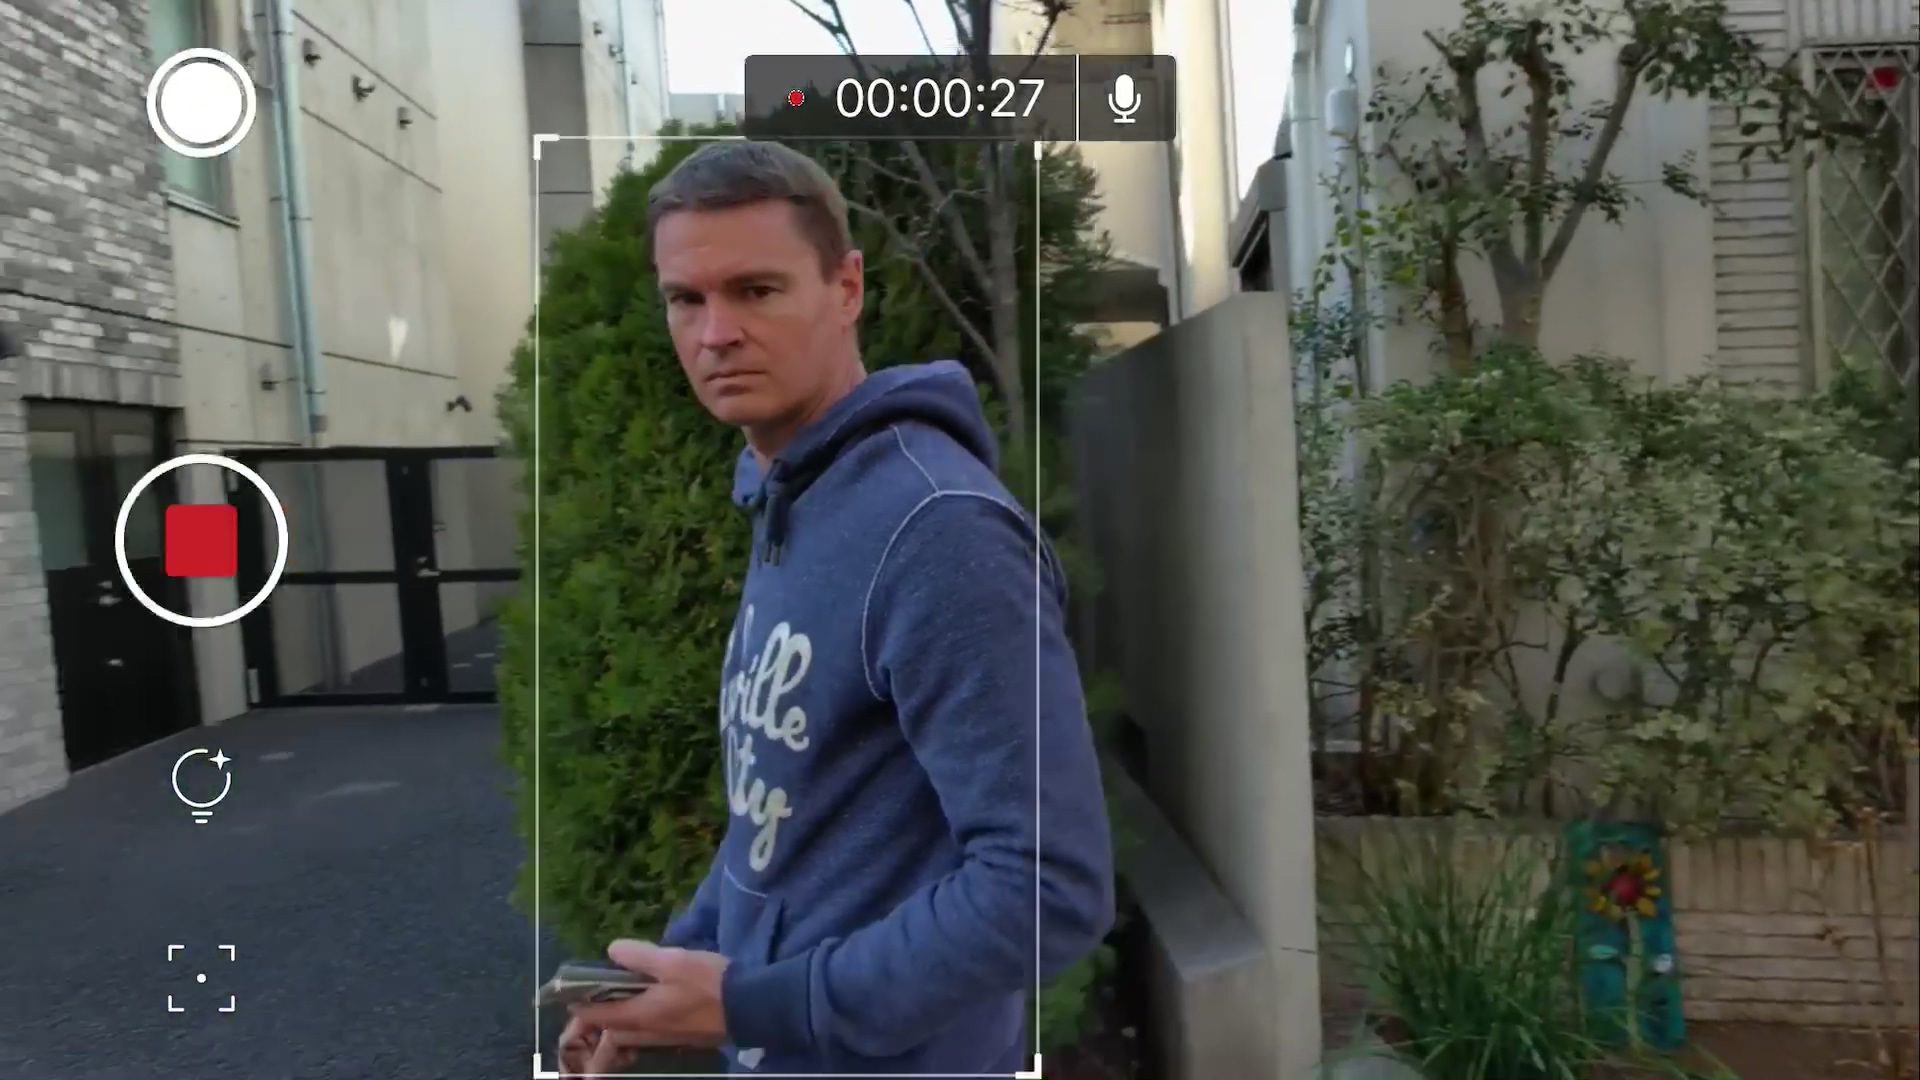
For a Vlogger, if you are moving around between different lighting conditions it currently does struggle. The exposure is all over the place, along with the shutter and the white balance. If you use it in situations where the lighting is uneven it doesn’t look very good. I found in situations where there was half sun and half shade on my face, the OBSBOT really struggled. Above you can see an exported frame from the OBSBOT where I am in sun and shade.
While it has a wide enough field of view to film yourself, the gimbals performance is not overly great if you try and handhold the OBSBOT. The auto settings also just end up making a lot of the footage unusable. The camera also doesn’t seem to resolve much detail, and skin takes on an almost plastic looking appearance.
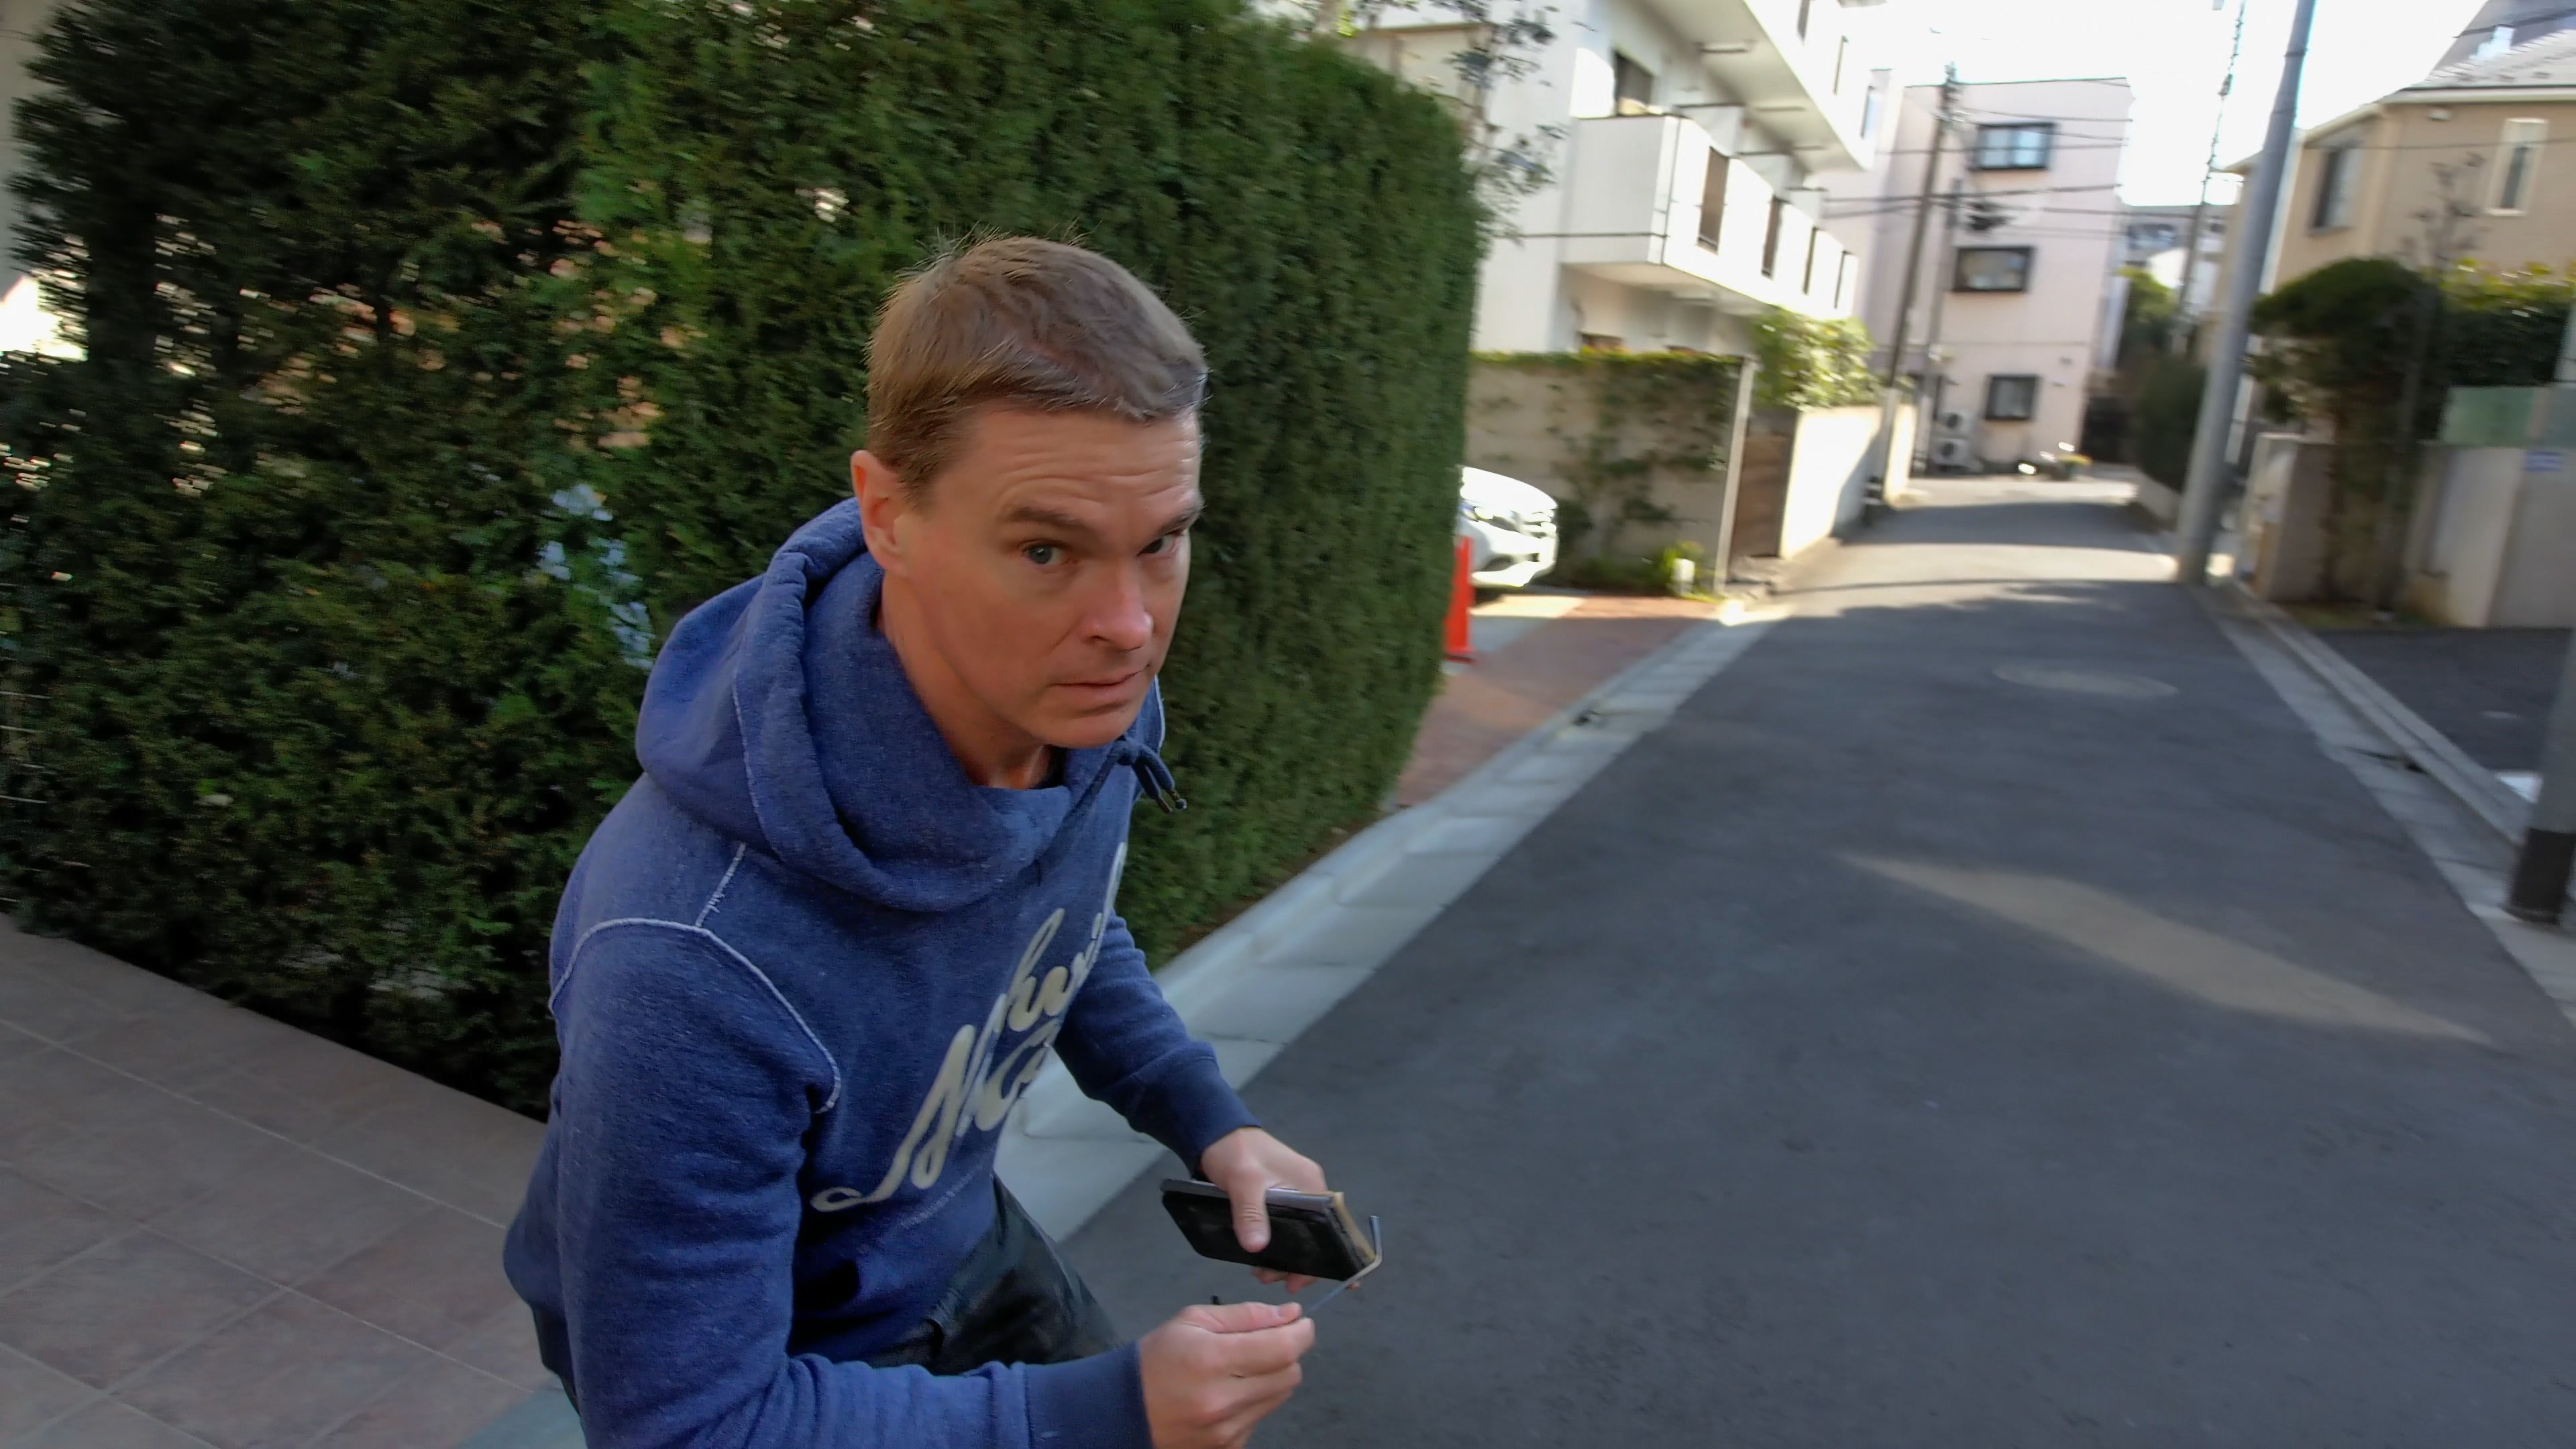
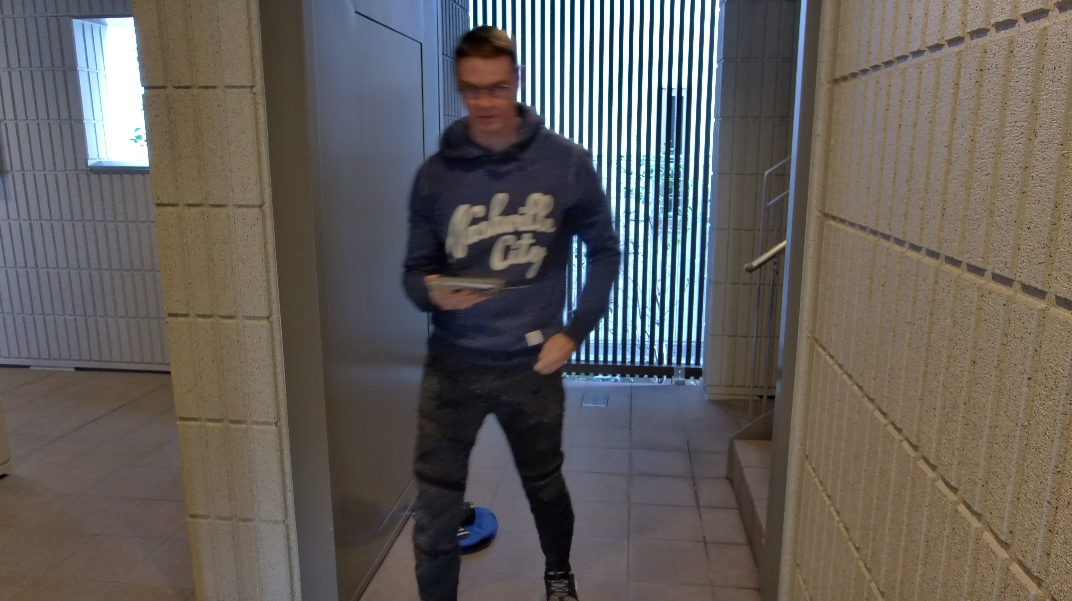
The rolling shutter if the camera is moving quickly is pretty bad as you can see from the example image above. I found it pretty horrendous for filming fast moving action, especially if the camera has to move quickly from side to side.
The OBSBOT does a pretty good job at maintaining focus when you move around. While it isn’t always tack sharp, the results are normally fairly good.
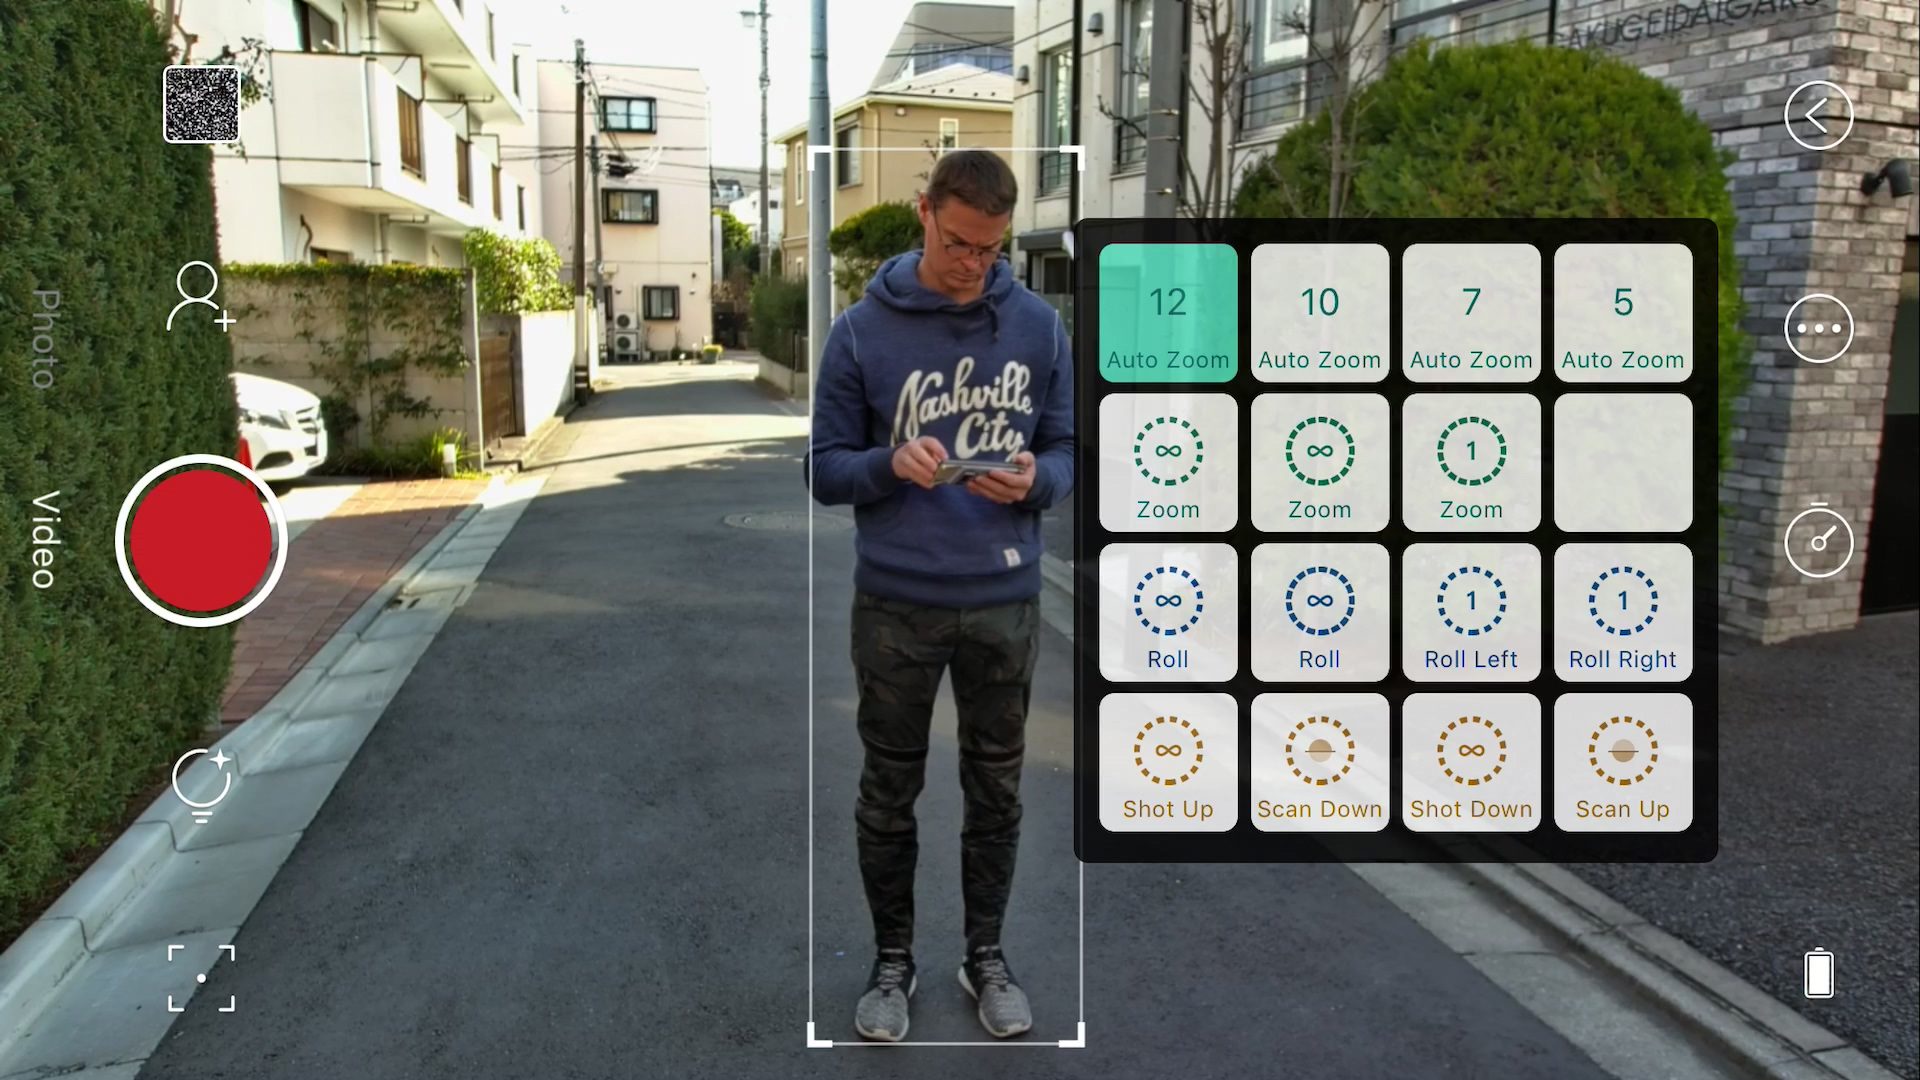
You also can’t really control when the camera decides to zoom. It sort of has a mind of its own at times. There are some functions that you can activate like automatic zooming in and automatic rolling of the camera, but they have been implemented in a strange way.
If you activate these functions, then they just keep repeating. For instance, if you activate one of the zoom functions it just zooms in then straight back out again. It would have been nice if you could just manually zoom or roll the OBSBOT when you wanted to.
You can also shoot vertical video which is nice if you are creating content specifically for mobile platforms.
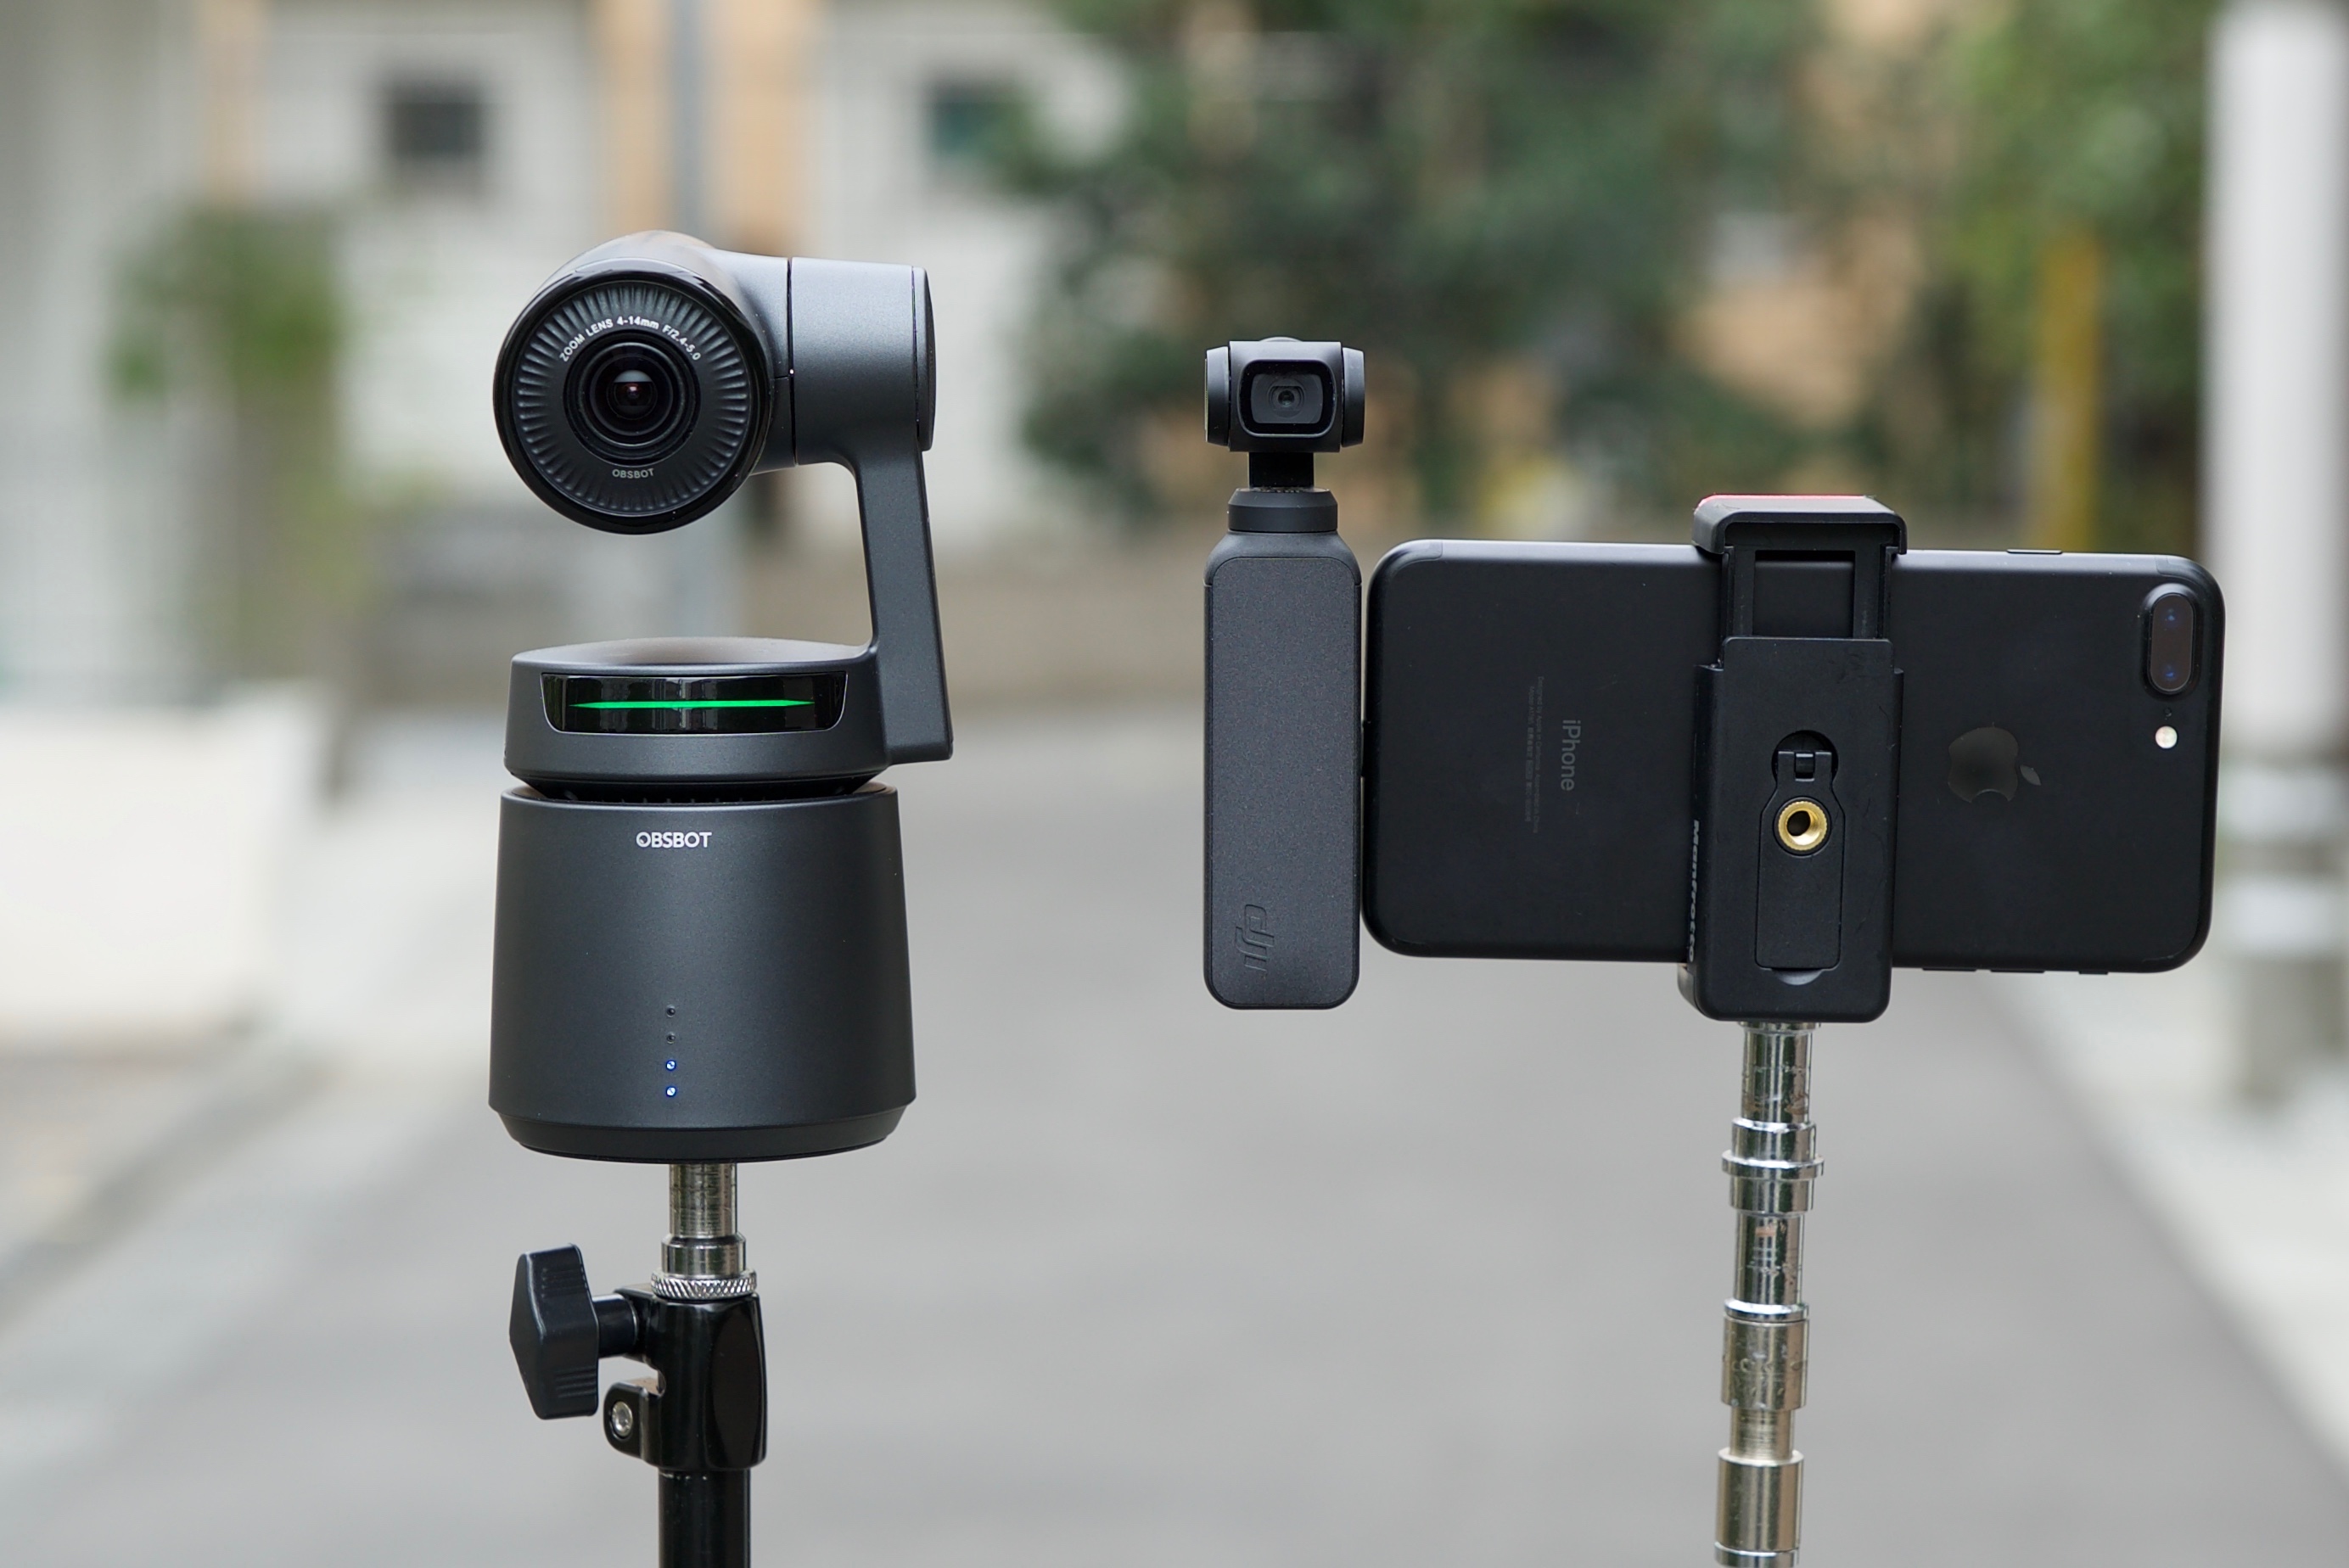
I found that if I compared the image quality from the OBSBOT tail to that of the DJI OSMO Pocket (at least in Auto settings), they were similar but there were also some differences. The Pocket seems to resolve more detail, but it doesn’t have the ability to focus at closer distances. It certainly helps that the Osmo Pocket has full manual video controls and the ability to shoot in a flatter picture profile.

Neither the DJI OSMO Pocket or the OBSBOT Tail are particularly good in low light conditions. As I mentioned earlier, the OBSBOT Tail seems to slow the shutter speed down to a point where you get excessive motion blur and ghosting. Above you can see a side by side comparing the DJI OSMO Pocket (bottom image) and the OBSBOT Tail (top image).
Above you can see some footage of the OBSBOT tail that was taken in mixed lighting conditions that were quite dark.
Image Tracking
This is the most interesting feature of the OBSBOT Tail. The image tracking is exceptionally good for a consumer product. I was amazed at just how well it worked. It is far better than any other image tracking I have seen on a sub $1,000 USD device. Not only is it super simple to use, but it follows and keeps subjects centrally framed, even when they move fairly quickly.
Above you can see some examples of the how well the OBSBOT Tail’s tracking works.
Compared to image tracking on some of the DJI products, it is leaps and bounds ahead. I did a direct comparison against the DJI OSMO Pocket using the image tracking, and while the Pocket does reasonably well, it loses tracking at distances and isn’t nearly as good at following a faster moving subject. The Pocket is always playing catch up with keeping whatever is being tracked in the middle of the frame.
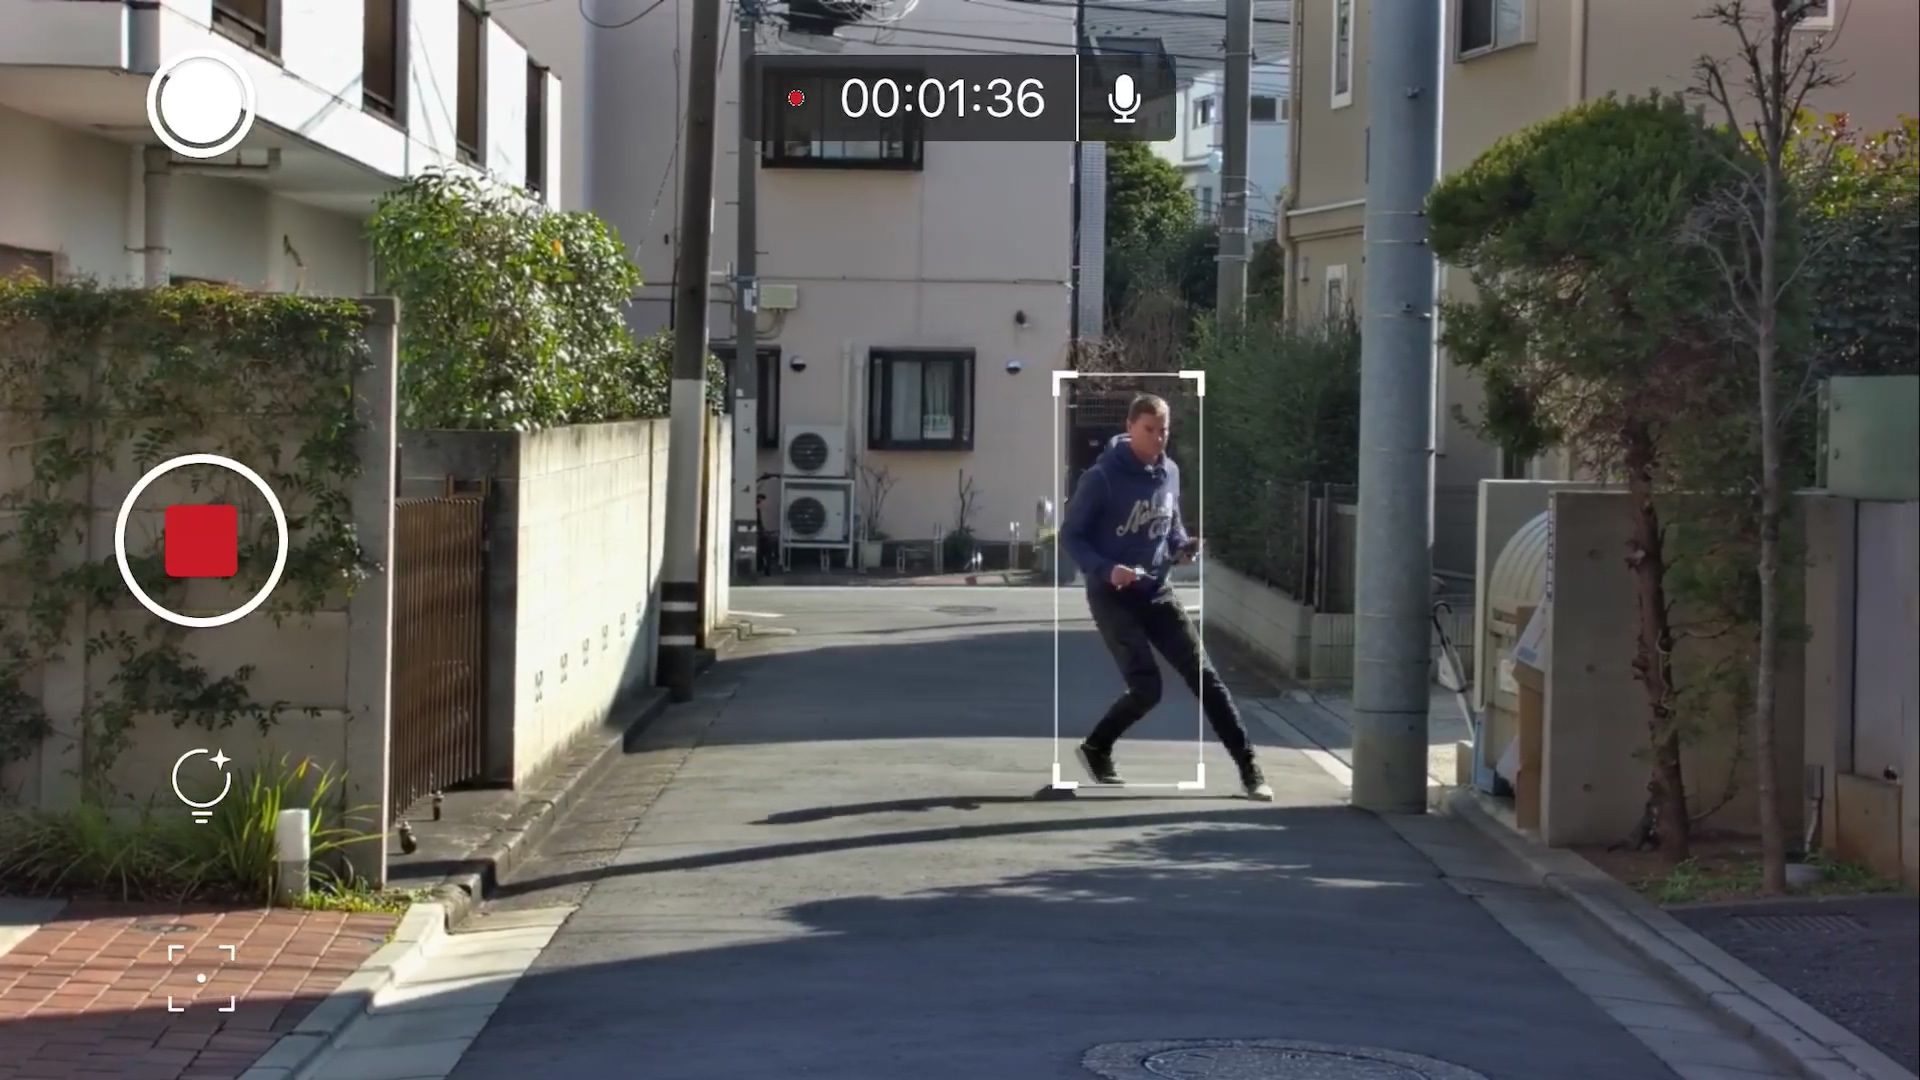
The first time I tried it out I wasn’t sure what to expect, as most image tracking systems I have seen before have been average at best. With the OBSBOT Tail, it grabbed onto the subject and then tracked it with almost no lag at all. It didn’t matter whether that subject came close to the camera, ducked down or quickly moved left or right. Even at distances of around 20 meters, it managed to track me with no problem at all.
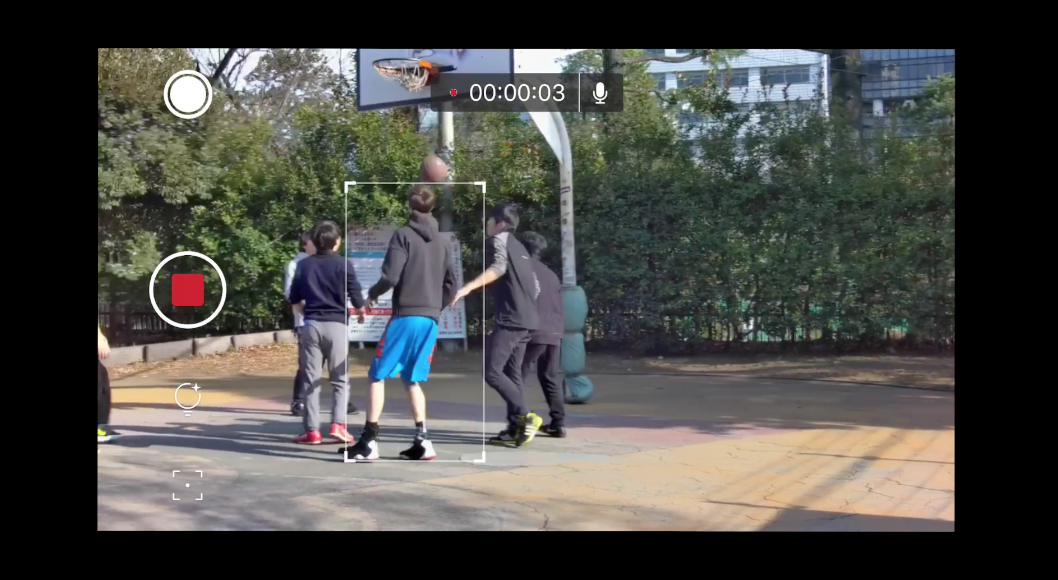
For single individuals, and groups of people who are all on the same focal plane it works well, but if you try and film a group of people where they are moving towards or away from the camera it will get confused. I took the OBSBOT down to a local outdoor basketball court to see how it performed. While it did a pretty good job, it won’t track a single individual player in a group with perfect success. It does get confused and ends up switching back and forth between different players.
While it is not always perfect, especially in low light conditions, the overall performance of the OBSBOT is none the less impressive. This is amazing technology and I think it is a glimpse into what future cameras will be capable of.
When you are using the OBSBOT Studio App (which you can read about in the next section) there are a few controls to change how the image tracking works. There is a feature called Tap Lock that has two settings. One is called Auto-Mode, and the other is called Multi-Mode. The Auto-mode is for the device to automatically tracking whoever is closest to the camera, without the need to adjust on the app, however, if you want to track specific person you can tap on the app to track. In this mode, you can also manually switch the tracking from one person to another. The Muti-mode is to track a group of people’s movement, which works well for filming things such as dancers.
Auto-mode is the default mode.
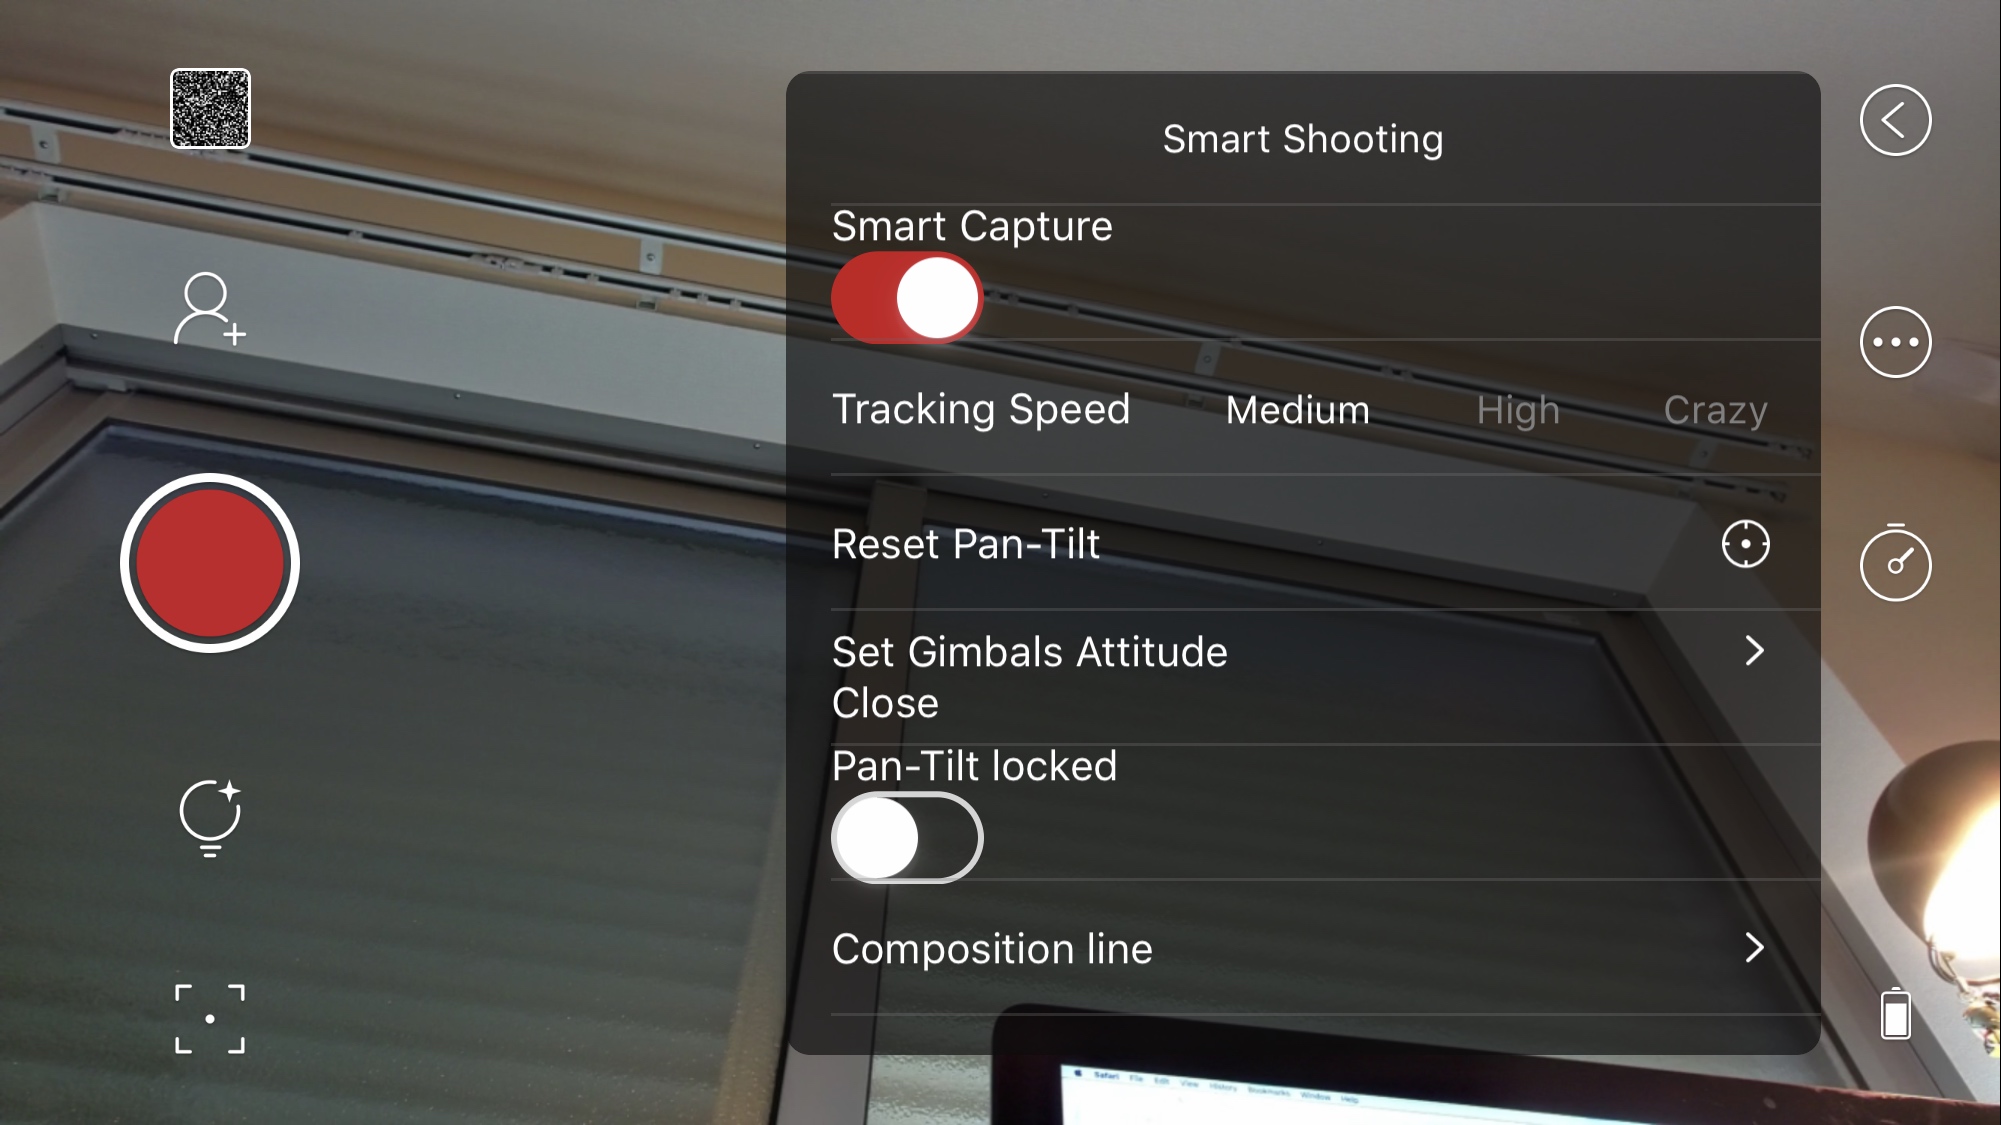
In the app, you can also choose the tracking speed. The tracking speed can be set to Low, Medium, High, or Crazy. This menu can be accessed by swiping from the left-hand side of the screen. Here you can also reset the Pan-Tilt, change the gimbals stabilizer settings, as well as set up A-B Repeat Motions and A-B Loops.
The OBSBOT Tail will also have gesture controls (they were not yet implemented in the Beta unit I was testing). These hand gestures will allow the OBSBOT Tail to automatically recognize it and doing corresponding lens movement such as tilt, focus, scanning, etc. At the shipping date, there will be 5 gesture types, more will be added in the future.
The 5 Gestures will be:
- Targeting a person
- Telling the camera to start/stop recording
- Zoom in and focus on the target’s upper body
- Zoom in and focus on the target’s lower half body
- Roll and zoom in-out by a fixed rhythm
As far as stabilization of the gimbal is concerned, the OBSBOT Tail works well on a stable platform such as a light stand or table, but not so well if you try and use it handheld. I found that the DJI OSMO Pocket provided far better-stabilized performance than the OBSBOT.
OBSBOT Studio App
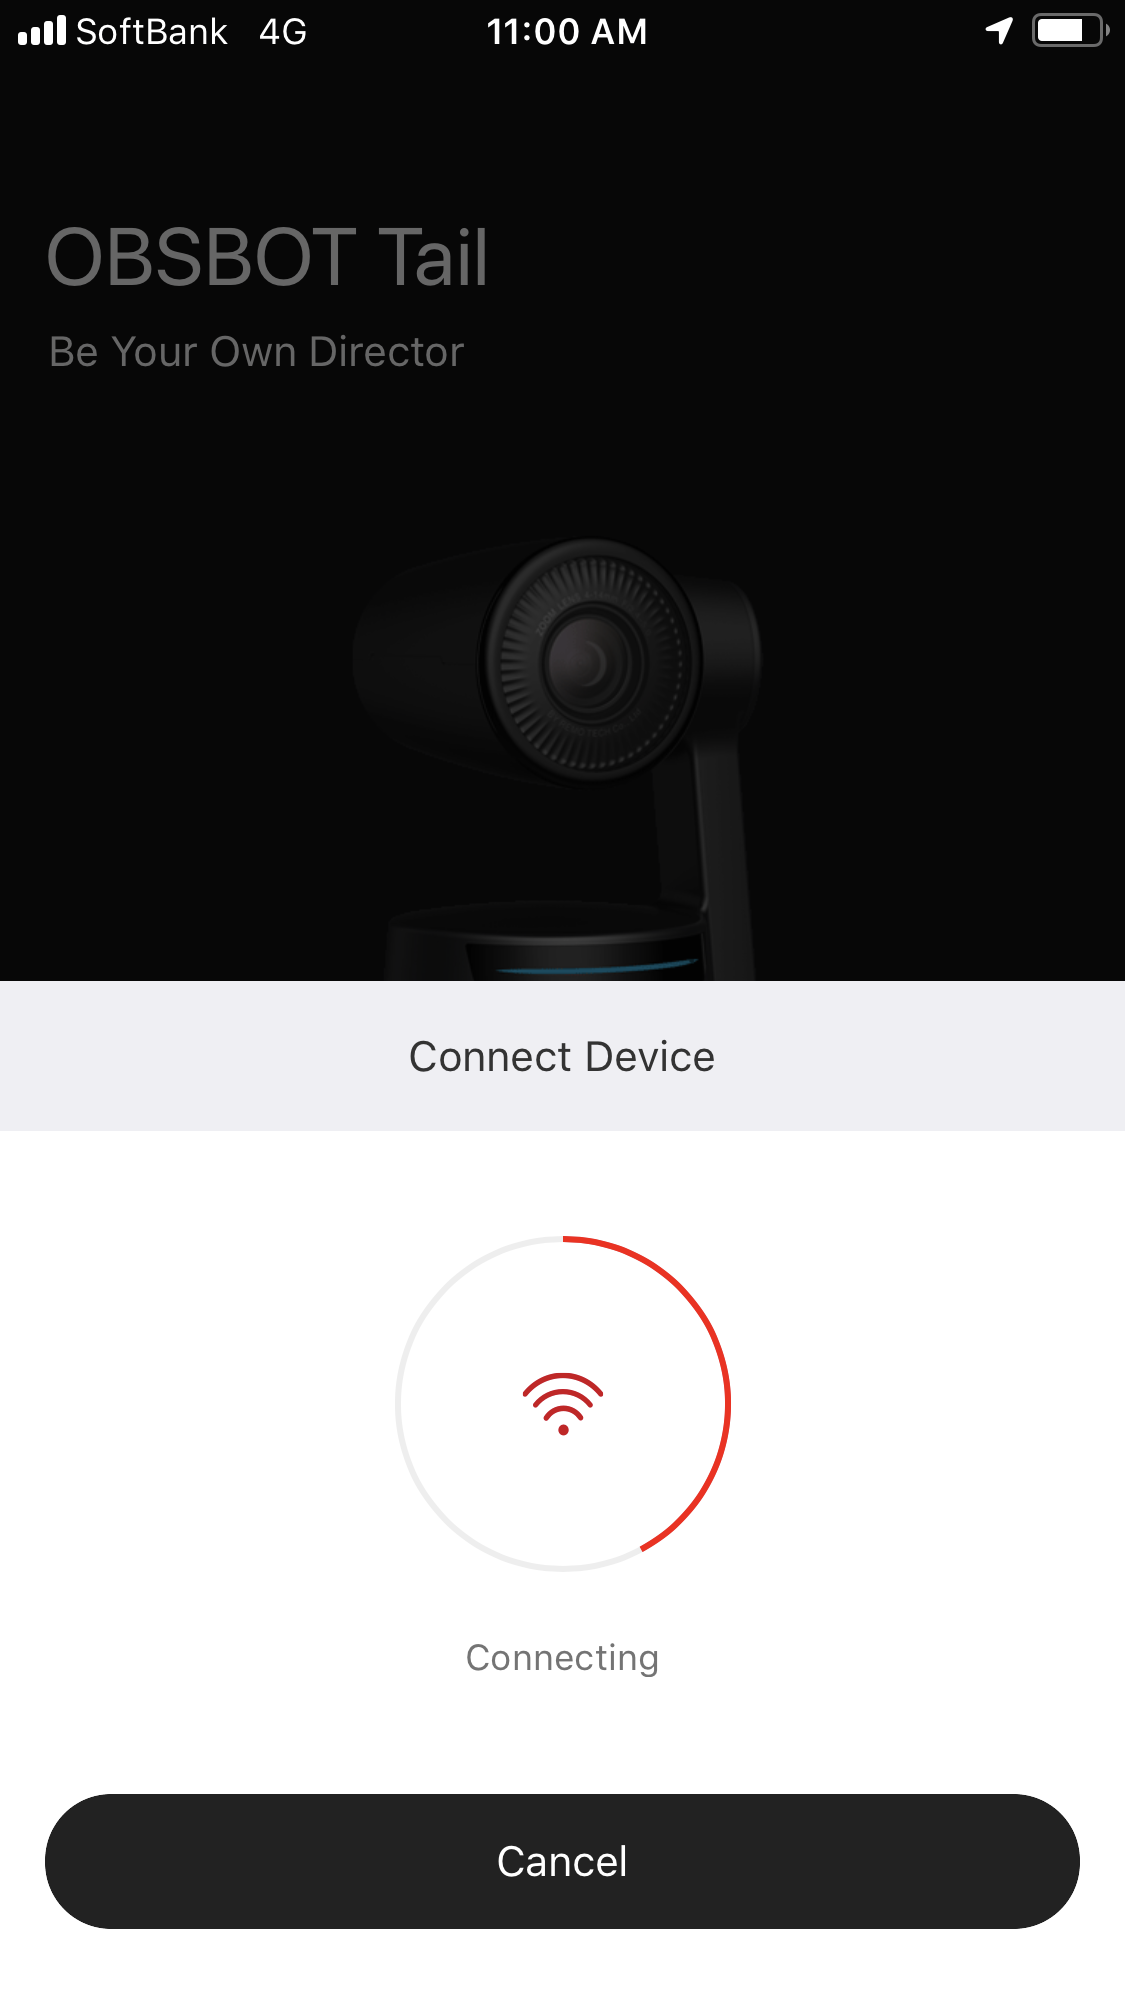
The OBSBOT Tail is controlled via an app that you connect up to using Wi-Fi.
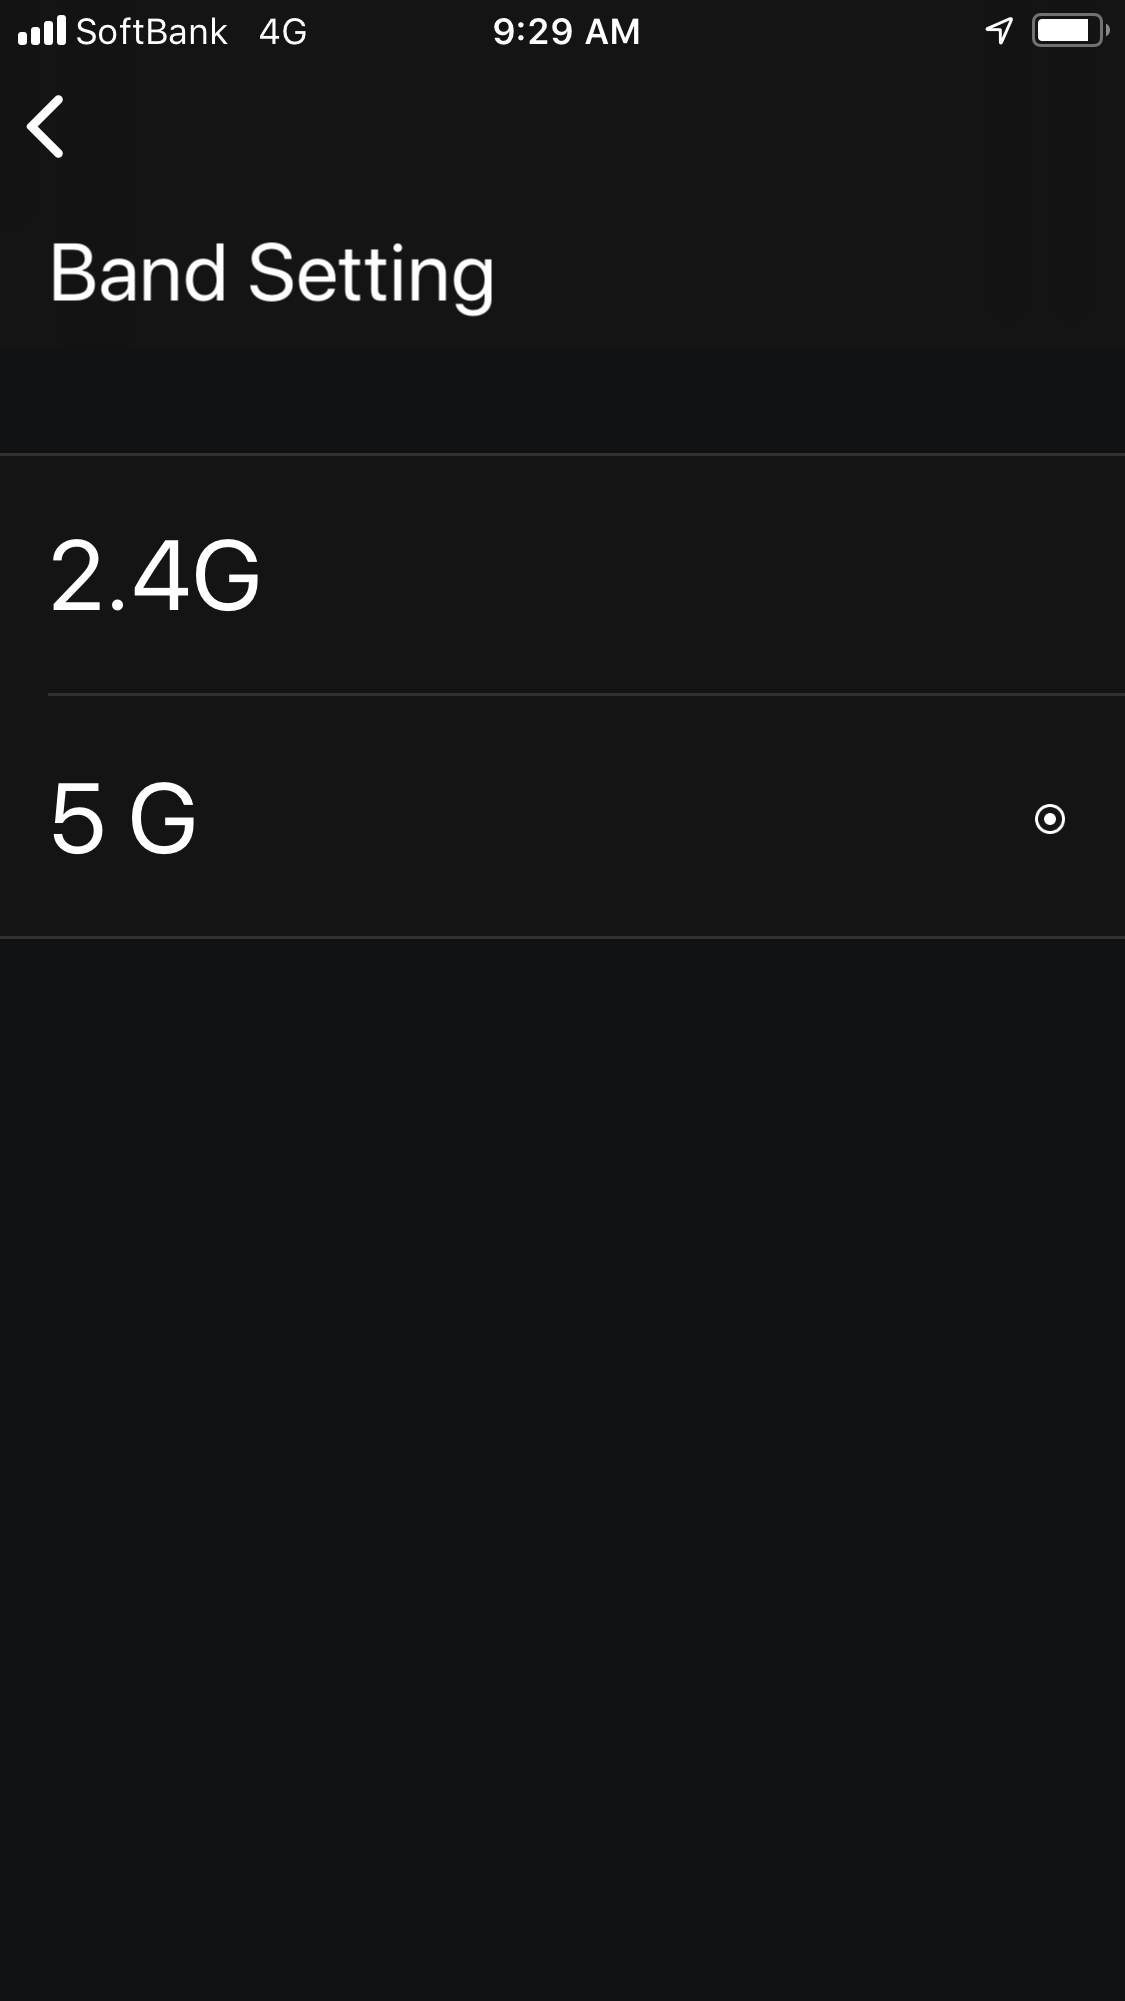
You can choose to either use it on the 2.4 or 5.8GHZ operating frequencies. What operating frequency you are using will determine the distance at which the app will work. If you use 2.4GHZ then the range is around 50m. If you use 5.8GZ that range extends out to nearly 100m. Now, these distances are under perfect conditions and in real-world environments you will find that the distances may be shortened depending on where you are using your OBSBOT Tail.
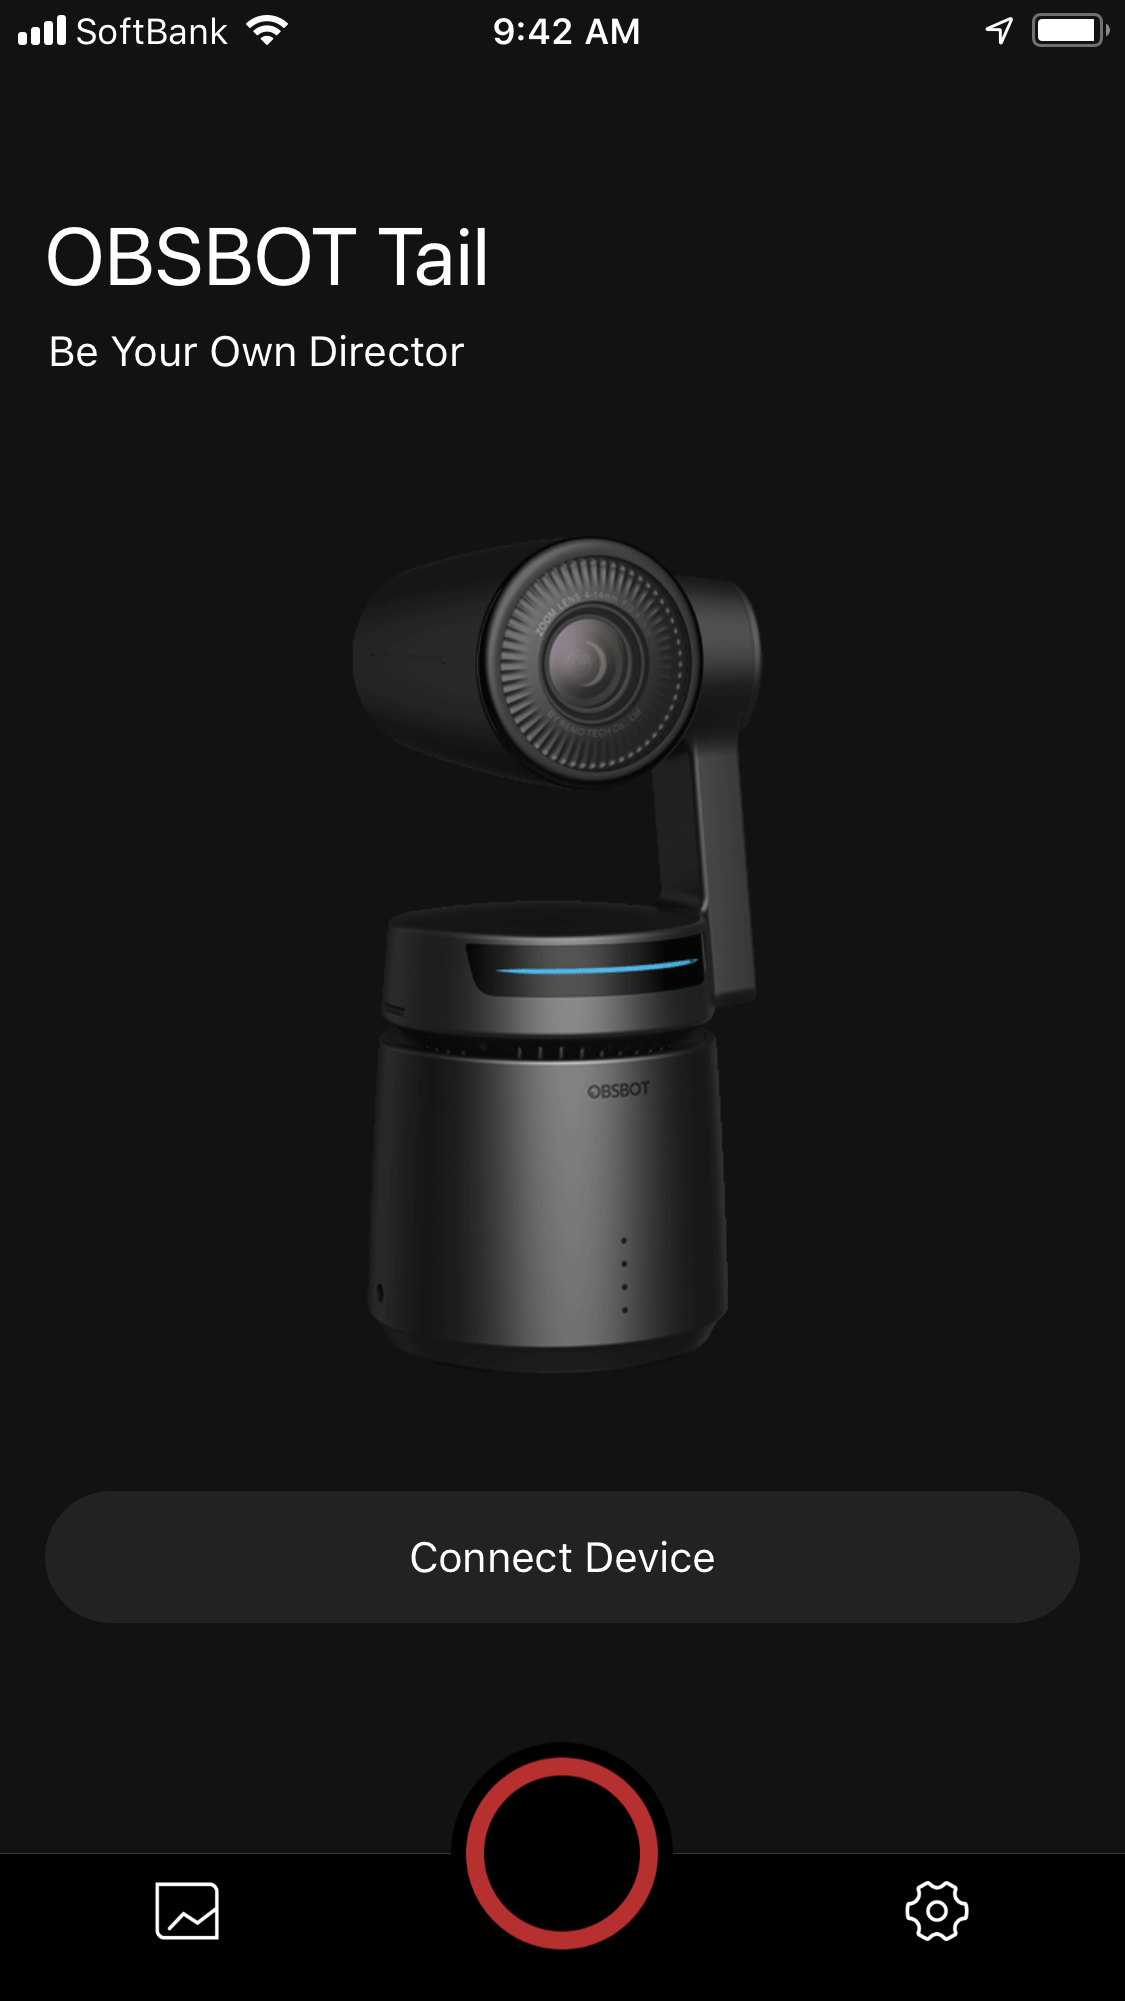
The app is fairly straight forward to use, but it’s still in its infancy. Remo Technology, who make the OBSBOT Tail are still improving it and I would imagine by the time the device ships there will be a lot of added features and functionality built in. The version of the app I was using is still very early Beta, but surprisingly, most of the functions are already working. The app has been fairly reliable to use, but every now and then it does crash. I would expect these problems to be solved by the time it starts shipping.
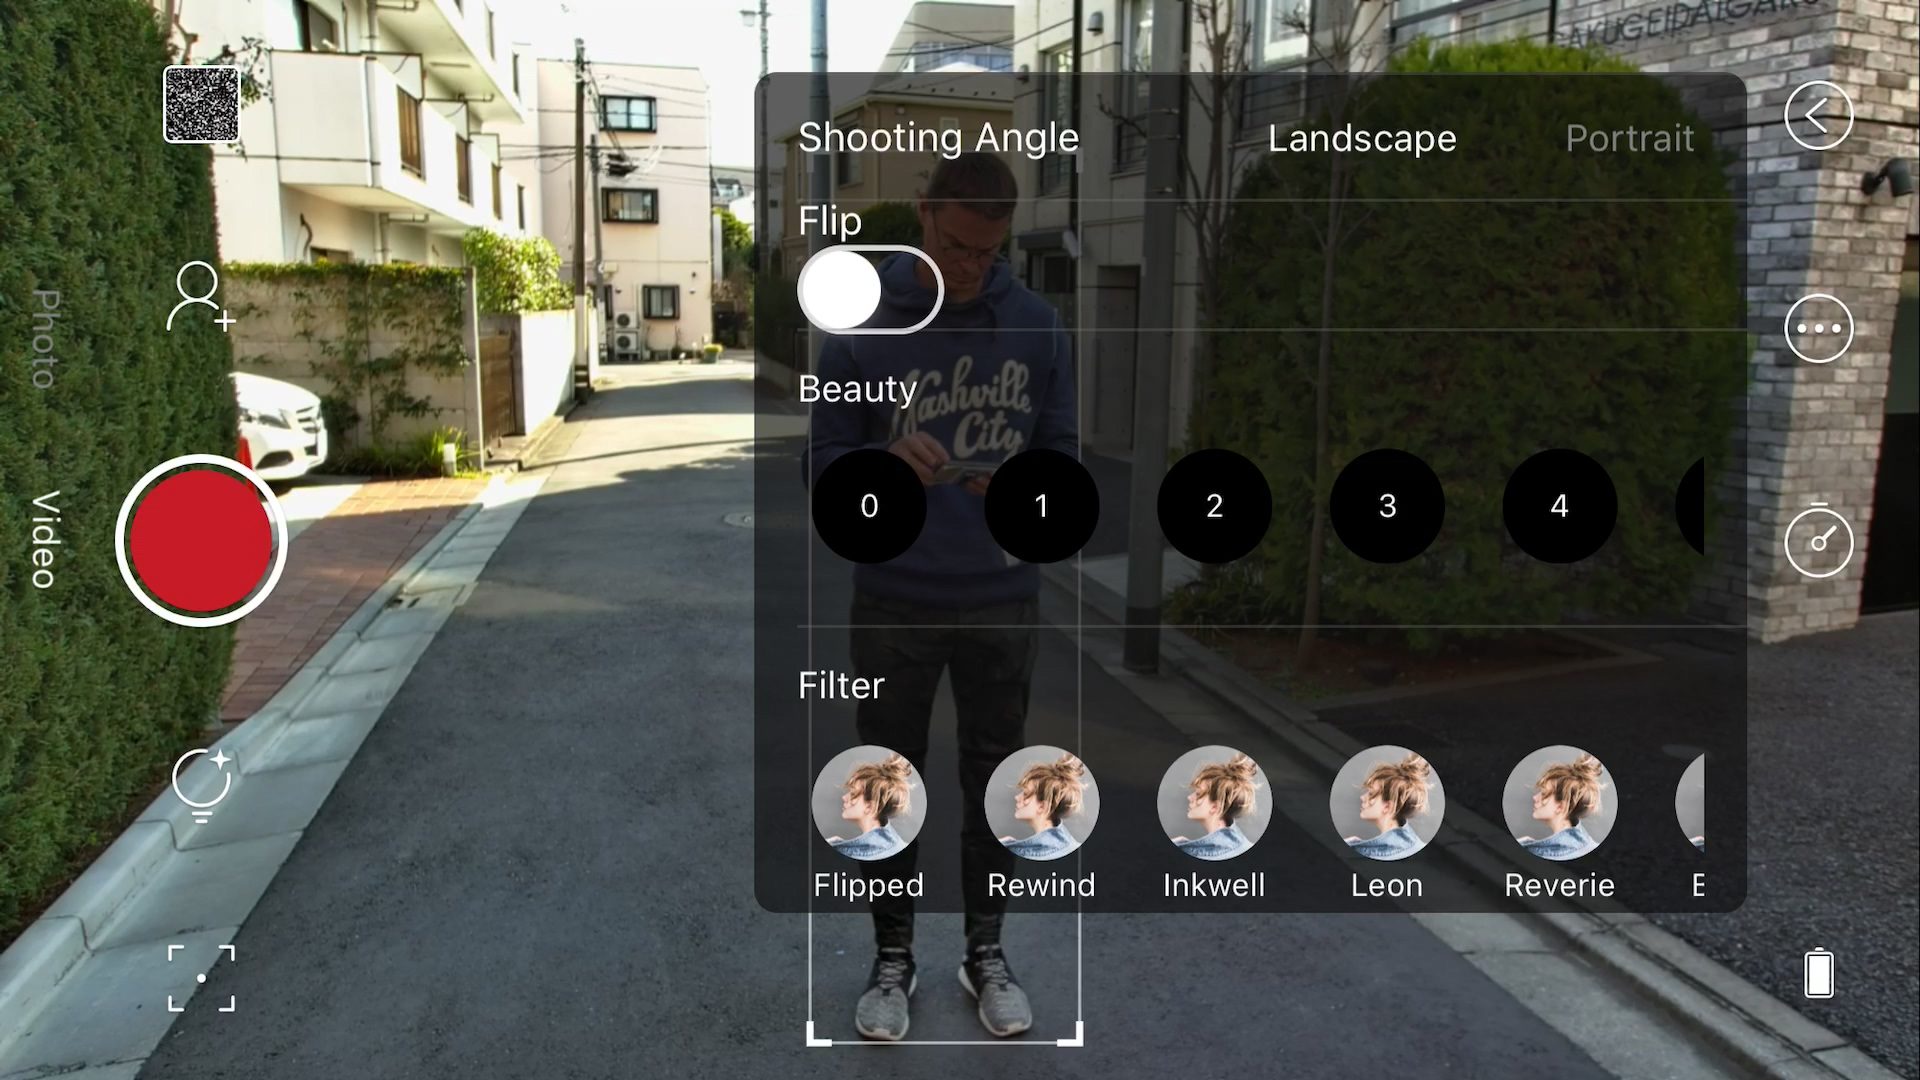
The main interface of the OBSBOT Studio App is fairly simplistic, but it’s quite easy to figure out what everything does.
Mic Input
The camera does have a 3.5mm analog mic input. This allows you to use a third party microphone and record both video and sound. I tried this out by feeding an output from a RØDELink wireless mic receiver and while it certainly does work, the quality is fairly average. The other problem is that there was no way to adjust any mic levels or see any audio meters. Hopefully, this will be something that is added to the app. The good news is, if you attach a microphone it records audio in all of the available frame rates and resolutions (I’m not sure about 200/240fps as I wasn’t able to test that out).
I was also told that you will be able to use a Bluetooth microphone as well.
You really need to take note that unless you plug a third party microphone into the OBSBOT tail you won’t be able to record any sound. The OBSBOT tail doesn’t have any in-built microphone.
Battery Life

The OSSBOT Tail uses an in-built LiPo 1850mAh battery. The company claims the battery will last for around 3 hours, but I didn’t find that to be the case. If you are shooting 4K UHD footage and using the app that figure seems to drop to around 90 minutes. This is not particularly good battery life, but the good news is, you can charge and use it at the same time. It also charges up fairly quickly. I found it only took between 1-1.5 hours to fully charge the battery back up. You can charge it via mains power or through a USB power bank.
Fan
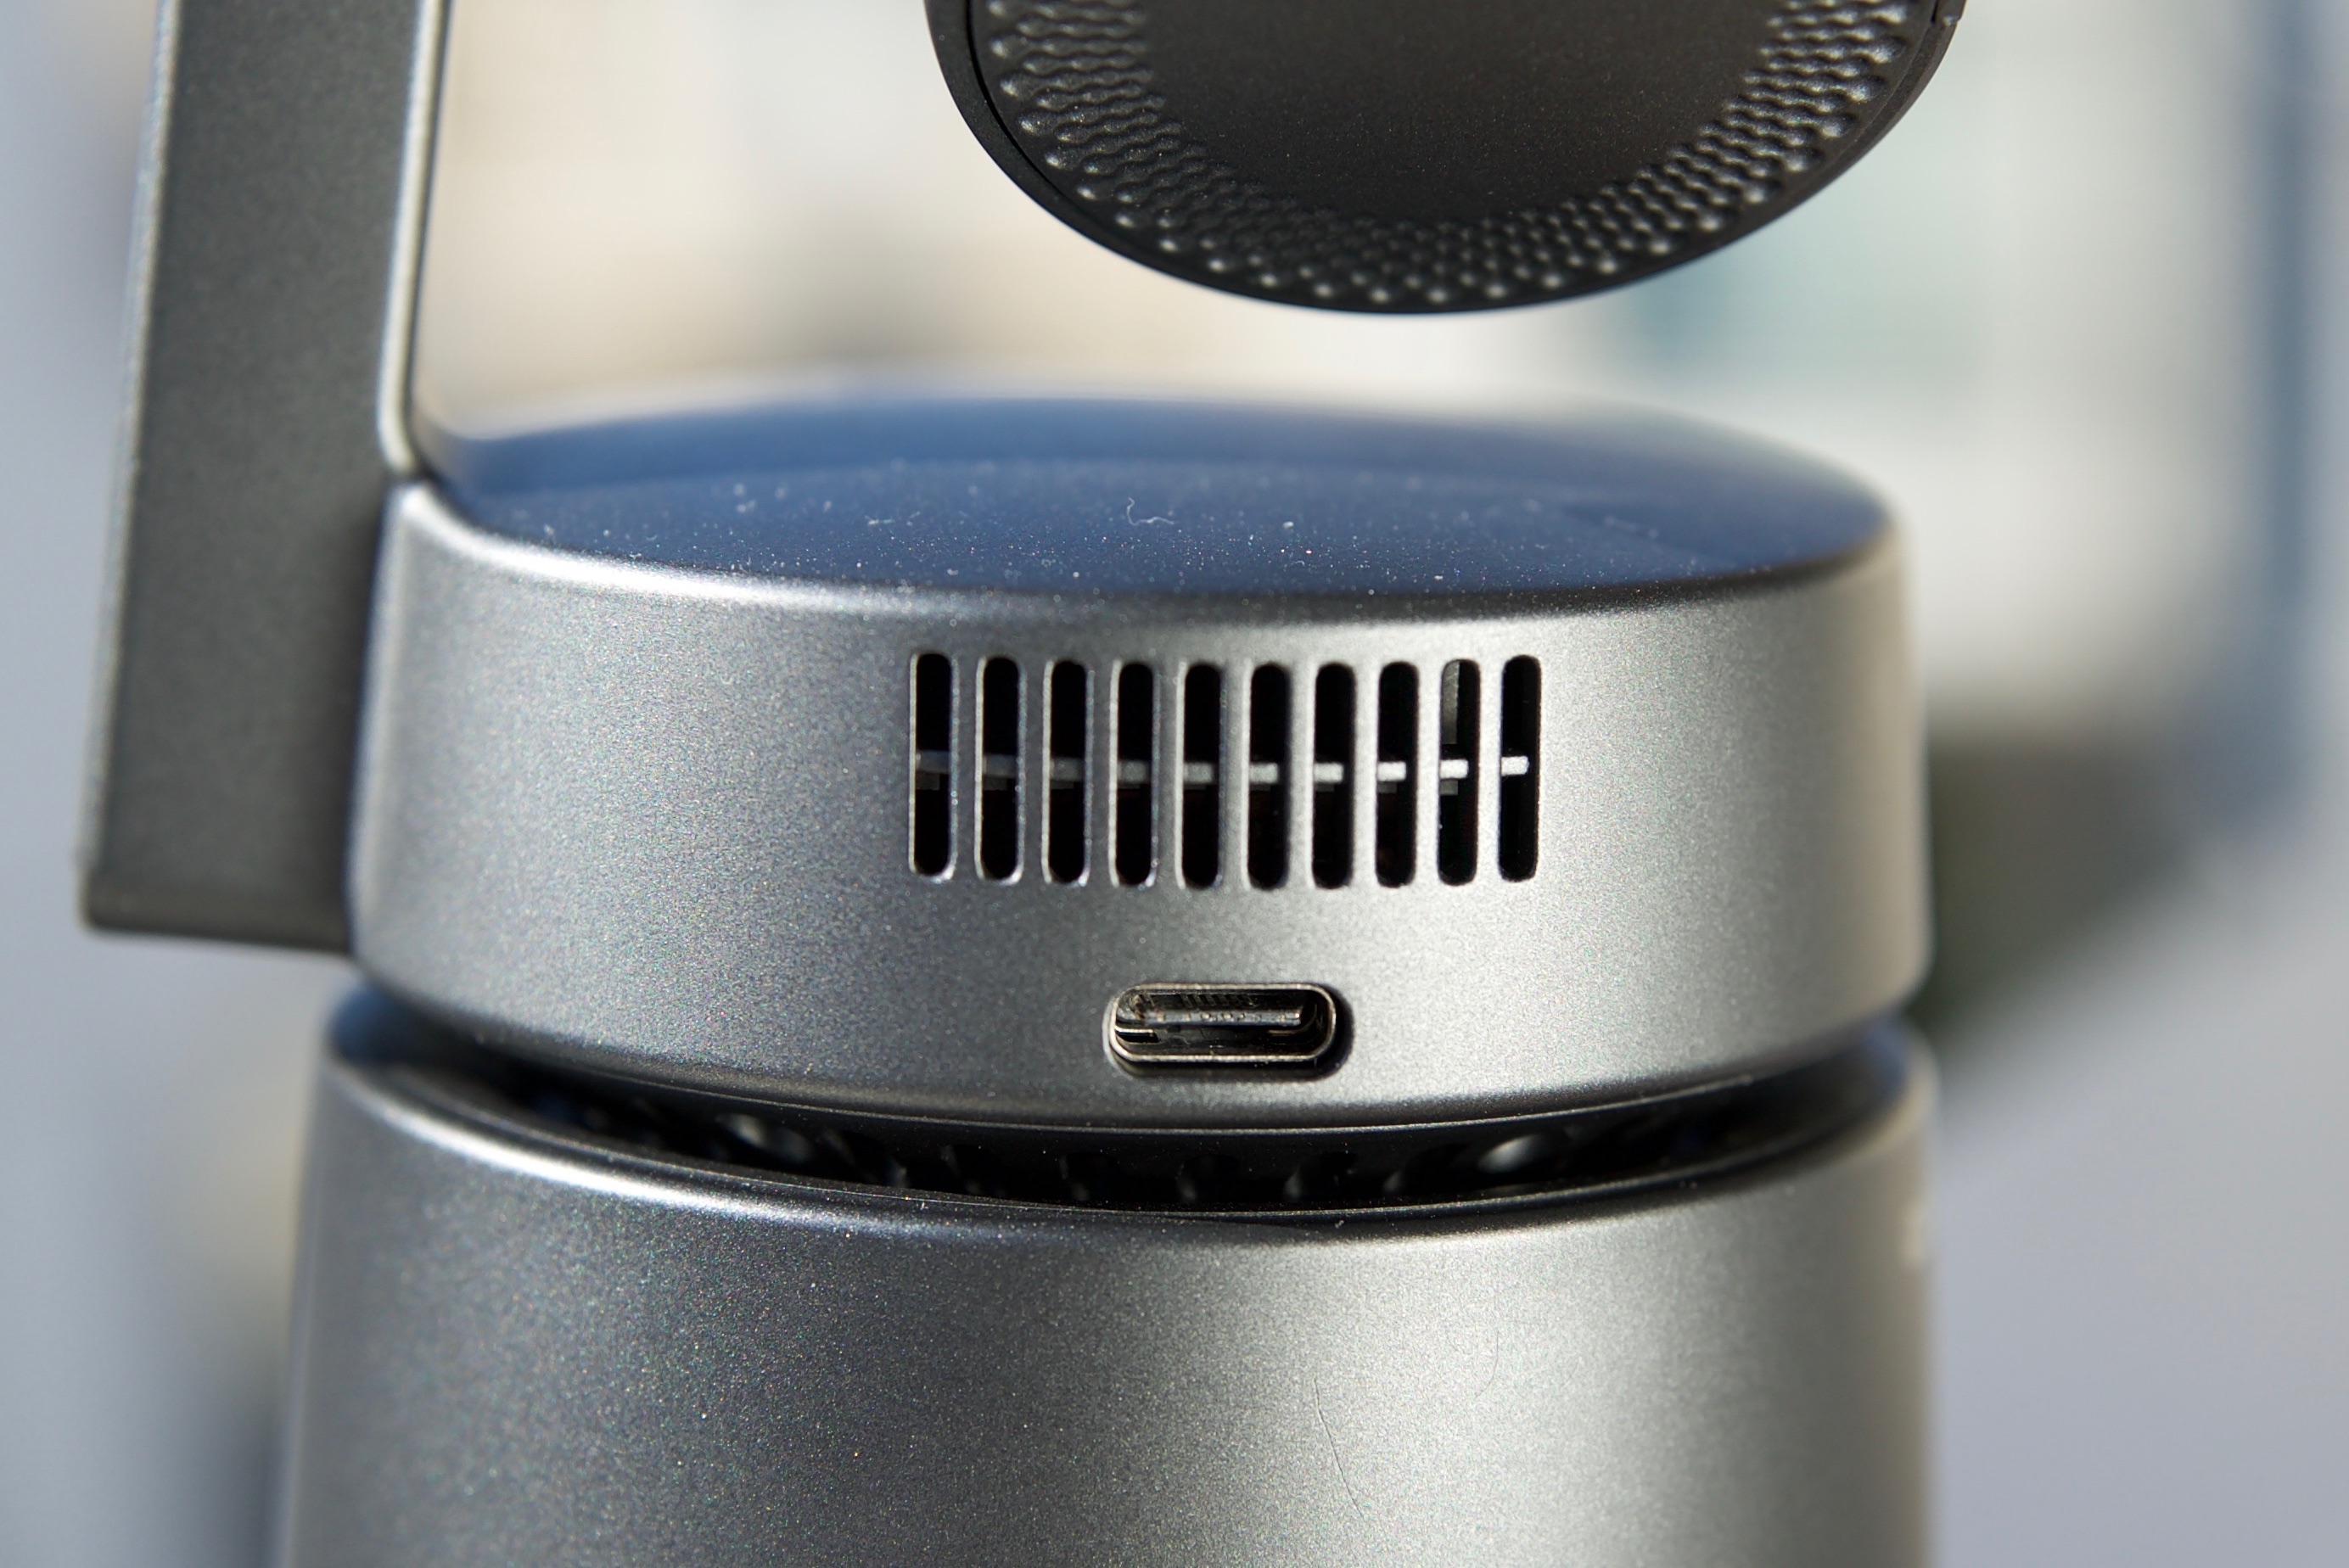
The OSSBOT Tail does have a fan and it does generate some noise. While it’s not excessively loud, it may be a problem for Vloggers or YouTubers who want to use it in close proximity to themselves and record audio.
What is still to come

As the OBSBOT Tail uses a fairly powerful processor, there are a lot of features on the horizon. These include panorama photographs, long exposure time-lapse, noise reduction, as well as a Car Tracking feature. The Car Tracking Feature is already on the app, but it doesn’t currently work. I’m still not 100% sure what this is actually for. Perhaps car object detection to track a vehicle.
There is also going to be an HDMI out accessory coming in the future. This would allow you to hook the camera up to an external monitor, recorder, wireless video TX, or streaming device. There will also be more gestures to activate AI filming modes.
The OBSBOT Tail will be available for pre-order on Kickstarter at an early bird price of $489 USD.
Conclusion
The OBSBOT Tail is a glimpse into the future as to what is possible when using AI in conjunction with a camera. The tracking is pretty amazing, and a future version with a better camera, codec, and more manual video controls could make for a very interesting product for filmmakers.
At the moment, there certainly are some limitations if you wanted to use the OBSBOT Tail for professional filmmaking purposes. That’s not to say you couldn’t, because for certain applications and situations it will get the job done. While the tracking is very good, the image quality is not overly great. As a consumer product it’s pretty good and if you are doing content just for social media platforms you may find it a handy tool.
I like the concept of the OBSBOT Tail, for a consumer based product it certainly delivers pretty decent results, especially if you are someone who is looking for a camera to film yourself. Yes, the image quality is not overly great, but like any consumer camera, if you use it in the right type of conditions you can achieve reasonable results. The image tracking is better than anything else I have seen on a consumer device and the fact that is costs under $500 USD is impressive.


