A wireless follow focus can be such a handy piece of kit for a number of reasons, and in certain situations, you might need a compact lightweight model that could be used on a gimbal or a simple studio/live event set up that doesn’t require cables or external batteries. In that respect, I see it as a very compelling option for many situations.
The PDMovie Live Air uses Bluetooth technology with a range limited to 30 meters or approximately 98 feet so don’t expect to use it on a drone. It’s best suited for gimbals and tripods but could easily be used with two operators. One controlling the camera while the other pulls focus or zoom with the proper support gear. Just don’t go past the suggested range. I will say the Bluetooth connection is very good and I can’t see much lag or delay while pulling focus. Like all wireless devices, the location dictates how well they perform.
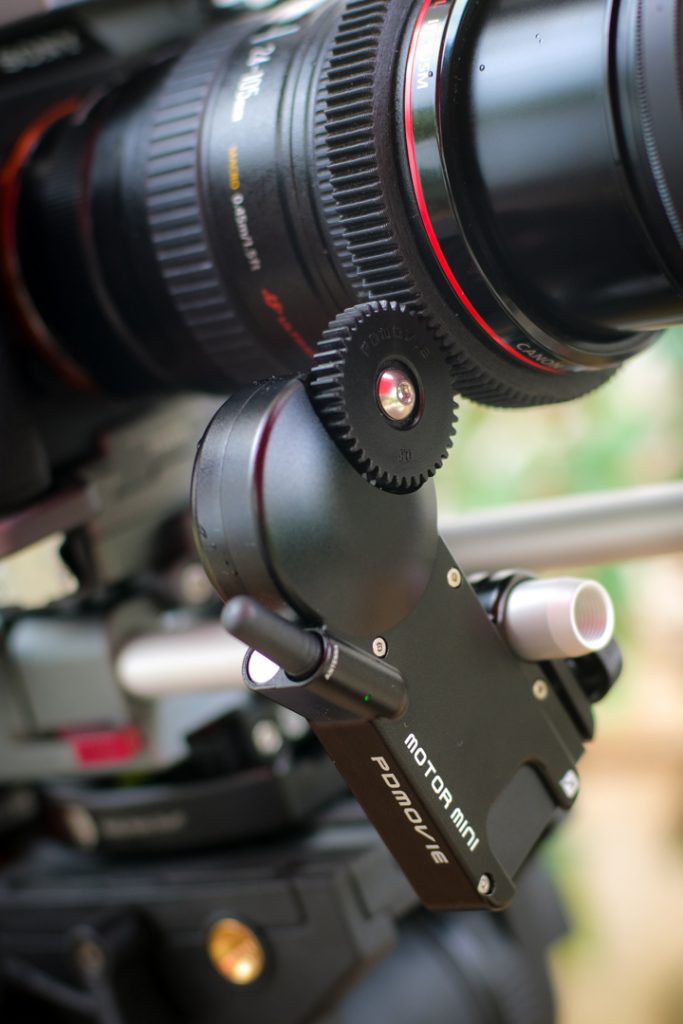
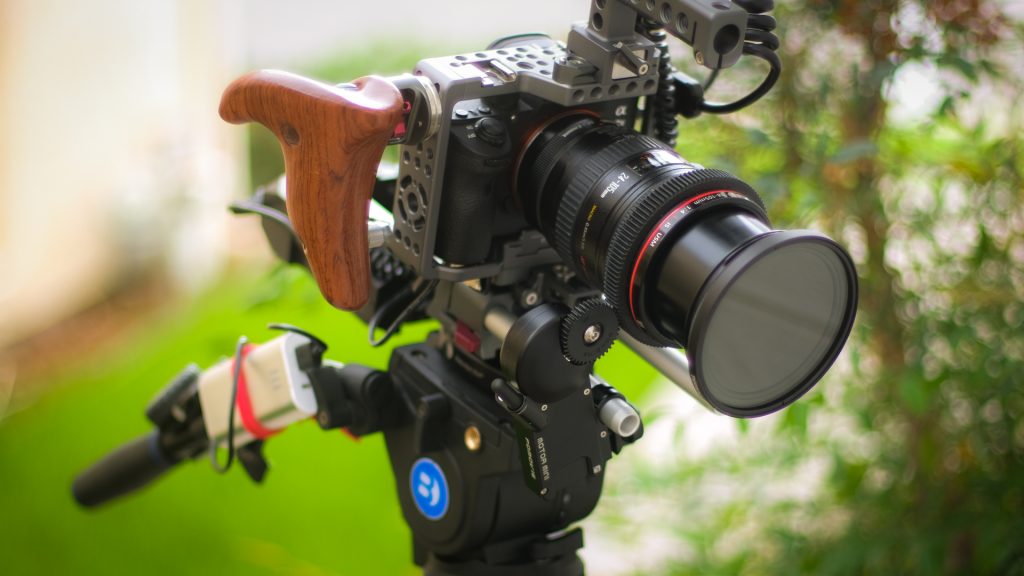
Now, the PDMovie Live Air isn’t just for a small camera like a DSLR or mirrorless, however, I do feel it’s best suited for them. It comes with a hot shoe rail mount and 15mm rod to mount the motor to. It’s ready to go out of the box. The motor is strong enough with a maximum torque of 0.4Nm to be used with true cine lenses as well. I did find the longer rotation of the Tokina Cinema 100mm Macro to cause some problems with auto calibration.
I had a first look at the PDMovie Live Air at NAB 2018 at the Ikan booth. PDMovie has several other wireless follow focus kits and the Live Air is the companies most affordable kit at $499 USD.
PDMovie Live Air Features
- Completely wireless zoom or focus control system
- Brings control of your lens’ zoom or focus right to your fingertips
- Automatically calibrates to the mapping of your lens
- Simple, single button system settings control
- A compact yet powerful motor can handle both subtle and rapid zoom pulls with ease
- Zoom controller attaches to most square/round handles less than 1″ in diameter
- 0.8 pitch gearing is compatible with most common cinema lenses
- No external power source required
What’s Included
- (2) 800mAh Battery
- 15mm Rod
- Cold Shoe Mount
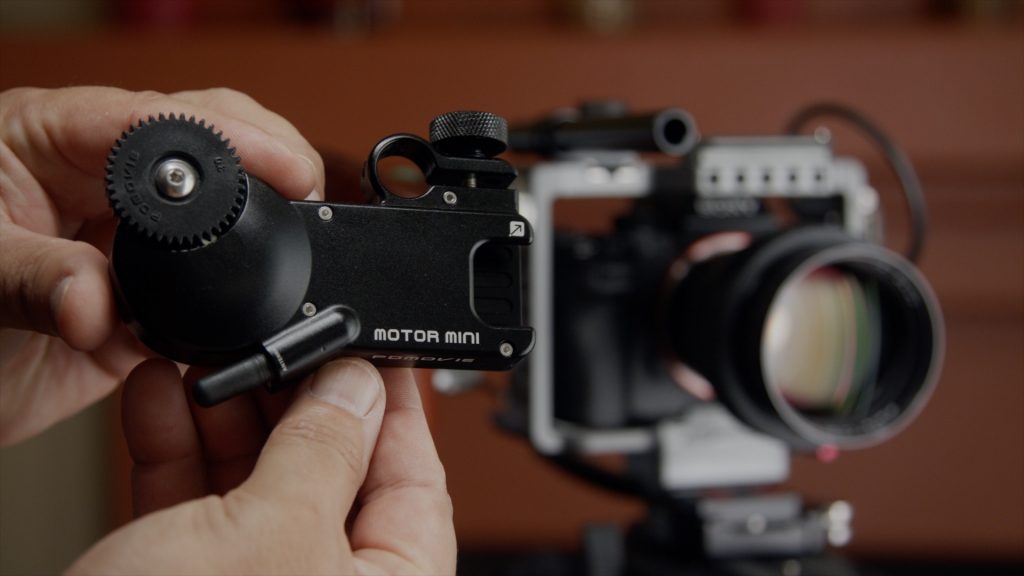
- Motor Mini
- Multi-control Handgrip
- USB Battery Charger
- USB Charging Cable
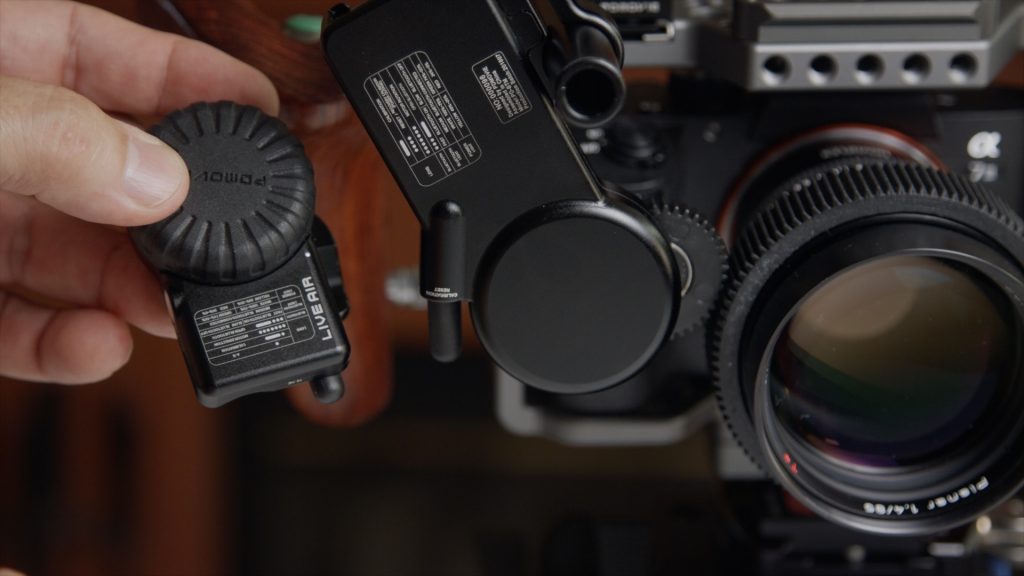
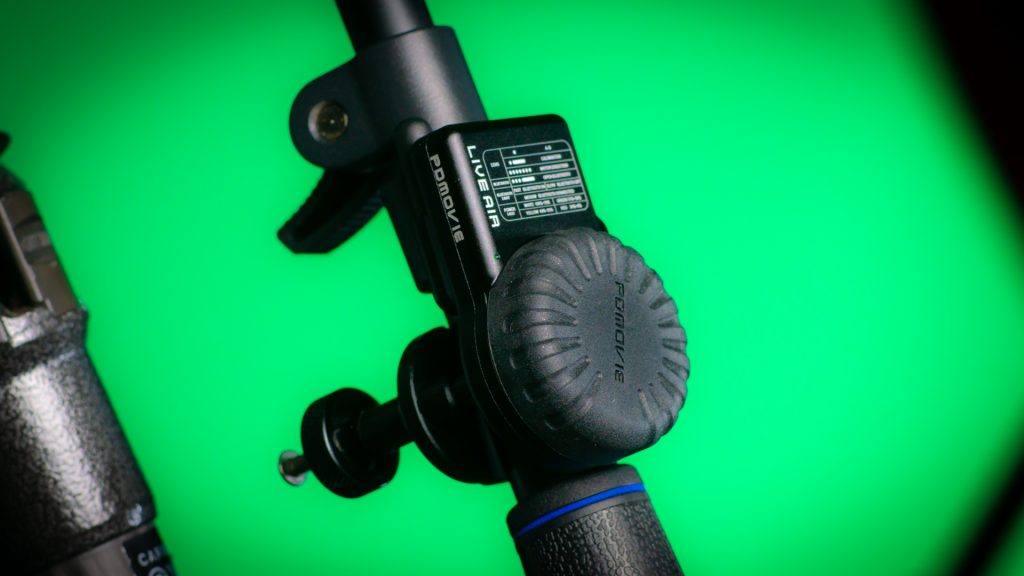
The PDMovie Live Air has a nice build and finish. The motor uses the same Canon LP- E12 battery that you would find in the Canon EOS-M and Rebel SL1 digital cameras. It’s nice that it comes with two batteries and a charger. The battery is small and light. The motor doesn’t have an on/off button. To power on the motor simply insert the battery. To turn it off simply remove it. The controller has a built-in battery that is charged with the included USB cable.
PDMovie Live Air Motor
Motor Mini Specs:
- Manual calibration / Automatic calibration
- Supports Bluetooth connection
- Built-in battery slot
- Supports LP-E12 800mAh battery 7.2V input
- Adjustable motor direction
- Maximum torque: 0.4Nm
- Compatible with DSLR lenses and cinema lenses
- Motor thickness: 17mm
Auto Calibration
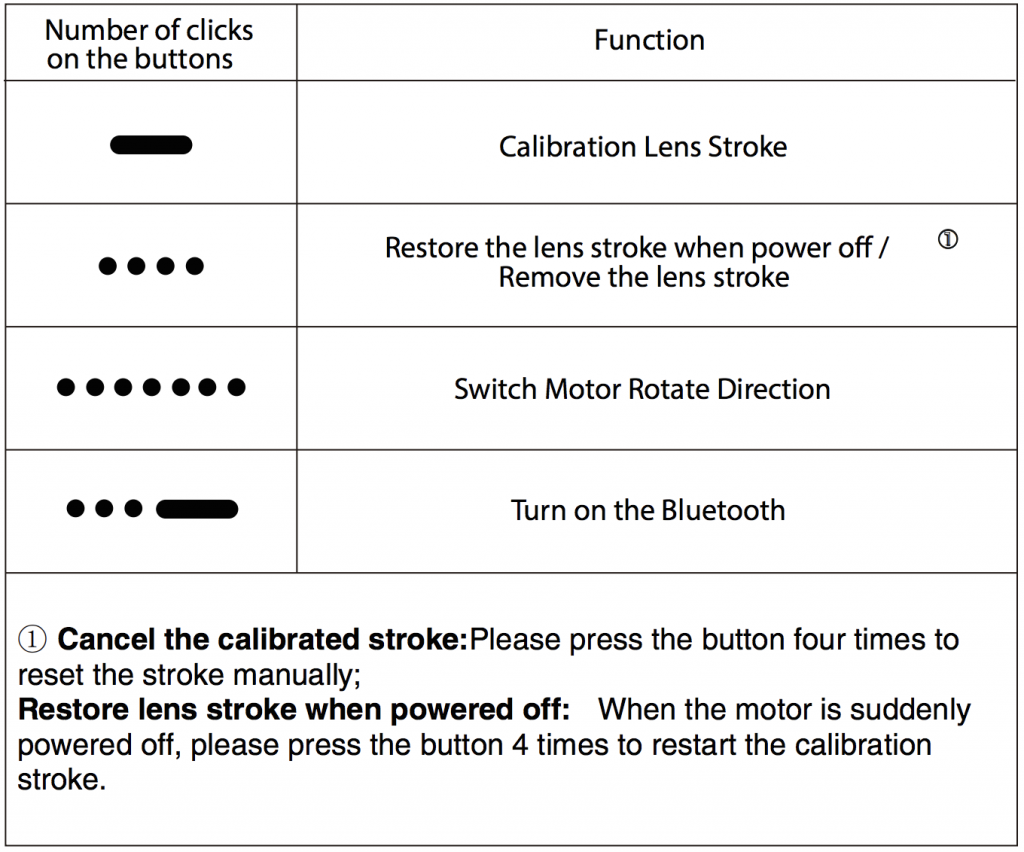
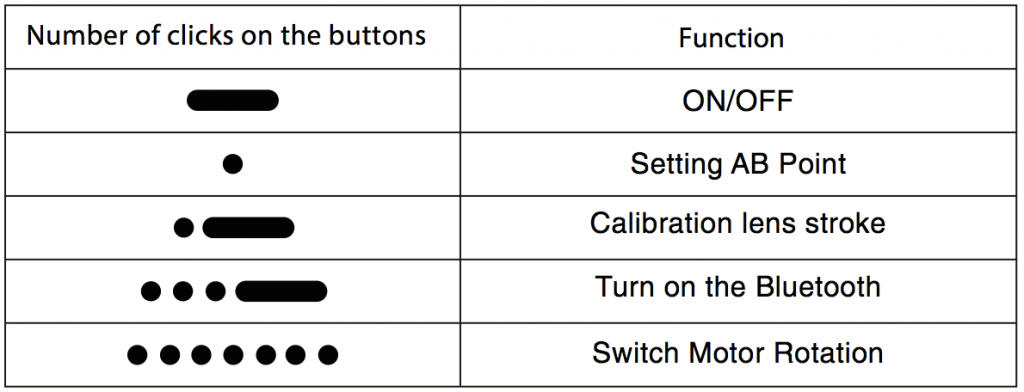
On the motor are some codes or button push patterns to activate calibration and other functions. This text is printed on the motor however it’s near impossible for me to see since it’s so tiny. The same goes for the controller.
The instructions are a little confusing but after a bit of trial and error, I figured it out. After I got the hang of it, the PDMovie Live Air was fairly simple to calibrate. The instructions state for “Auto Calibration” push the button on the controller once quickly followed by a long press for 3 seconds. The motor will start to turn and calibrate.
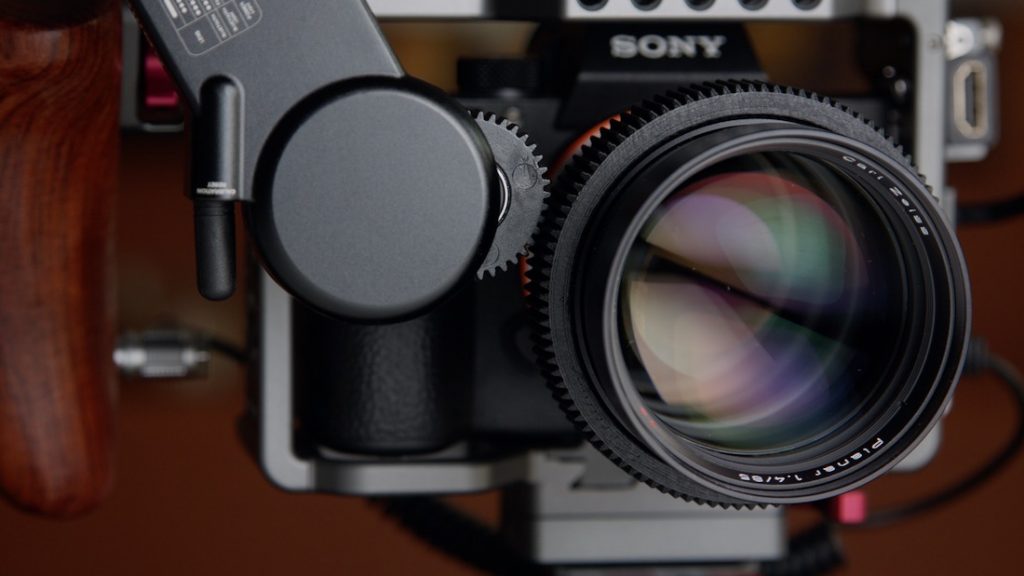
I found it to not successfully perform an auto-calibration 100% of the time. With my Contax Zeiss lenses, sometimes it would set the first hard stop and drift off, not making it to the opposite end. To fix the issue I powered both the motor and controller off and back on and performed the auto calibration again successfully. I also found when the controller wasn’t calibrating correctly I would use the manual calibration mode instead, which worked more reliably. Hopefully, this can be corrected with a firmware update.
The speed of the PDMovie Live Air motor can be adjusted for a quicker response by clicking the ON/OFF button 5 times to change the speed. The motor has slow, medium, and fast settings. I don’t believe this function is working as I couldn’t see the difference when changed. The default speed is fine.
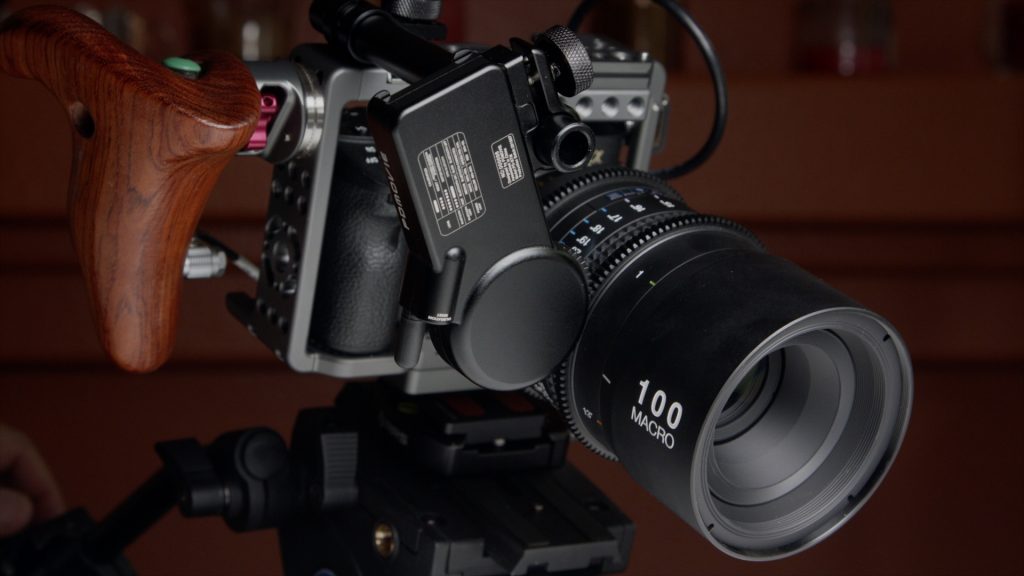
I also tested the Tokina Cine 100mm Macro lens that has a pretty long throw or rotation. I wasn’t able to auto calibrate it. The rotation on this lens is long so that could have something to do with it. Another option is just doing a simple manual calibration.
“Manually Calibrating” is required for optics like Canon stills lenses that don’t have hard stops and continue to rotate beyond infinity and macro. I found “Manually Calibrating” to work well and seemed more reliable while using the system. It hasn’t drifted off calibration.
Instructions for manual calibration.
It’s important to note that the motor shouldn’t be engaged prior to manual calibration. When the motor is first powered on by inserting the battery it’s not “engaged” and the motor is ready for manual calibration.
PDMovie Live Air Manual Calibration
A. When the motor gear and the lens gear are completely connected, turn the lens to the starting point and hold for 0.5 seconds.
B. Then turn the lens ring to the end and hold in position for 0.5 seconds.
C. Finally turn the lens ring back towards the center to finish. The lens motor will now engage.
If you want to reset the calibration simply tap the button on the motor 4 times and it disengages. It is now ready to perform another manual calibration. This process is very easy. If you power the motor down or change batteries you can recall the settings by pressing the button four times. Do not move the lens focus position while powered off as it will not recalibrate to the saved setting correctly. This info is on the motor but again it’s very tiny print and I had to pull out a magnifying glass to read it. Maybe I’m just an old fart! 😀
The rotation direction of the motor can be changed with….. you guessed it! 7-taps of the motors button. Now, this brings me to the part that is a bit frustrating. Not having an LCD menu display to see and verify changes makes you have to memorize all these rhythmic button tappings for setting functions and if you don’t remember them the print is so tiny it’s very hard to read. Yes… I know. I’m farsighted so small print is tougher for me. A solution is to have a magnifying glass in your kit or make a note in your mobile device for fast recall. To be fair the main settings you need to use the most are not that complicated.
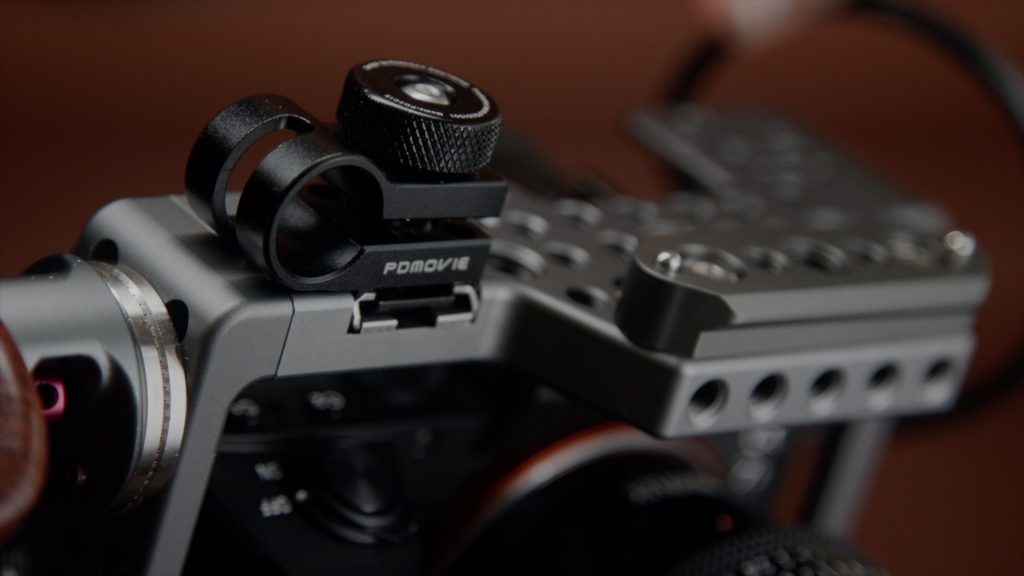
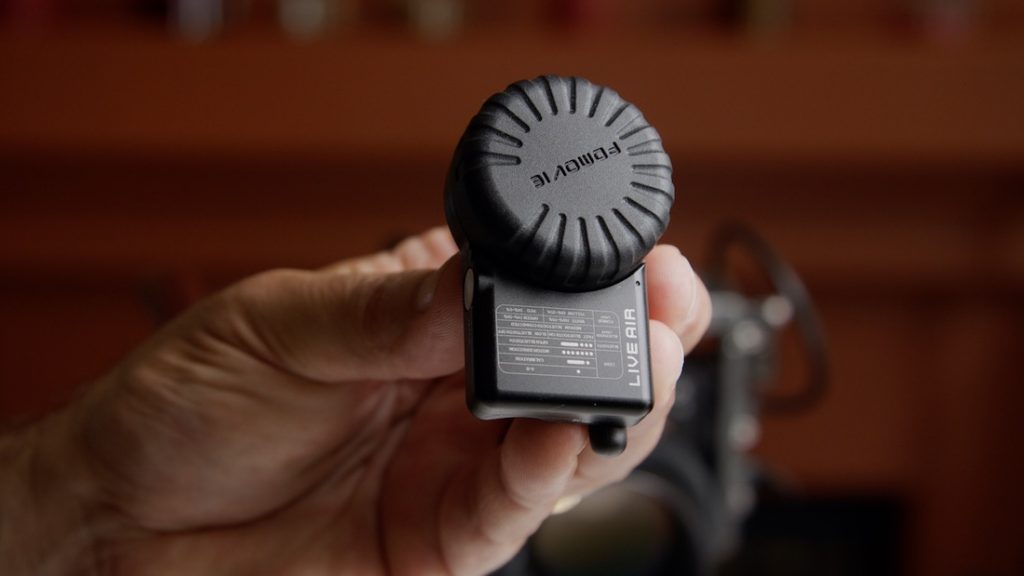
PDMovie Live Air Controller
The controller is very compact and light so it can fit into a lot of different rig configurations. I mounted it to my tripod arm and it was nice to have control of focus without touching the lens. Great for event coverage when shooting a podium or speaker.
As you can see the printing for setting functions is tiny. The good thing is it has limited settings so take some notes and save them in your phone for later in case you forget the codes.
If you have a single-handed gimbal that can handle the extra weight and balance properly with the motor attached to the cameras hot shoe this could be an ideal solution. The controller will have to be mounted somehow and finding a good mounting position could be a challenge. With a traditional gimbal, it will be as easy as attaching to the handle or a rod. All these devices are different, and so are we as users but the size of the controller and the fact it’s completely wireless makes configuring to your needs much easier.
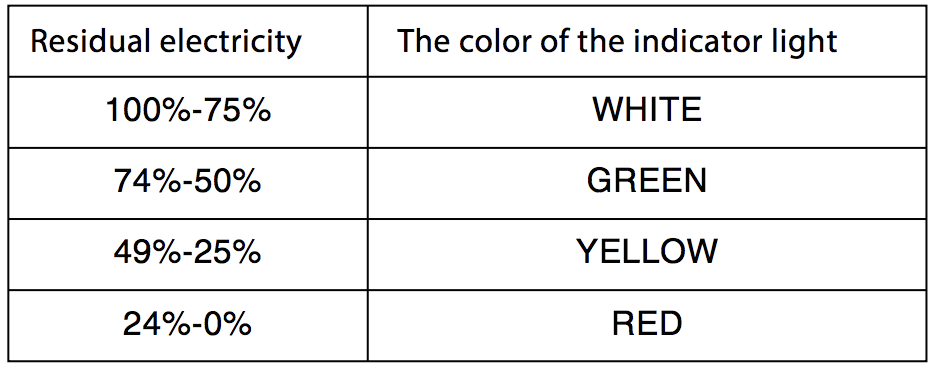
The controller has an internal battery that is recharged with a USB input. In need of a quick top off? A portable USB battery can be used to power the controller while it’s charging. The unit is rated at 8 hours while the motors last for 4 hours. Since the kit comes with 2 motor batteries plus charger, the PDMovie Live Air power consumption runs in tandem. The controller takes approximately 30 minutes to charge with USB input.
A/B Focus points
An essential feature of a follow focus is the ability to set A/B points. This makes repeatable focus pulls a breeze. With the PDMovie Live Air’s controller, you simply cue up the “A” mark and tap the controller button once. Then set the “B” mark and tap again. Now the range is set. To clear the markers, tap the button once more and the motor goes back to the original calibration.
The focus wheel is small and has a grippy rubber outer texture that makes rotating it with the edge of a finger really effective. It’s also big enough to grab with a few digits to precisely pull focus. For such a small controller it actually works really well however, I would have preferred a little more dampening. With a little creativity, the controller can be mounted to a rail set up as well.
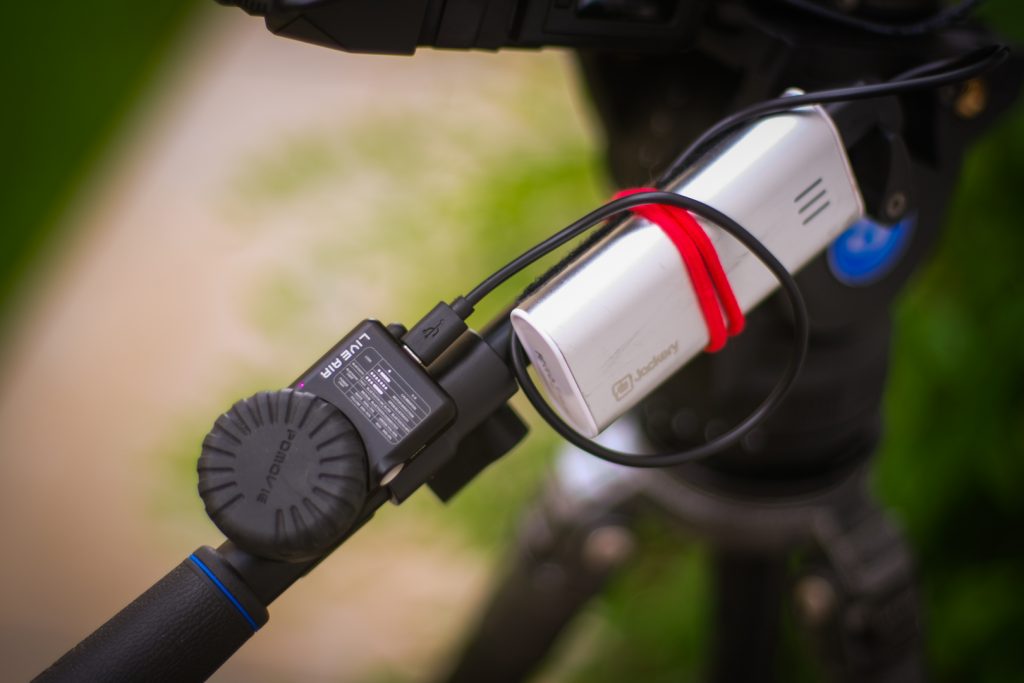
Need a quick charge? A portable USB battery can be used to power the controller as well as charge it.
The dreaded lens bounce
Something to keep in mind with any follow focus system is having a solid connection to the lens. With stills lenses on a hybrid camera, the lenses will usually have some play in them. Especially when you are using a lens adaptor like a Metabones. When using a follow focus, this play will appear as an up and down movement when reversing direction. Another issue is with cages. They tend to be mounted to the bottom of the camera with no other contact points. Again this can cause the camera to rock back and forth in the cage while focusing. This isn’t the fault of the follow focus. We are using a camera and lens that are not designed to be used as cinema tools. PL mounts and rails on cinema cameras tend to be more rock solid. To avoid the dreaded bounce, you could use rail support and add a lens support but then that is defeating the purpose of having such a lightweight system. I recommend queuing up the focus so the lens is in a position that will avoid the bounce. Unfortunately, if your shooting dialogue and want to rack back and forth it could be an issue depending on the speed of the rack focus.
Motor Rotation
Since the motor can be orientated in different directions the rotation can also be changed. With a mere 7-taps of the controller or motor button, the rotation is reversed.
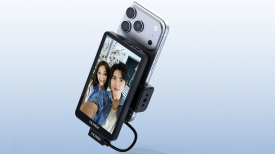
Yep, there’s an app too
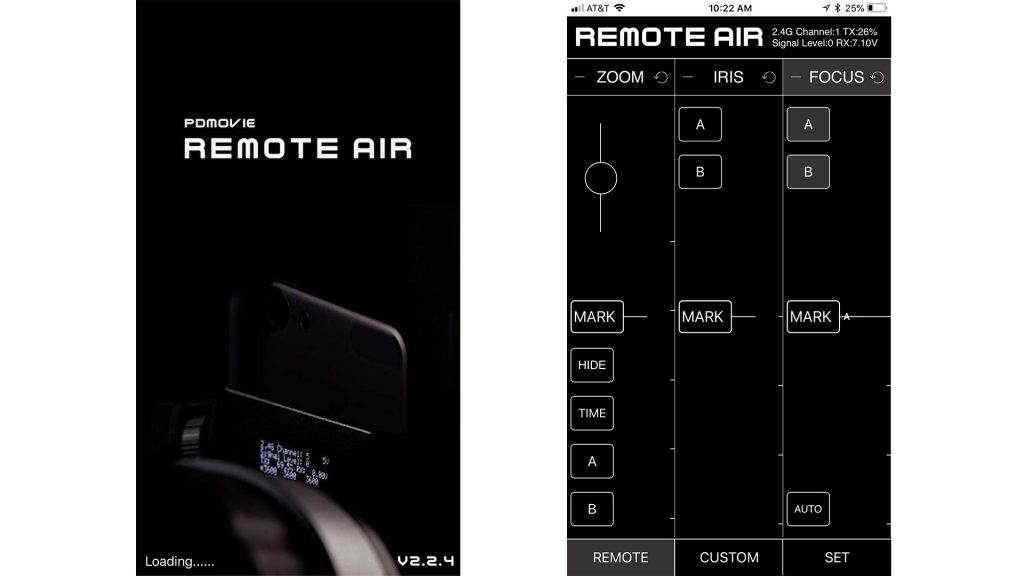
With the controller off and Bluetooth enabled, simply turn the motor on and then open the app. After a few seconds, the app will automatically connect to the motor. This was very simple. The app has some cool features like setting an A to B move with hard stop marks. Simply tap “A” and set the focus and repeat for “B” To reset just tap the A and B and they are deleted. You don’t lose calibration when deleting markers.
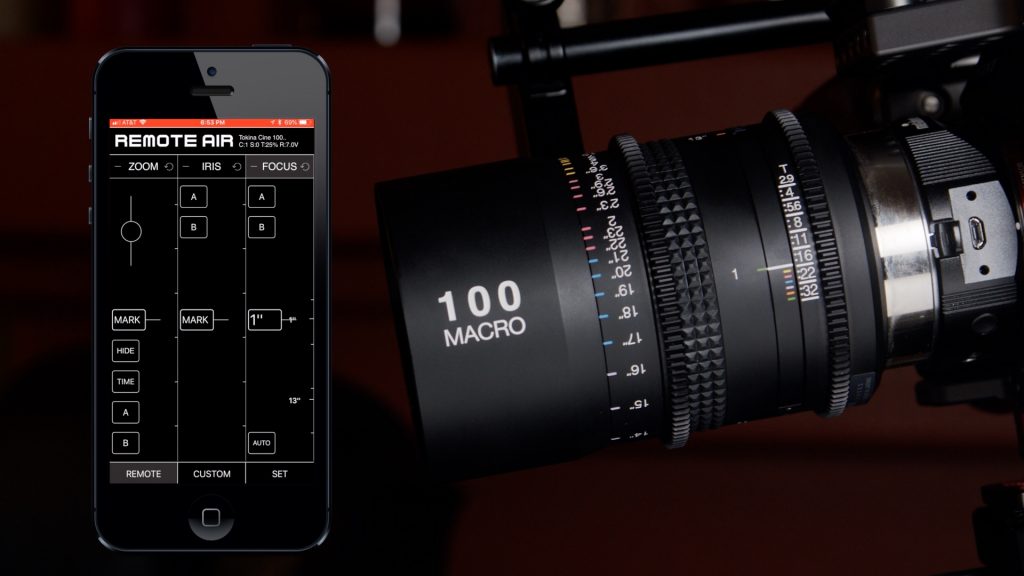
If you’re using lenses that have distance markings on them those can be inputted into the app and saved and recalled including the brand and type of lens. Another helpful feature is the pinch in or zoom feature on the iPhone. This lets you zoom into the range to get a more precise focus pull.
Controlling focus while sliding your finger up and down on the screen isn’t as precise as using the controller but it’s an option worth having and could be improved with additional features in the future. The app also has an AUTO calibration feature.
The PDMovie Remote Air app is only available for iOS at this time. This is a very good tutorial for using the app. It’s not specific to the Live Air however other PDMovie systems also use it and several of the functions work the same.
Final thoughts
The PDMoive Live Air is a good performing lens control device that works with a large selection of lenses including cinema lenses with stiff rotating barrels. While the auto-calibration feature is pretty much hit and miss and sits more in the miss category, manual calibration is so easy it makes up for it. Cine-style lenses with long focus throw like the Tokina Cinema 100mm macro worked fine, but only in manual calibration mode. I was never able to use auto calibrate on the Tokina.
As for stills lenses without hard stops, the manual calibration is easy enough to do and I ended up getting used to performing it so I don’t feel it’s a deal breaker but the “Auto” feature should work as it does save some time. Hopefully, a firmware update can fix this.
What impresses me a lot is how simple the hardware integrates with a hybrid or mirrorless camera. No rig is required and it mounts with a simple secure hot shoe rail mount and 15mm rod. Simplicity is a good thing. If PDMovie can get the “auto calibration” working I think the Live Air would be an overall winner.
Competition
The market has a lot of options for wireless lens control. Tilta has the Nucleus-M that is a loaded 2 motors plus three controllers kit for $1,199, however, while that price is very good for all you get it could be high for others that have lesser needs. Tilta recently announced the Nucleus-N that is priced at $229. It shares the small size however it does require an external battery to power the motor. The Nucleus-N also works with the Nucleus-M system.
In the sub $1,000 market not a lot of options are available. Redrock Micro, DJI, and Cinegears also have kits starting at $1,200 US. It’s always best to check the features you need and not only the price. In the range of $499 USD, I think it’s a good deal and fits into a niche with features that could be useful especially if size and weight need to be as little as possible. Since the PDMovie Live Air doesn’t require any cables or external powering it makes for a nice and tight package.