The global competition to lure runaway film productions has become increasingly intense over recent years with countries and states around the world offering a range of incentives to attract the big films with all of the employment and other benefits they bring to a local economy.
The Australian state of New South Wales (NSW) has a strong history of success in this area with films such as The Matrix Trilogy and two of the Star Wars prequels shot here as well as more recent productions like Peter Rabbit and Alien: Covenant.
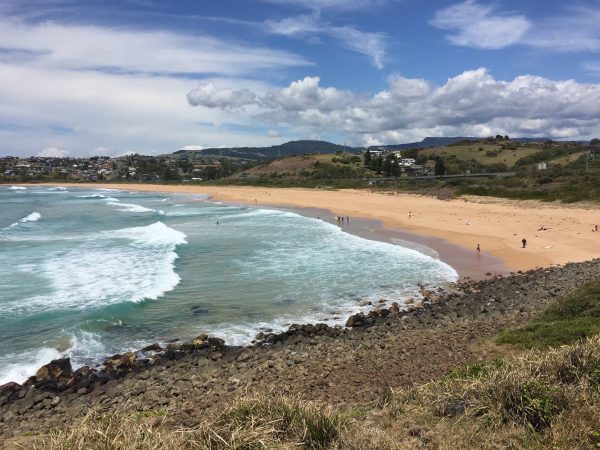
While most places compete primarily on incentives, NSW has a huge advantage in the diversity and accessibility of locations that can double for almost anywhere in the world. With the importance of this selling point in mind, the state government’s Create NSW agency decided to produce a showreel which demonstrated this in a very tangible and visual way.
Main Course Films was selected to produce the project with Clara Chong directing and she envisaged an epic, soaring three-minute film containing a variety of different styles. Create also made the decision that the project should be produced in 4K which meant that there would be little opportunity to use existing stock library and tourism footage. Because the main uses for the film would be online and in presentations the decision was made to work in 16×9 which meant we needed to shoot and work in the UHD variant of 4K.
As usual, I served as Producer, Cinematographer and Colorist on the project, while Clara also took her usual roles of Writer, Director & Editor. Clara says “I knew this had to be more than just the usual pretty pictures. We needed to create emotion and the sense of a story, all without relying on actors. The locations themselves had to be the stars.”
Taking to the skies
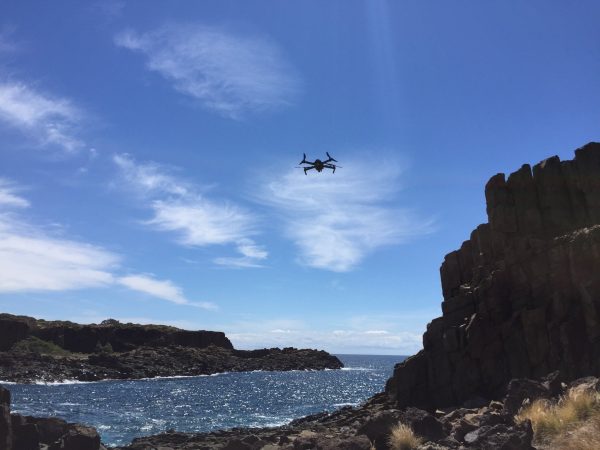
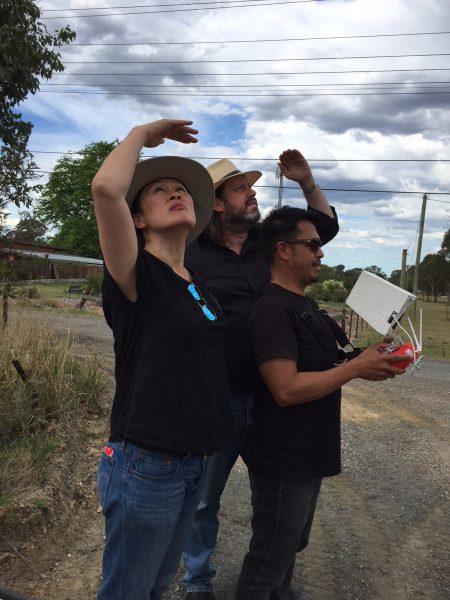
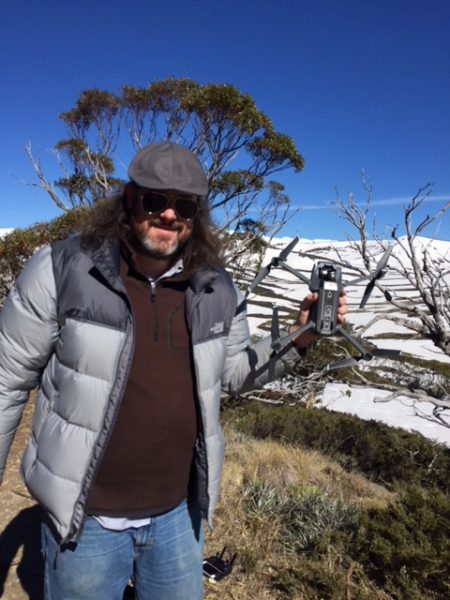
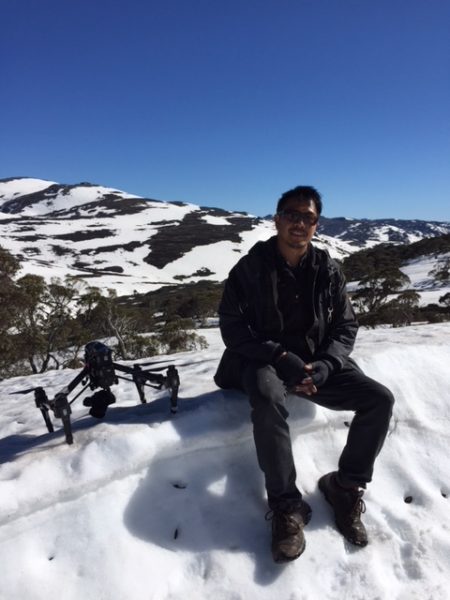
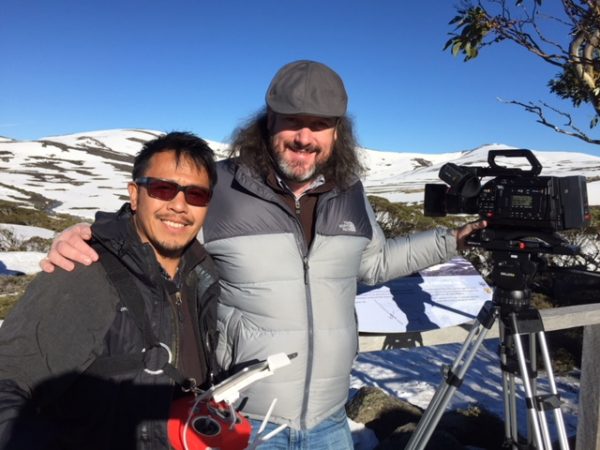
Right from the beginning we knew that we would be needing to do a substantial amount of drone work and teamed up with Luke Torrevillas from Location Air Crew to use his DJI Inspire drones for some of the more complex scenarios. However the schedule and budget did not allow to have a dedicated drone operator for the whole shoot, so we started exploring the idea of using the DJI Mavic Pro along with the DJI Osmo to get many of the required shots in remote locations.
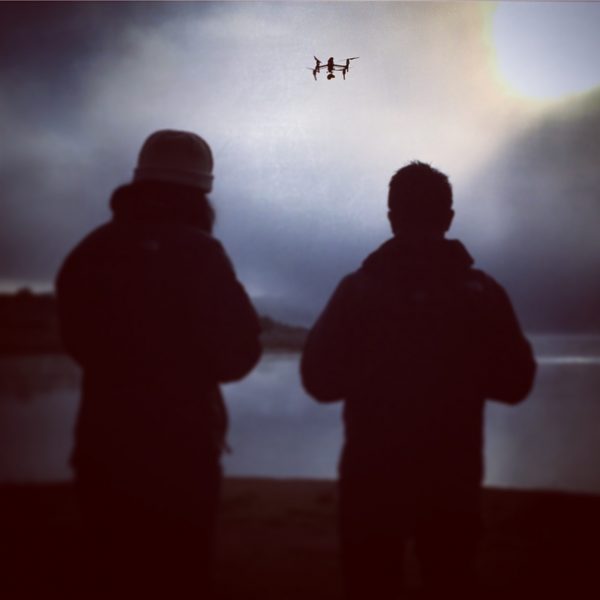
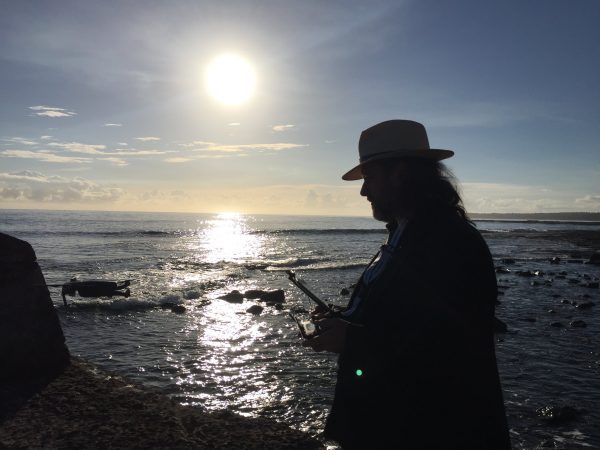
This combination worked very well, with the Inspire and Luke giving us some incredible images like the opening shot skimming just above the surface of a fog-covered Lake Jindabyne and the crucial shot which shows how close Sydney’s Fox Studios lot is to the city’s CBD.
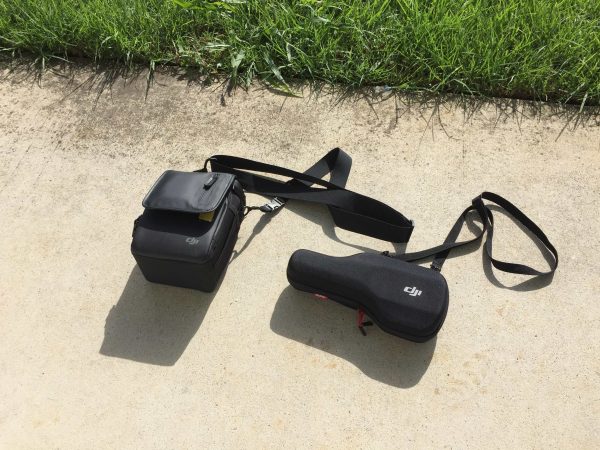
The Mavic Pro, on the other hand, gave us the amazing flexibility of being able to take it with us anywhere we travelled. Even on small planes, it was easy enough to have both the Mavic and the Osmo as carry-on baggage. Like any drone, the Mavic Pro does take some practice to learn to fly confidently but the controller and app are incredibly well thought out and easy to operate.
The Osmo is another amazing tool which allowed us to get numerous shots in situations where the drone wasn’t practical or allowed. It is perfect for quickly grabbing shots from a moving car safely and with minimal fuss and we often found ourselves picking up extra shots between scheduled locations. The Osmo also made it possible to get shots in the cities and towns close to the public where using a drone wouldn’t be safe or legal.
On both the Mavic Pro and the Osmo, I chose to use DJI’s D-LOG. As both a cinematographer and colourist I find that shooting LOG is a huge advantage in creating cinematic images.
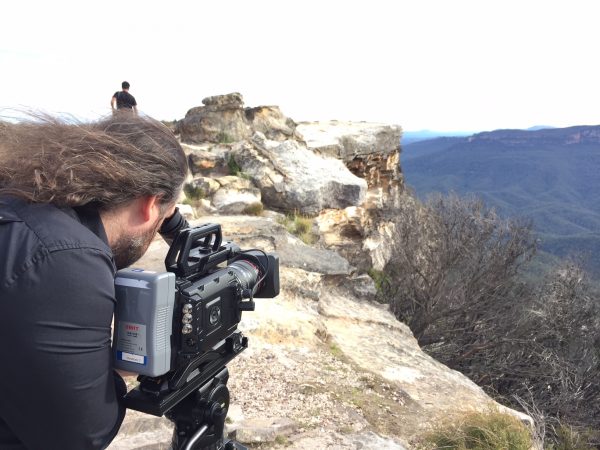
Blackmagic URSA Mini Pro
Our other camera on the shoot was the Blackmagic URSA Mini Pro. The BMD Ursa Mini Pro is such an amazing camera to work with and perfect for travelling as it was practical to have it and a range of lenses with us even when we were in a remote location and planning to use the drone. This enabled me to grab long-lens, timelapse and other shots that wouldn’t have worked with the Mavic or Osmo and it also allowed us to capture some close-up details to break up the barrage of big landscape shots. Because it has both a built-in monitor and built-in ND filters, the BMD Ursa Mini Pro makes it possible to travel with a very minimalist kit. I took a kit of Samyang/Rokinon prime lenses consisting of a 16, 24, 35, 50, 85 and 100mm Macro as well as the Canon 24-105 Zoom. With more than 50 locations in 18 shooting days, the zoom often allowed me to quickly capture a variety of shots before jumping back in the car and moving on or getting out the drone. For travelling, the Samyang/Rokinon cine primes are fantastic as they are sharp, fast and incredibly light.
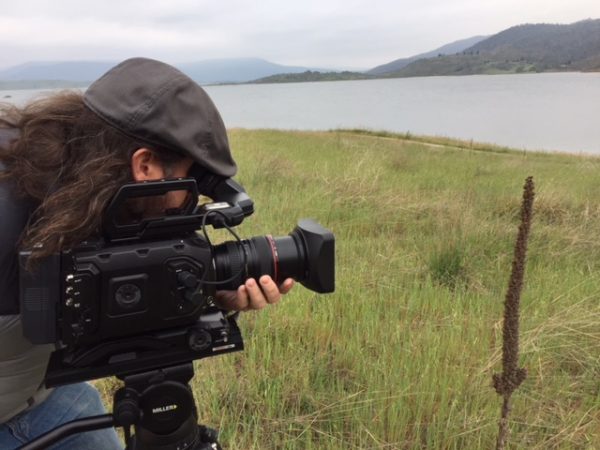
On the BMD Ursa Mini Pro, I chose to shoot in 4K UHD recording in ProRes 422 HQ. I was confident that the 10 bit HQ codec would give us plenty of latitude in the grade and the lower data rate compared to 4444 or RAW would help with safely managing all of the 4K footage in remote locations.
Post workflow
With the Ursa Mini Pro, Mavic Pro, Inspire and Osmo all shooting 4K, we needed to design a workflow that would enable us to work quickly and efficiently on location and then have a very fast and reliable conform process at the end of post-production.
To do this Clara decided to edit in Final Cut Pro X because it meant she could easily be working wherever required. Instead of letting FCP X generate the proxy files for cutting, I realised that it would be much better to generate these from DaVinci Resolve. This works well because it means that at the end of the shoot there is already a Resolve project with all of the source footage ready to conform. It also means that I can apply LUTs to all of the footage so that the editing is happening with “normal” looking images. This is a huge advantage, especially when the whole purpose of the project is driven by the look of the landscapes! I created custom LUTs for both the DJI D-LOG and Blackmagic Design’s Film Mode (BMD LOG). These were applied at the timeline level with a different timeline for each source roll.
We also burned Timecode, Reel Names and Clip Names into the proxy files as a safety reference. Because Resolve likes to get the reel name from the clips I realised that we should change the DJI part of the naming structure to a standard reel name.
For example, the Osmo was our C-camera so the third time we imported from a memory card out of the Osmo it became C003 and this was done as a batch name change in Mac Finder before importing into Resolve. This then made both Resolve and FCPX automatically identify the reel numbers and made the editing and conforming seamless between the two applications.
This data management was all able to be done on a MacBook Pro to dual USB hard drives wherever we happened to be at the end of the day. We could then preview the files in Resolve on the MacBook Pro with the custom LUTs to confirm that my exposures were where I wanted them and that we were getting the look that Clara was after. The proxy files were then generated in Resolve Studio on an 8 Core Mac Pro with dual D700 GPU’s. This meant that we were able to produce the 1920×1080 ProRes Proxy files at significantly faster than real-time so that Clara could quickly start cutting in the new footage. The editing project and footage were stored on a 1 TB SSD USB-3 drive so that all of the material could be kept together and there was minimal risk of damage to the drive from bumps as Clara needed to be able to edit wherever we were on our travels.
As the edit progressed we were able to regularly send an XML of the cut from FCP to Resolve Studio to check that there were no nasty surprises in the conforming and that the shots were high quality in 4K. The finished edit was then conformed, graded and fully mastered out of Resolve Studio. I’ve found for some time that there’s no need to go back to another application for finishing as Resolve excels at all of our requirements for finishing. The graphics are created either in Motion or directly in Resolve and the mixed sound file synced with the pictures.
In the grade, the images from the different cameras sat well together and the different LOG images were easy to manipulate.
The Resolve Mini Panel in combination with an Elgato Stream Deck meant that the process of grading happened very quickly, allowing us to carefully finesse each shot. This often meant adding multiple power windows and secondaries to compensate for the pace of the shooting schedule as it didn’t always allow us to shoot at the ideal time of day!
Unsurprisingly, the BMD Ursa Mini Pro footage was wonderful to work with. The robust ProRes files and the incredible colour and dynamic range from the 4.6K sensor make grading very easy.
Two things that I hope to see in upcoming DJI products in the Osmo & Mavic Pro range are better codec options and separate direct controls for sharpening and noise reduction. Particularly on the Mavic Pro which gets so much right, not being able to reduce the in-camera sharpening without introducing unpredictable noise reduction effects is incredibly frustrating. Similarly, the 60 Mbps 4K h.264 seems overly aggressive. It’s good to see h.265 and 100 Mbps in the new Mavic Air and I hope this is and an indication that these issues will be addressed on whatever Mavic Pro replacement must surely be in the pipeline. I suspect that it is a combination of the sharpening, NR and this aggressive compression that leads to the digital flicker that can sometimes be seen in the Mavic Pro footage. Still the Mavic Pro and Osmo certainly did their job and made it practical to get a lot of shots that simply wouldn’t have been possible any other way.
In the end we had nearly two hundred shots in three and a half minutes. With snow, deserts, beaches, forests and jungle it was an amazing opportunity to see and capture the incredible locations of our home state.