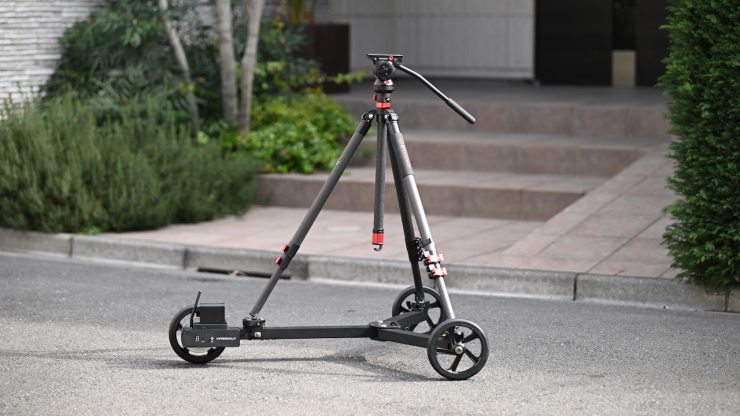
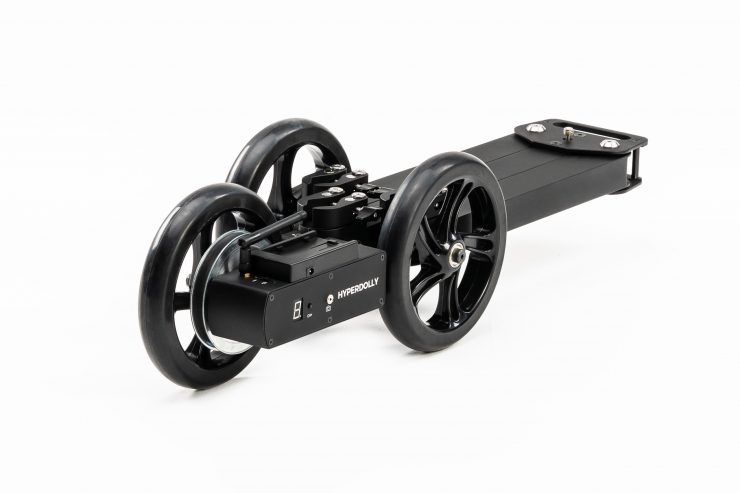
The Hyperdolly HY-01 is a compact motorized dolly that was designed to allow for repeatable programmable movement without rails, while featuring a lightweight, portable form factor. It is being targeted at independent filmmakers and small crews.
It is the brainchild of Andrii Statieva, who is a filmmaker and entrepreneur from Ukraine. He set out to come up with a product that was easy to set up and use, that could provide robotic camera dolly moves.
The Hyperdolly was on Kickstarter way back in November 2023. The project raised $44,000 on Kickstarter in 2024, and initial units were shipped to backers around the world. Now, the Hyperdolly HY-01 is available to anyone. Above, you can see the original launch video from 2023.
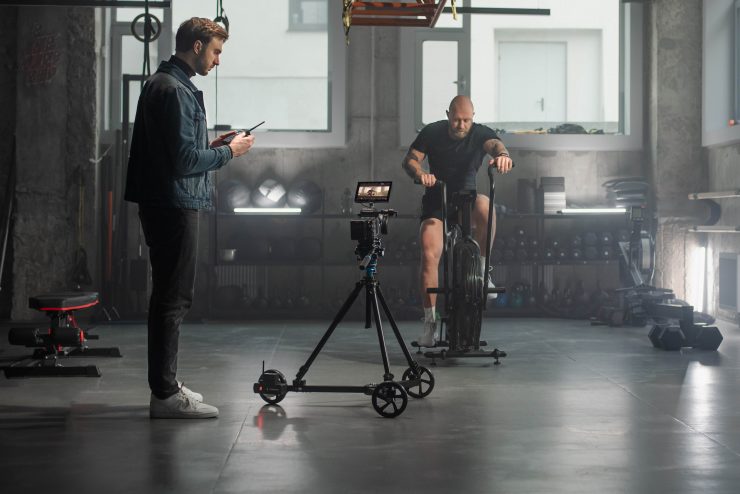
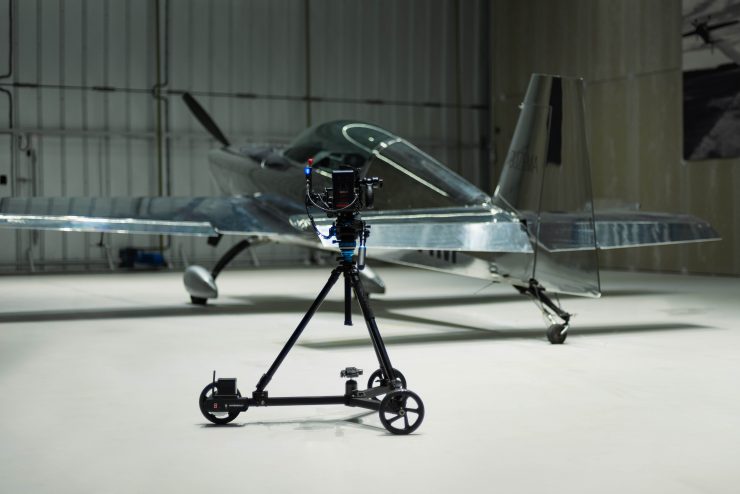
The dolly setup only takes a few minutes, and it can be operated by a single person, which makes it a good solution for small crews or one-man bands. The universal tripod brackets allow the use of any tripod of a suitable size and construction.
Build Quality & Design
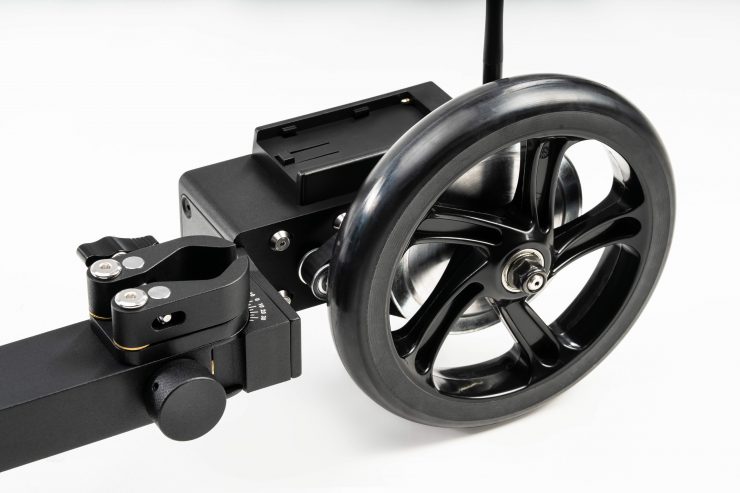
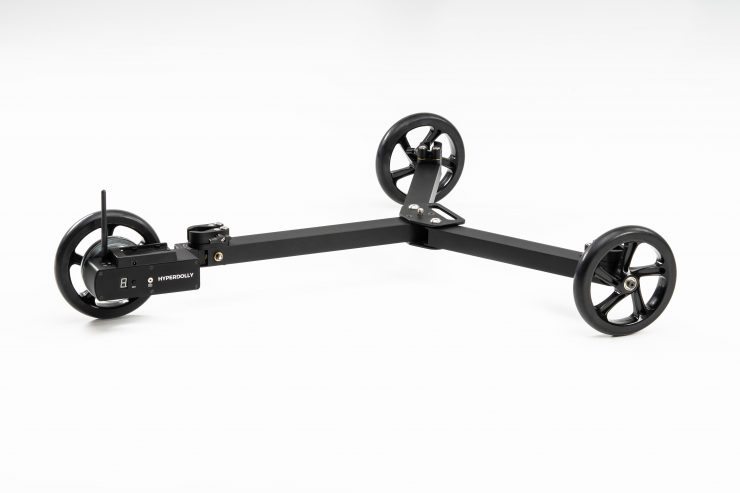
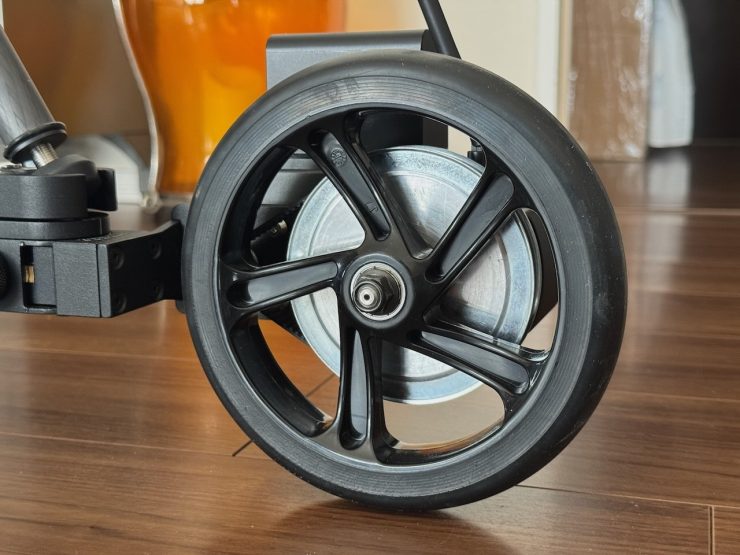
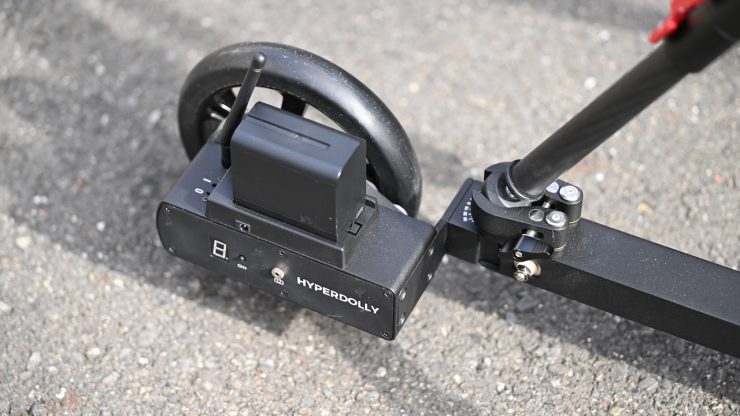
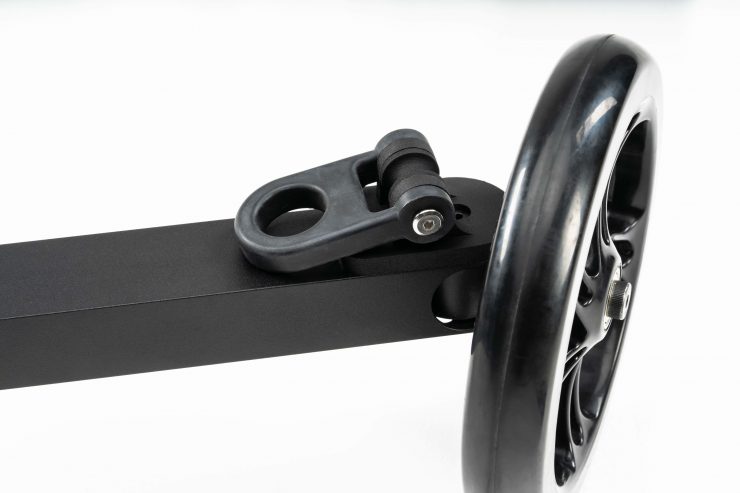
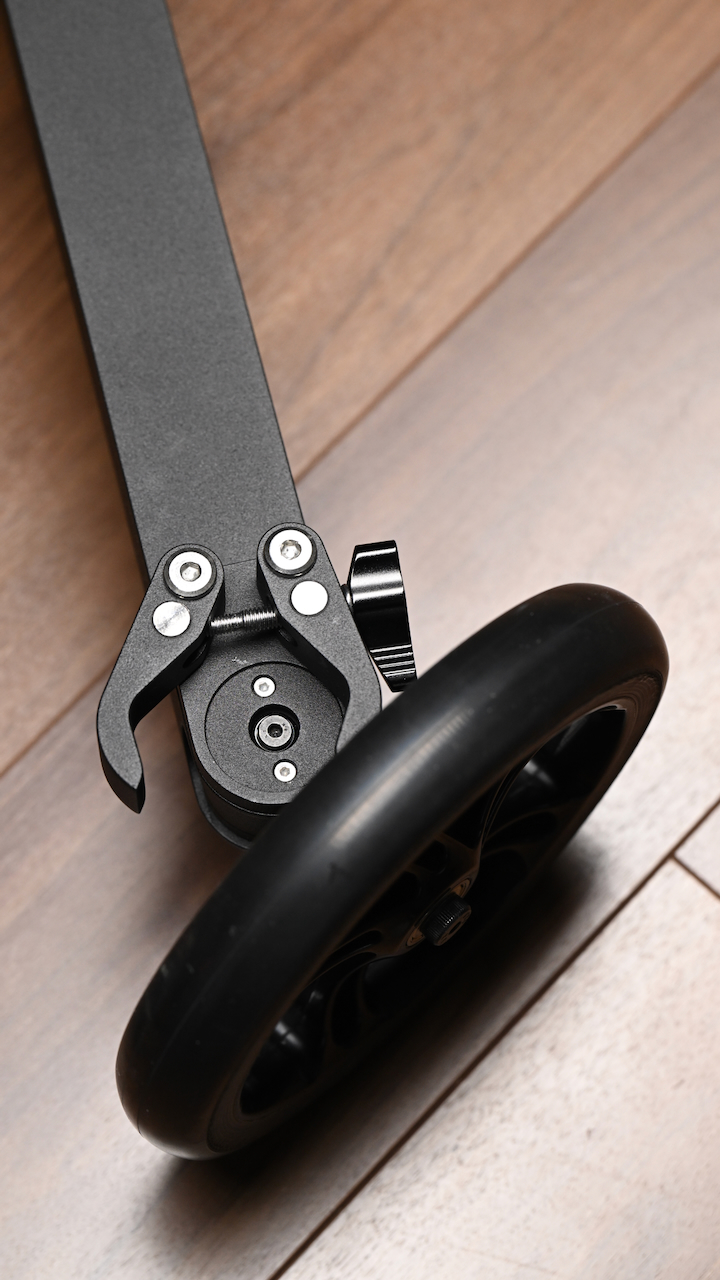
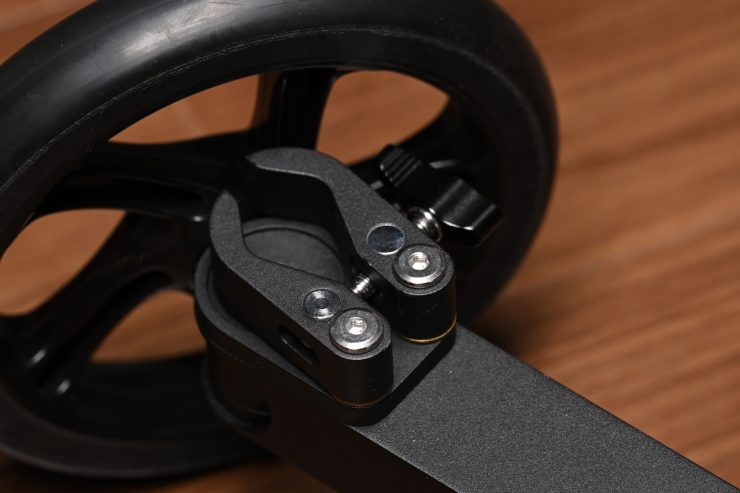
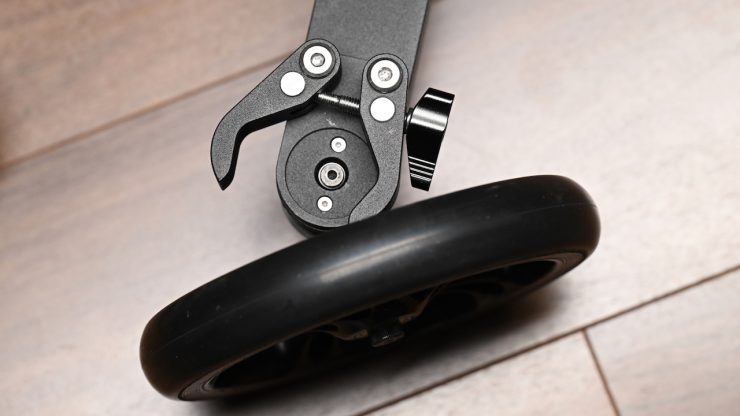
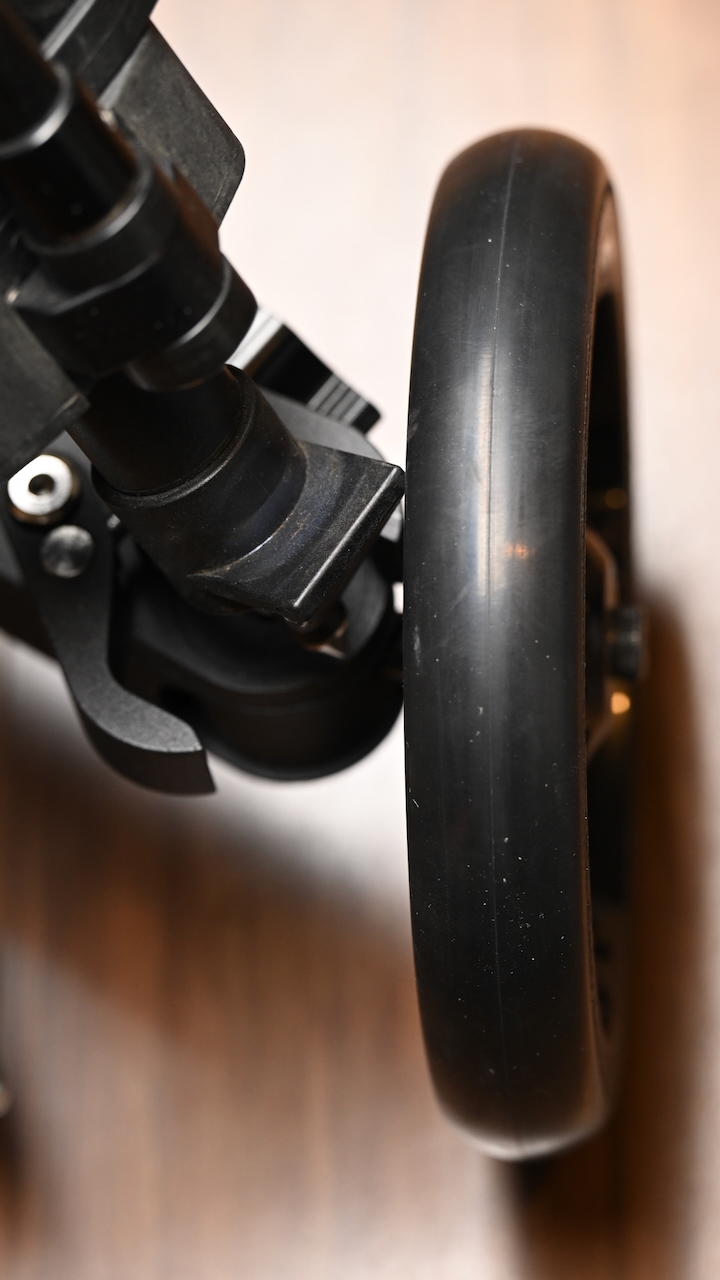
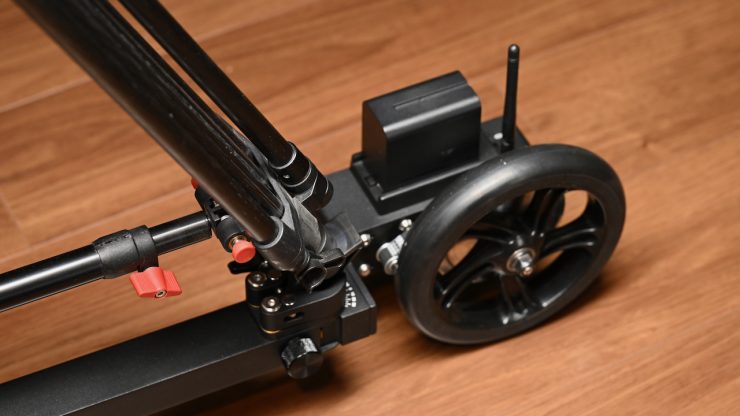
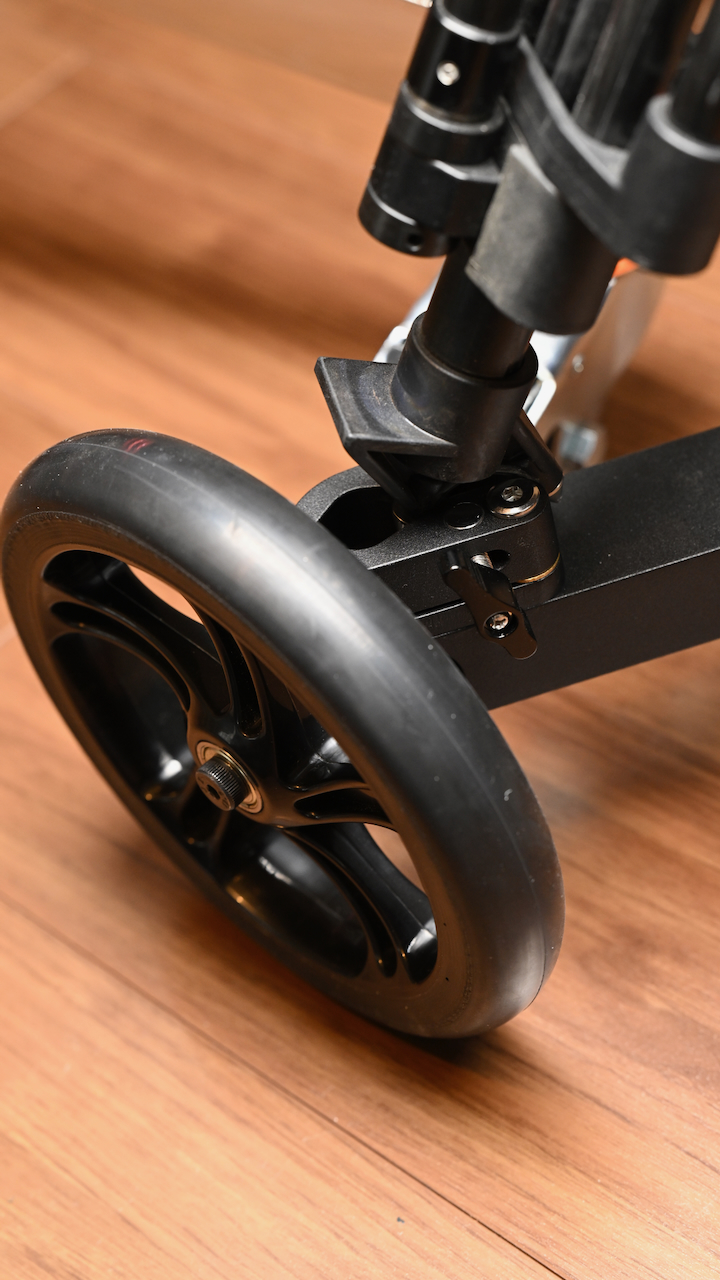
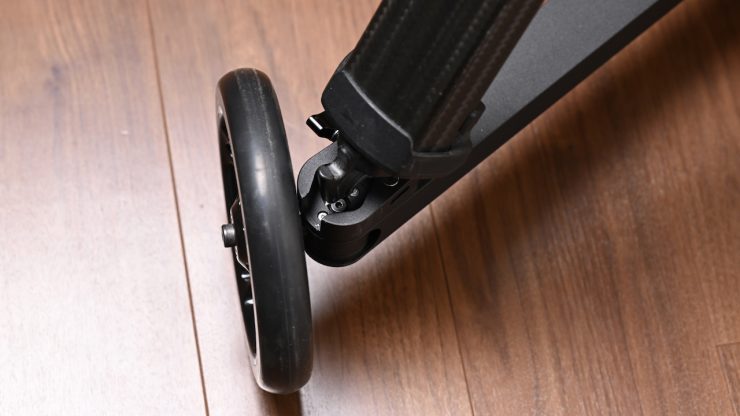
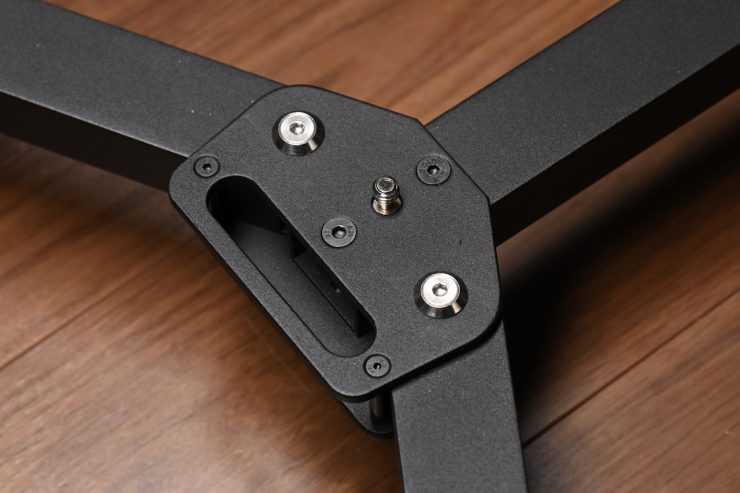
The Hyperdolly HY-01 is made out of CNC-machined aluminum components. The 175 mm soft-compound polyurethane wheels were designed to reduce the impact of minor surface imperfections.
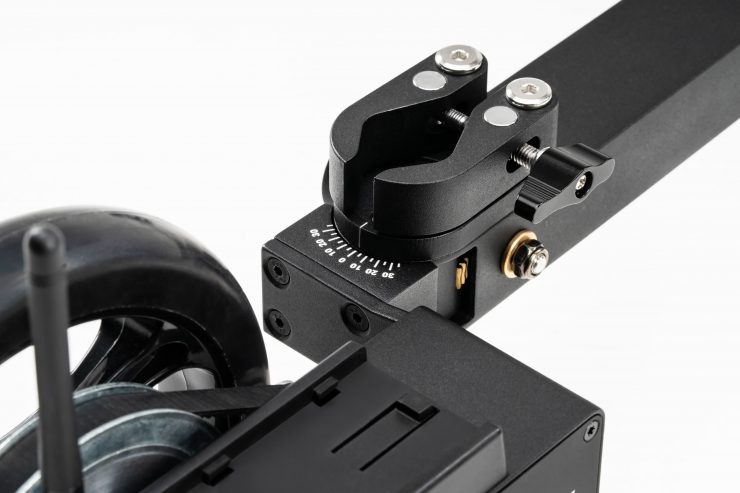
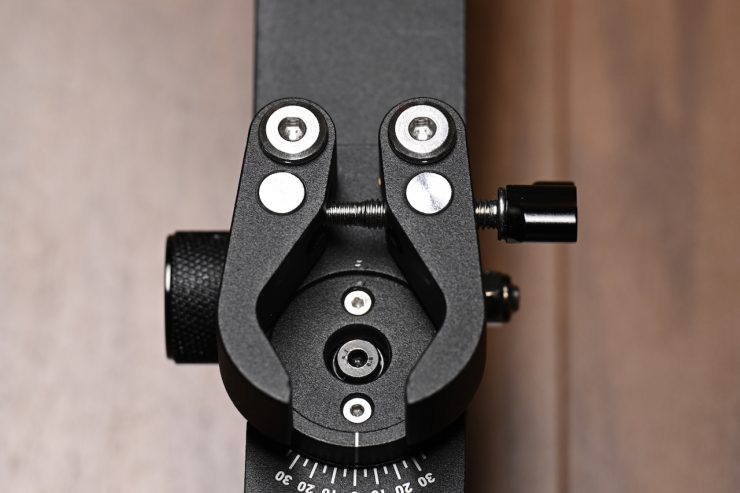
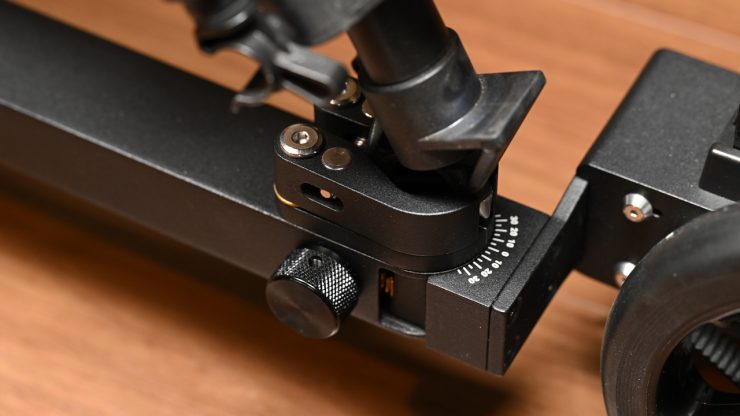
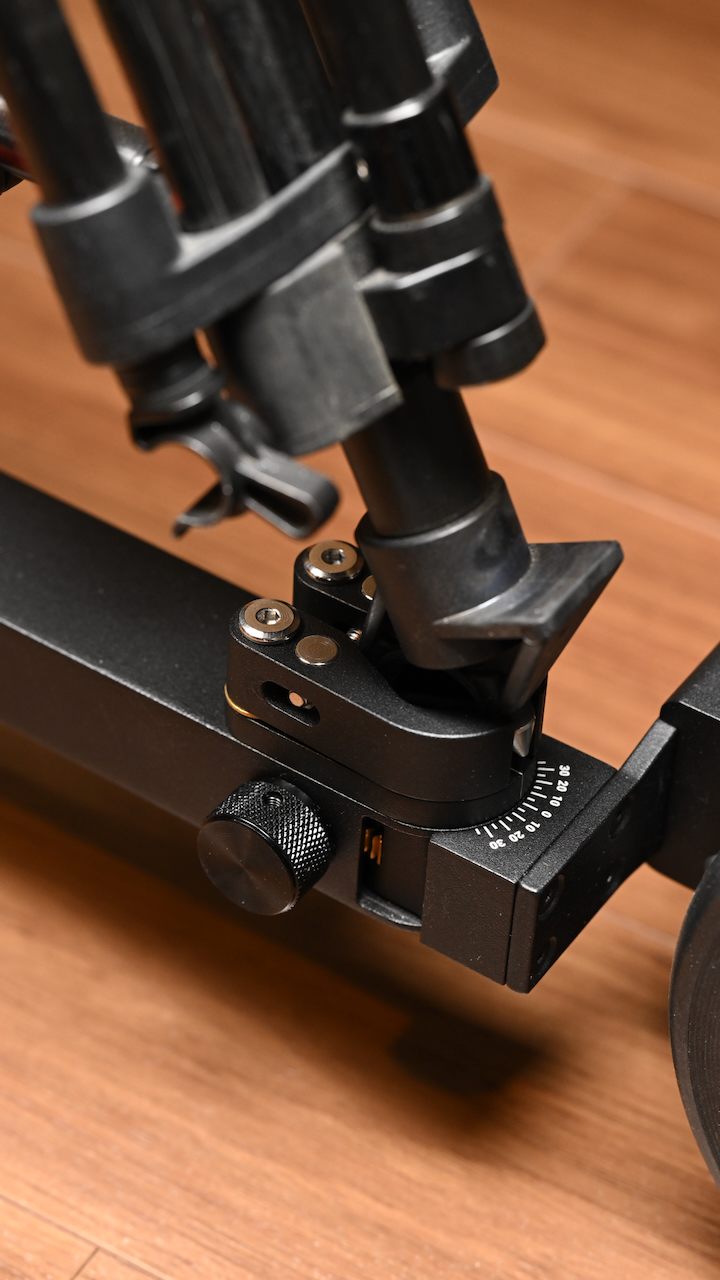
The dolly features a tool-less, foldable design, allowing for fast setup without rails. The path curve is adjusted using a worm-gear mechanism, enabling fine, locked-in directional control for arcs. 175 mm soft-compound polyurethane wheels are designed to reduce the impact of minor surface imperfections.
It is solidly made and constructed, despite being lightweight.
Payload Capacity
The Hyperdolly HY-01 supports payloads of up to 12 kg / 26.45 lb, making it suitable for mirrorless cameras as well as some fully rigged cinema setups.
This is a decent payload capacity, and it allows you to use a wide array of camera packages. What you need to remember is that you have to factor in the weight of your tripod and camera package, and the combined weight needs to be under 12 kg / 26.45 lb.
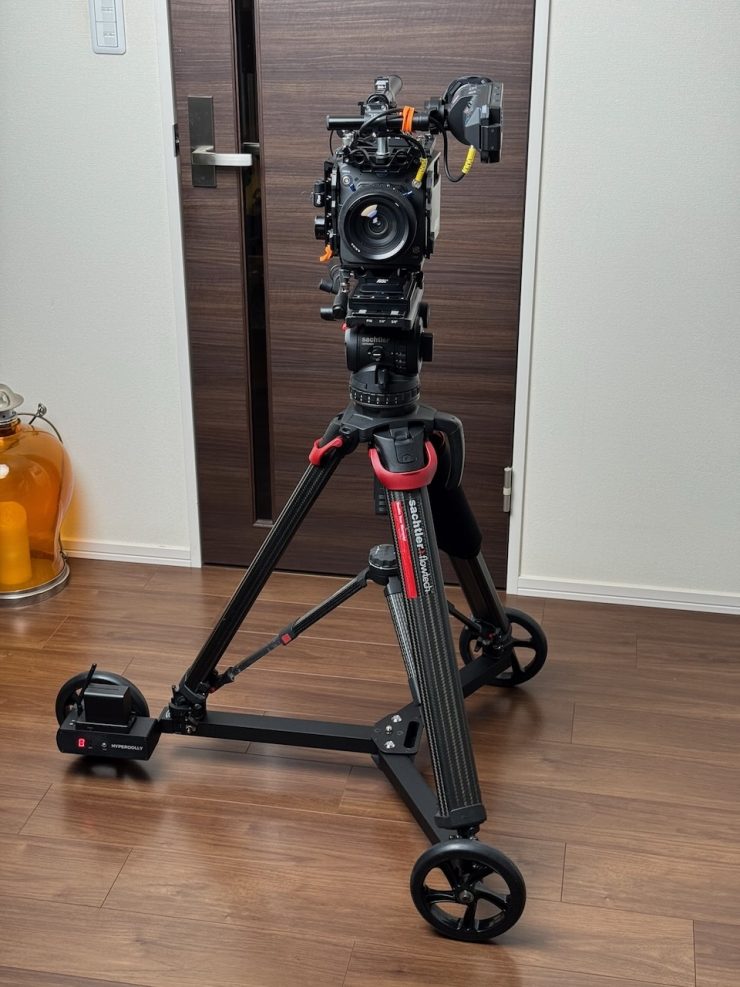
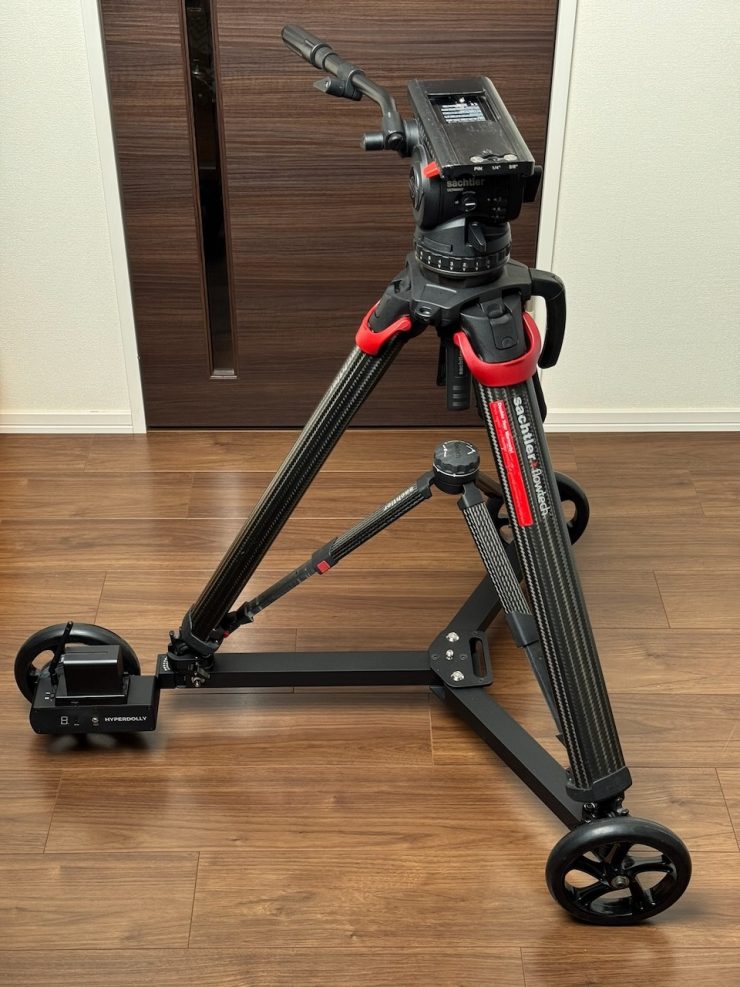
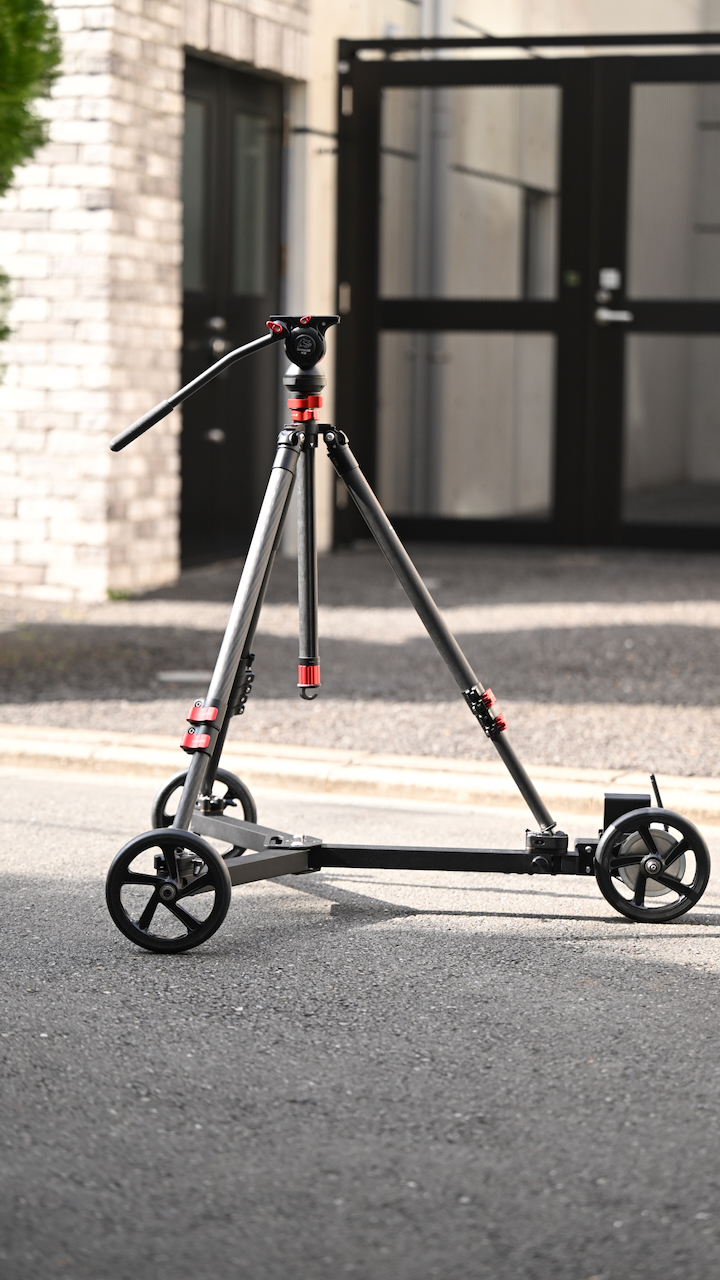
I would always err on the side of caution when it comes to payload capacity. I don’t think it is ever a good idea to load something up that is right near the maximum weight capacity. In saying that, I had no problem using a set of Flowtech legs, a Sachtler Video 18 S2 Fluid Head, and an ARRI Alexa 35.
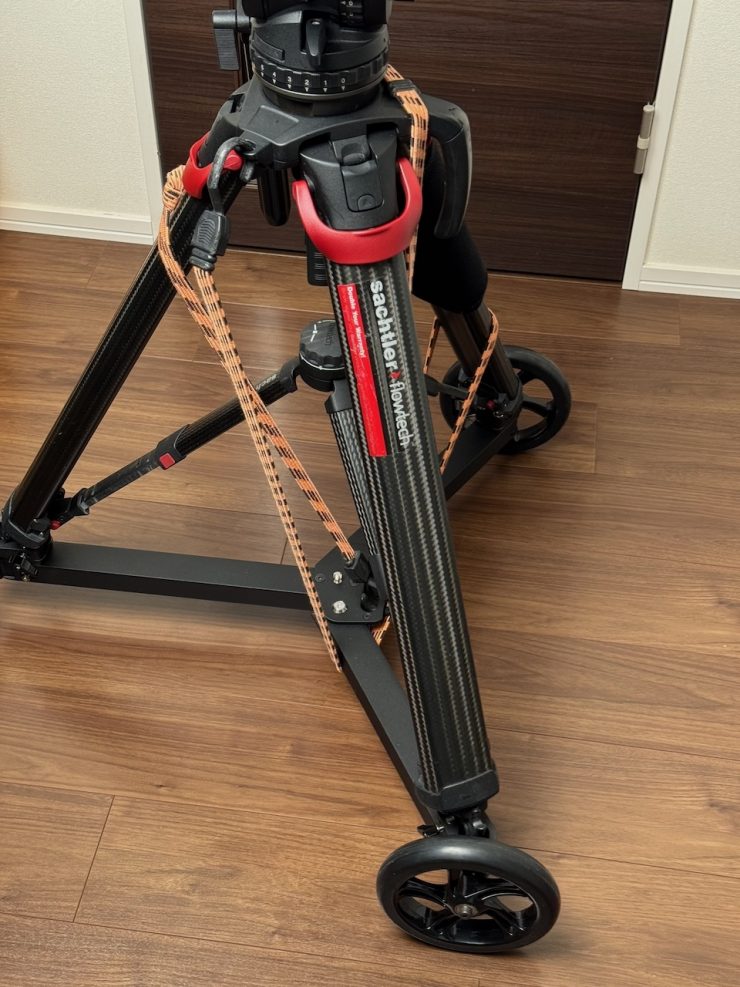
As long as you are not putting a tripod up high, you can certainly use it with a combination like this. I would, however, for safety reasons, make sure that you use additional straps to help lock it down and keep it at low to moderate speeds on a flat surface.
What does it weigh?
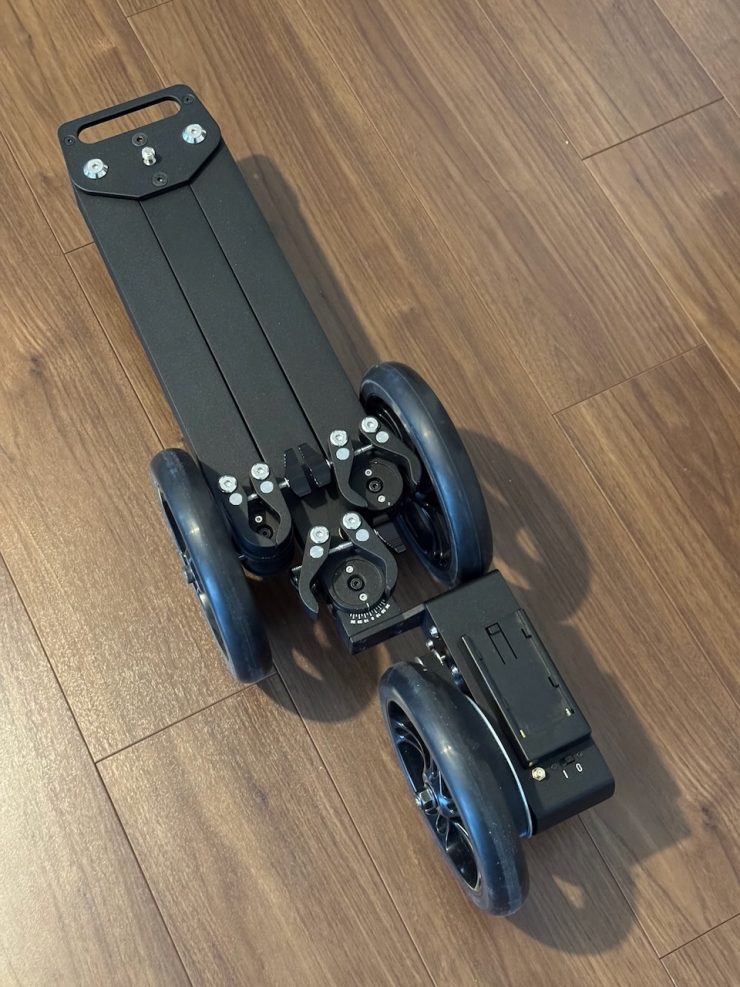
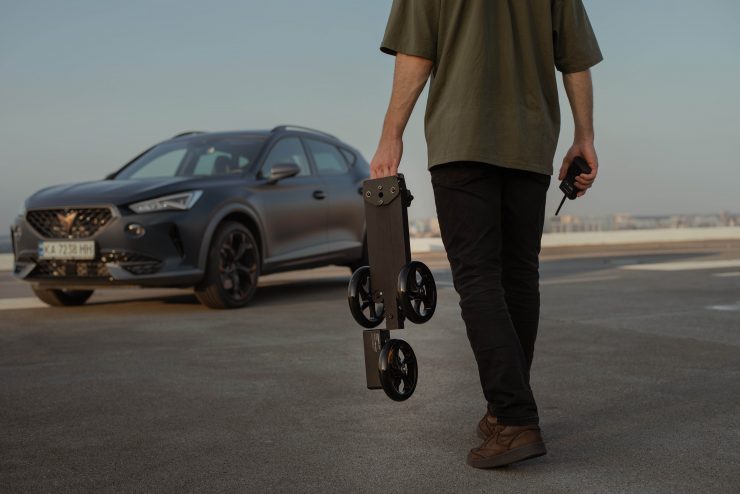
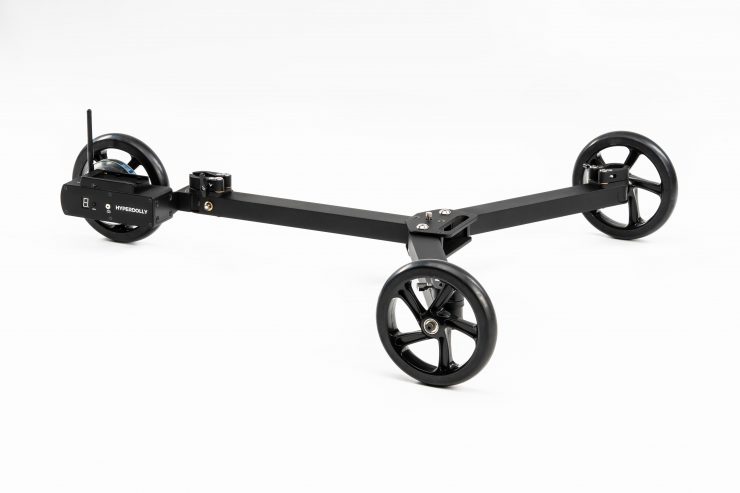
The chassis is made of aluminum, and it weighs in at 4.5 kg / 9.92 lbs. It conveniently folds up for transportation. When unfolded, it has dimensions of 87 x 77 x 18 cm, and when folded, it is 67 x 21 x 18 cm.
This low weight and compact design make it easy to transport and store. It comes in a small carry case.
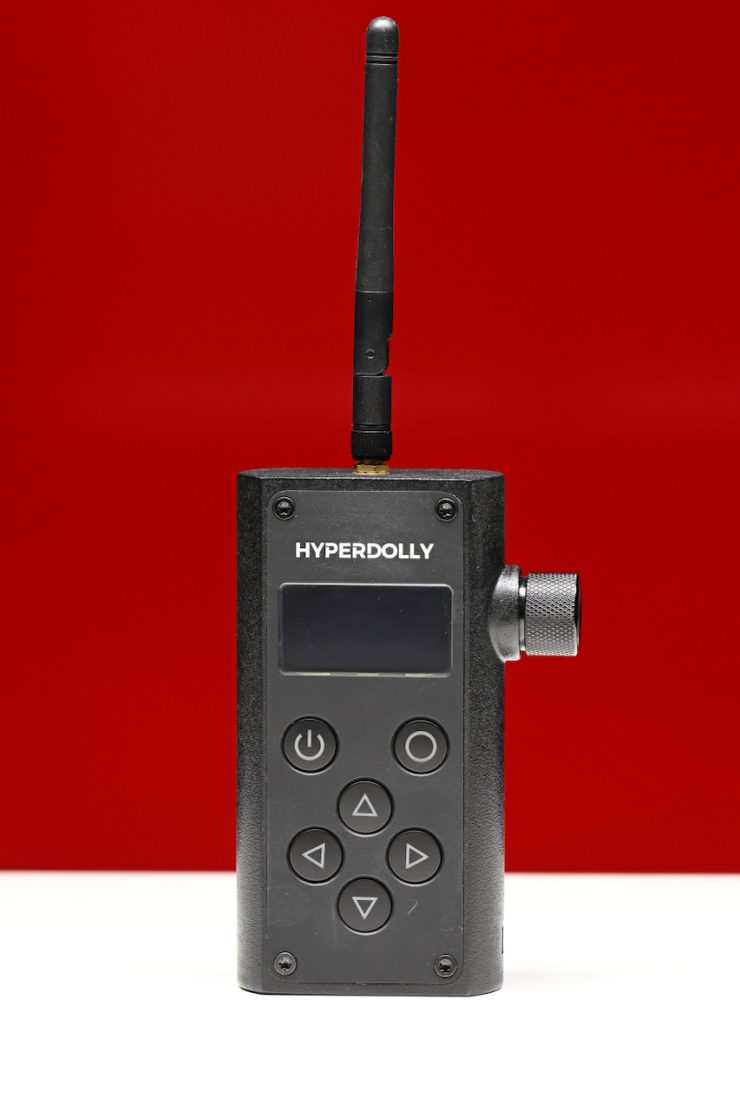
How do you control it?
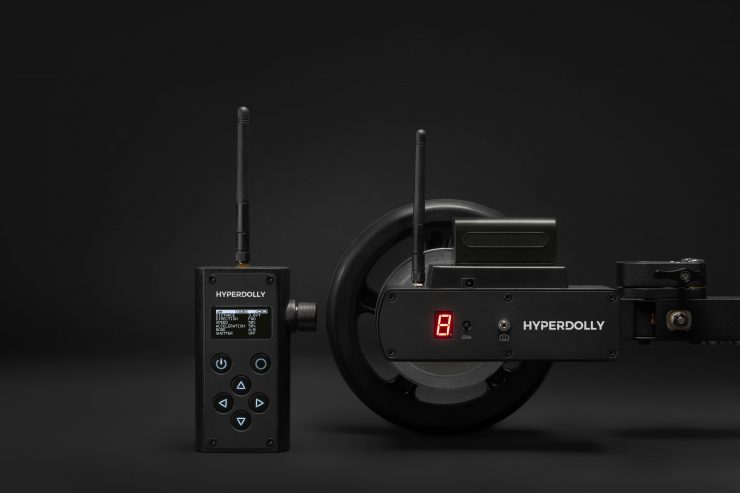
The system is operated via a 2.4 GHz wireless remote with a range of up to 100m / 328′. The dual-core microcontroller is claimed to provide ultra-fast, lag-free response.
Hyperdolly includes several programmable motion modes, including A/B moves, looping, live speed control, and hyperlapse automation for move-shoot-move sequences.
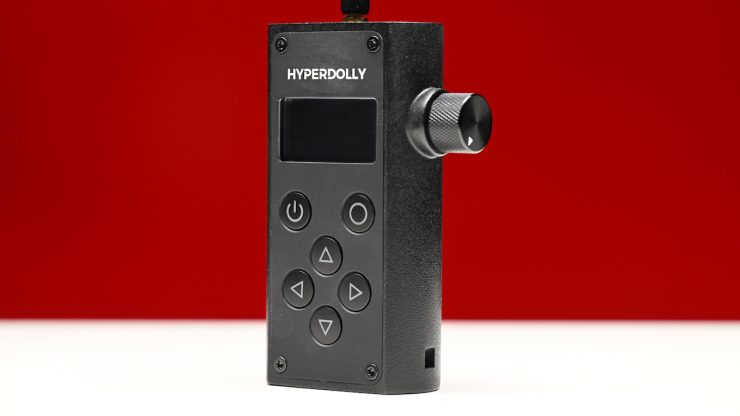
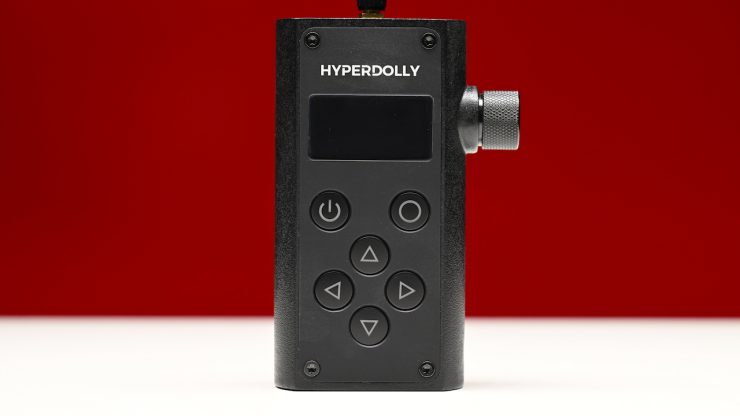
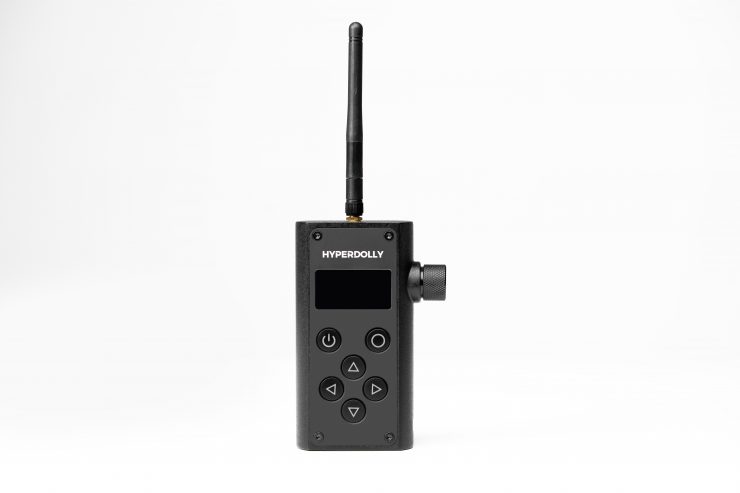
The controller is easy to use and pretty intuitive. The manual speed control works well, and it has a nice tactile feel to it.
It only took me a few minutes to be comfortable with the UI without even needing to read a manual.
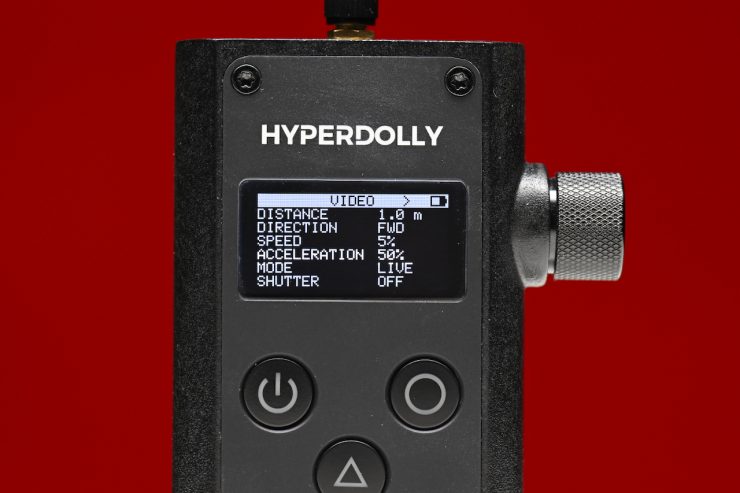
Above, you can see the default screen layout when you first turn it on. Unfortunately, if you make some changes to distance, speed, acceleration, etc., and then turn the controller off and back on again, it reverts to its default settings. I would have liked to have seen an option where it remembers your settings if you turn it off and then back on again.
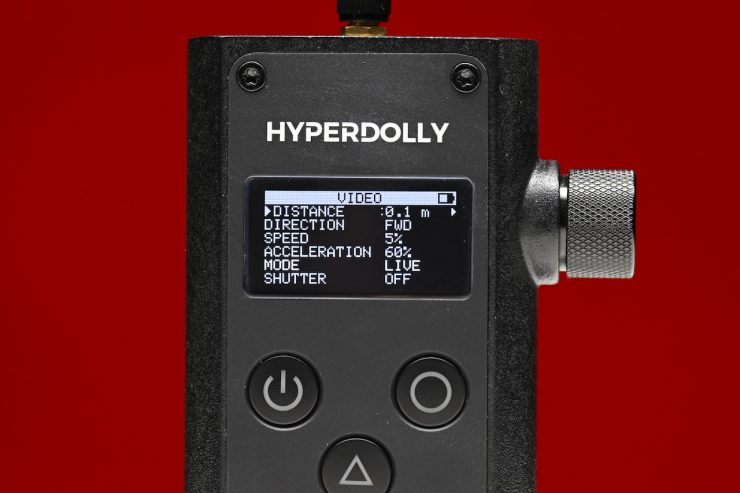
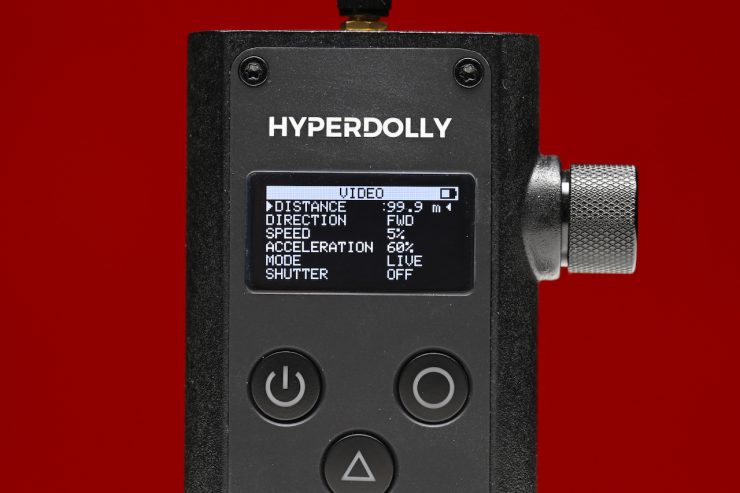
In the Distance section, you can choose from 0.1m to 99.99m. 100m is the range of the controller, so this makes sense.
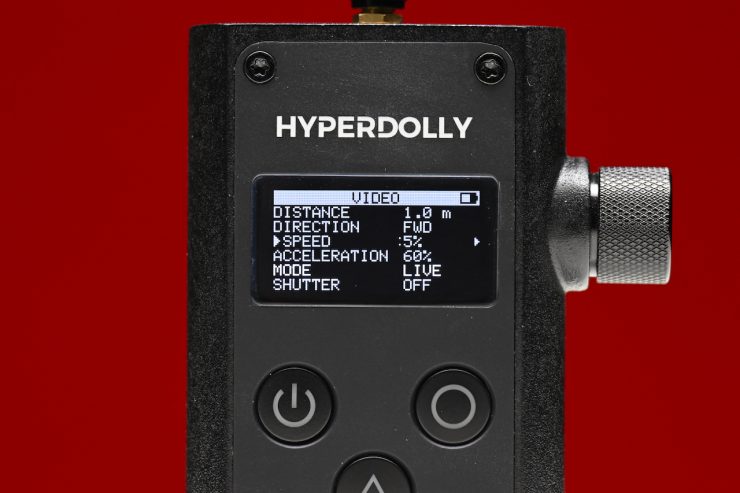
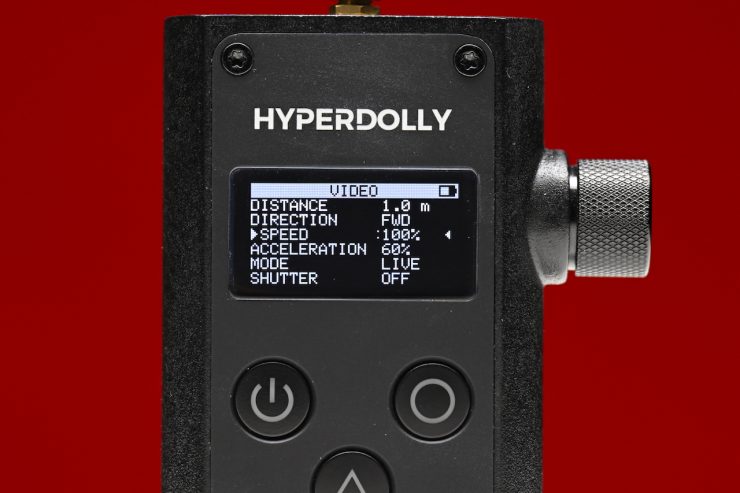
In the Speed section, you have the option of choosing from 5% up to 100% in 5% increments.
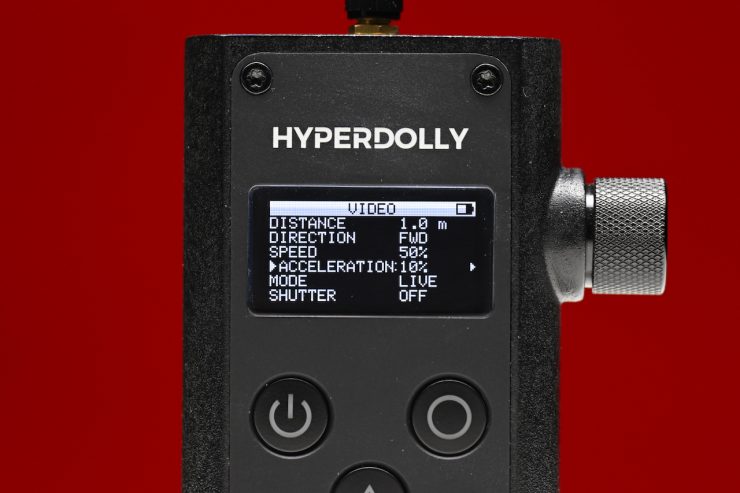
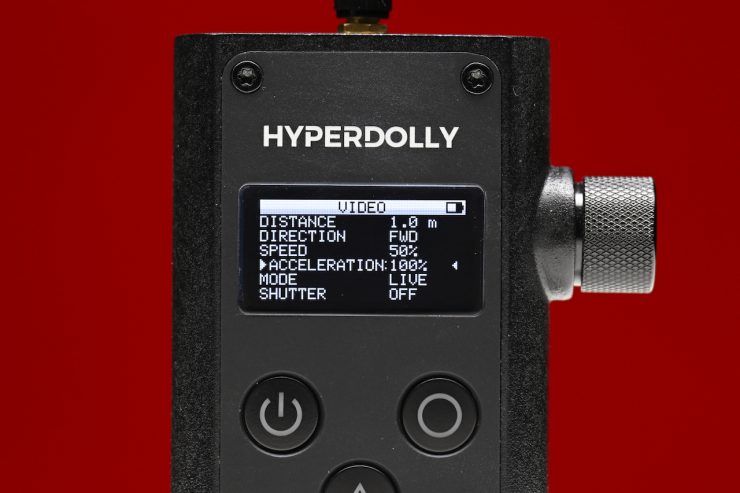
Acceleration can also be adjusted from 10% up to 100% in 10% increments.

You can choose from three operating modes: LIVE, LOOP, or A/B.
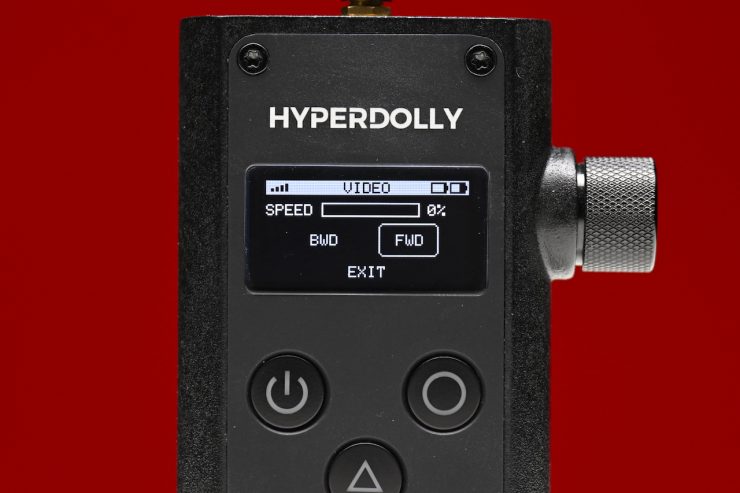
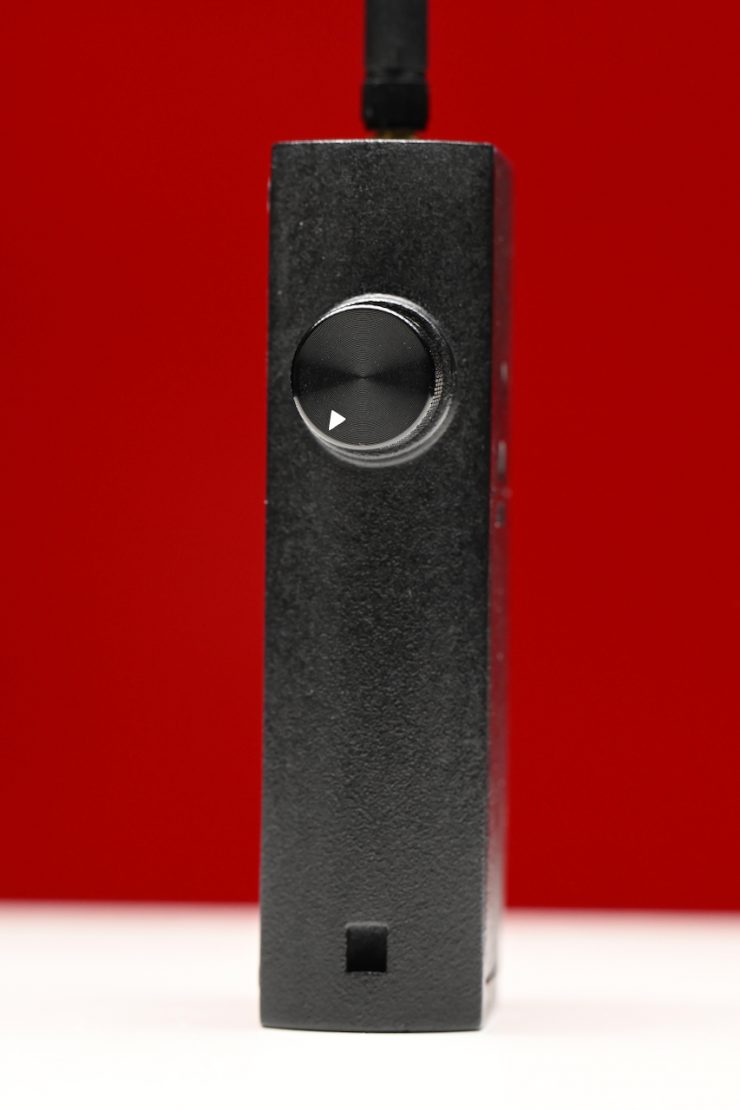
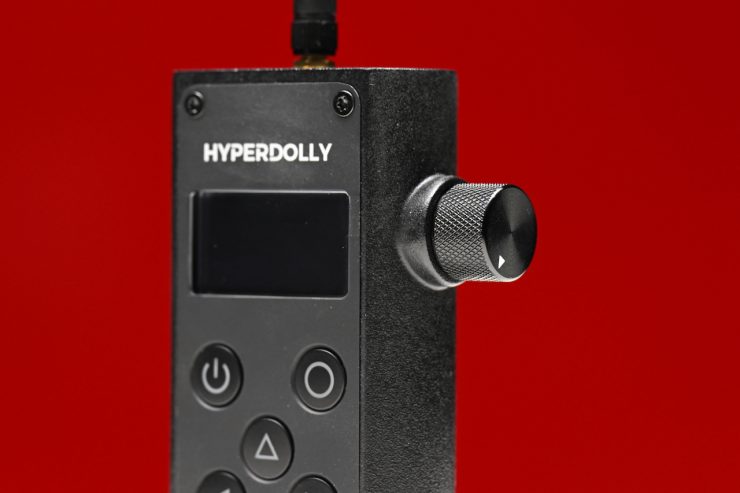
In LIVE, you choose either FWD or BWD depending on the direction you want, and you use the dial on the side of the controller to manually control the speed and when it stops and starts.
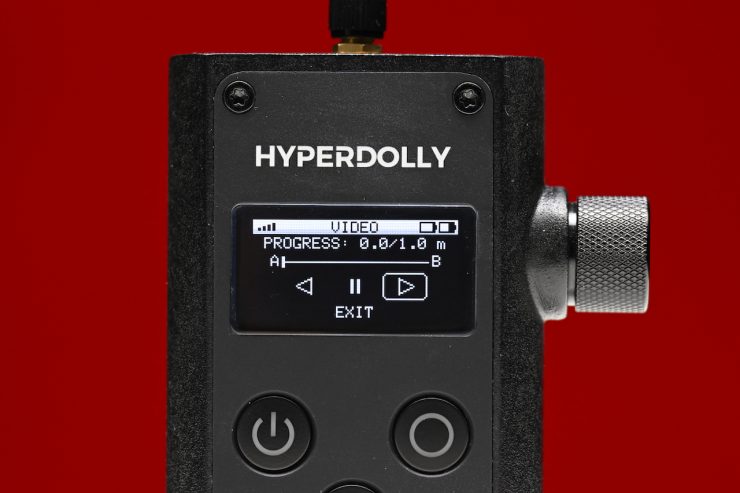
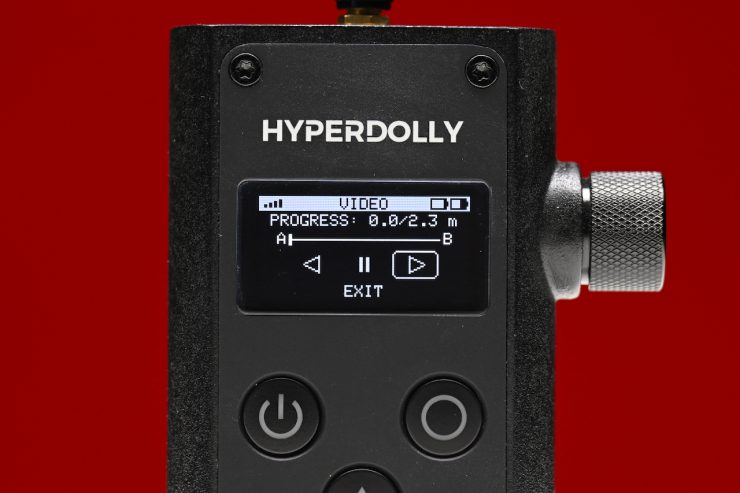
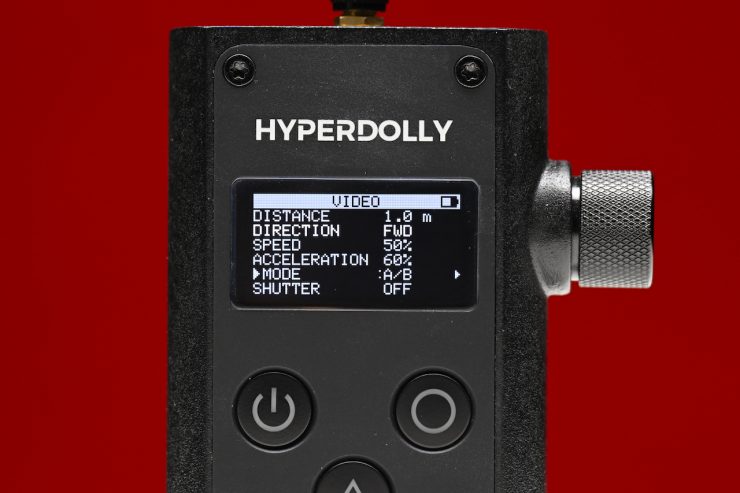
In A/B, it will simply go between two points based on the distance you have specified in the controller.
Above, you can see how it works.

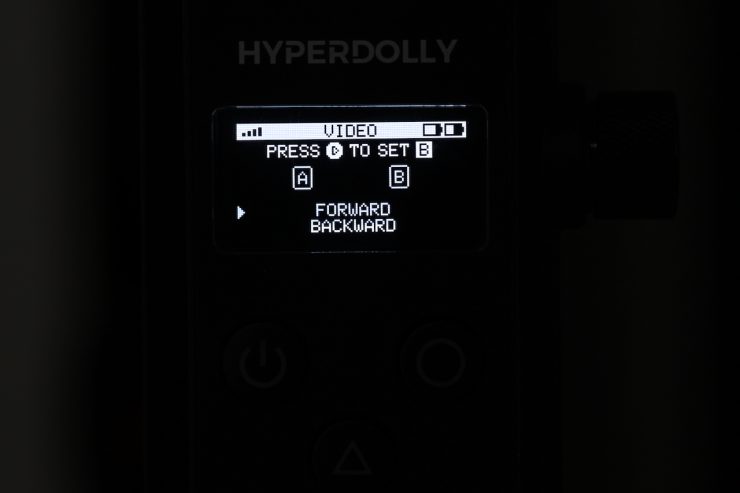
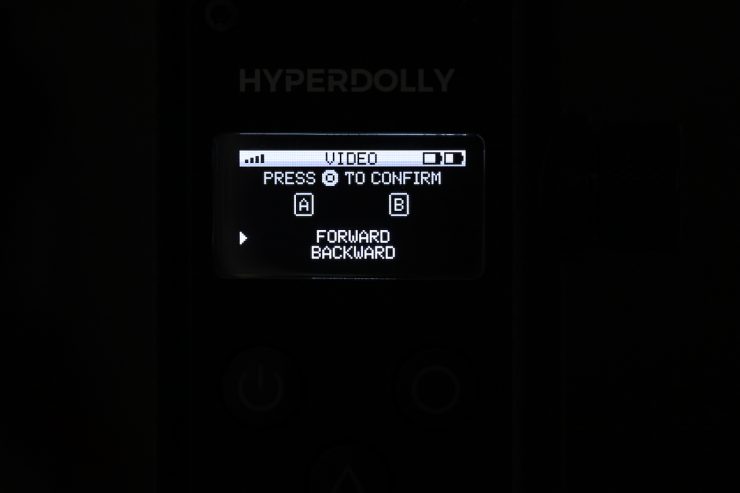
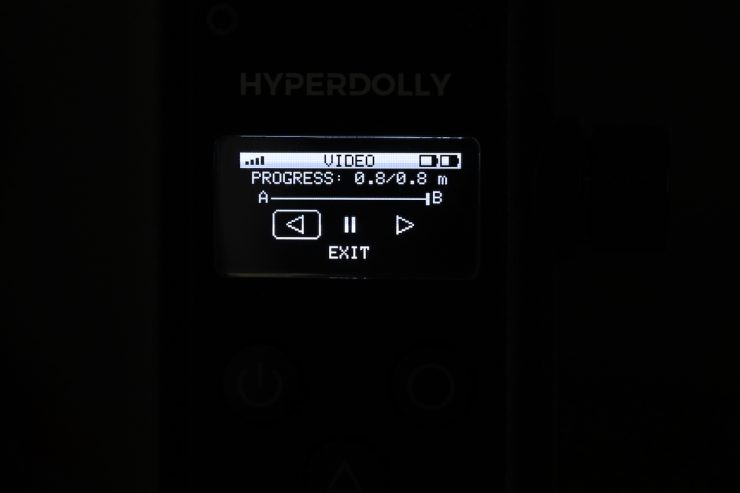
To set A/B points, you need to hold down the O button at the top right side of the controller. This takes you to the advanced settings option. Here, you can set your exact A and B points that the system will remember. It will also clearly show the distance between those two points, which is handy.
Then, when you press the forward or backward buttons on the controller, it will travel between the two points you set. If you exit the mode, it will clear the A and B points.
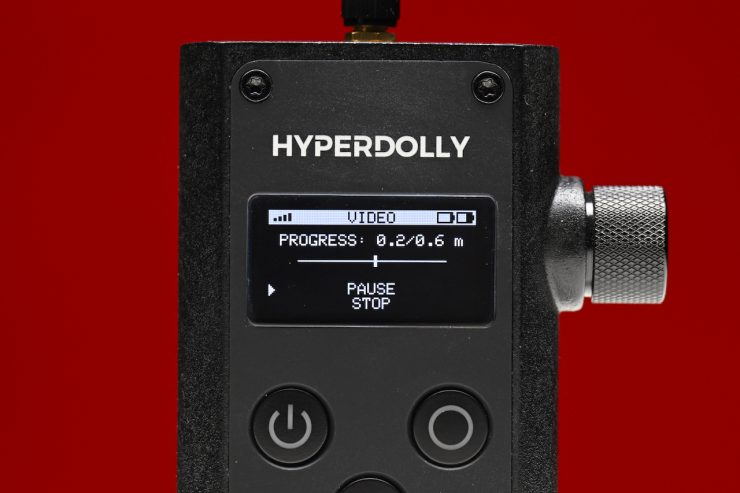
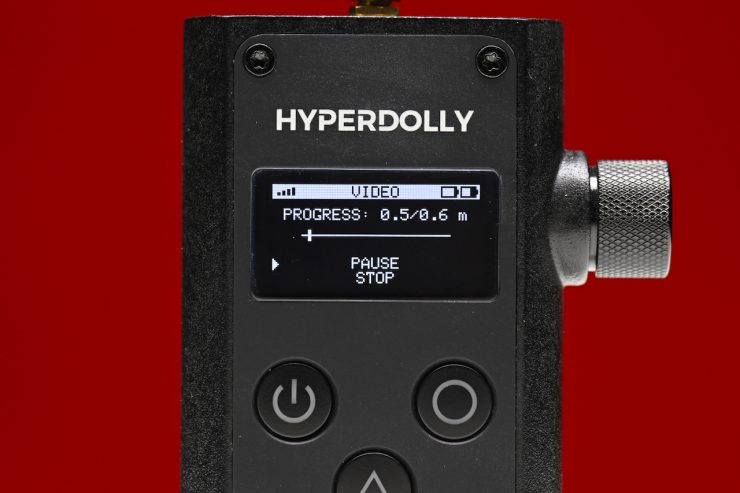
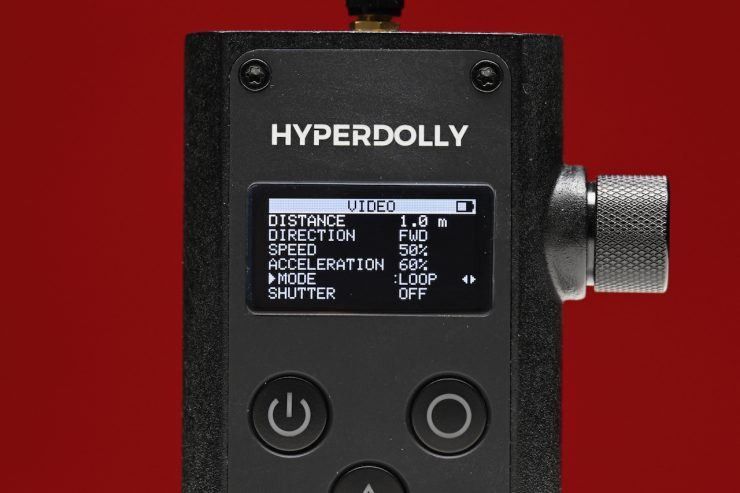
In LOOP, it will continue to go in one direction (to the distance you have specified), and then it will go back to where it started. It will continue to do this until you either pause or stop it.
Above, you can see how it works.
If you are using the Loop or A/B modes, you can’t go back and adjust the speed and acceleration without completely exiting those modes and losing all of your settings. This is something I would like to see Hyperdolly fix.
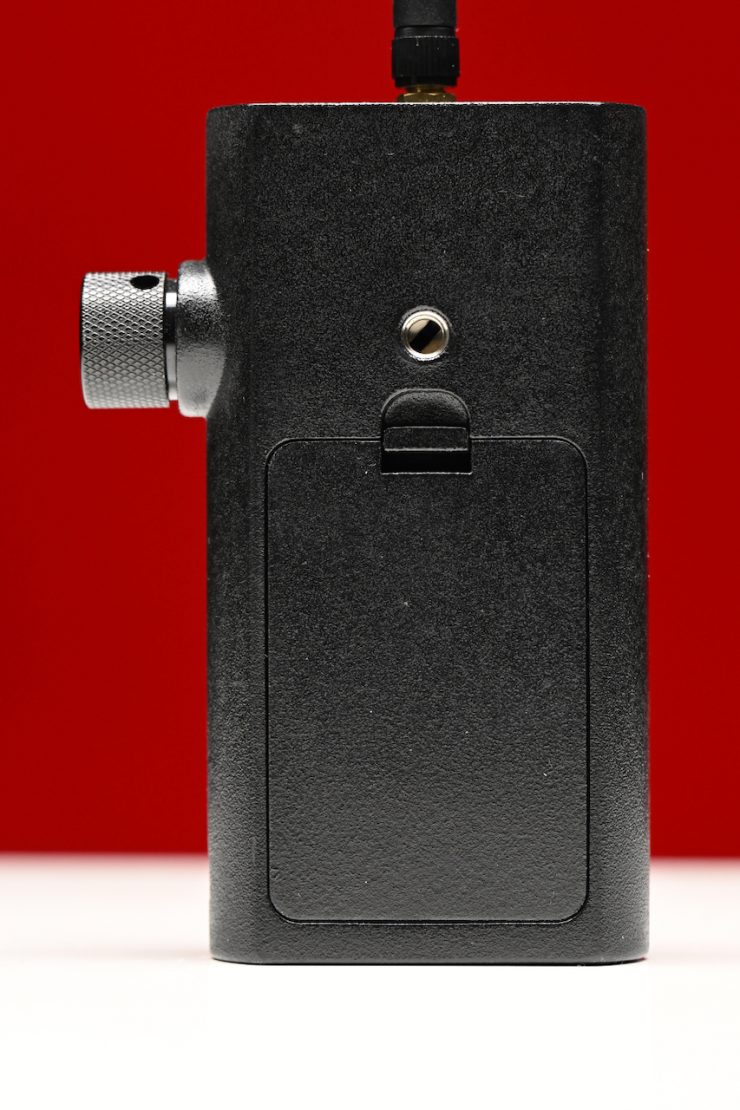
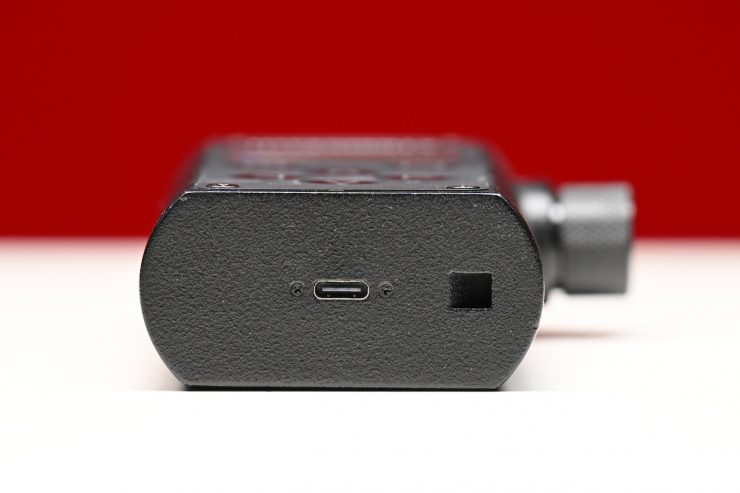
The controller can be powered via three AA batteries or through a USB-C port on the bottom.
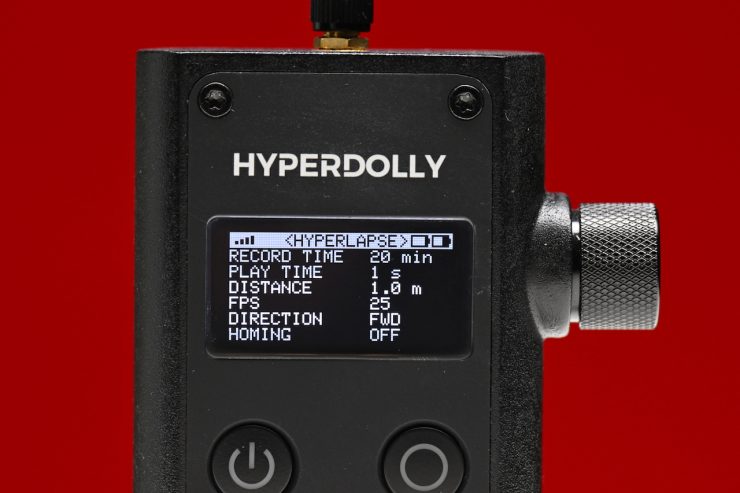
There is also a HYPERLAPSE mode that you can use to create some interesting shots.
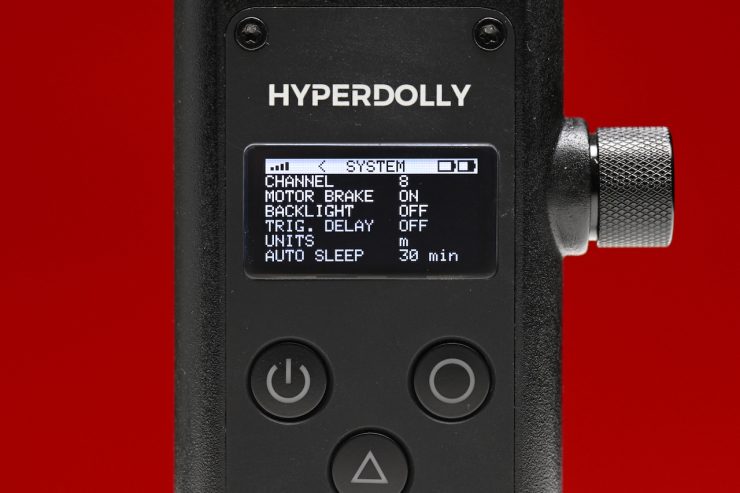
In the SYSTEM page, you can adjust the Channel, turn the Motor Brake On/Off, turn the Trigger Delay On/Off, and change the Units measurement from meters to feet.
Speed
The Speed is adjustable from 1.4 to 35 cm/s, and the travel length is effectively unlimited. The Hyperdolly HY-01 utilizes a high-resolution stepper motor with a belt drive that is claimed to provide smooth, consistent motion with minimal operating noise.
Safety
Anytime you are putting a camera on a moving object, you need to carefully consider safety. As the Hyperdolly HY-01 can take a tripod that can go pretty high off the ground, you need to be very careful as to the speed, the surface you are using it on, and the weight balance. I personally wouldn’t want to go too high with the tripod or make the dolly go too fast. If you don’t pay attention to the operating environment, etc., and it does happen to tip over, then you are going to end up learning a very expensive lesson.
What is nice is that when the Hyperdolly HY-01 is powered on, it has a brake feature, so it won’t move by itself. This can be disabled in the SYSTEM page of the menu if you need to.
How do you power it?
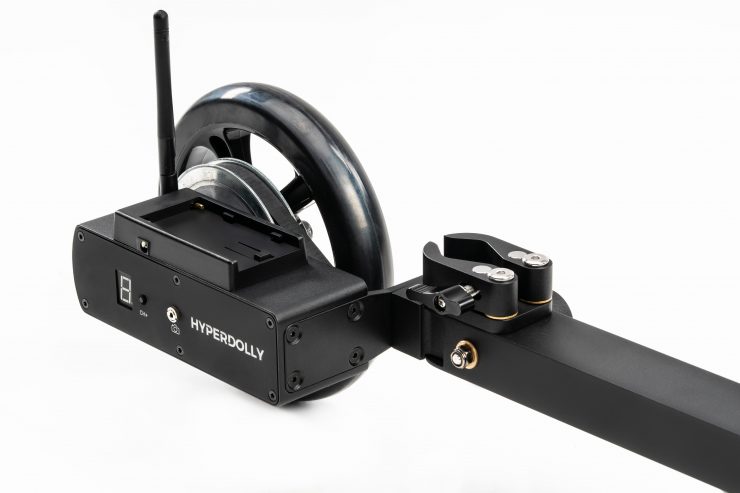
The Hyperdolly HY-01 is powered by a simple and easily available Sony NP-F battery. Again, this was all designed to keep the weight and size to a minimum.
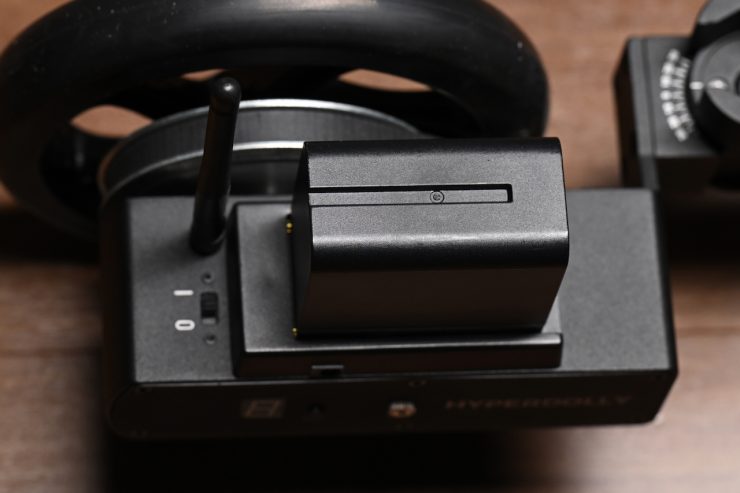
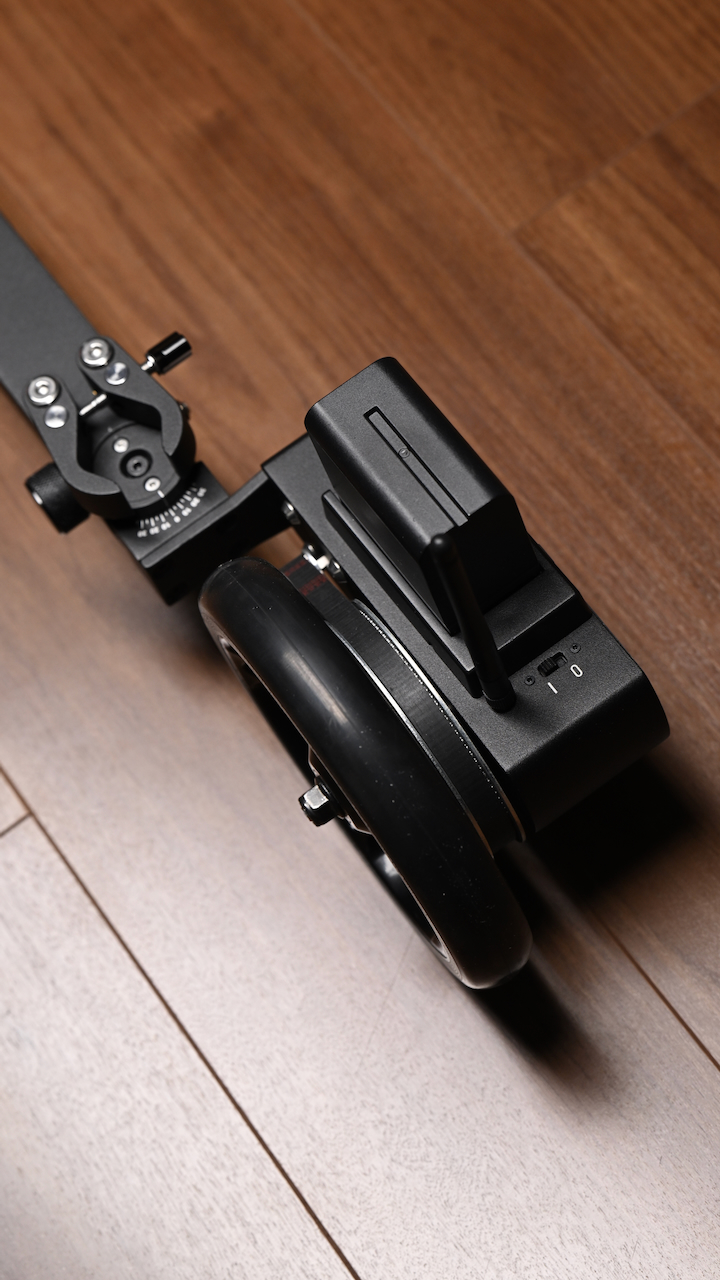
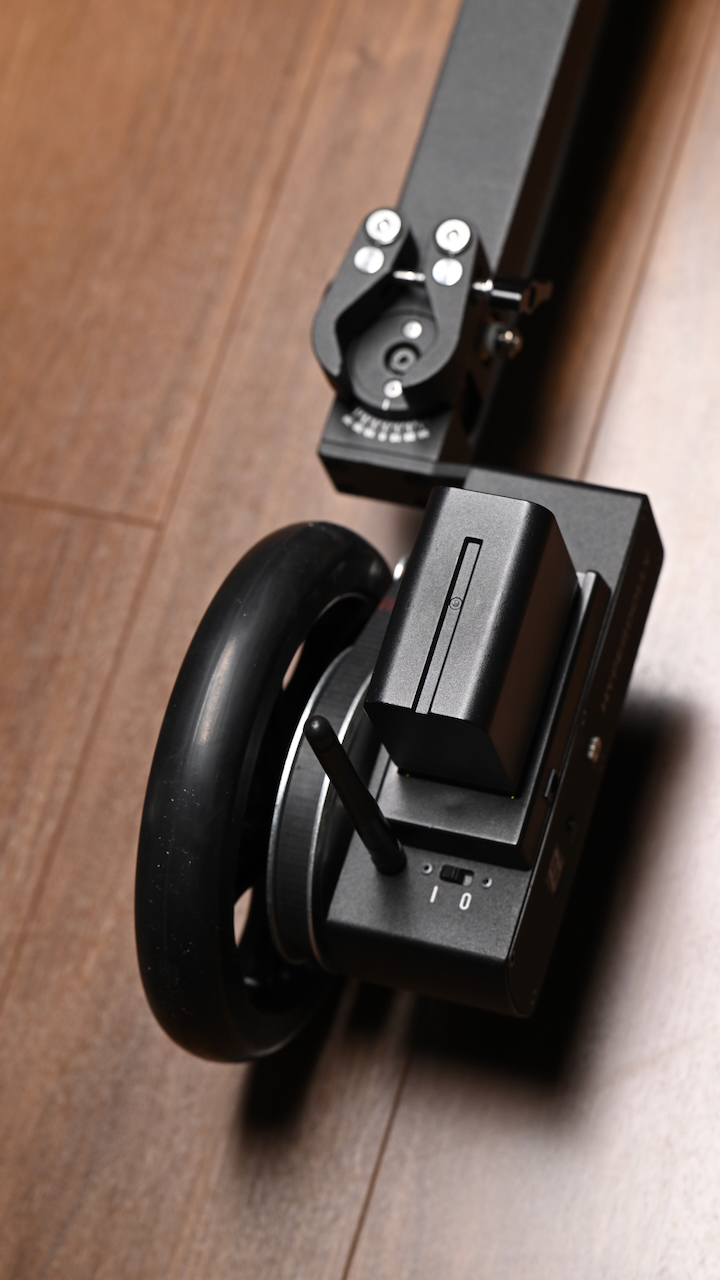
It is nice that you can power it from a battery that a lot of people already own.
If you don’t want to use an NP-F battery to power it, there is also a 7.4-12V DC power input. Just a note, you need to disconnect the battery when using external power.
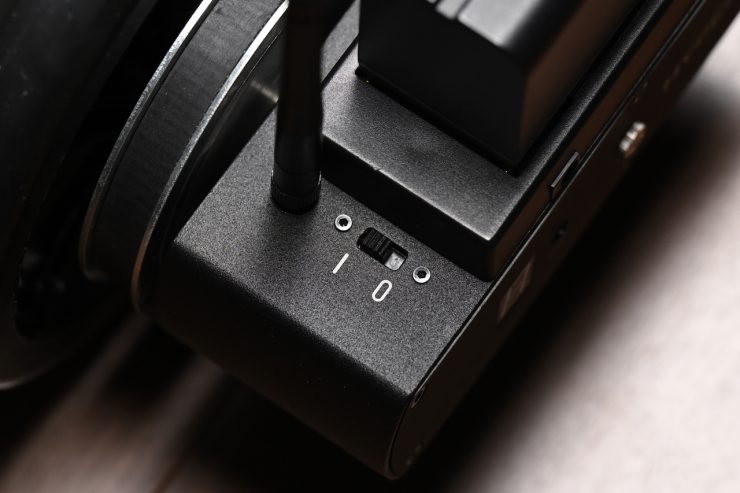
There is a simple On/Off switch to turn the Hyperdolly on.
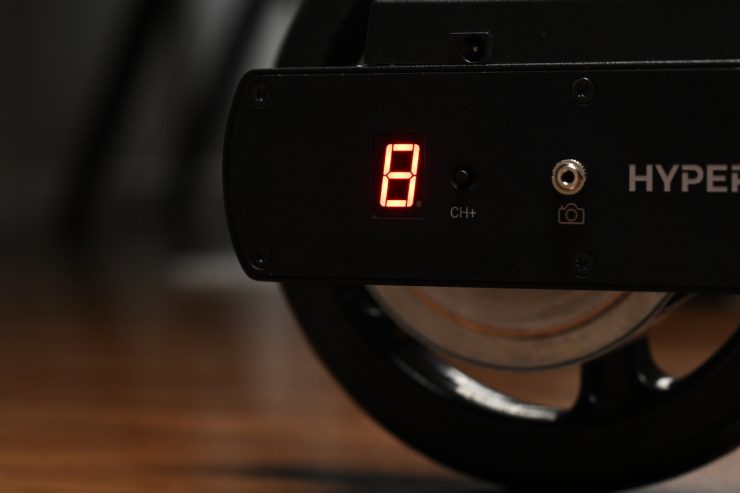
Once you do turn it on, it will also show you what channel it is set to.
What tripods can you use it with?
It was designed so that you can mount tripods in multiple ways. You can configure Hyperdolly with the mounting option that fits your workflow (selected at purchase):
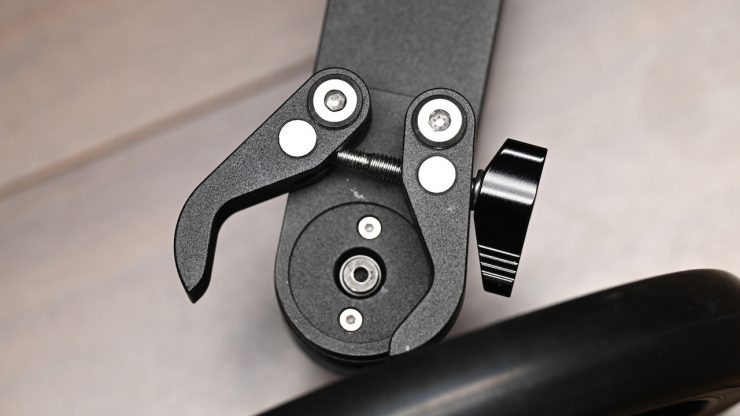
- Quick-Release Clamps: fast and versatile; designed for tripods with rubber feet
- Rubber Hooks: compatible with industry-standard heavy-duty cinema tripods
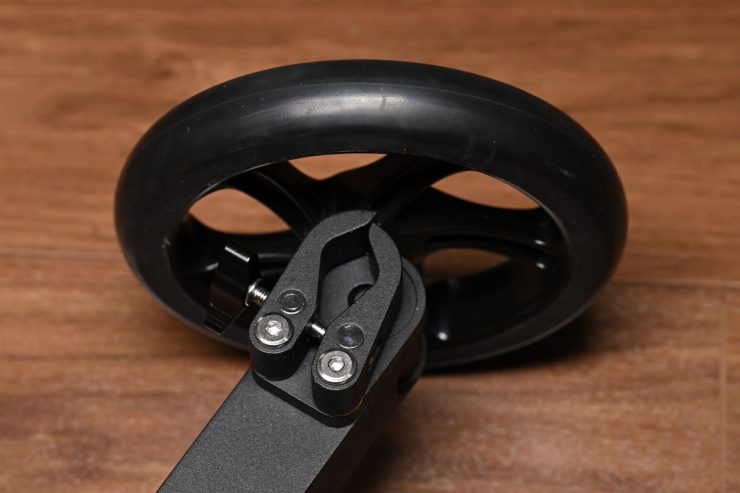
The version I was testing came with the Quick-Release Clamps, which didn’t work as well with most of the larger tripods I own.

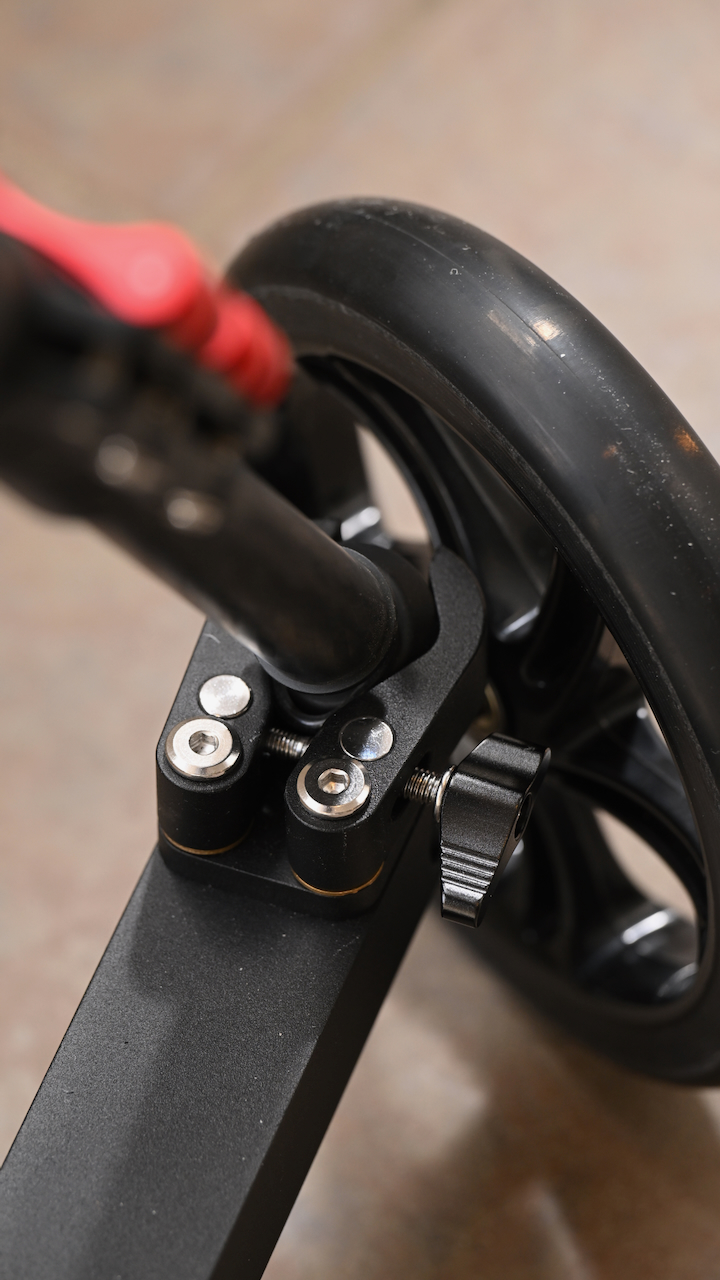
This clamp is wide enough that can lock in certain tripods with their rubber feet attached.
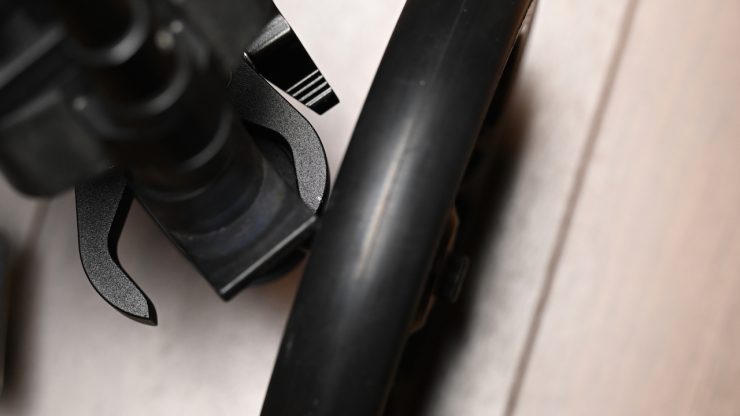
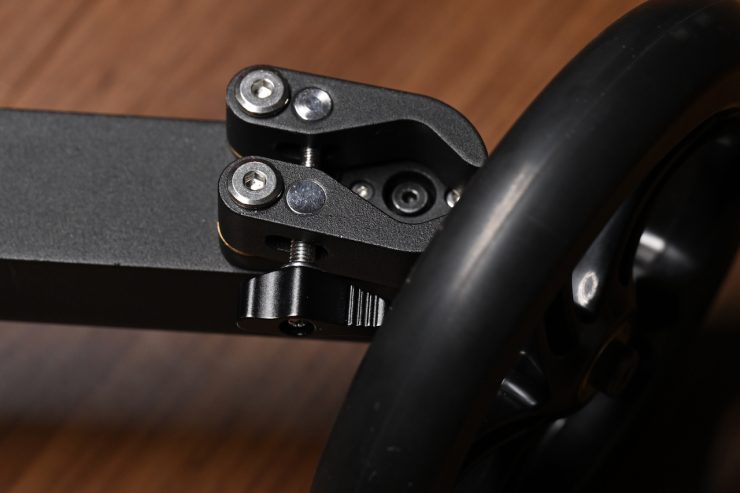
While you can still use the Quick-Release Clamps with heavier-duty tripods, such as some of those from Sachtler, with certain models, you can’t lock them down properly, because there is a bit that protrudes that comes in contact with the wheels.
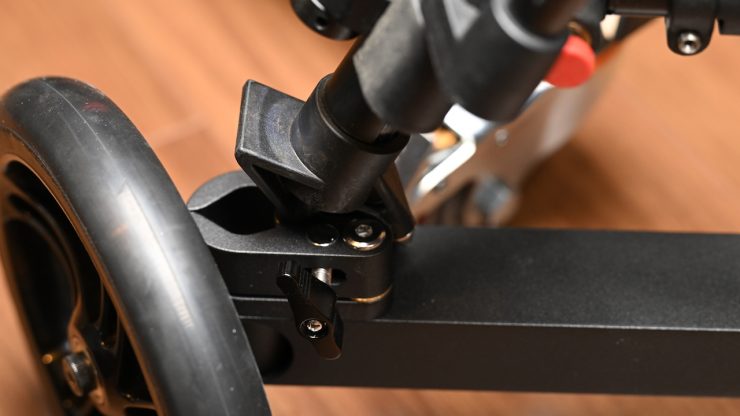
The only solution is not to lock in two of the legs. The front clamp is the only one that will actually lock down the tripod. The other two will just sit there without being secured.

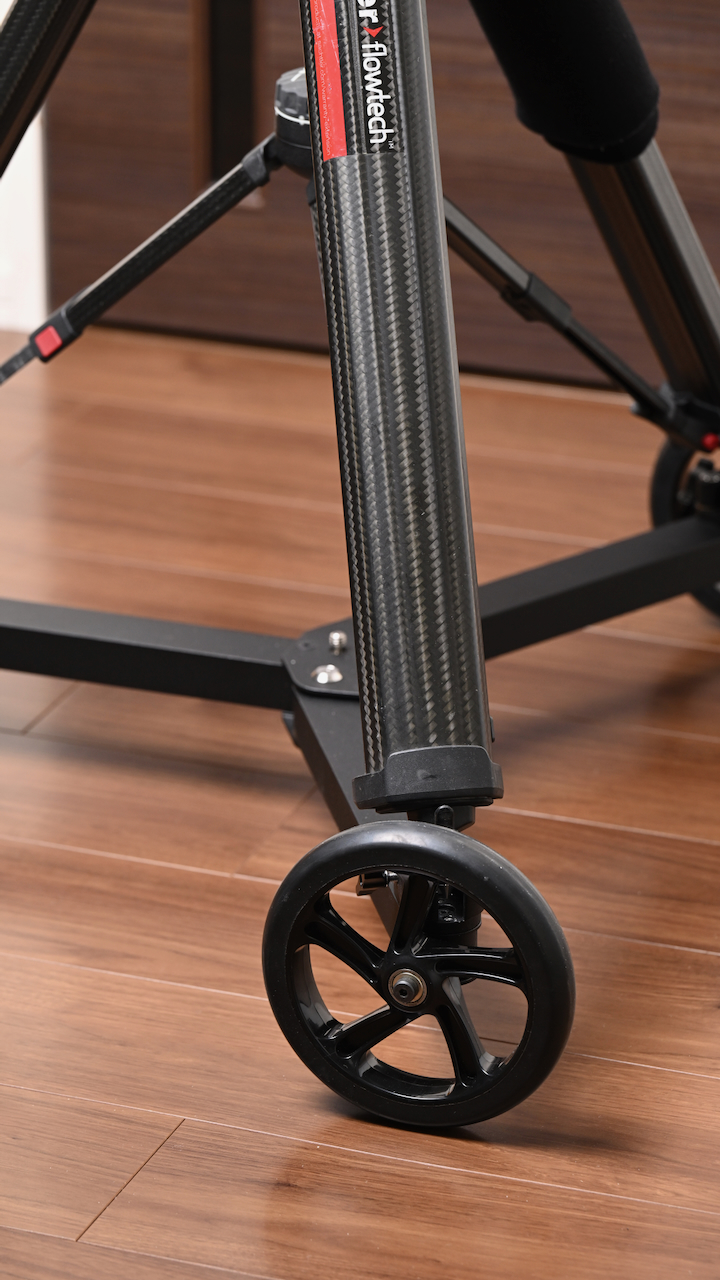
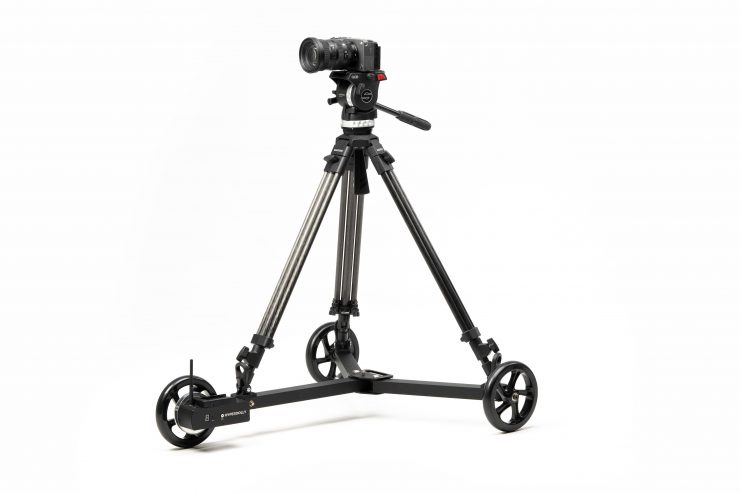
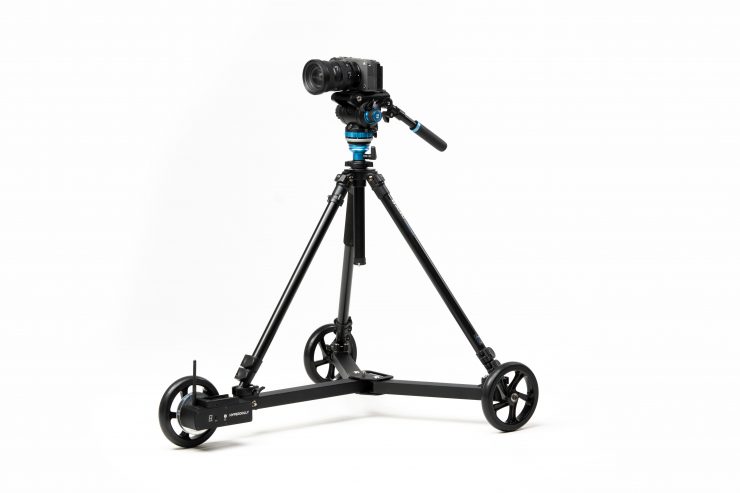
With a Sachtler Flowtech tripod, you can lock it down securely, but it is a little fiddly to do. If you have one of the larger style tripods, it makes a lot more sense to get the Hyperdolly with the Rubber Hooks.
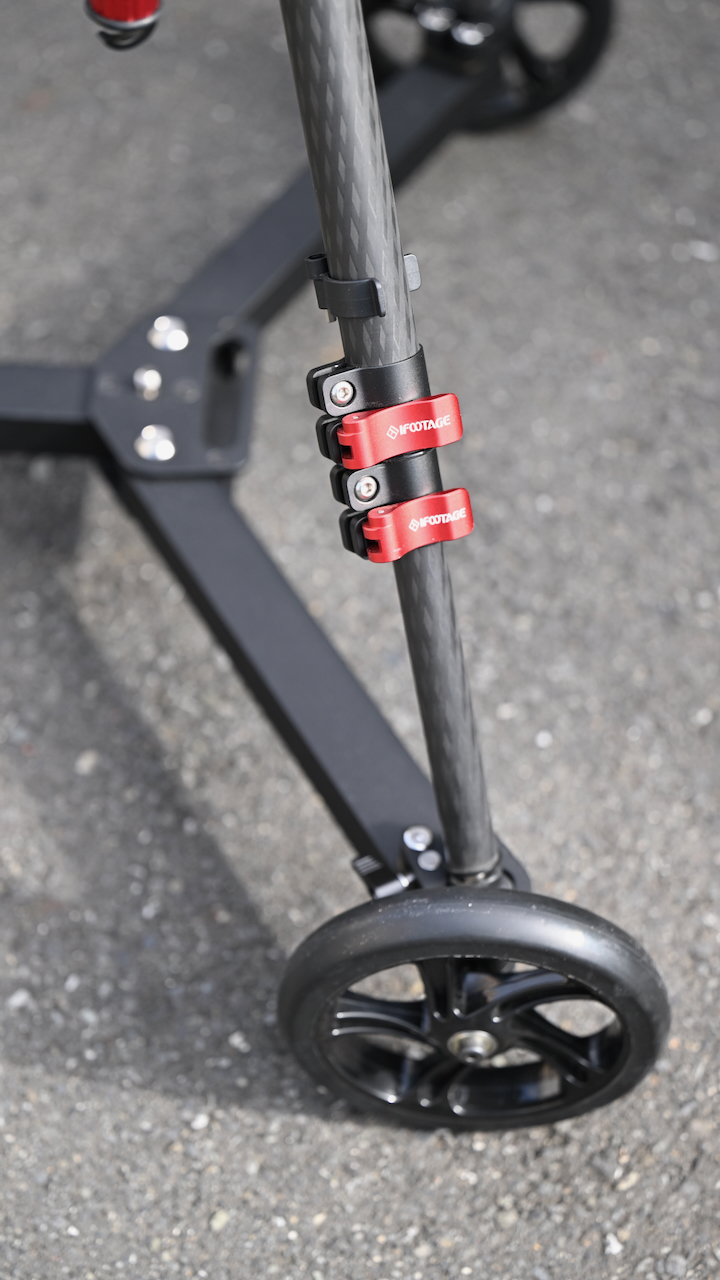

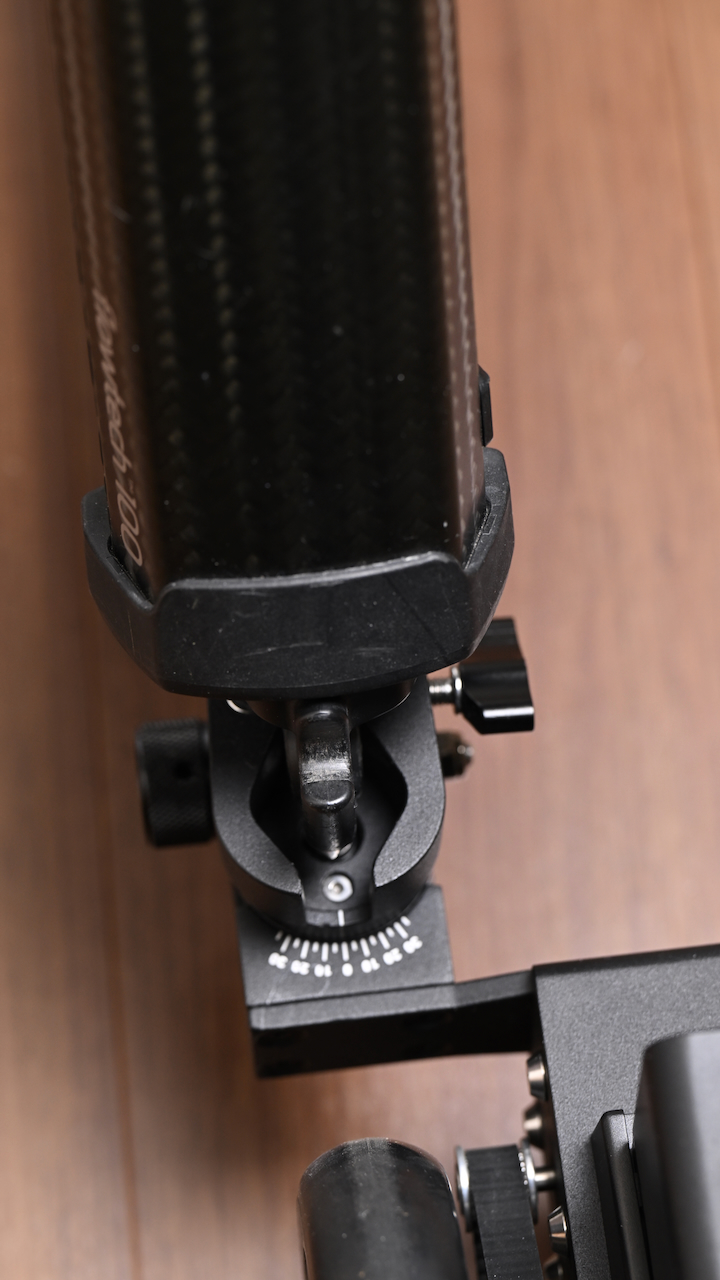
I also tried it with an iFootage Gazelle TC6S Uprise Tripod, and it worked really well. With this type of tripod, everything can be locked down correctly and easily.
With some lightweight tripods like a Sachtler Ace, if it has an in-built spreader, it won’t work on the Hyperdolly, because you can’t adjust the legs far enough out.
How do you set it up?
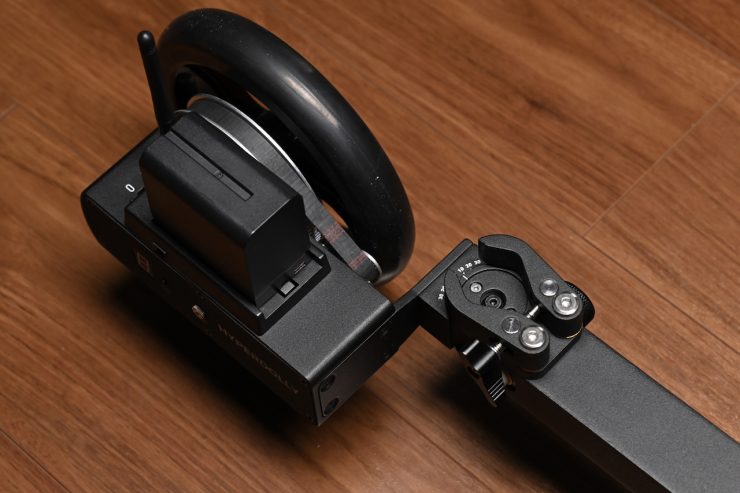
One of the biggest drawcards of the Hyperdolly HY-01 is that it is really fast to set up and use. Unfolding it only takes about 30 seconds, and then all you need to do is attach a battery and turn it and the remote controller on.
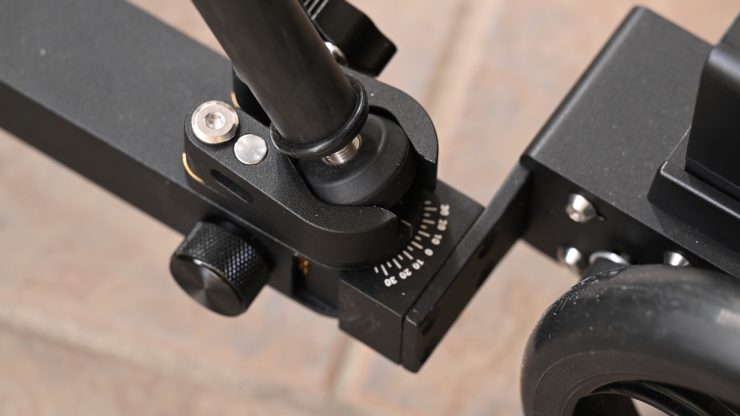
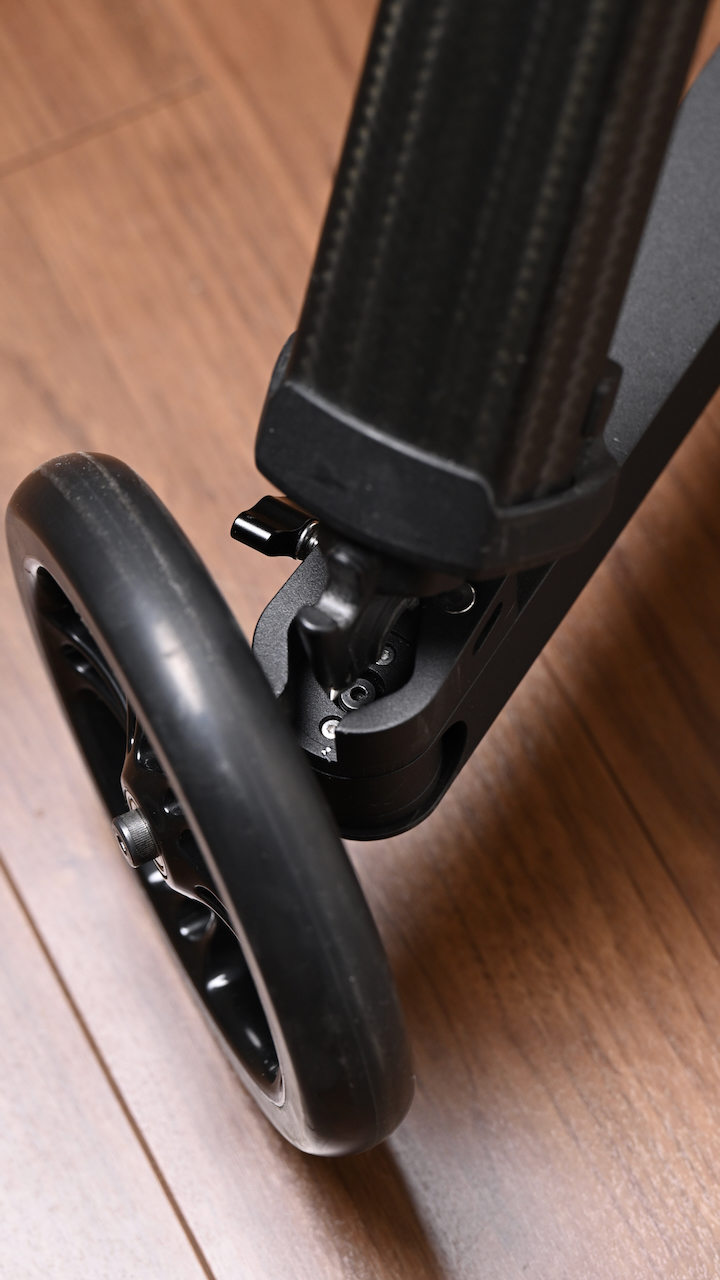
Adjusting the angle is also very quick. You simply turn the adjustment know to the desired angle you want. This is clearly labeled and easy to see.
A motorized dolly doesn’t need to be overly complicated, and speed and ease of use can often trump too many features or an overly complicated UI.
It’s great that Hyperdolly provides a very concise and easy-to-follow video that tells you how to set it up and use it from scratch.
Is it smooth?
This is the biggest question that everyone will want to know.
According to the company, the specialized wheel compound is engineered to neutralize the impact of floor crevices, tile joints, and other minor surface imperfections.
Hyperdolly states that even on imperfect floors, you can still achieve smooth results. Modern IBIS and post-production stabilization effectively compensate for the characteristic micro-deviations introduced by Hyperdolly on rough surfaces.
So is it smooth? In short, yes. As long as you have a relatively flat and smooth surface, it works really well.
I did try it on tiles, etc., and while it will work, if it needs to go over bumps or if the surface is a little uneven, it will be reflected in the shots. At least in my opinion, I think it is better suited to completely flat surfaces.
Creating an arc
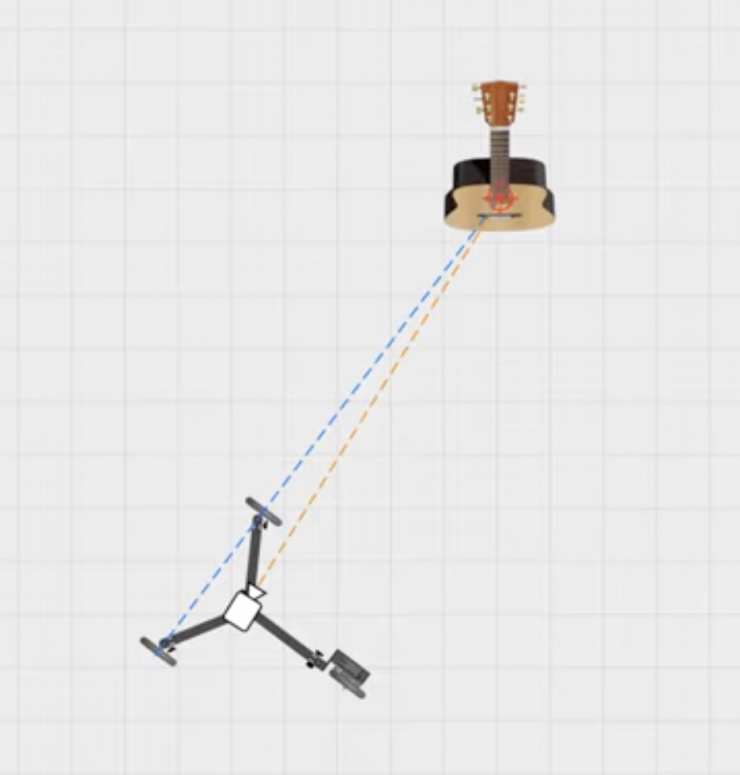
The way Hyperdolly is constructed, if you want to do an arc around a specific object to do a virtual parralax shot, you need to position it so that there is a theortiocal line between the two back wheels that is in line with your subject/object.
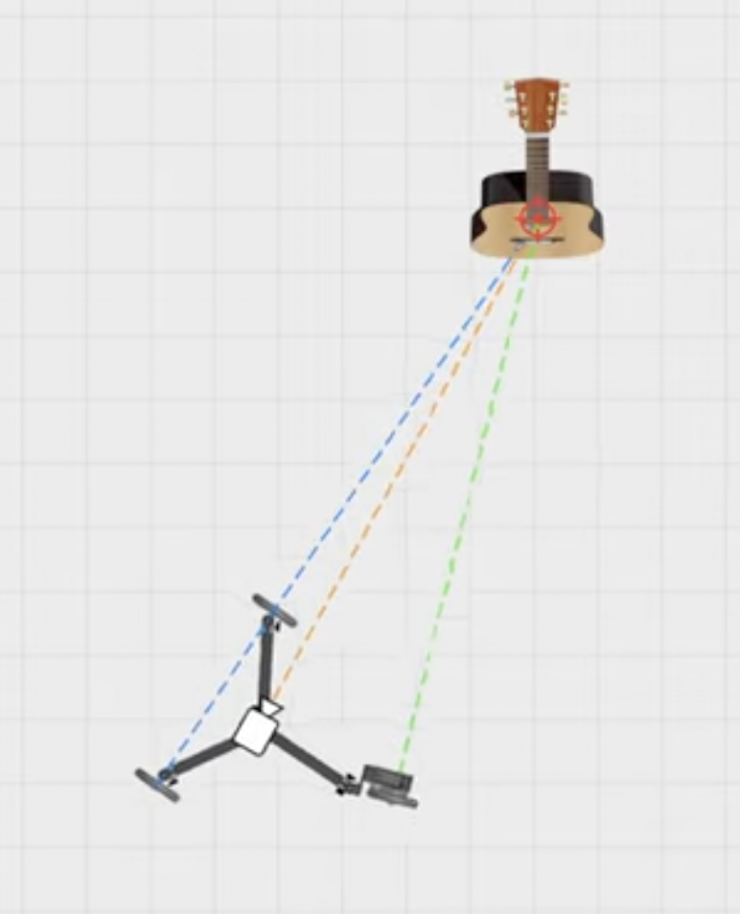
Once you have done this, you can then adjust the angle of the front wheel so that it is also lined up with your subject. Before you start, you can manually push the Hyperdolly to see if it is creating the right path and adjust it accordingly if it isn’t. I would recommend using something that can create a straight line, like a tape measure or laser pointer, etc., because it makes things easier.
While it is a little difficult to get an absolutely perfect parallax effect, you can get very close.
I tried this out by using a full-frame camera with an 85mm T1.4 cine lens wide open and did a couple of arc shots around a few subjects. With this type of super shallow depth of field and a manual focus lens, it is going to be very hard for a small object to stay completely sharp 100% of the time. If you are using a lens with AF, then this is no problem at all.
Above, you can see some examples of using the Hyperdolly with a Nikon ZR and AF lenses. Unfortunately, my apartment isn’t that big, so doing any shots that were a lot longer wasn’t possible.
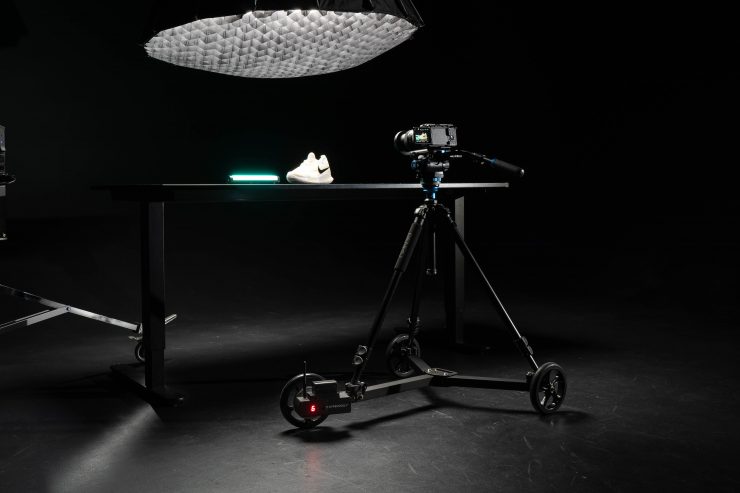
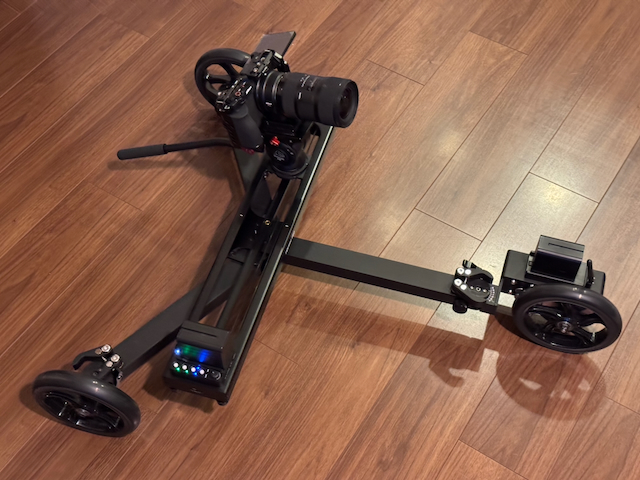
Low Angle Shooting
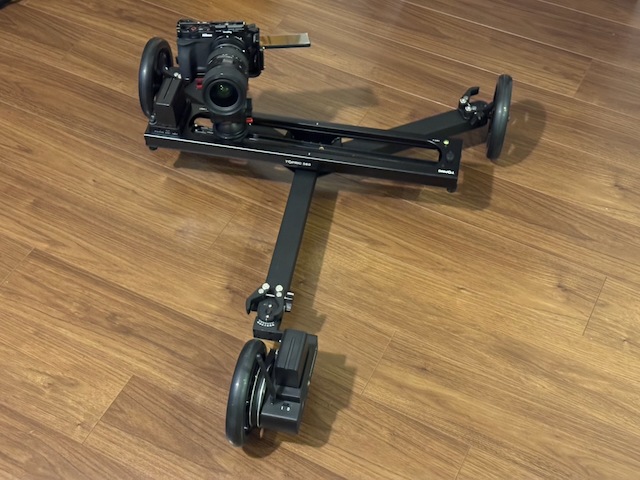
With an integrated 3/8″ screw in the middle of the Hyperdolly, you can attach a flat base tripod head or a camera baseplate, etc. It has access at the bottom to tighten it using a flat-head screwdriver.
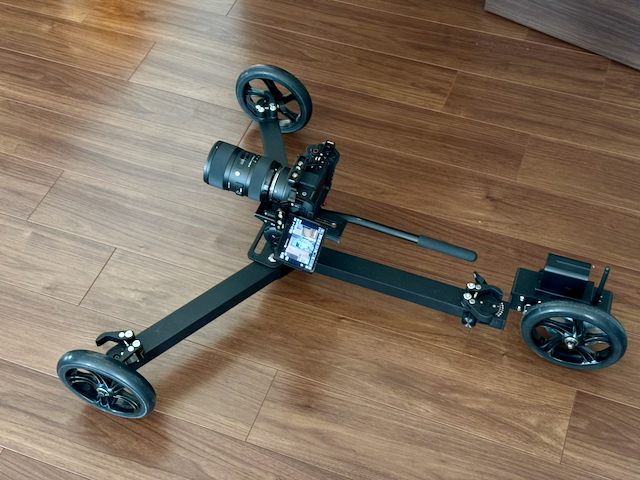
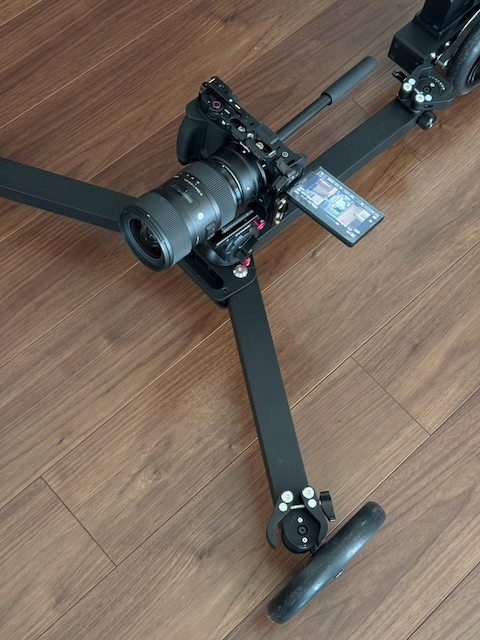
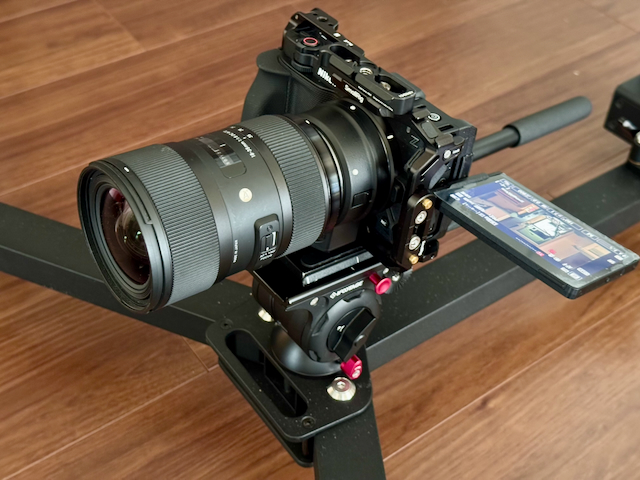
I tried this out with Nikon ZR and an iFootage Komodo K5 head.
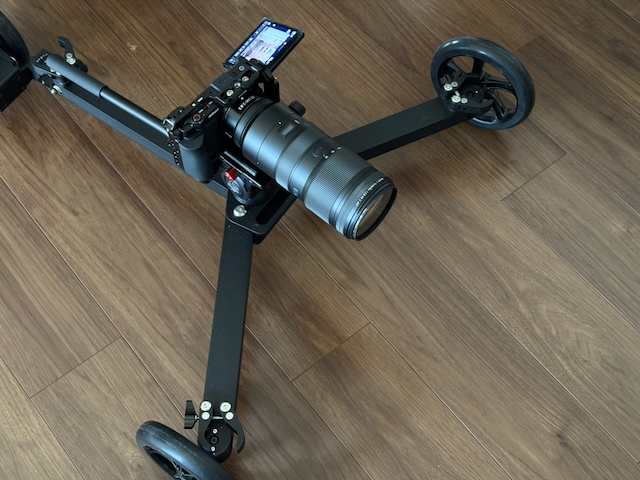
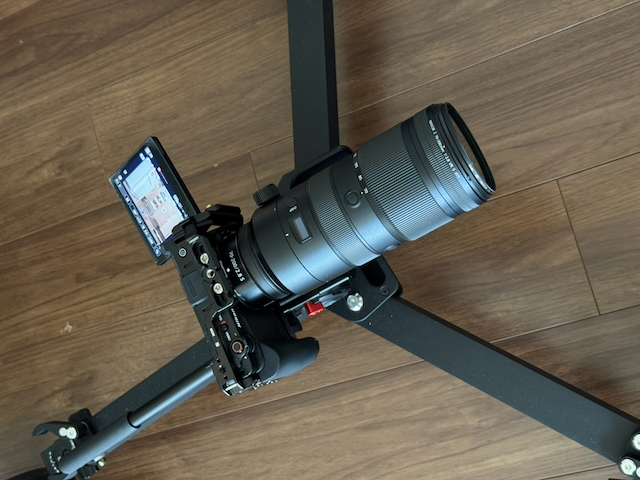
The Hyperdolly works really well for getting smooth, low-angle shots on flat surfaces. I could use a Nikon NIKKOR Z 70-200mm f/2.8 VR S Lens and still get good results.
Using it with a Cine Saddle
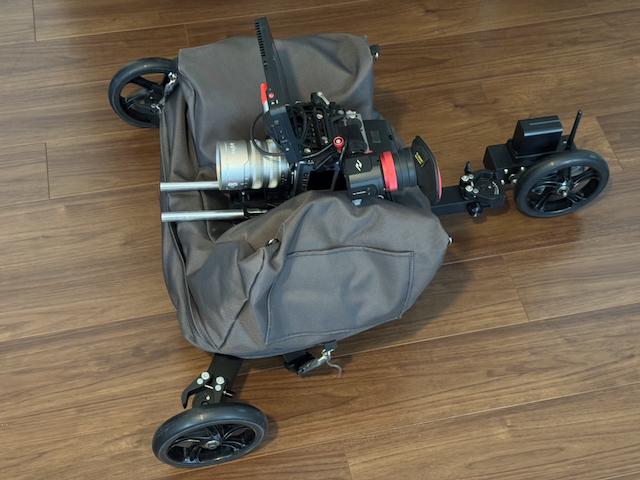
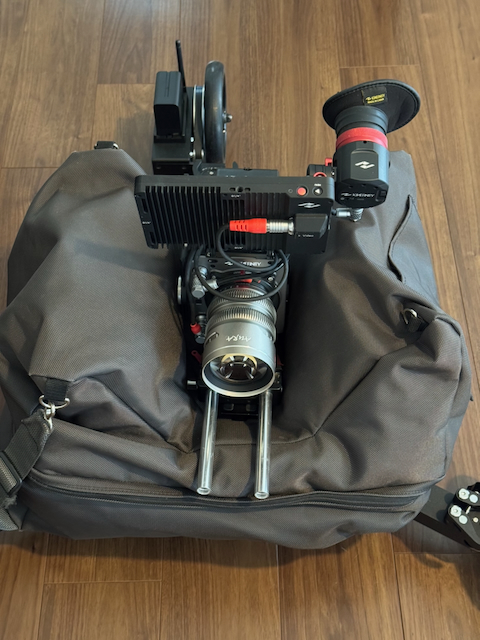
If you have a Cine Saddle (or similar), you can place it on the Hyperdolly and then put a heavier camera setup on top.
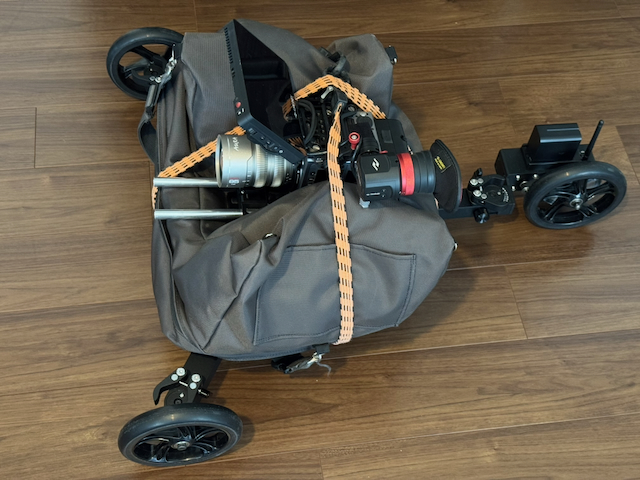
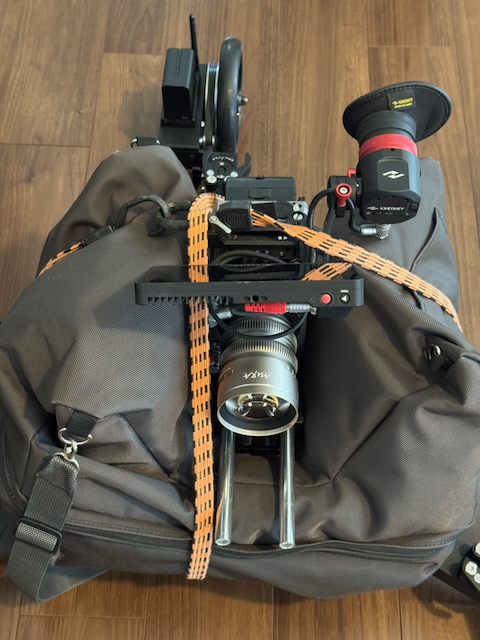
While this is a quick solution, I would recommend using some bungee cords or straps to secure it and to keep it steady.
This option works well, especially on a smooth surface.
Combining it with a motorized slider
If you want to get super creative, you can combine it with a small motorized slider. I tried the Hyperdolly out with an Accsoon TopRig S60 Motorized Camera Slider (16.7″). By mounting it on the 3/8″ screw on the base, you can do interesting shots where you can slide and dolly at the same time.
Above, you can see that combo in action.
You could also mount a slider on top of a tripod as well if you wanted to, but because of the weight distribution, you would want to use a smaller-sized camera and lens combo.
Is it quiet?
In short, yes, it makes almost no noise at all. The only noise you will get will depend on the surface you are using it on. You can easily use it in audio-critical environments.
Is Hyperdolly compatible with gimbals?
Hyperdolly does not feature native electronic integration or communication with gimbals. However, a gimbal can be mounted either on a tripod or directly onto the dolly using the integrated 3/8″ screw. For optimal stability and operation, the use of a power plate adapter is highly recommended.
Can you use Hyperdolly for repeatable takes in VFX workflows?
While Hyperdolly can achieve repeatable passes over short distances, it is not a dedicated motion-control system. Because the dolly utilizes soft wheels, minor natural deviations in the path can occur. For high-precision VFX work requiring pixel-perfect alignment, these variances may be unsuitable for seamless compositing.
Pricing & Availability
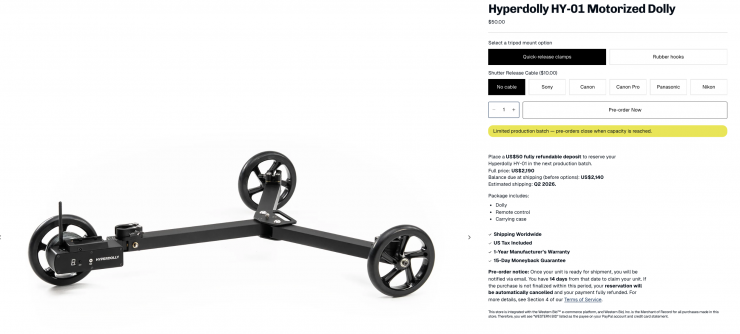
The Hyperdolly HY-01 is available via limited production batches. You can place a $50 USD fully refundable deposit to reserve your Hyperdolly HY‑01 in the next production batch.
- The full price is $2,190 USD
- Balance due at shipping (before options): US$2,140
- Estimated shipping: Q2 2026.
Package includes:
- Dolly
- Remote control
- Carrying case
Competition
Competition arguably comes in the form of products like the edelkrone DollyPLUS v2 ($2,823.91 USD) and the CAME-TV Power Dolly Kit ($766 USD). Now, neither of these products is the same as the Hyperdolly HY-01, but they were both designed to achieve a similar result.
Thoughts
The Hyperdolly is a great product, especially if you do a lot of dolly shots on flat surfaces. It is super easy to set up and use, and it packs down into a small footprint for storage and transportation. Having the ability to do long, extended push-ins or push-outs is something you can’t do with portable rail-based systems.
It is smooth, quiet, and it features a very easy-to-use UI.
The biggest caveat is that it only works on flat surfaces, so that does limit where you can use it.
Hyperdolly has been really well thought out, and I almost always find that products that come from small companies that understand what the end user wants are often the best ones.
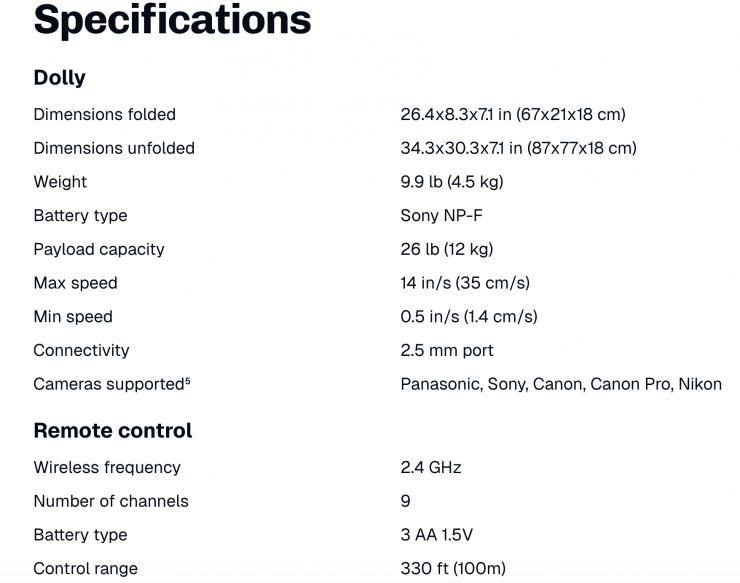
Specifications