By site editor Dan Chung:
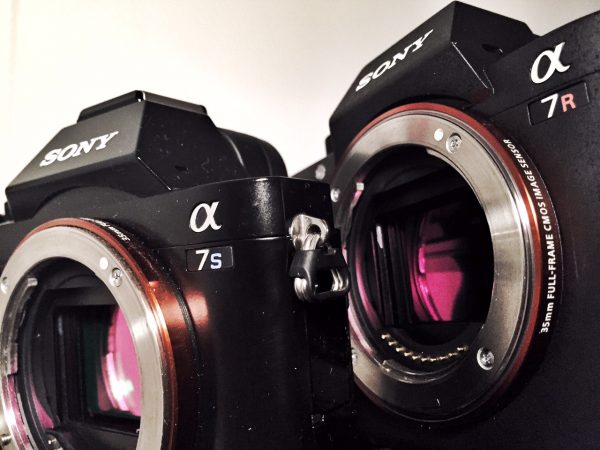
The Sony a7R II has deservedly been getting a lot of attention this week. Before sales started I already expected the 4K internal recording capabilities to be very good. What I didn’t expect was frankly amazing high ISO performance that comes close to the low light small camera king – the Sony a7S.
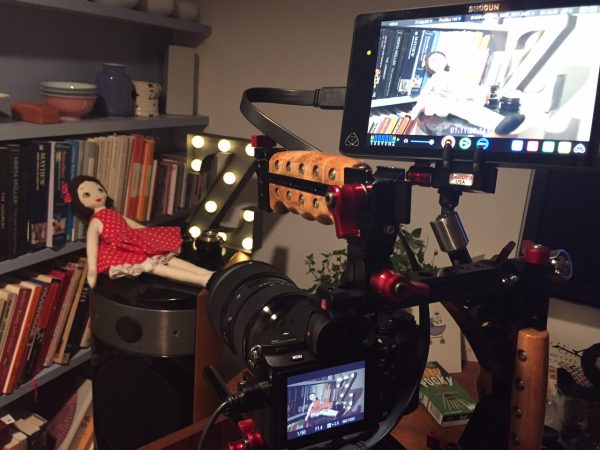
I’ve been running a series of tests over the past few days to see just how good it is. There have been several online that compare the a7R II 4K image to the HD image from the a7S, but nothing that showed the performance when shooting 4K. To make things fairer I decided to record all the cameras externally to the same 4K recorder. The same white balance of 3200 K was also set manually on all the cameras.
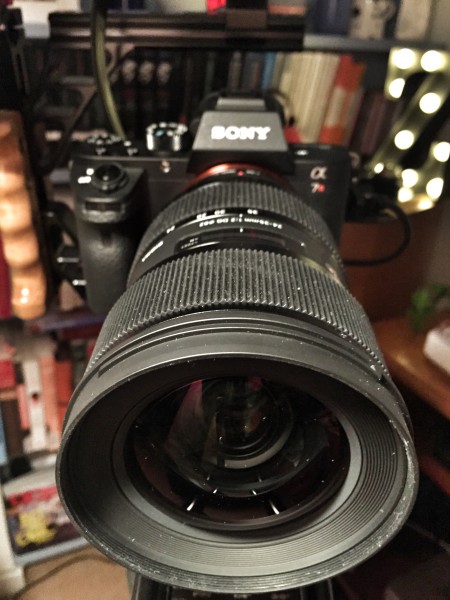
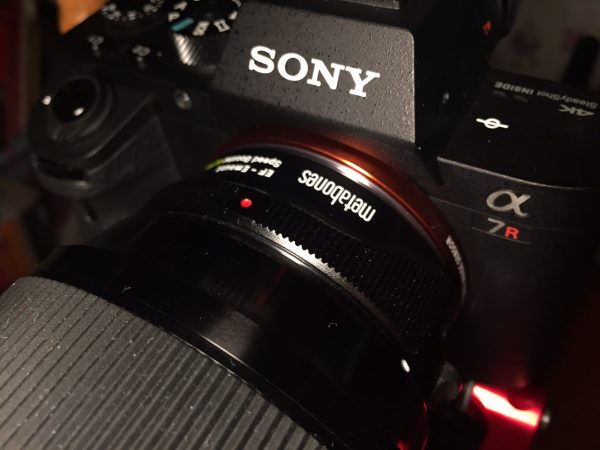
I used the same lens for all the shots to ensure fairness. Fortunately, Sigma just sent their new 24-35mm f2 ART lens over for me to look at. It is Canon EF mount so I used a Metabones SmartAdapter IV to attach it. I tried to keep the framing of each shot as constant as possible by using the zoom, although in a few instances I had to move the camera backwards or forwards a few inches. All shots were done at maximum aperture and I was amazed by just how sharp the Sigma was.
Noise levels can of course have very different results depending on what sort of in-camera noise reduction, gamma and colour matrix is set on each camera. I tried to set up each camera in a fairly standard way – in the case of the a7R II and a7S I put them both in default S-Log2 settings with S-Gamut. No colour matrix settings were touched but even so the a7S and a7R II represented the colour of the scene quite differently. I’m sure that there are better settings for each camera that can eke out the last bit of extra noise performance – but I’m pretty confident that these semi-scientific tests do demonstrate the key differences between the cameras.
The a7S has two main 4K crop modes. Sony say that the Super35 (S35) mode delivers the best image quality because it doesn’t pixel bin and therefore has less aliasing and moire. The full frame moire isn’t quite as good and shows some aliasing if you look very closely, but that said is still much better than that of many other cameras. In a strange twist, my earlier tests discovered that the full frame mode has much less rolling shutter than the S35 mode. In good light both modes seem very usable for my kind of documentary shooting. But what happens when the light gets low?
From the outset, it is clear that the full frame mode on the a7RII isn’t as good as the a7S. The image is quite noisy and doesn’t compare well to the a7S. At all ISOs from 3200 onwards the a7S bests it and I would not use the a7R II this way.
The next test was of the a7R II in S35 mode. This is where the major surprise came. The a7R II comes very close indeed to the a7S – despite having a much higher pixel count sensor and therefore much smaller pixel pitch. At most ISOs the camera were pretty close, with the a7S perhaps stealing the lead at the very highest ISOs.The a7S actually goes higher in sensitivity than the a7R II, which you can see at the end of each test. In reality these are not ISOs I would actually use as the results are incredibly grainy. Whatever Sony are doing with their latest sensor technology is clearly reaping rewards.
But that isn’t the end of the story. There is one more option that can truly level the playing field for the a7R II against the a7S. The Metabones Speedbooster Ultra can be used with the S35 mode of the a7R II to gain an extra f-stop of light to your sensor. If you use a full-frame lens this means that in the same light, with the same lens, the a7R II can use an ISO that is one stop lower than the a7S and still get the same image brightness. Check out the video below if you don’t believe me:
This clever trick really takes the a7R II to another level and if low light shooting is your thing then I wouldn’t hesitate to get one. The only downside is that the a7R and Speedbooster together cost more than any other compact system camera.
That got me thinking about how the a7R II would compare to a ‘proper’ large sensor camera. Enter the Sony FS7. This camera has a starting ISO of 2000 in S-Log 2 and so I expect it to perform better than the a7R II. You can see below that this is true, but the results are again surprisingly close (at least in the way I had the FS7 set up for the test).
I set the FS7 in S-Log2 for easier comparison. I’m aware that different results would have been achieved had other Cine gammas, CINE EI and/or S-Log3 been used instead. Still, you get an indication of how impressive the a7R II is in low light for half the cost of the FS7.
Lastly, for fun, I tried to compare it to the popular Panasonic GH4. The lower cost 4K camera has a smaller sensor and so I didn’t expect it to come close to the a7R II. To help the Panasonic a bit I added a Metabones EF to M4/3 Speedbooster that, when added to the cost of the GH4, still costs less than the a7R II or a7S. Unfortunately, the GH4 doesn’t have a log shooting mode yet (it is still unknown when Panasonic will release V-log), and so I set the camera in Cine V, which I know has a pretty good noise performance. This is a REC709 image so I added a basic LUT to the Sony a7R II footage to give some idea of the relative noise levels. All things considered, I think the Panasonic did pretty well at 1600 and 3200. It will be really interesting to see if V-log will improve this when it becomes available.
I know that these tests aren’t 100 per cent scientific, but I do feel they give a pretty fair representation of how the low light performances of these cameras stack up against each other. If you have different findings or better settings to share then please do comment below.
Of course, post processing noise reduction can be done on all these files using software like Davinci Resolve or NeatImage. How well these packages can reduce the noise present without excess softening depends not just on the amount of noise, but the kind of noise. That is beyond the scope of these tests but anyone really serious about getting the best out of these cameras should investigate this further.


