By site editor Dan Chung:
Control grip hack: Sony a7S + 18-105mm f4 Power Zoom lens from Dan Chung on Vimeo.
If there is one common complaint from Sony a7S owners, it is the placement of the start/stop trigger on the side of the camera. It is about as inconvenient a location as you could possibly think of. Why you can’t just assign video triggering to the shutter button is beyond me.
Thankfully, Sony have made several remote triggering options that work with the a7S via Micro USB or IR to make life a little easier. The RM-VPR1 remote, GP-VPT1 mini-tripod/grip, VCT-VPR1 and VCT-VPR10 tripod all use USB to start/stop video and also feature a zoom control rocker for use with Sony’s E-mount powered zooms like the 18-200 PZ and 18-105 f4 PZ.
Each has a stills photo trigger, which can be more of a curse than a blessing: when you press this in movie mode it brings up an annoying dialogue box saying you can’t take a photo in this mode. To get an idea of how the Micro USB version works check out the video below by Nathan Rodger:
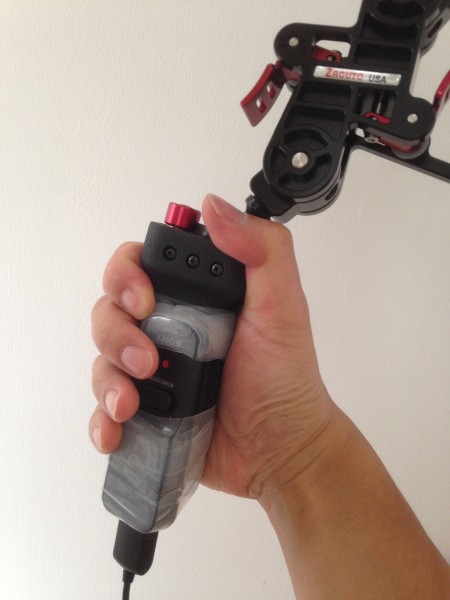
My friend Jason Wingrove has been experimenting with a cheap third party IR remote and has made a nice setup with the Zacuto Marauder.

The Micro USB controllers work fine on a tripod but aren’t particularly well designed if you want to use the camera handheld. You can of course gaffer tape one of the Sony remotes to the handgrip of your rig, but I wanted something a little more ergonomic:
The Hack:
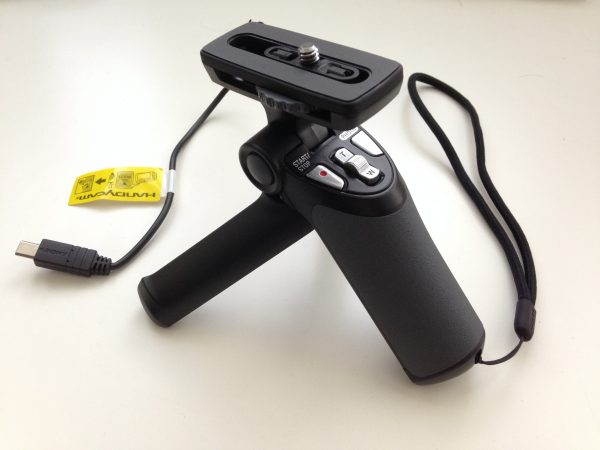
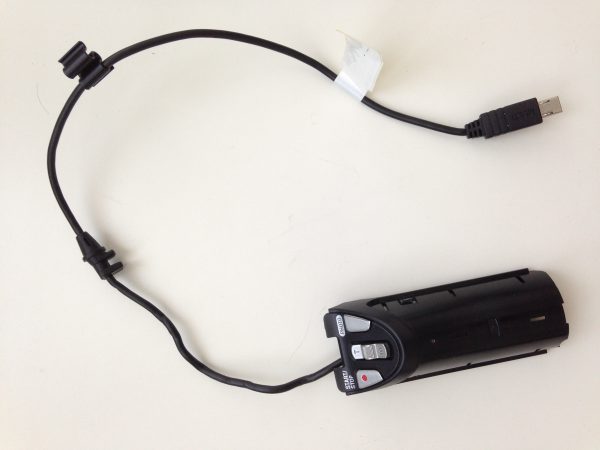
I started with the GP-VPT1 combination grip and mini-tripod. This actually works OK on its own directly under the camera – but I found it a little too flimsy. I wanted a solid control grip with a professional feel that could attach to any 15mm rails system.
The first step was to carefully rip apart the casing of the GP-VPT1. Be very careful not to break the Micro USB connecting cable. There are several screws to be undone, including some hidden under the adhesive rubber of the grip.
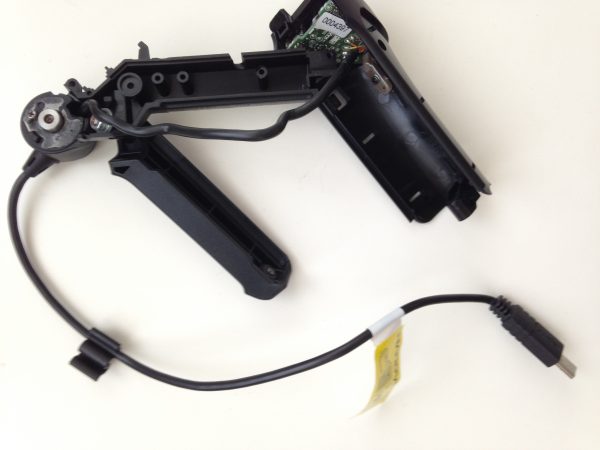
When you open it up, it reveals a small circuit board underneath the controls. It is hard-wired to the Micro USB cable and someone handy with a soldering iron should be able to remove it and extend the cable with a longer one or use their own trigger. I’m not that handy so chose not to tamper too much – I’m just living with it at the existing length.
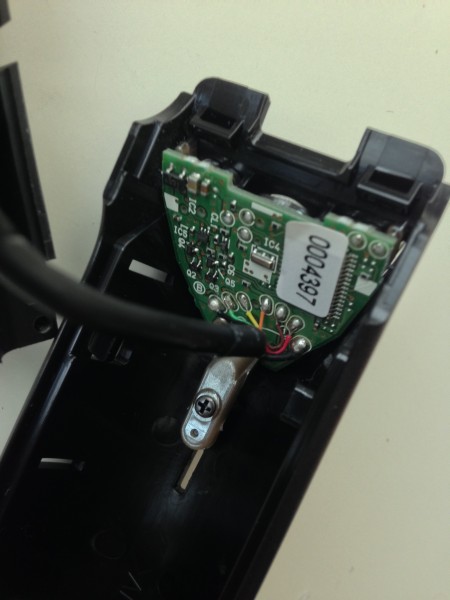
I stripped away almost all of the original Sony parts leaving just the small control panel and the circuit board behind it. This require some cutting of the plastic housing so be careful. What is left is almost the perfect shape to attach to a regular handle with a little modification.
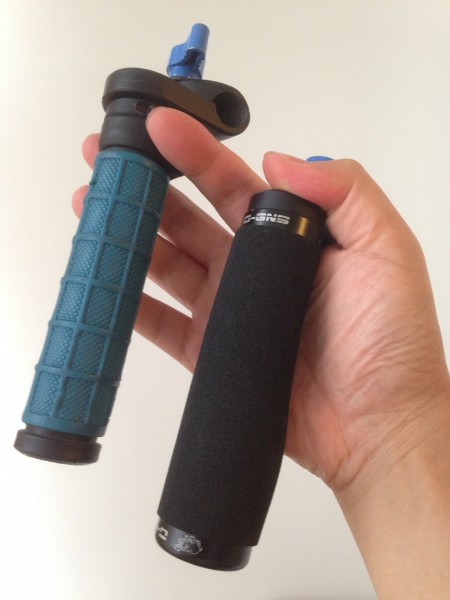
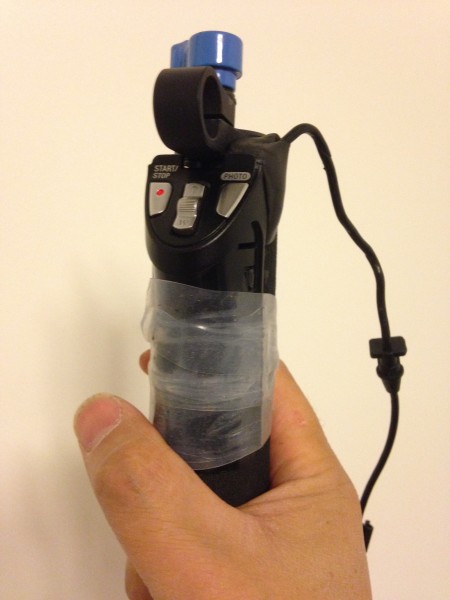
I took a Redrockmicro handle I had lying around and decided that was perfect for the mod. First I tried simply taping the remote to the grip to see if it would work. This highlighted a problem. The way the controller is designed, it requires a little space behind it so the circuit board can flex. Without a small air gap behind the circuit board to allow for this flex, the push buttons won’t trigger. The solid grip of the Redrock handle prevented this so I decided to swap the grips’s rubber part out for a foam bicycle grip from the local store. With this installed, I could hack away the foam directly behind the circuit board, leaving an air gap, to ensure the trigger button worked.
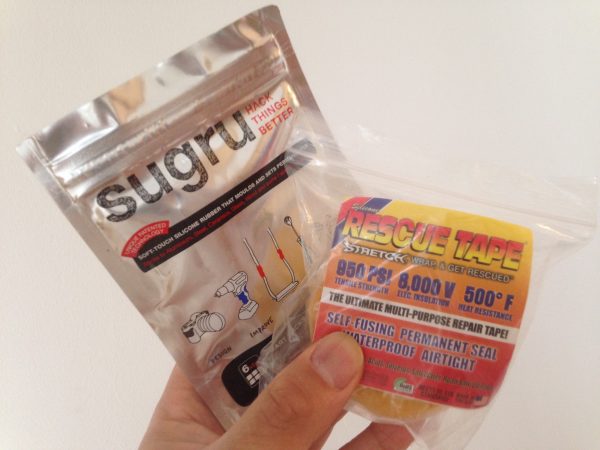
The next step was to permanently attach the panel to the grip using Rescue Tape. I simply wound the tape tightly around and around – the way it bonds to itself chemically is better than regular tape. Then, to make sure all the cables stayed in place and didn’t get unduly strained, I placed several blobs of Sugru where the top of the panel joins the handle. This also stops any water or dirt getting in behind the panel.
The last step was to wrap the whole lot with pro gaff tape (the not too gunky stuff) to give it a better look. In time I might try to find a better grip surface, but for now this works just fine.
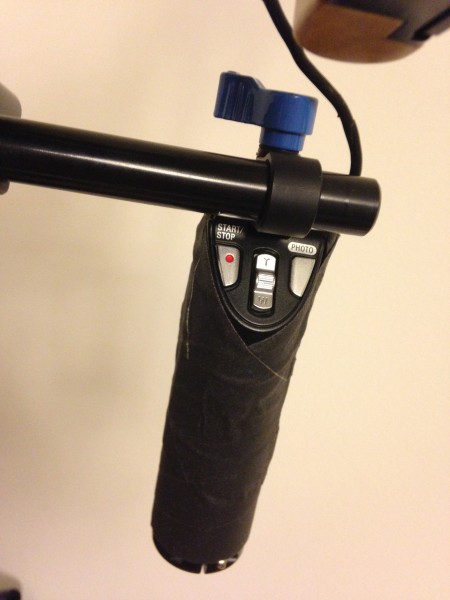
So there it is. My simple hack for a better a7S control grip. Not the most beautiful thing in the world but it works very nicely. I’d love to see what improvements others can make to this hack.
BTW, if you want a longer Micro USB cable so the grip can be used on gimbals or bigger rigs, there are Micro USB extension cables available on Ebay. I’ve not tried them.
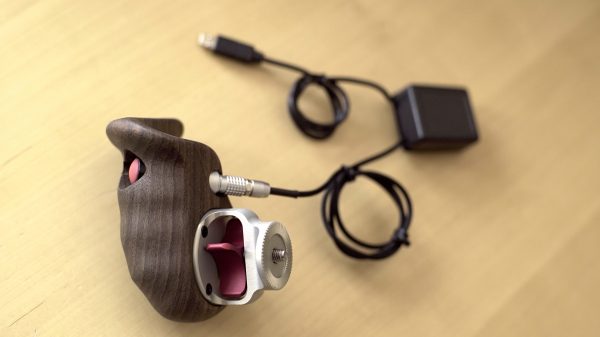
Finally if you want to see an even more elaborate hack check out what Jason Wingrove has done with a Vocas Wooden handgrip – housing the circuit board in a small box and rewiring the trigger so it works with the Vocas. The result looks very professional.